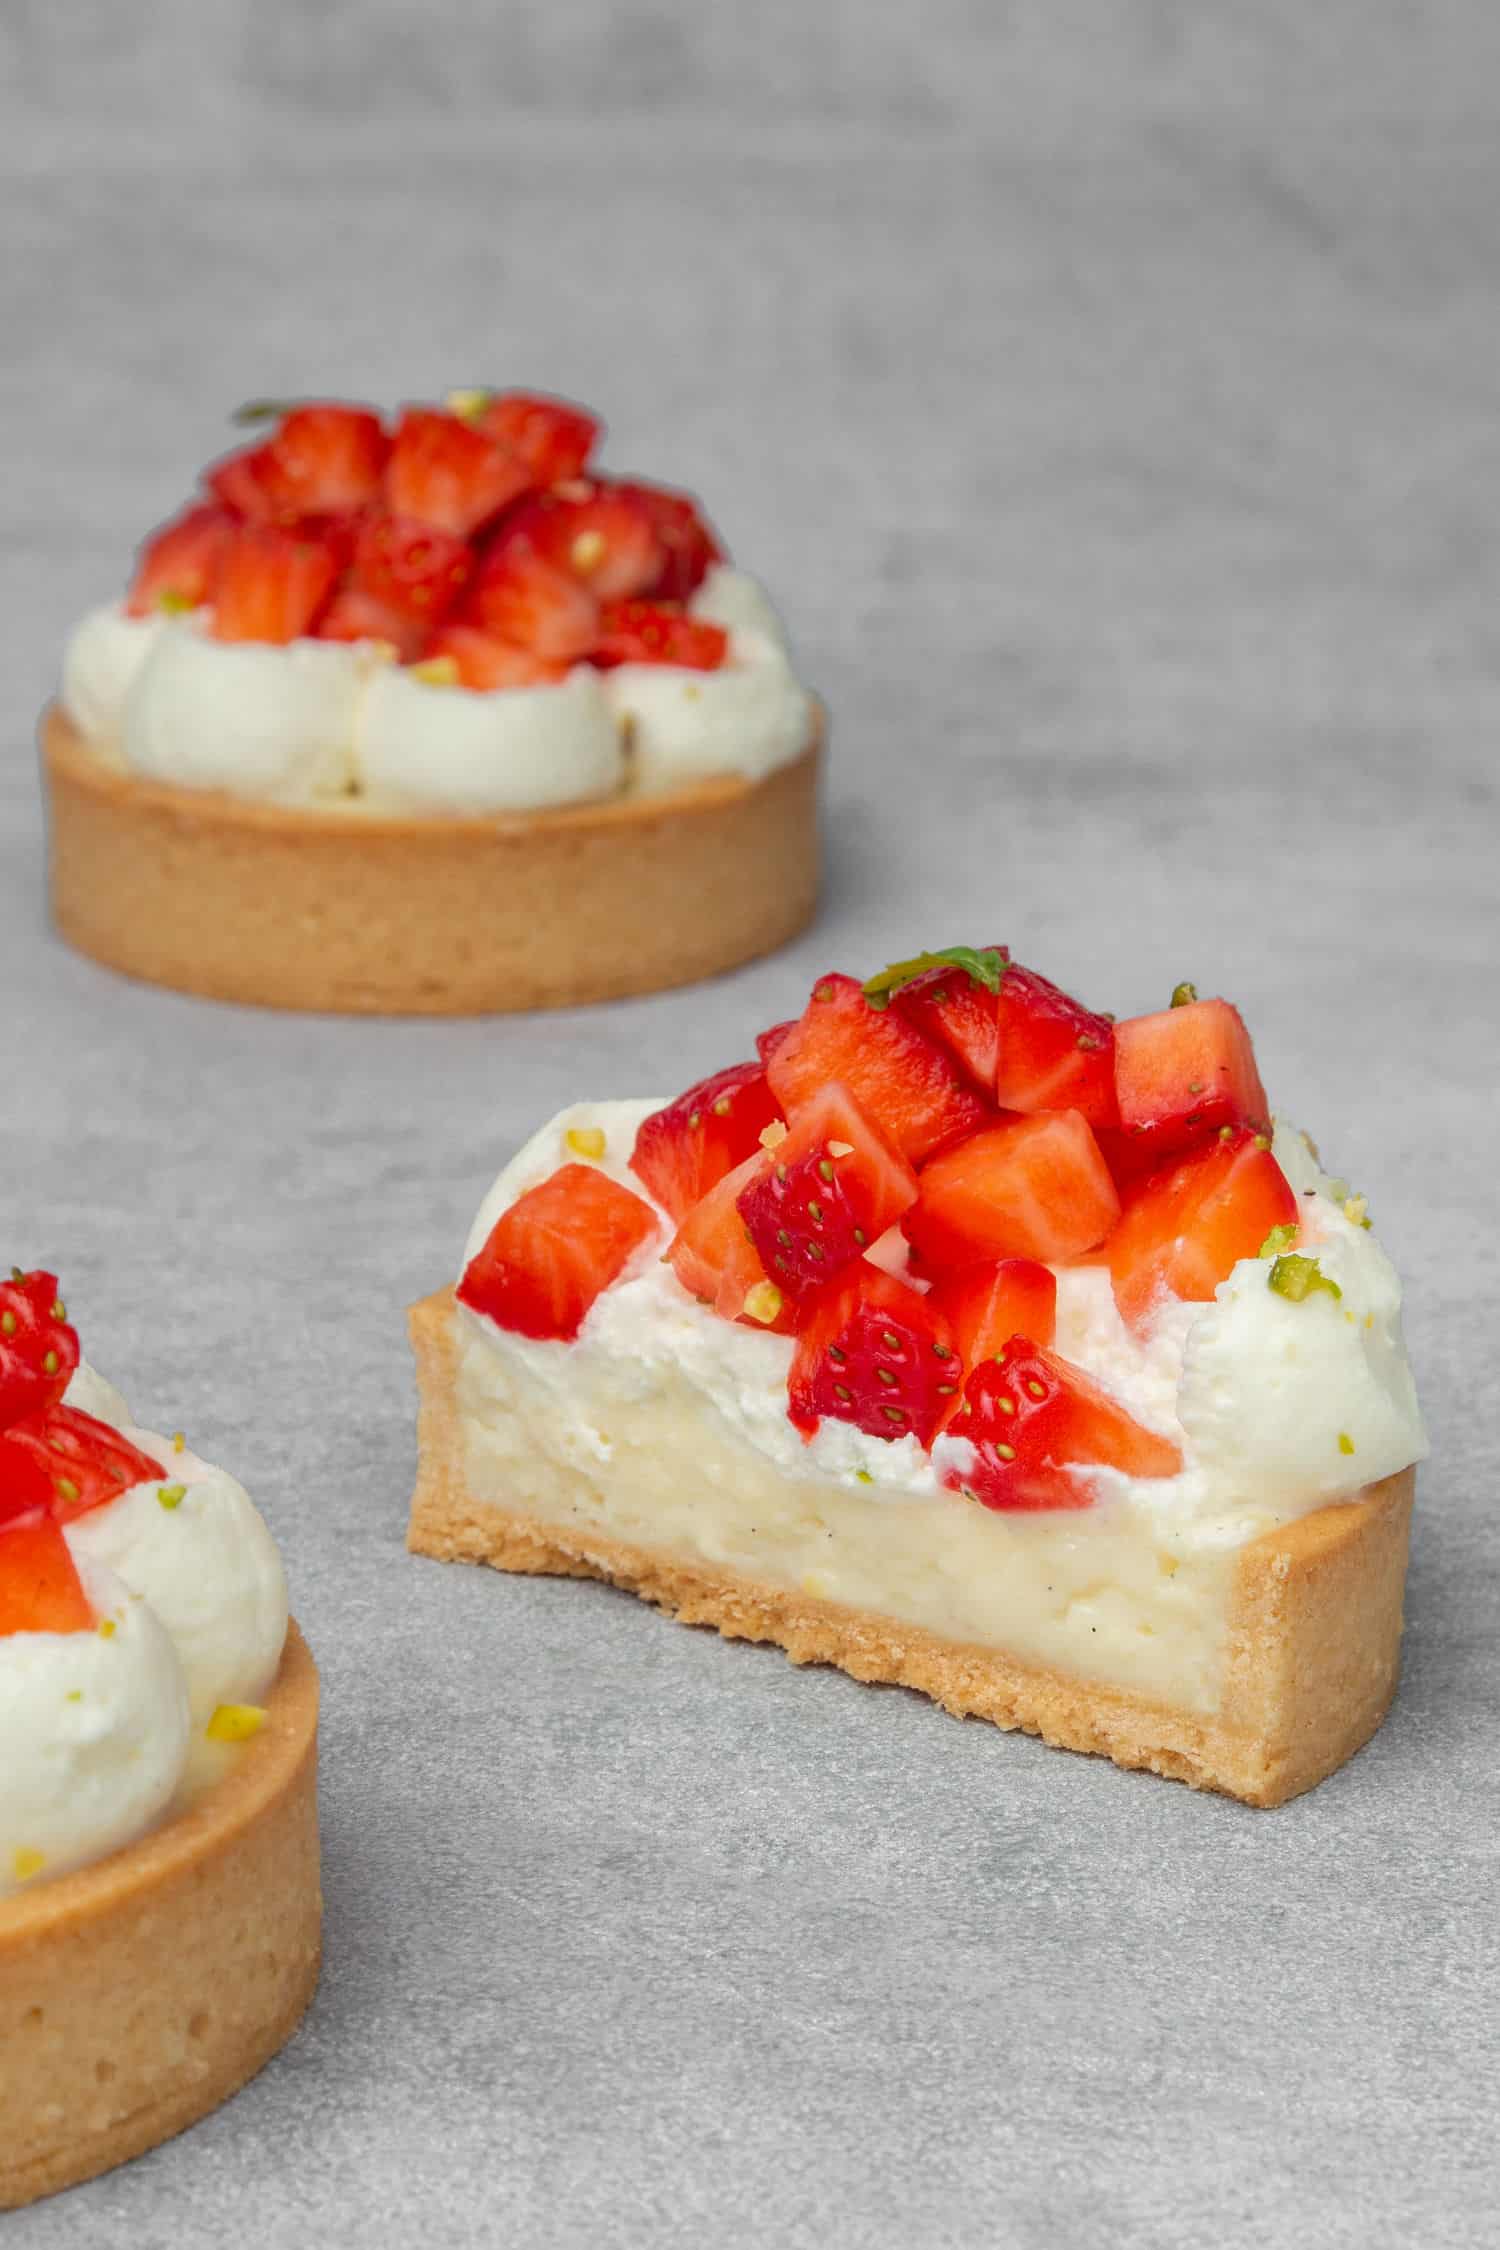
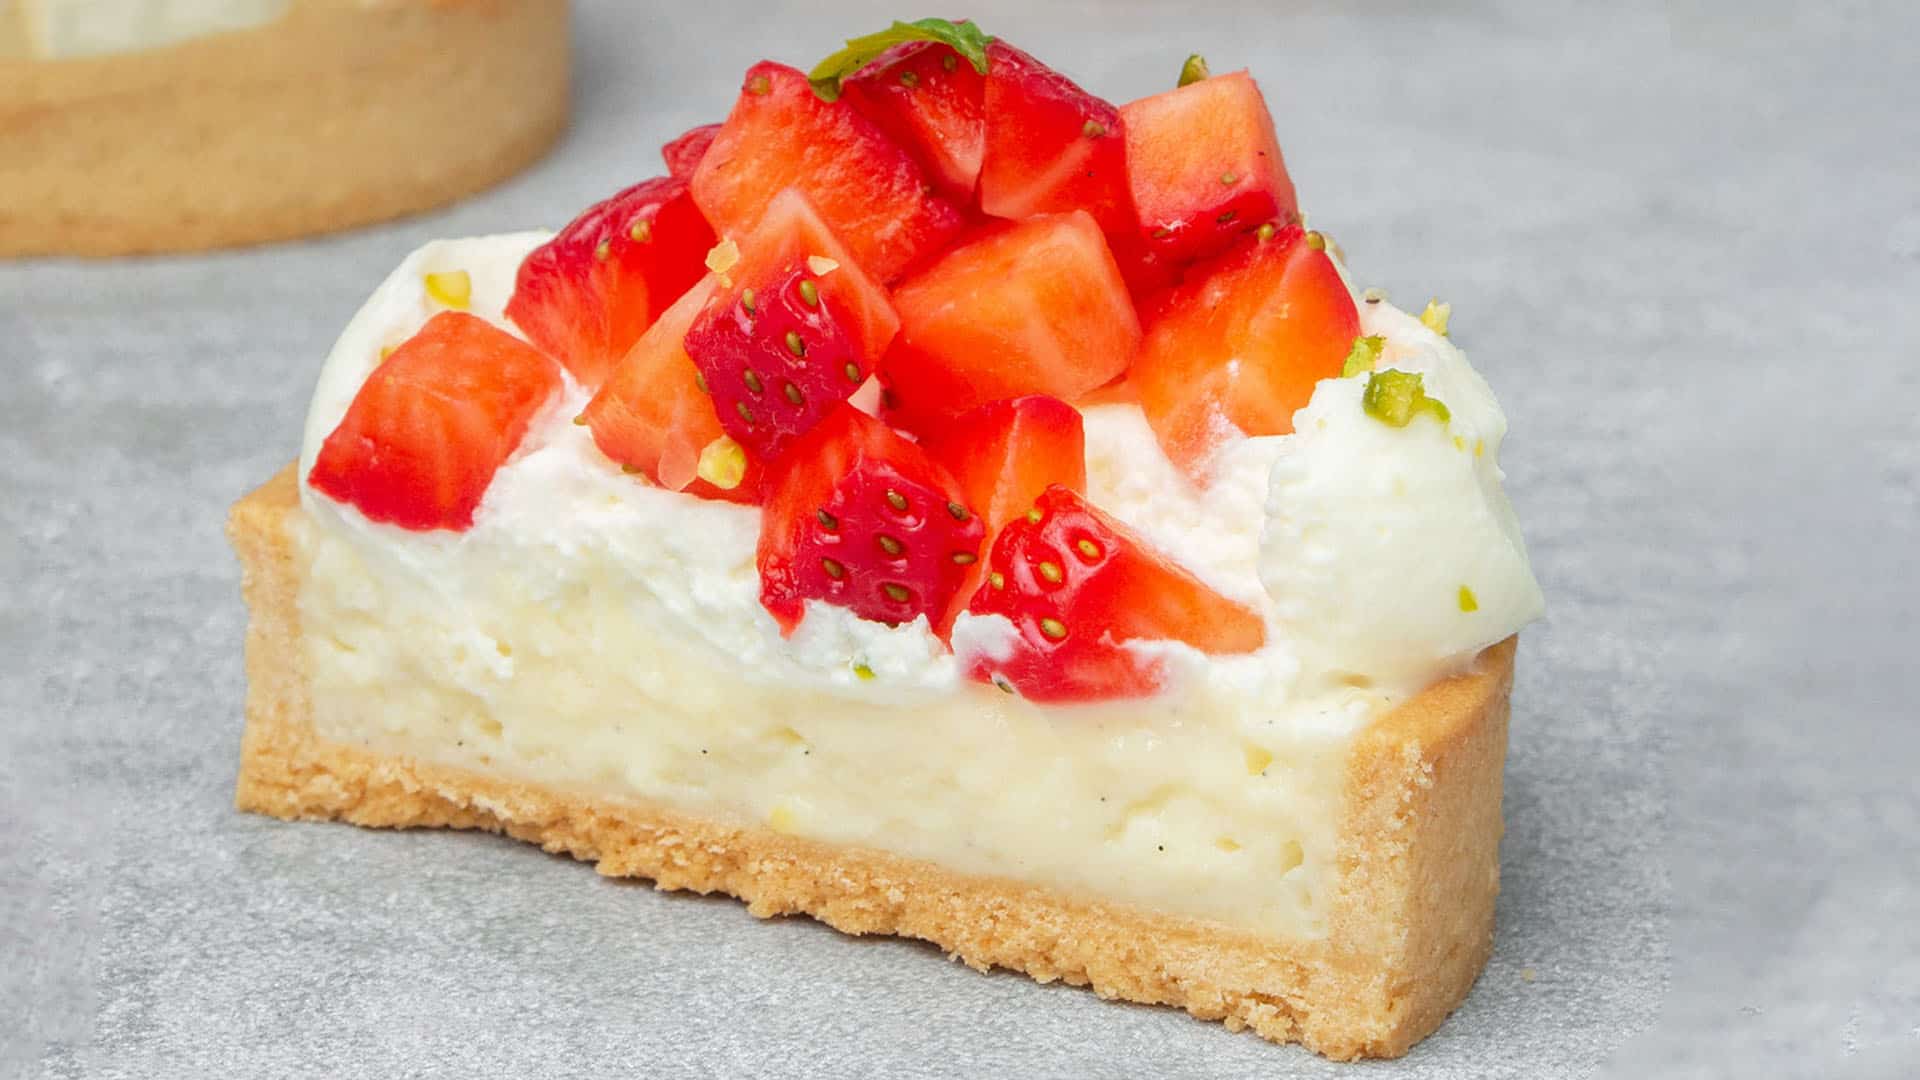
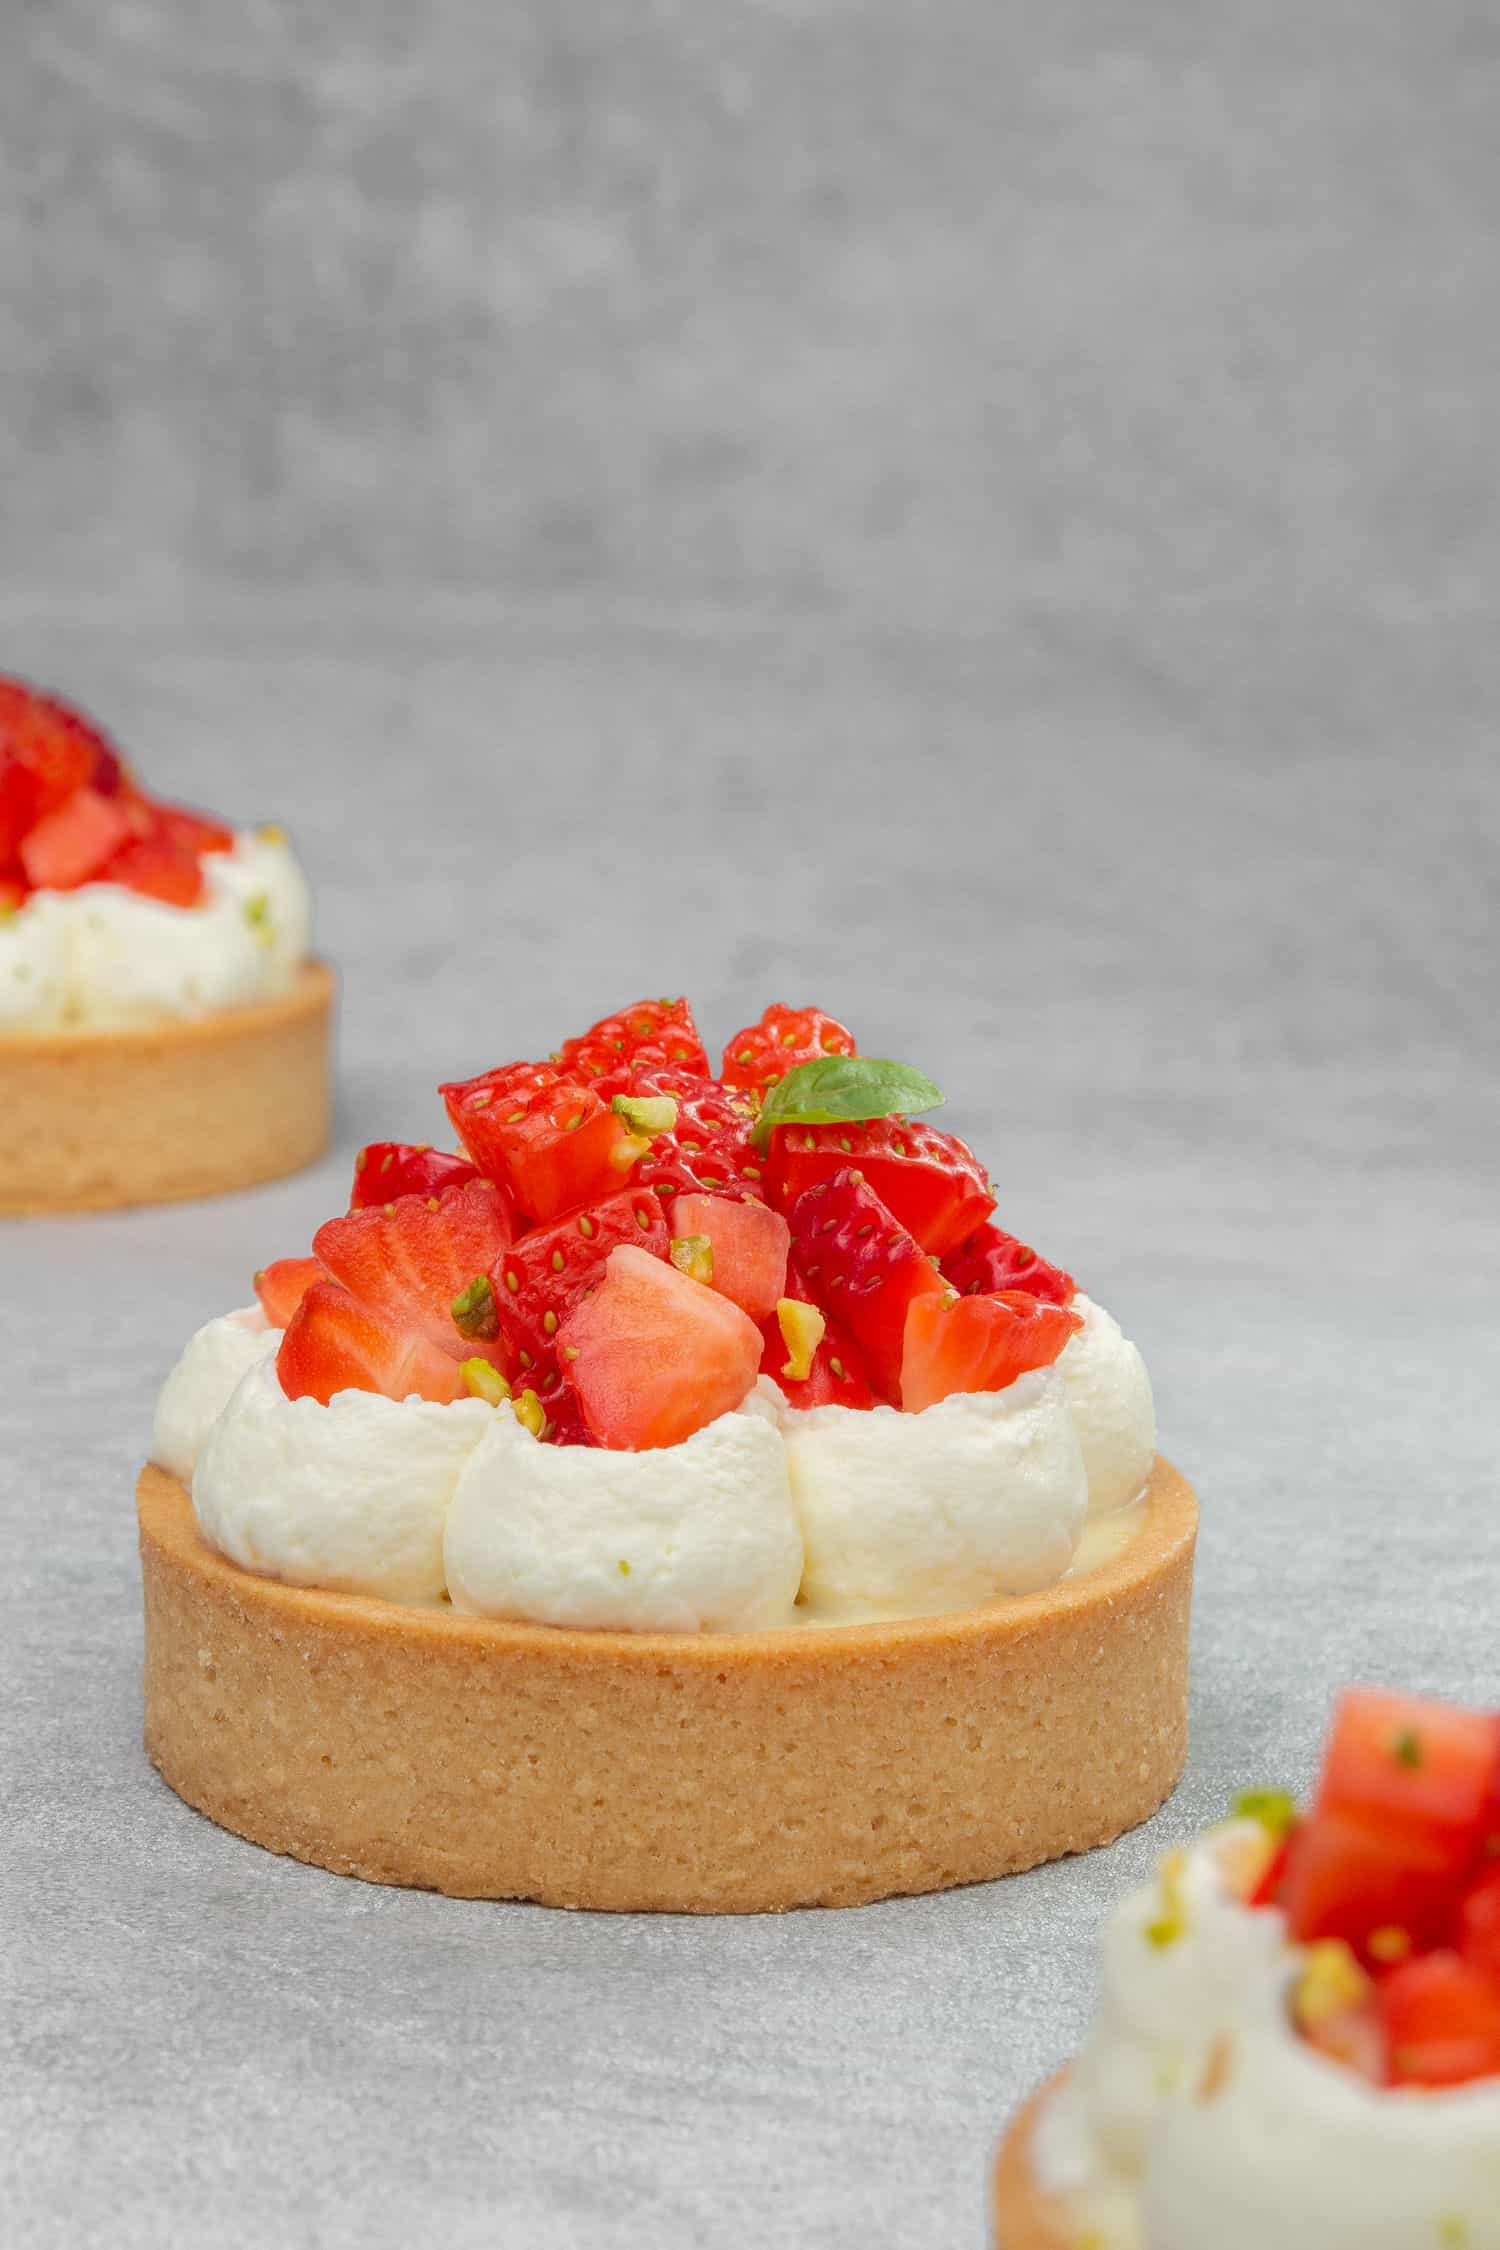
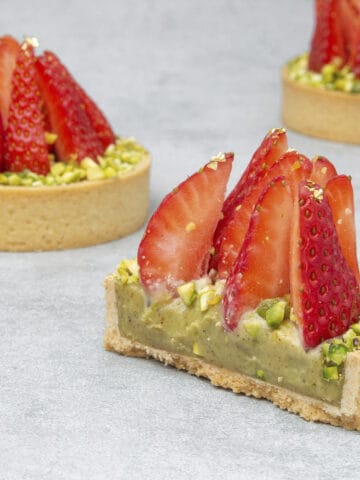
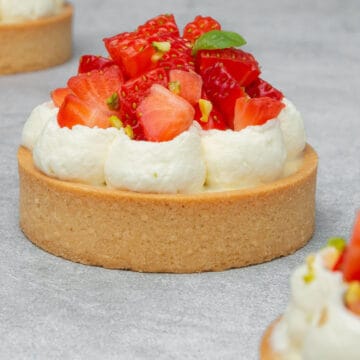
Delicious mini strawberry custard tarts with a crisp pastry shell filled with the silkiest vanilla custard, whipped cream, and sweet, juicy strawberries. No one will believe you made these pretty French tartlets yourself!
Jump to:
🍓 Why This Is The Best Recipe
- It is super delicious – I never compromise on taste! This mini strawberry custard tarts recipe is creamy, fruity, and rich but very well-balanced in sweetness.
- It is easier than it looks – Making this Tarte aux Fraises recipe is actually rather easy, especially once you have the tart cases baked.
- It is a detailed tutorial – These strawberry tartlets with crème pâtissière look super professional, but I talk you through every step and give you all my pro tips.
📝 Ingredient notes
For the tart crust

- Pastry flour - You can use all purpose flour or plain flour if you can't find pastry flour in grocery stores for this French strawberry custard tart recipe. If you want to be a pro when it flour and baking, read my flour guide.
- Almond flour - I prefer pâte sablée recipes with added almond flour for both taste and texture. Alternatively, replace it with an equal amount of pastry flour (or all-purpose flour).
- Powdered sugar - This sweet shortcrust pastry is made with a small amount of powdered sugar (icing sugar). Read my sugar guide to learn more.
- Salt - This balances the sweetness and enhances all the buttery flavors in the pastry.
- Butter - I recommend using high-quality 82% fat content European-style unsalted butter in all my recipes. The butter needs to be chilled, so cut it into cubes and then place it in the freezer for 10-15 minutes before using it.
- Egg - Always use room temperature eggs in baking for proper emulsification.
🛒 You’ll find detailed measurements for all Ingredients in the printable version of the Recipe Card at the bottom of this post
For the pastry cream
 5")
- Milk - Use high-fat milk; it makes a huge difference in the taste of this custard filling.
- Sugar - Simple, white granulated sugar is perfectly fine.
- Egg yolks - I only use egg yolks for the best texture and rich flavor. You can try my pavlova recipe if you want to use up your egg whites!
- Flour - Flour is one of the thickening agents, but you won't be able to taste it. All-purpose flour or plain flour is fine.
- Starch - Corn starch is the other thickening agent in the recipe.
- Vanilla - Vanilla bean paste is best (I use Nielsen Massey, which I love) or why not make your own vanilla extract?
- Butter - Always use unsalted butter to remain in control of the quality and quantity of the salt. The butter for pastry cream needs to be soft.
🛒 You’ll find detailed measurements for all Ingredients in the printable version of the Recipe Card at the bottom of this post
For the chantilly
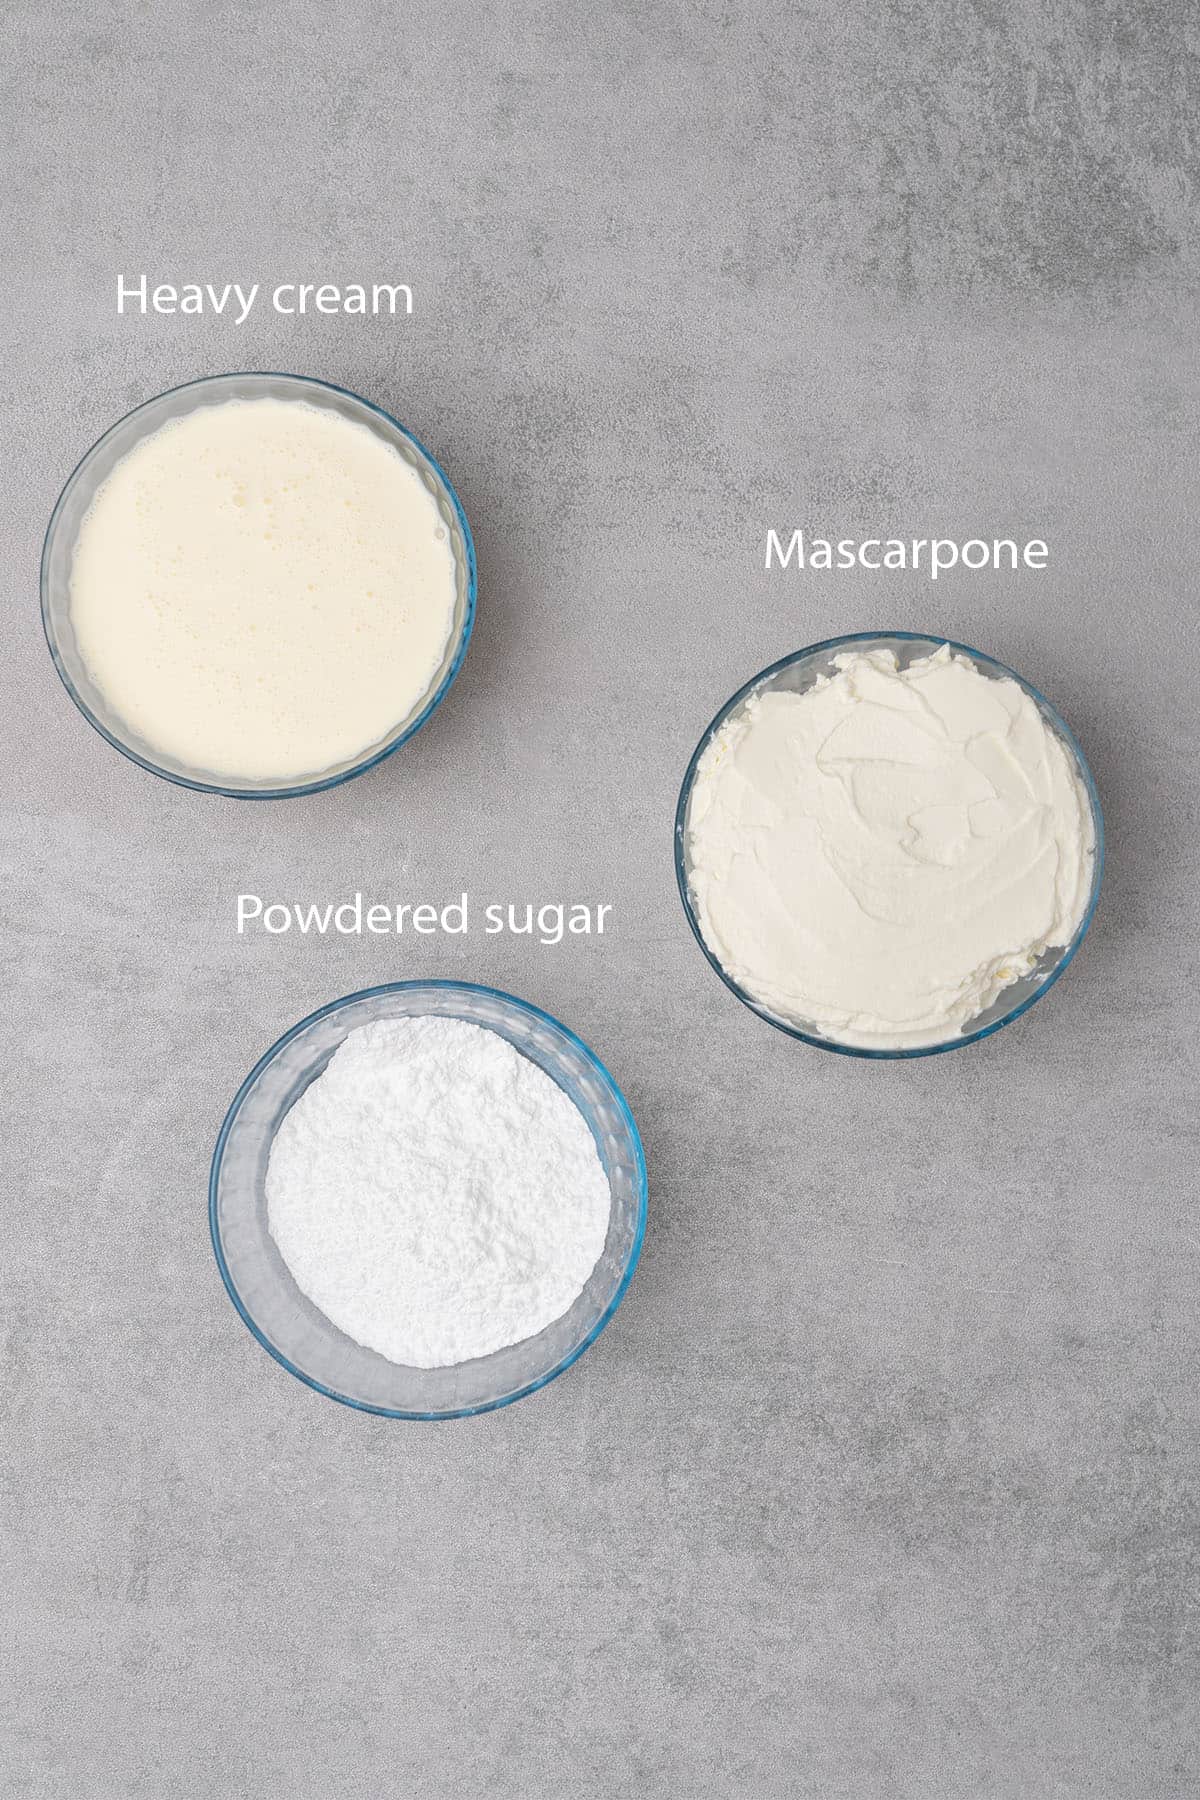
- Mascarpone - This rich Italian cream cheese is smooth and slightly sweet. Use a high-quality, full-fat version.
- Heavy cream - Also known as whipping cream or double cream, this has a fat content of between 36% and 40%. It needs to be very cold.
- Powdered sugar - You will need a small amount of powdered sugar to whip up the cream.
- Fresh strawberries and pistachio nuts - garnish your mini tarts with fresh strawberries and chopped pistachios for that classic French patisserie look.
🛒 You’ll find detailed measurements for all Ingredients in the printable version of the Recipe Card at the bottom of this post
👩🍳 How to make this recipe
Before you make these mini strawberry custard tarts, check out my Ultimate Pâte Sablée Guide, which includes a video and explains everything in greater detail. I also have a detailed baking guide with tons of tips on how to make the perfect pastry cream (Creme Patissiere).
How to make tart crust
- Sift together the flour, powdered sugar, and salt in a mixing bowl.
- Add the very cold chunks of butter to the dry ingredients and rub the mixture between your hands until it becomes a sand-like consistency.
- Add the egg and mix with your hands just until the dough comes together. It might look crumbly, but knead it with the palm of your hand for a minute or two until it becomes smooth.
- Roll the dough out to 2mm thickness between two Silicone baking mats.
- Place the rolled-out dough and baking mats into the freezer for 10-15 minutes whilst you prepare your oven rack with the perforated “air” baking mat and perforated tart rings on top.
- Take the dough from the freezer, remove the top silicone mat, and use one of the perforated tart rings to cut out 8 circles to form the base of your tart crust. Move the dough circles into each tart ring.
- Cut 8 long strips out of the dough to form the sides of each mini strawberry tart and carefully press them into the side of the rings so that they stick to them.
- Place the tart rings into the freezer for one hour.
- Preheat oven to 160C / 320F (no fan).
- Take the pastry shells out of the freezer and trim the edges with a knife.
- Bake the tart shells for 20 minutes, then remove the rings. Return to the oven for a further 5-10 minutes until they are an even golden brown.
💡 Top Tip: Wait for 1-2 minutes after taking the pastry from the oven for it to contract within the ring; it will be easier to remove. If it seems stuck to the ring, you need to bake it for a few more minutes before trying to remove it.


How to make pastry cream
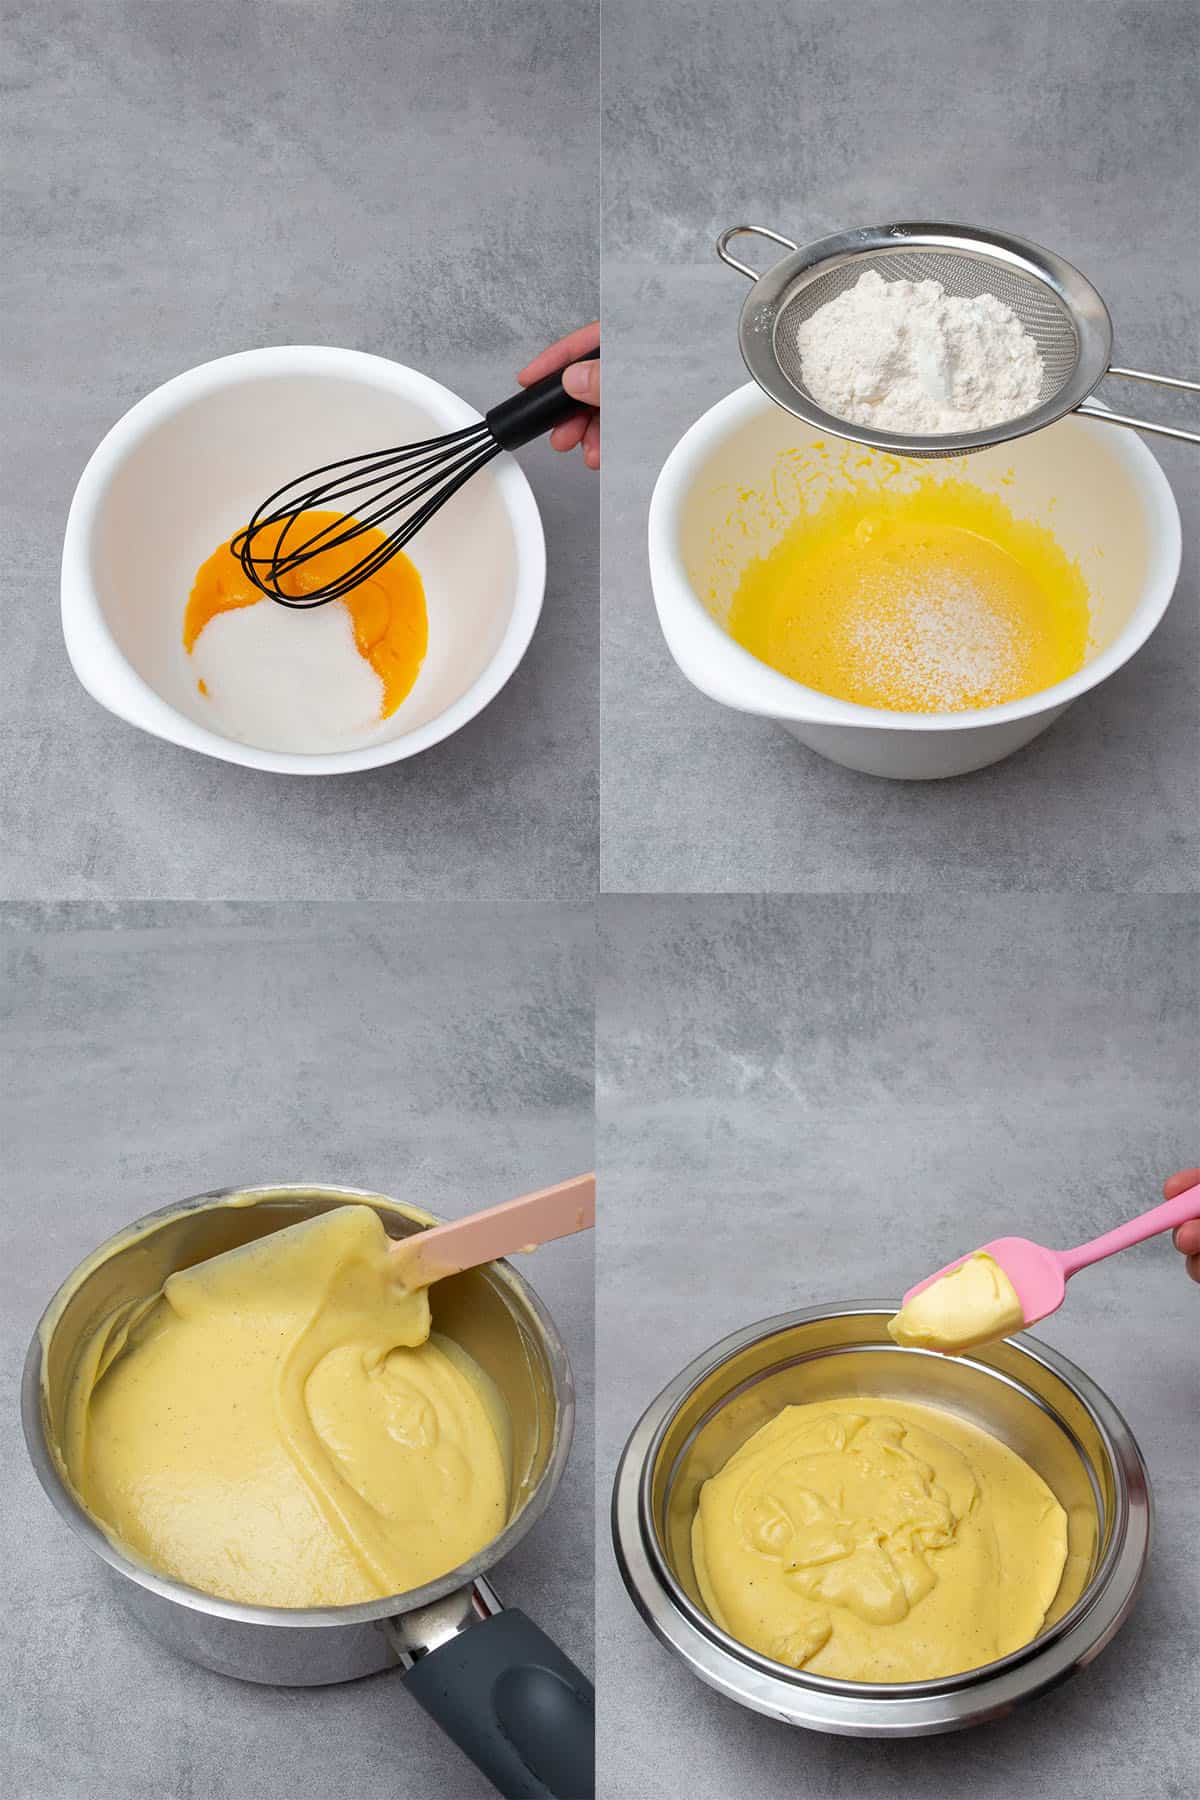
- Use a Hand whisk to mix together the sugar and egg yolks for about 1-2 minutes until fluffy.
- Mix in the cornstarch, flour, and vanilla to form a smooth paste.
- Warm the milk in a saucepan over medium heat to a simmering point, do not let it boil.
- Slowly pour the warm milk over the egg yolk mixture whilst whisking vigorously with a Hand whisk.
- Pour the mixture back into the saucepan and cook on medium heat for a few minutes until it thickens.
- If needed, strain the pastry cream through a sieve, then add the soft butter in 3 stages, mixing with a rubber spatula until incorporated.
- Place the vanilla pastry cream into a shallow container and cover the entire surface with plastic wrap to avoid skin forming on top.
- Chill the pastry cream in the fridge for 2-3 hours to allow it to set properly.
💡 Top Tip: The pastry cream might seem lumpy at first, but just keep whisking, and eventually, it will turn smooth and glossy.
How to assemble the mini strawberry tarts
- Make the chantilly cream by whipping the mascarpone, heavy cream, and powdered sugar together until it reaches a creamy, fluffy consistency.
- Place the pastry cream and chantilly creams into two piping bags, ready to finish the mini strawberry tarts with custard filling.
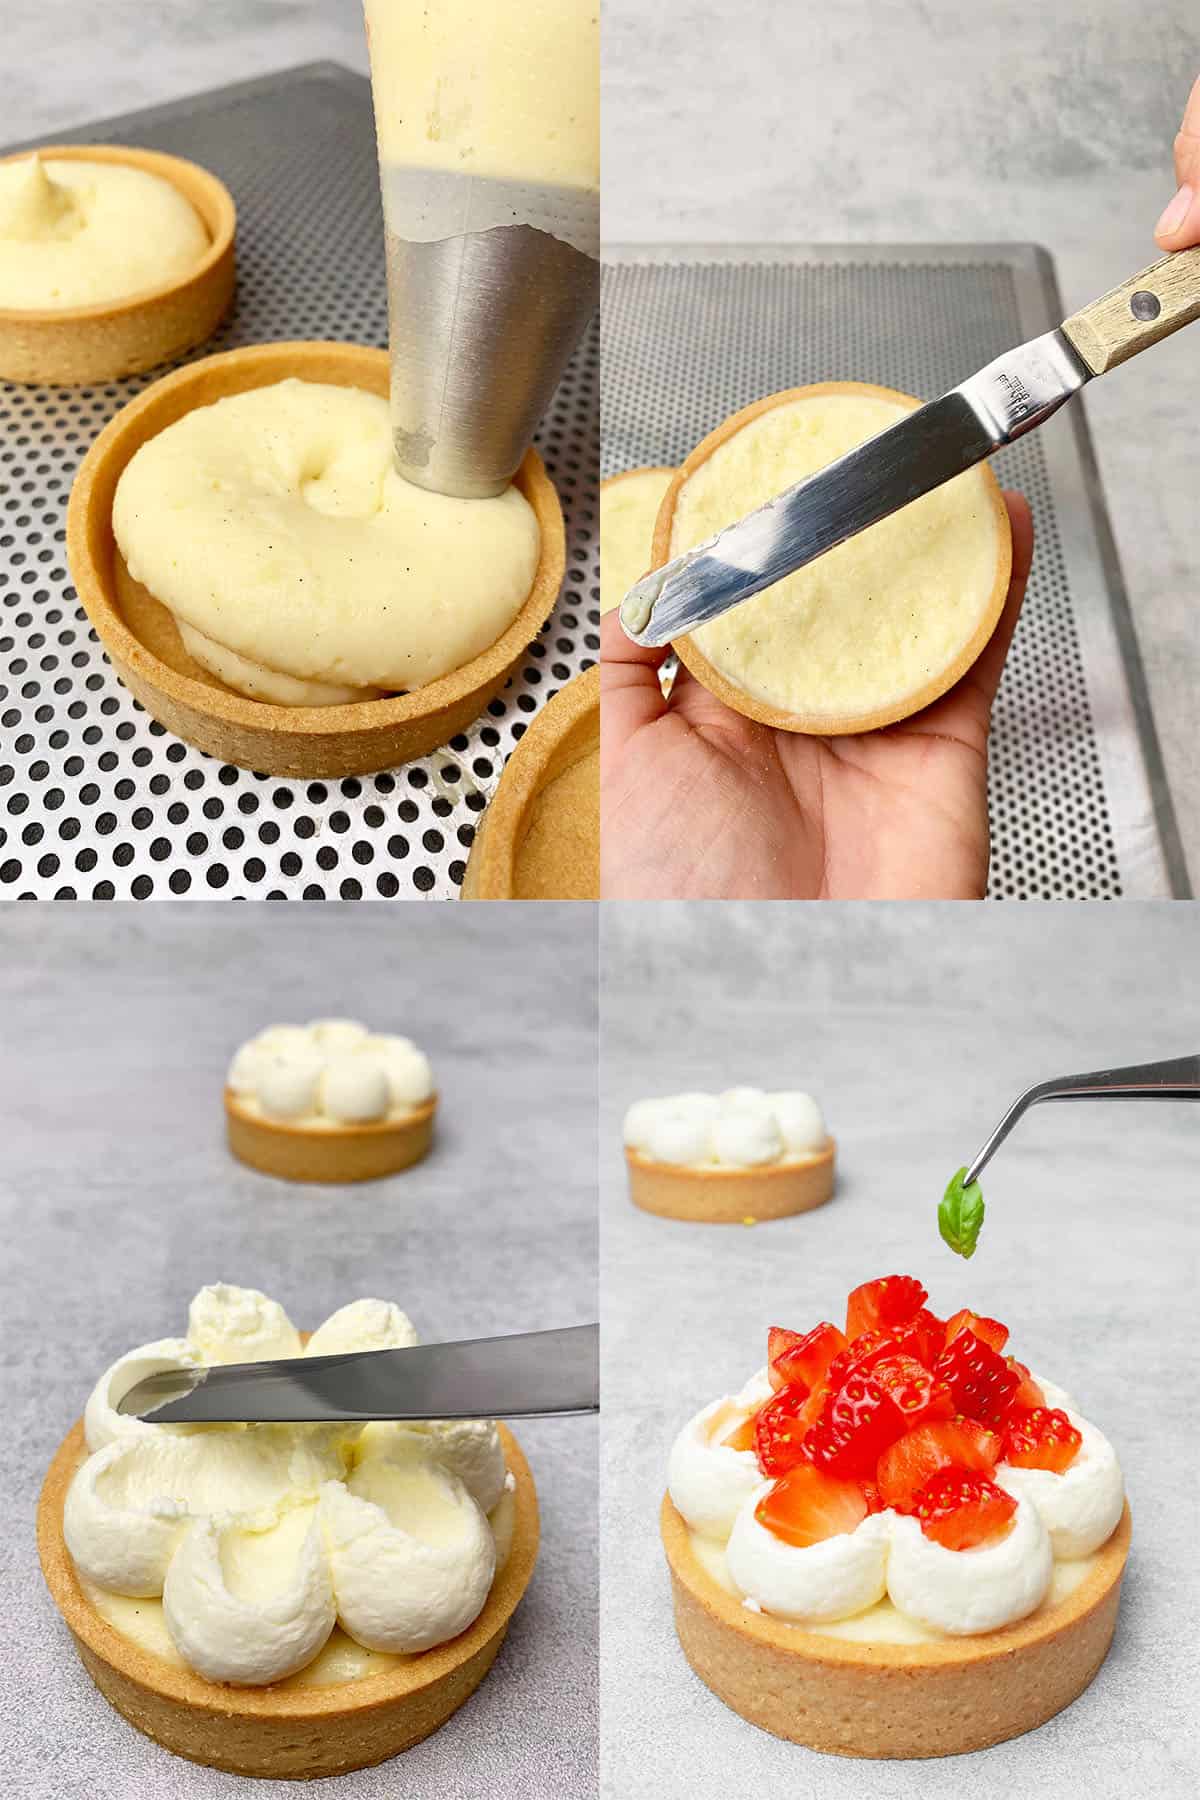
- Pipe the tart cases full of vanilla custard cream and smooth off the surface with an offset spatula.
- Pipe mounds of whipped chantilly cream on top of the pastry cream filling, then press down with a spoon.
- Cut fresh strawberries into small pieces and arrange them on top of the whipped cream.
- Garnish the mini strawberry custard tarts with chopped pistachios, and serve immediately.
💡 Top Tip: I don't use my stand mixer to whip the chantilly frosting, since it is really easy to overwhip it. Instead, use an electric hand whisk
📖 Flavor Variations & Substitutions
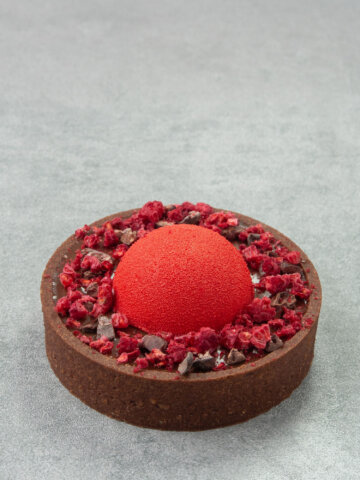
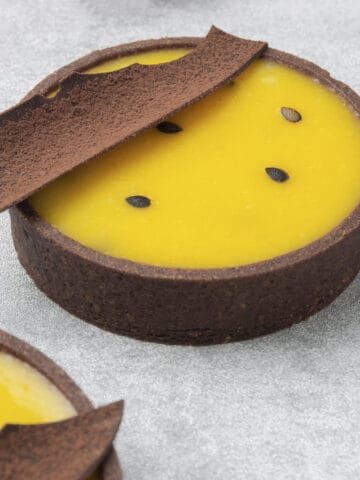
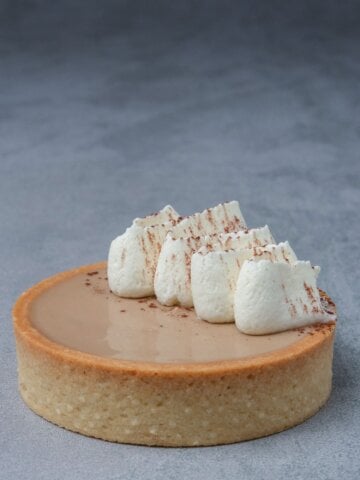
Once you have mastered this easy strawberry custard tarts recipe, you can adapt it to suit you. Try dusting with some cinnamon or swapping the strawberries for raspberries or blueberries. You can even try this chocolate pastry shell instead!
If you are baking around a dietary restriction or have run out of ingredients, check out my substitution guides.
❄️ Storage & Freezing
I recommend serving the mini strawberry custard tarts after assembling. Store leftovers in an airtight container in the fridge for 1-2 days.
You can easily freeze the tart cases before or after baking; however, do not freeze the fully assembled mini strawberry tarts.
✨ Expert Tips To Make Mini Strawberry Tarts
- It is important to keep the dough at the right temperature. If it ever gets too warm, place it in the freezer for 5 minutes before continuing. But if it is too cold, it can break.
- If the pastry cream mixture is too thick a paste after adding the cornstarch and flour; mix in a very small amount of milk to slacken it.
- Don't overwhip the chantilly ingredients, or it can split and go runny. I don't use a stand mixer for this reason, as it is easier to overbeat.
- Use paper kitchen towels to soak some juice out of the strawberries before garnishing the tarts to prevent the cream underneath from getting wet or soggy.
🥣 Equipment notes
Always weigh your ingredients by the gram using a digital scale for precision.
I recommend rolling out the pastry between 2 Silicone baking mats using a rolling pin. This eliminates the need for dusting flour. You can also use baking parchment paper.
The Perforated “air” baking mat is perfect for making tarts, éclairs, or even cookies. I use Perforated tart rings in the 8cm/3.14-inch size.
❓Recipe FAQs
Vanilla, mint, basil, and chocolate all taste delicious with strawberry desserts.
Custard tarts have a crisp pastry shell and custard filling made from a cooked mixture of egg yolks, sugar, milk, and flour.
✨ More Tart recipes
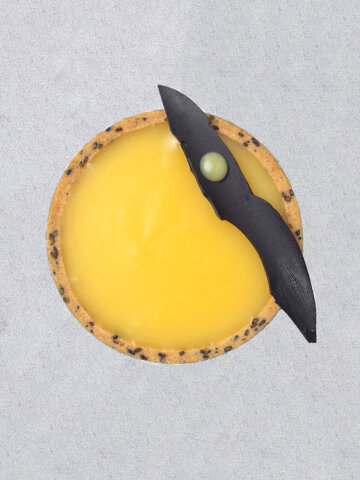

Make sure to also check out my Spring Desserts recipe collection!

Have you tried this recipe?
Please leave a 5-star ⭐️⭐️⭐️⭐️⭐️ rating on the recipe card and consider leaving a comment as well! I would love to hear about how your dessert turned out and your feedback also helps other Readers!
Mini Strawberry Custard Tarts
Equipment
Ingredients
Shortcrust pastry tart shell
- 90 g (¾ cups) Powdered sugar
- 230 g (2 cups - 2 tablespoons) Pastry flour or all purpose flour
- 30 g (⅓ cups) Almond flour
- Pinch of salt
- 110 g (½ cups) Unsalted butter very cold and cut into cubes
- 50 g Egg approximately 1 egg
Vanilla custard
- 500 g (2 cups) Whole milk
- 100 g (½ cups) Granulated sugar
- 80 g (⅓ cups) Egg yolk approximately 4-5 egg yolks
- 25 g (⅕ cups) Corn starch sifted
- 25 g (⅕) All purpose flour sifted
- 2 teaspoon Vanilla bean paste
- 50 g (¼ cups) Unsalted butter soft/at room temperature
Whipped cream
- 200 g (¾ cups) Heavy Cream very cold, 36% minimum fat content
- 100 g (½ cups) Mascarpone cold, full-fat
- 40 g (⅓ cups) Powdered sugar sifted
Garnish
- Fresh strawberries
- Chopped pistachio nuts
US customary cup measurement is an indicative figure only. Measure the ingredients with a digital scale by weight (gram). Baking is art but also science which requires precision and accuracy.
Instructions
Sweet shortcrust pastry
- Sift together the flour, icing sugar, almond flour, and salt in a mixing bowl.
- Add the chunks of very cold butter, and rub the mixture between your hands until it forms a sand-like consistency.
- Gradually add egg into the mixture and continue to mix with your hands, just until the dough comes together. Then knead with the palm of your hand for 1-2 miniutes until the dough becomes smooth.
- Take the dough out of the freezer, remove the top silicone mat, and cut out 8 circles using one of the perforated tart rings to create the bottom of your tart crust. Carefully move the dough circles with the help of an Offset spatula and place them into the rings.
- Cut 8 long strips out of the dough to create the sides of the tarts.
- Carefully place the stripes into the rings, pressing each stripe onto the ring so it sticks to it. Place all of the tart rings into the freezer for 1 hour.
- Preheat the oven to 160C / 320F (no fan).
- After 1 hour, take the pastry dough with the rings on them out of the freezer and trim the edges with a sharp knife.
Pastry cream
- Mix in the cornstarch, flour, and vanilla until they are thoroughly incorporated and you have a smooth paste.
- Pour the mixture back into the saucepan and cook on medium heat for a few minutes until it thickens whilst continuing to whisk. It usually takes 1 minute after it first boils.
- Strain the pastry cream through a sieve for a lump-free, creamy texture, then add the softened butter in 3 steps, mixing after each addition.
- Place the cream into a shallow bowl and cover the entire surface with plastic wrap to avoid skin forming on top. Refrigerate for 2-3 hours to allow it to set properly.
Whipped cream
- Place all of the ingredients into a bowl and slowly start to whip using an electric hand mixer, with gradually increasing speed. Stop as soon as the mixture reaches a pipeable consistency.
Assemble
- Once the tart shells are cooled and the custard filling has set, fill each tart shell with pastry cream up to the top and then smooth off the surface using an offset spatula.
- Pipe whipped cream on top of each tart, and make the pattern using a spatula or spoon.
- Slice up fresh strawberries and arrange them on top of the tart before garnishing with chopped pistachio nuts. Serve immediately.
Notes
- Weigh all ingredients by the gram using a digital scale. Baking is a science, and measuring by volume using the cup system is not precise enough.
- Soak up excess juice from the strawberries using paper towels after slicing to avoid the tart filling underneath from going soggy.
- You may not need all of the egg in the shortcrust pastry.
- Do not over-knead the dough, and do not use a mixer or food processor.
- If at any point the dough gets too warm to work with, put it into the freezer for 5 minutes. It is extremely important to work with dough that is cold enough to handle and not sticky but not too cold when it can break.
- All ovens vary, so use a digital oven thermometer to ensure you are baking at the right temperature.
- If the pastry cream mixture is too thick after adding the cornstarch and flour, mix in a very small amount of milk to slacken it.
- The pastry cream might get lumpy when you are cooking it on the stove, but just keep whisking it and it will eventually get smooth and glossy.
- Store leftover strawberry custard tarts in the fridge, do not freeze.
Lana
This is the 3rd tartlet I try from your website and I love all of them! This strawberry tartlet is a keeper, love how elegant and delicious it is without being overly sweet.
Jens
I recently made your strawberry tart recipe and the pastry creme was so delicious! I've been following your IG account and so enjoy seeing all the desserts you make!! TY for such detailed instructions!
Aeryn
I am so impressed with the focus on detail of the entire recipe!!! So so easy to follow, she makes everything so clear and makes sure nothing goes wrong 🥰 This tart was such a dream to make, thank you ❤️
Ginny Wadhwa
How u make sure that ur tart shells don’t get soft after putting pastry cream?
admin
Hey, you are supposed to serve these fresh, def within 24h. If the shells are well baked and the pastry cream is thick enough, the tart shell won´t get soft within this time frame.
Tiffany
Hi! I love the neat look of doing the the tart shell this way, but the last time I did it, with the two pieces of dough(base and strip around) it separated after baking. How can you prevent the shell from falling apart into two separate pieces?
Kata
Gently press the side down to the bottom so they touch each other already before baking they they will "bake together" in the oven:)
Rhista
I love the sweet combination 😍, I tried with kiwi instead, and same feels 🙈
Rhista
I love the sweet combination 😍.
Tried with kiwi . But still same feels 🙈🙈
Veronika
Excellent recipe!
Duncan Meyers
Bloody delicious 😁 5*
This one is definitely a showstopper for those summer nights entertaining