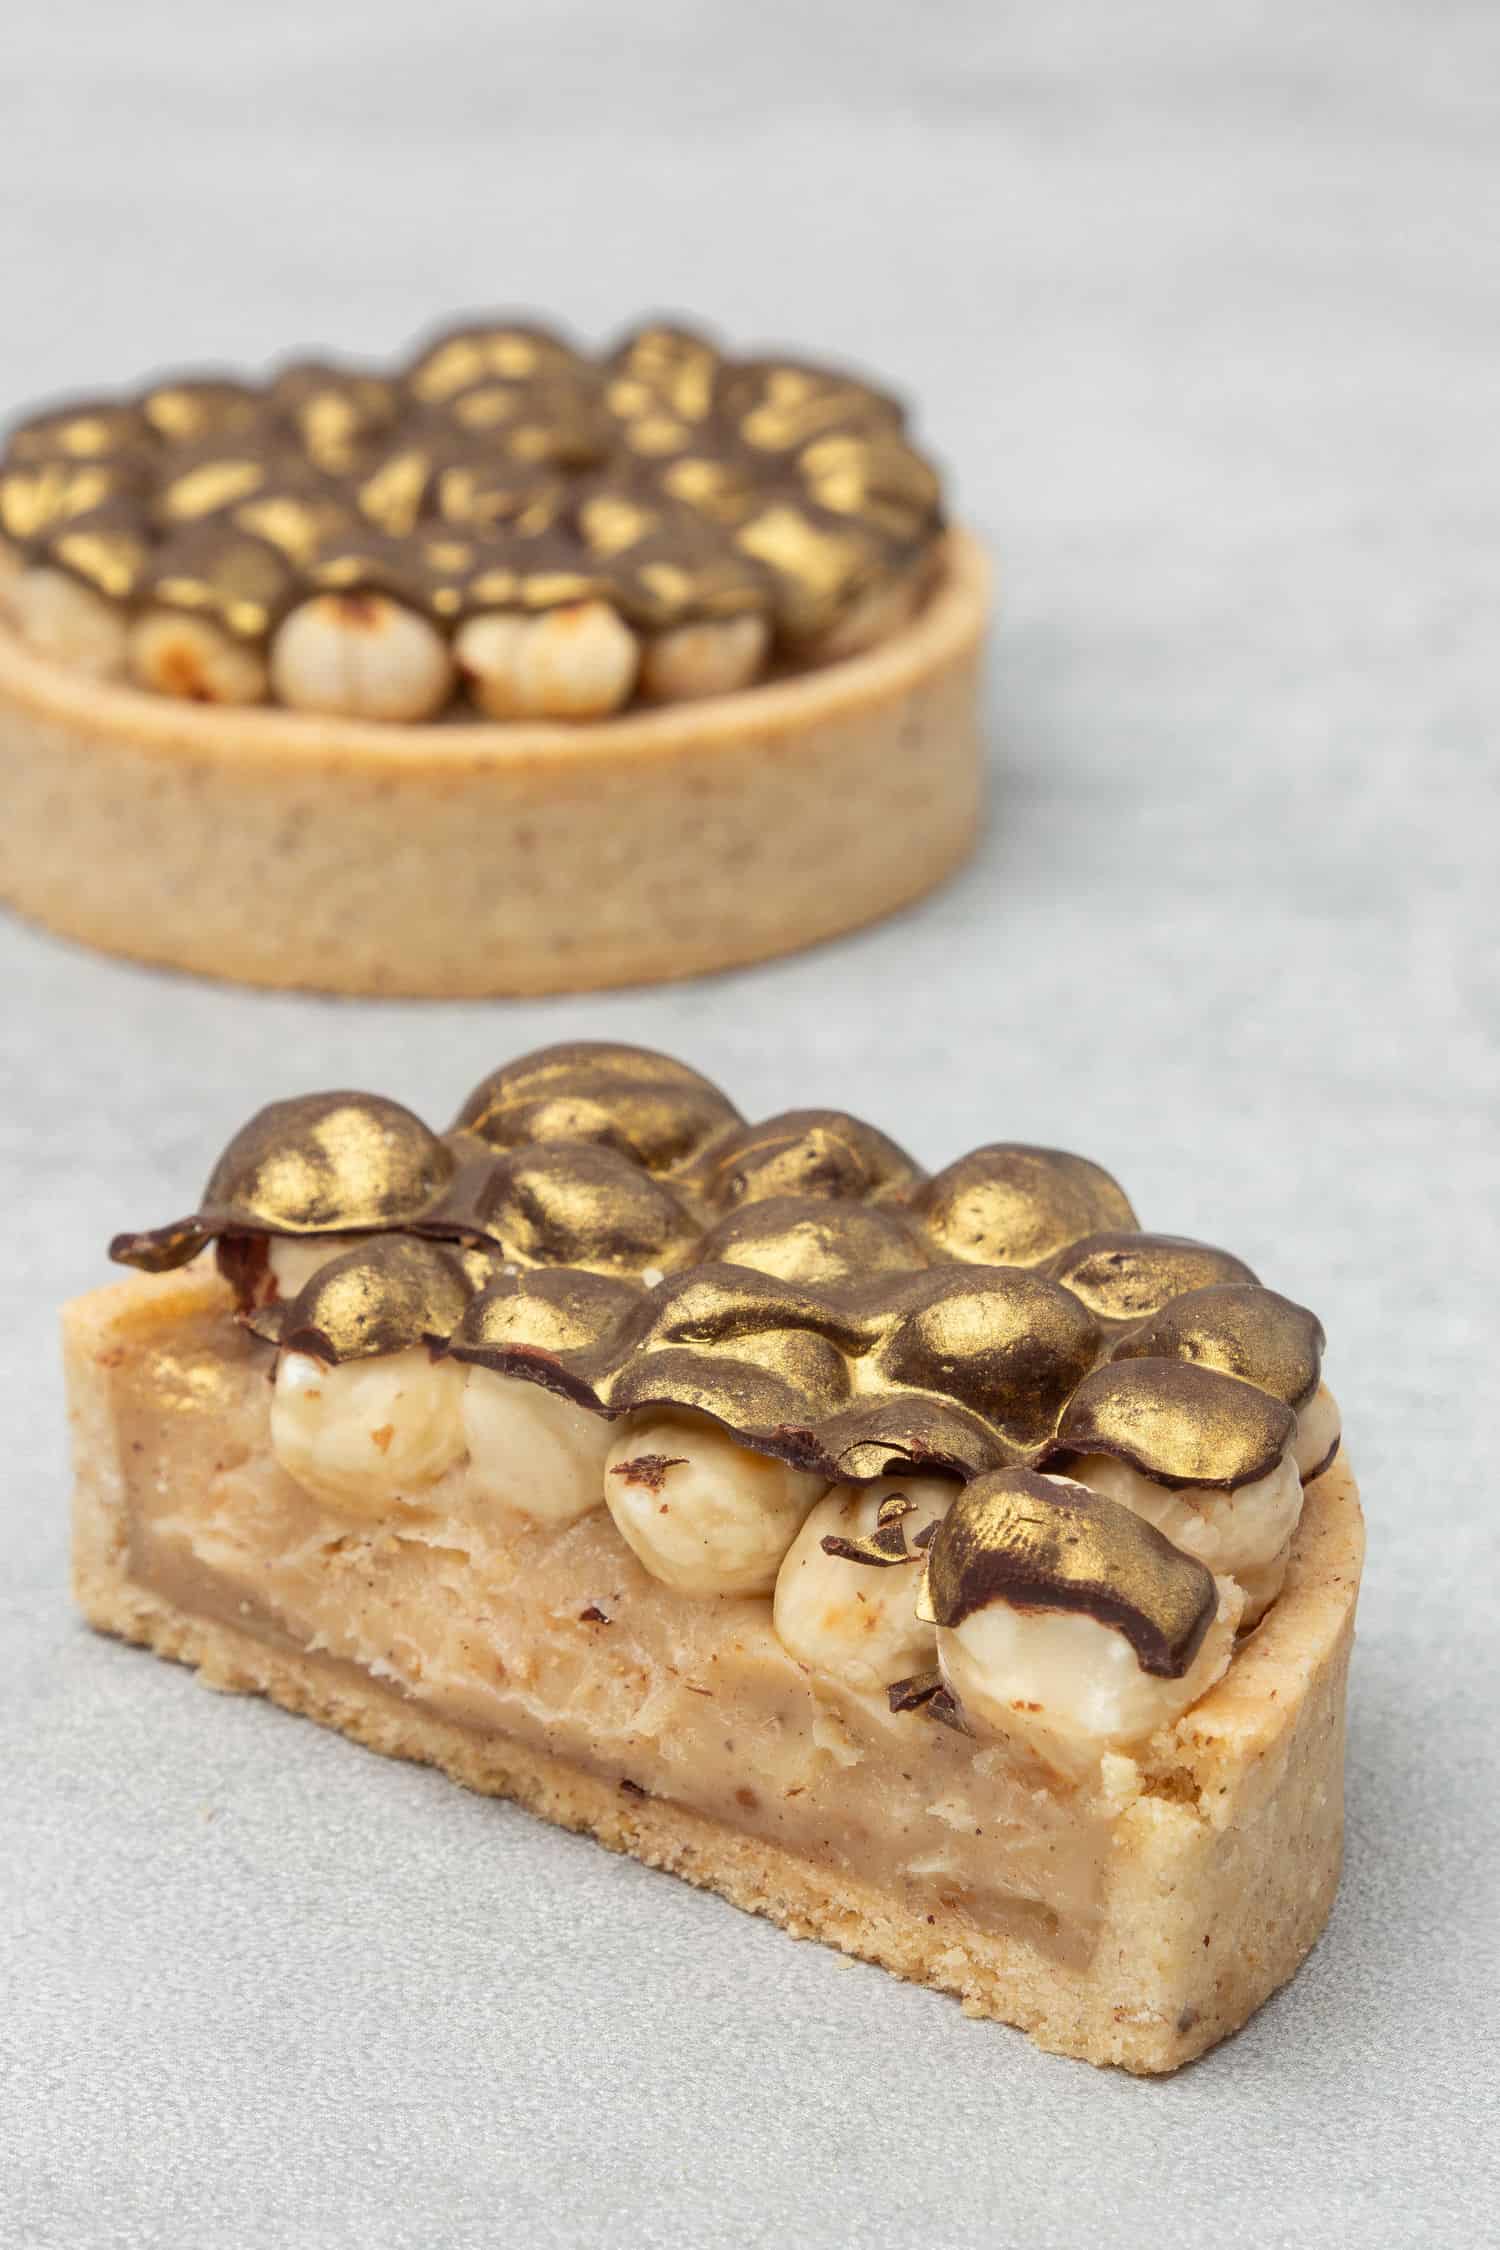
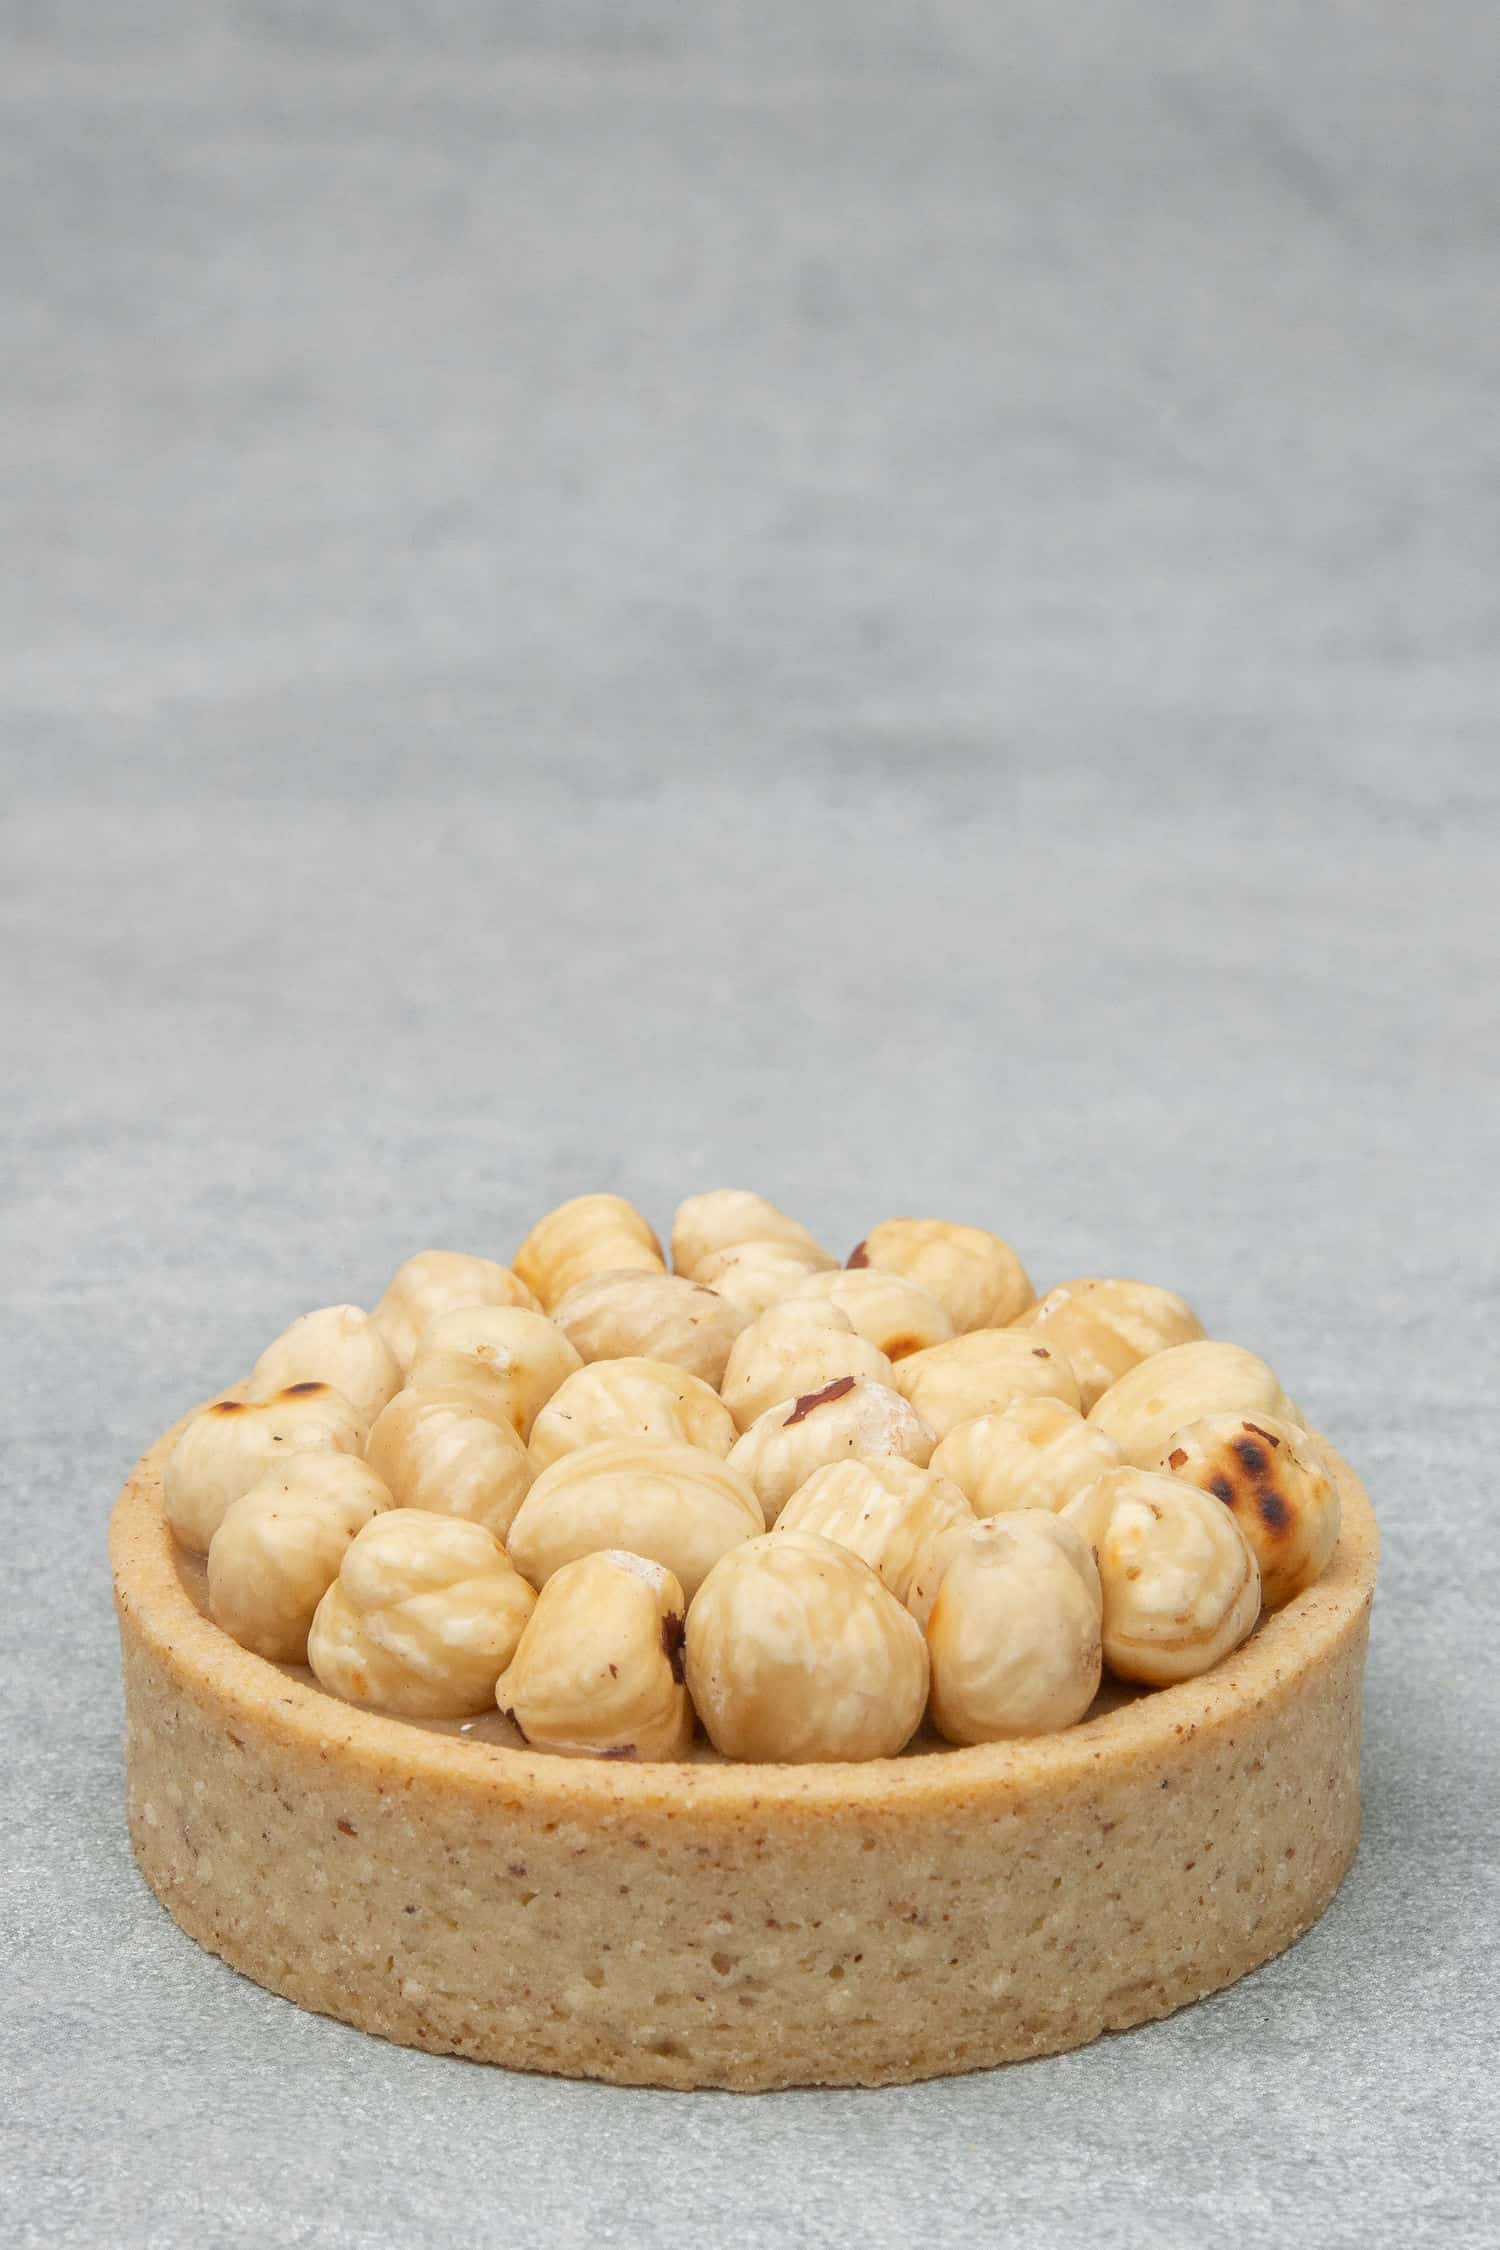
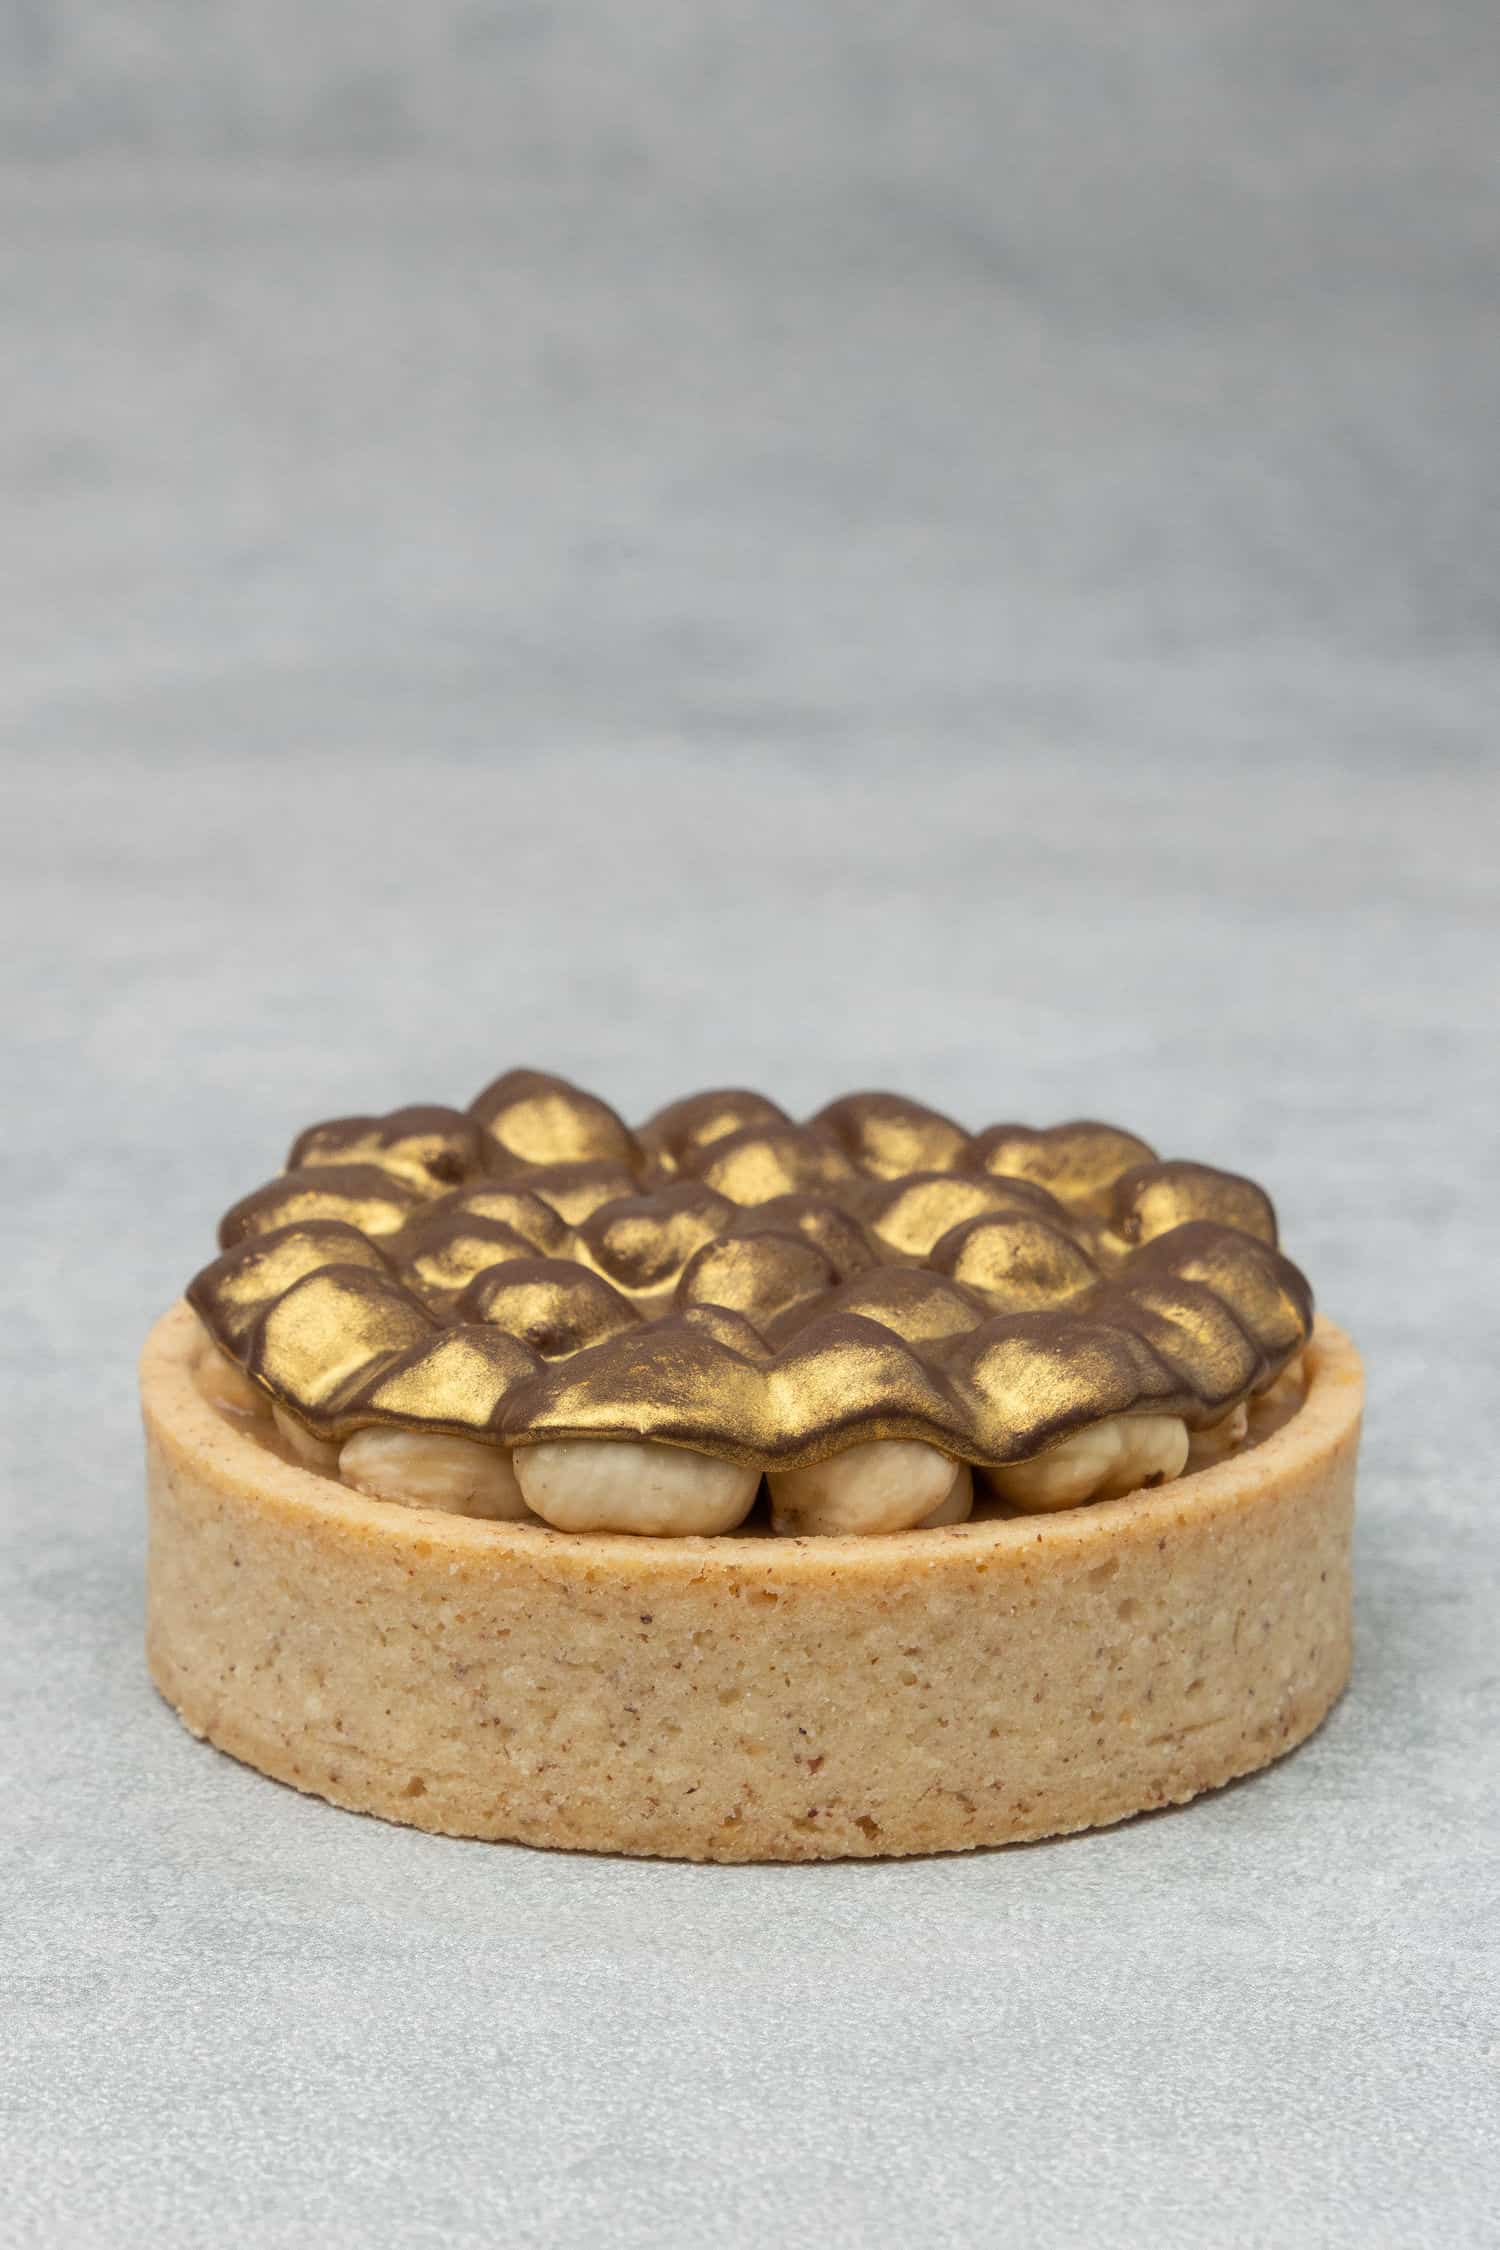
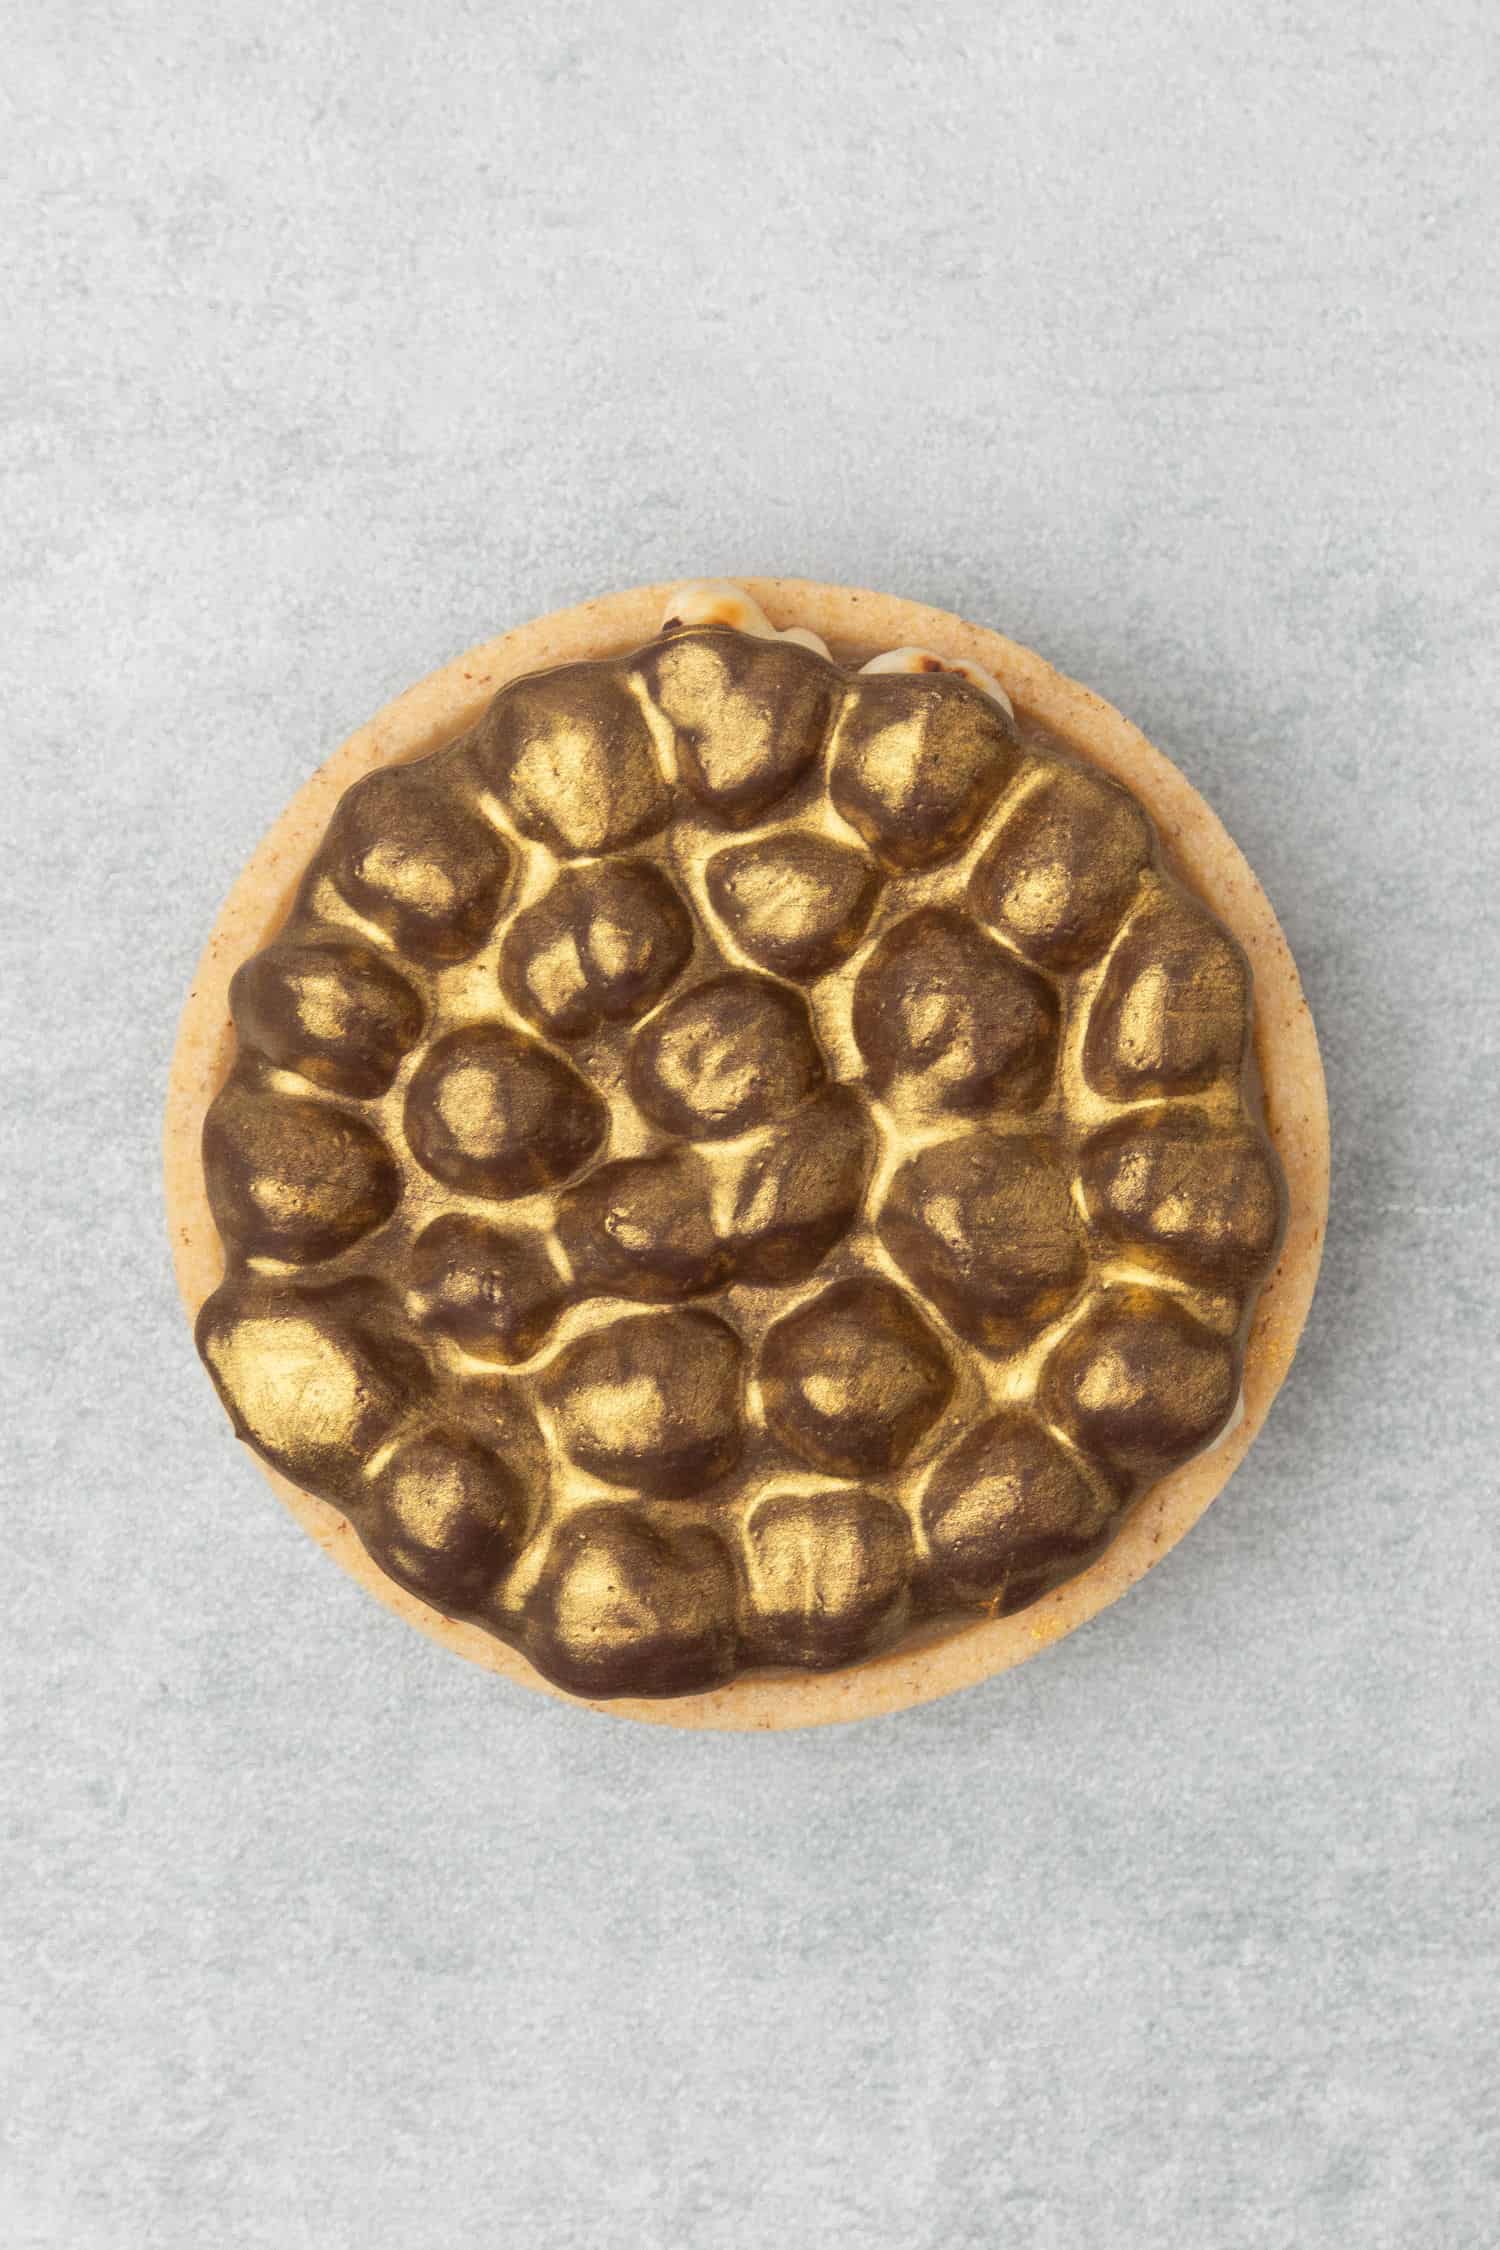
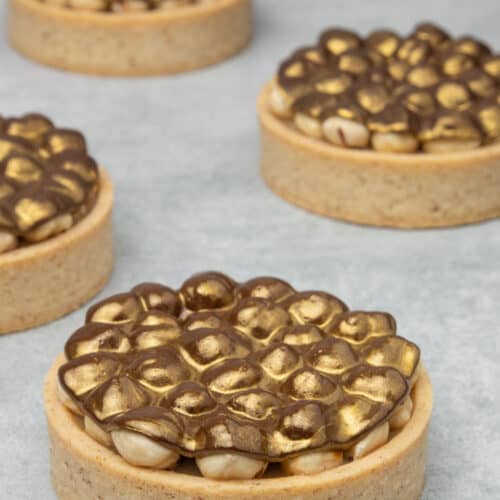
This Triple hazelnut tart recipe is a dream for hazelnut lovers but what makes it even more special is the gold chocolate disk decoration melted on top! Contrasting layers of melt in your mouth hazelnut Pâte Sablée tartlet shell, silky hazelnut ganache, crunchy hazelnut .. a super complex dessert experience that is much easier to make than it might look!
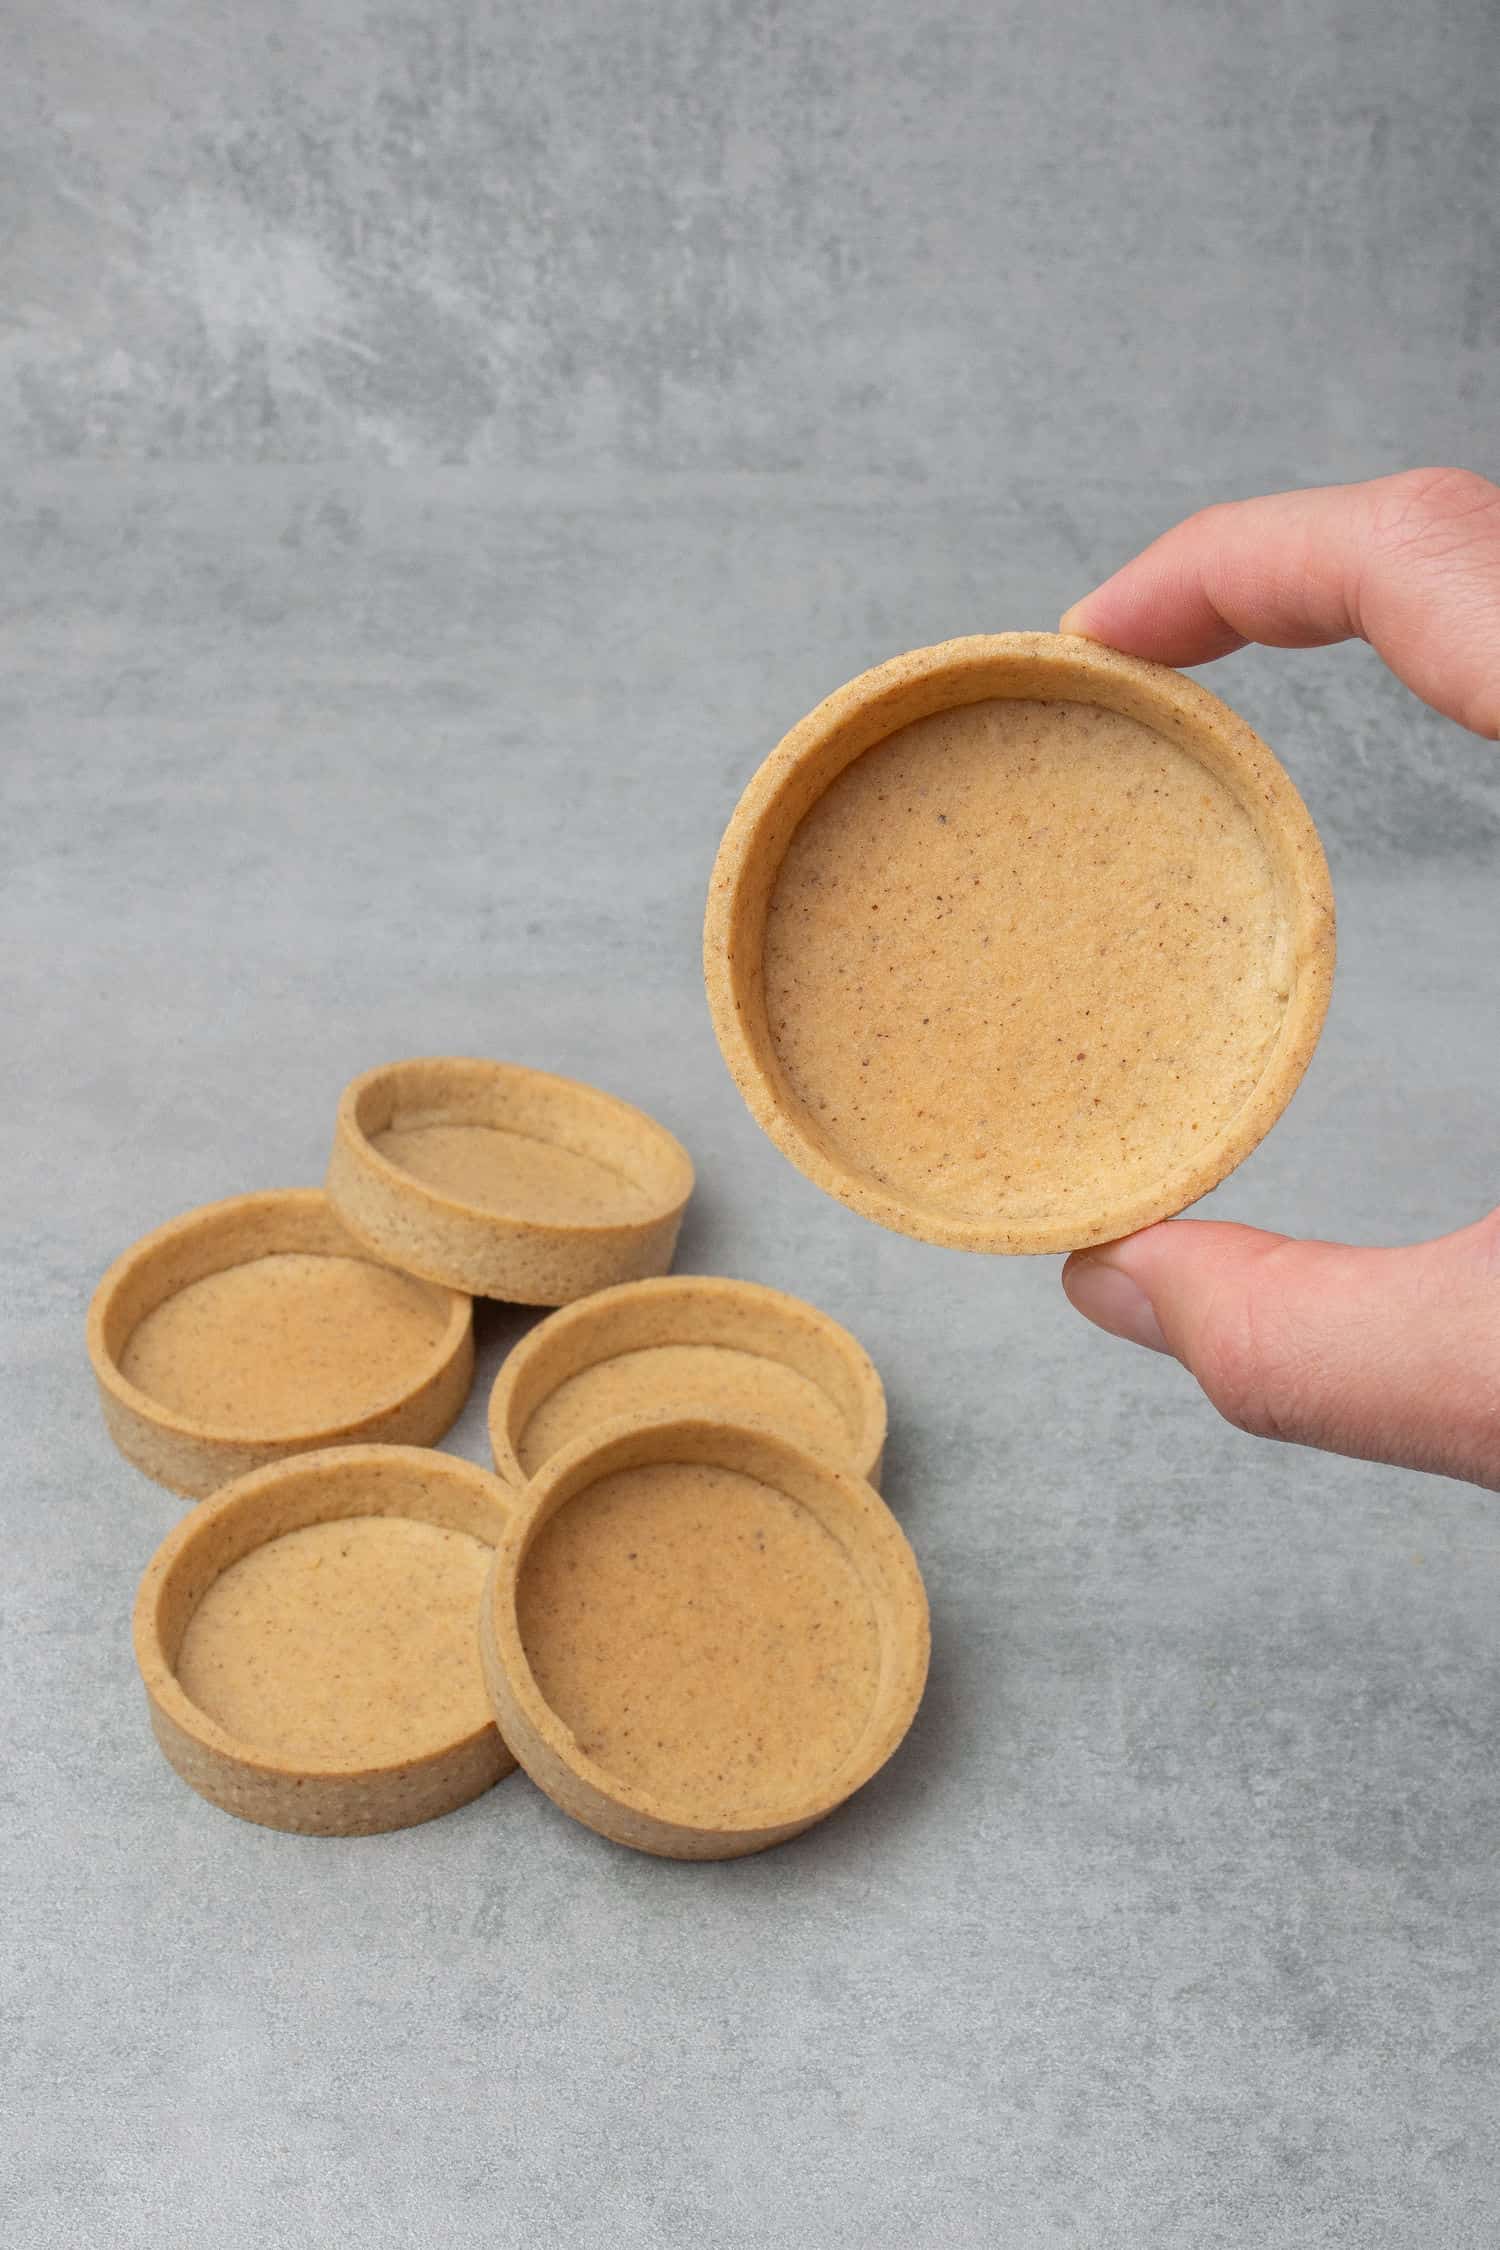
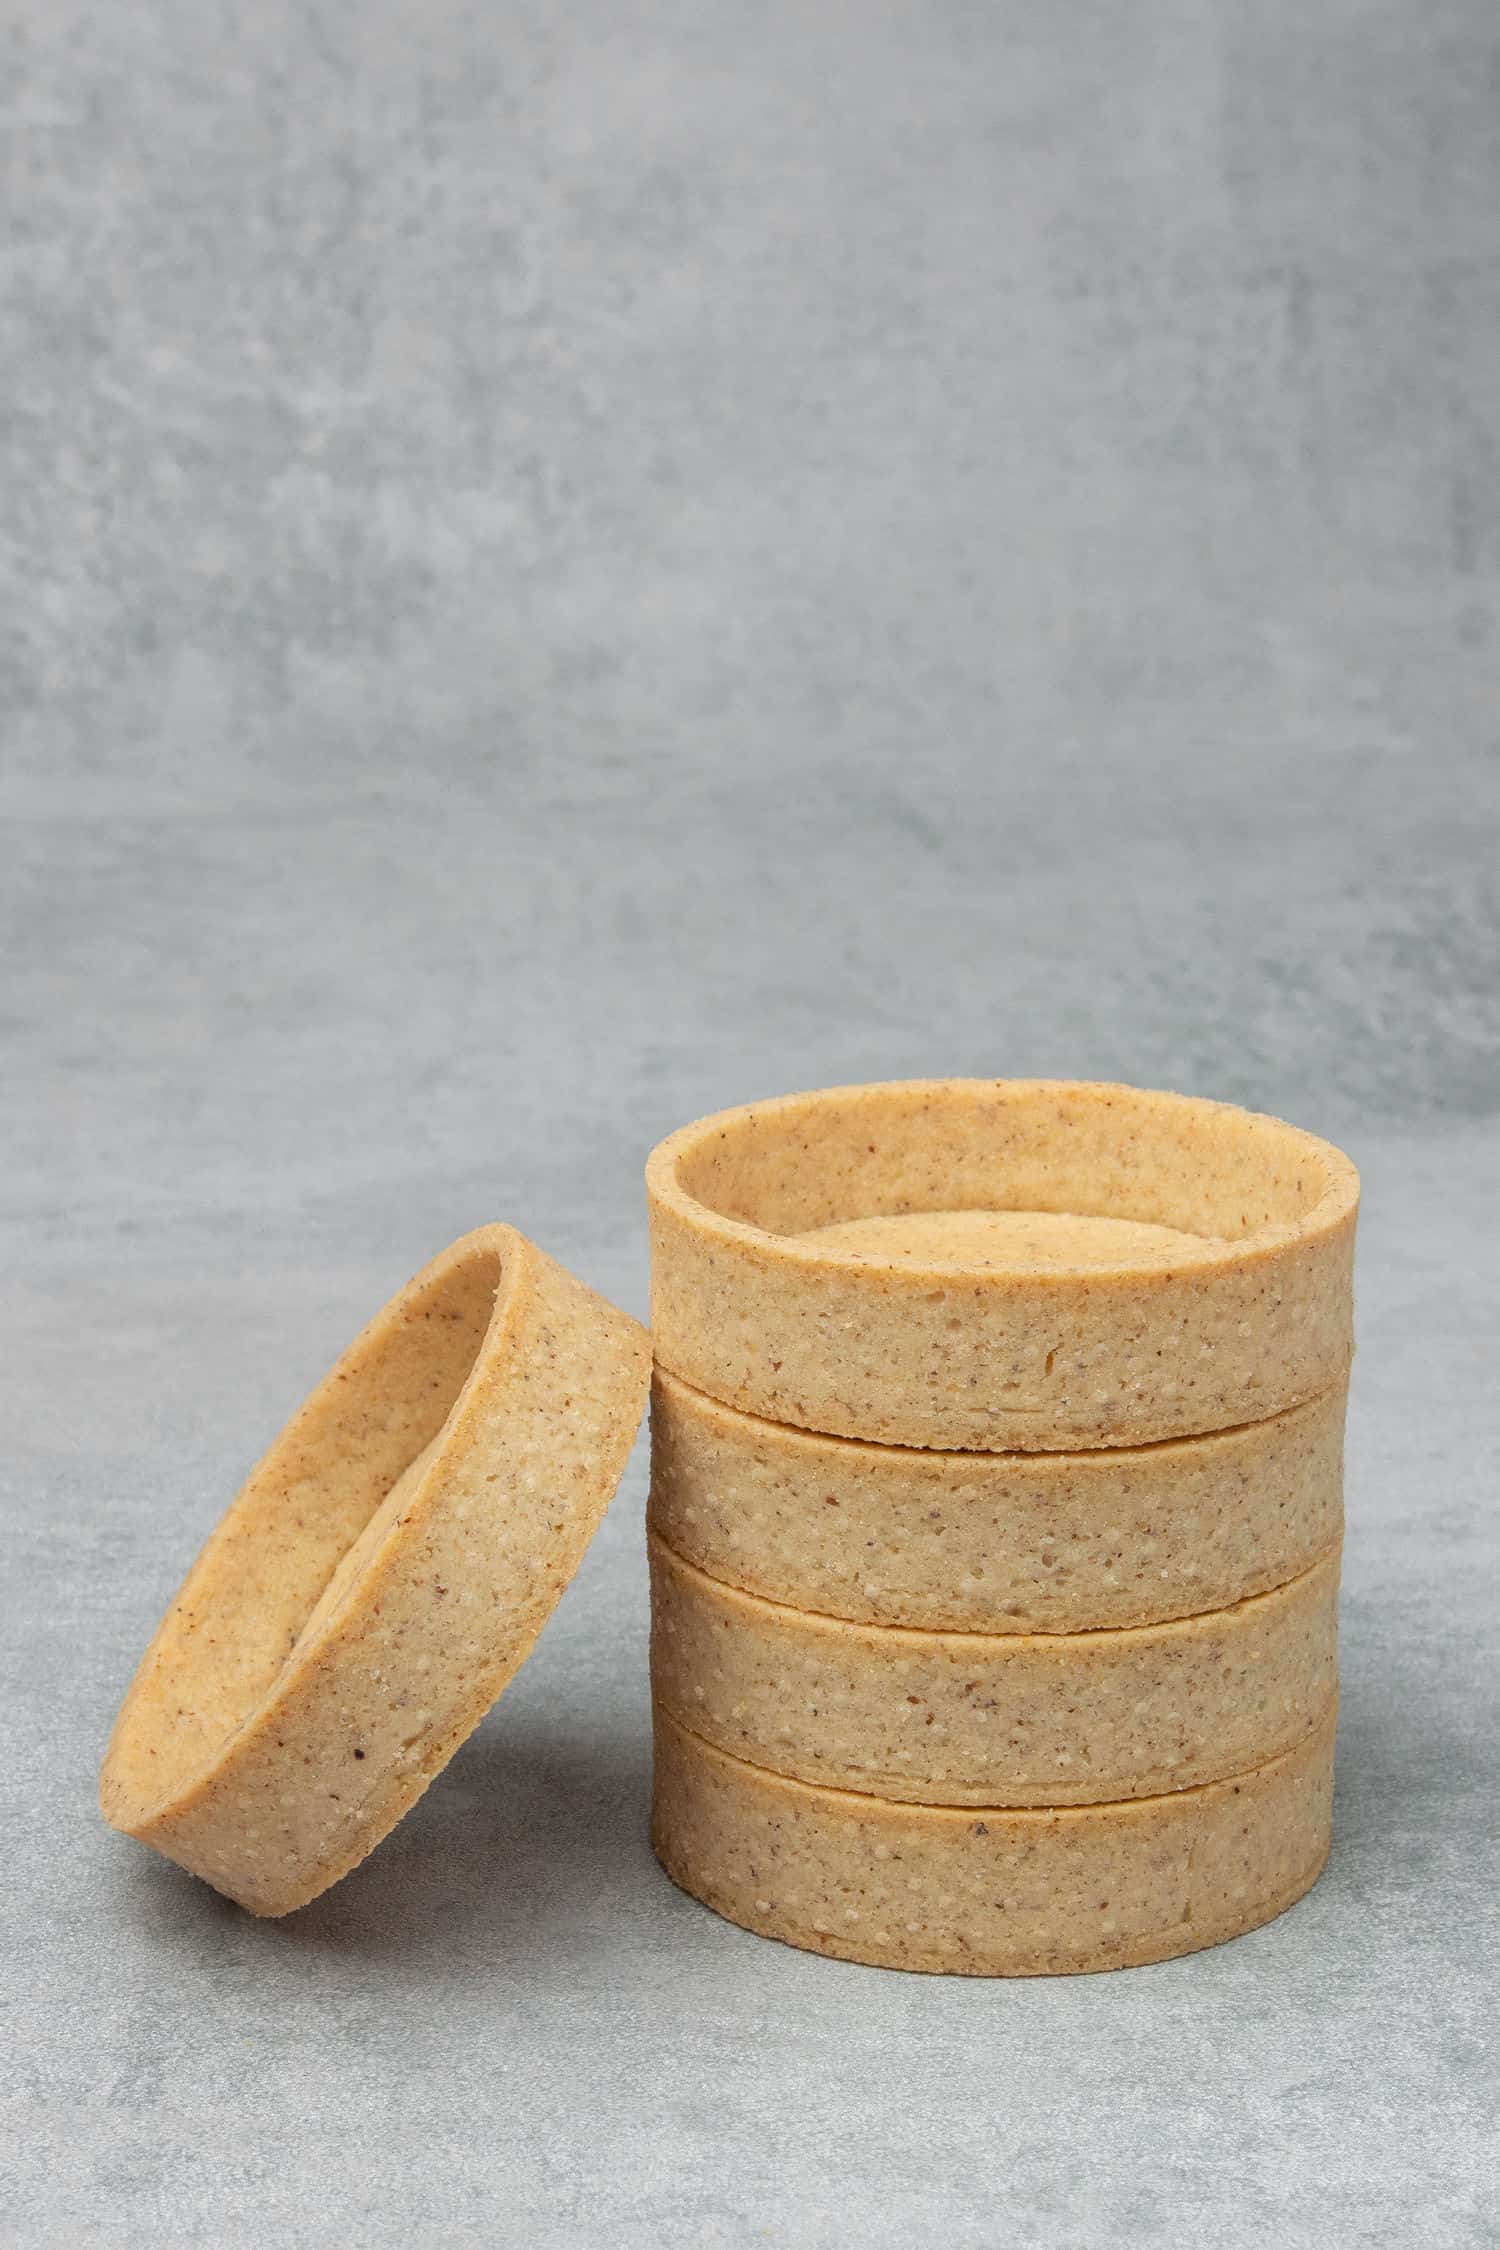
The Hazelnut tart is consist of a Pâte Sablée sweet shortcrust pastry with added hazelnut flour filled with silky mixture chocolate ganache and hazelnut paste that topped with roasted hazelnuts. A gold chocolate disk decoration is added on top that is melted with the help of a hair dryer - a technique that was pioneered by Francois Daubinet. Making each element of this Triple hazelnut tart is super fun, you will love it! Let´s get started
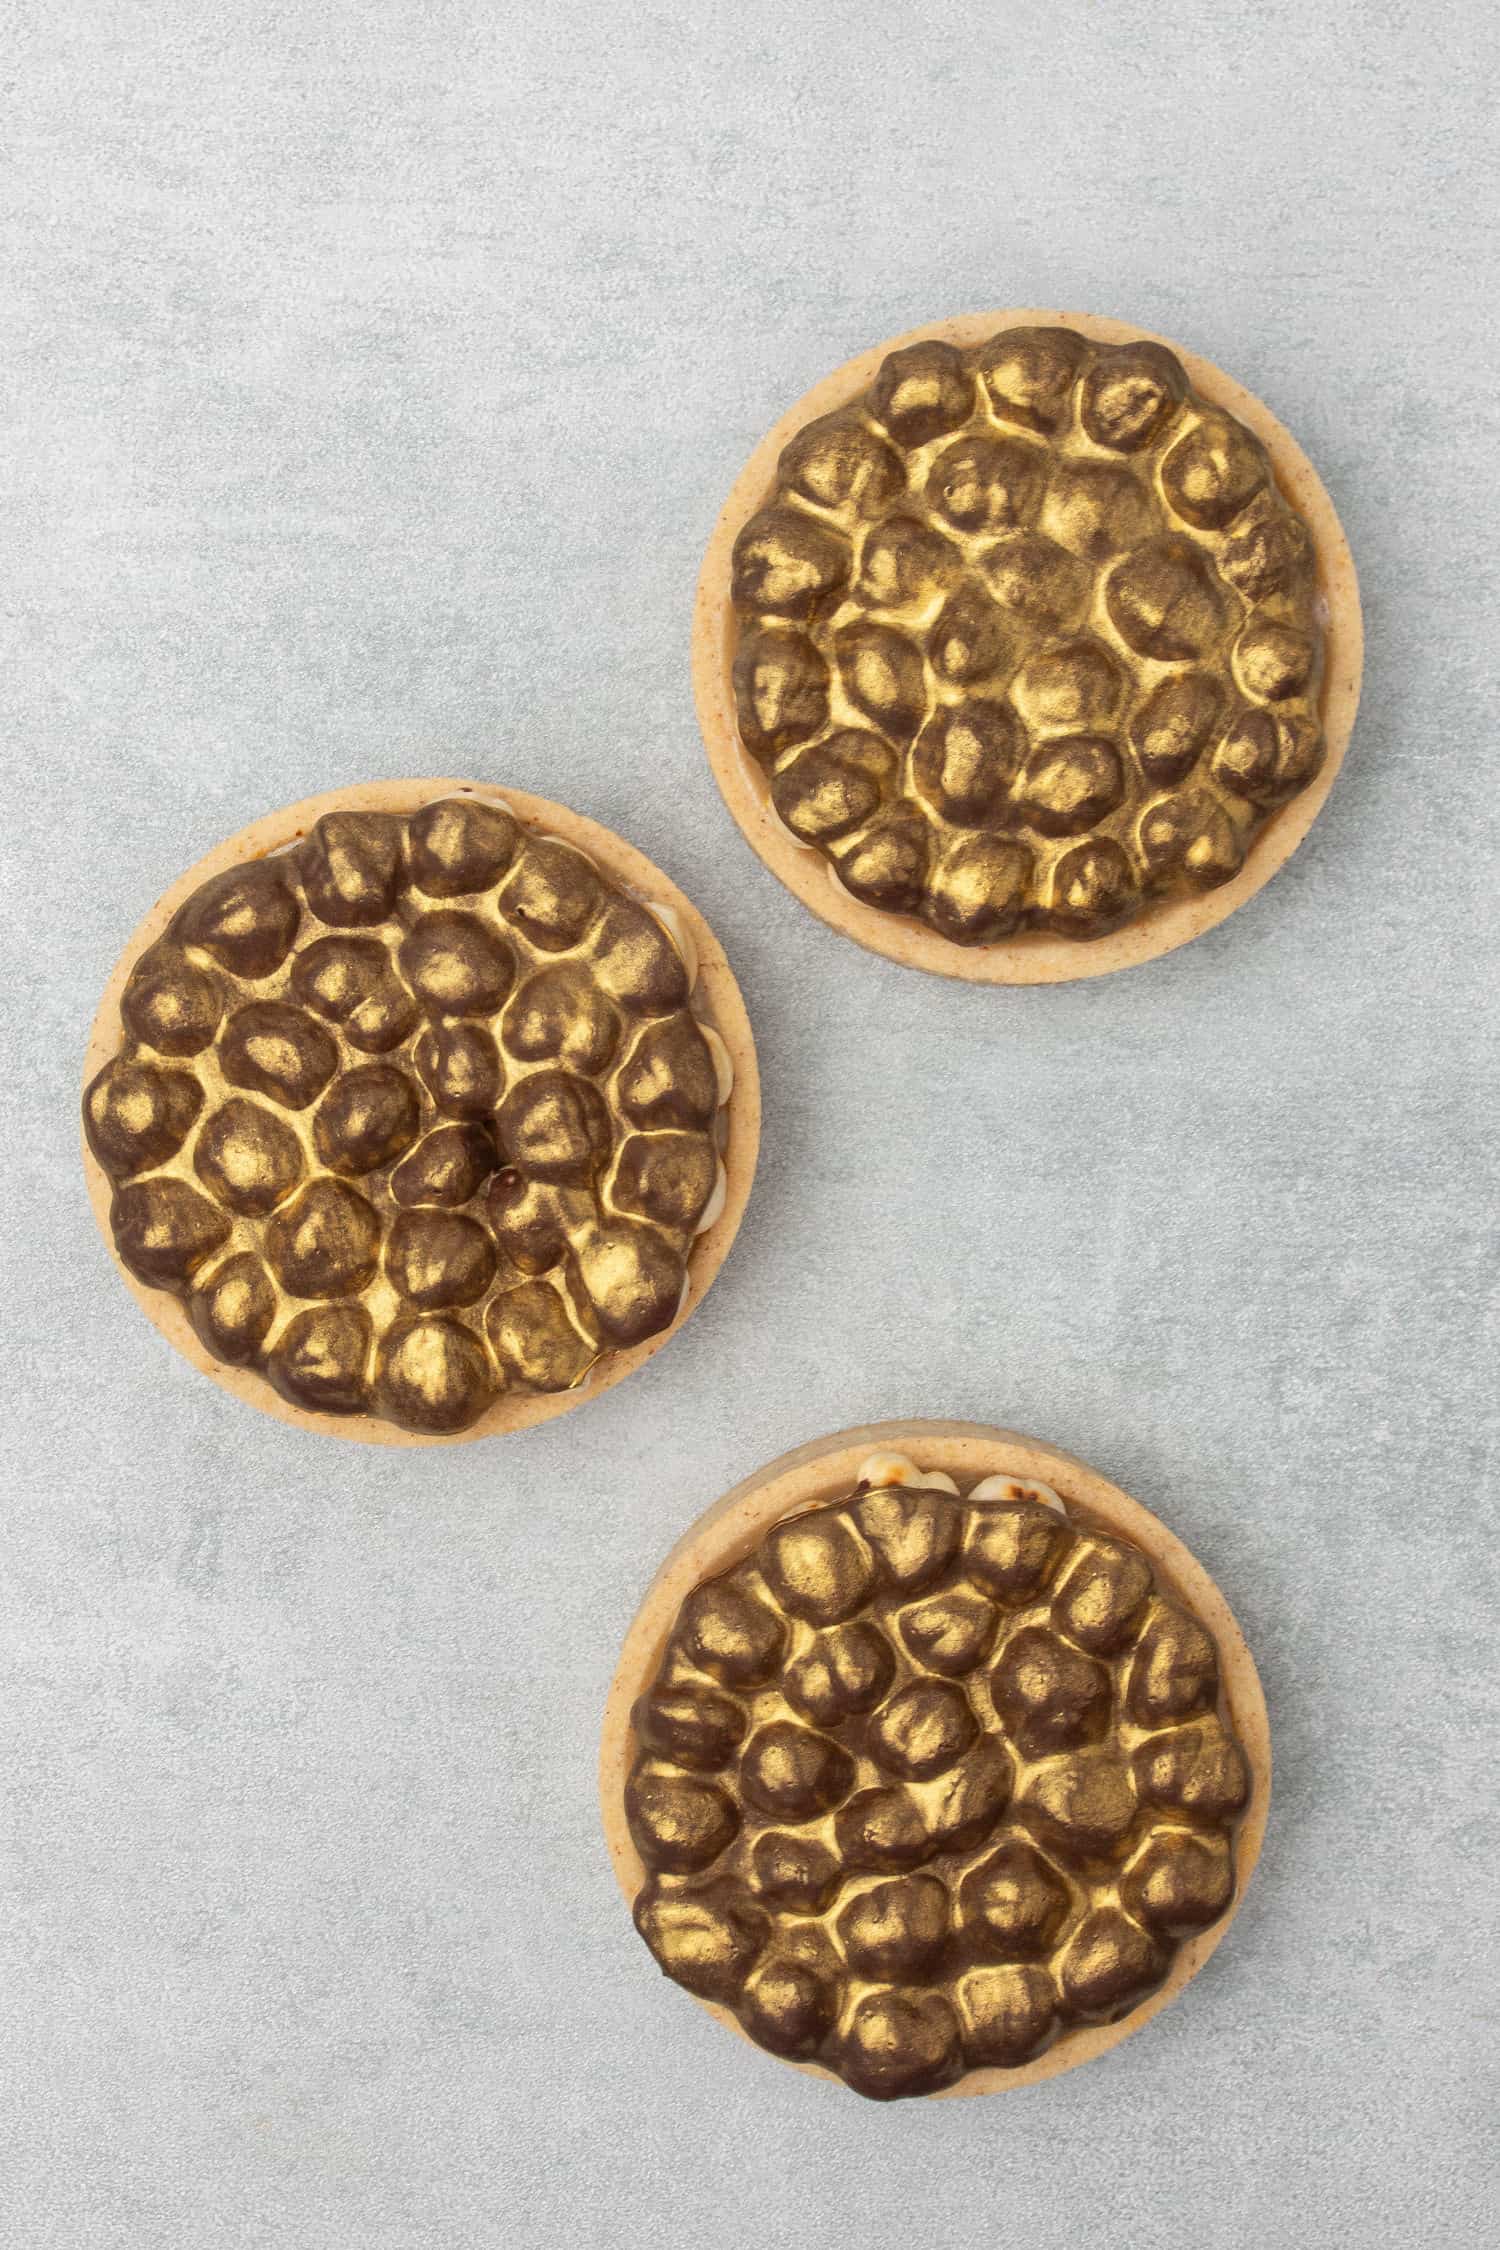
What is a tart?
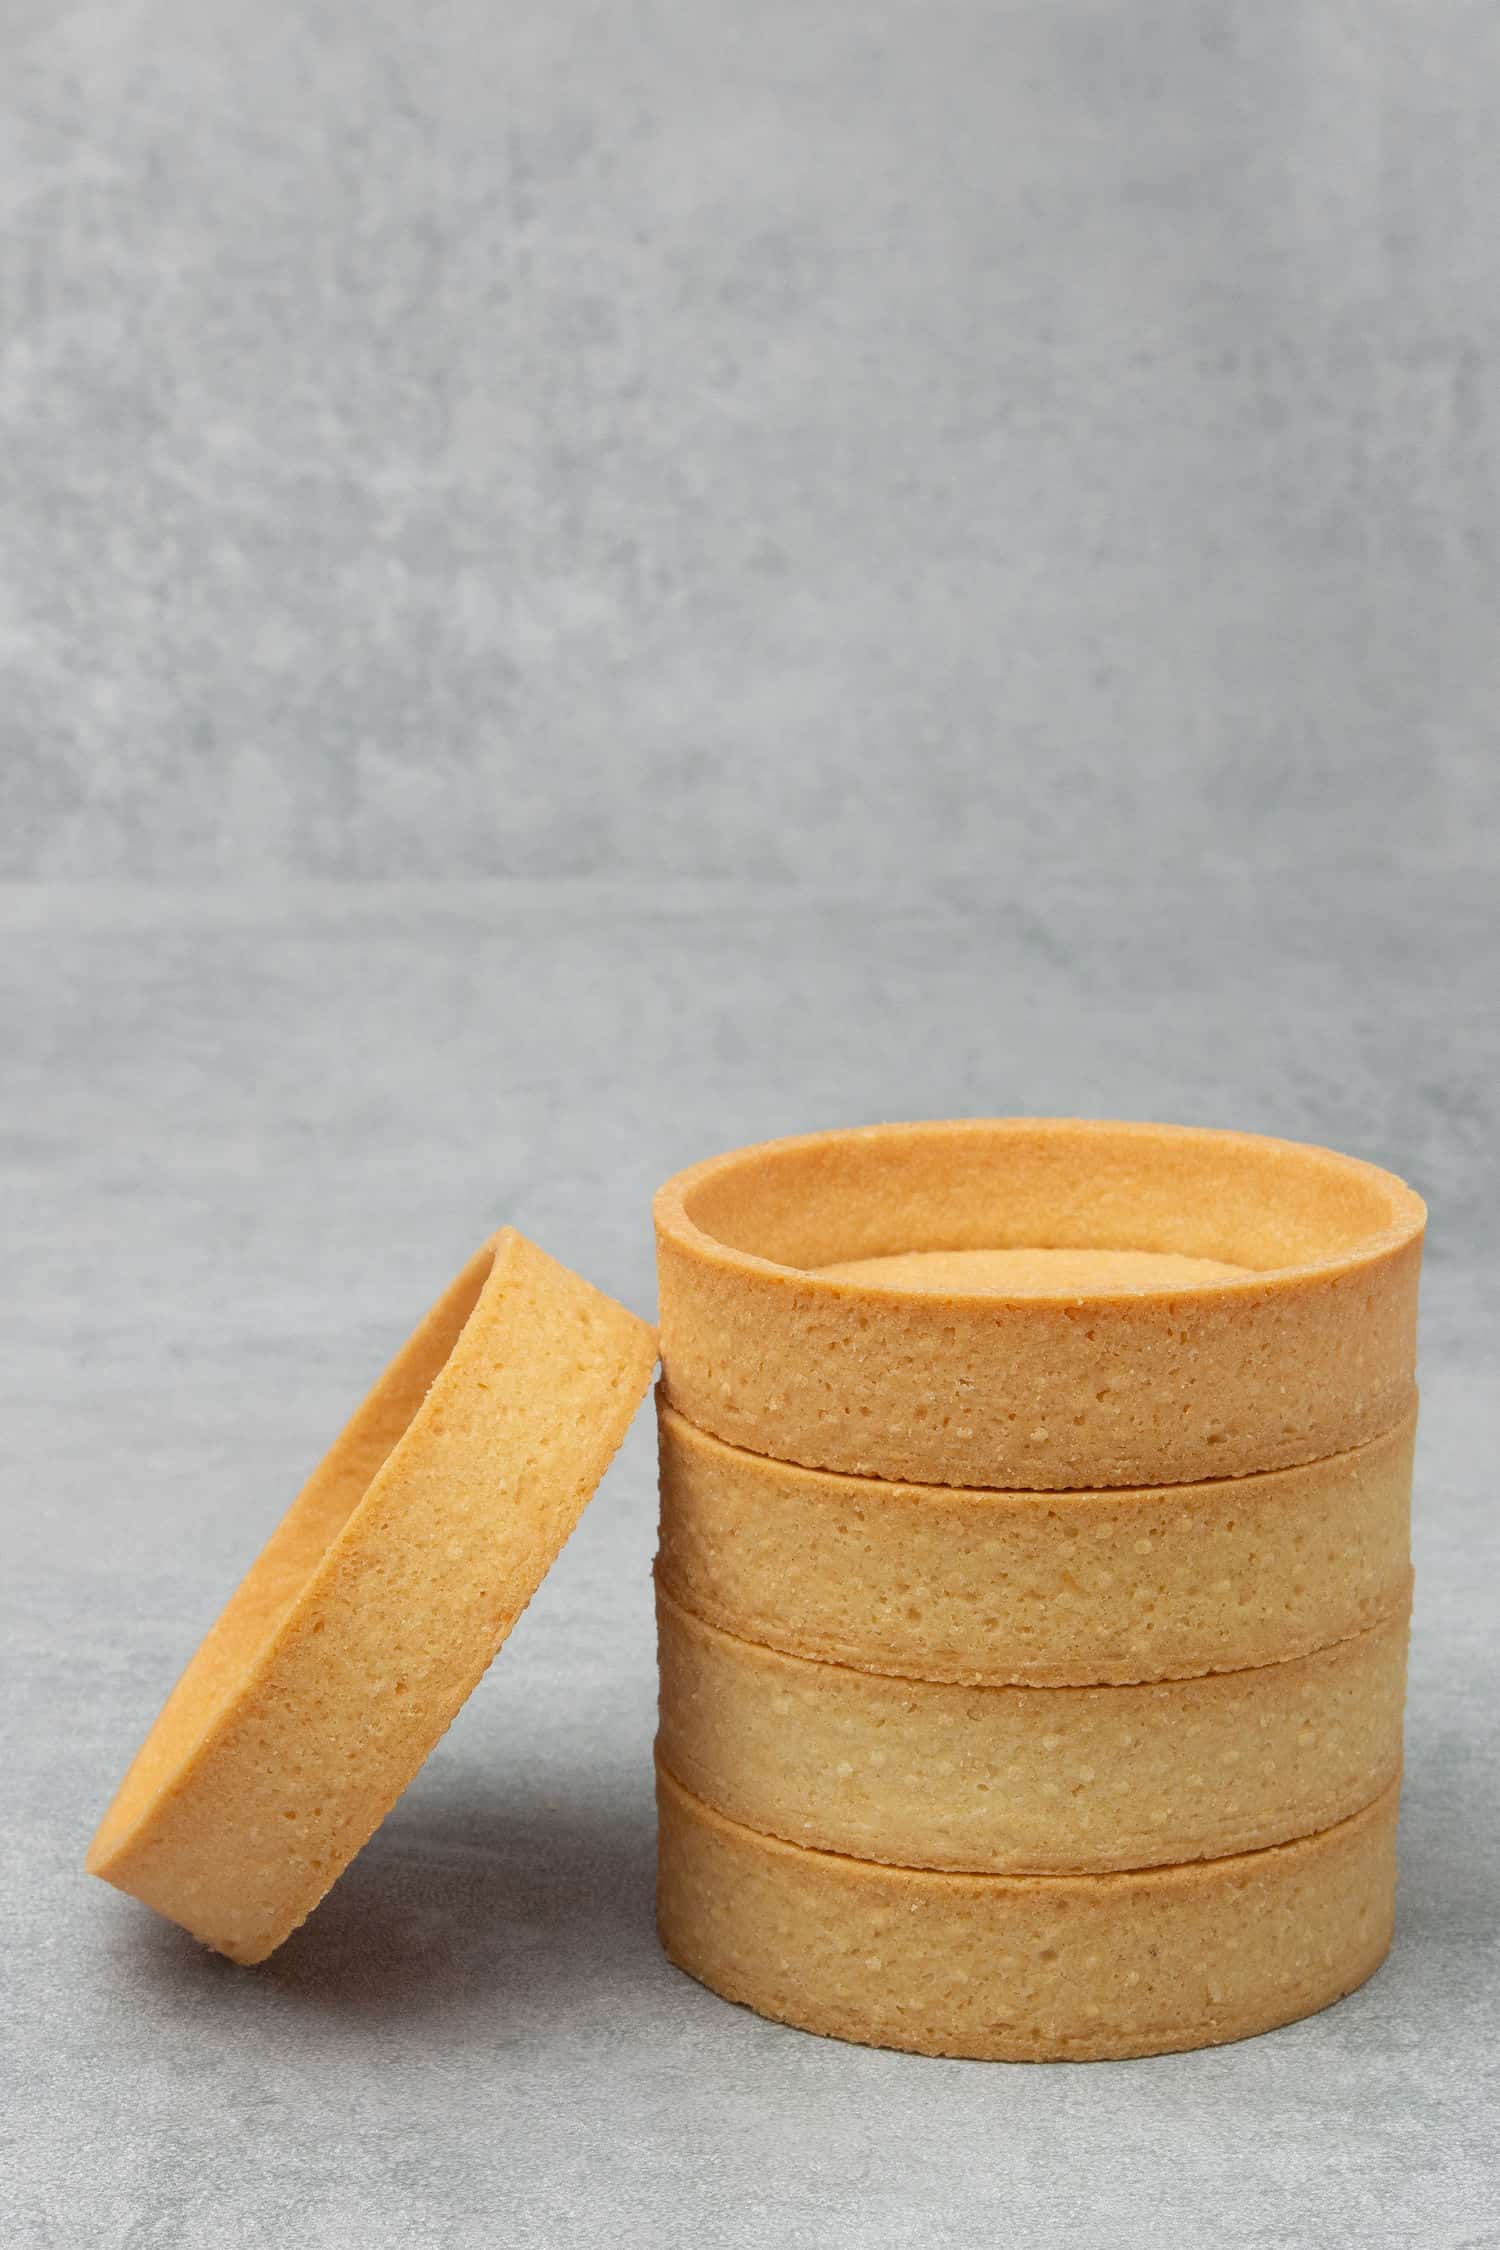
A tart is a freestanding, shallow open-faced pastry often baked in a tart ring with fluted or straight sides. Smaller tarts are referred to as tartlets. Lemon tart, fruit tart, chocolate tart, coffee tart, caramel tart…you name it! Tarts and tartlets are one of the most popular pastries all around the world!
Making Pâte Sablée, sweet shortcrust tart shell is one of the baking basics worth mastering for every home baker! An useful and beautiful baking skill that can turn any desserts into professional looking pastries that will impress everyone!
Tartlets are super versatile, the fillings can be made in all sorts of flavours and textures. Make sure you check out my Ultimate Pâte Sablée Guide that explains everything about how to make sweet shortcrust including ingredients, technique, equipment and even more then you can make hundreds of different variations using one base recipe!
My Top 5 Baking Tips for home bakers
- Read the recipe carefully including my tips and recommendations on how to avoid and fix typical issues during baking this Hazelnut Pâte Sablée tart. A short recipe alone not able to call out all the details that you need to pay attention to while baking therefore most of my recipes contain important information about ingredients and technique
- Avoid using substitutes and changing the recipe unless you are aware of how to fully reformulate the recipe in order to keep the balance in texture as well as flavour. In general, replacing egg, using gluten-free flour, skipping certain ingredients etc. will all have an impact on your Triple hazelnut tart
- For consistent, happy baking experience always measure your ingredients with the help of a Digital scale. Cup measurement is provided as an indicative figure only and might be used for less complex and large batch recipes however it is not an appropriate method if you want consistent results or bake more advanced pastries like this Triple hazelnut tart
- Did you know that most home ovens can significantly under or oven run? Also, oven temperature hugely drops when opening the oven door therefore it is recommended to always pre-heat the oven above the required baking temperature.
- Temperature is so important when it comes to baking and accurate oven temperature is key, can make or break any recipe. Make sure you invest into an inexpensive Digital oven thermometer to avoid under baked or burnt, sad looking desserts
TIPS regarding the INGREDIENTS of this Hazelnut Tart recipe
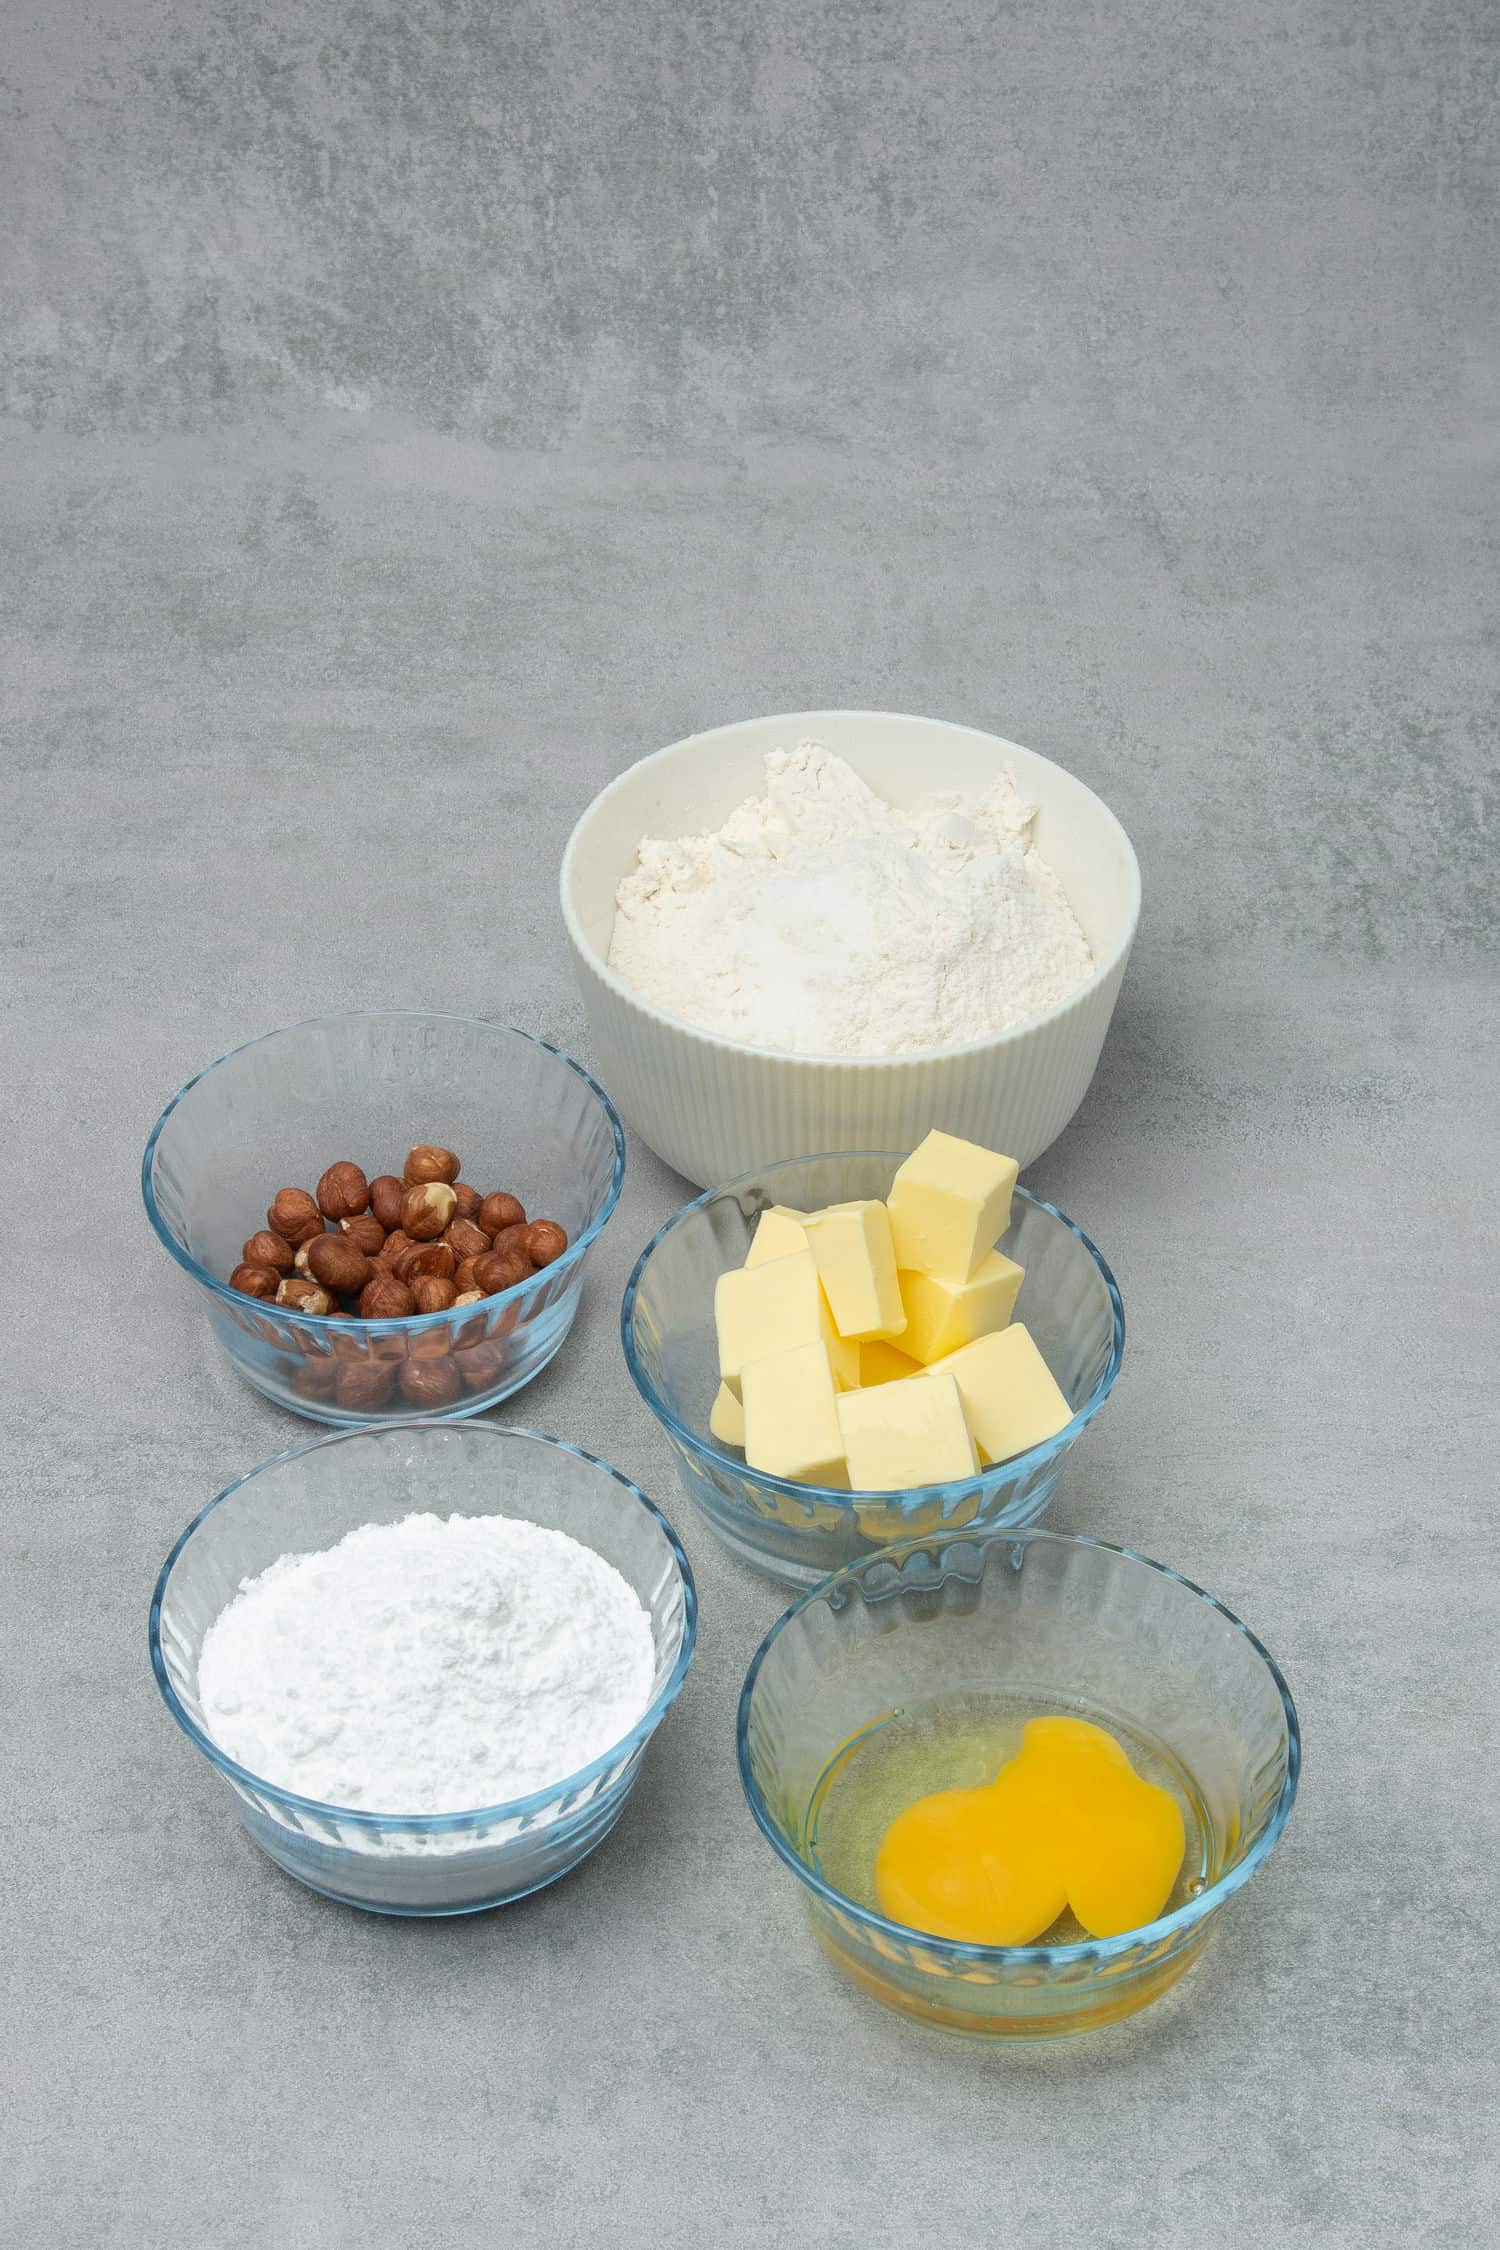
For the Hazelnut Pâte Sablée, sweet shortcrust
- Flour: I am using pastry flour for this Hazelnut tart recipe, feel free to use AP if can’t find pastry flour in your local supermarket. If you want to be a Pro when it comes to deciding what type of flour to use in your baking, please read my article in here
- Hazelnut: Traditionally Pâte Sablée recipes contain almond, however to make the tart shells super hazelnut flavour I replaced almond flour with hazelnut flour. You can either purchase hazelnut meal or make it yourself by roasting and processing almond until fine powder. Make sure you do not over process it as eventually nuts start to release oil and become more like a paste. If can´t find hazelnut, it can be replaced with almond, walnut or pistachio flour, or even equal amount of AP flour
- Sugar: This sweet shortcrust pastry dough is made with a small amount of icing sugar that makes the tart case sweet but not overly sweet. If you want to learn about the different types of sugar and how to use them in baking, please read my article in here
- Salt: An essential ingredient in most of the dessert recipes. Balances flavour and enhances other ingredients. This is a sweet tart dough and I just love that extra very mild salty kick at the end
- Butter: Use always unsalted as you want to be in control of the quantity of the salt. I am using 82% fat content butter in all my recipes. While in most of the recipes butter needs to be on room temperature, making tartlets is exception and you have to take it very seriously. Butter needs to be chilled, which means take the butter out of the fridge, cut into cubes then place it into the freezer for 10-15 minutes before using it.
- Egg: Room temperature as always. Egg can´t be left out or replaced in case of this Hazelnut tart recipe unless you have the knowledge to totally reformulate the recipe
As you can see this Hazelnut tart as such is a super simple pastry recipe in terms of the ingredients. The secret behind making beautiful, neat and delicious Hazelnut crust is all about mastering the technique, understanding how temperature plays in role while working with the dough and using the right equipment that I will be all explaining further down in this recipe.
For the hazelnut ganache
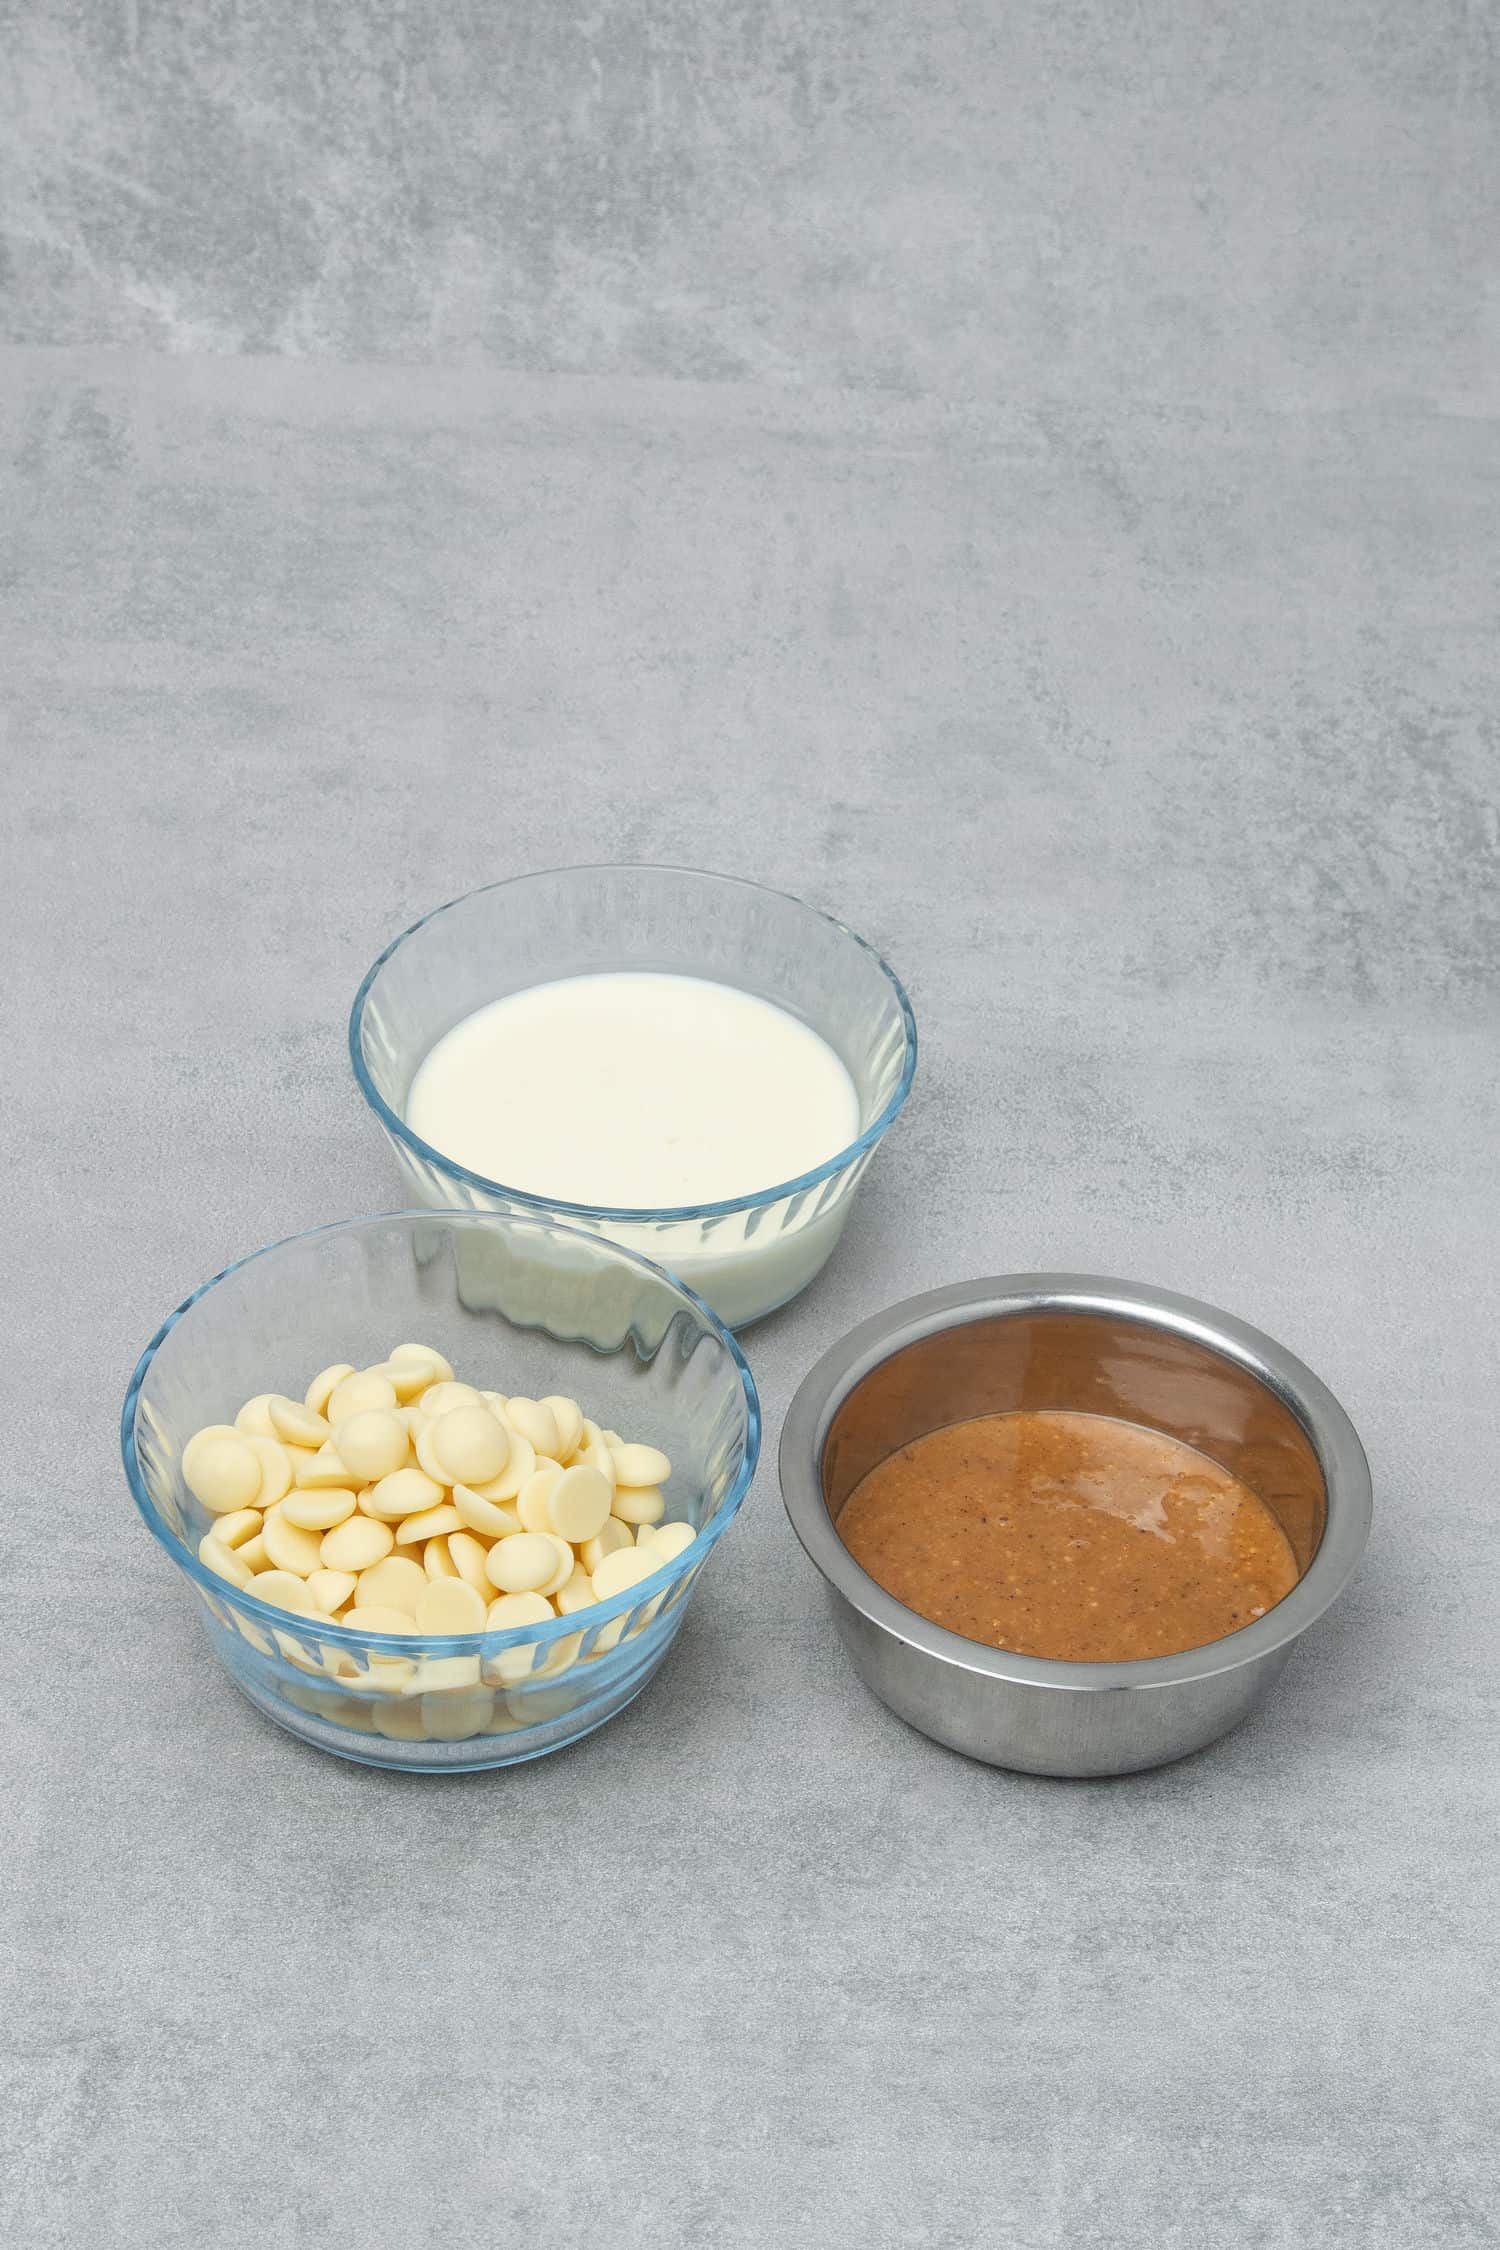
Hazelnut paste: This Hazelnut tart will be filled with a delicious and super easy hazelnut ganache that is based on a good quality 100% hazelnut paste that is sometimes called hazelnut butter. You can either make hazelnut paste at home or you can purchase hazelnut paste or hazelnut butter. If you purchase it, make sure you buy 100% hazelnut paste that does not contain added sugar or oils etc. It has the texture like peanut butter, slightly oily and has a super deep nutty flavour without being sweet (no added sugar).
White chocolate: Hazelnut ganache is white chocolate based ganache that does not taste white chocolate at all. However, the ganache will be as delicious as the quality of the chocolate you are using. Please please please use high quality products when it comes to chocolate which you would anyway enjoy eating on its own and avoid using “baking chocolate”. High quality white chocolate does not overpower the hazelnut paste. I am using Callebaut WhiteChocolate (callets) that has high cocoa butter %, tastes amazing and works wonderfully silky while making ganache
Heavy cream: Also known as whipping cream, has a fat content between 36% and 40% , the one I use is usually 36%. Avoid substitutes like vegetable based “whipping cream”. Cream is often used to make chocolate ganache and makes the filling of the Hazelnut tart wonderfully silky and creamy
For the gold chocolate disk decoration
- Chocolate: Obviously you will need some chocolate to make the chocolate disk decoration however not all chocolate are created equal. In general, worth to remember that in case of recipes that require chocolate decoration or chocolate work, the quality of the chocolate goes way beyond taste. You might have recognized that by simply melting chocolate then waiting to set, you won´t achieve shiny results. You need couverture chocolate if you want to replicate those beautifully shiny chocolate bonbons or decorations you see in pastry shops. In this recipe I am using Callebaut Dark Chocolate (callets) that is a high-quality chocolate (yet affordable) that contains a higher percentage of cocoa butter than the average supermarket chocolate. The additional cocoa butter, combined with proper tempering technique gives the chocolate a more shiny look, a firmer “snap” when broken, and a creamier, more smooth texture. It is easier to make a stable chocolate decoration if you start with high quality chocolate. Couverture type of chocolate is used by professionals and by home bakers who want to take their chocolate work to the next level. It is usually sold online in a bigger pack eg. 1 kg and perfect to make recipes that requires high quality chocolate. I order mine from Amazon and surprisingly the price / kg it is not even so much more expensive than a low quality supermarket chocolate.
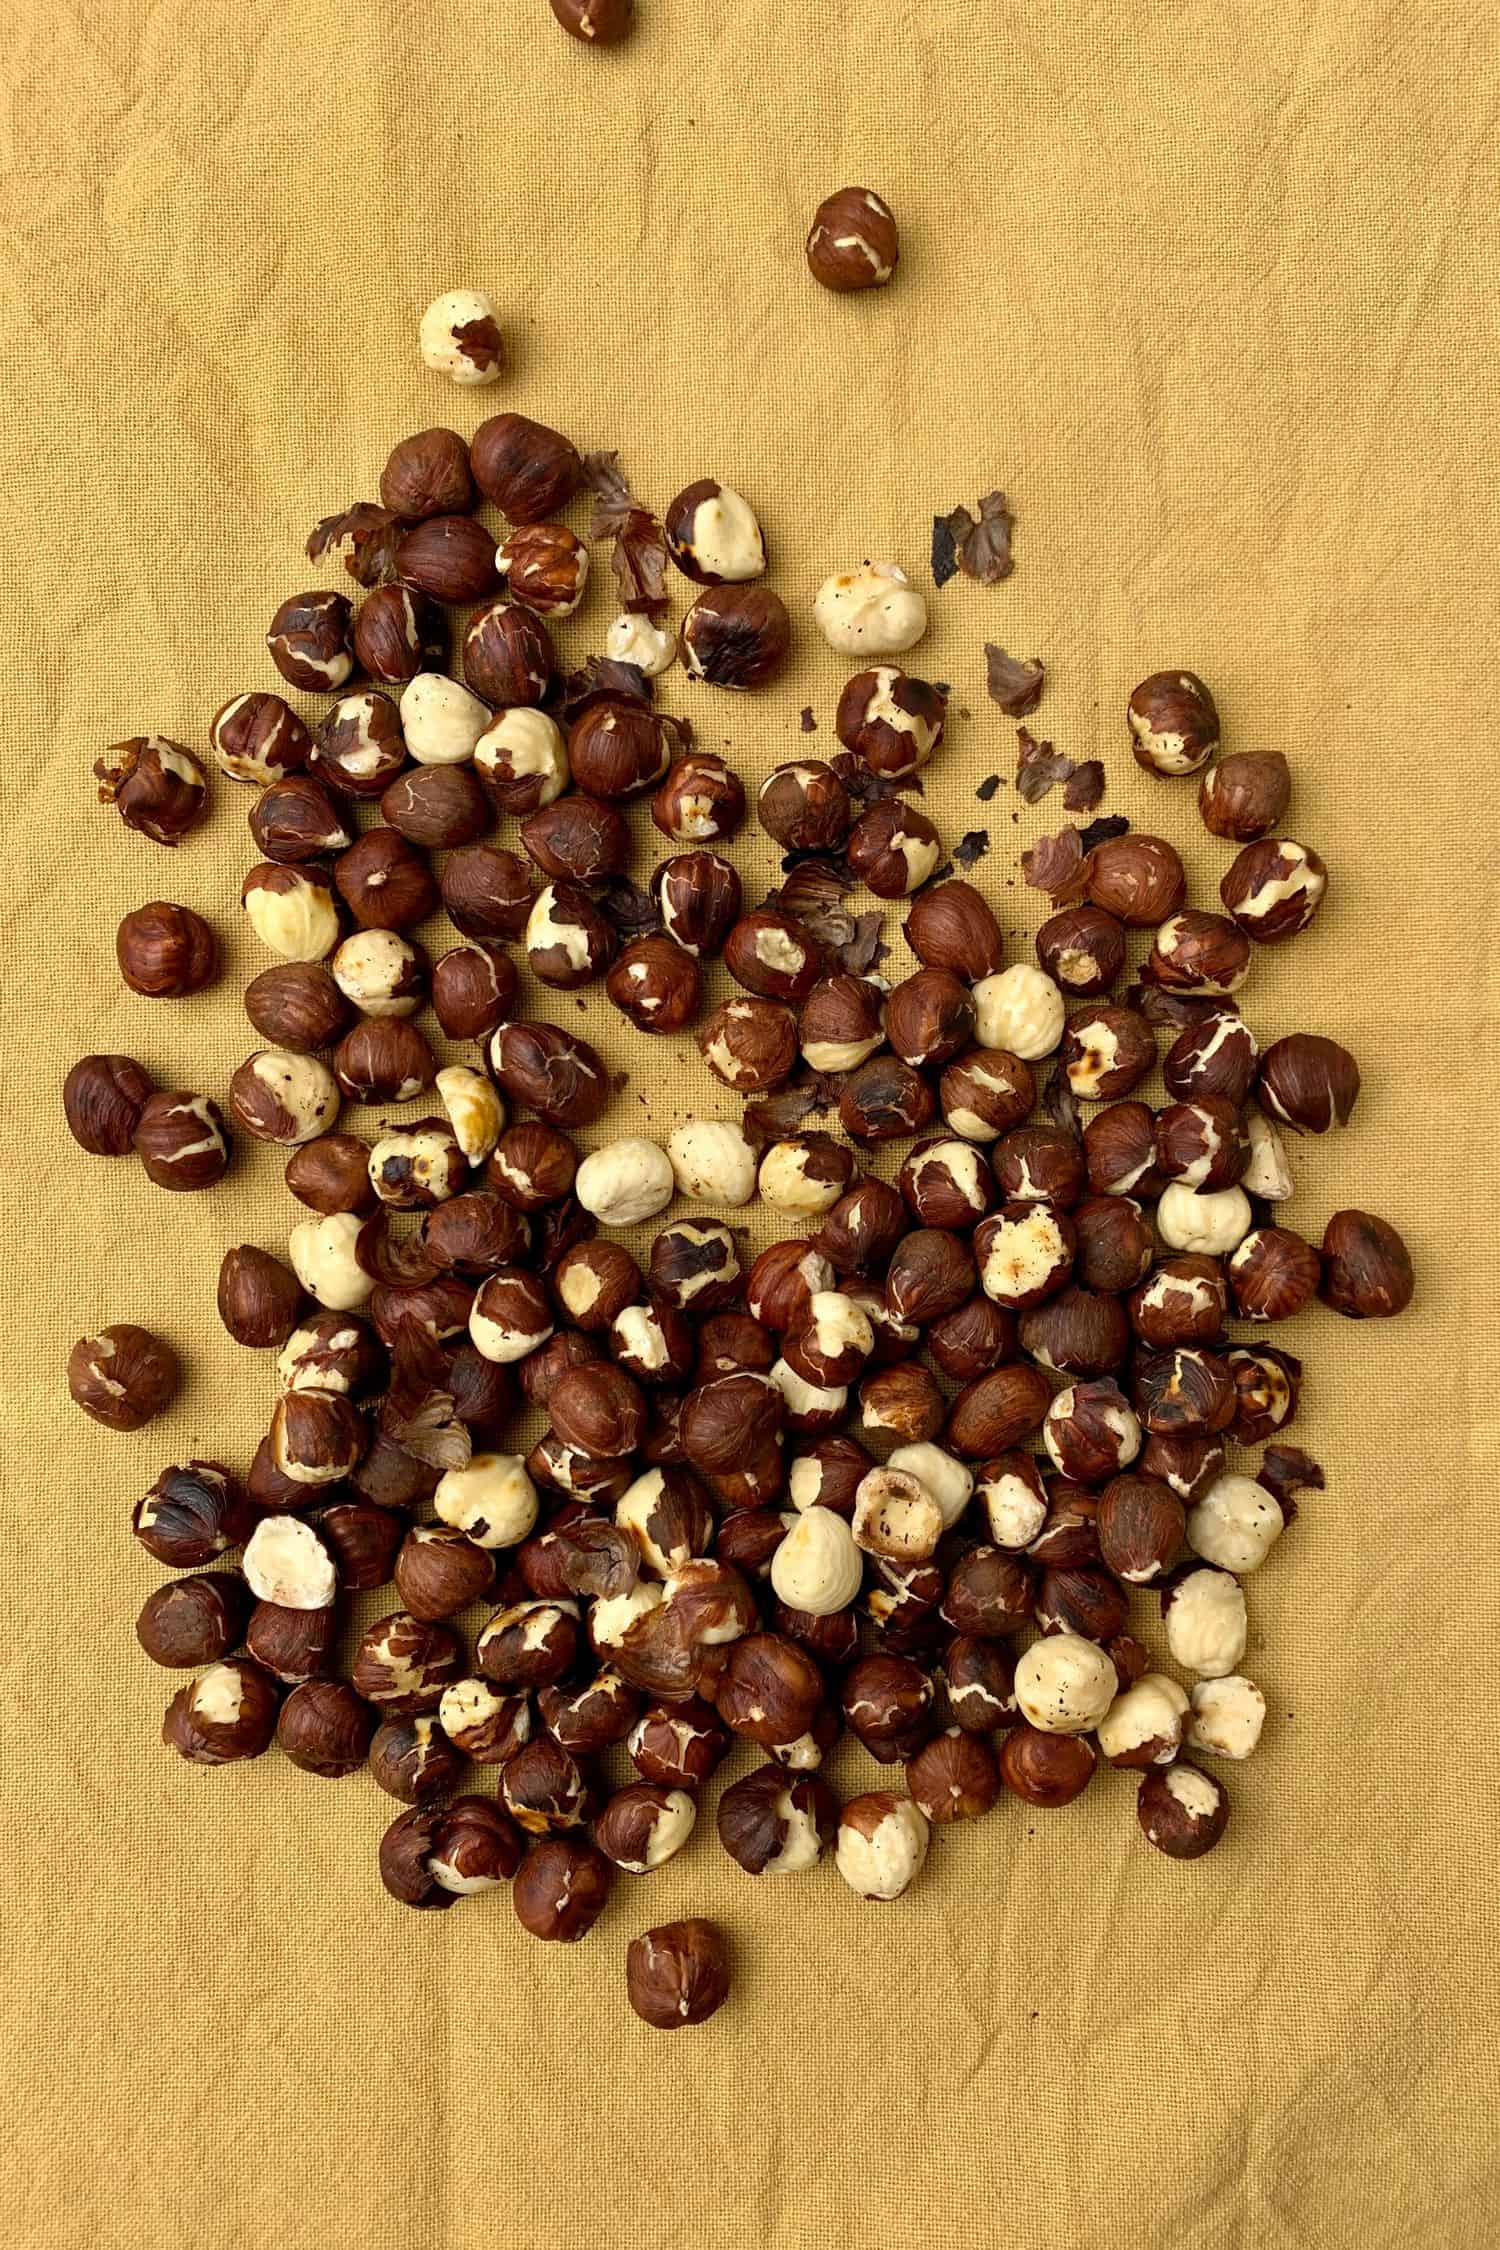
- Hazelnut: Make sure you roast hazelnut first that gives wonderful flavour to it
7 Baking tips regarding the TECHNIQUE of making this Hazelnut Tart with Gold Chocolate disk decoration
This Triple hazelnut tart relatively easy recipe with impressive results however there are a couple of tips I want to share with you so your tarts will turn out exactly like mines. First and foremost please make sure you check out my Pâte Sablée tutorial where I share plenty of important information you need to know about how to make sweet short pastry. This Hazelnut tart is made of a Hazelnut Pâte Sablée dough following the exact same process as my traditional Pâte Sablée recipe except I replaced almond with hazelnut.
1. The importance of temperature while making Pâte Sablée, sweet shortcrust tart shells
The single most common reason for failing to work with Pâte Sablée dough is being inpatient and forcing the dough even when its temperature is inappropriate, either too cold or too warm.
Baking is science and in general temperature is one of the most important factors to understand AND utilise for our benefit. When I say temperature I don’t purely mean baking temperature but also the environment we work e.g kitchen temperature as well as the dough temperature.
While making sweet tart crust, temperature is everything! If the dough is too hot, it’s sticky and can’t be rolled out or shaped. If too cold, it will easily break. The entire tart making process is a balancing exercise between keeping the dough cold enough but not too cold.
To give you a concrete example, in a home kitchen environment on a warmer day this practically means taking the dough in and out of the freezer about 15 times in between steps to ensure the dough is always on the right temperature to work with. If you are lucky and have a cold kitchen, you might be ok with 2-5 chilling breaks. Yes, not just to chill the dough once or twice but to be in control of the dough temperature all the time! Obviously in professional kitchens temperature as well as humidity is under control and the rolling process is done by a laminator machine, however in home environment this is something we have to be super careful with.
2. What equipment is needed to make Pâte Sablée sweet shortcrust pastry
You can only achieve neat, visually appealing, even golden colour tart crust by using professional baking equipment. Luckily these are available to purchase on Amazon not just for professionals but also for home bakers. If you want to make beautiful, patisserie style tarts it’s worth to invest into a perforated baking mat, a couple of perforated tart rings and a silicon mat.
How to use Silicone baking mat
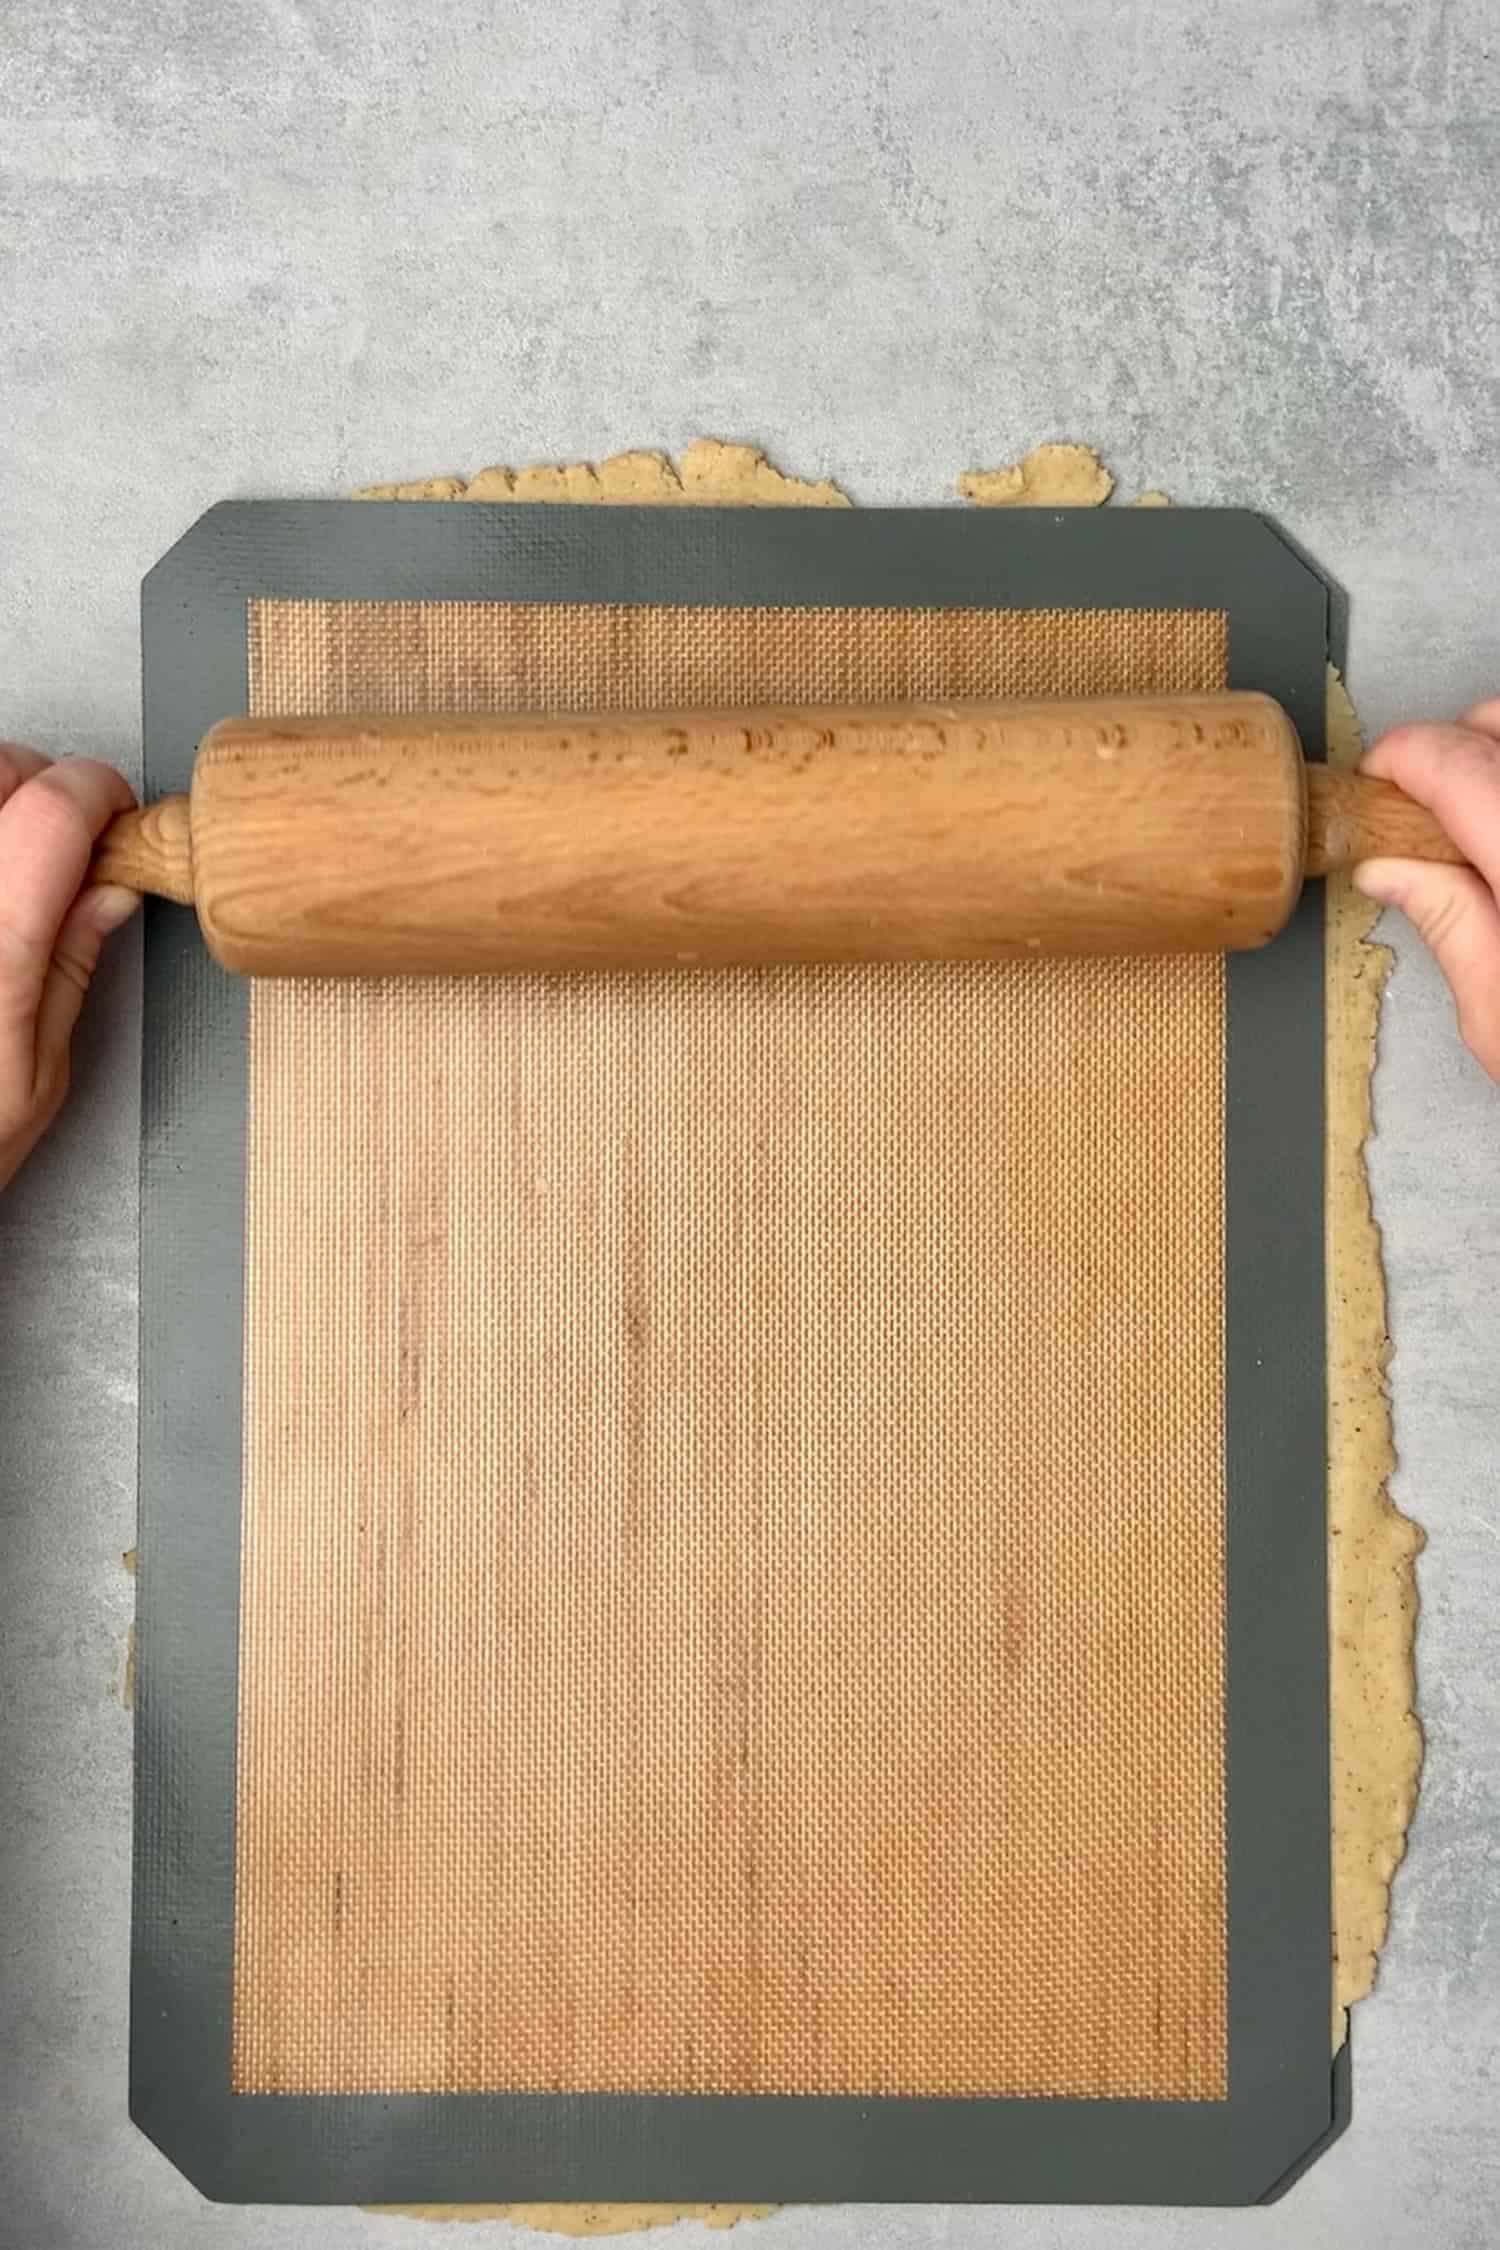
I recommend using 2 Silicone baking mat for rolling the pastry dough out in between them. The recipe is designed in a way that you do not need to add extra flour while rolling the dough however it might stick to your kitchen counter so use silicone baking mat. It’s also possible to use 2 sheets parchment paper however the silicone mat provides a much neater, smooth surface. It can be washed and then used all the time so overall worth the investment. I am using the “Amazon basics” cheapest version so no need to buy anything expensive.
While rolling, start from the center of the disc and work your way out in all directions. Again remember, temperature is very important. If the dough is too cold, you won´t be able to roll it out. If too warm, it will be difficult to handle and will even stick to the silicone baking mat.
How to use Perforated baking “air” mat
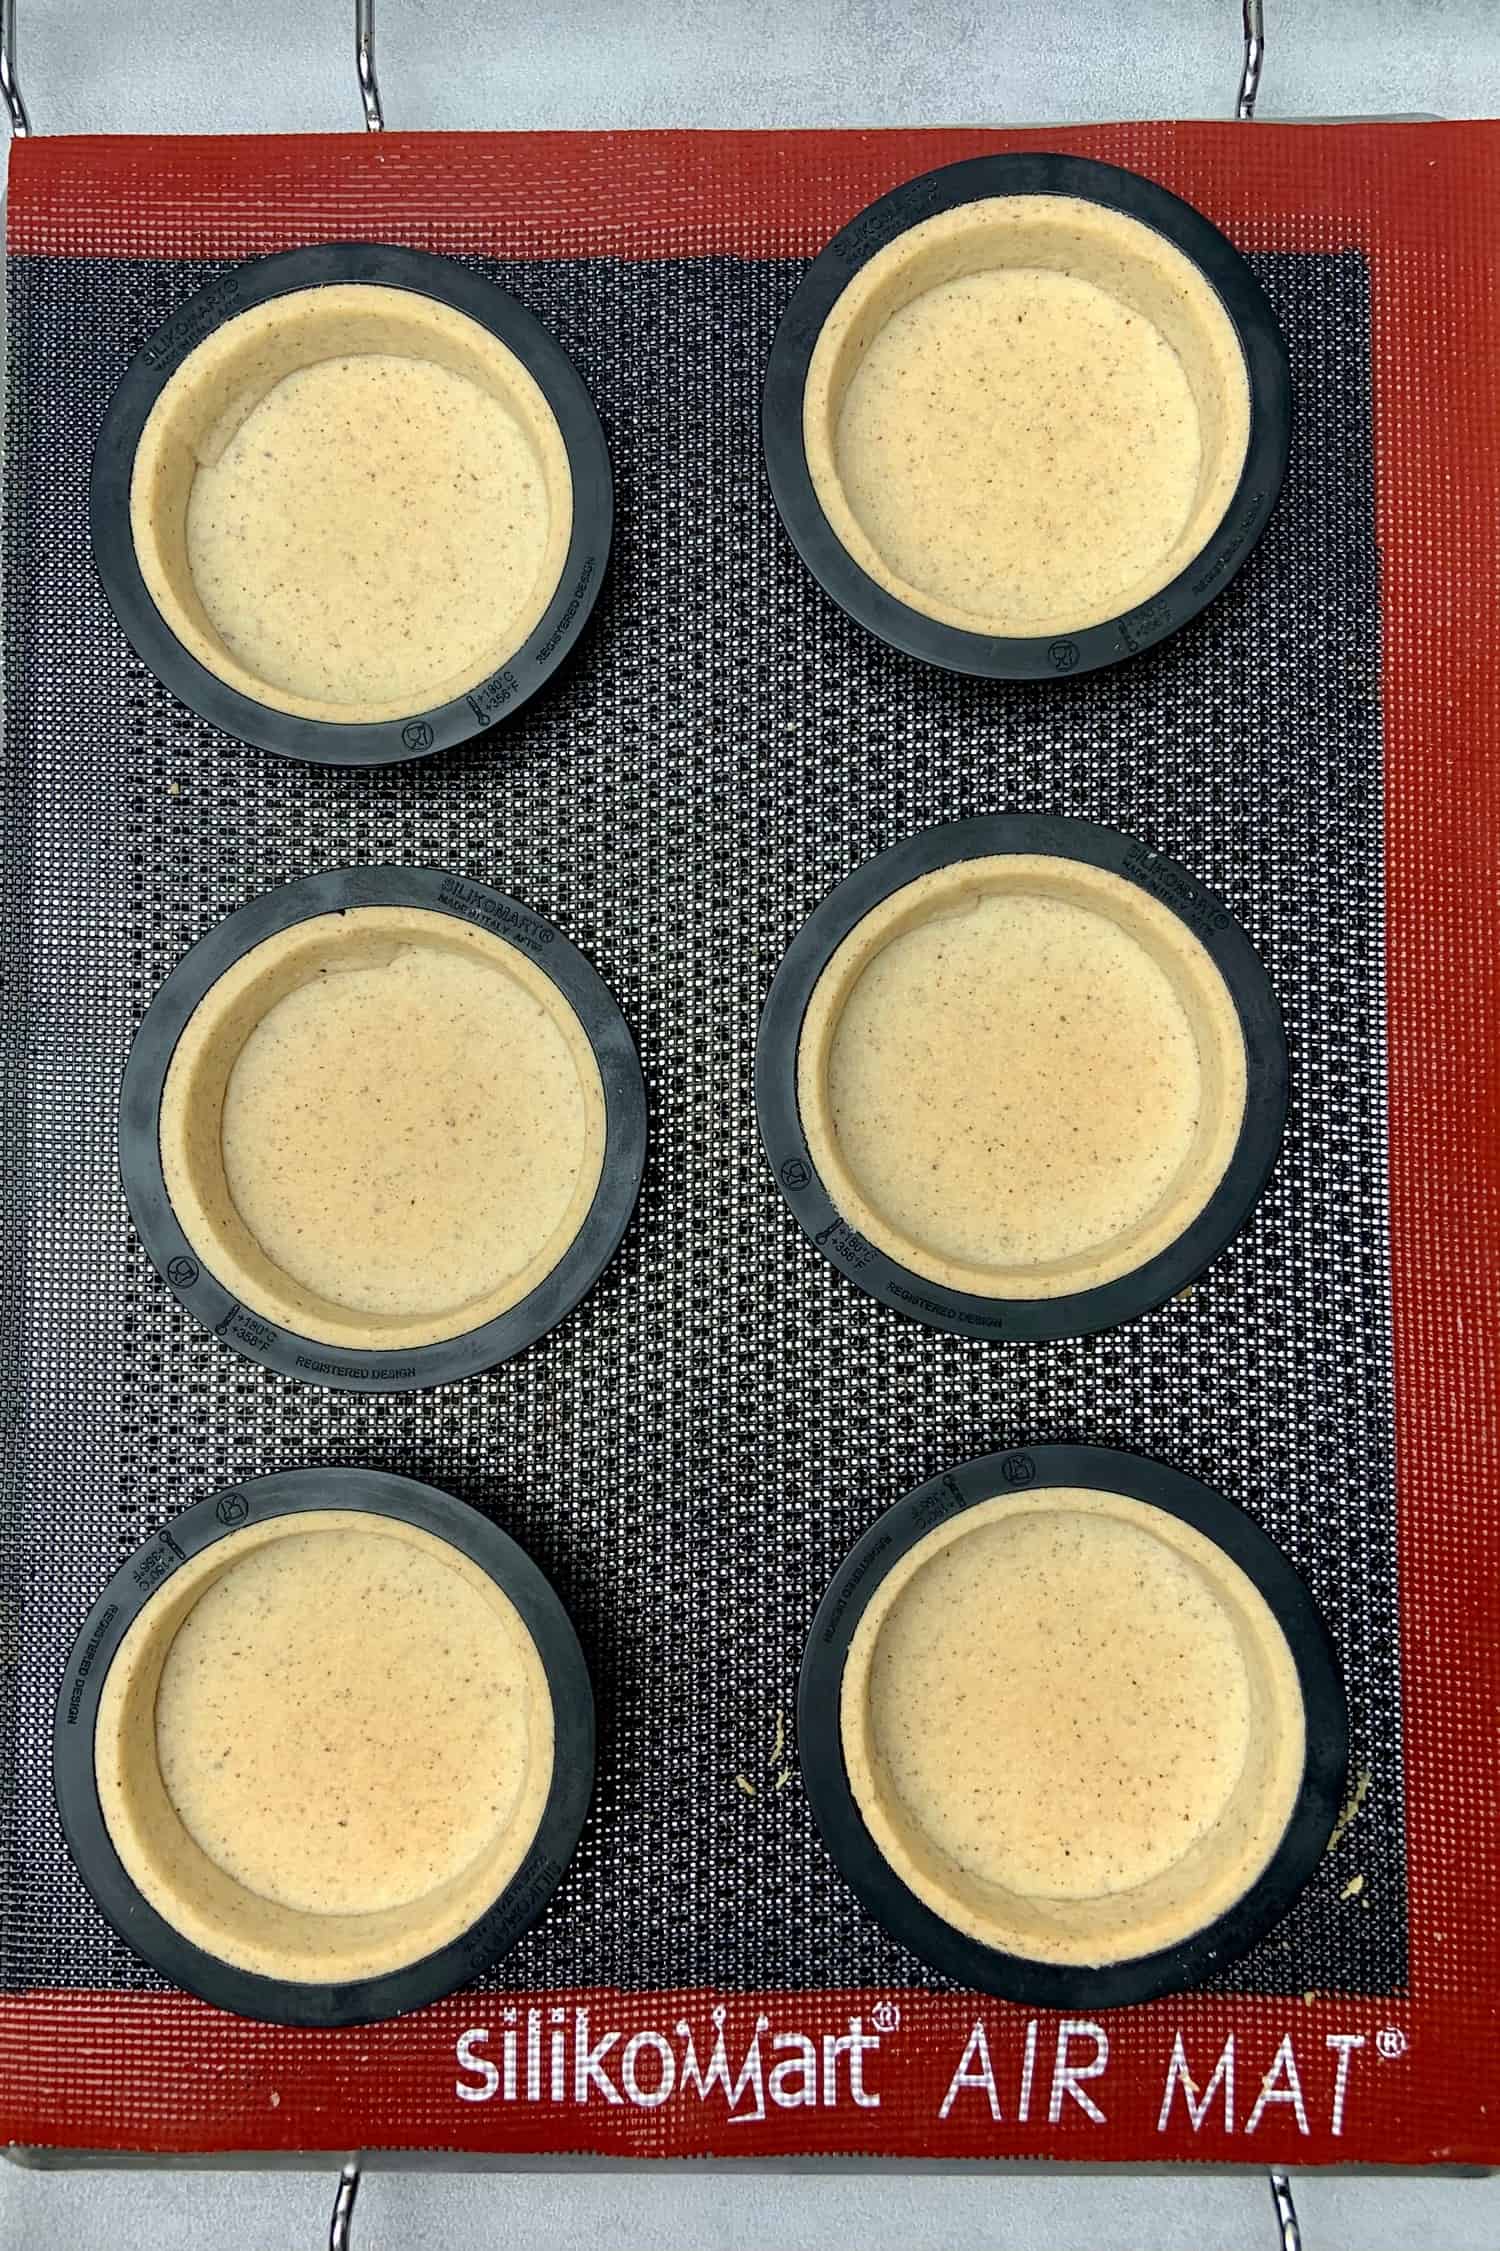
The air mat is perfect for baking tart crust, éclairs or even cookies. Thanks to the holes in the mat, the heat spreads evenly throughout mats’ surface guaranteeing a perfect and even baking without blind baking. The dough won´t puff up while baking the tarts and will be super neat and even.
While baking the tart shells, use the Perforated “air” baking mat straight on top of the oven rack (so not in a baking pan) so that the air can circulate properly. I have been using Perforated “air” baking mat for more than a year now from a brand called Silikomart and loving it.
How to use Perforated tart ring
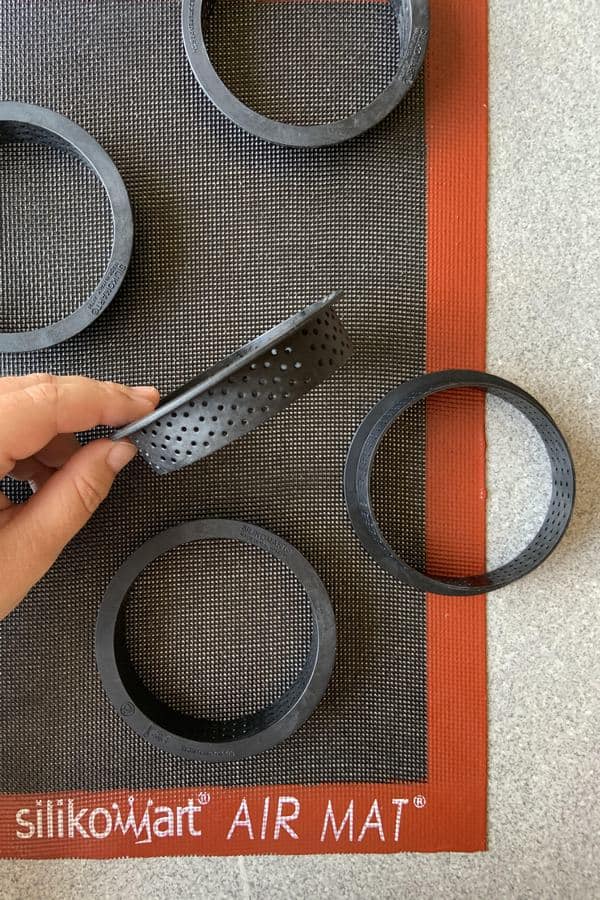
The Perforated tart rings are non-stick and stainless, they allow homogeneous baking due to the even air circulation. It’s a a genius solution, isn’t it? Silikomart (and some other quality brands) offering the rings in various shapes and sizes, I am using a 8cm (3,14inch) diameter round version. As far as I can see there are several cheap copies of the initial Silikomart product, I am not sure though whether they are made of the same material and whether they work or not.
No need to grease the tart rings, the dough will stick to its side providing a very neat looking beautiful tart shell. All you need to make sure is that you press the dough into the side of the perforated tart rings firmly and due to the perforated surface the dough will stick to the side of the ring while baking. I have been using my Perforated tart ring for over a year and it’s the best investment I have ever made.
I can not recommend it enough, it’s really one of those tools you have to invest in once and then will change your baking experience forever!
3. Process of making Hazelnut tart shells
Now that we covered the most important factors you have to bear in mind while making Pâte Sablée, let´s see how exactly to make sweet shortcrust for this Triple Hazelnut tart
- Make sure all ingredients are measured with Digital scale and prepare all the tools ahead:Rolling pin, Silicone baking mat, Perforated “air” baking mat, Perforated tart ring
- Place the measured butter cubes into the freezer for 5-10 minutes
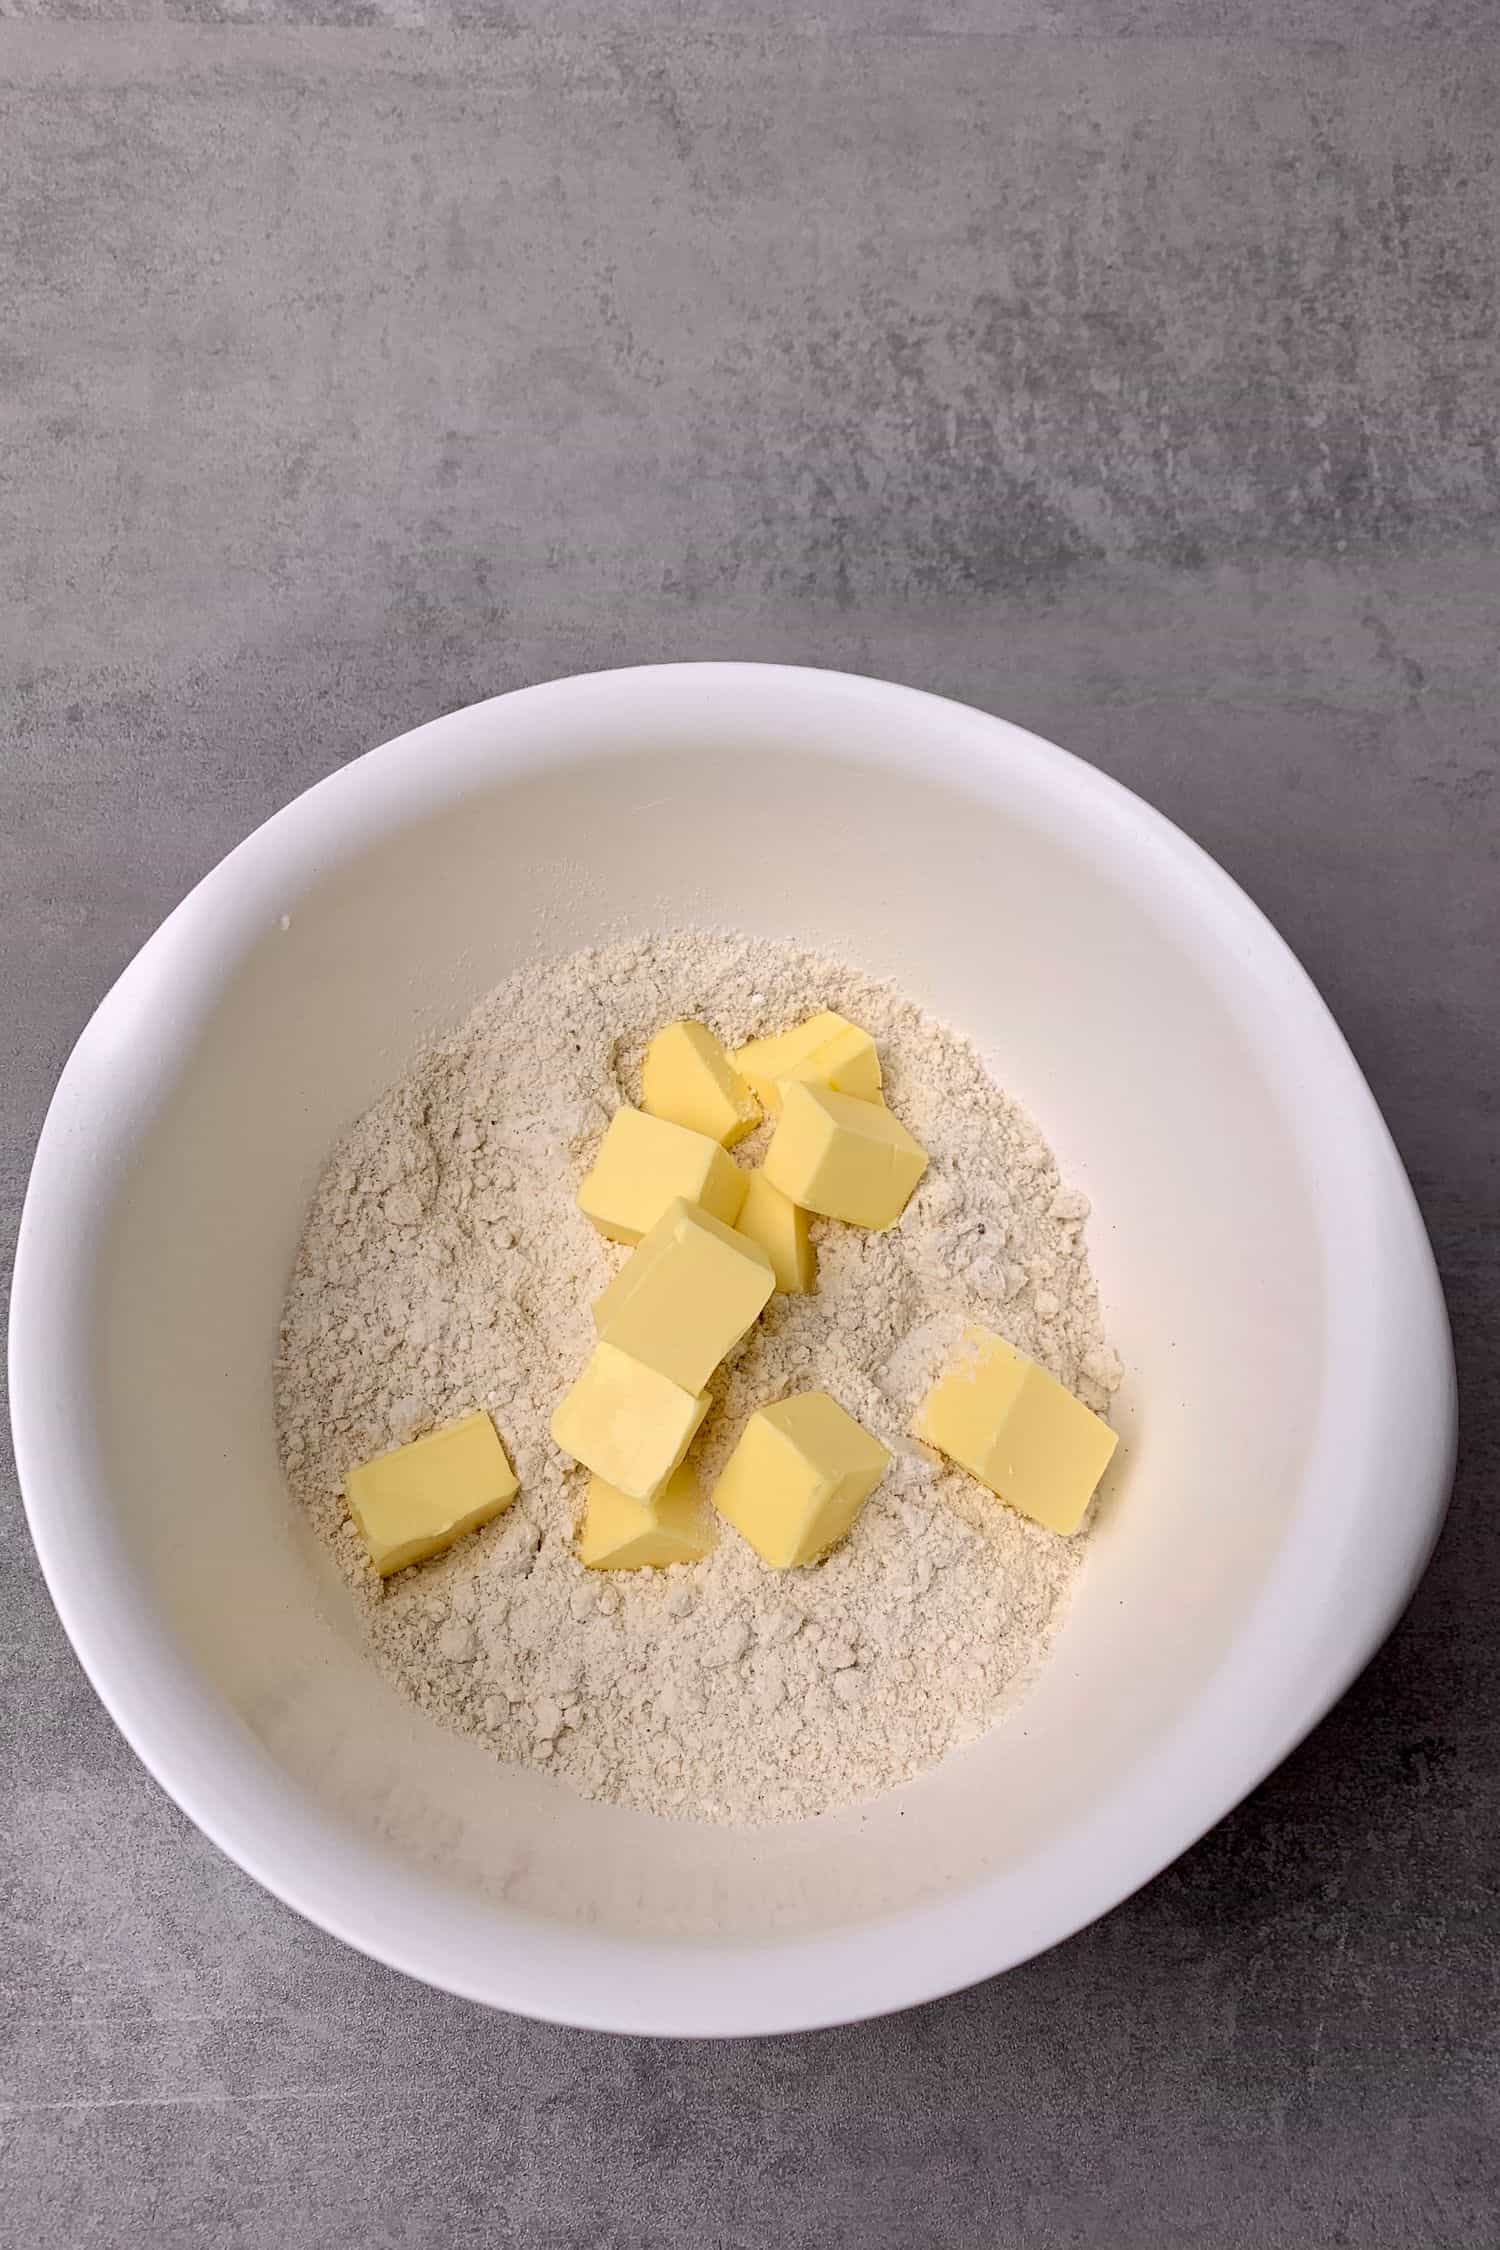
- Sift together dry ingredients; flour, icing sugar, hazelnut flour, salt, mix so they are combined properly
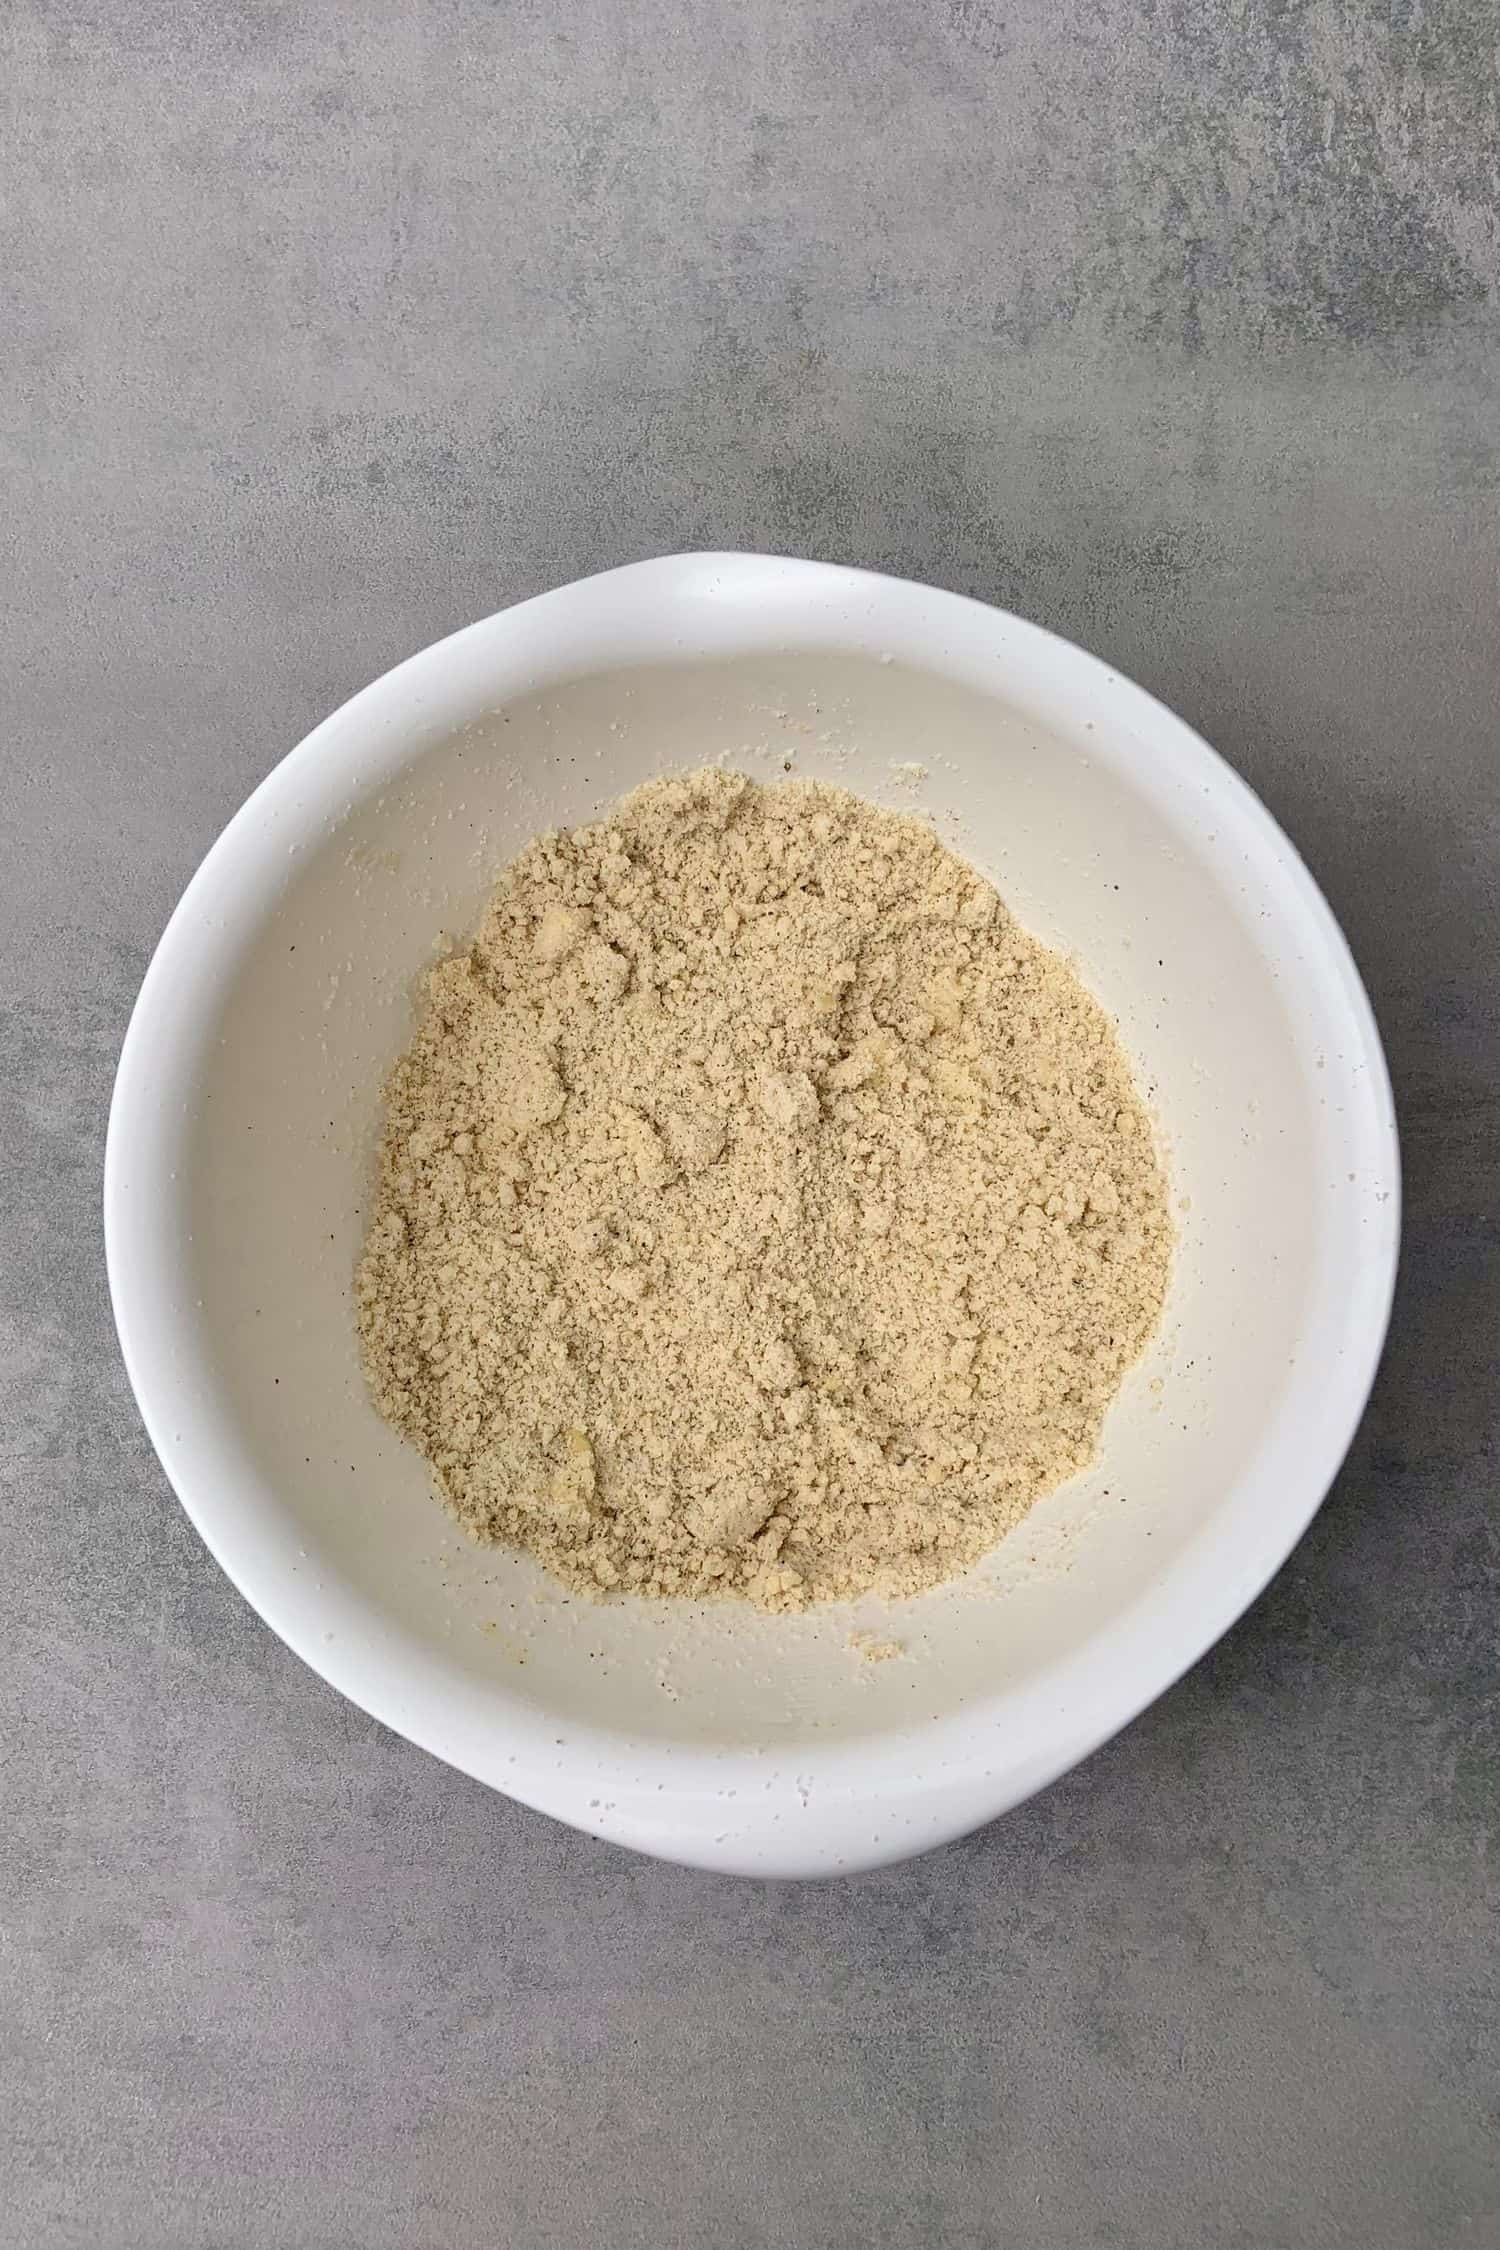
- Add very cold butter cubes to dry ingredients and rub the mixture between your hands until it becomes a sand like consistency. This will take about 3 minutes, make sure you do not spend too much time with this step as butter can easily warm up and that is something we want to avoid
- Add egg into the mixture and mix with your hands just until the dough comes together. First it might look crumbly but do not add more wet or dry ingredients to the recipe instead gently knead the dough with the palm of your hand for a minute or two (do not over knead and do not use mixer) just until the dough becomes smooth
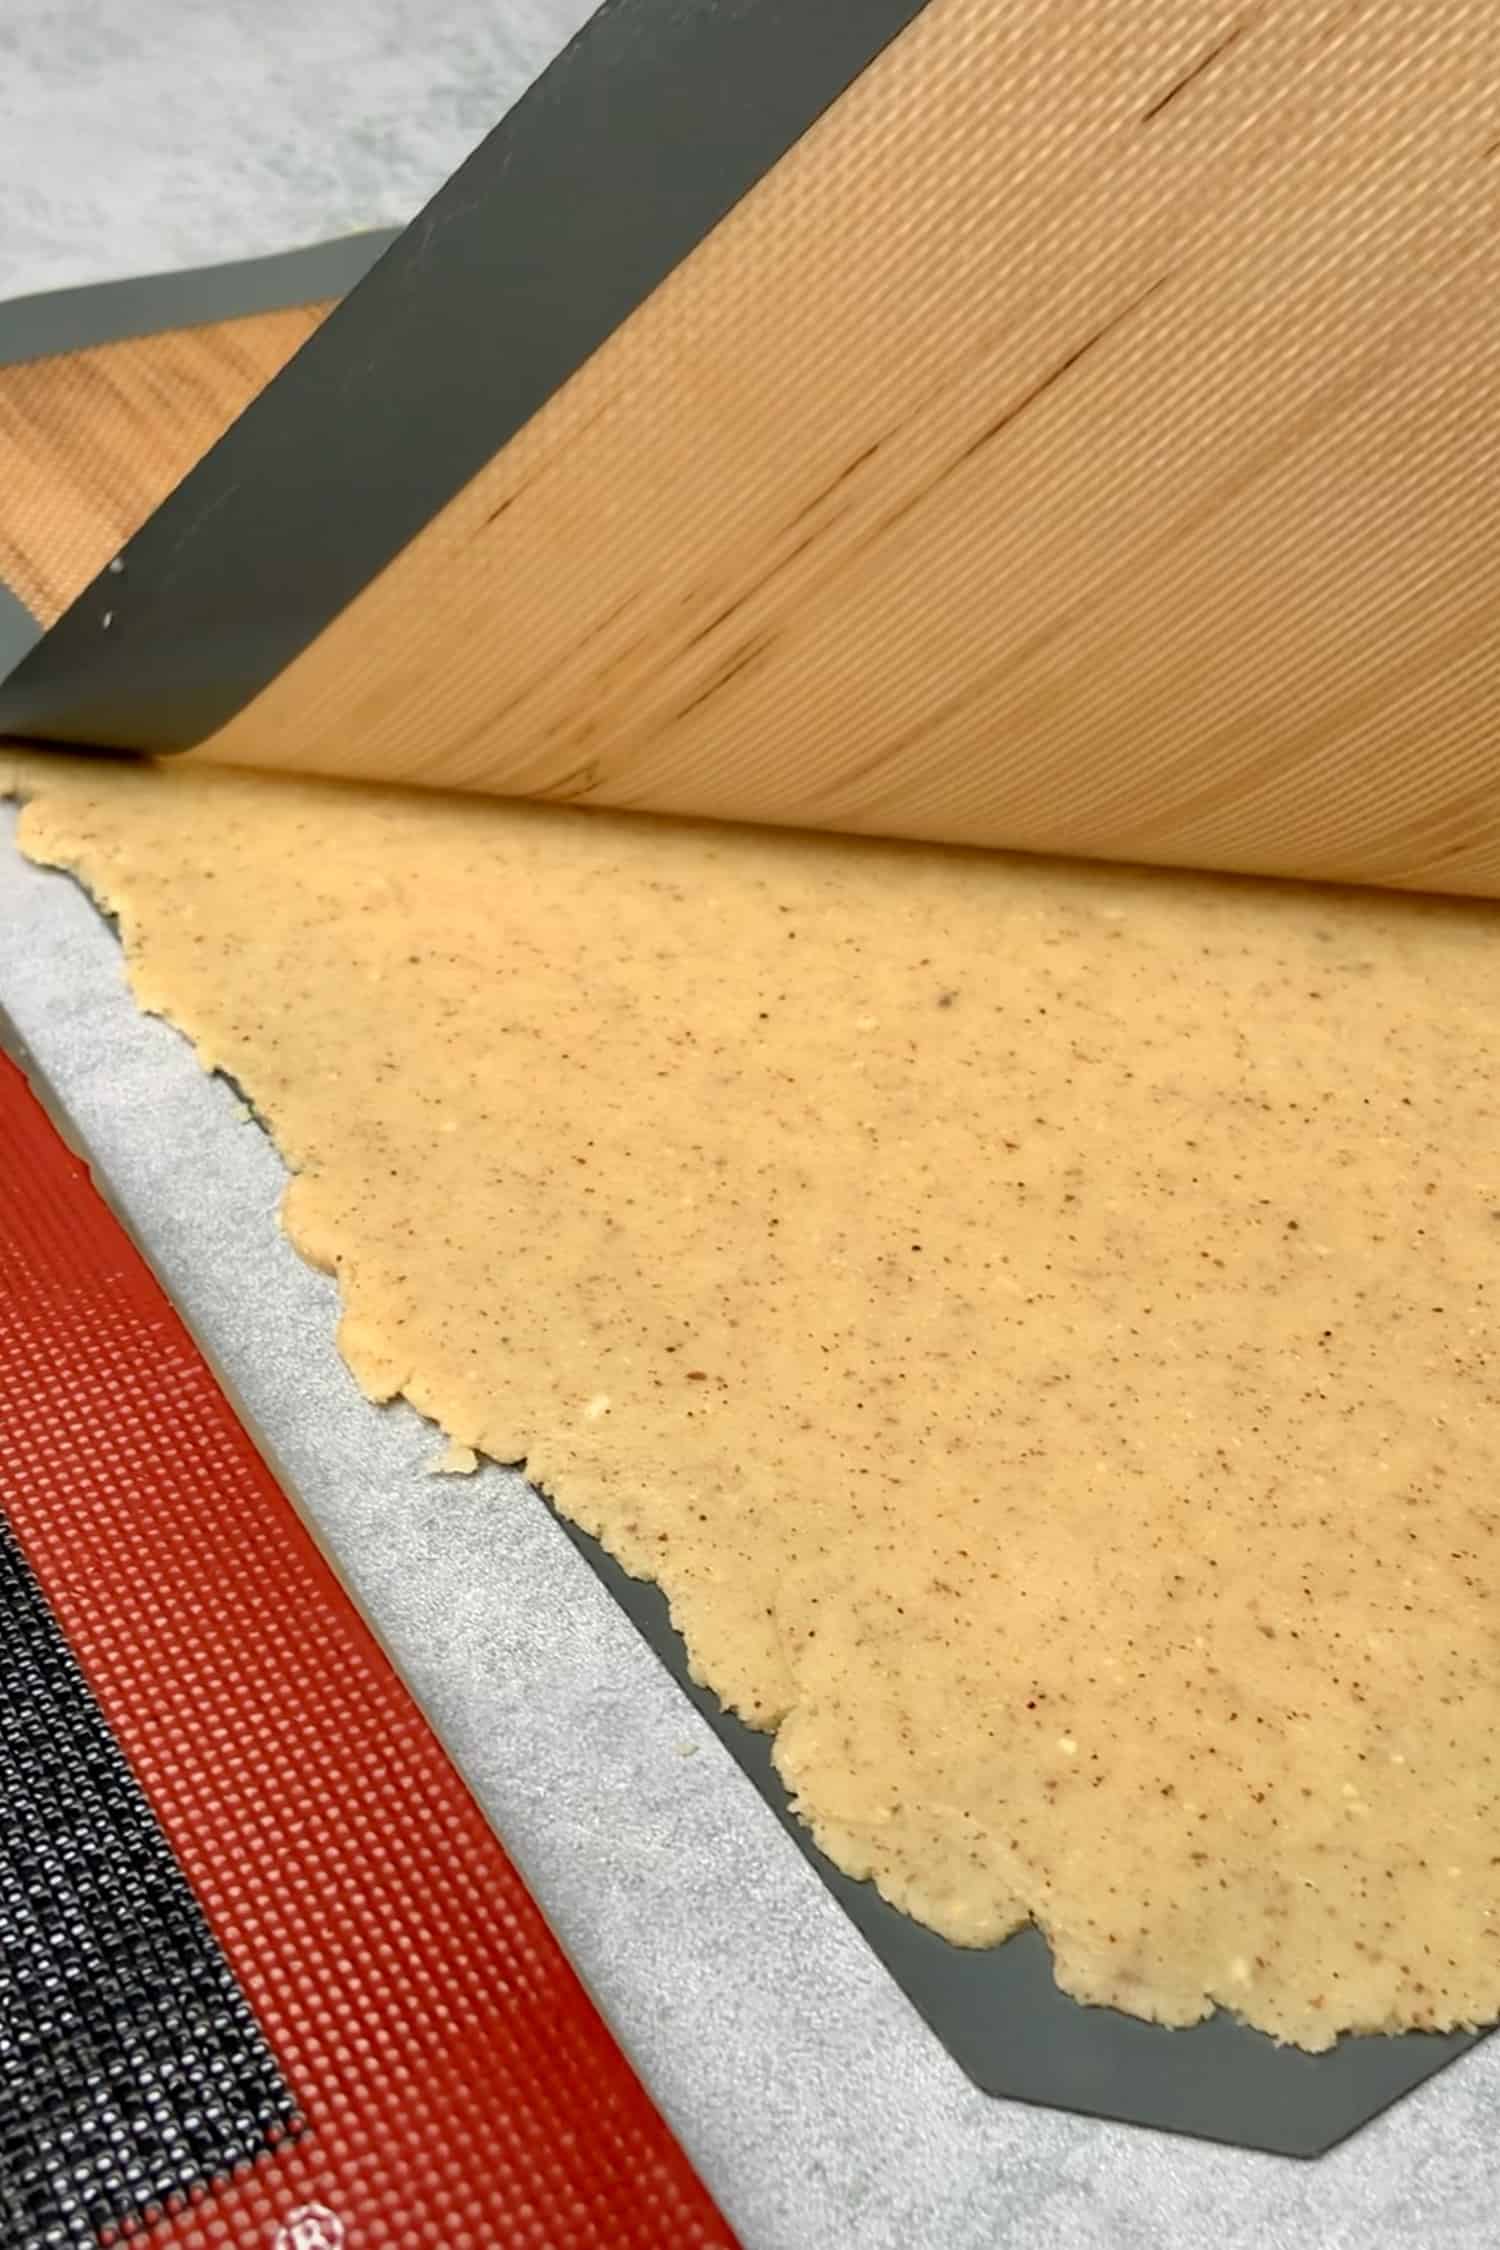
- If the dough is too warm and sticky, place it into the fridge for 10-15 minutes first. Otherwise continue with rolling the dough out into 2mm thickness between two Silicone baking mat. The recipe quantity is designed in a way that once you roll the dough out it will reach the silicone baking mat from edge to edge
- Place the dough into the freezer for 10-15 min in between the two Silicone baking mat. Do not remove the mat at this point as the dough might stick to the mat while it is warm and it would break the dough
- Prepare your oven rack with the Perforated “air” baking mat and Perforated tart rings on top
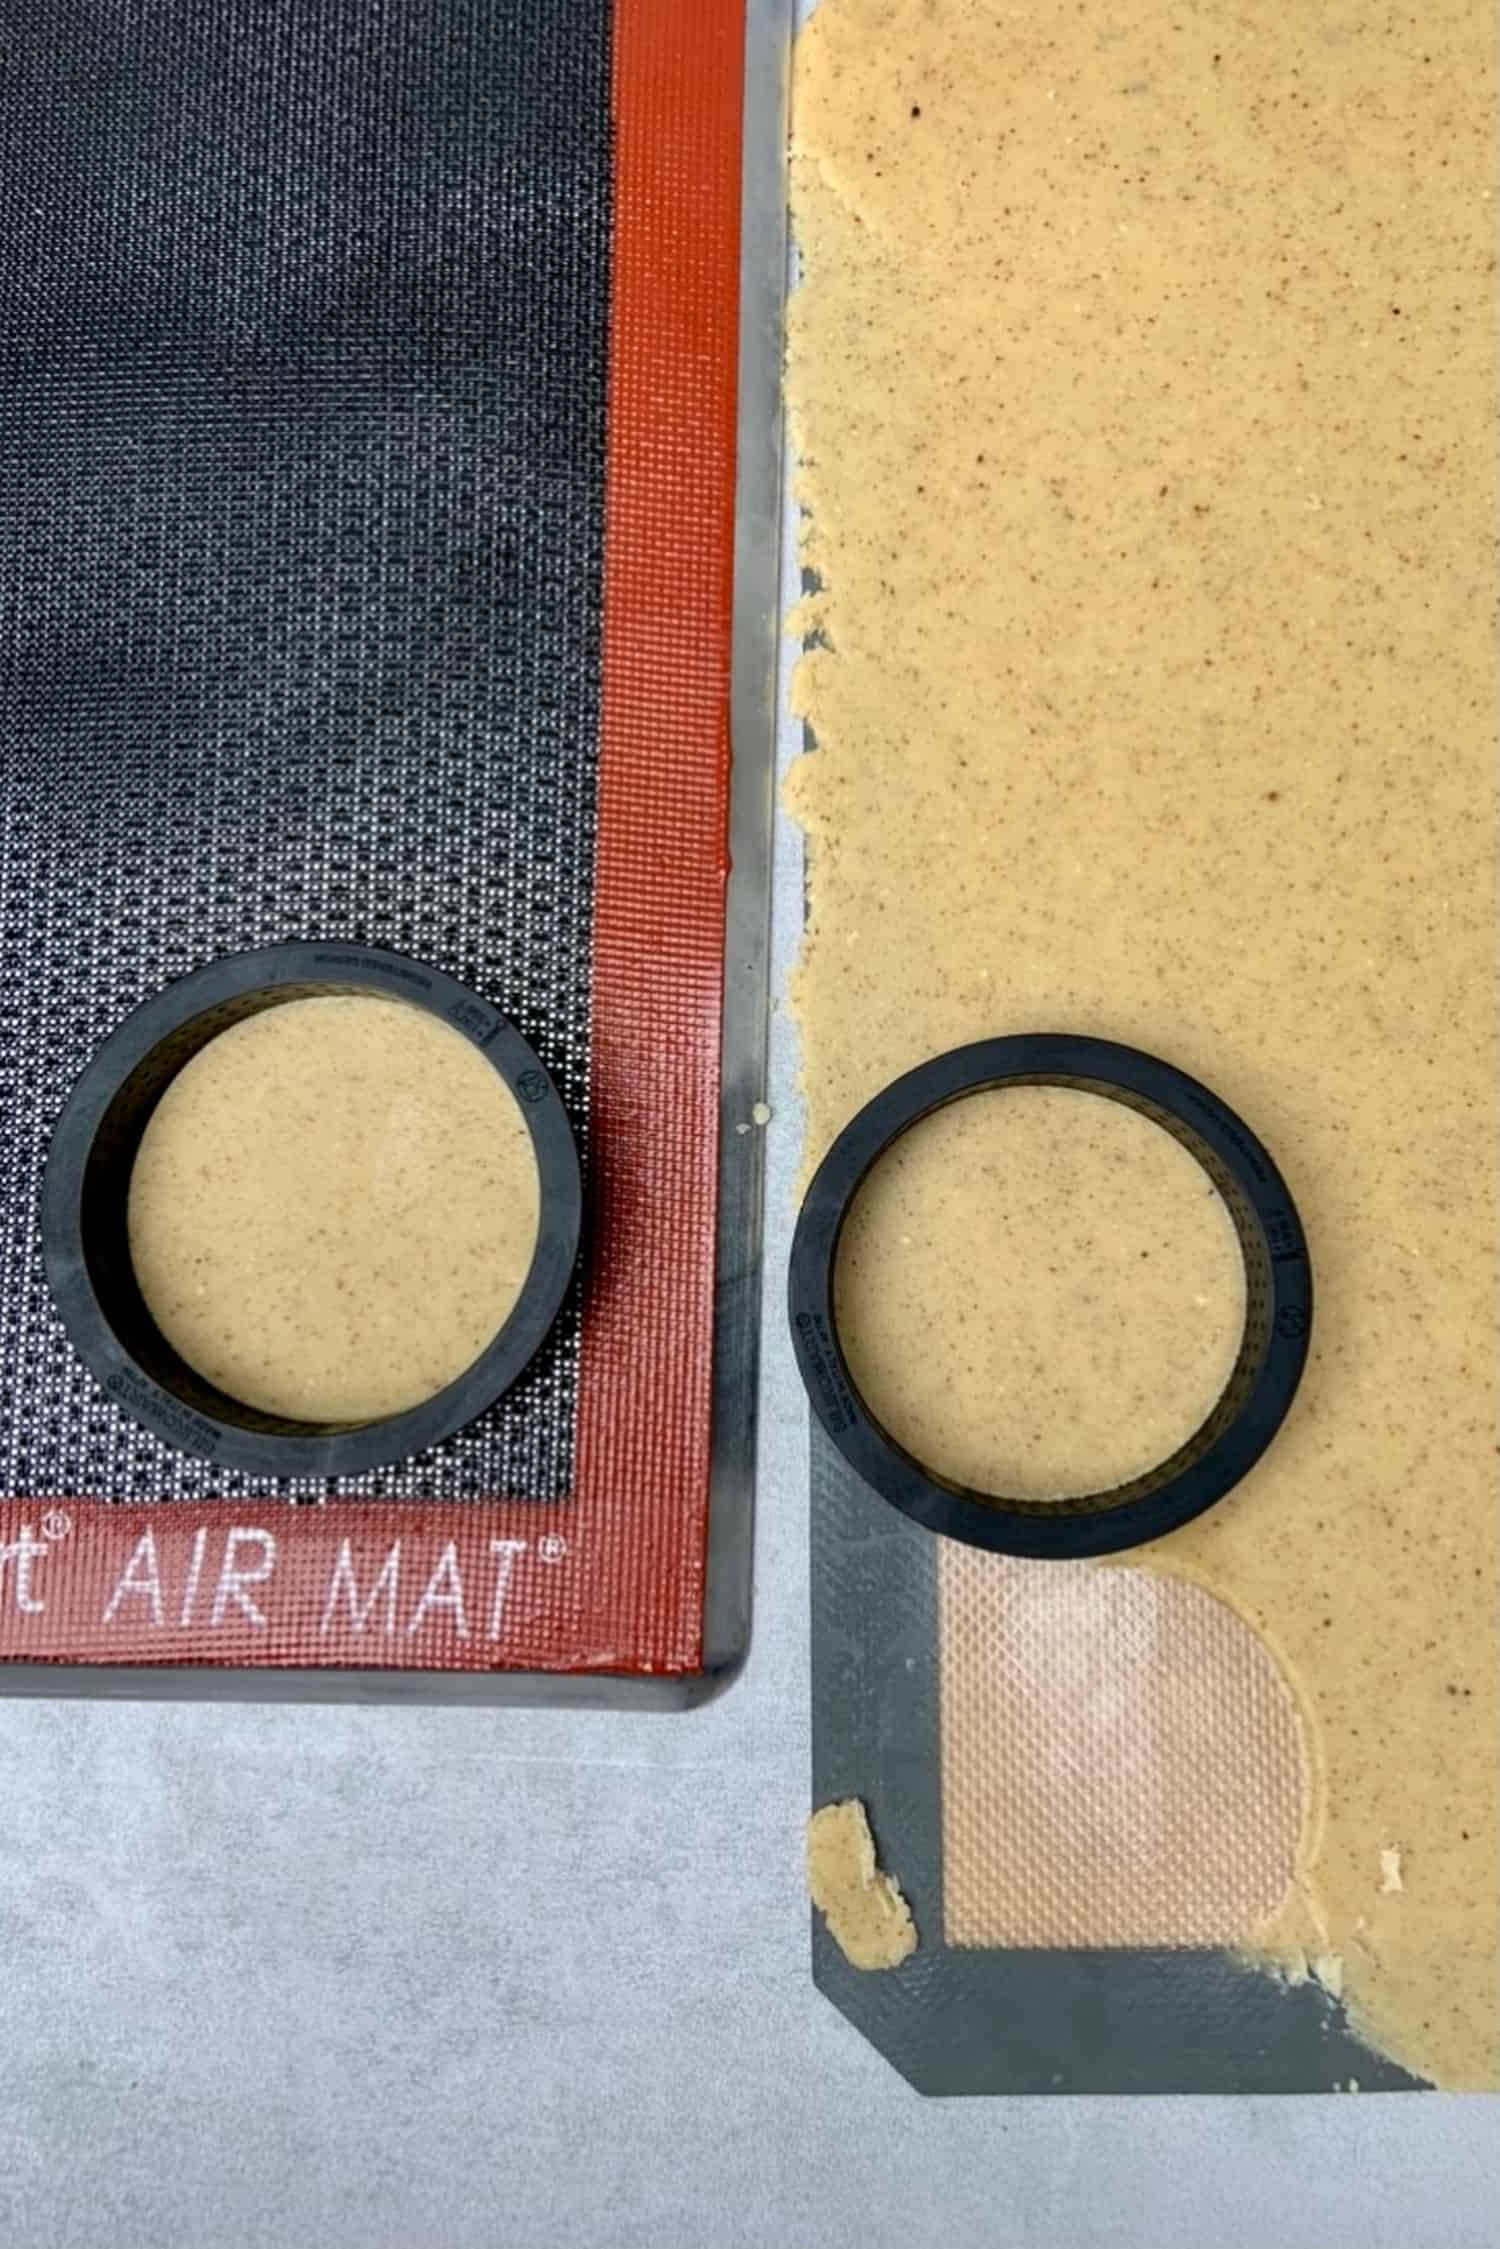
- Take the dough sheet out from the freezer, remove the top of the silicone mat, and using one of the Perforated tart rings, cut out 8 circles – this will be the bottom of your tart crust. Carefully move the dough circles with the help of an Offset spatula and place them into the rings one by one
- If at any point the dough gets too warm to work with, pop it back into the freezer for 5 minutes. You might need take the dough in and out of the freezer a lot of times but that is fine, don´t try to force the dough while it is warm. It is extremely important to work with a dough which is cold enough to be able to handle (so not sticky) but not too cold which would result in breaking it
- Cut 8 long stripes out of the dough, this will be the side of the tart
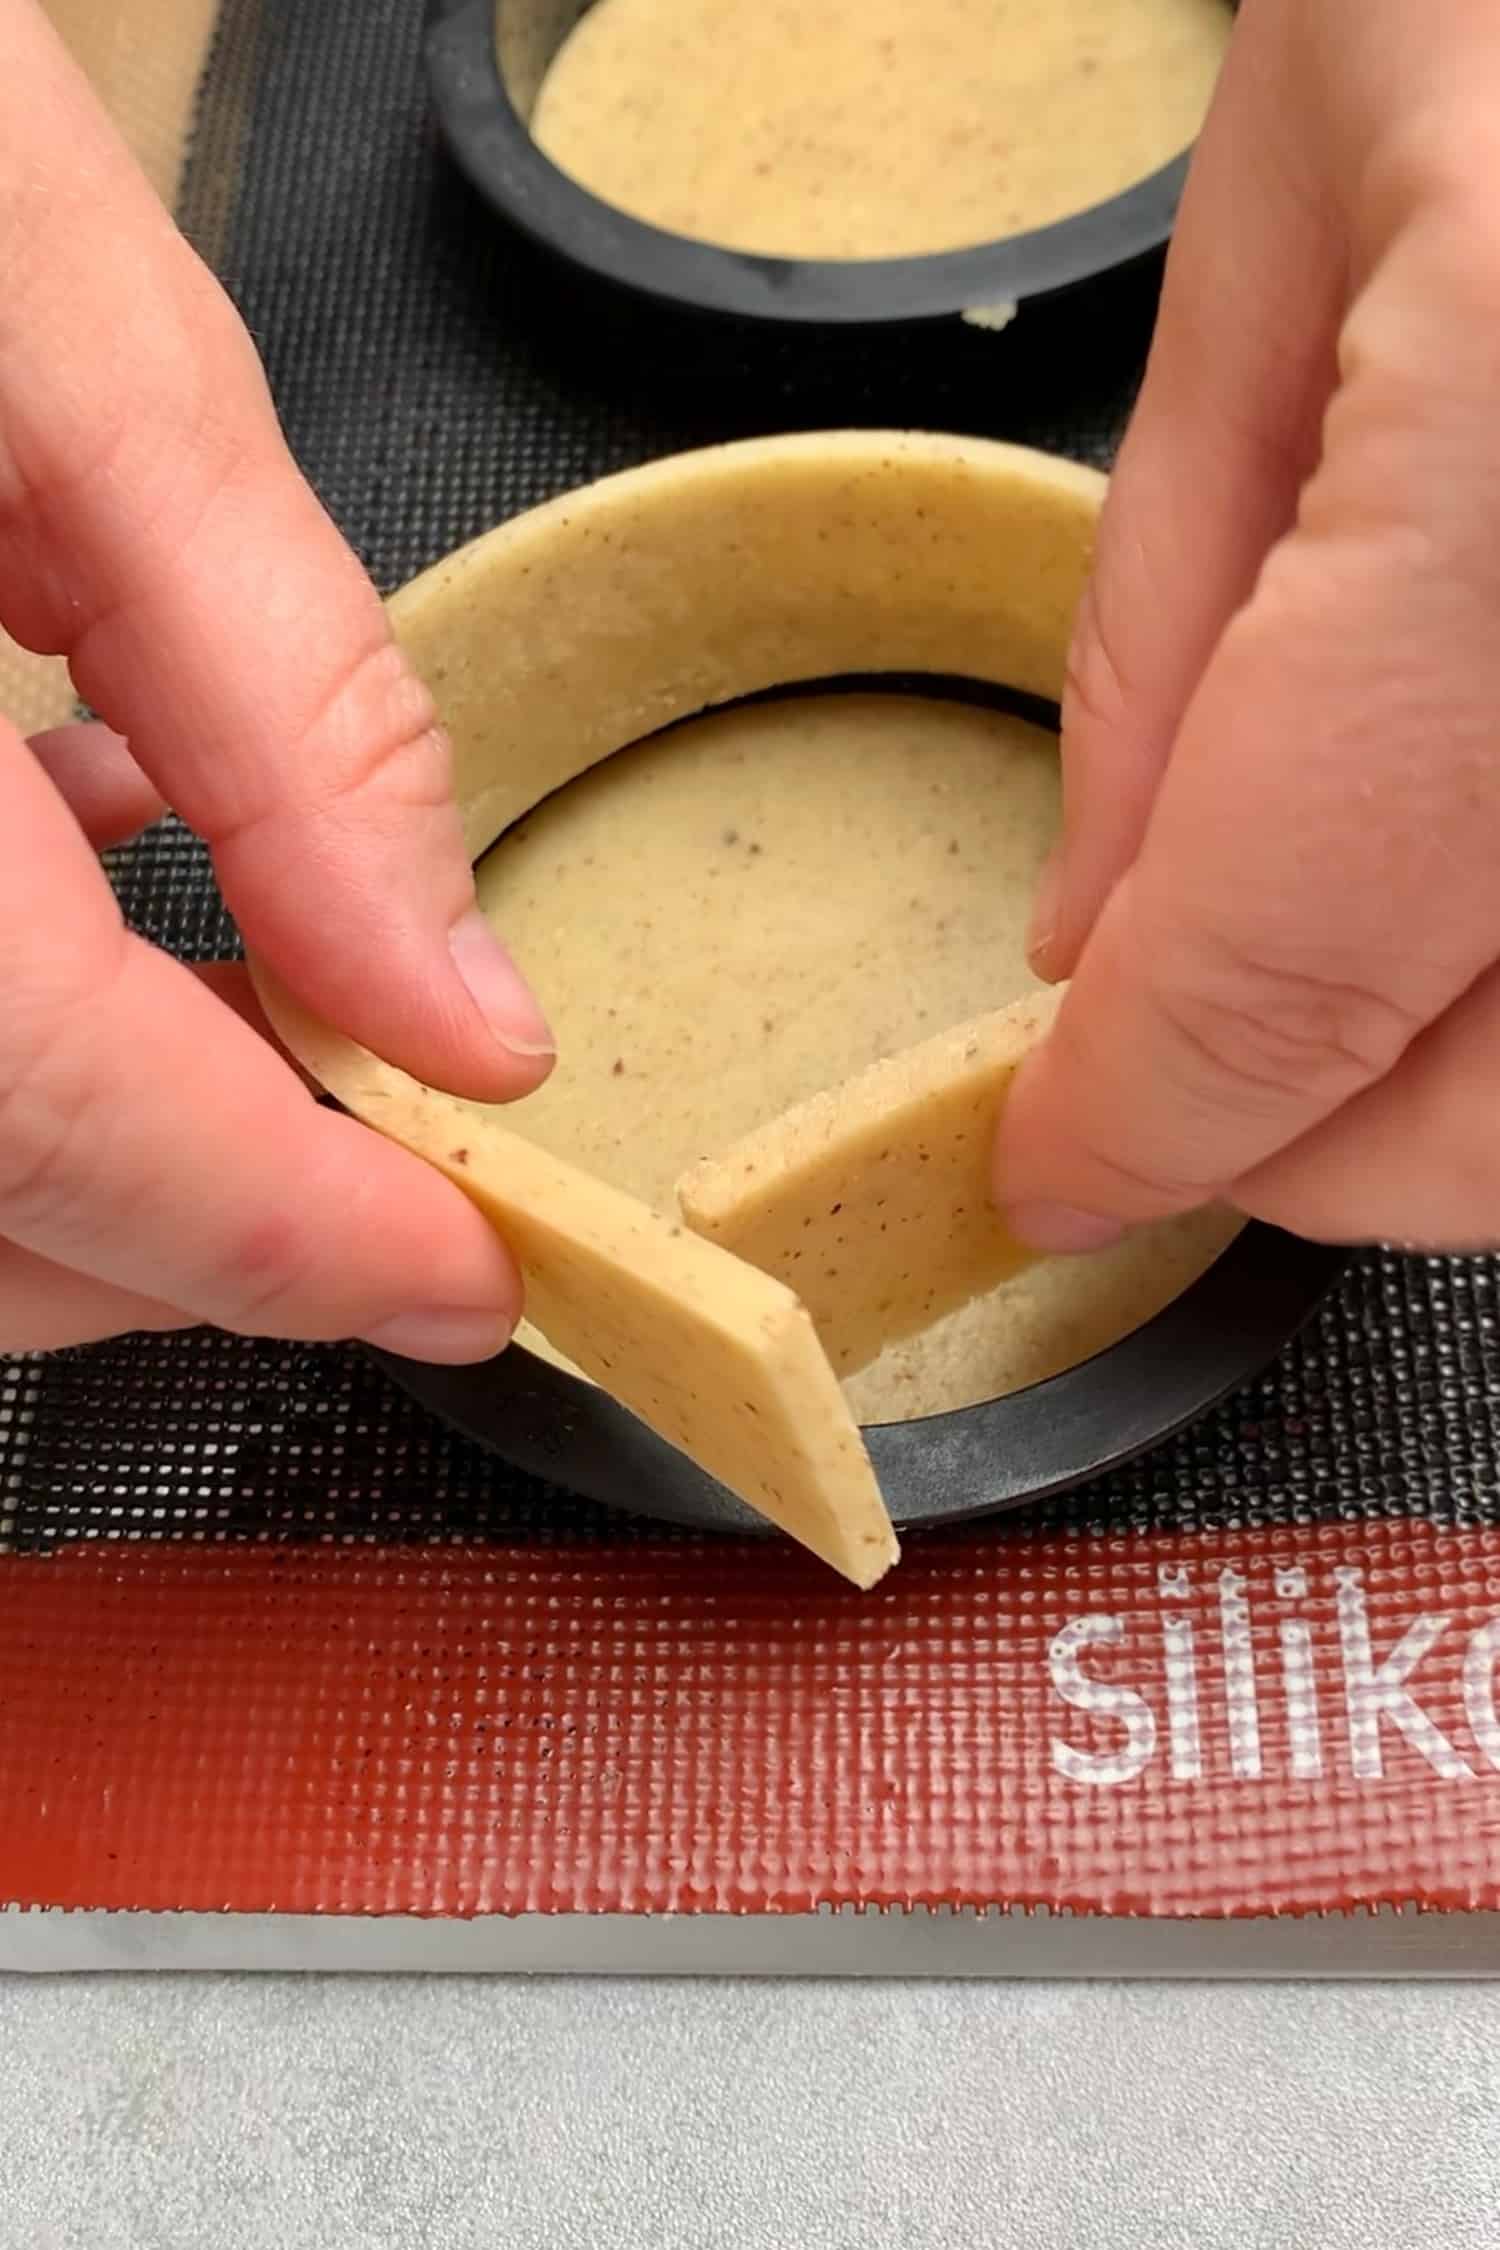
- Carefully place the stripes into the ring one by one. Press each stripe onto the side of the rings so it sticks to it. Again make sure you work with a dough that is cold enough but not frozen as that would make impossible to place it into the tart ring without breaking it
- Place the Perforated tart ring with the pastry dough in them into the freezer for 1 hour
- Pre-heat oven to 160C / 320F
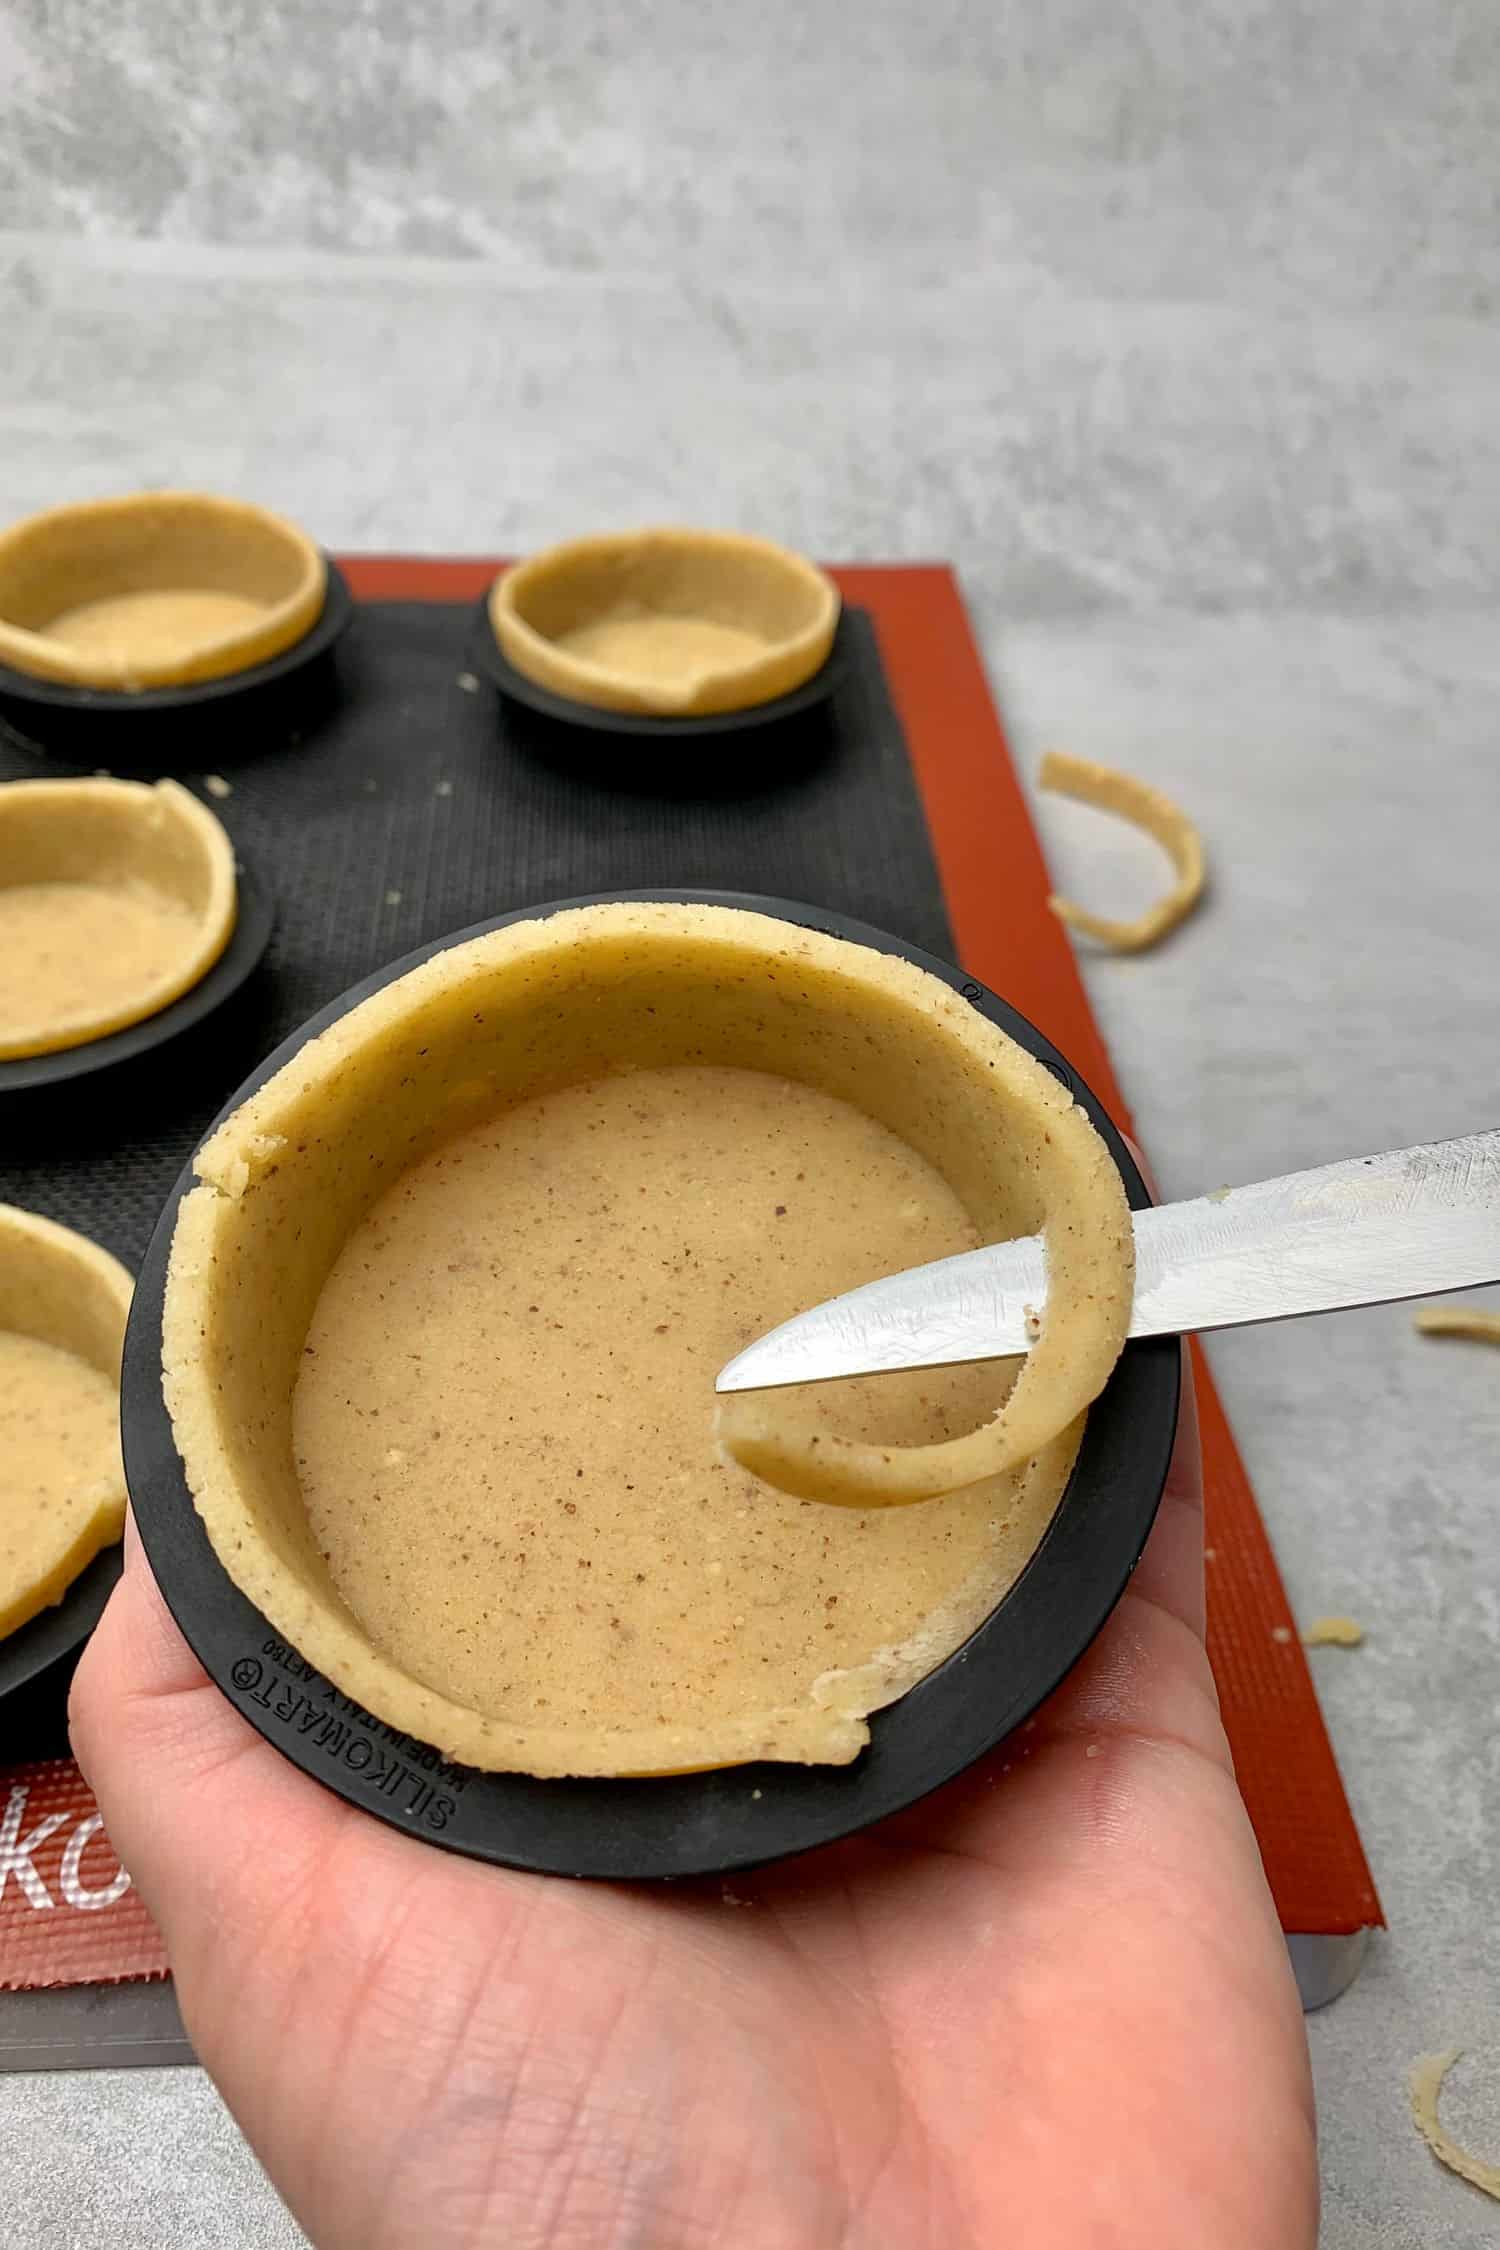
- After 1 hour take the pastry dough with the rings on them out and trim them with a sharp knife
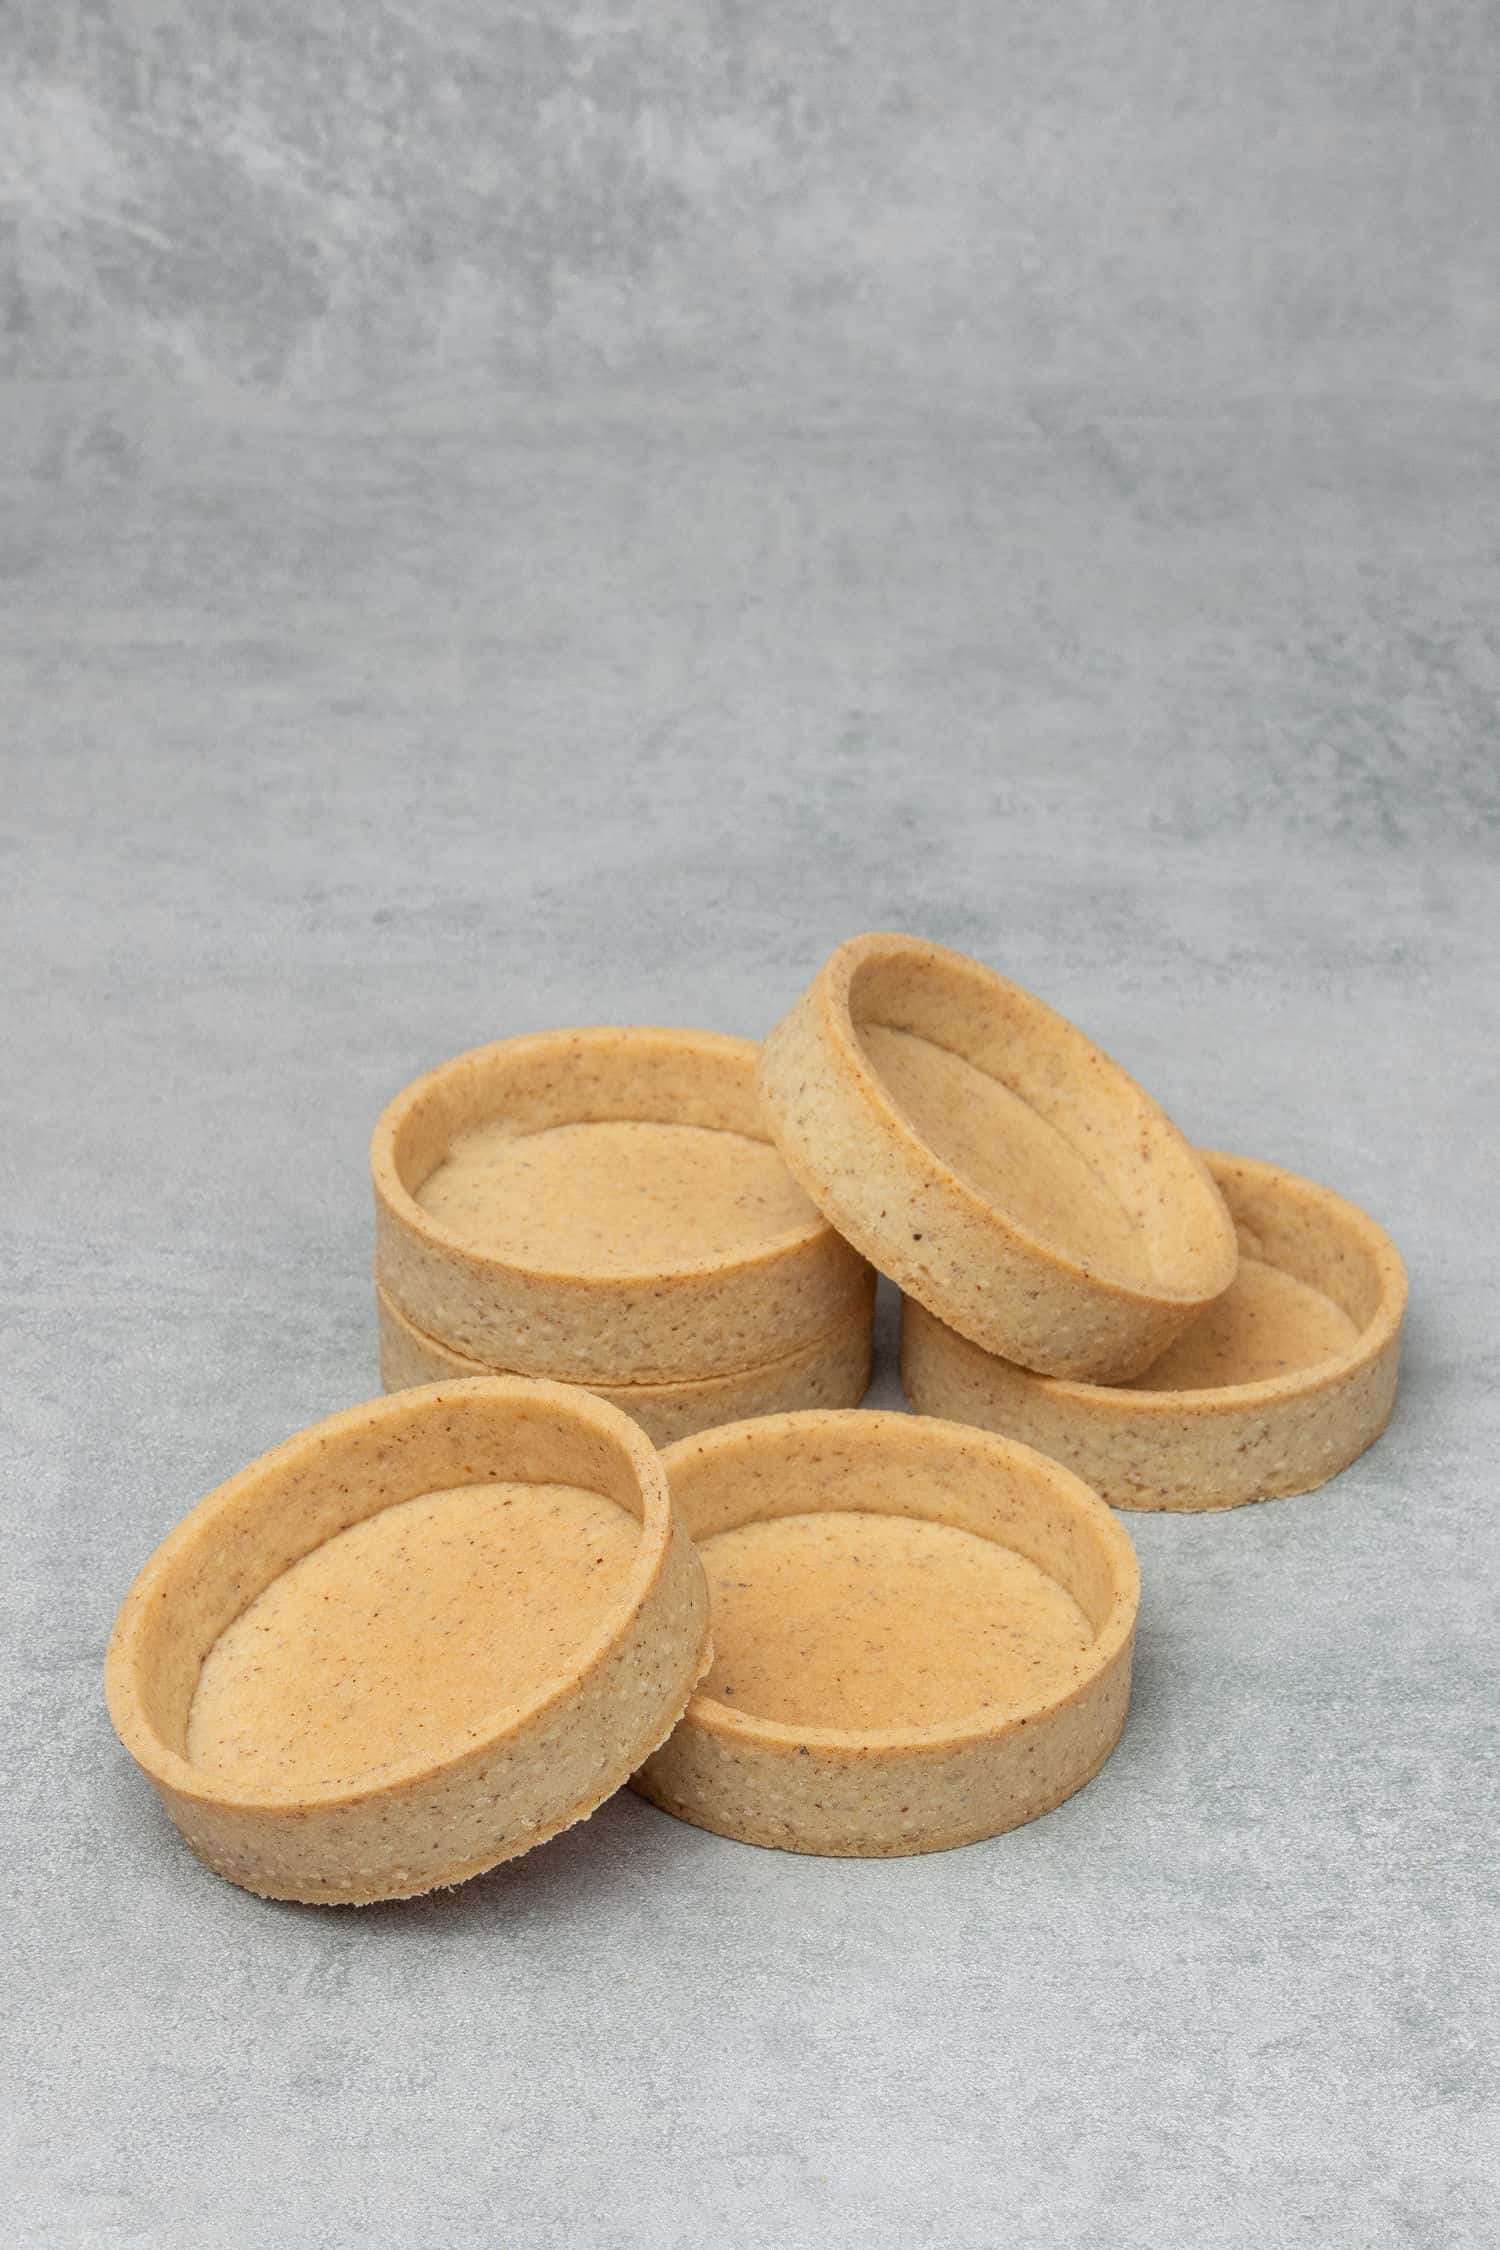
- Bake for 20 min then carefully remove the rings. Once you take the tarts out of the oven wait for a minute or two for the pastry to somewhat contract within the ring then you will be able to easily remove the rings. If ring seems to stuck onto your pastry it means probably you will need to bake it for a few more minutes
- Once tart rings are removed, bake the tart cases for another few minutes. The tarts will be ready baked already after a few minutes however if you wish to bake it until golden brown then bake it for another 10 minutes. Rotate the baking sheet if necessary
- Let them cool on the Perforated “air” baking mat before filling them with hazelnut ganache
4. How to make hazelnut ganache filling
Making the hazelnut ganache filling for this Triple Hazelnut tart is extremely easy and quick! It also tastes amazing…and you will need only 3 ingredients!
Chocolate ganache is literally chocolate and cream mixture with endless uses; cakes, cupcakes, tarts etc. As usual, the quality of the ingredients will highly impact the end result. While taste is obviously very important, in case of chocolate the quality goes way beyond taste, good vs poor quality chocolate that can make or break any recipe. I recommend to chose a high quality brand with high cocoa content chocolate to avoid disappointment, what I am using is Callebaut Dark Chocolate (callets) that has high cocoa butter %, tastes amazing and works wonderfully silky while making ganache.
Regarding the cream, I am using heavy cream that has 36% fat content. Do not make ganache using low fat creams or vegetable creams.
Chocolate ganache is a 1:1 mixture of chocolate and warm cream and this hazelnut ganache is basically a chocolate ganache with added 100% hazelnut paste. Please see above at the “Ingredients” section tips about hazelnut paste.
- Place finely chopped high quality white chocolate into a bowl or use Callebaut WhiteChocolate (callets)
- Place 100% hazelnut paste into the bowl with the chocolate
- Semi-melt white chocolate & hazelnut paste in the microwave stirring every 30 sec, make sure you do not burn it. No need to fully melt the mixture
- Heat cream until just simmering. If it’s boiling, the cream is too hot and could burn the chocolate. If the cream is not warm enough, it won´t melt the chocolate properly and won’t emulsify
- Pour warm cream over the chocolate & hazelnut paste
- Let the mixture sit for a minute then stir together or use a blender to emulsify
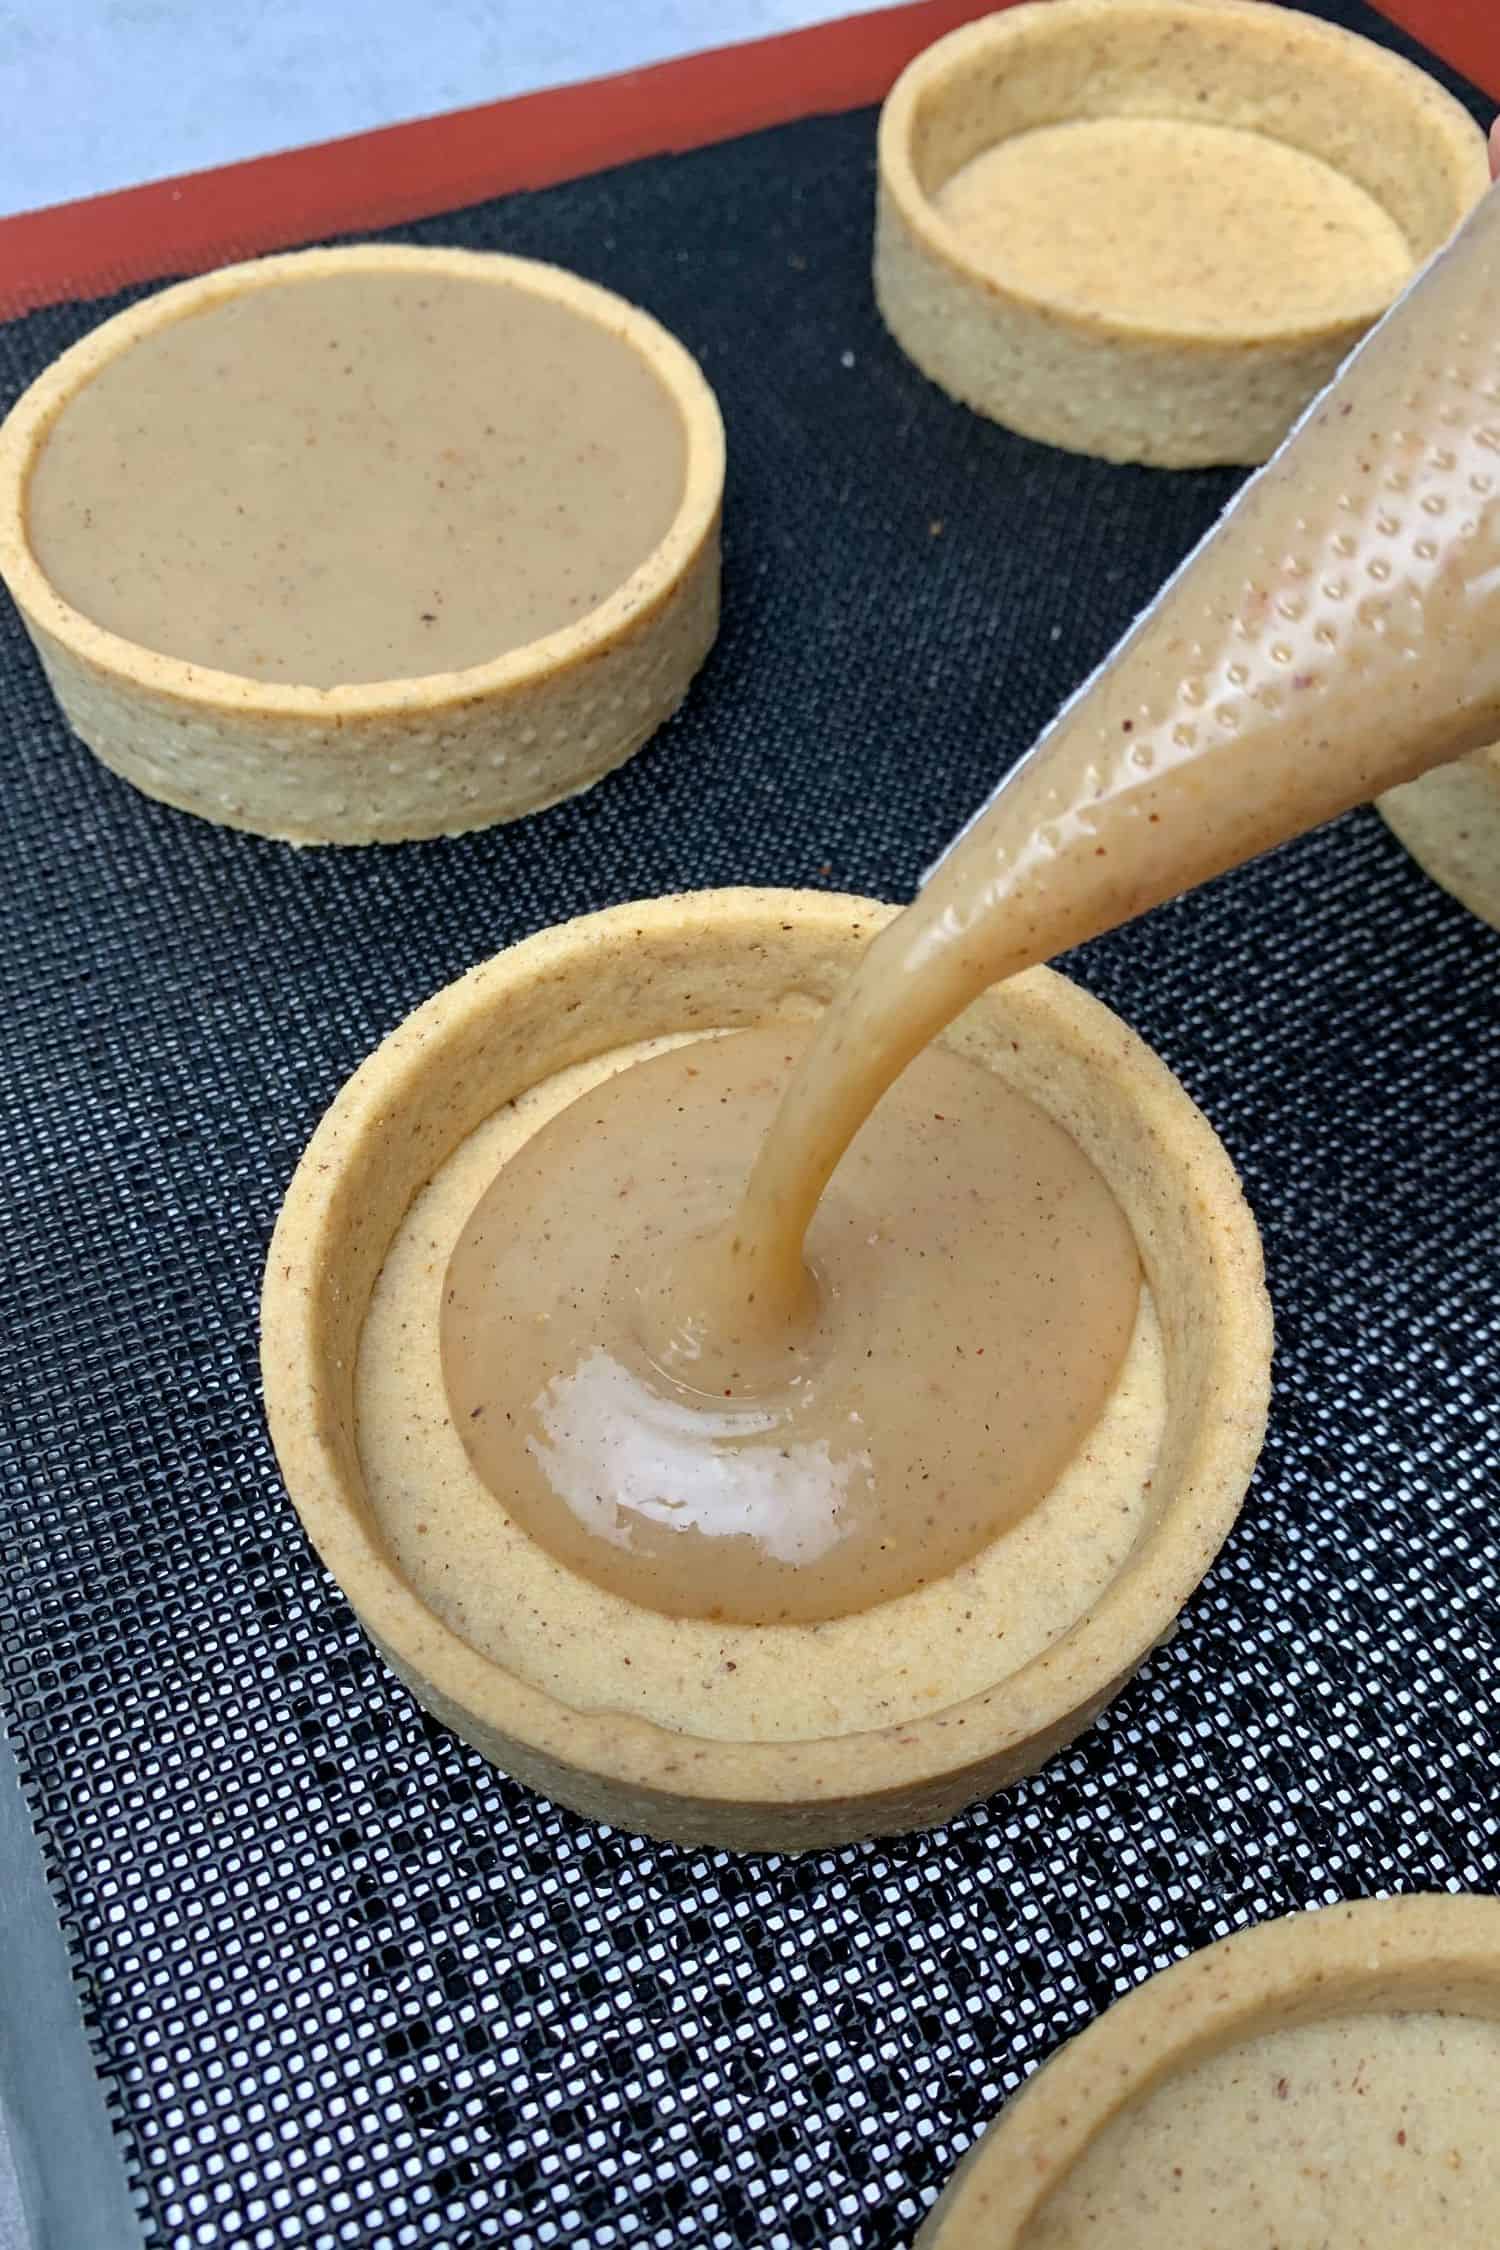
- Let the mixture set on room temp for 30 minutes then while it is still runny, fill your tart shells with it
- Refrigerate for 6 hours or overnight for the ganache to set. Once ganache set, we can start decorate the tarts
Note 1: The quantity needed for this Hazelnut ganache might vary depending on how thick on thin you make the tart shells. Very thin tart shell requires more filling than if tart shell is thick
5. How to make the gold chocolate disk to decorate the Hazelnut tart
This gold chocolate disk decoration is one of the most impressive decoration I´ve ever made! It consist of a chocolate disk that is basically tempered chocolate painted into gold then melted on top of the tart with the help of a hair dryer - a chocolate decoration technique that was originally was pioneered by Francois Daubinet and very popular among pastry chefs. It is so simple yet so much fun with an impressive end result!
Making gold chocolate disk is super simple:
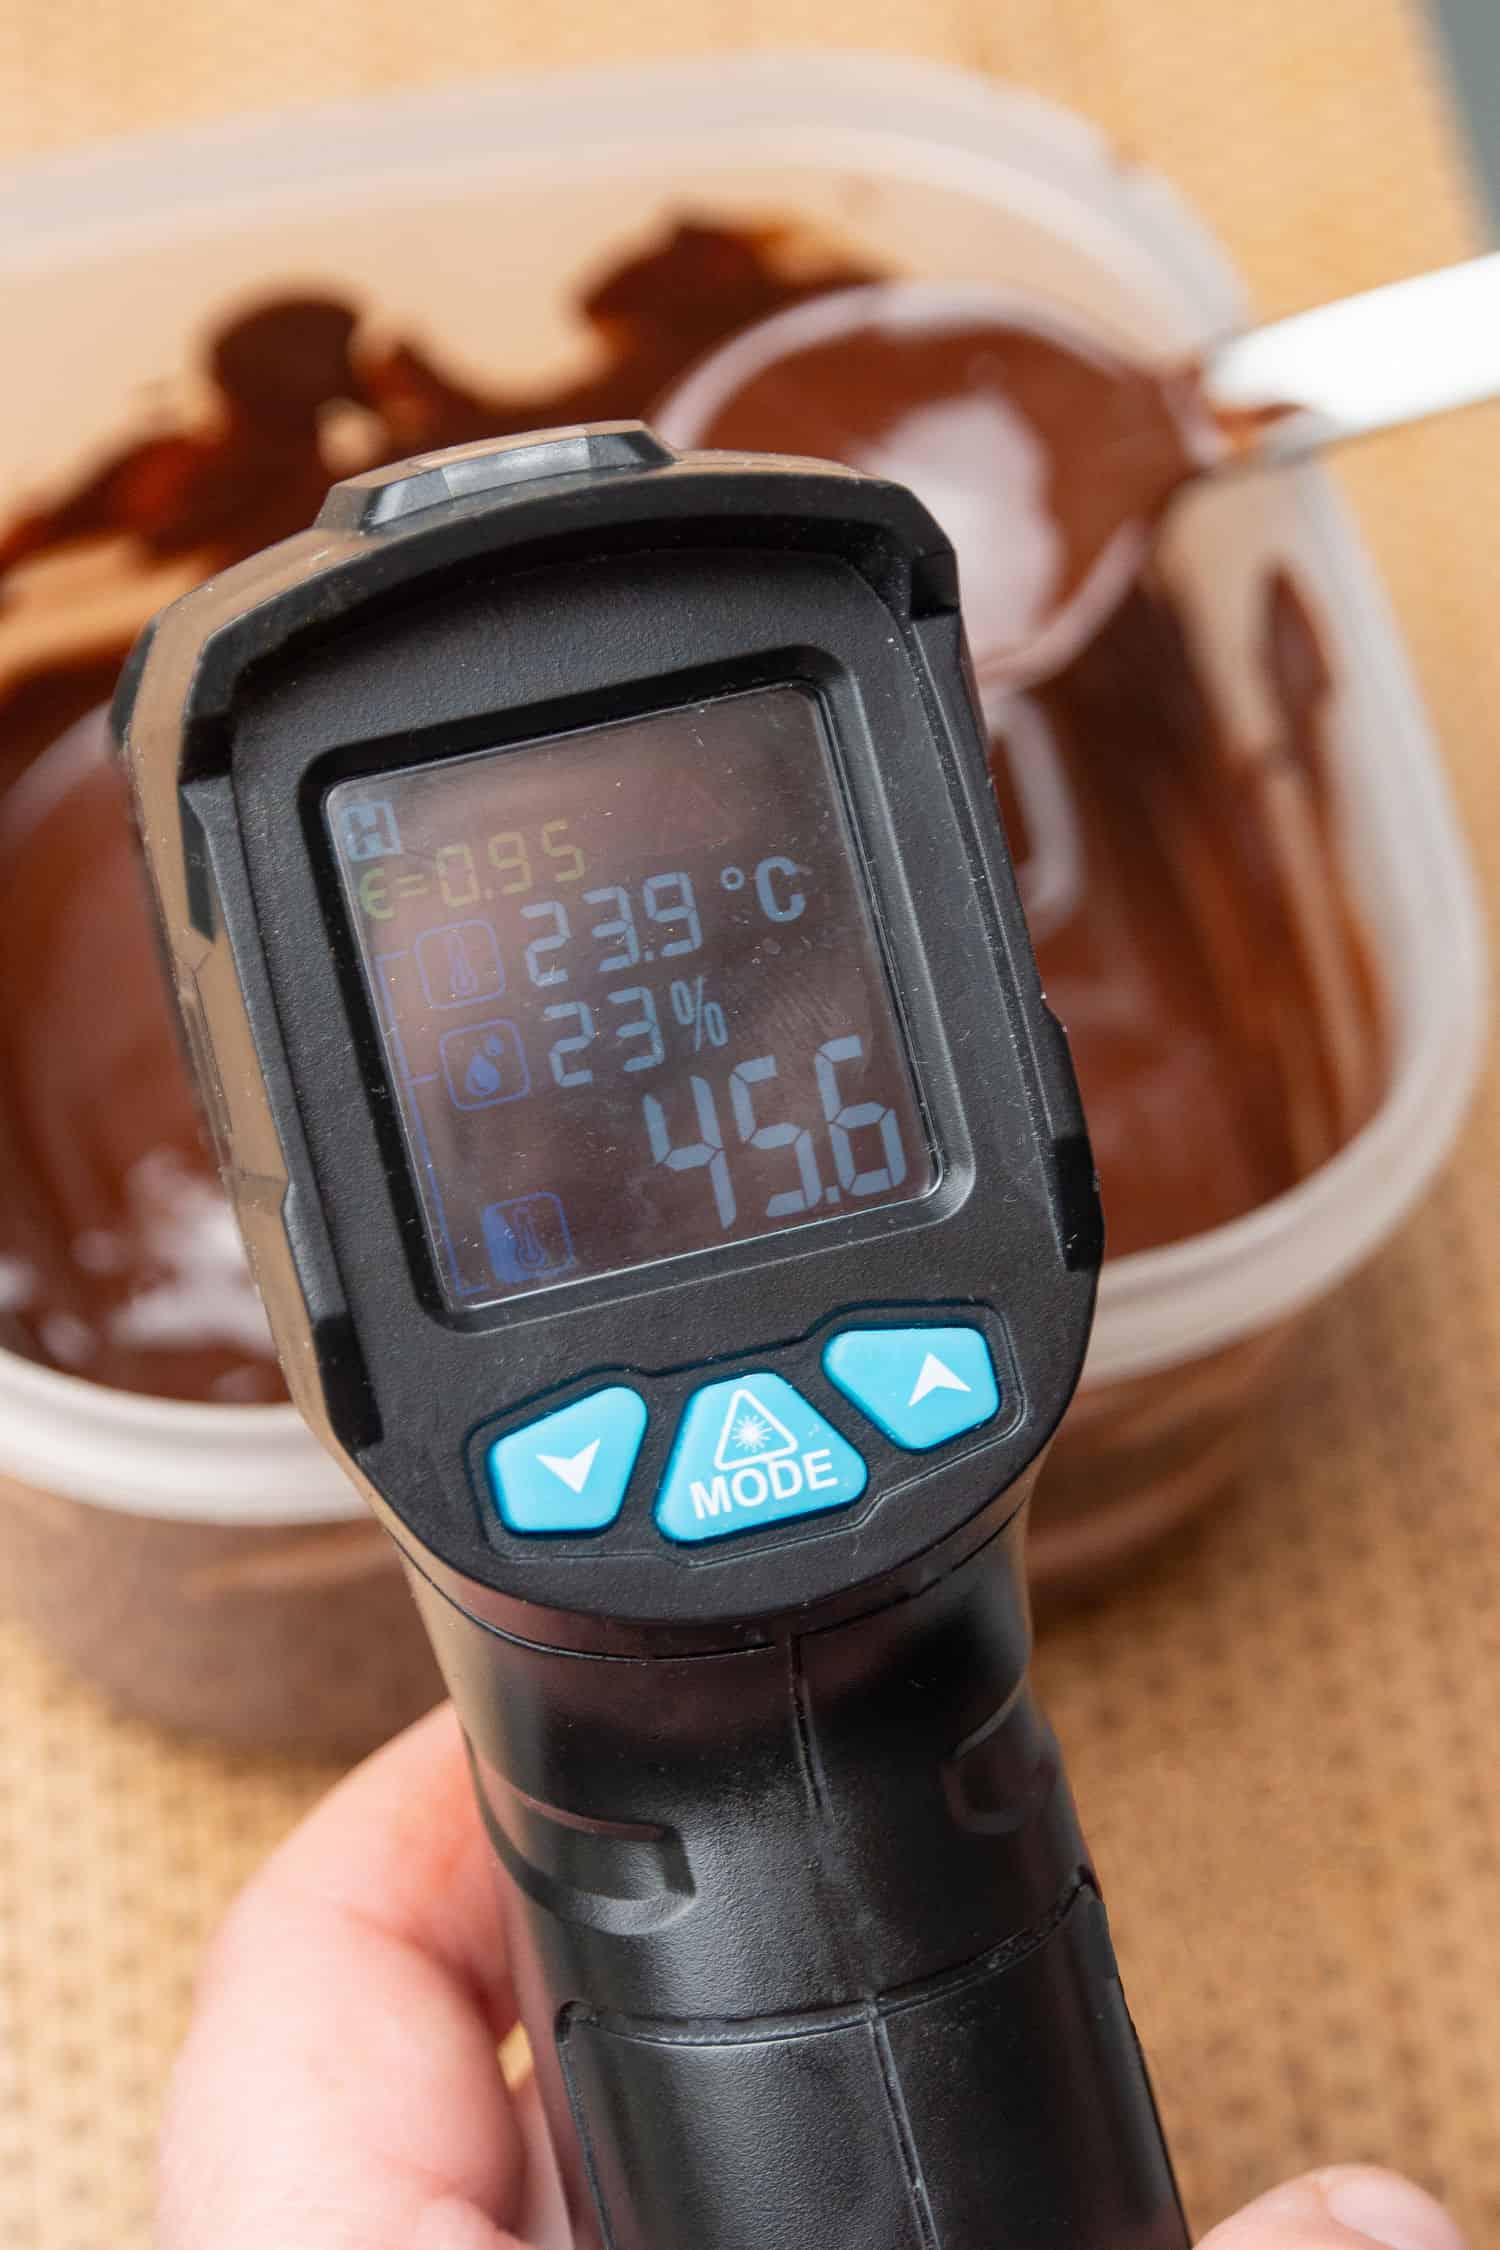
- Melt and temper good quality dark chocolate eg. Callebaut Dark Chocolate (callets)
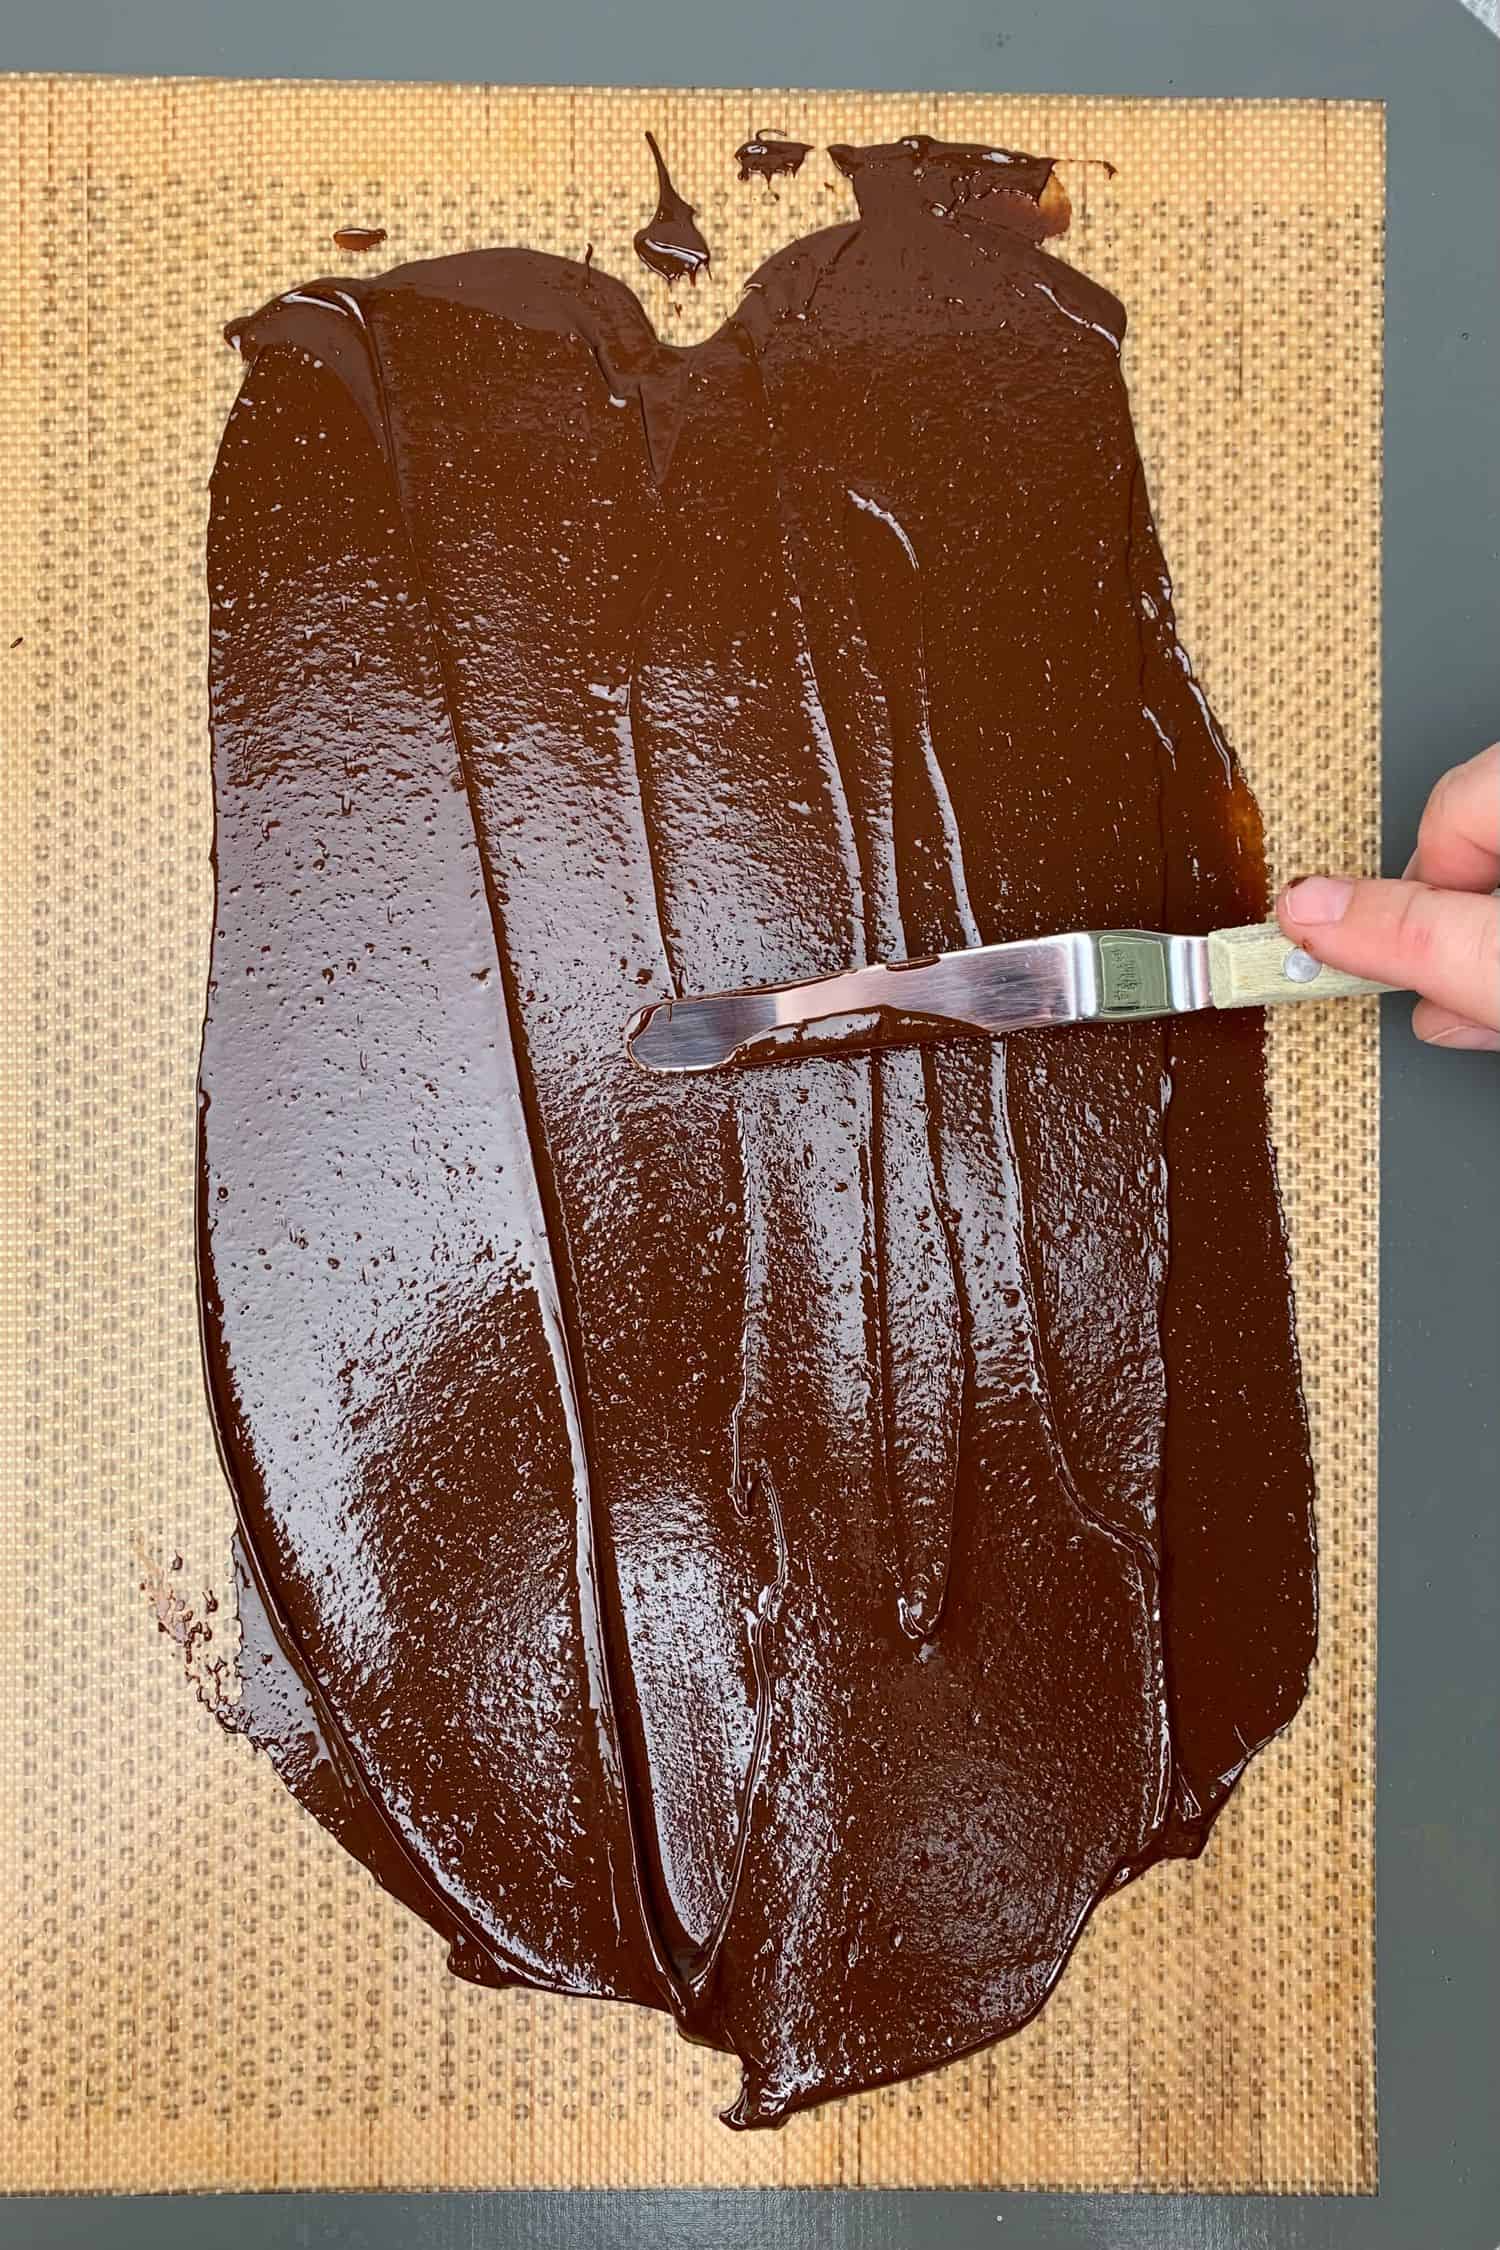
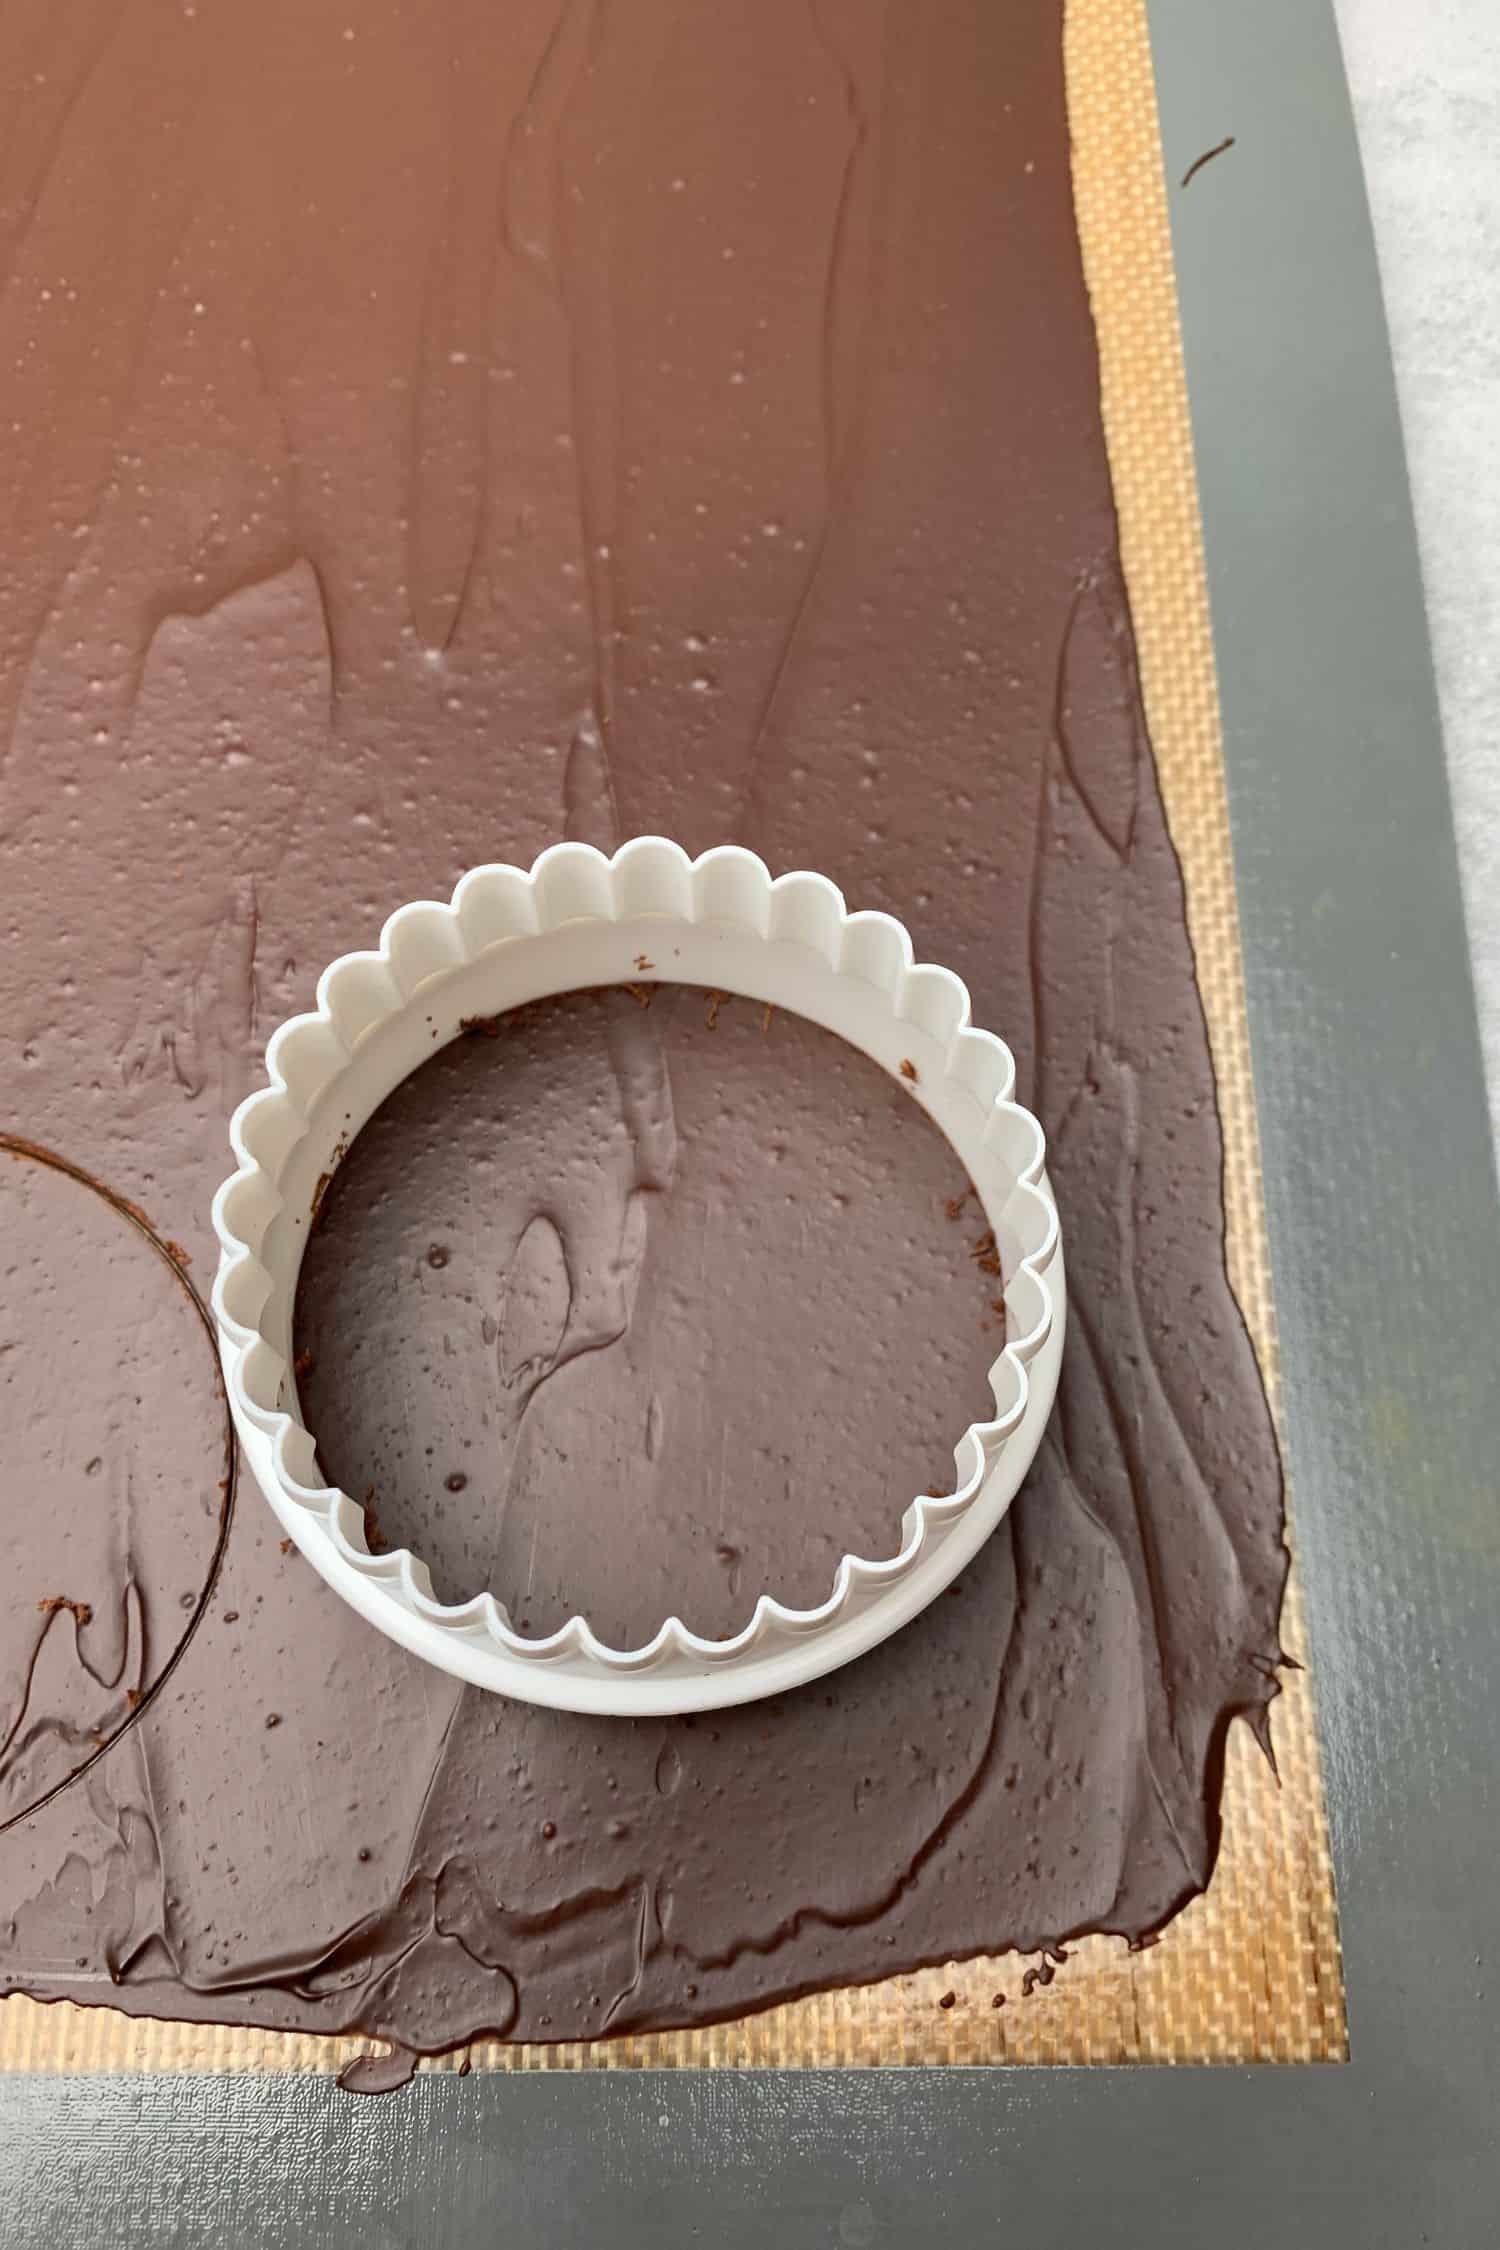
- Pour tempered chocolate onto a Silicone baking mat then smooth the top with an offset spatula to about 1mm in thickness
- Wait until chocolate starts to set (becomes mat) and cut out circles with the help of a cookie cutter. The diameter of the circle should be around the same size as the diameter of the tart
- Let chocolate disk fully set
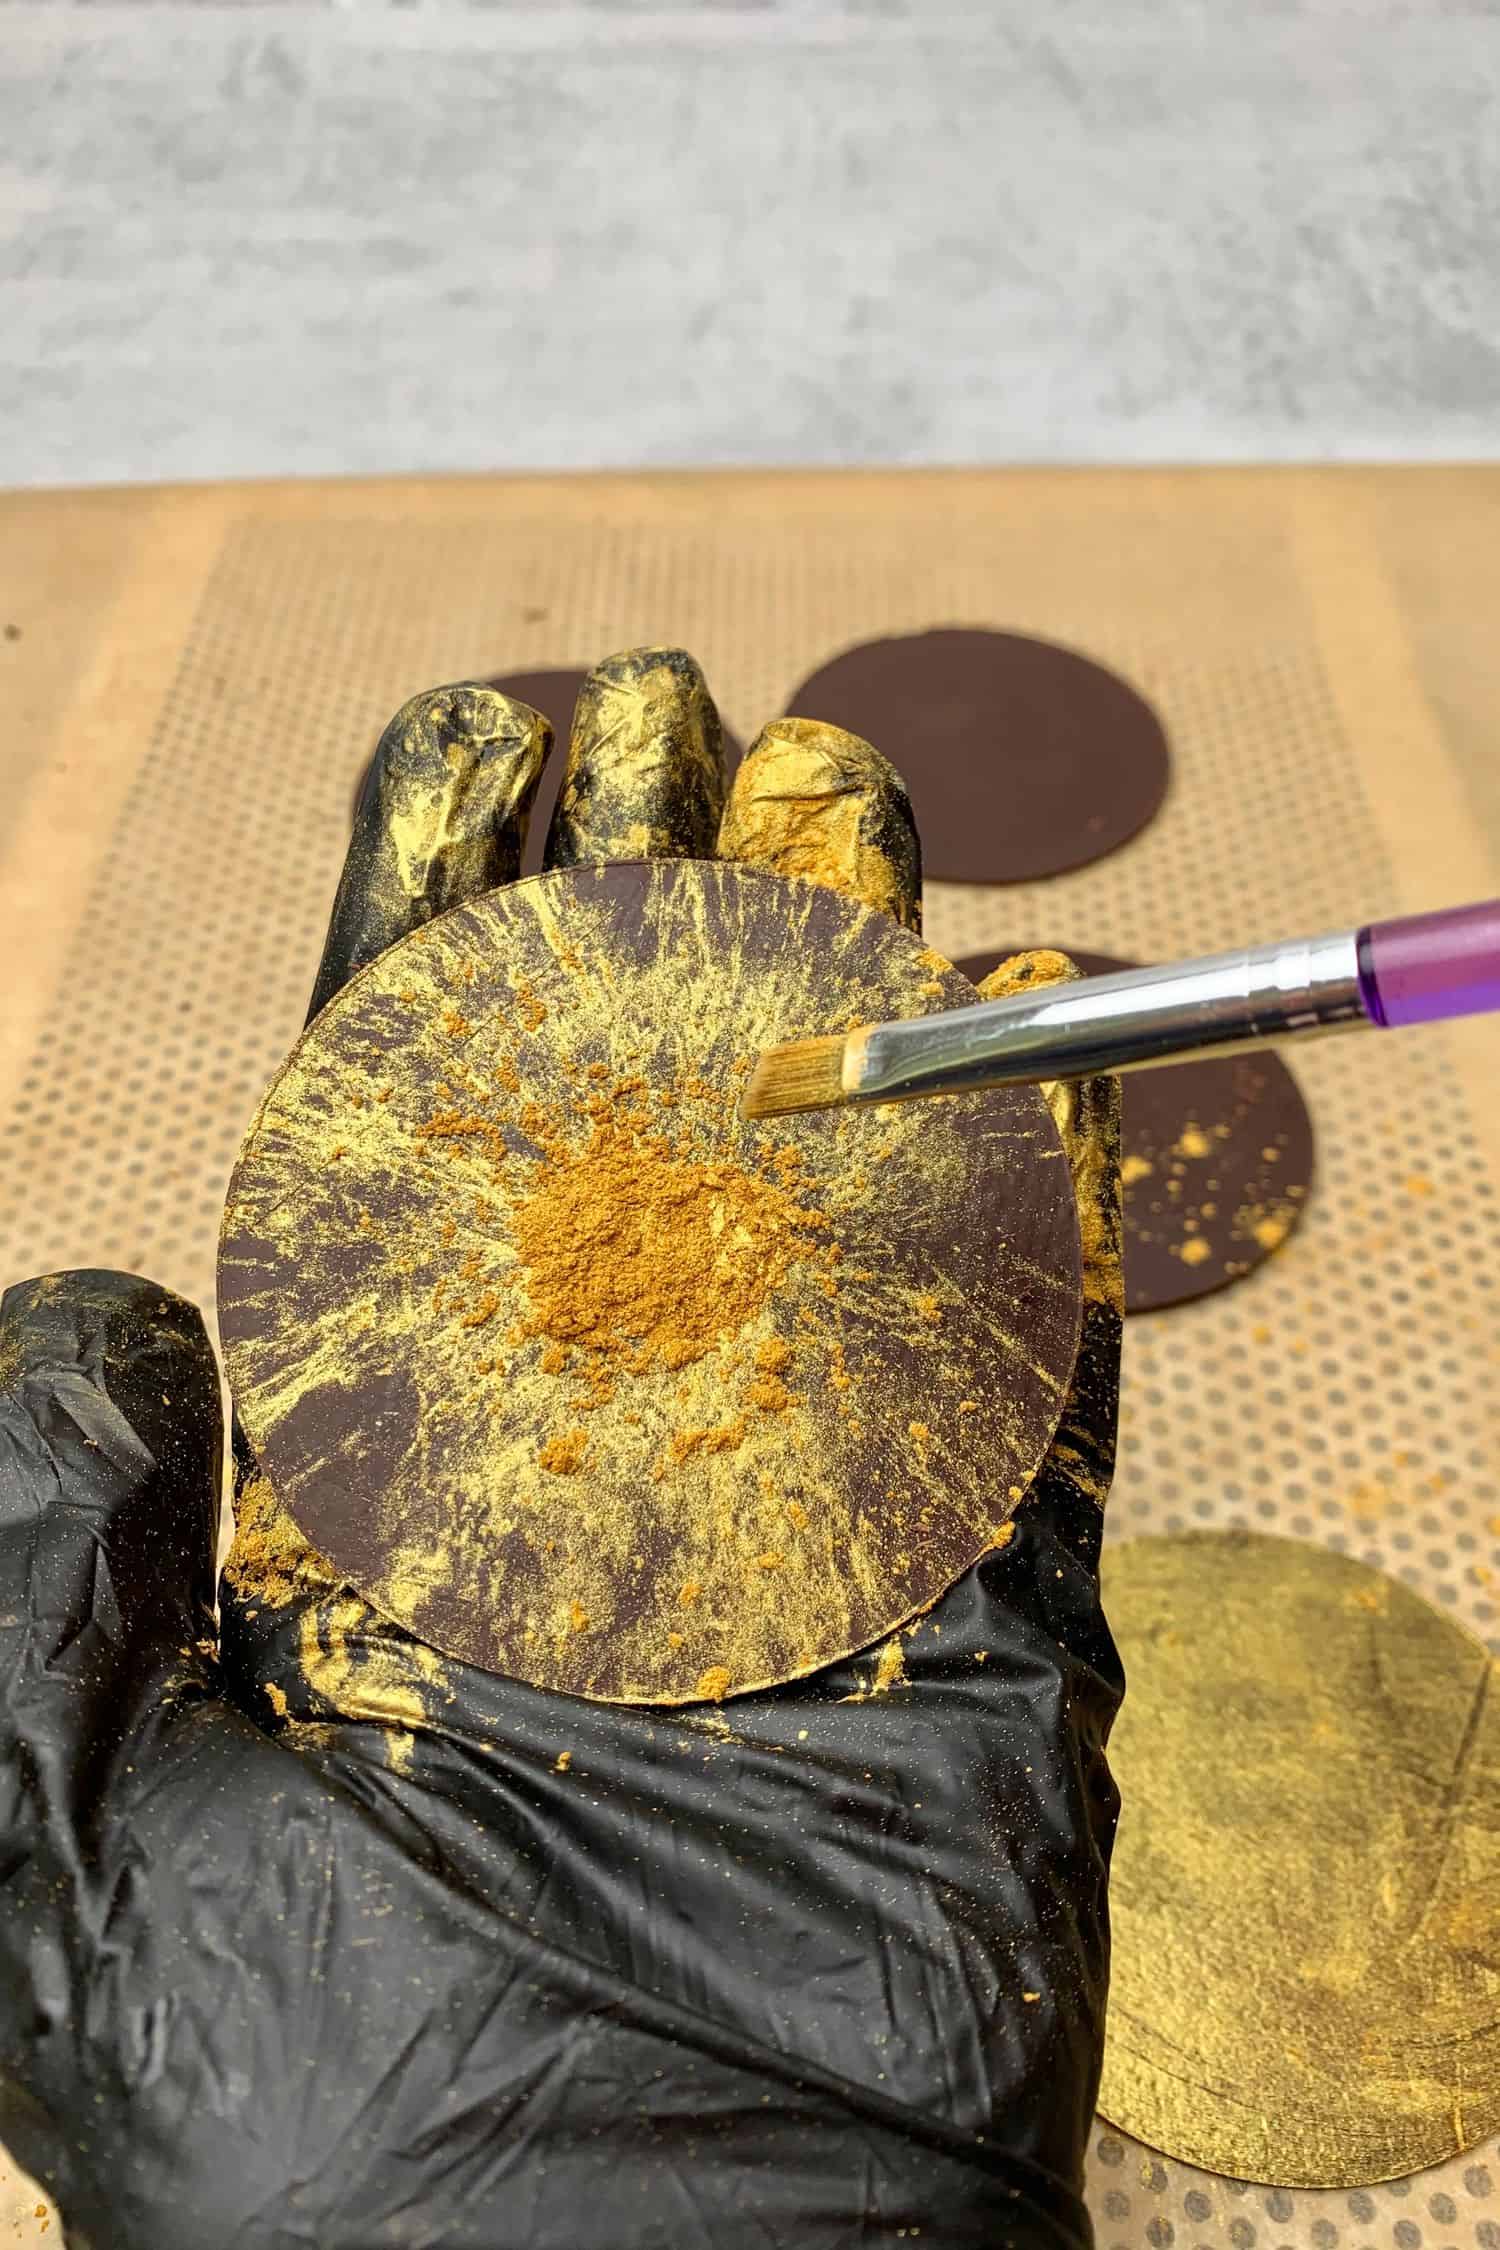
- Using a simple brush paint each chocolate disk with edible gold dust
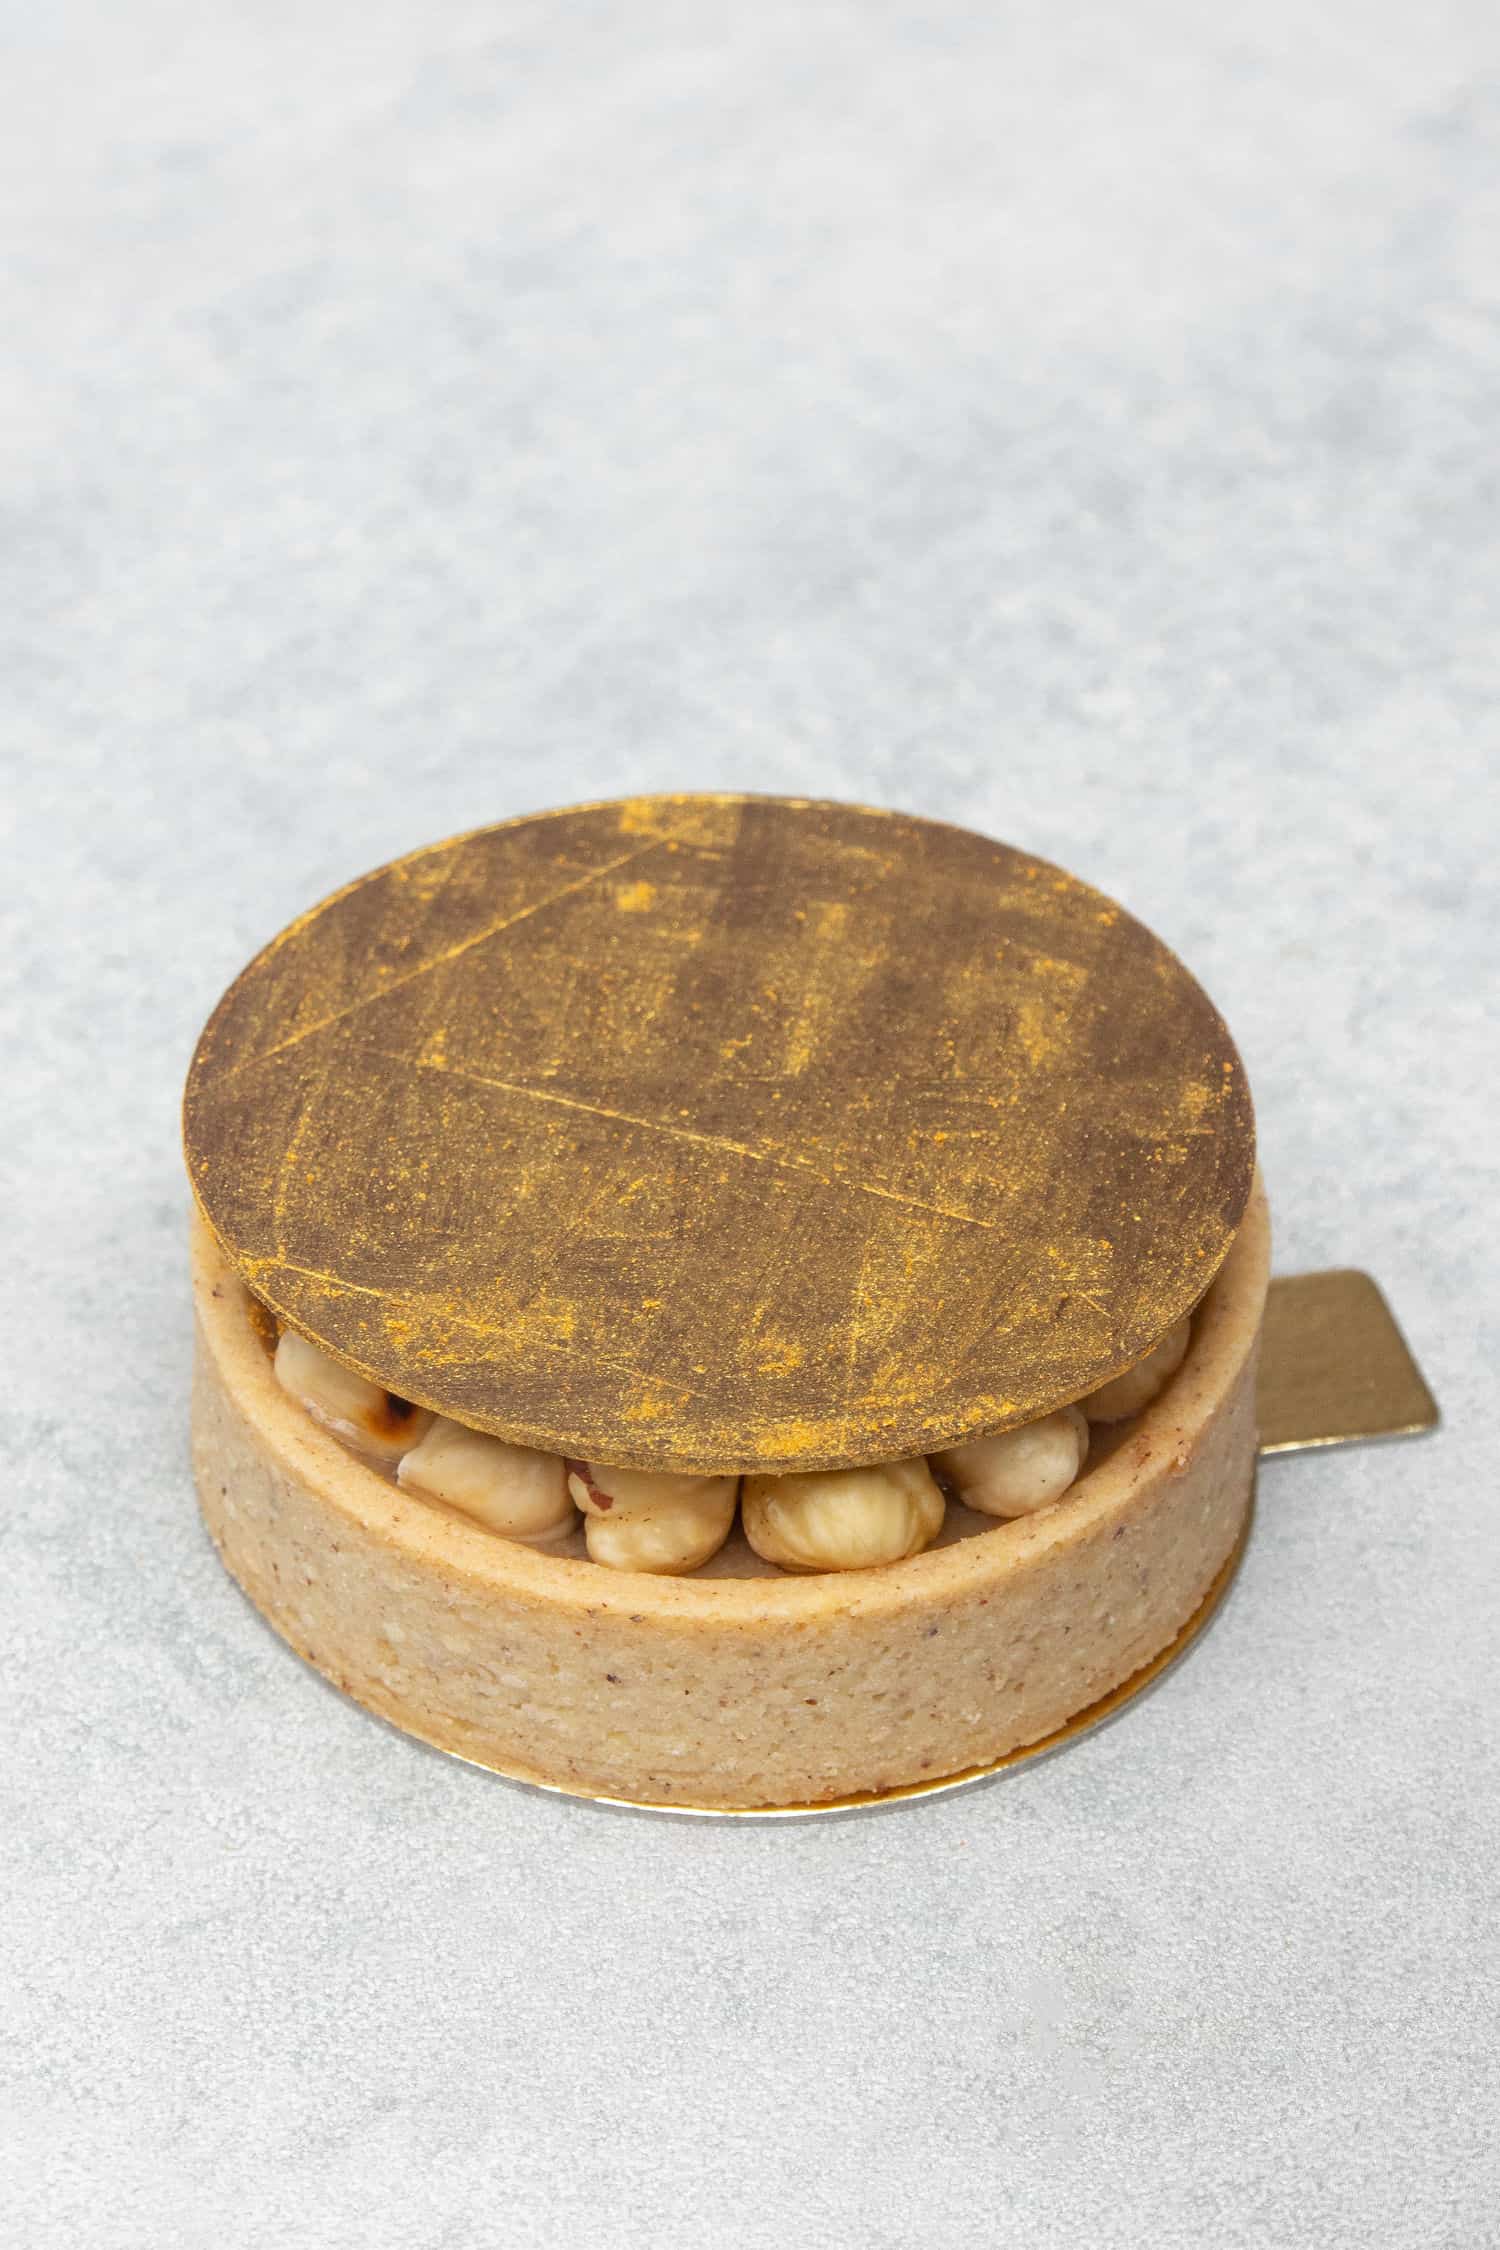
- Place chocolate disk on top of the tart (on top of the hazelnut pieces)
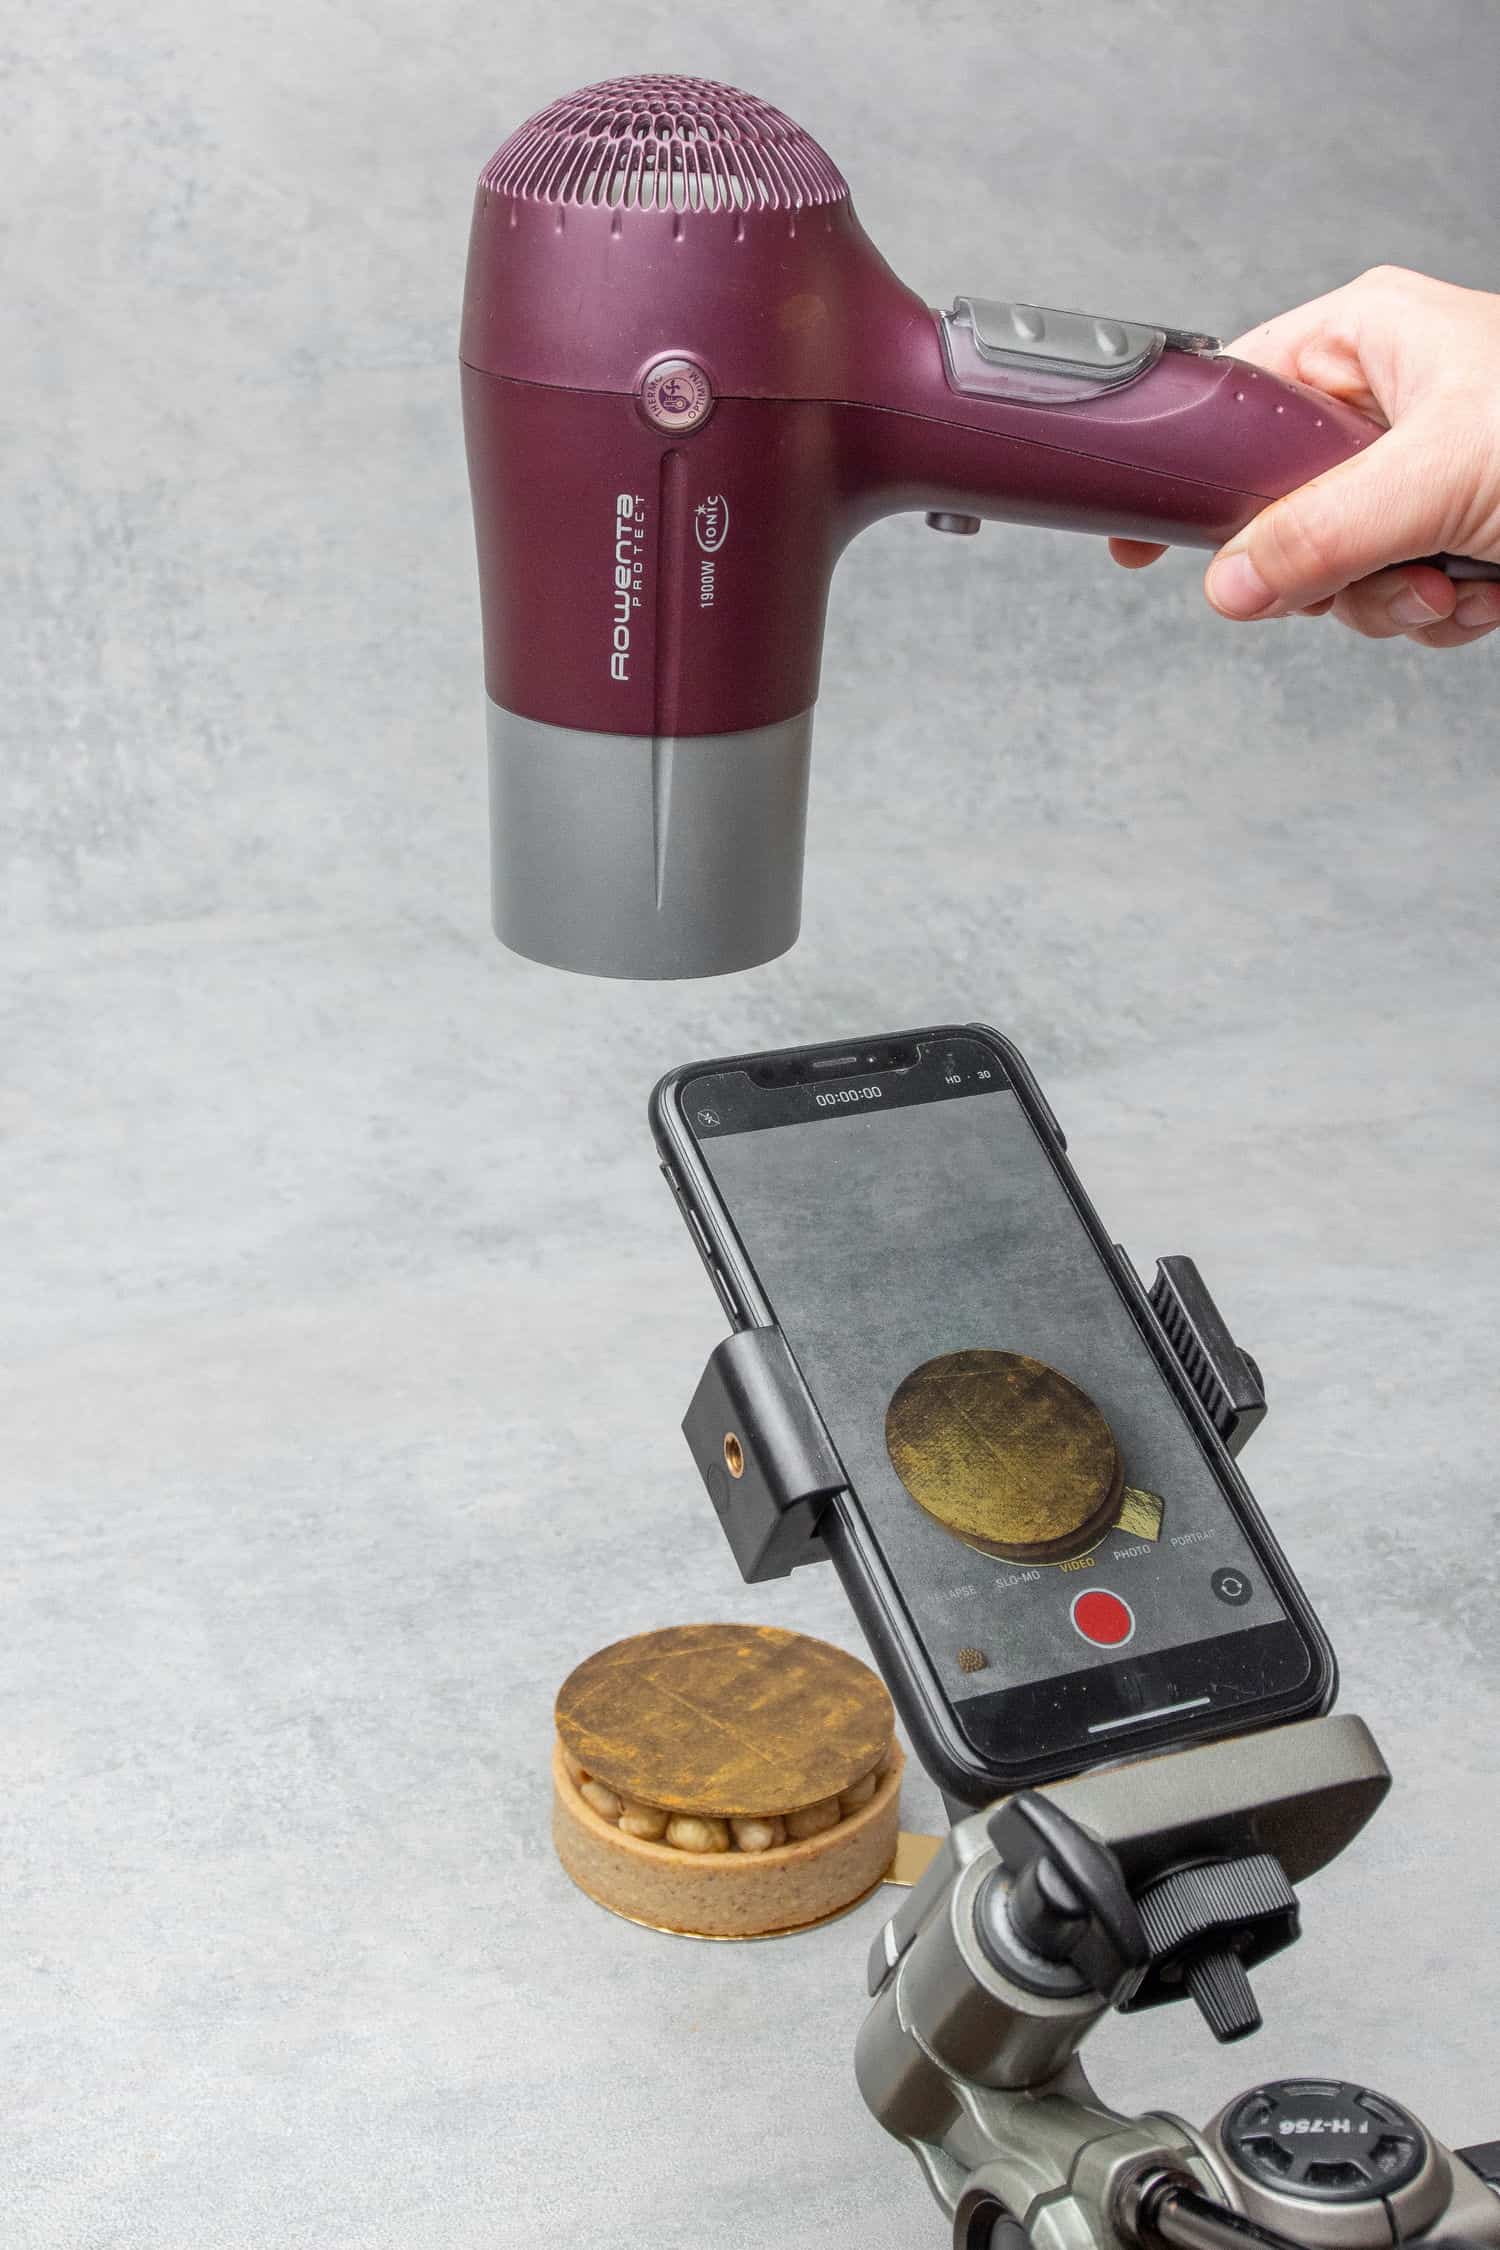
- Carefully melt the chocolate disk with the help of a hair dryer. Chocolate disk will beautifully melt on top of the hazelnut pieces forming this amazing pattern.
If you are unfamiliar with chocolate tempering please continue reading my tips about chocolate tempering!
6. What is the difference between melting and tempering chocolate
Both involves melting chocolate…but they are very different, indeed.
In short, when chocolate is melted, the molecules separate. When you temper the chocolate, you bond those molecules back together so your chocolate will harden with a glossy shine and fine “snap”. With simply melting chocolate, without tempering, the chocolate will somewhat harden but will lose its initial shine, will be matt with an unpleasant texture. There is no need to temper chocolate when you use chocolate IN a recipe like when you make brownie, however when chocolate IS the recipe, for example chocolate bonbon or this chocolate decoration you need to apply a proper pre-crystallising / tempering. Without appropriate chocolate tempering it is likely that the chocolate disk won´t set properly because it will crystallize uneven and stay somewhat too soft and unpleasant.
Good news is that as fancy as it sounds, chocolate tempering is actually rather easy and quick, really nothing to be worry about!
There are a few ways to temper chocolate and I have 2 tutorials available: 1. Seeding method 2. Cocoa butter powder method
- Seeding method is effectively tempering the chocolate with the chocolate itself. In details I explain the seeding method in this post
- With cocoa butter powder method I am using Callebaut Mycryo, I explain in details how to temper chocolate with cocoa butter powder in this post
No matter what method you chose tempering chocolate is very quick and super simple and a brilliant baking skill one can learn and take desserts to the next level! Once you learn it, you will be able to make chocolate decorations, chocolate bonbons etc any time you want!
7. How to assemble this Hazelnut tart
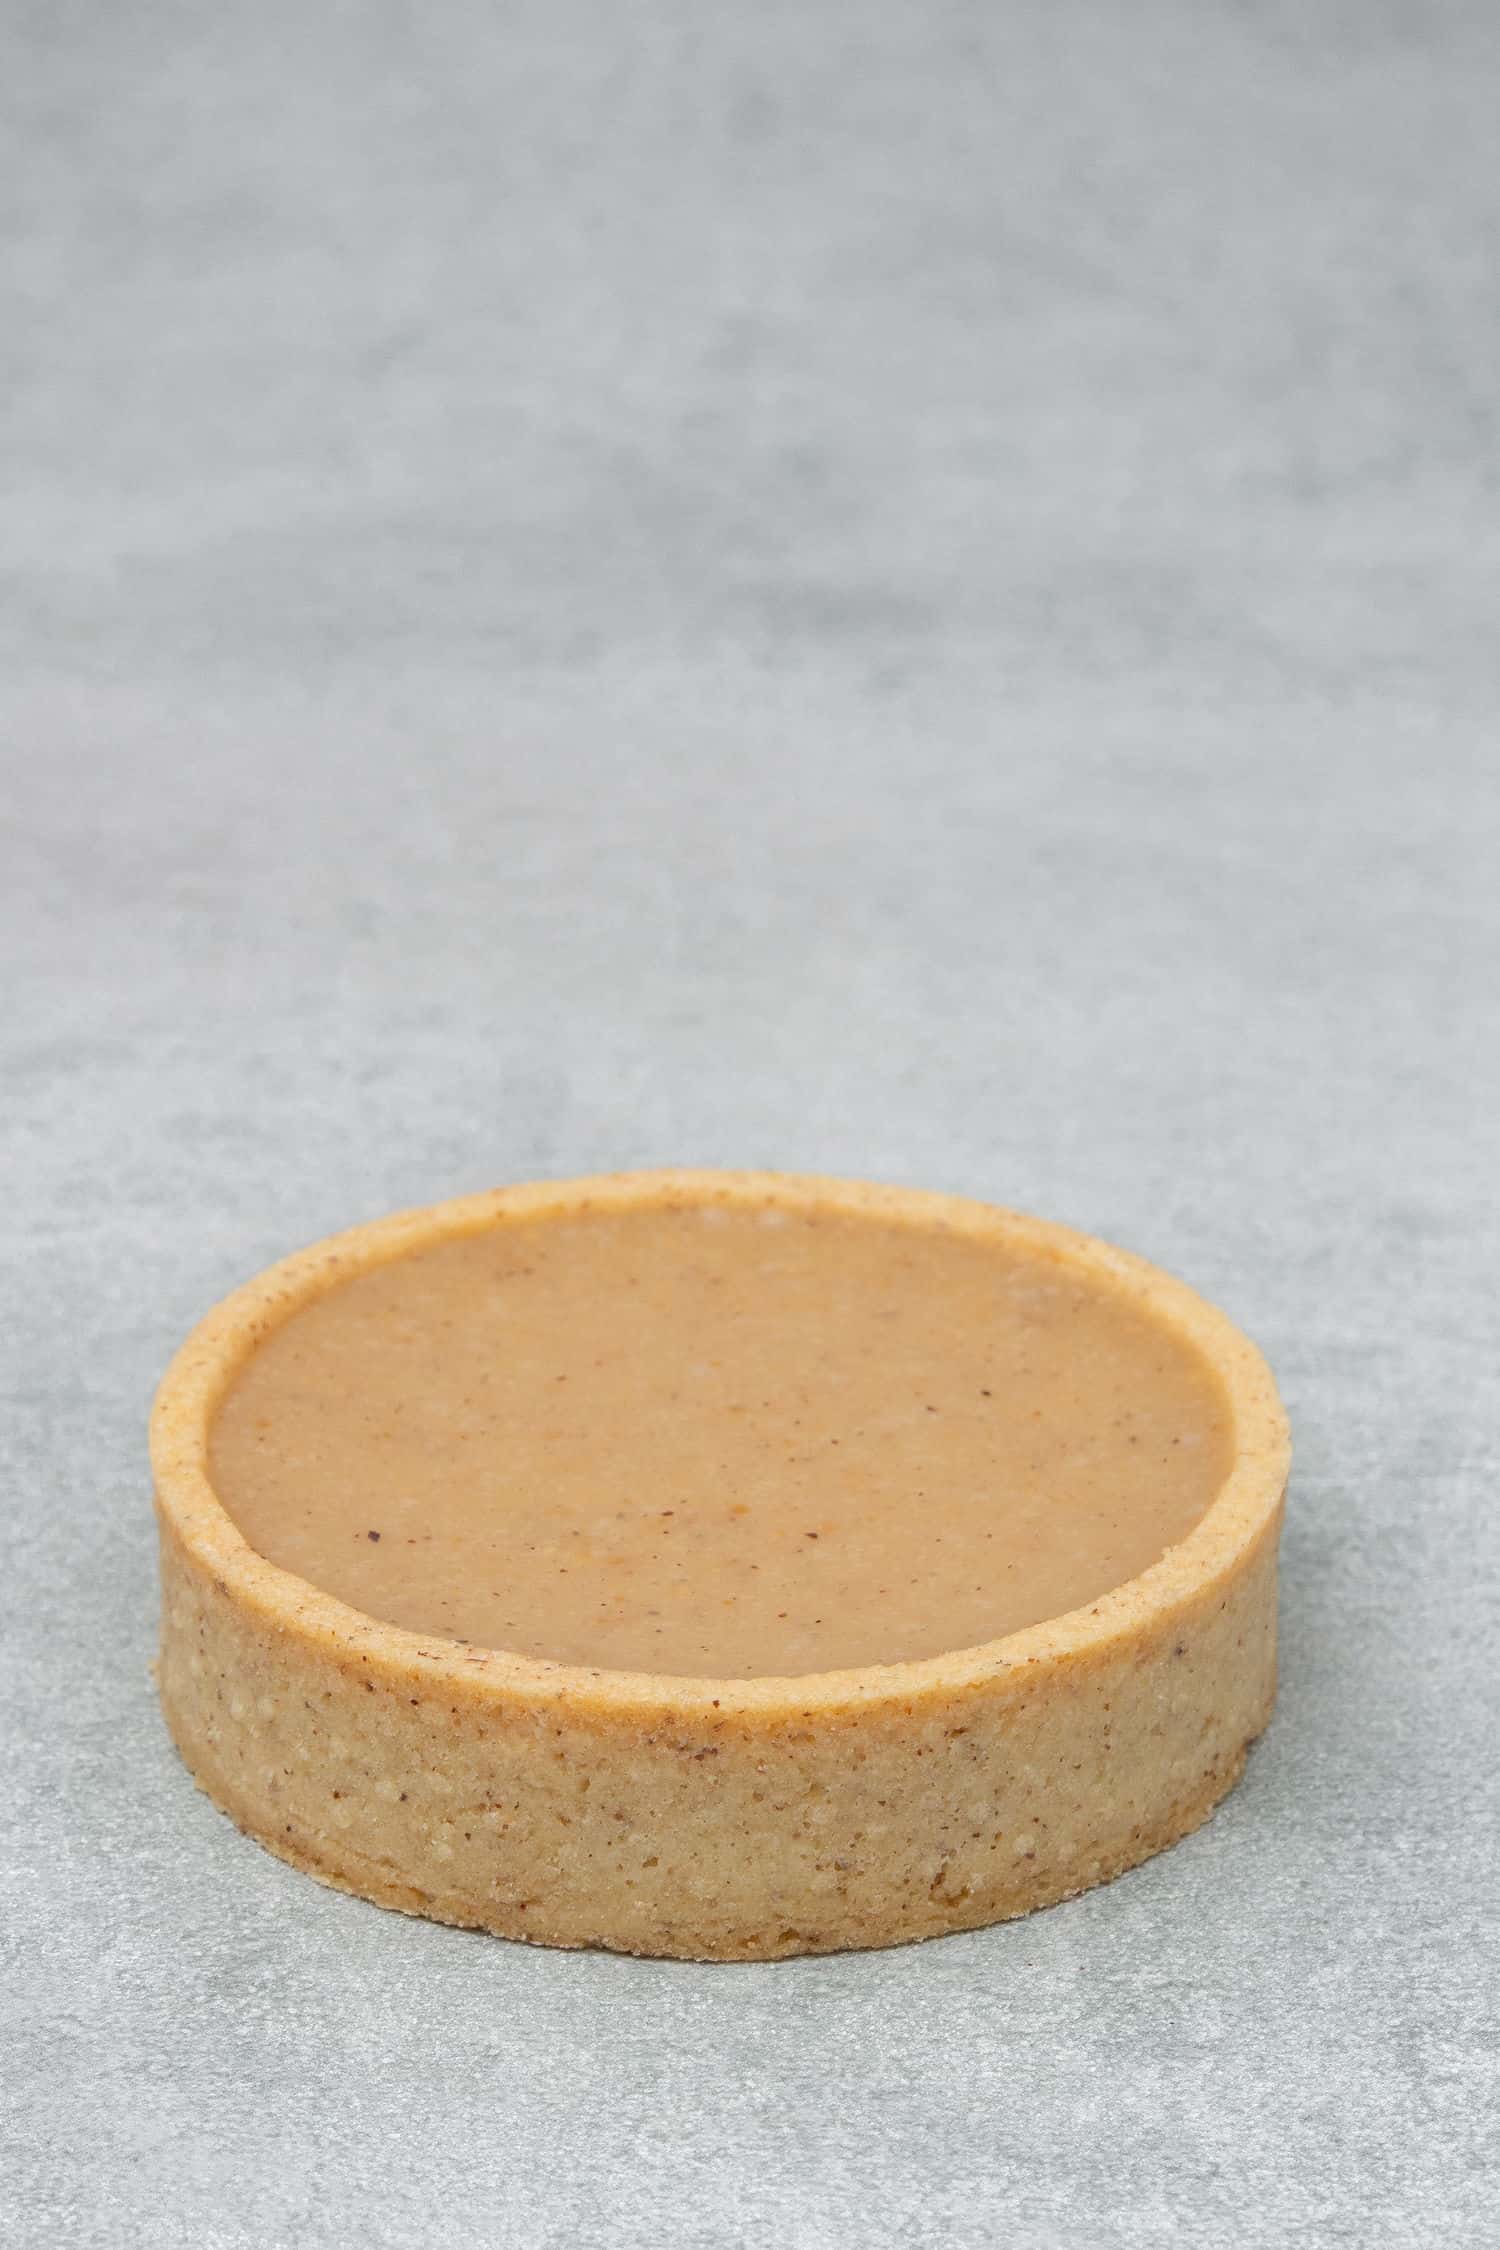
First, you will make the tart shells then you have to let them cool before filling. Next, make the hazelnut ganache then pour or pipe warm – but not hot – ganache into the tart shells and smooth the top with an offset spatula. The tarts will need to be refrigerated for the ganache to set for a few hours before decorating.
Meanwhile temper chocolate and prepare the chocolate disks as per instructions above.
Once Tartlets are nicely chilled and ganache has set, it is time to add the hazelnuts. Make sure you roast hazelnuts first as that brings the flavours out then once they are cooled place the hazelnut pieces on top of the tart closely next to each other. Please note that they need to be close enough for the chocolate decoration to melt neatly otherwise there might be holes in the decoration.
Place one chocolate disk on top of the hazelnuts and gently start to melt the chocolate with the help of a hair dryer - the chocolate disk will beautifully melt on top of the hazelnuts giving this special design to your Triple hazelnut tarts! Try the appropriate heat and distance with the first tart and do the rest accordingly.
Straight after chocolate is melted the decoration will be runny and warm (since it is effectively melted chocolate) however in a short time it will set (harden again) providing a super delicious crunchy layer on your tarts.
The tartlets can be stored in the fridge for a few days.
Some more Tart recipe ideas to try
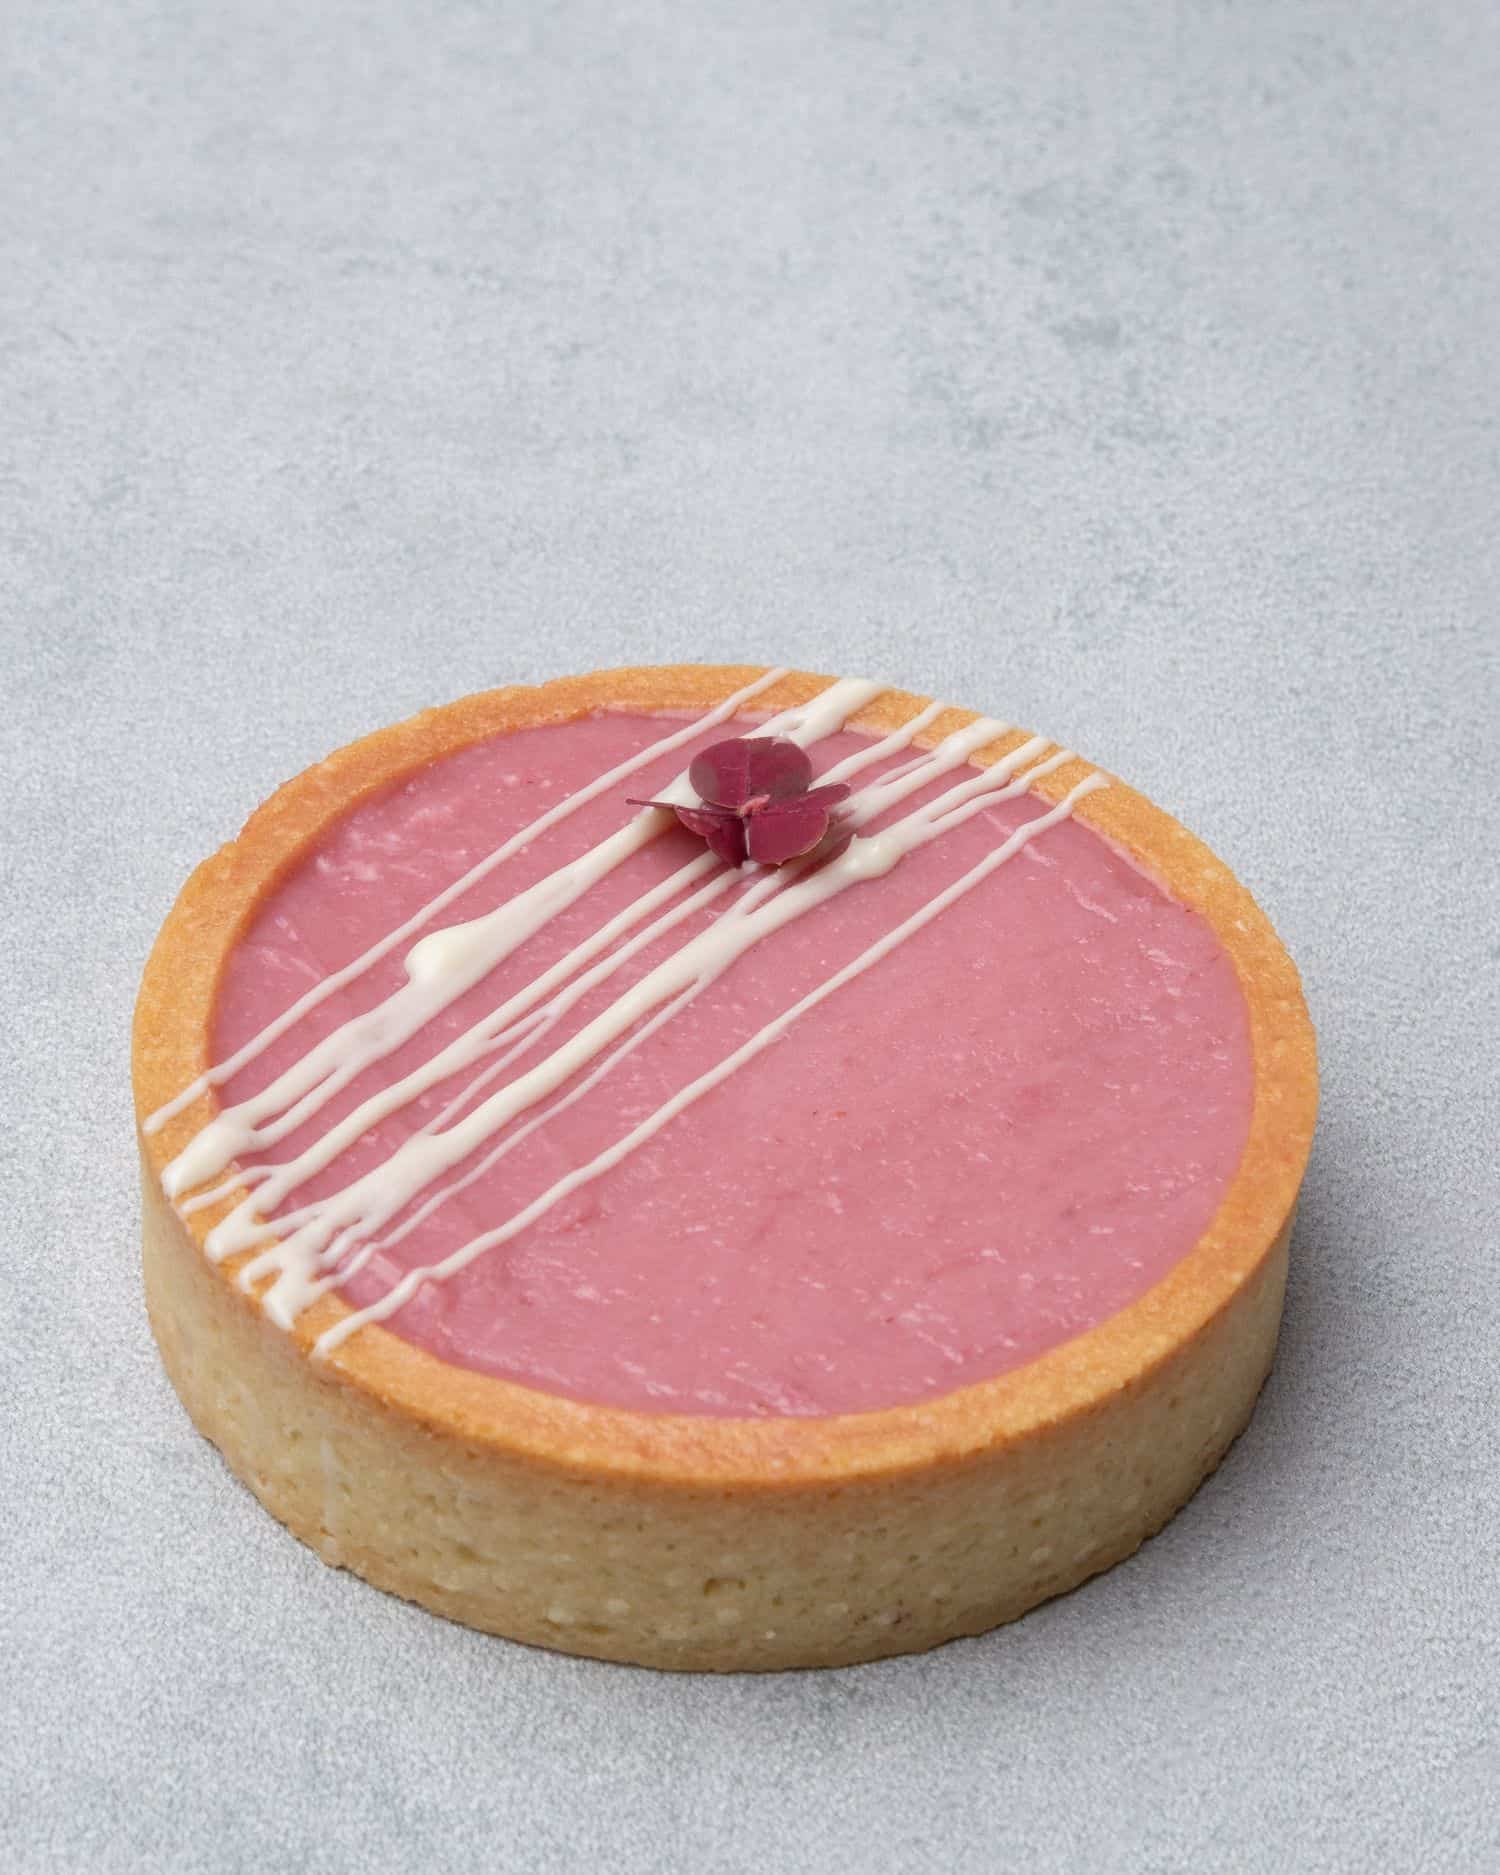
Creamy Raspberry tart – This Raspberry tart recipe is an ideal balance between buttery, melt in your mouth shortcrust pastry and silky raspberry ganache with full of natural raspberry flavour. One of the easiest most delicious tartlets ever! Recipe in here
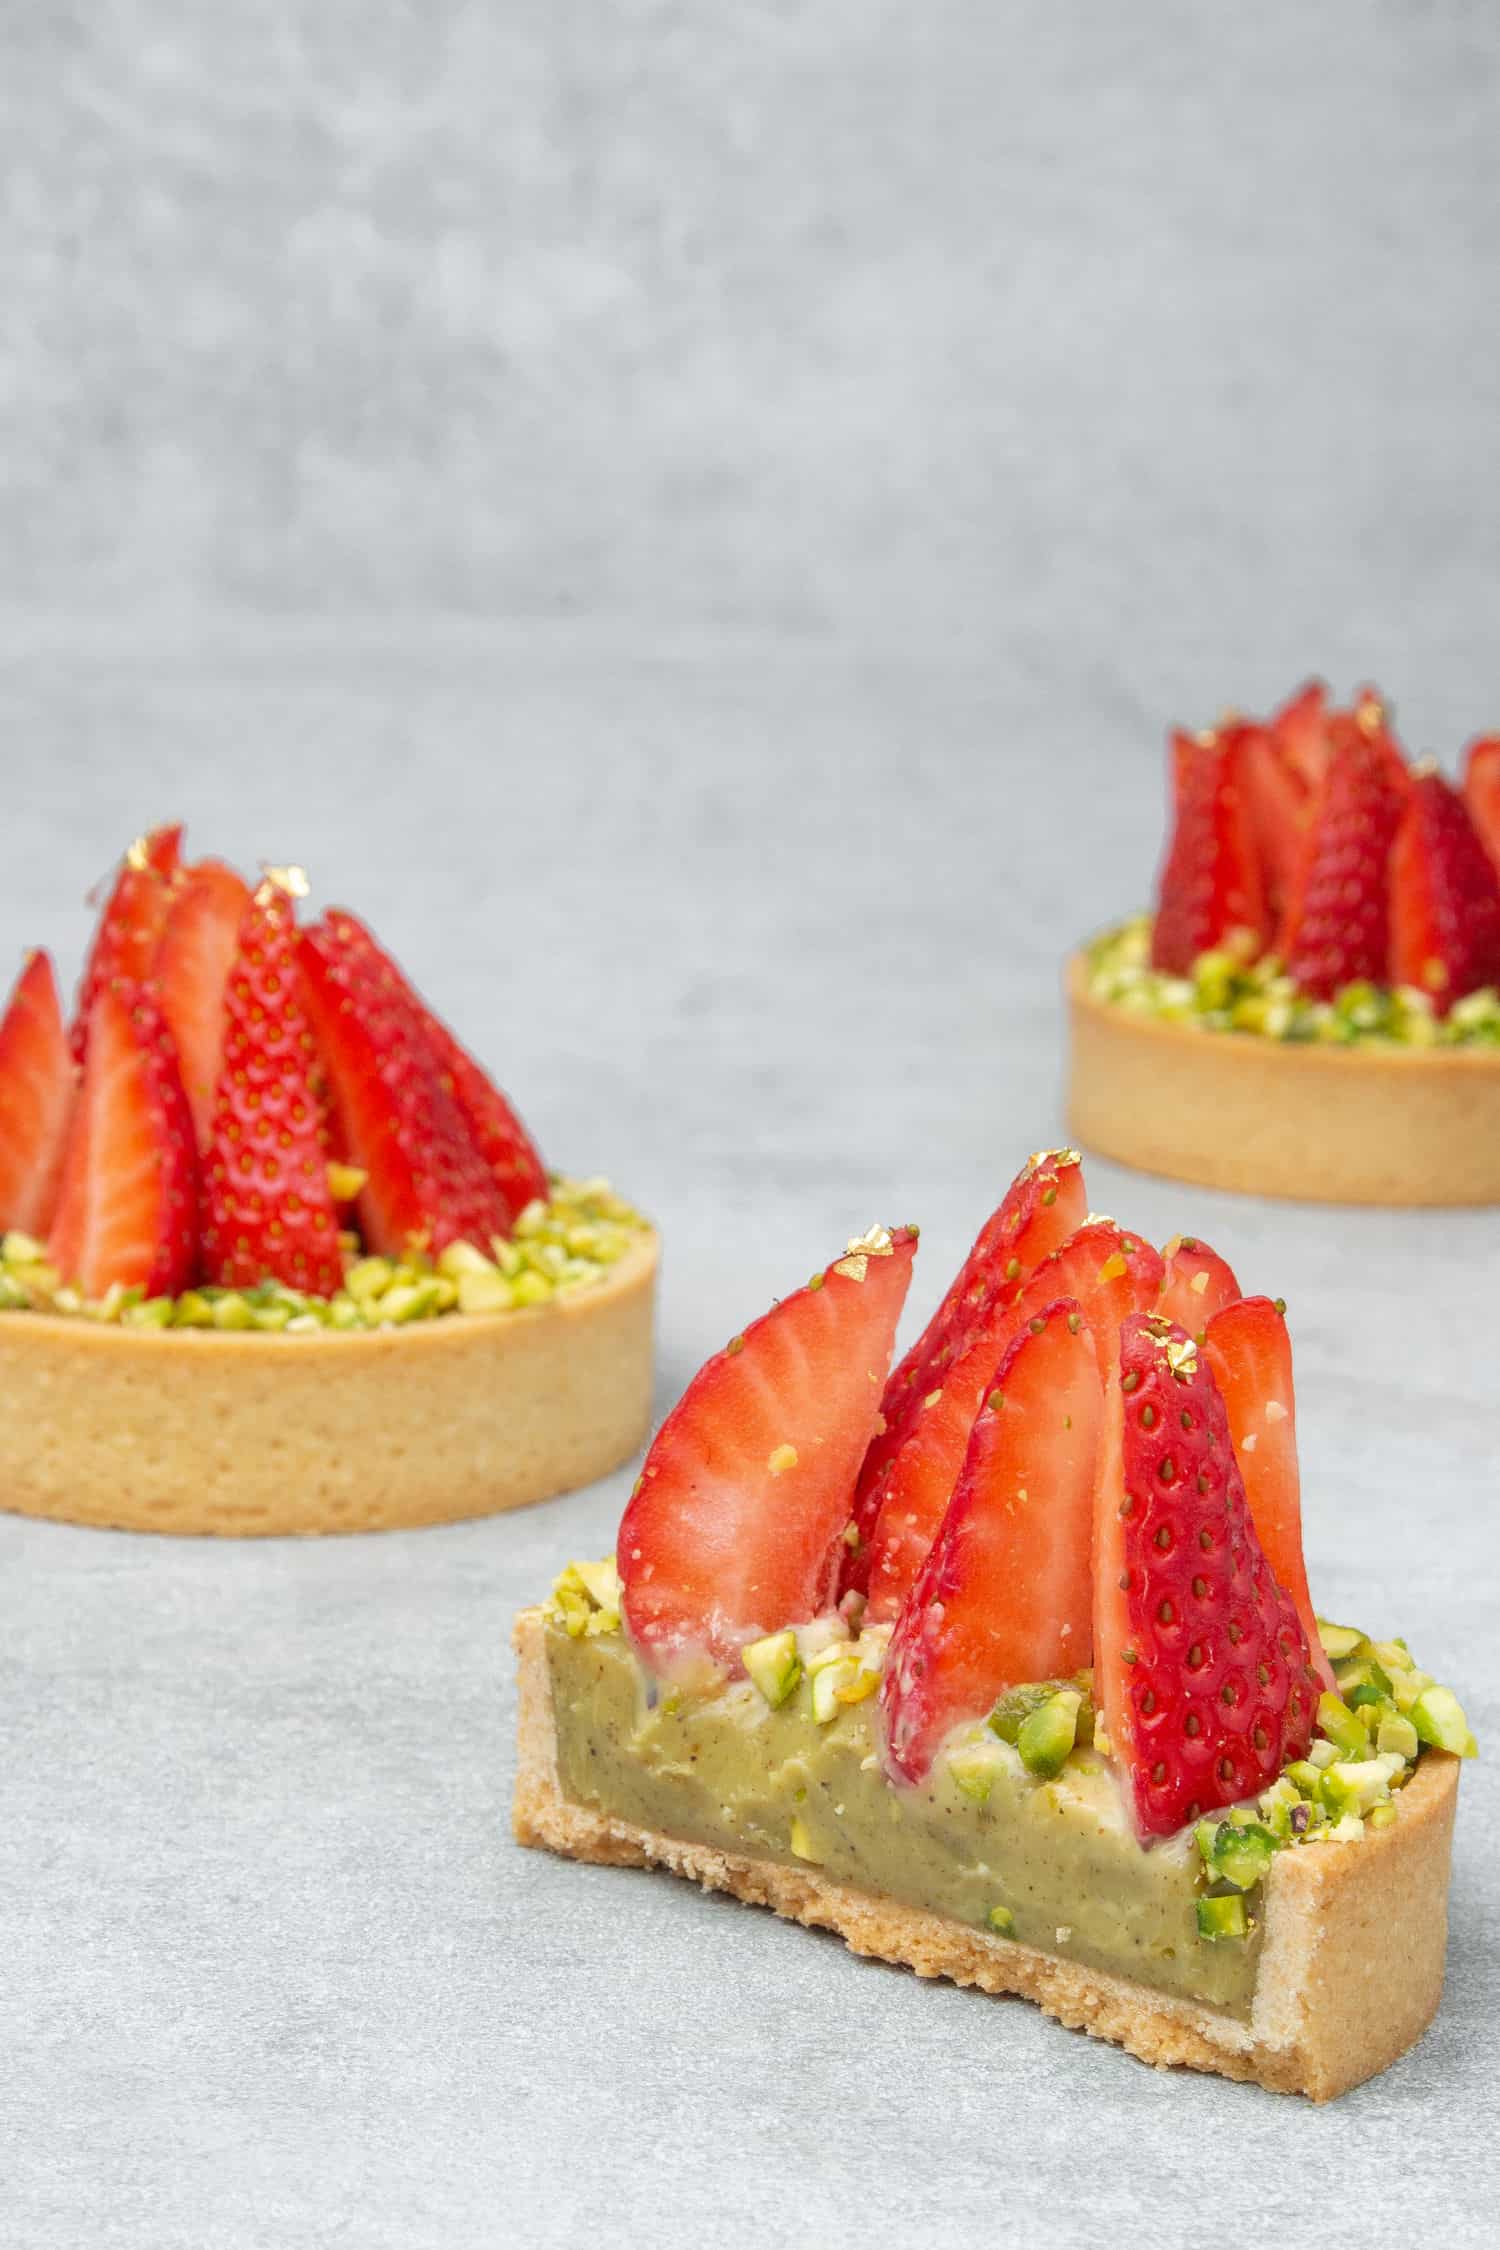
Strawberry Pistachio tart – This Strawberry Pistachio tart consist of Pâte Sablée sweet shortcrust pastry filled with silky Pistachio ganache and topped with delicious fresh strawberries. Beautiful contrast of rich and nutty Pistachio ganache and refreshing fruit in a buttery, sweet but not too sweet melt in the mouth pastry shell. Recipe in here
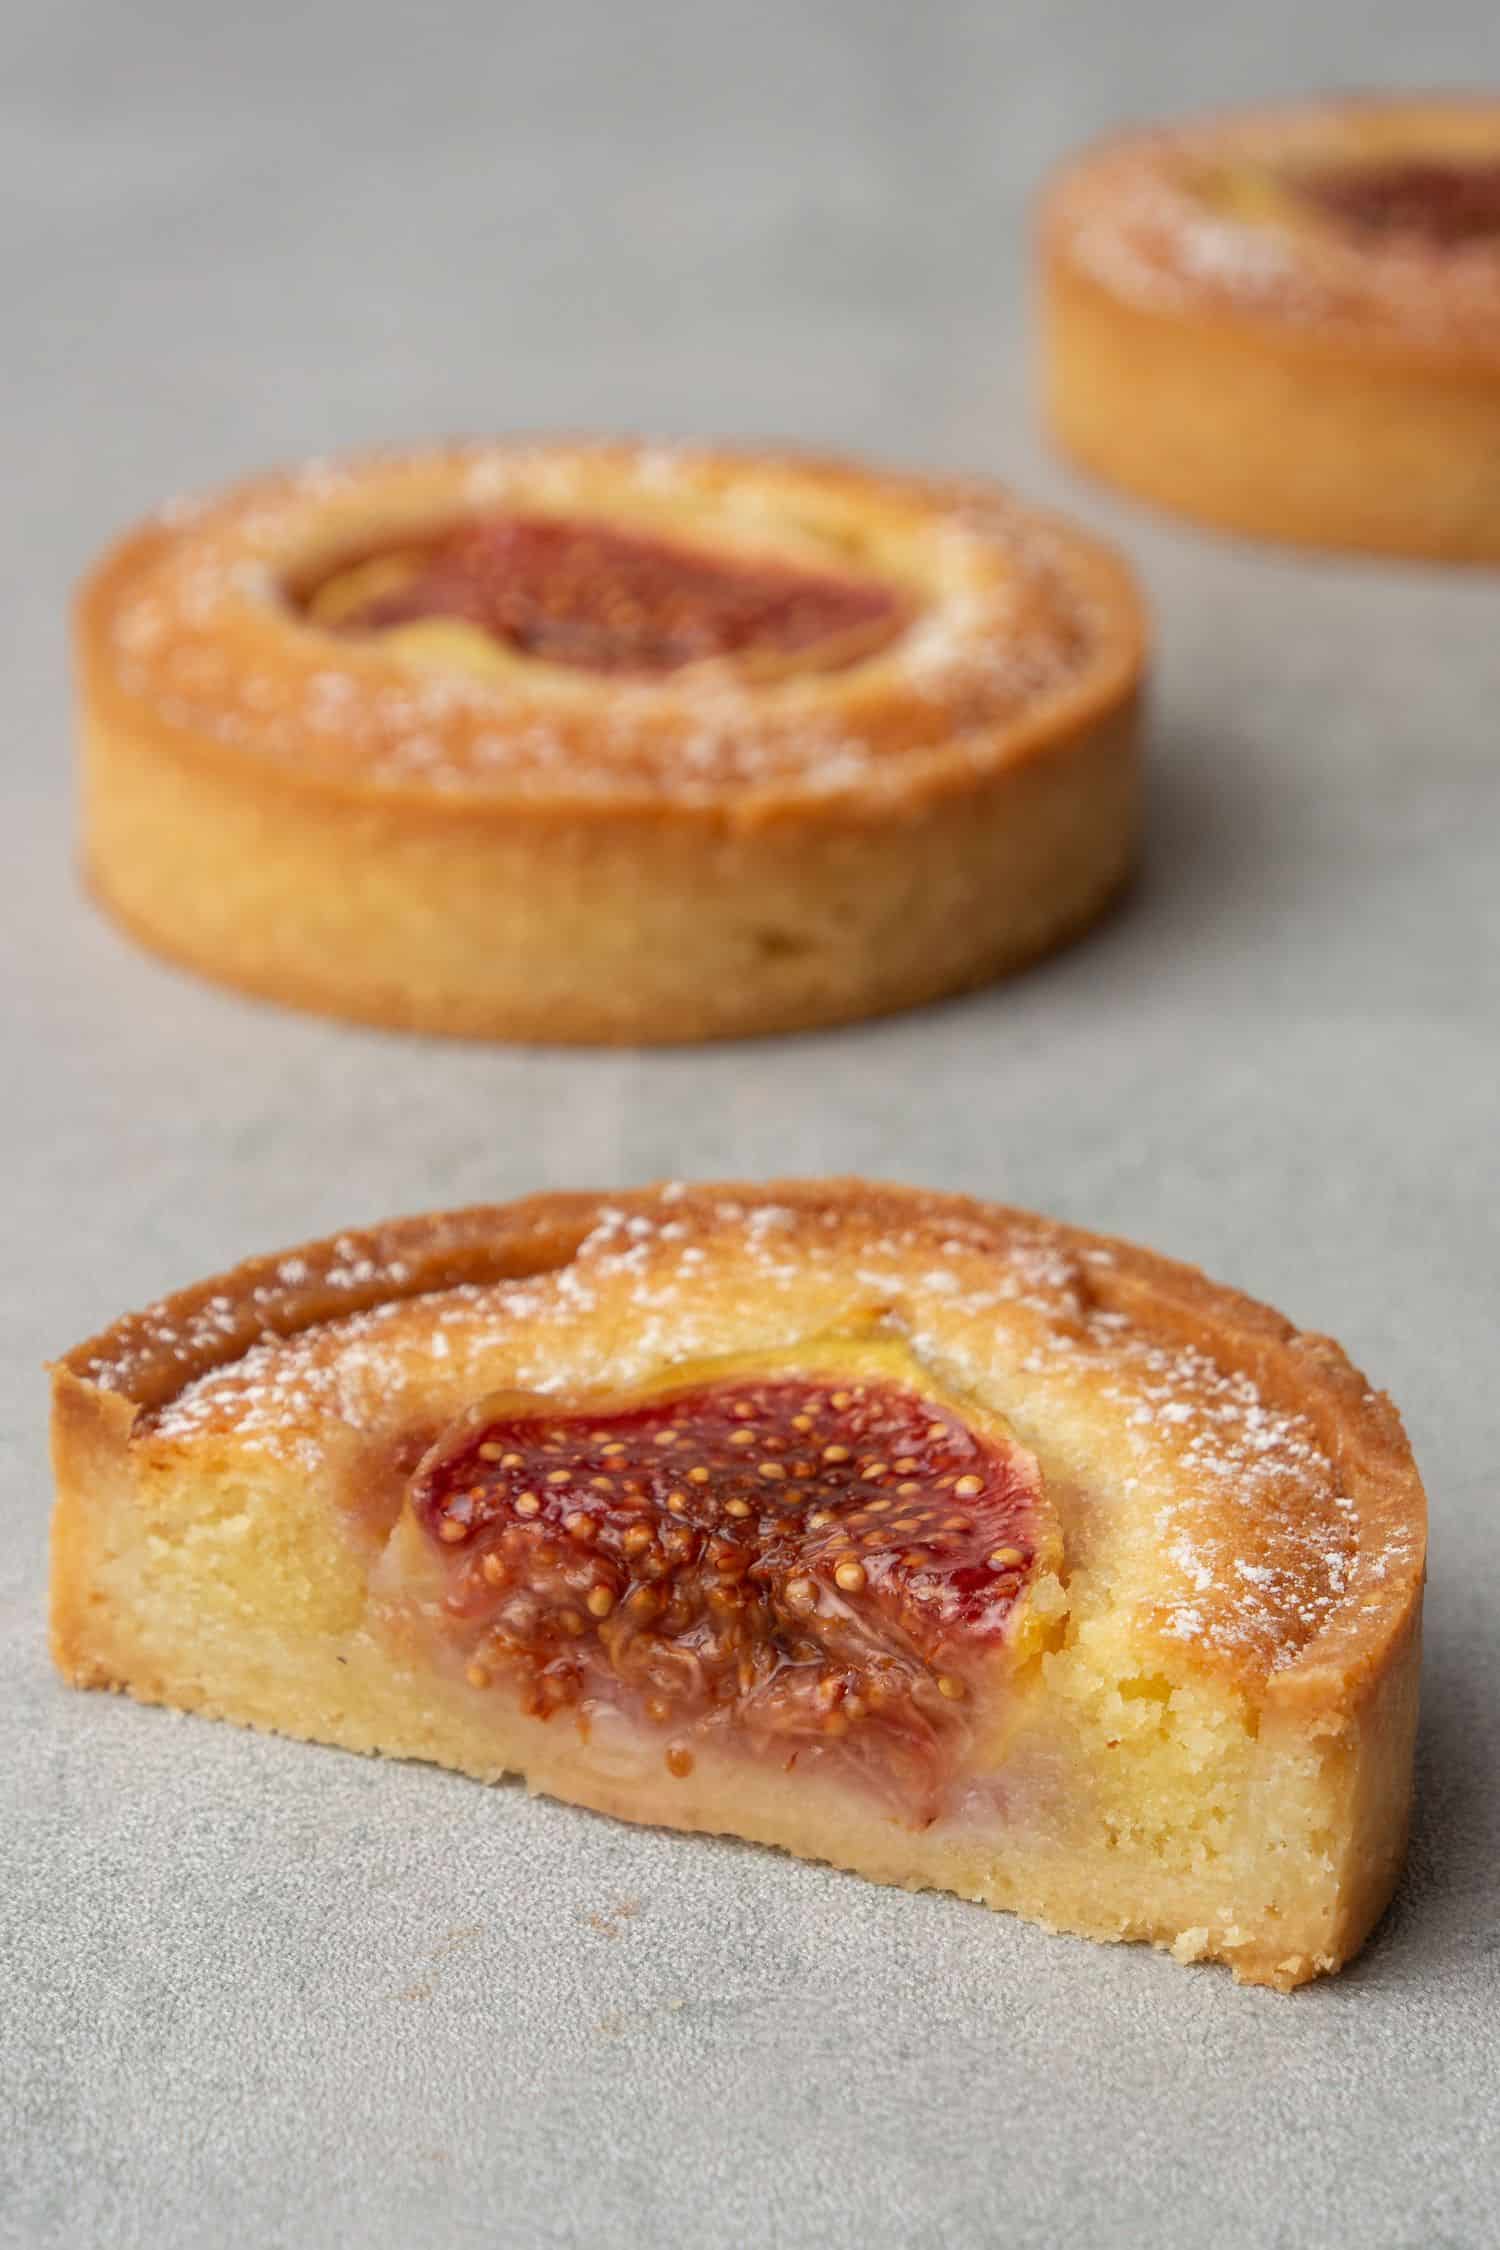
Fig Frangipane tart – Pâte Sablée (sweet shortcrust) filled with a incredible delicious, easy almond cream (frangipane) and a slice of fig is what makes this tart a truly amazing autumn recipe! The Franginape tarts are sweet, fruity and nutty at the same time, you will love them! Recipe in here
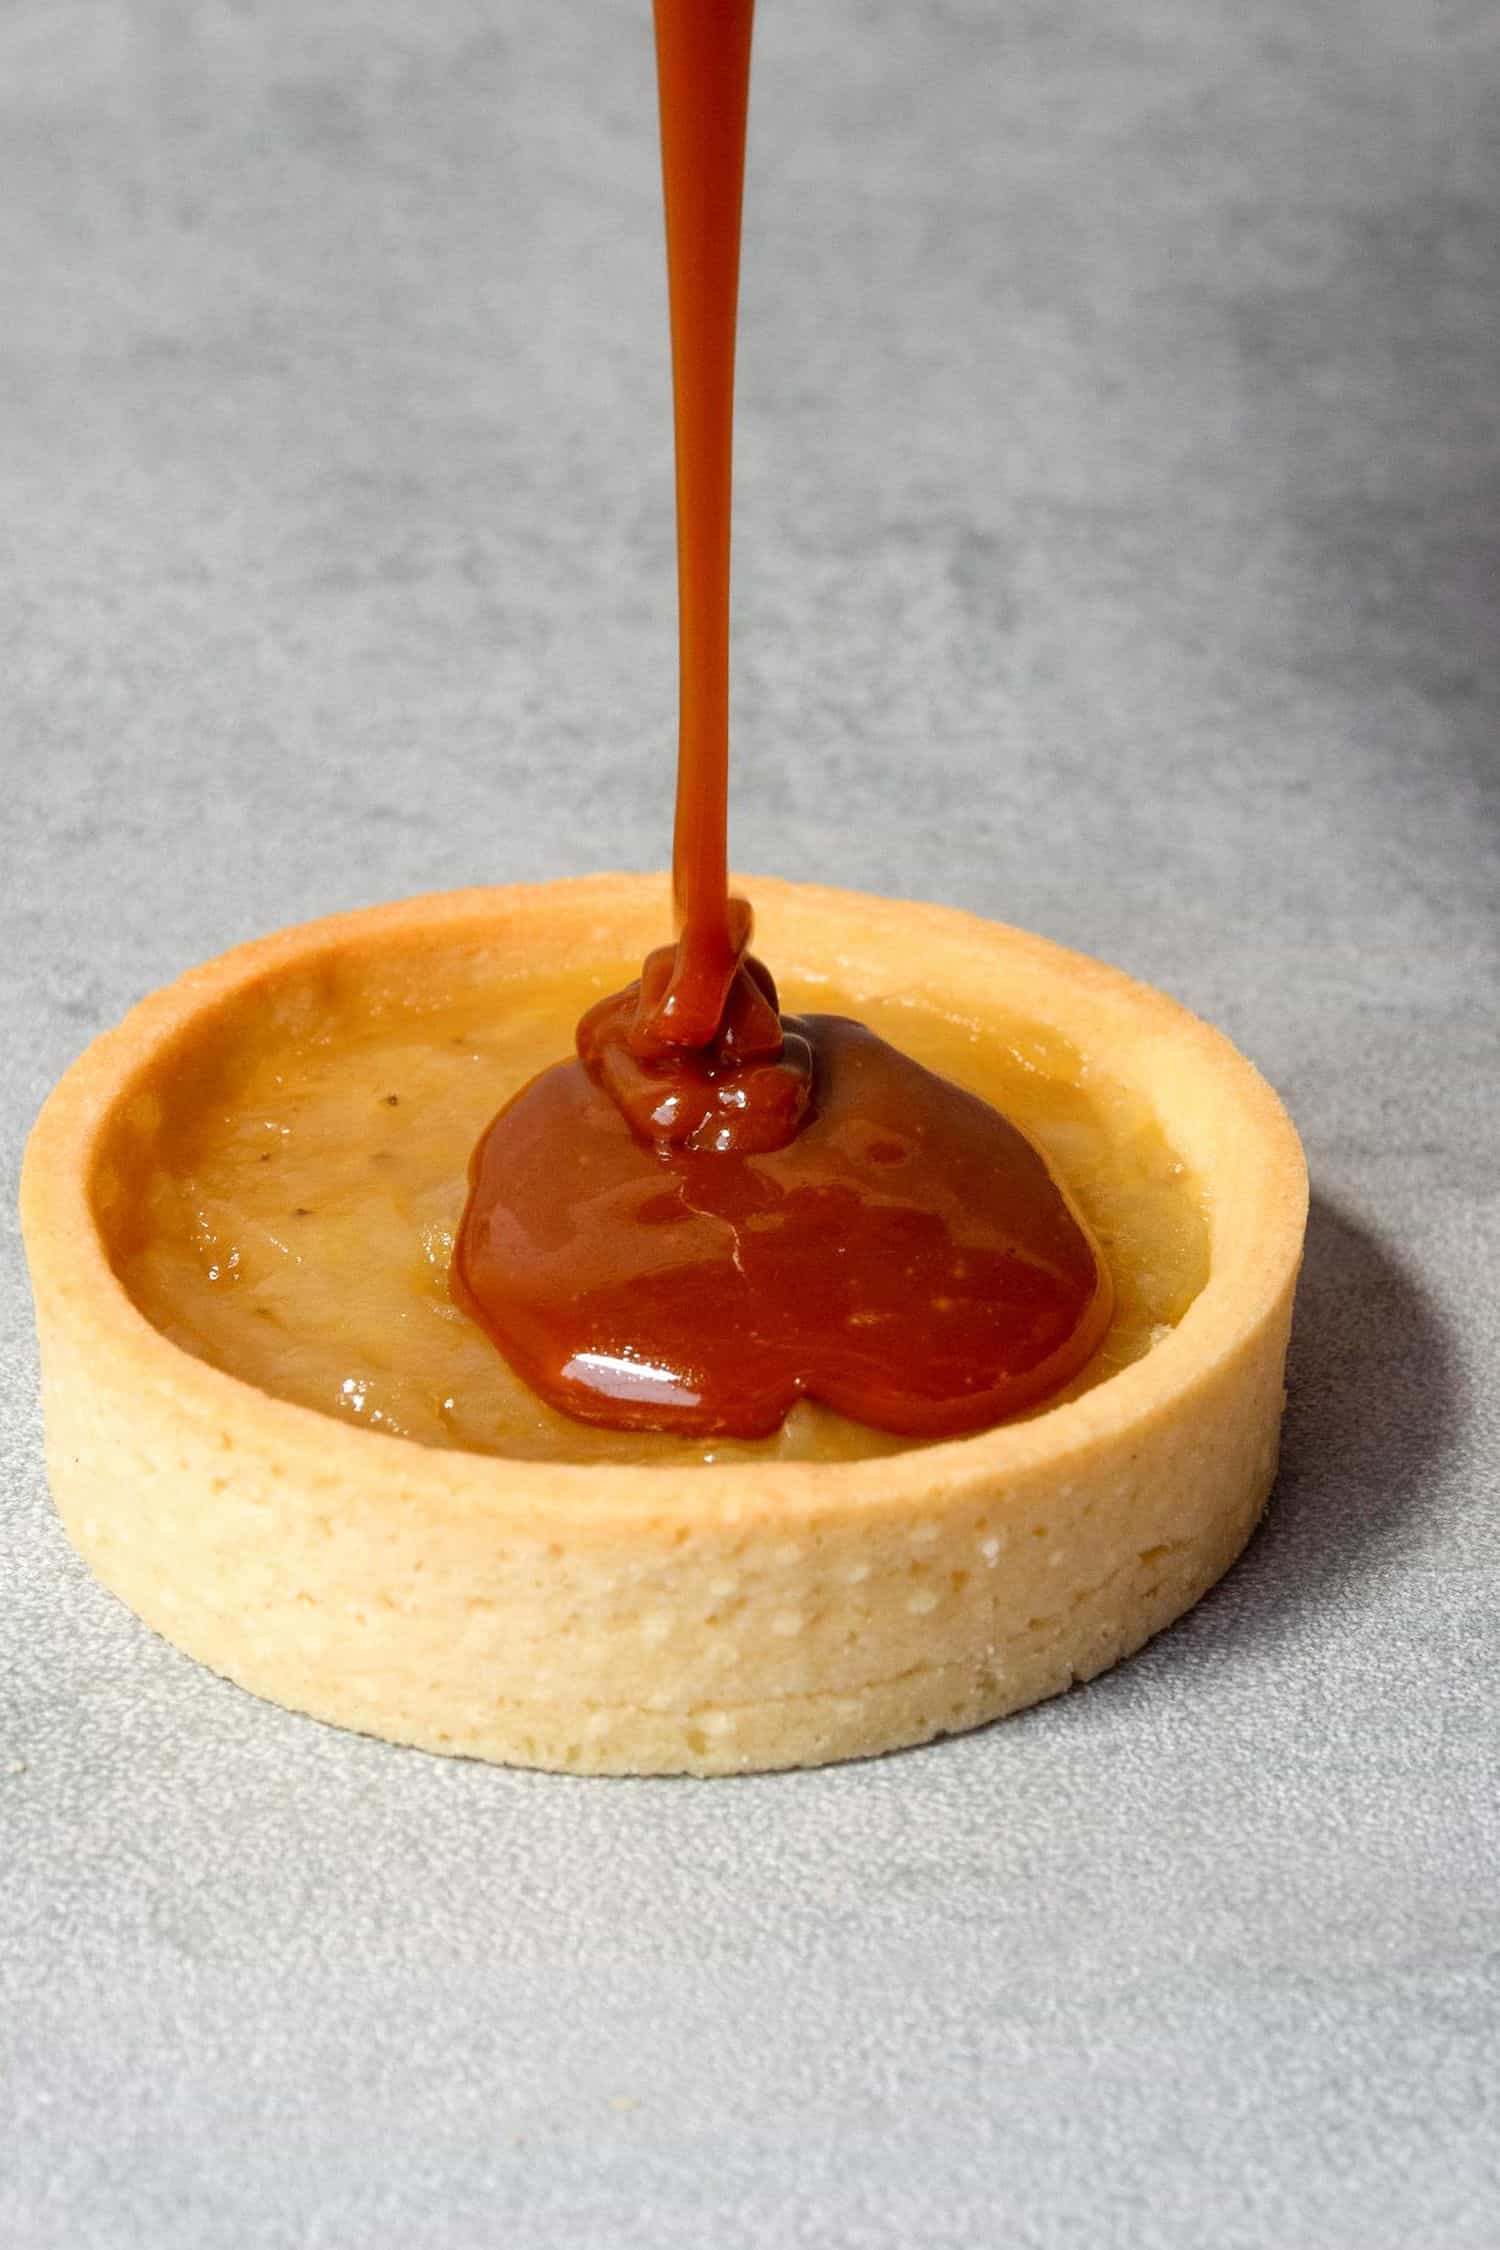
Caramelized banana & Caramel tart – This is the perfect easy yet fancy dessert you can make at home and impress everyone ! The tart has 3 elements: Home made Pâte Sablée (sweet shortcrust) tart shell, 5 minutes caramelized banana layer, super quick and easy 3 ingredients caramel layer on top. Recipe in here
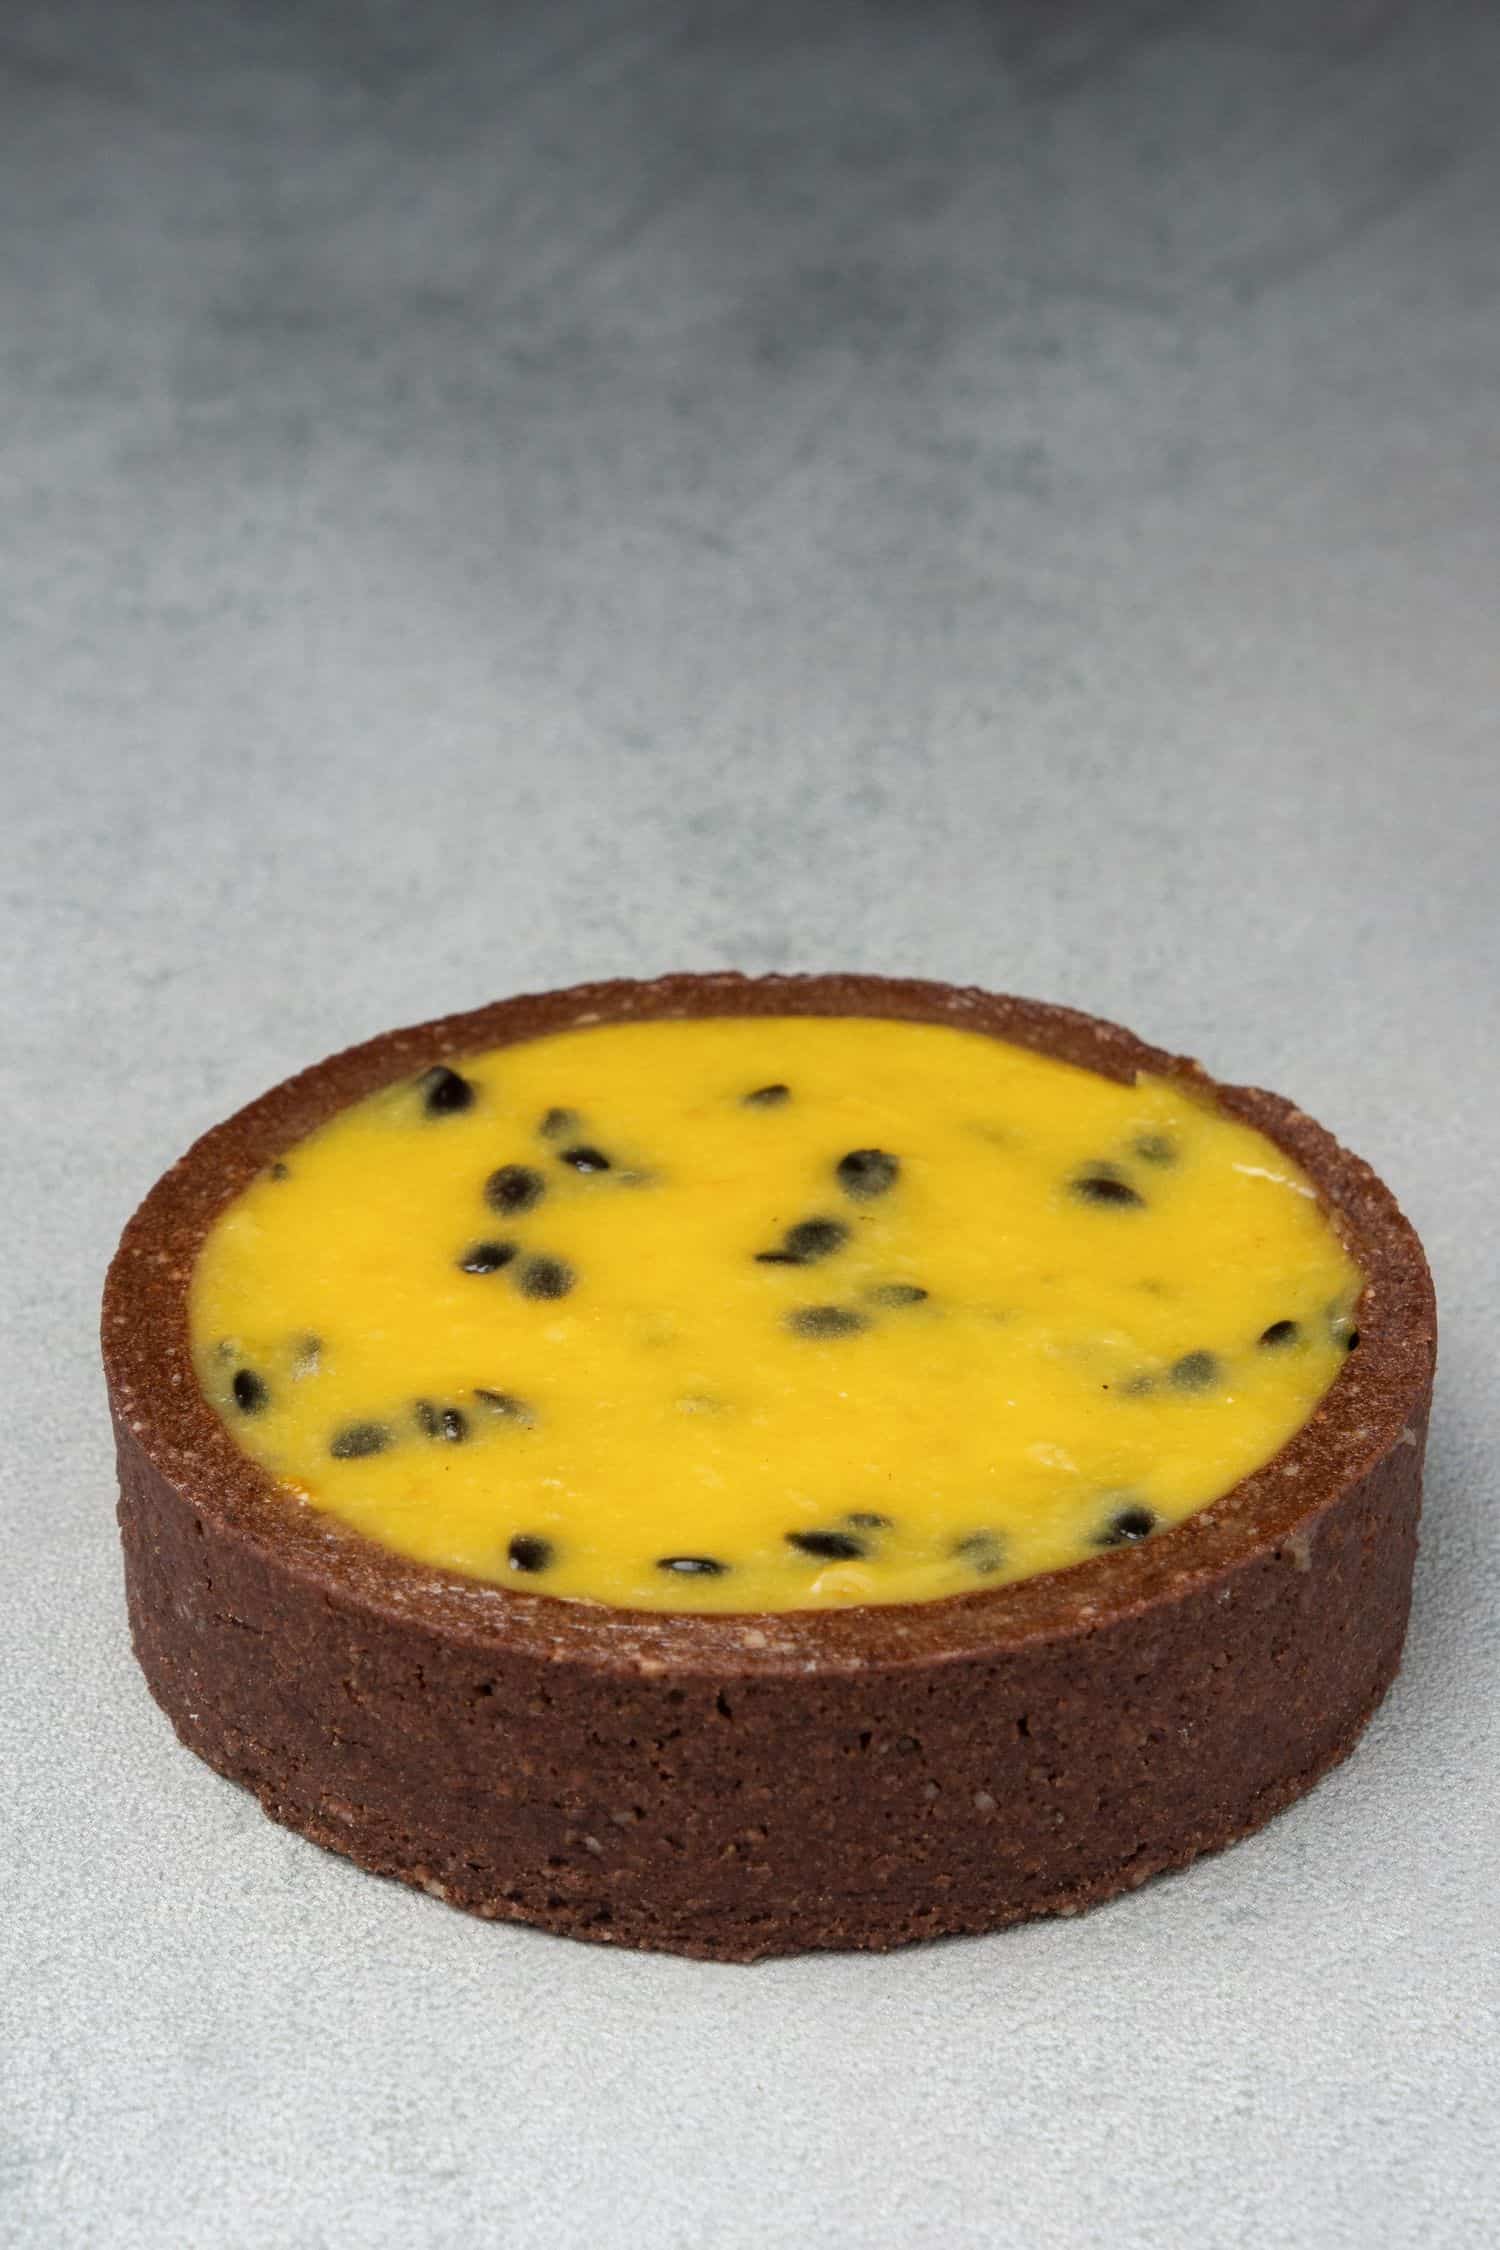
Passion fruit & Chocolate tart – If you have not tried pairing passion fruit and chocolate before, you are missing out, they are truly match made in heaven! Silky & rich chocolate ganache meets floral & tropical yet tangy passion fruit curd in this Chocolate Pâte Sablée tart shell! Recipe in here
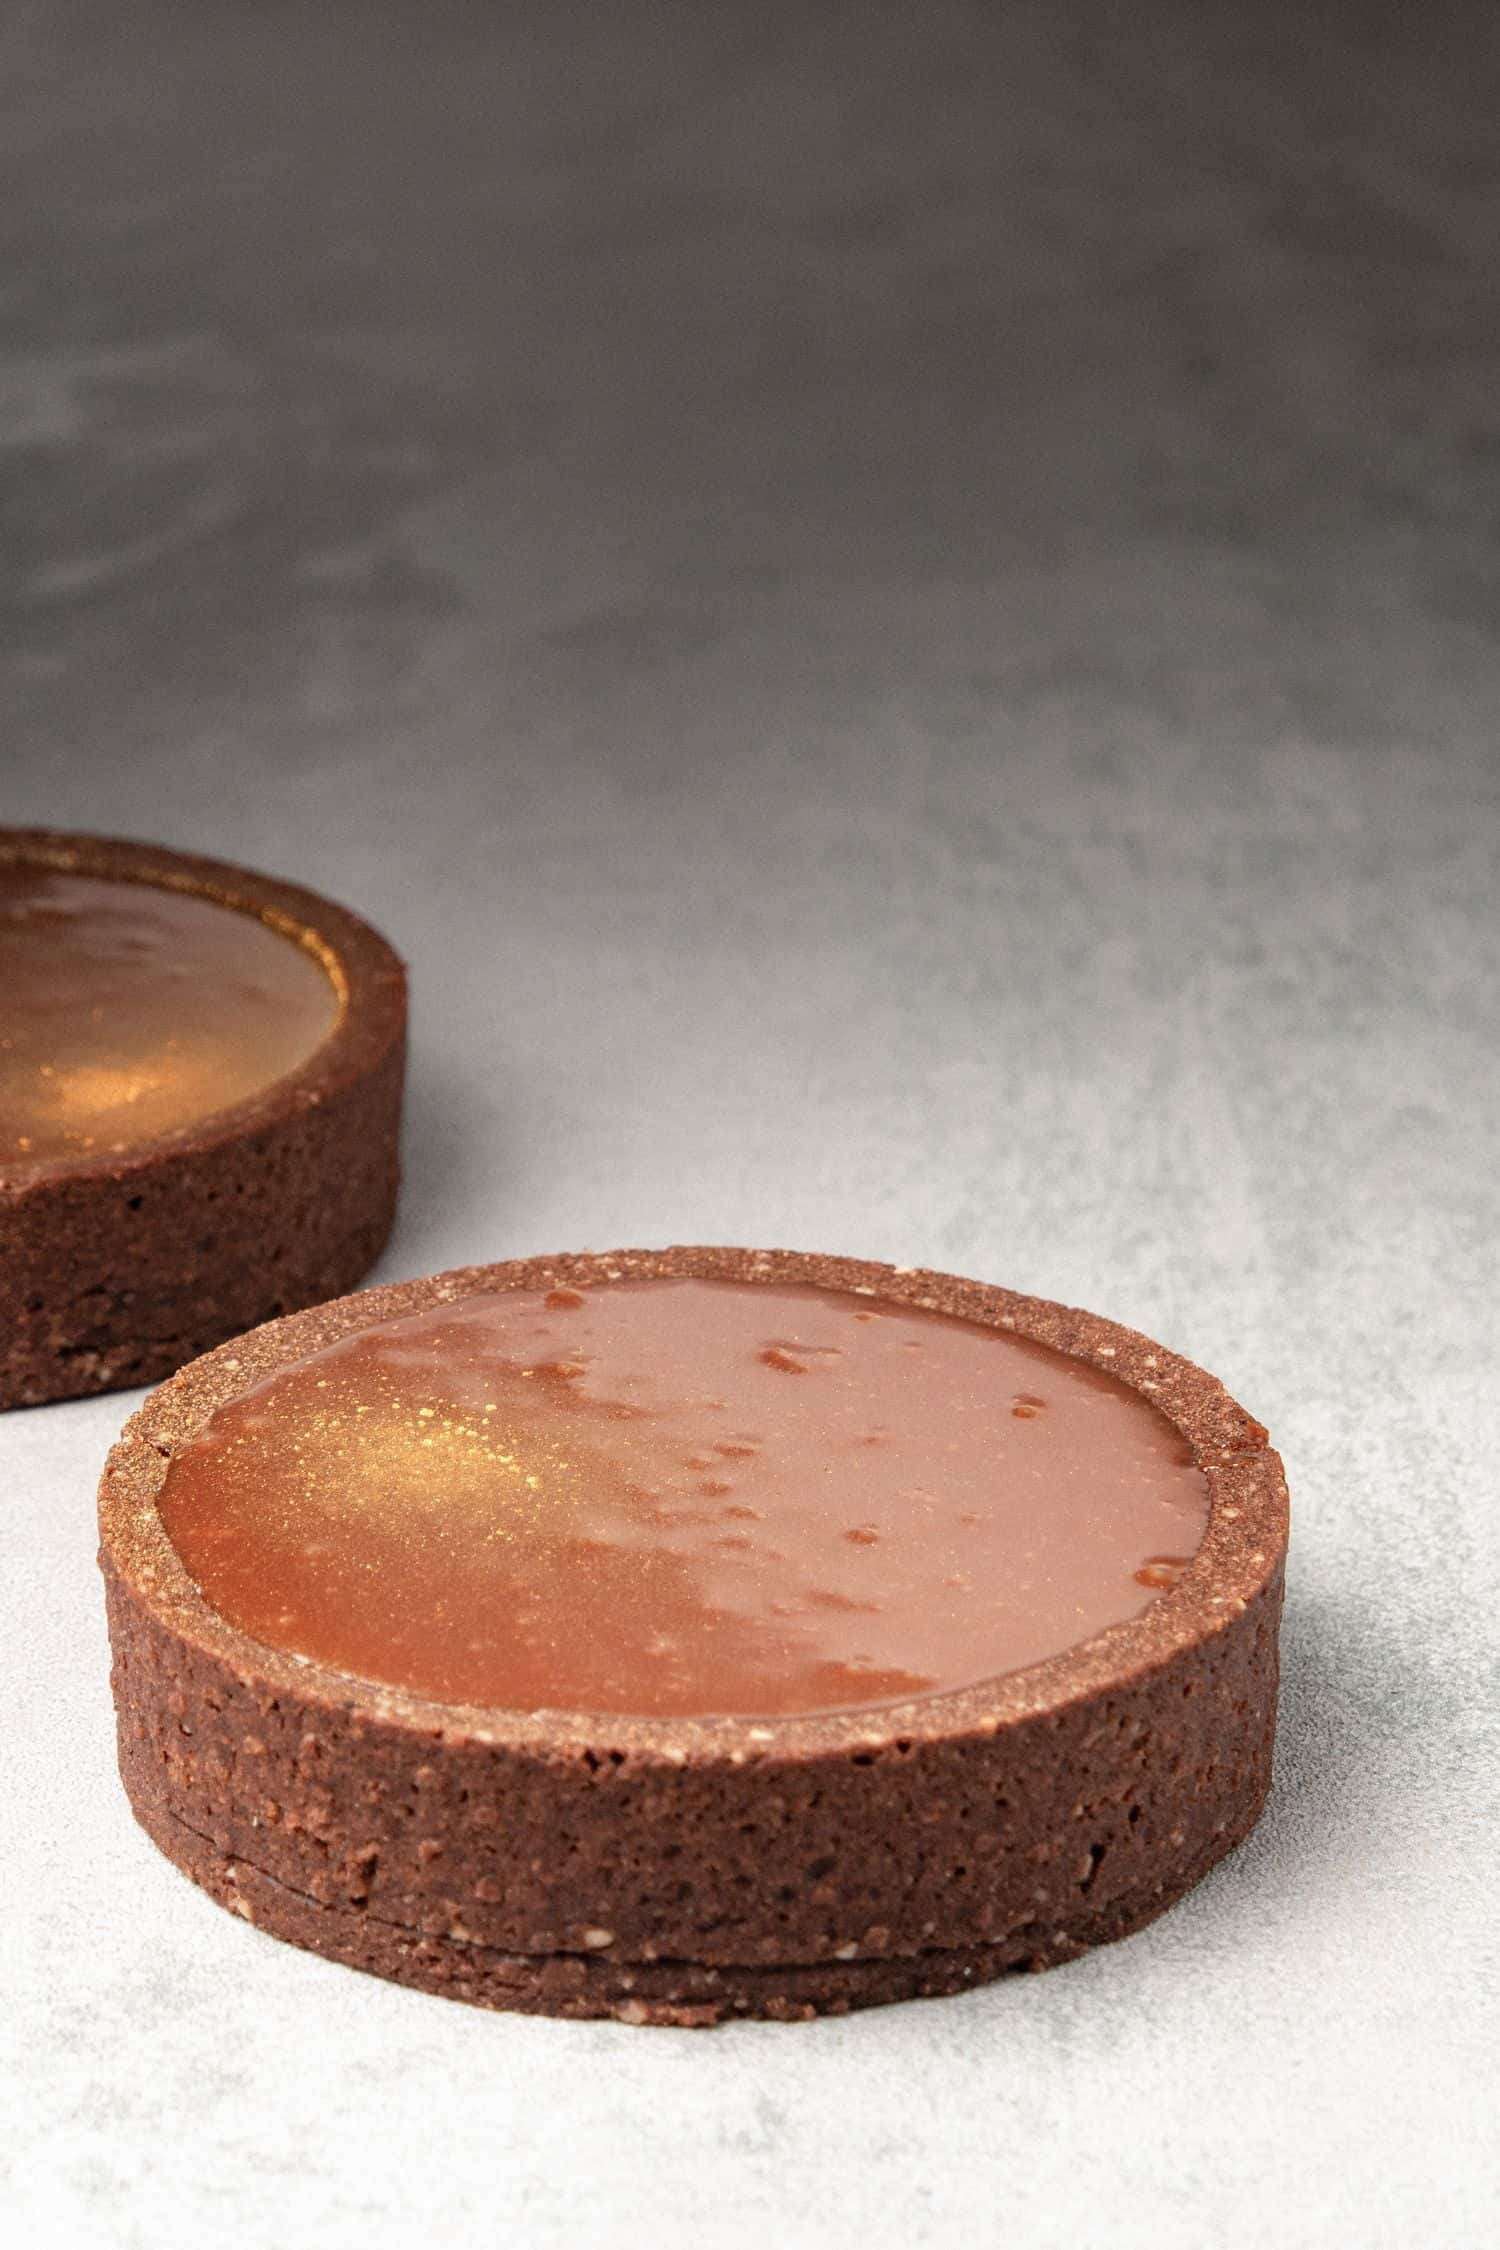
Salted caramel & Chocolate tart – This Salted caramel chocolate tart is one of my favourite tarts ever! Salted caramel and Chocolate are match made in heaven… It just tastes phenomenal as the buttery caramel with slight salty kick meets the silky chocolate ganache! Recipe in here
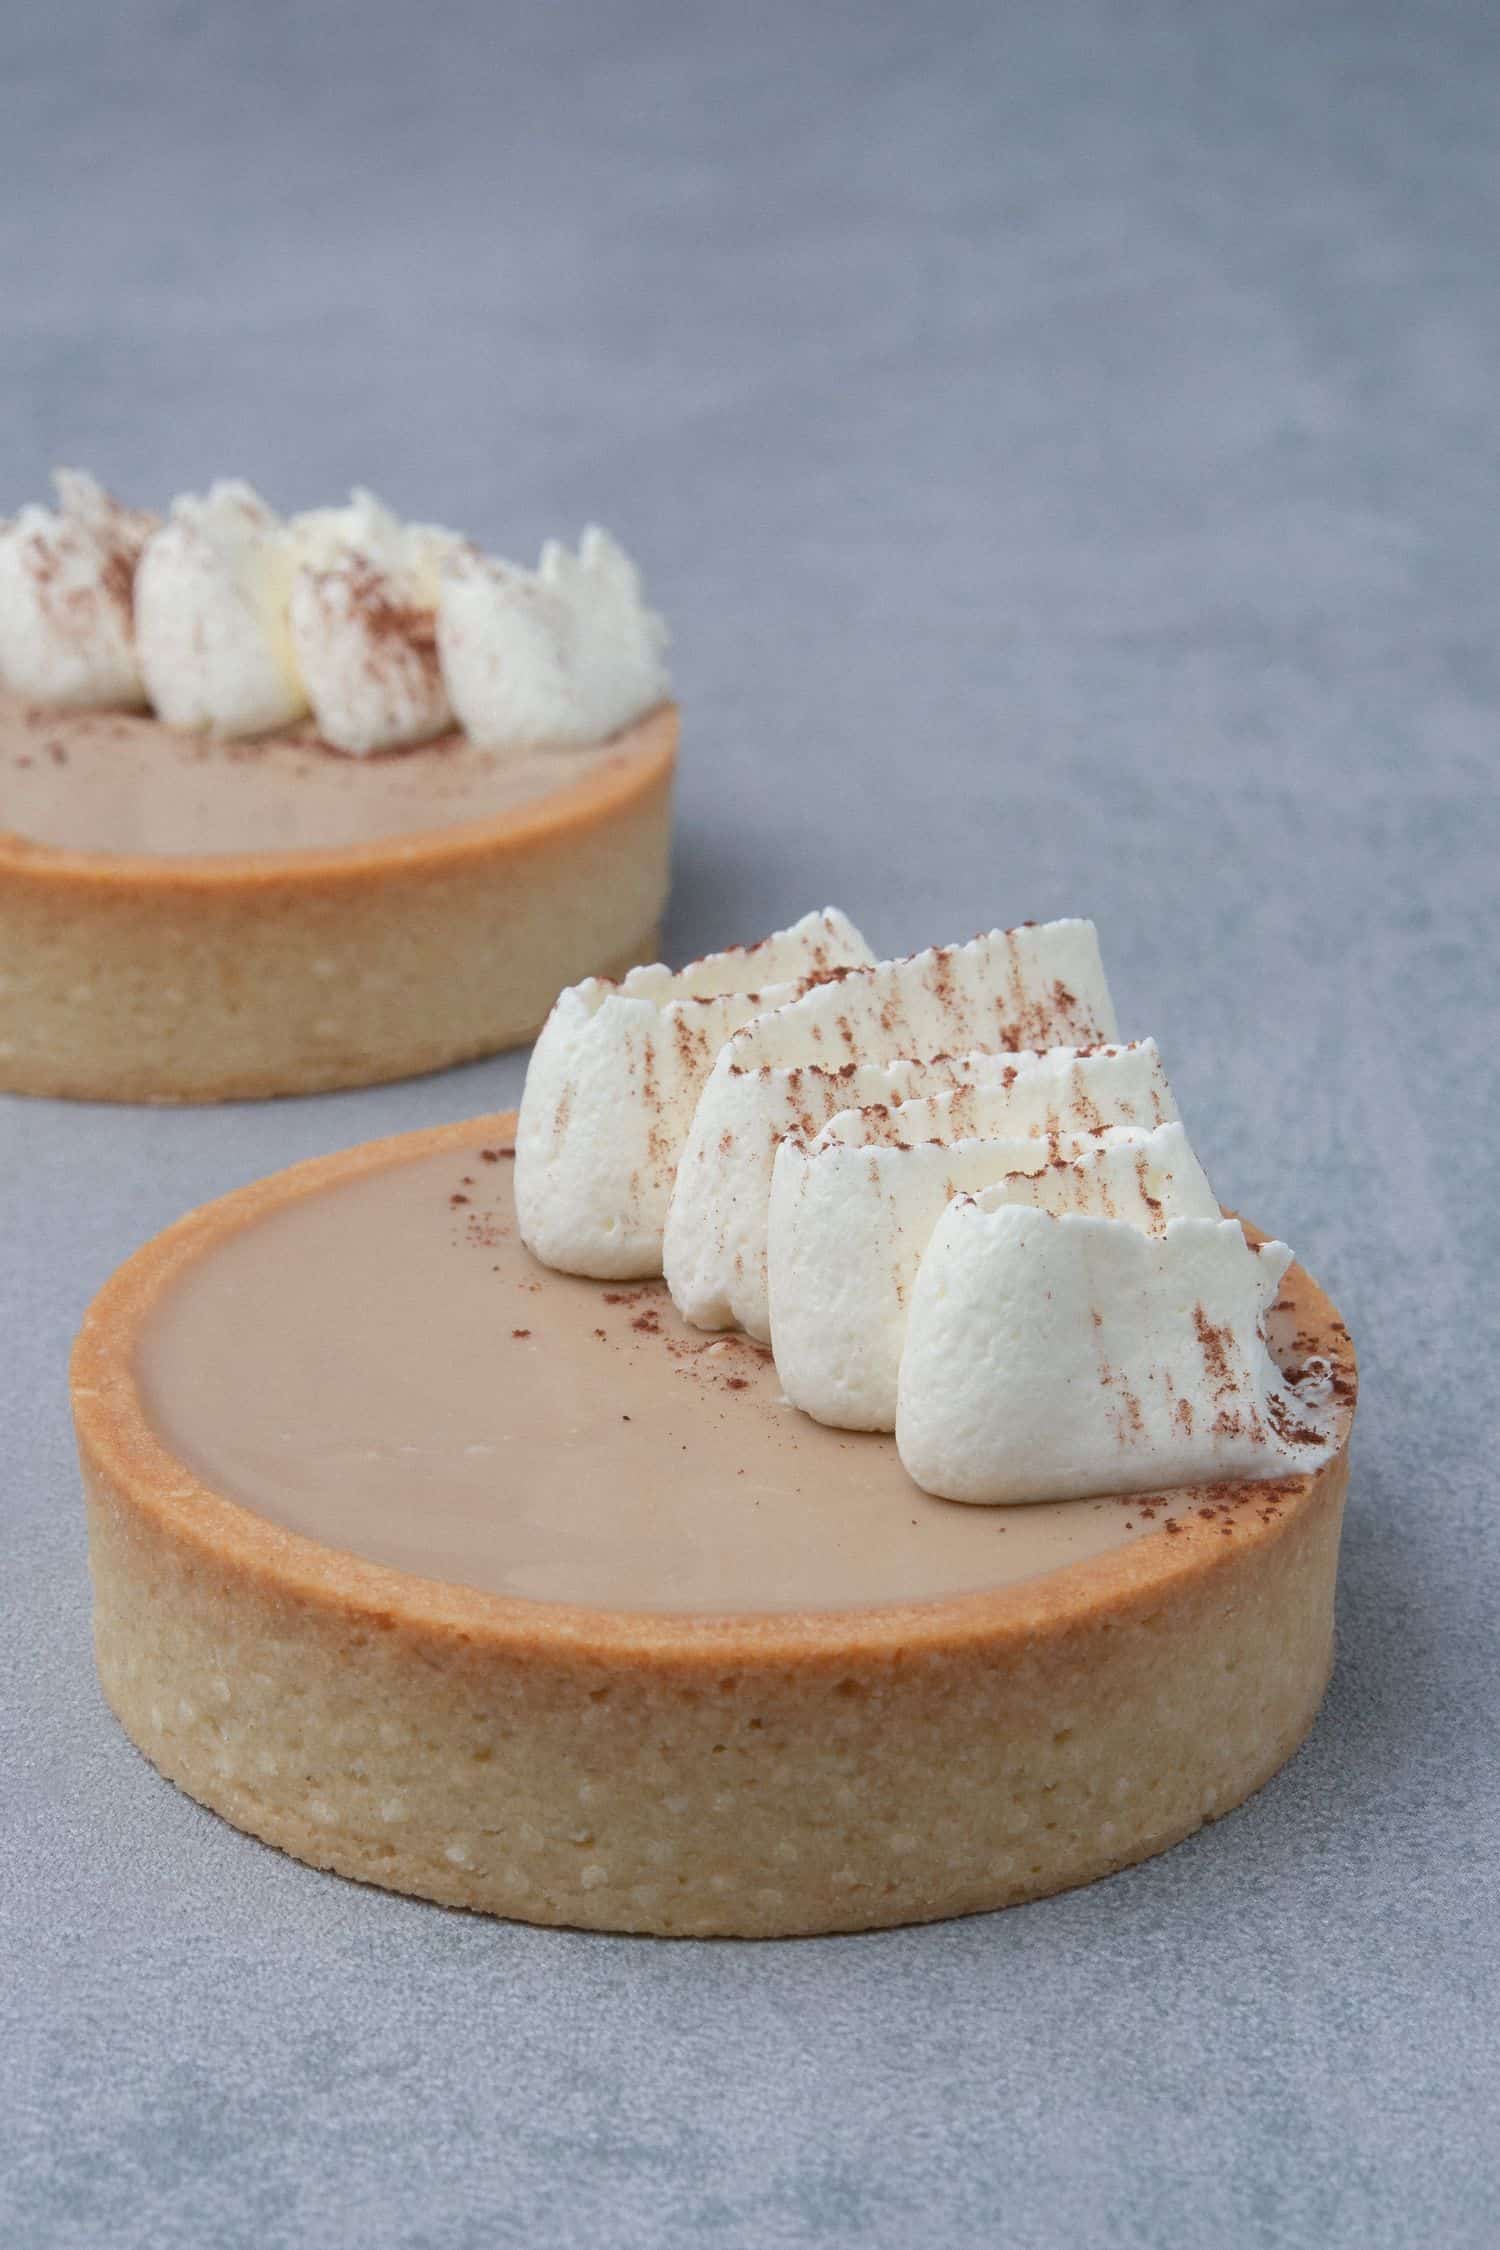
Coffee tart - This Coffee Tart or Mocha tart recipe is a dream for coffee lovers! Pâte Sablée filled with silky Coffee ganache and decorated with cream that makes it effectively a Cappuccino Tart. Once the Pâte tart shells baked, it is a super easy and quick recipe, the coffee ganache is literally 3 ingredients! Recipe in here
Lemon meringue tart - This Lemon meringue tart recipe is a decorative, individual dessert version of the well know lemon meringue pie. I love everything about this French tartlet recipe! Pâte Sablée sweet shortcrust pastry filled with tangy and creamy lemon curd and topped with sweet and silky Swiss meringue. Recipe in here
Stawberry Custart tart – This Strawberry Cream tart with Vanilla Custard is the creamiest, most amazing tartlet to make when strawberries in season. The Strawberry Cream tart consist of a Pâte Sablée shortcrust pastry filled with silky vanilla custard (pastry cream), topped with a super easy whipped cream and strawberries. Recipe in here

Triple Hazelnut Tart with Gold Chocolate decoration
Equipment
- Digital scale
Ingredients
Shortcrust pastry tart shell
- 90 g (¾ cups) Icing sugar
- 210 g (1¾ cups) Pastry flour AP works too
- 50 g (½ cups) Hazelnut flour
- Pinch of salt
- 110 g (½ cups) Unsalted butter very cold cut into cubes
- 50 g Egg approx. 1 egg
Hazelnut ganache
- 300 g (1⅓ cups) Callebaut WhiteChocolate (callets)
- 150 g (1¼ cups) Hazelnut paste or make homemade hazelnut butter
- 300 g (1⅓ cups) Heavy Cream
- Pinch of salt
Decoration
- 300 g (2½ cups) Hazelnut roasted
- 100 g (½ cups) Callebaut Dark Chocolate (callets) for the chocolate disk
- edible gold dust
US customary cup measurement is an indicative figure only. Measure the ingredients with a digital scale by weight (gram). Baking is art but also science which requires precision and accuracy.
Instructions
Hazelnut sweet shortcrust pastry
- Sift together dry ingredients; flour, icing sugar, hazelnut, salt
- Add very cold butter cubes and rub the mixture between your hands until it becomes a sand like consistency
- Add egg into the mixture and mix with your hands just until the dough comes together
- Knead with the palm of your hand for a minute or two (do not over knead and do not use mixer) just until the dough becomes smooth
- If the dough is too warm and sticky, place it into the fridge for 10-15 minutes first. Otherwise continue with rolling the dough out into 2mm thickness between two Silicone baking mat.
- Place the dough into the freezer for 15 min in between the two Silicone baking mat.. Do not remove the mat at this point
- Prepare your oven rack with the Perforated "air" baking mat and Perforated tart rings on top
- Take the dough out from the freezer, remove the top of the silicone mat and using one of the Perforated tart rings, cut out 8 circles - this will be the bottom of your tart crust. Carefully move the dough circles with the help of an Offset spatula and place them into the rings one by one
- If at any point the dough gets too warm to work with, pop it back into the freezer for 5 minutes. You might need take the dough in and out of the freezer many times depending on the temp of your kitchen. It is extremely important to work with a dough which is cold enough to be able to handle (so not sticky) but not too cold which would result in breaking it
- Cut 8 long stripes out of the dough, this will be the side of the tart
- Carefully place the stripes into the ring one by one. Press each stripe onto the ring so it sticks to it
- Place the Perforated tart ring with the pastry dough in them into the freezer for 1 hour
- Pre-heat oven to 160C / 320F
- After 1 hour take the pastry dough with the rings on them out and trim them with a sharp knife
- Bake for 20 min then carefully remove the rings and bake for another 5 -10 min until golden brown. Let them cool on the Perforated "air" baking mat before filling
Hazelnut ganache
- Place finely chopped high quality white chocolate (eg. Callebaut WhiteChocolate (callets) and 100% hazelnut paste into a bowl
- Semi-melt white chocolate & hazelnut paste in the microwave stirring every 30 sec
- Heat cream until just simmering. Pour warm cream over the chocolate & hazelnut paste. Add a good pinch of salt. Let the mixture sit for a minute then stir together or use a blender to emulsify
Chocolate disk
- Melt and temper chocolate, pour it onto a silicone baking mat and smooth with an offset spatula until about 1mm thickness
- Wait until chocolate starts to set then with the help of cookie cutter cut out 8 circles
- Let chocolate fully set on room temp (or quicker in the fridge) then paint with edible gold dust
Assemble
- Once tart shells are cooled and hazelnut ganache is ready, fill each tart shell with runny but not hot ganache up until the edge of the tart
- Refrigerate the tarts for 4-6h for the ganache to set
- Roast hazelnuts then arrange them tightly on top of the ganache
- Place one chocolate disk on top of each tart then gently melt with the help of a hair dryer
- Store the tarts in fridge

Marjolein
Hi! This has giving me such a headache haha. I wanted to make it for Christmas.
I really did everything according to your tips, used the right materials and have been putting the dough in the freezer multiple times so the temperature was just wright…
But still when they are in the oven the dough just seems to melt and the tartes are not good. I have tried 3 times!! Breaking my head over what I can do next time to finally get it wright.
Can it be anything else?
Kata
Hey, sorry to hear about your struggle, this dough should not melt in the oven. Few things I can think of
- the dough was not cold enough before putting it into the oven. you should freeze it
- the oven is too hot melting the dough quickly as opposed to baking it
- the oven is not hot enough so it is only melting the dough instead of baking
- the ingredients were off eg. more butter or less flour is used than needed
Pls make sure to use a digital scale and oven thermometer if you are having troubles with this pastry.
Good luck!!
Kata
Lena
The most important first:Delicious! The dough crisp, ganache wonderful cremY and not too sweet. The nuts make it so wholesome and the look is stunning. Worth the work! The recipe is so detailed and therefor so helpful!
The only advice I would give is to cut the nuts in half before decorating. There is so much nut flavor, it’s just lovely.
Highly recommend!
Johanna
Hi, im planning to make these as dessert for christmas eve. How early can I prepare them in advance whitout them getting soggy or anything else?
Kata
I would make them max 1 day ahead. Good luck:)
Marco
I’m thinking of making macadamia tarts in a similar way to this beautiful recipe. Is it as simple as substituting the macadamias in with the same quantities as the hazelnuts?
Also, for the ganache can I make a macadamia praline paste or do you think the caramel might be too sweet with the white chocolate and I should stick with pure macadamia paste?
Kata
Hey, macadamia paste can be substituted with hazelnut paste 1:1 however praline has a different taste, texture, and qualities vs pure nut paste, so I would not use it in this recipe.
Harini
Omg omg .. tried ths recipe today .. absolutely beautiful and the taste was out of the world .. the step by step instructions was too good .. absolutely loved making them.. they recipe is fool proof .. thank u sooo much for the lovely recipe .. il keep trying all the recipes one by one ❤️❤️❤️❤️
Maja Judnič
Amazing recipe, easy to follow.
Faria
Tried this and loved how it looked! Thankyou for this idea, totally amped up the dessert game!
Mike Cooper
Super amazing recipe. No issues making it. Some technique requires but loads of useful tips within the recipe. 100% I would make this again. Of note I used an 8cm tart ring and got 12 tarts although I needed 50% more chocolate for the discs.
Julia Müller
I love this recipe . It's fairly easy to replicate but leaves quite an impression. Also you can easily use other nuts - I have for instance switched completely to macadamia and it worked super well!
admin
Lovely to hear that you loved this recipe, thanks for your feedback
Laura
The process is very well explained but is it possible to have quantities in order to make it?
Kata
there is a recipe card in all my recipes with the quantities:)