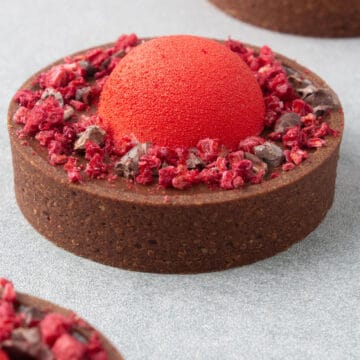
Silky & rich chocolate ganache meets wonderful raspberry mousse in this Mini Chocolate Raspberry tart recipe! Chocolate and raspberry are match-made in heaven, and in my recipe, you will find both sweet and tangy flavors utilizing these two ingredients. As fancy as it looks making this elegant mini tartlet could not be easier with the help of my step-by-step tutorial!
Jump to:
💡 What is a tart / tartlet
A tart is a freestanding, shallow, open-faced pastry consisting of a filling in a pastry case with an open-top, not covered with pastry. The pastry is usually a rich shortcrust pastry (Pate sable dough), while the filling can be both sweet or savory. A tart case is typically baked in a tart ring with fluted or straight sides. Smaller mini tarts are often referred to as tartlets. Lemon tart, fruit tart, chocolate tart, coffee tart, caramel tart...you name it!
Tarts and tartlets are some of the most popular pastries all around the world. As fancy as they look, these French pastries are in fact surprisingly easy to make at home and can be the most impressive desserts on any family or friend get-together.
Make sure you check out my Ultimate Chocolate Pâte Sablée Guide which explains everything about how to make sweet shortcrust including ingredients, technique, equipment, and even more.
📝 Ingredient notes
For the Chocolate Pâte Sablée tart shell
- Flour: I am using pastry flour (that is lower in protein content) for this French tart shell recipe, feel free to use All-purpose flour, if can't find pastry flour in your local supermarket. If you want to be a Pro when it comes to deciding what type of flour to use in your baking, please read my flour guide
- Almond: Some Pâte Sablée recipes contain almond, some don't, I prefer mine with almond flour from a taste and texture point of view. Pâte Sablée with almond flour is slightly crispier with some marzipan taste. It is worth buying good quality ground almonds, without skin. Almond can be replaced with hazelnut, walnut, pistachio flour too, or alternatively, in case of nut allergy, replace it with an equal amount of pastry flour
- Cocoa powder: The cocoa powder will make this recipe into a wonderful Chocolate tart case! Always use unsweetened, 100% cocoa powder in baking. I use dutch-process cocoa powder, it has a lovely dark color and it is lower in acidity
- Sugar: This sweet shortcrust pastry is made with a small amount of icing sugar that makes the tart case sweet but not overly sweet. If you want to learn about the different types of sugar and how to use them in baking, please read my sugar guide
- Salt: An essential ingredient in most dessert recipes. Balances flavor and enhances other ingredients. This is a sweet-tart dough and I just love that extra very mild salty kick at the end
- Butter: Use always unsalted as you want to be in control of the quantity of the salt. I am using high-quality 82% fat content European-style butter in all my recipes. While in most of the recipes butter needs to be at room temperature, this is an exception and you have to take it very seriously. The butter needs to be chilled, which means take the butter out of the fridge, cut it into cubes then place it into the freezer for 10-15 minutes before using it
- Egg: Room temperature as always. Please note that this is not a Vegan pâte sablée recipe and the egg can´t be left out or replaced unless you have the knowledge to totally reformulate the recipe
🛒 You’ll find detailed measurements for all Ingredients in the printable version of the Recipe Card at the bottom of this post
For the Chocolate ganache
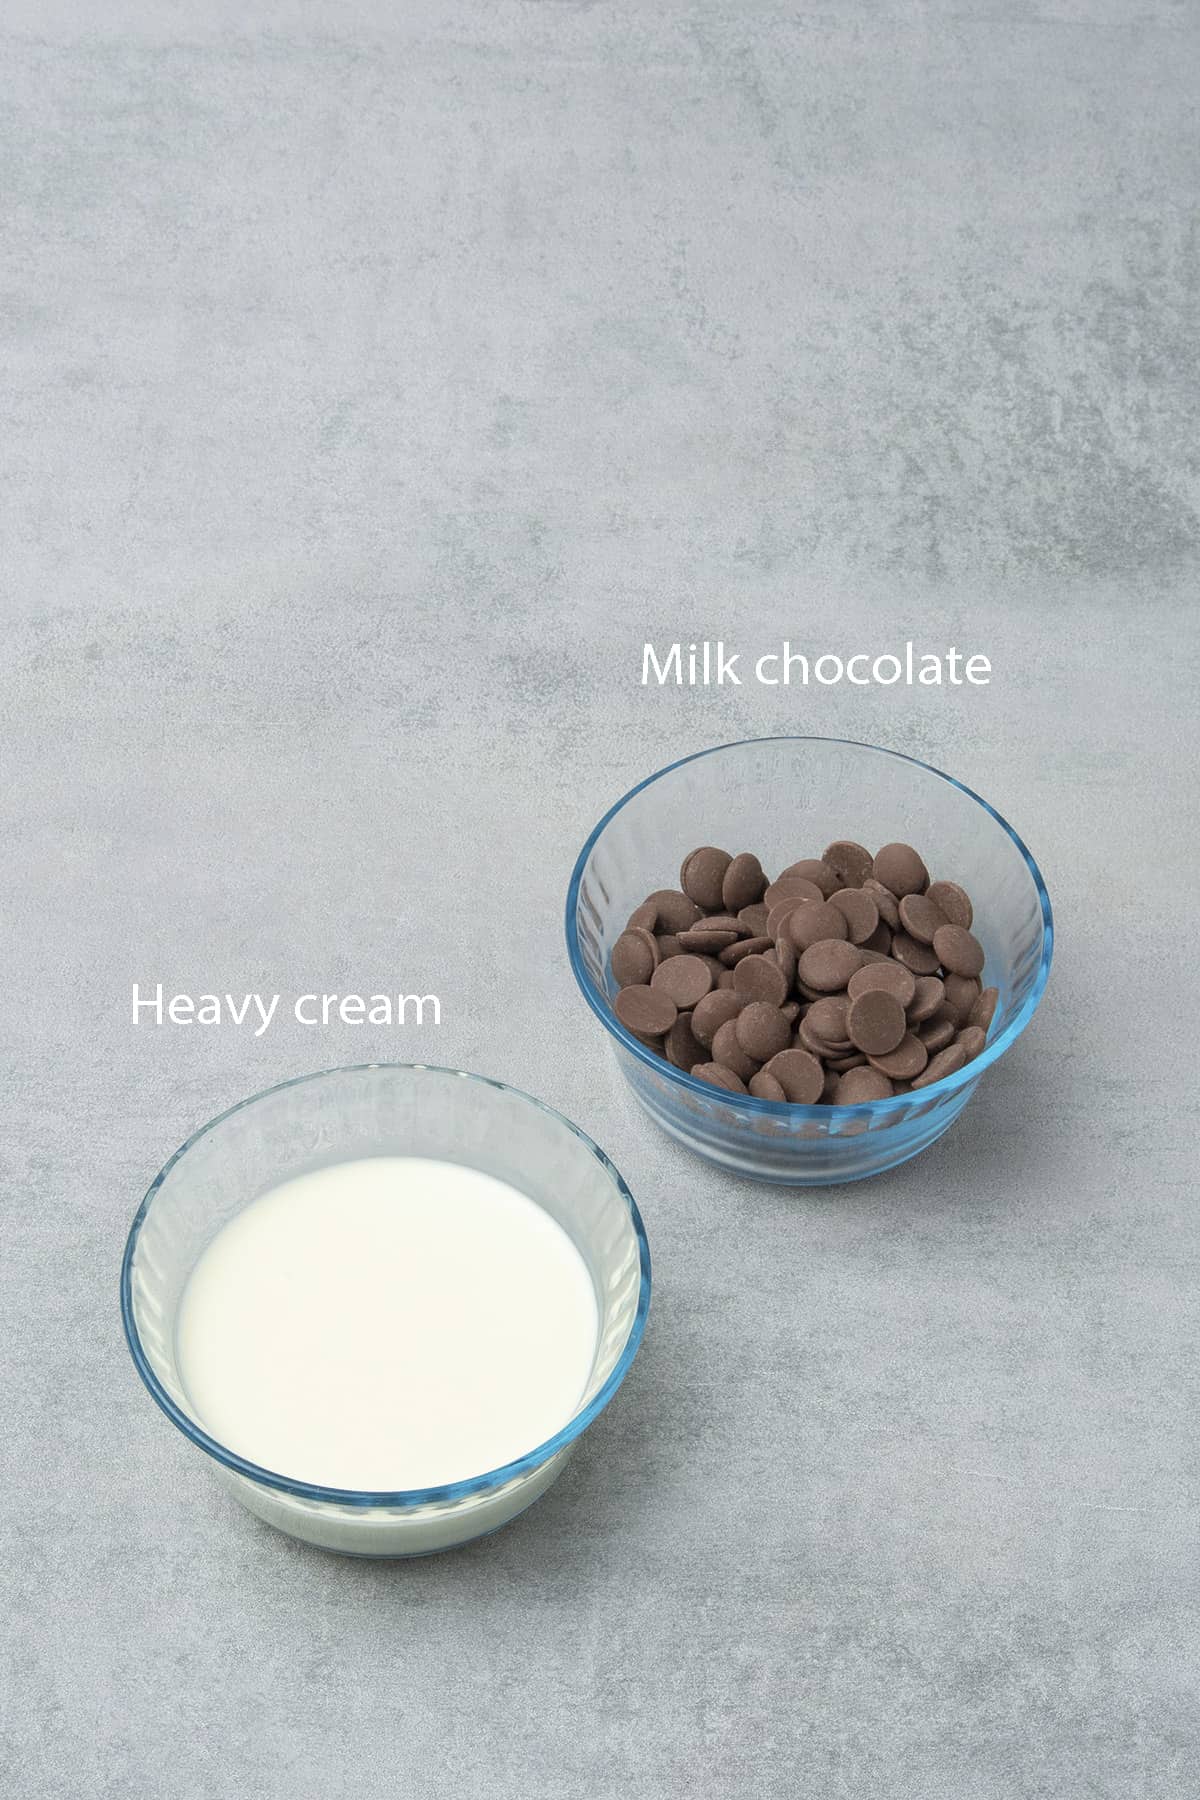
- Chocolate: The chocolate is quite an important part of this Chocolate Raspberry tart recipe so make sure you use high-quality chocolate that has a pleasant taste! In this recipe, I am using Callebaut Milk Chocolate (callets). This is a high-quality chocolate (yet affordable) that contains a higher percentage of cocoa butter than the average supermarket chocolate.
- Heavy cream: Heavy cream also known as whipping cream has a fat content between 36% and 40%, the cream I am using is 36% which makes ganache super-rich, creamy, and silky
🛒 You’ll find detailed measurements for all Ingredients in the printable version of the Recipe Card at the bottom of this post
For the raspberry coulis
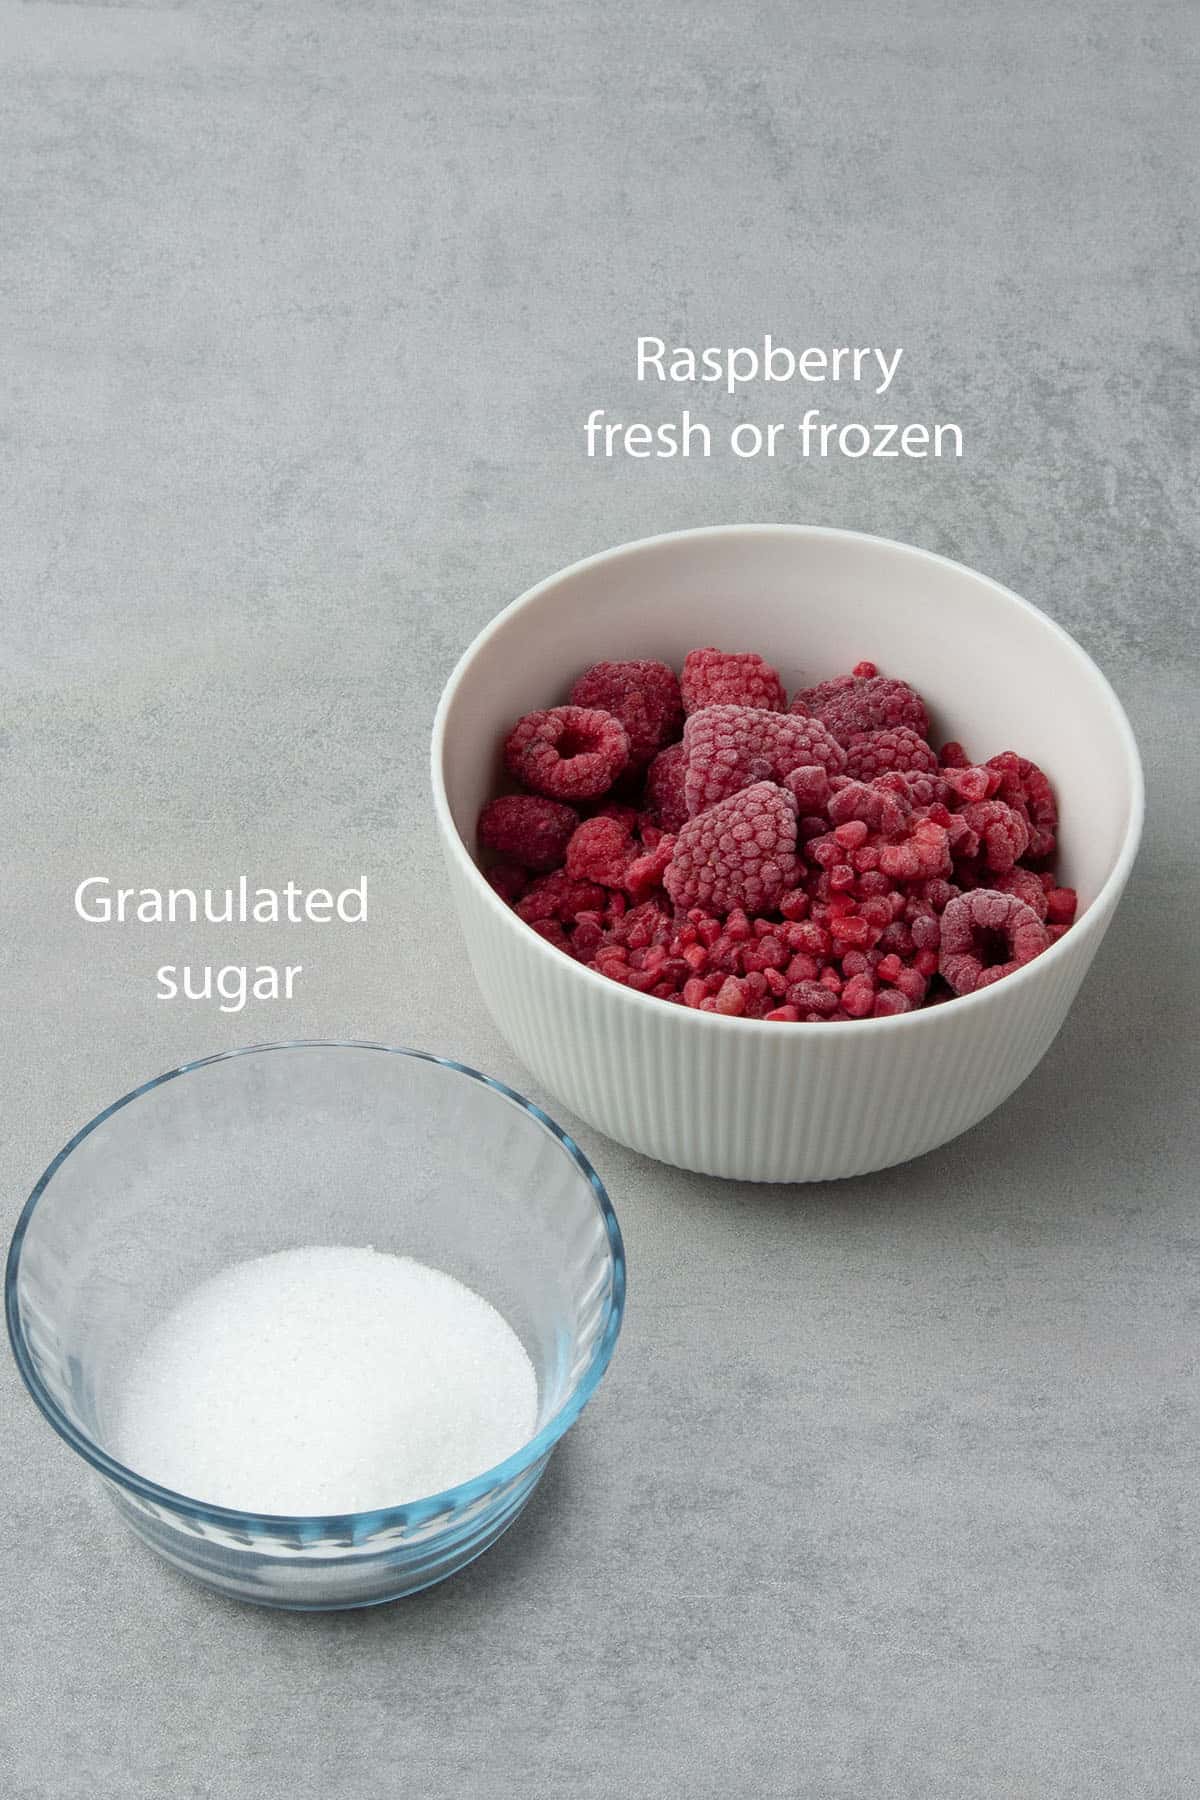
- Raspberry puree: Fresh or frozen both works. I hand blend it into puree and pour it through a sieve to get rid of seeds
- Sugar: Simple granulated sugar is fine
- Lemon juice: Use freshly squeezed. It won´t taste lemon but the lemon brings out more flavors
🛒 You’ll find detailed measurements for all Ingredients in the printable version of the Recipe Card at the bottom of this post
For the raspberry mousse
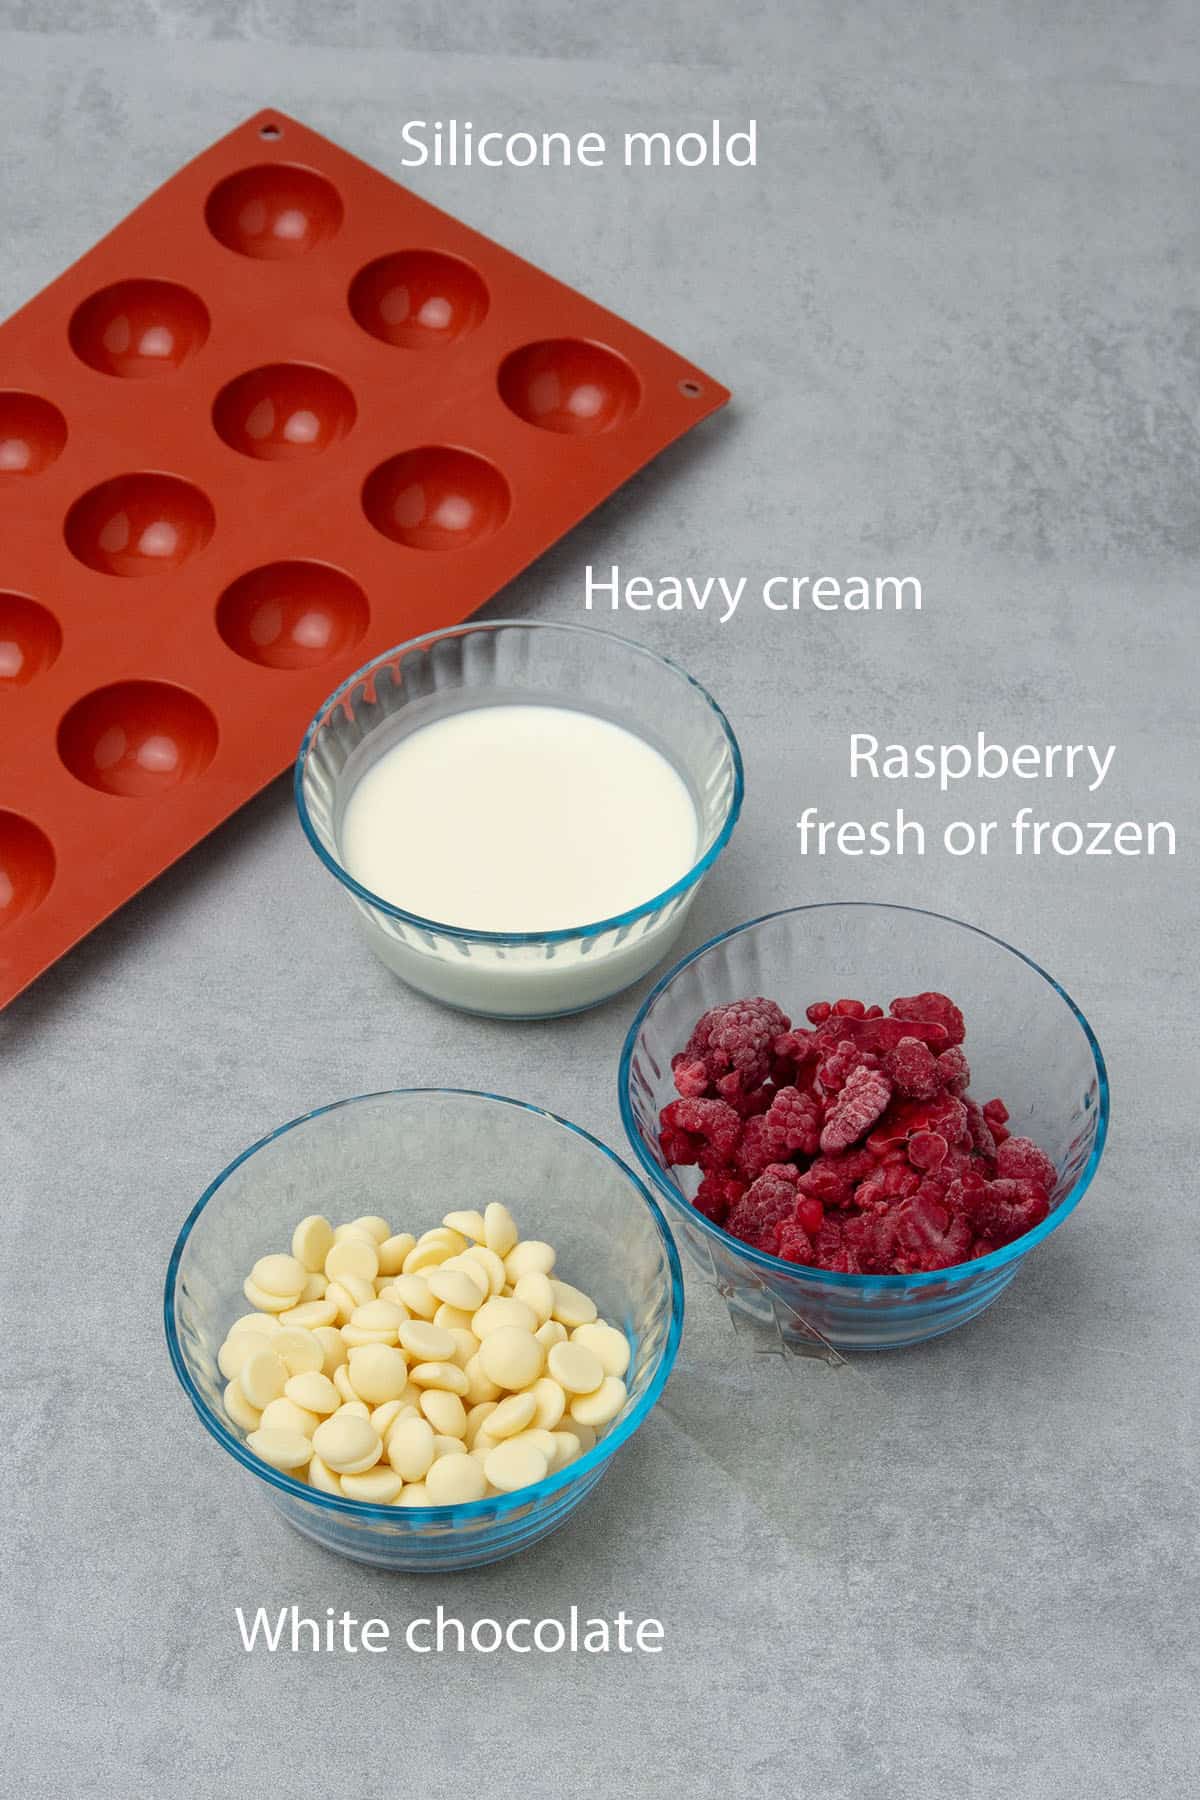
- Raspberry puree: Fresh or frozen both works. I hand blend it into puree and pour it through a sieve to get rid of the seeds. Raspberry will give a beautiful natural color and flavor to the mousse
- White chocolate: This raspberry mousse is a white chocolate-based mousse. Since white chocolate has a close to neutral flavor and color, it can be made into all sorts of mousse and ganache: raspberry, mango, coffee, etc. The mousse will be as delicious as the quality of the white chocolate you are using so always try to use the highest quality you can access. I am using Callebaut WhiteChocolate (callets)
- Cream: Also known as whipping cream or heavy cream, has a fat content between 36% and 40%, the one I am using is 36%. Avoid substitutes like vegetable-based “whipping cream”
- Gelatin: It´s an odorless, tasteless, and colorless thickening agent, very often used in pastries, particularly in mousse cakes. Powder or sheet versions are available, in my recipes I always use sheet (1,7 g / sheet), which I found easier to handle however you can substitute 1 sheet with 1,7g powder gelatin.Please note that gelatin is not suitable for vegetarians. Agar agar can be a good substitution for vegetarians however replacing gelatin with agar agar is not 1:1 and can only be done by reformulating the recipe slightly. Check my ultimate gelatin article for details on how to bloom gelatin and substitute options
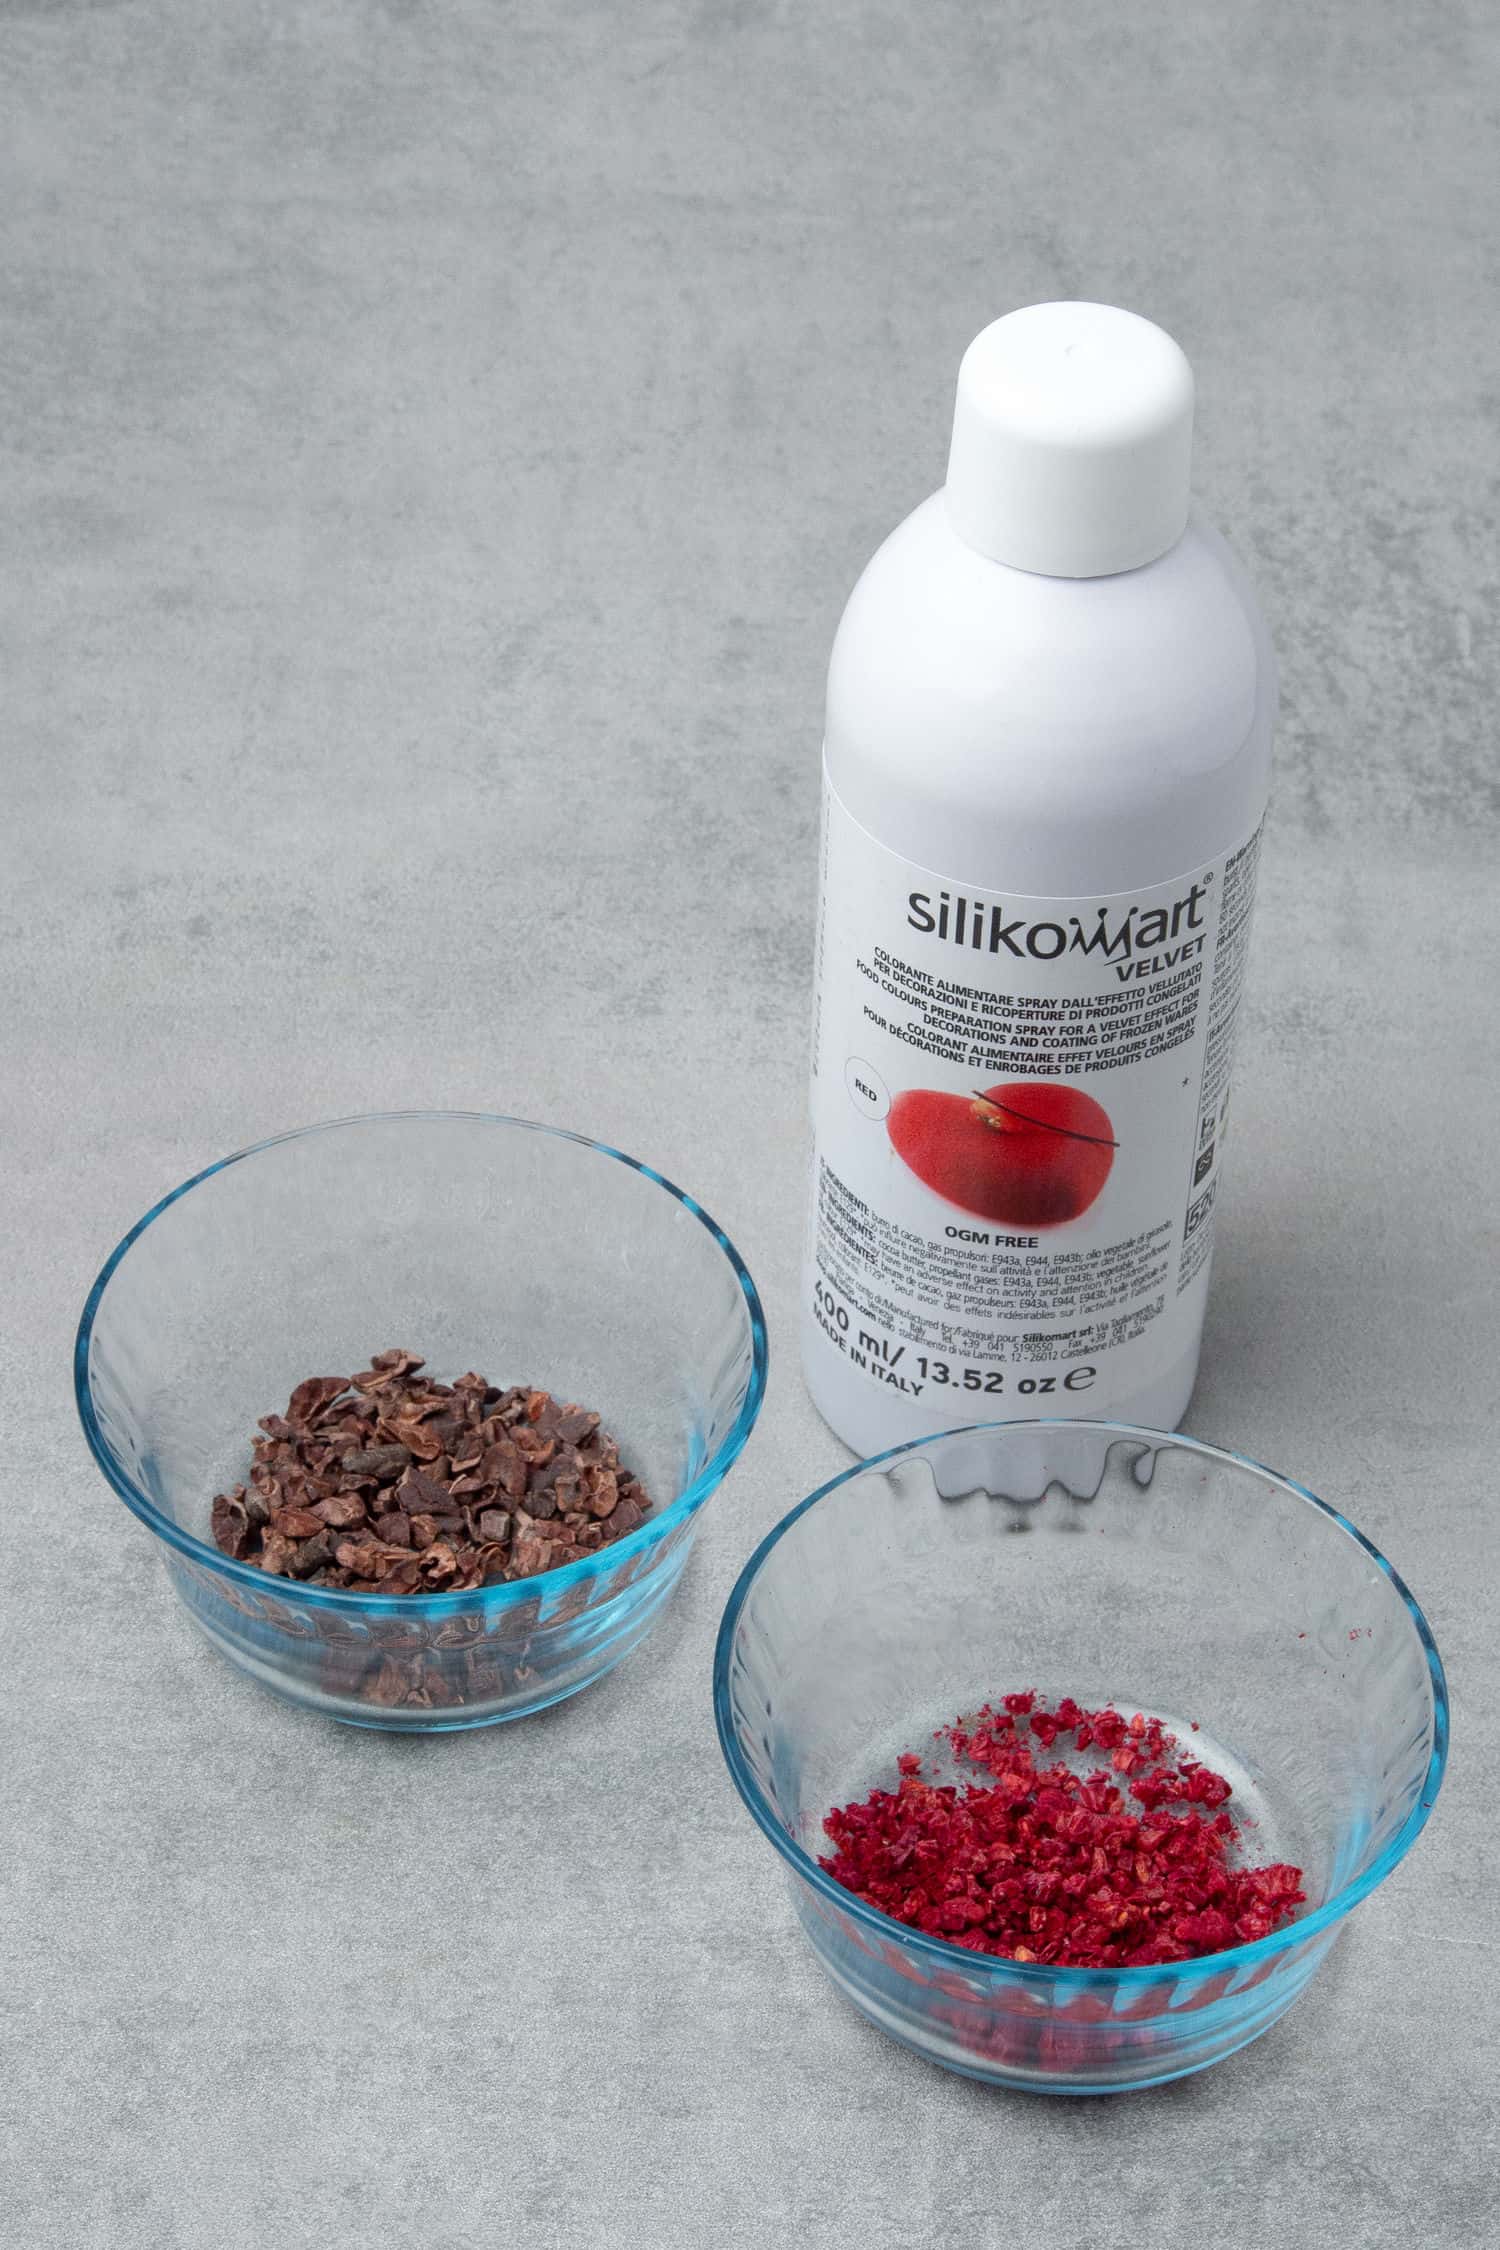
- Velvet spray: You can of course make your own cocoa butter if you own a spraying machine, however, the one I am using is a ready-made spray from a brand called Silikomart that is perfect for homebakers. Alternatively, you can substitute it with a natural glaze or mirror glaze or even leave it without glazing, the raspberry will give the mousse a pretty pinkish natural color. I got mine from a Swedish Baking supply online store called Soders Gourmet
🛒 You’ll find detailed measurements for all Ingredients in the printable version of the Recipe Card at the bottom of this post
👩🍳 How to make this recipe
I have a very detailed step-by-step tutorial including all my tricks and tips for making the perfect chocolate sweet shortcrust. If you read and follow my instructions and tips I can guarantee that you will succeed in making this Chocolate Raspberry tart!
1. The importance of temperature while making Chocolate pastry case
When I started experimenting with baking, I had several disastrous attempts making Pate sablee. Now I understand that the one and only reason I failed was being impatient and forcing the dough even when its temperature was inappropriate.
Baking is science and in general, temperature is one of the most important factors to understand and utilize for our benefit. When I say temperature I don't purely mean baking temperature, but also the environment we work e.g kitchen temperature as well as the dough temperature.
While making this mini chocolate raspberry tart case recipe, the temperature is everything! If the dough is too warm, it's sticky and can't be rolled out or shaped. If too cold, it will easily break. The entire pastry-making process is a balancing exercise between keeping the dough cold enough, but not too cold.
💡 Top Tip: To control the temperature of the dough don´t be shy to take it in and out of the freezer 10x or as many times it is required
2. The process of making a Chocolate tart dough
The process of making Chocolate Tart dough is not difficult, but a step-by-step process.
- Measure all ingredients with a Digital scale and prepare all the equipment ahead: Rolling pin, Silicone baking mat, Perforated “air” baking mat, Perforated tart ring
- Place the measured butter chunks into the freezer for 5-10 minutes
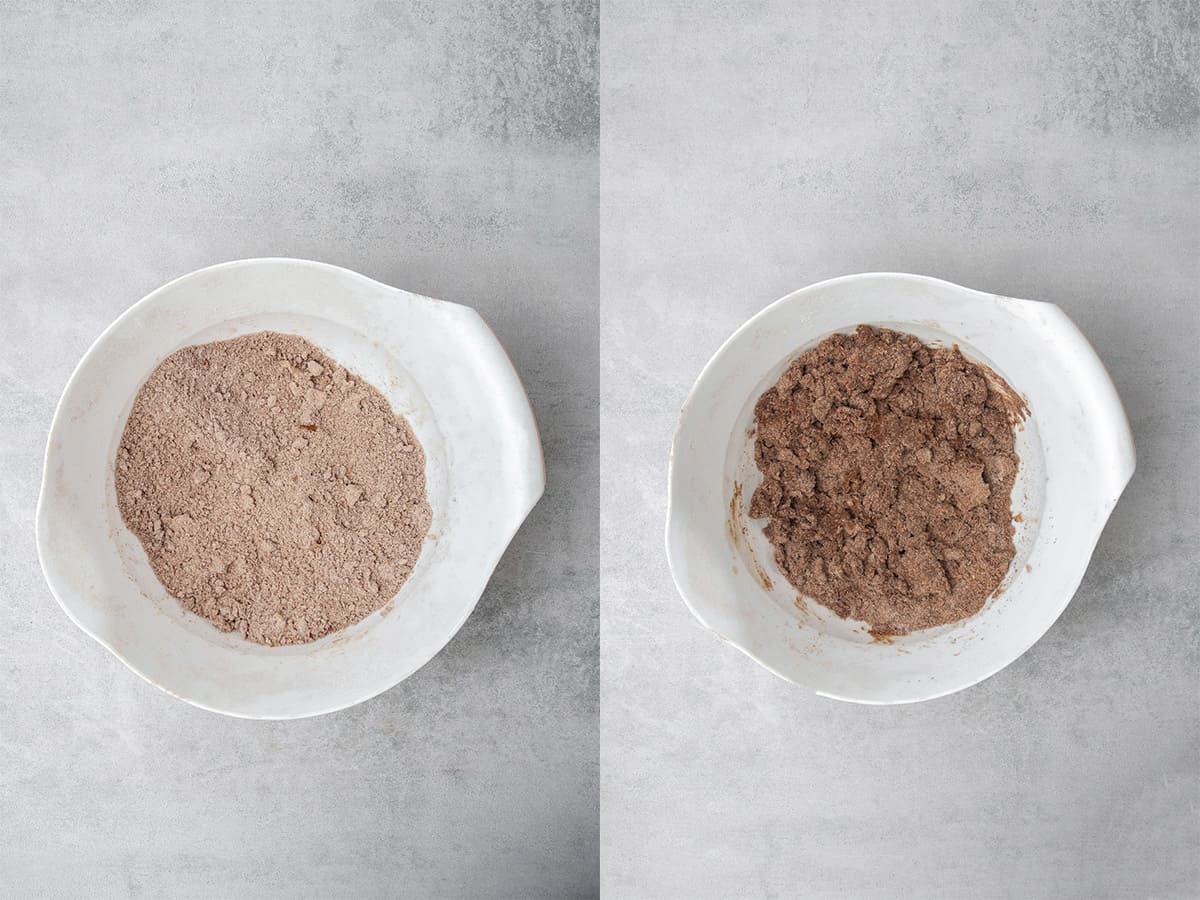
- Sift together the dry ingredients; flour, icing sugar, cocoa powder, almond, salt, and mix so they are combined properly
- Add very cold butter chunks into dry ingredients and rub the mixture between your hands until it becomes a sand-like consistency. This will take about 2 minutes, make sure you do not spend too much time with this step as butter can easily warm up, and that is something we want to avoid. Please note that there is no need to use a food processor!
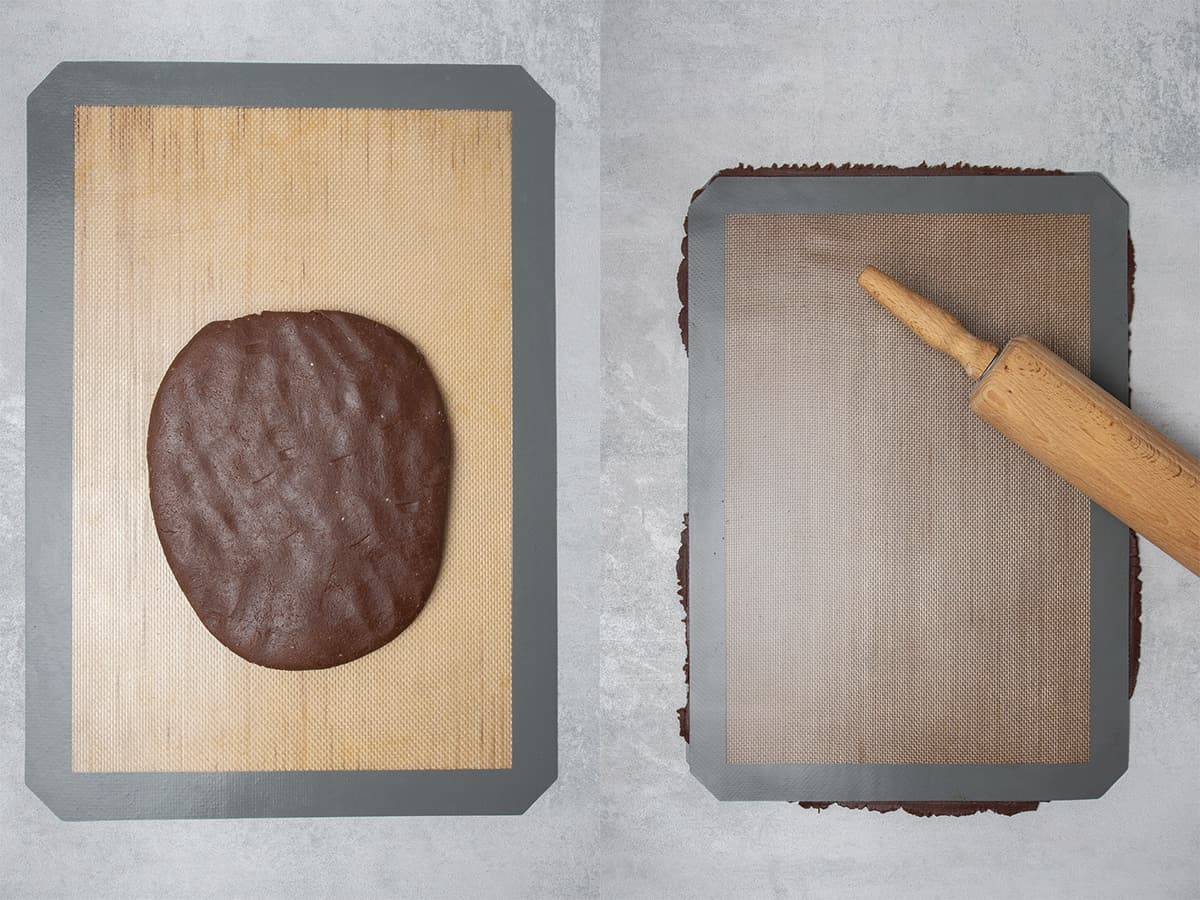
- Add egg into the mixture and mix with your hands just until the dough comes together. First, it might look crumbly but do not add more wet or dry ingredients to the recipe instead gently knead the dough with the palm of your hand for a minute or two (do not over-knead and do not use a mixer) just until the dough becomes smooth
- If the dough is too warm and sticky, place it into the fridge for 10-15 minutes first. Otherwise, continue with rolling the dough out into 2mm thickness between two Silicone baking mat. The recipe quantity is designed in a way that once you roll the dough out, it will reach the silicone baking mat from edge to edge (11.6 inches / 30 cm x 16.5 inches / 42cm)
- Place the chocolate tart dough into the freezer for 10-15 min in between the two Silicone baking mat. Do not remove the mat at this point as the dough might stick to the mat while it is warm
- Prepare your oven rack with the Perforated "air" baking mat and Perforated tart rings on top
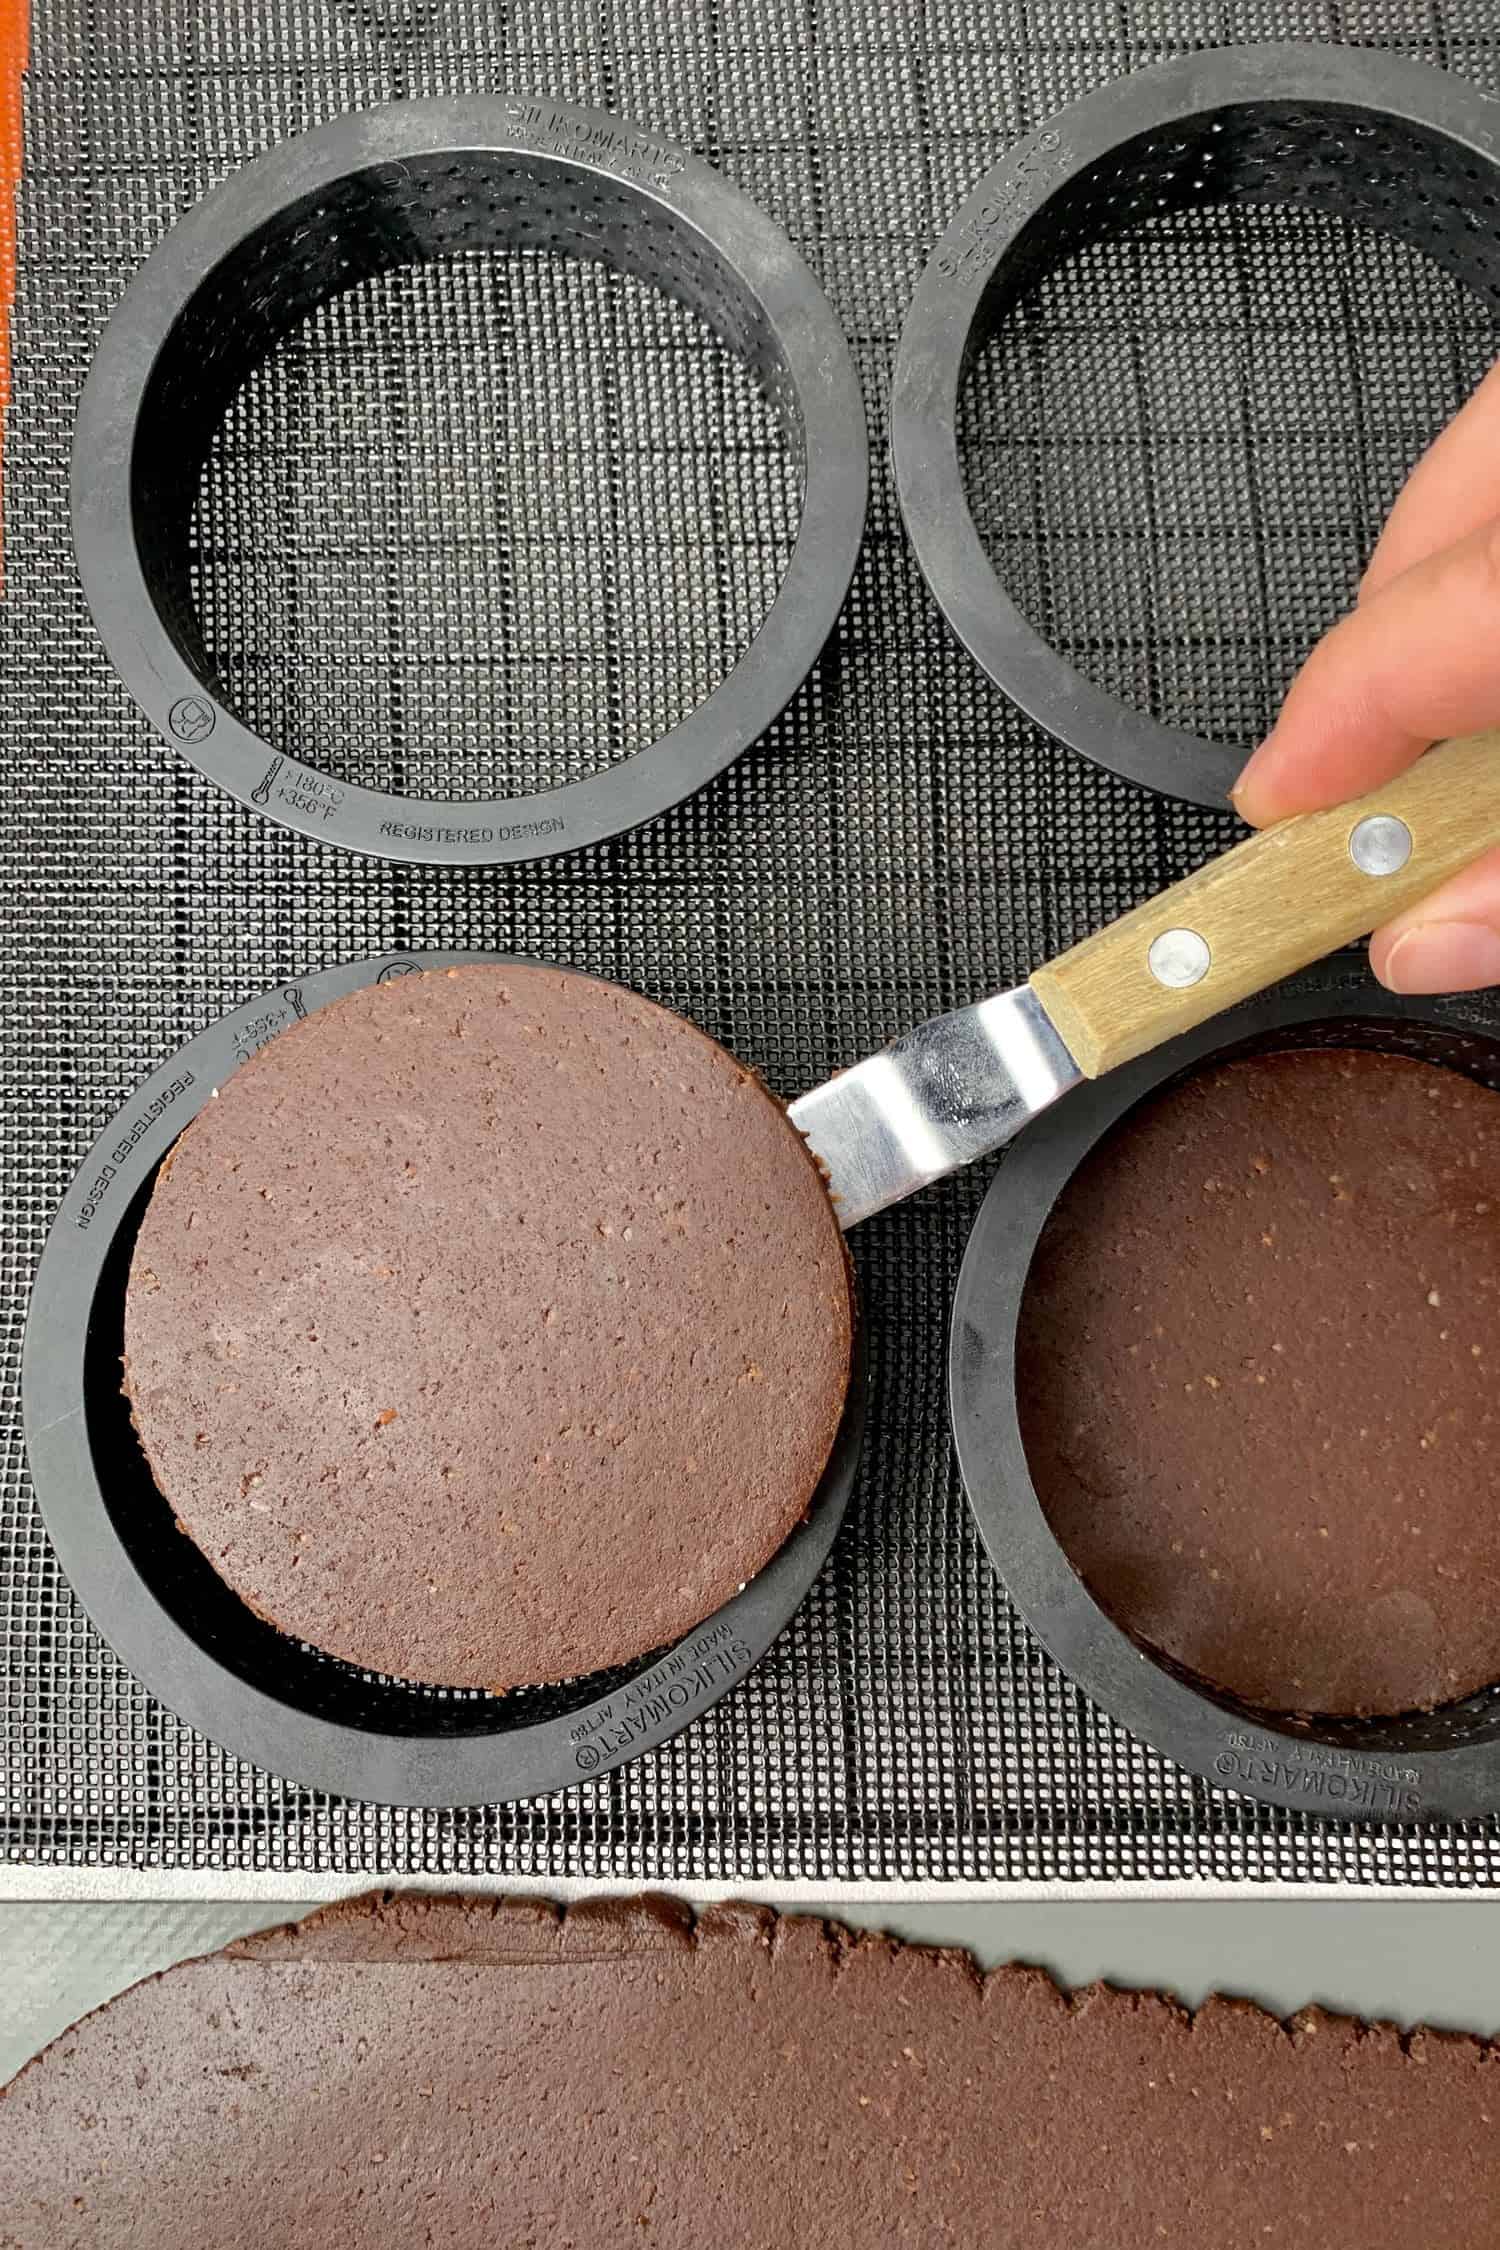
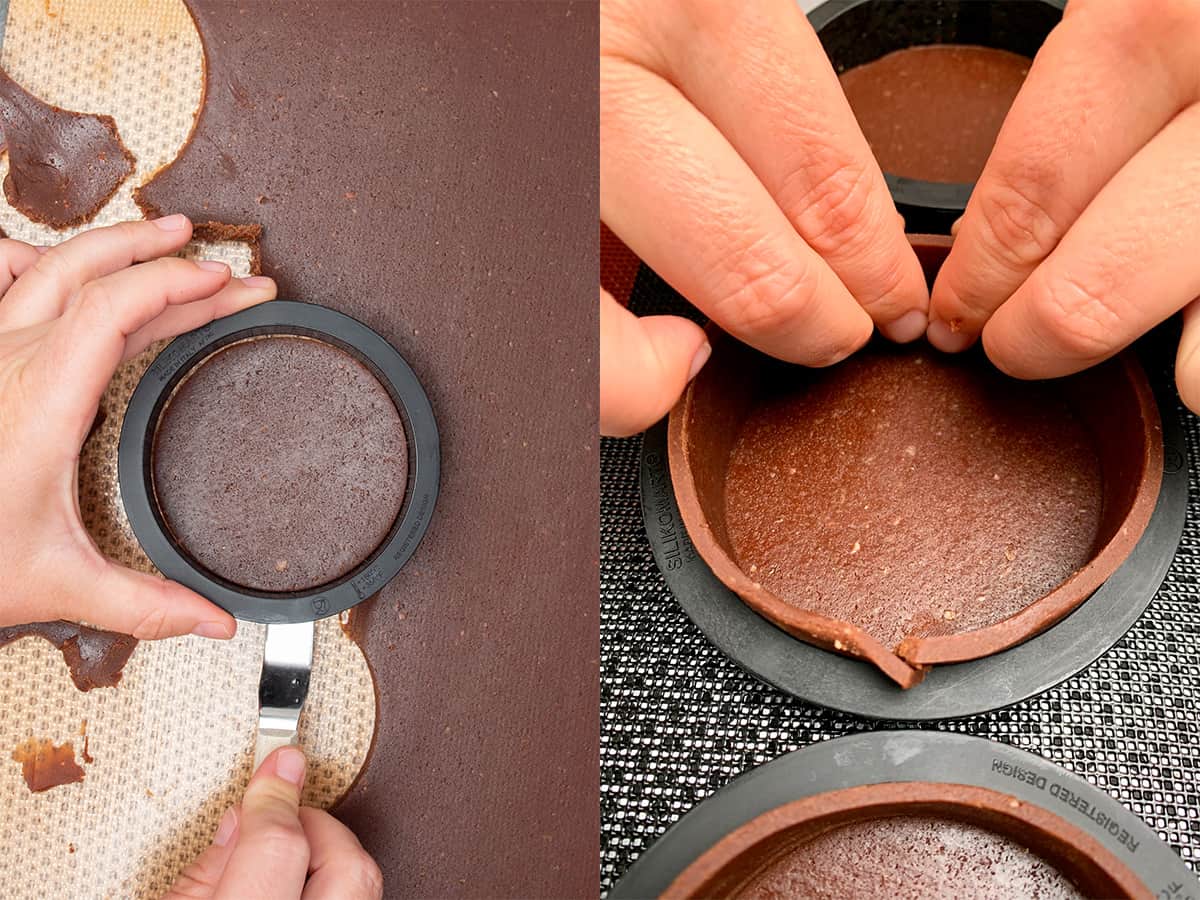
- Take the dough sheet out from the freezer, remove the top of the silicone mat, and using one of the Perforated tart rings, cut out 8 circles – this will be the bottom of your tart crust. Carefully move the dough circles with the help of an Offset spatula and place them into the rings one by one
- If at any point the chocolate pastry dough gets too warm to work with, pop it back into the freezer for 5 minutes. You might need to take the dough in and out of the freezer a lot of times but that is fine, don´t try to force the dough while it is warm. It is extremely important to work with a dough that is cold enough to be able to handle (so not sticky) but not too cold which would result in breaking it
- Cut 8 long stripes out of the dough, this will be the side of the tart
- Carefully place the stripes into the ring one by one. Press each strip onto the side of the ring so it sticks to it. Again, make sure you work with a dough that is cold enough but not frozen as that would make it impossible to place it into the tart pan without breaking it
- Place the Perforated tart rings with the chocolate pastry dough in them into the freezer for 1 hour
- Pre-heat oven to 160C / 320F
- After 1 hour, take the sweet shortcrust pastry dough with the rings on them out and trim the top with a sharp knife
- Bake them for 20 min then carefully remove the rings
- Once tart rings are removed, you will need to place the tart cases back to the oven. Bake them for another approx. 10 minutes, adjust the baking time if needed. Rotate the baking sheet, if necessary. Let them cool on the Perforated "air" baking mat before filling them
💡 Top Tip: Once you take the chocolate tarts out of the oven wait for a minute or two for the pastry to somewhat contract within the ring then you will be able to easily remove the rings. If the pastry seems to be stuck onto the ring, it means that you will need to bake it for a few more minutes. Do not force it as you can easily break it
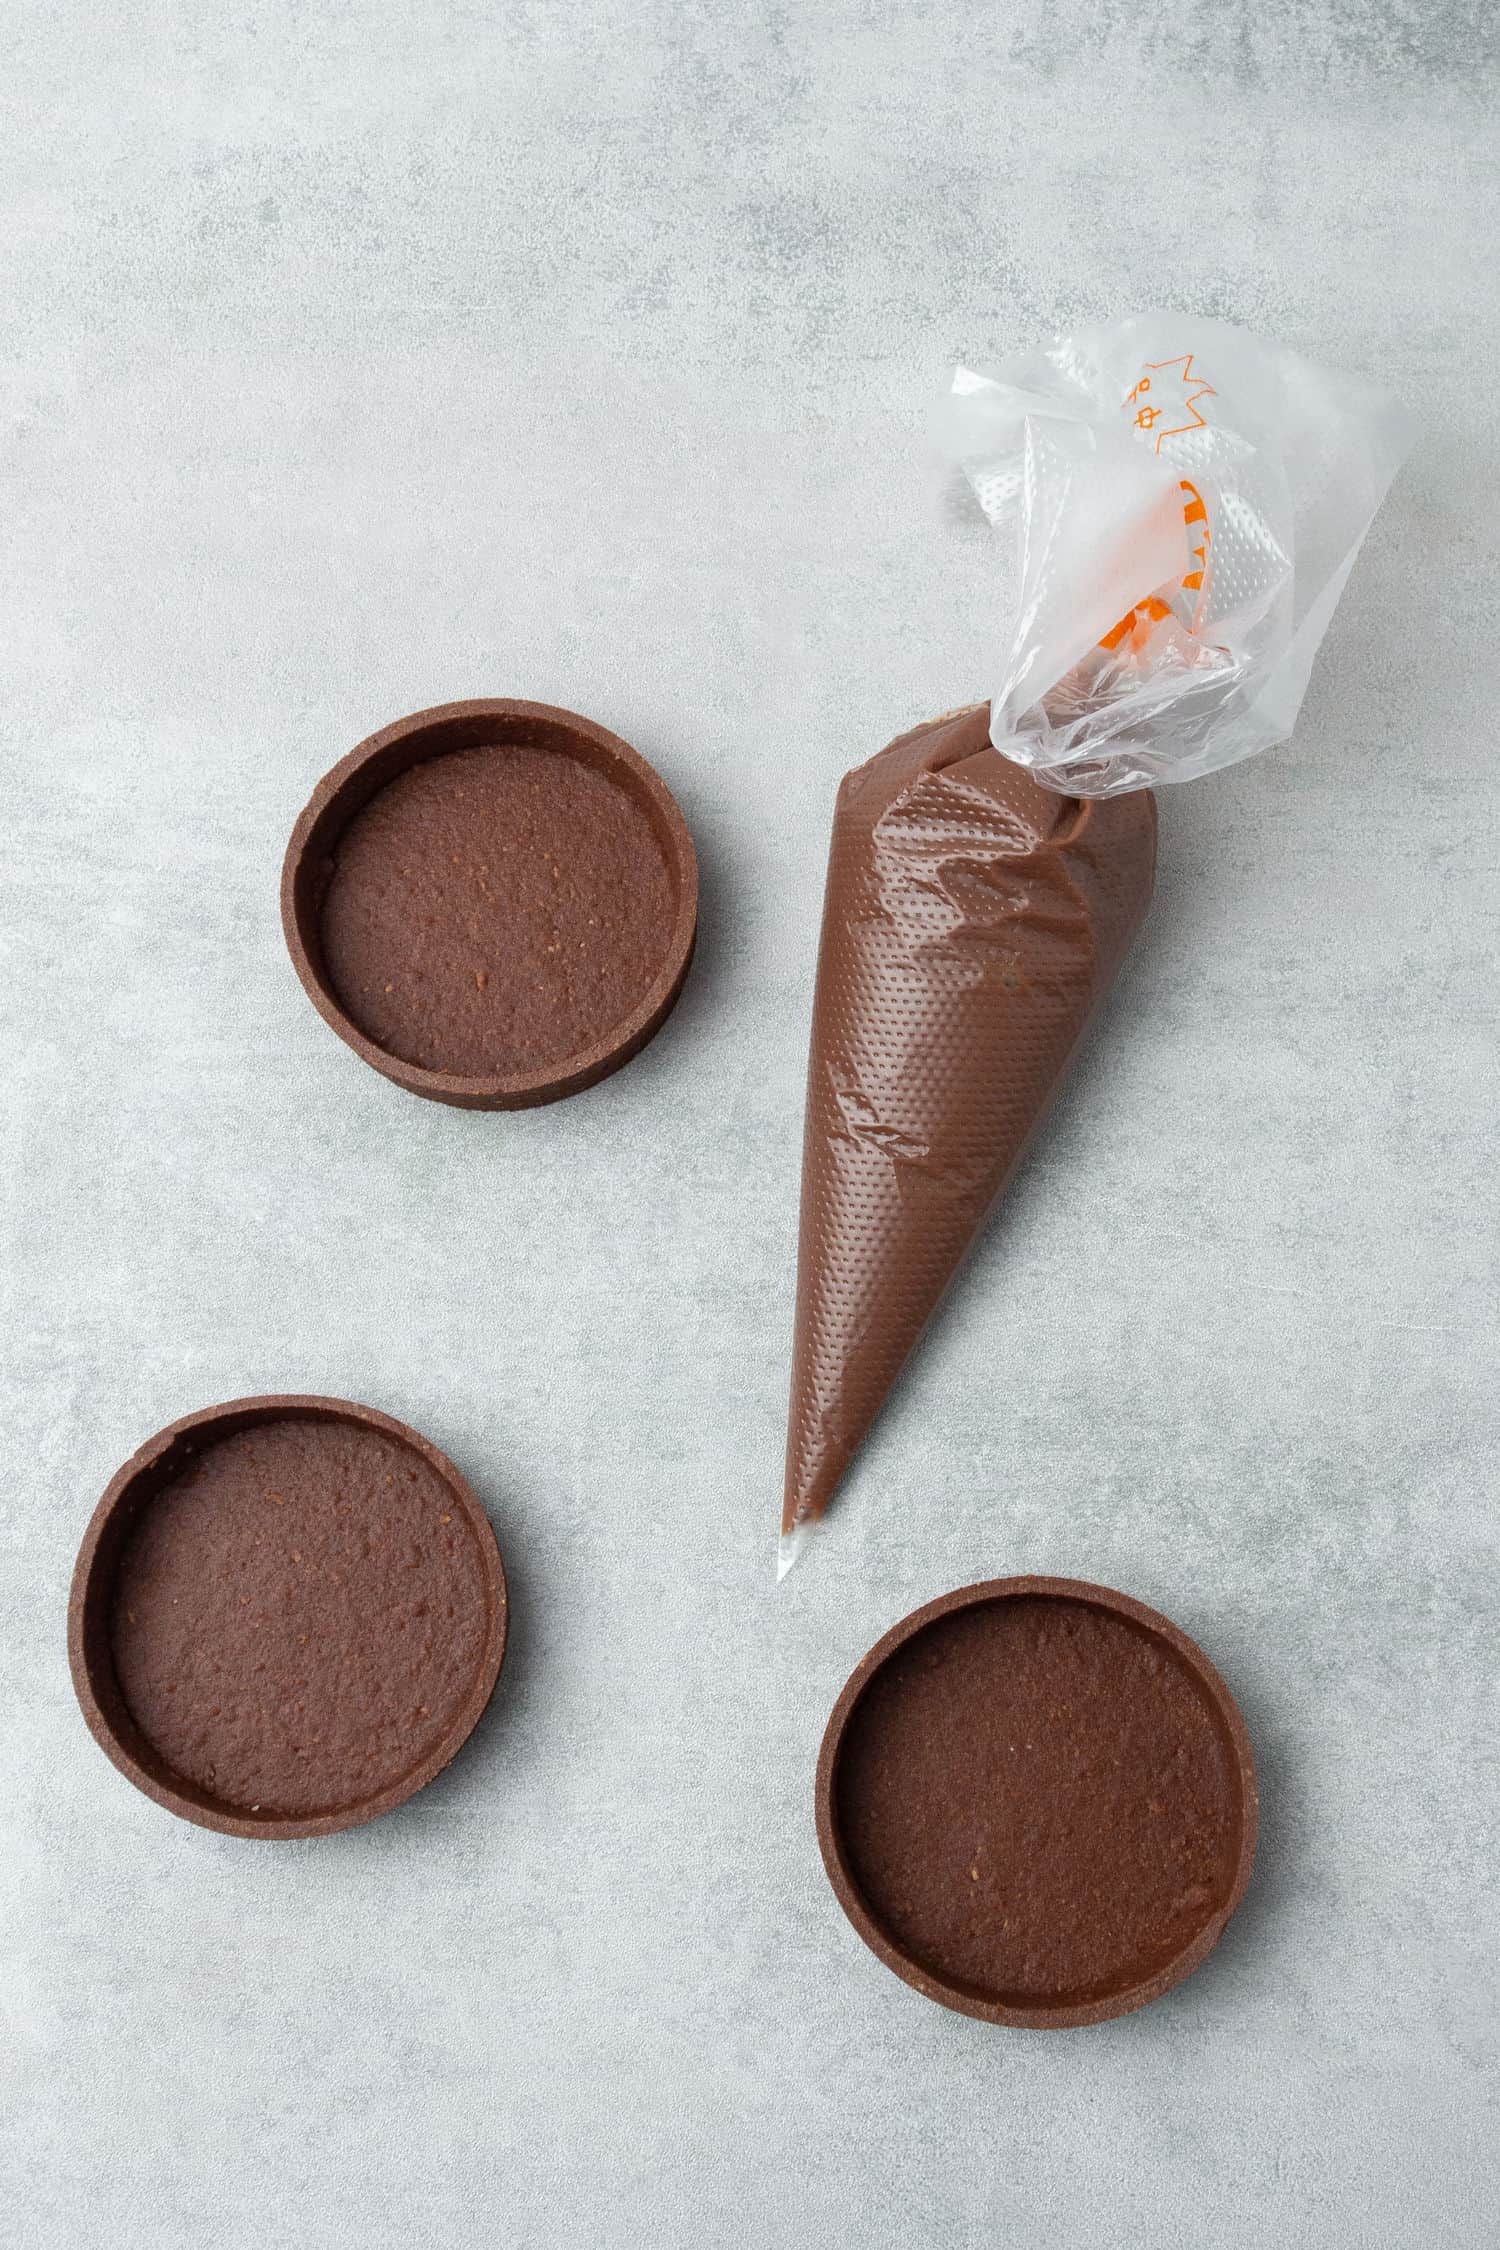
3. How to make chocolate ganache filling
Chocolate ganache is literally chocolate and cream mixture with endless uses; cakes, cupcakes, tarts, etc. As usual, the quality of the ingredients will highly impact the end result. I am using Callebaut Milk Chocolate (callets) that tastes amazing and works wonderfully silky while making ganache.
Regarding the cream, I am using heavy cream that has 36% fat content. Do not make this ganache using low fat creams or vegetable creams.
Chocolate ganache is a 1:1 mixture of chocolate and warm cream
- Place finely chopped chocolate into a bowl or use Callebaut Milk Chocolate (callets)
- Heat cream until just simmering. If it’s boiling, the cream is too hot and could burn the chocolate. If the cream is not warm enough, it won´t melt the chocolate properly and won’t emulsify
- Pour warm cream over Callebaut Milk Chocolate (callets)
- Let the two sit for a minute then stir together or use a blender to emulsify
- Let it slightly cool before the tartlets. No need to fully cool it but it should not be hot
💡 Top Tip: While taste is obviously very important, in the case of chocolate the quality goes way beyond taste, good vs poor quality chocolate can make or break any recipe. I recommend to chose a high-quality brand with high cocoa content (eg. Valrhona, Callebaut) to avoid disappointment
4. How to make raspberry coulis
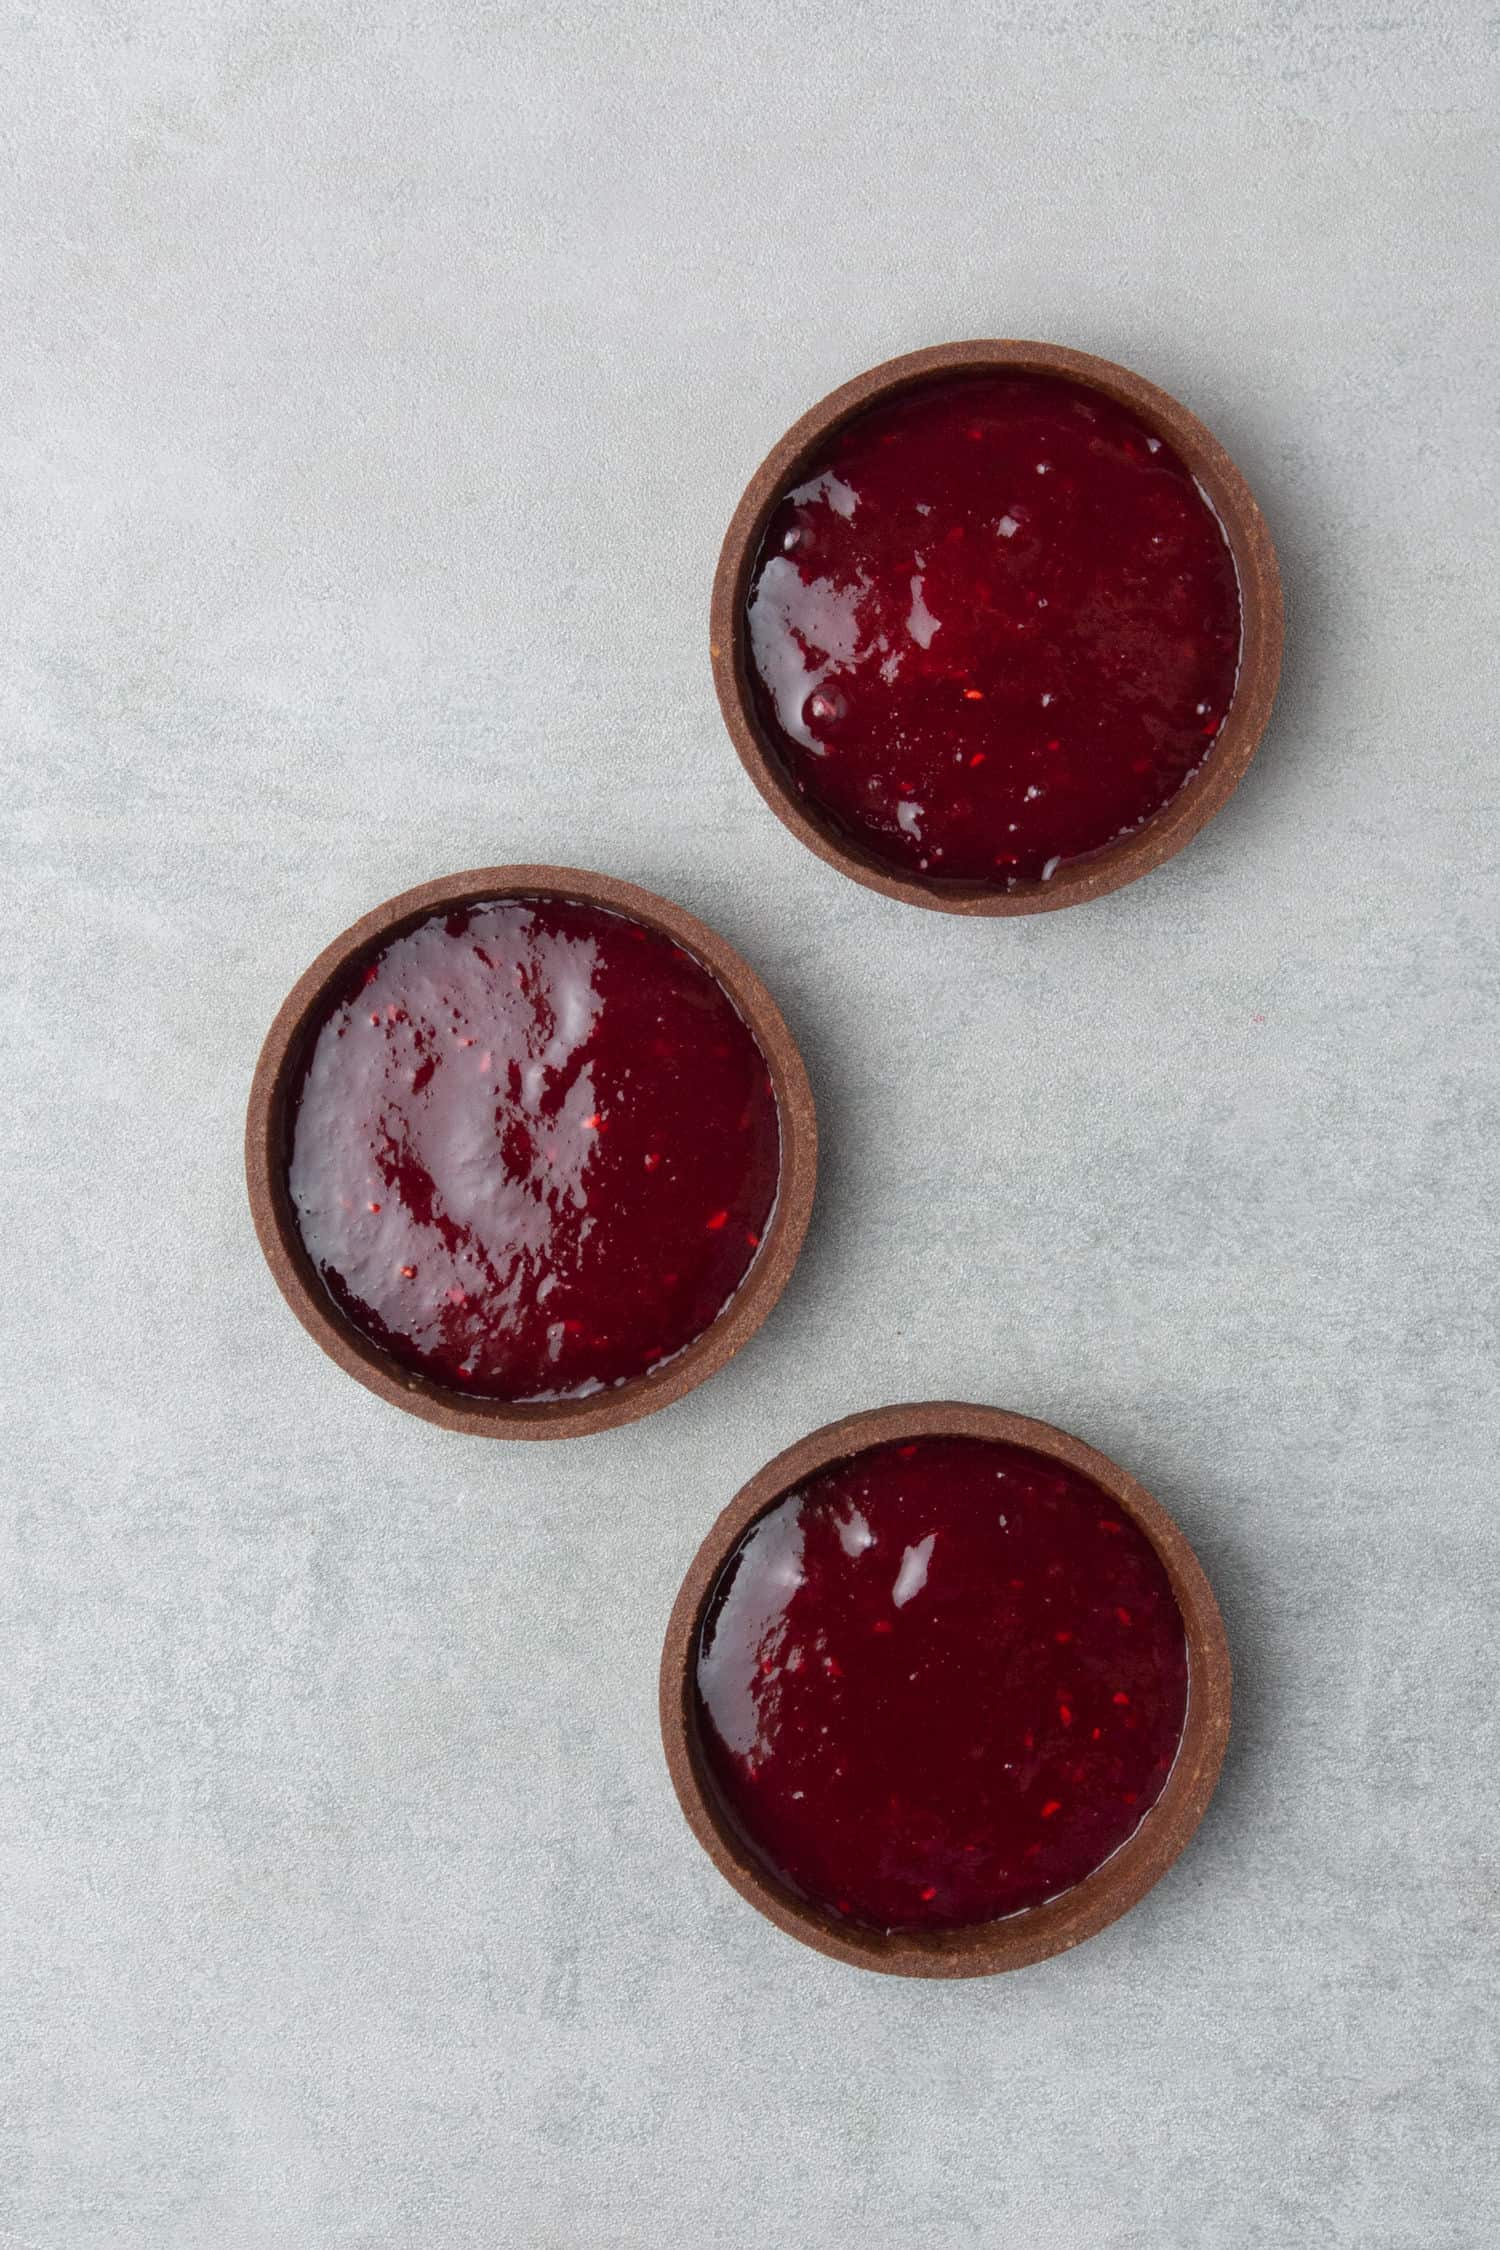
Making raspberry coulis for this Chocolate Raspberry Tart recipe is super easy and really makes the difference bringing tangy notes to this sweet tartlet. The process is the following:
Whether you use frozen or fresh fruit, first blend raspberries, get rid of the seeds then cook with sugar and lemon juice over medium heat until slightly thickens. You don´t want to cook it for too long (that would be jam texture) just long enough so some water evaporates and it thickens a bit. Use it once it slightly cools and make sure it is fully set before proceeding with the chocolate ganache layer.
💡 Top Tip: Use the same technique to make any other fruit coulis eg. strawberry, blueberry, etc.
5. How to make raspberry mousse
There are several ways to make the raspberry mousse, the most common ways are either white chocolate or yogurt-based. This Chocolate Raspberry tart recipe is using white chocolate and heavy cream that makes the mousse super-rich, creamy, silky yet very well balanced in sweetness with full of natural raspberry flavor.
- Soak gelatin sheet in cold water
- Semi melt white chocolate in the microwave
- Make the raspberry puree using either frozen or fresh raspberry then run it through a sieve to get rid of seeds
- Heat raspberry puree until simmering, mix in gelatin sheet, and pour it over semi-melted white chocolate. Mix until combined. Let it come to room temp (do not place it into the fridge as it might harden too much there)
- Whip very cold heavy cream until soft peaks. Do not over whip the cream as soft peak is the ideal texture to mix it then with raspberry puree & white chocolate
- Fold whipped cream into raspberry & white chocolate cream carefully making sure you do not deflate the mixture
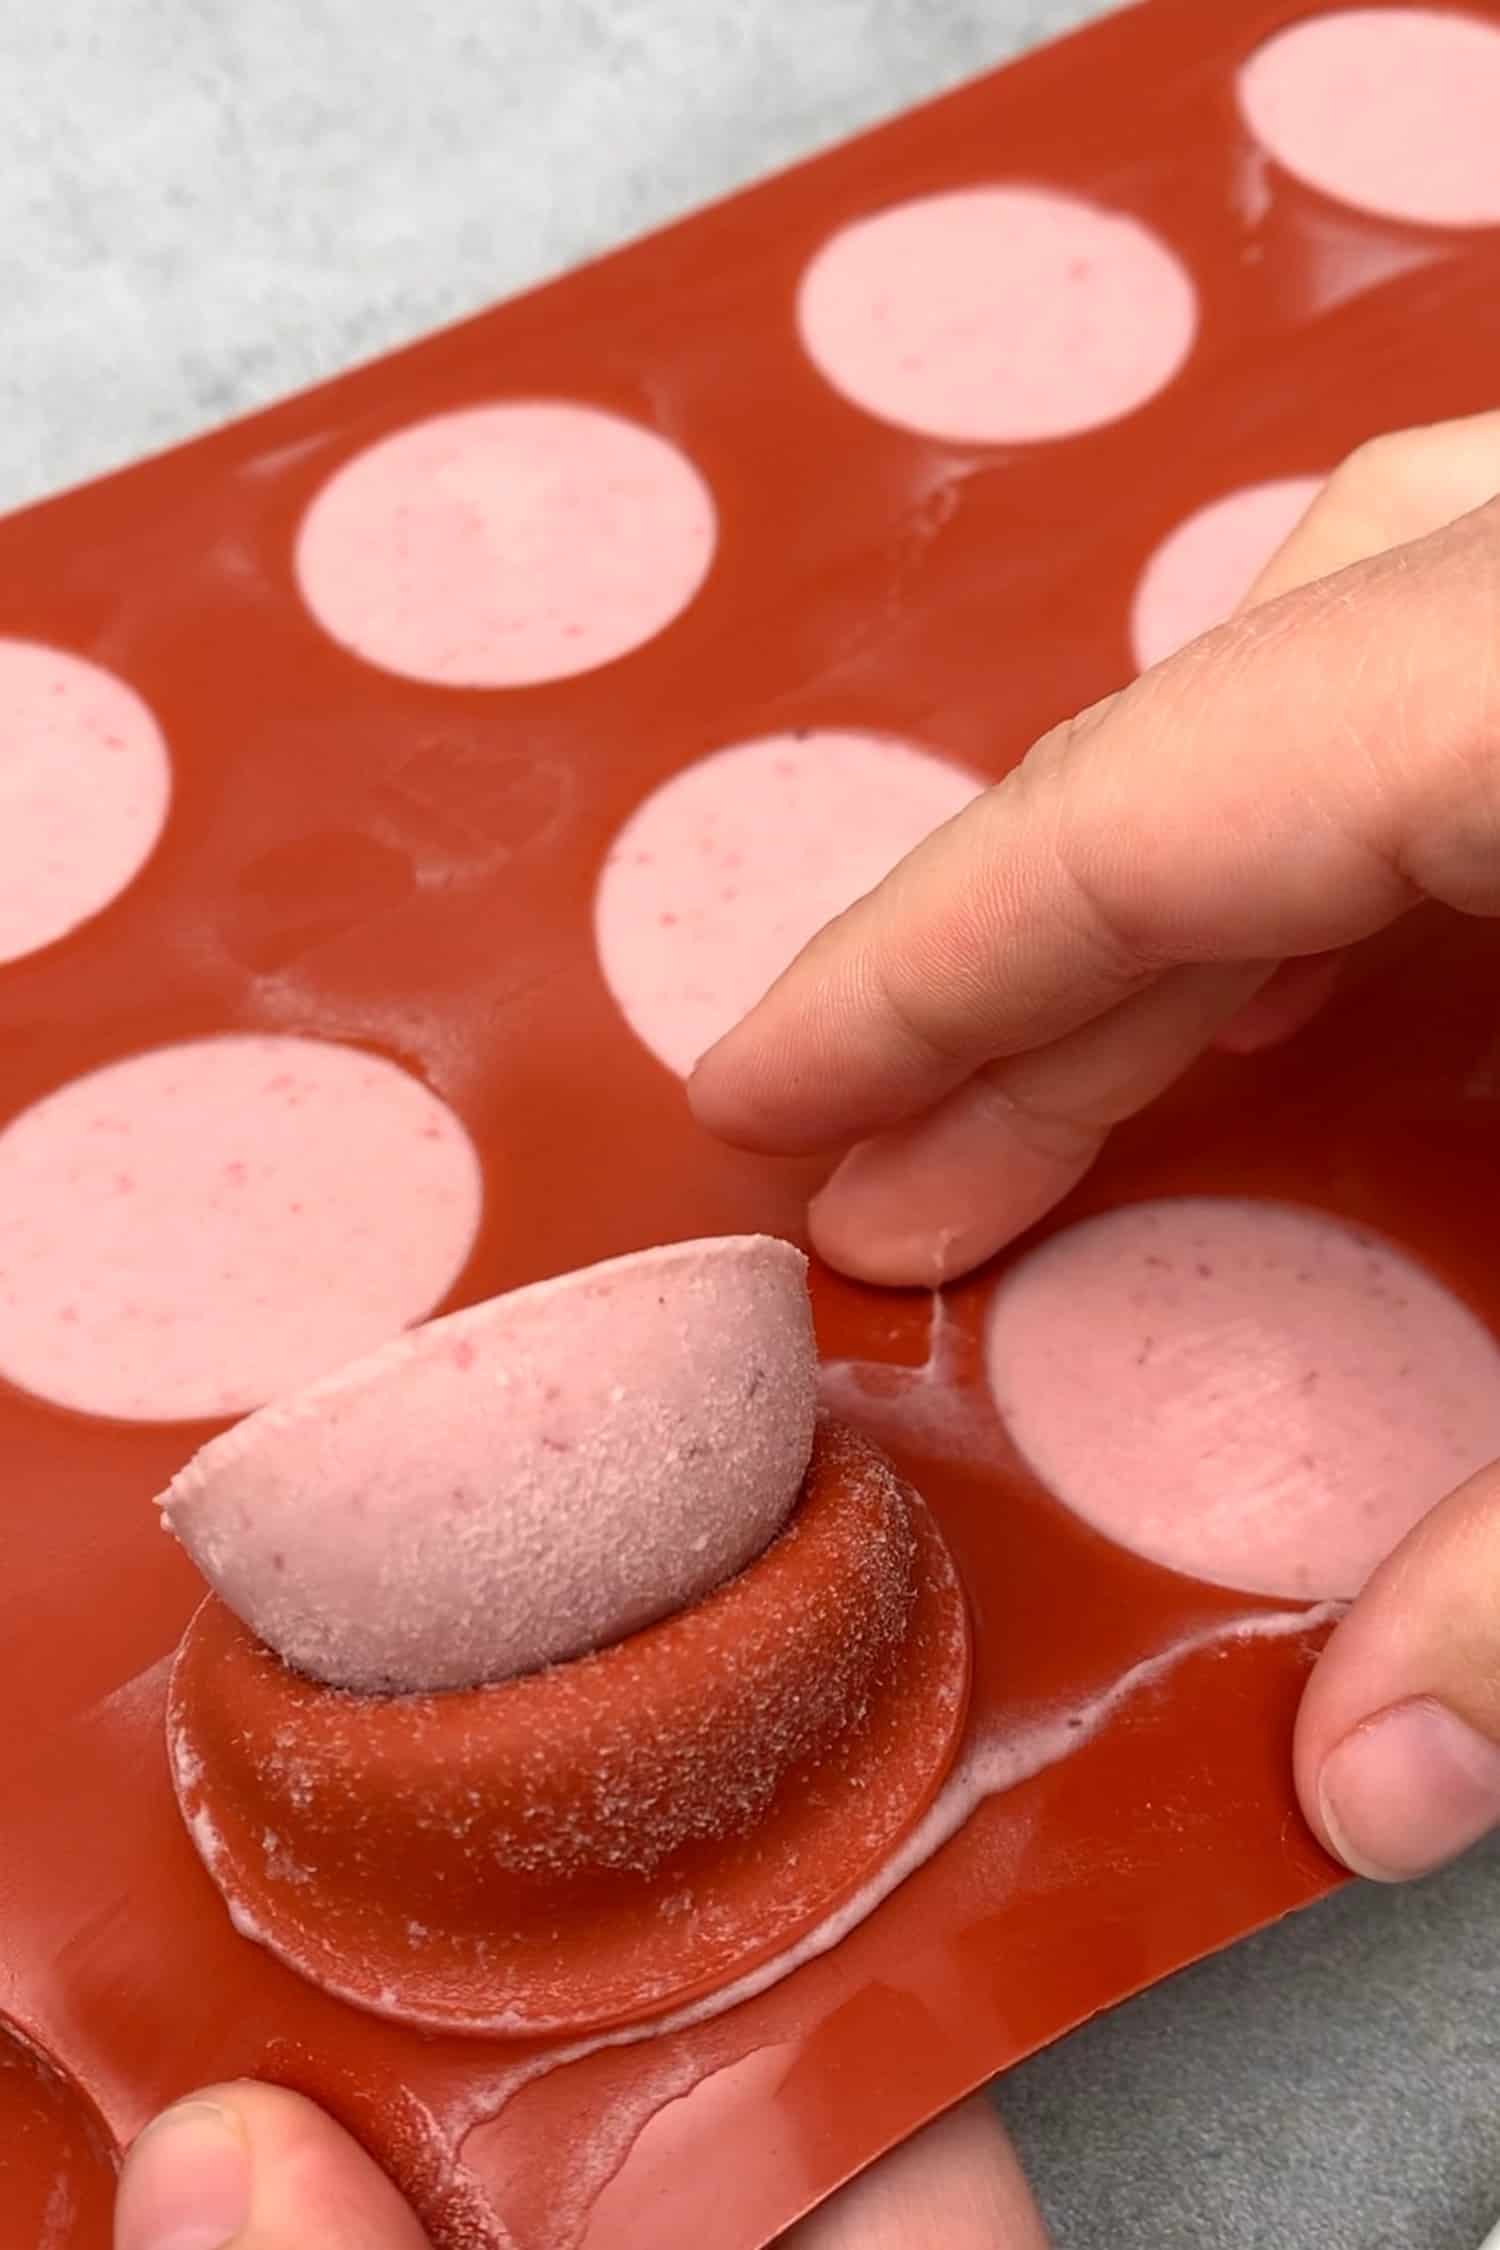
- Pipe or spoon mousse into Silikomart 15 Semi sphere mold
- Place the mold into the freezer for a mininum of 6 hours or overnight is even better
💡 Top Tip: The mousse should get totally frozen to be able to remove it from the mold and use the Velvet spray on top
6. How to use Silikomart Velvet spray
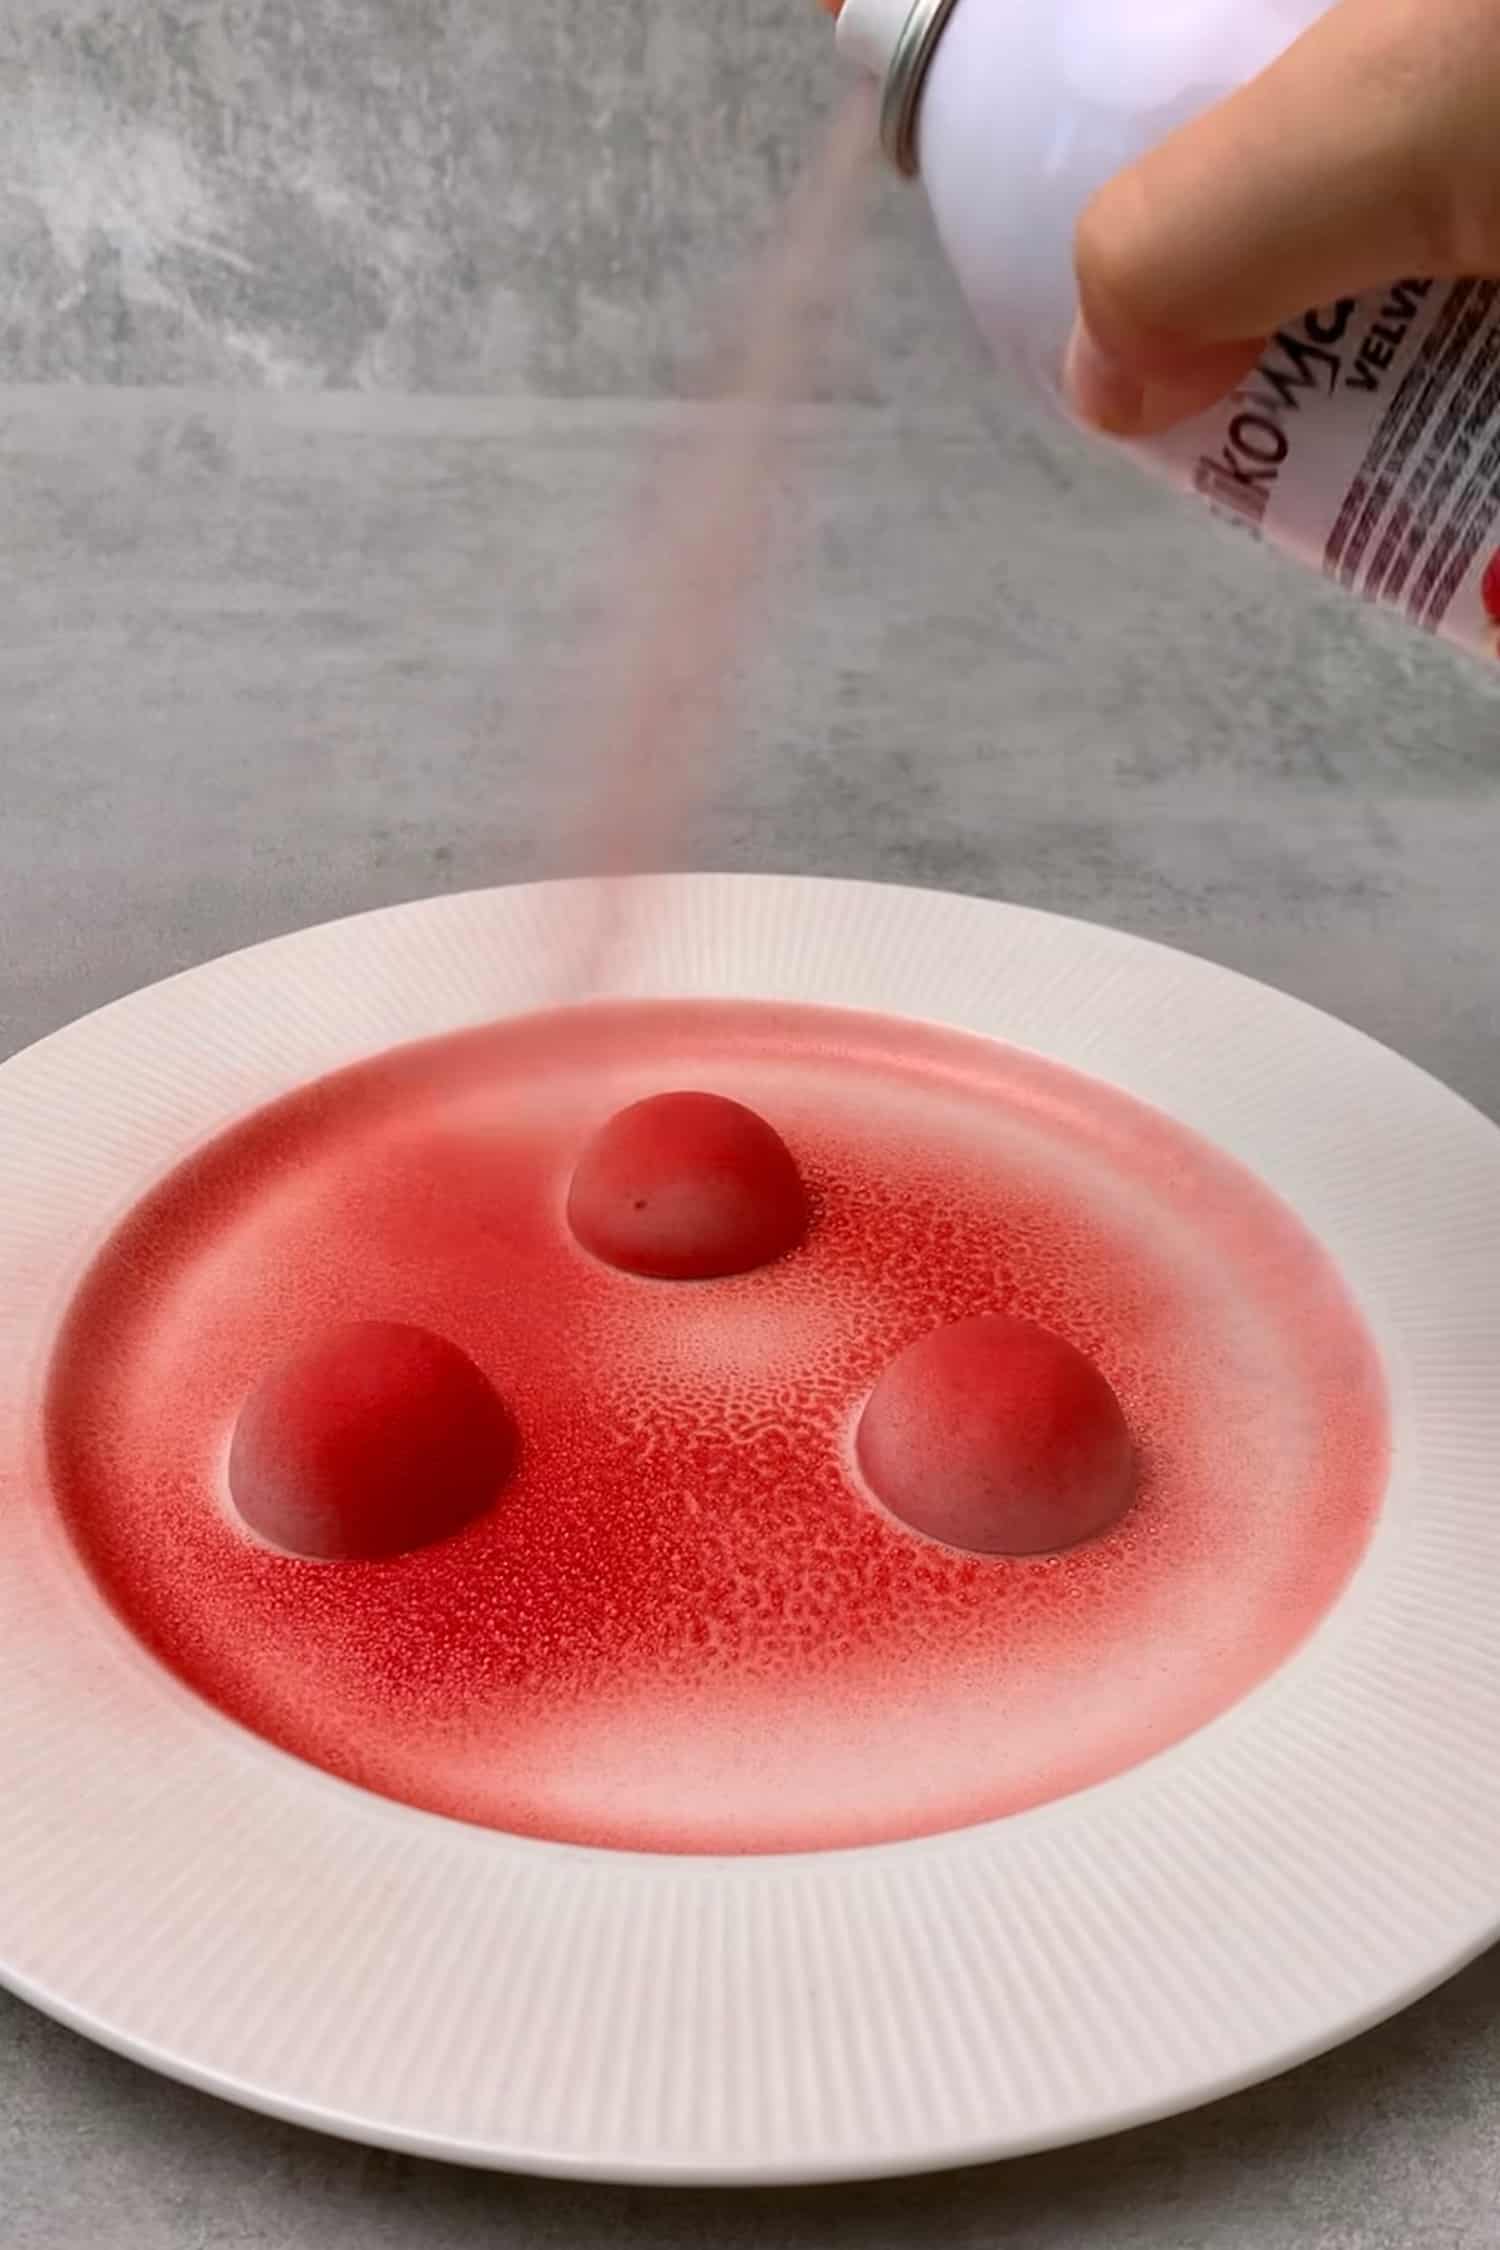
First of all, what is Velvet spray?
Velvet Texture Sprays make it possible to apply a velvety texture to frozen desserts and cakes. Colored cocoa butter in a handy spray can! Velvet spray is one of the most amazing kitchen hacks available for homebakers who strive for professional-looking pastries without too much hassle. It takes the Chocolate Raspberry tart to the next level and looks super professional!
How to use Velvet spray?
Take out the Silikomart 15 Semi sphere mould from the freezer, pop the raspberry mousses out one by one onto a plate and spray them with Velvet spray while they are totally frozen. Make sure you spray them all around from different angles. Use them immediately according to instructions later at “How to assemble this Chocolate Raspberry tart”.
Further Instructions from Silikomart website: shake well before using. Spray the product on the surface to be treated from a distance of about 25/30 cm – 9,84/11,81’’. Pressurized container: protect from sunlight and do not expose to temperatures exceeding 50°C/122°F. Do not pierce or burn, even after use. Do not spray on flames or any incandescent material. Keep away from sources of combustion. Do not smoke. Keep away from children. Keep in a cool place. If the spray nozzle gets plugged up, put the spray bottle under warm water.
💡 Top Tip: There is one very important rule you have to follow while working with Velvet spray, and it is – as usual – related to temperature; make sure the product you spray is fully frozen! You simply can’t spray not frozen mousses or cream, it will make a mess and you won’t get the velvety effect.
7. How to assemble this Chocolate Raspberry tart
The assembling process of the Chocolate Raspberry tart is rather simple once you have all the elements ready
- Make the chocolate tart shells and let them cool
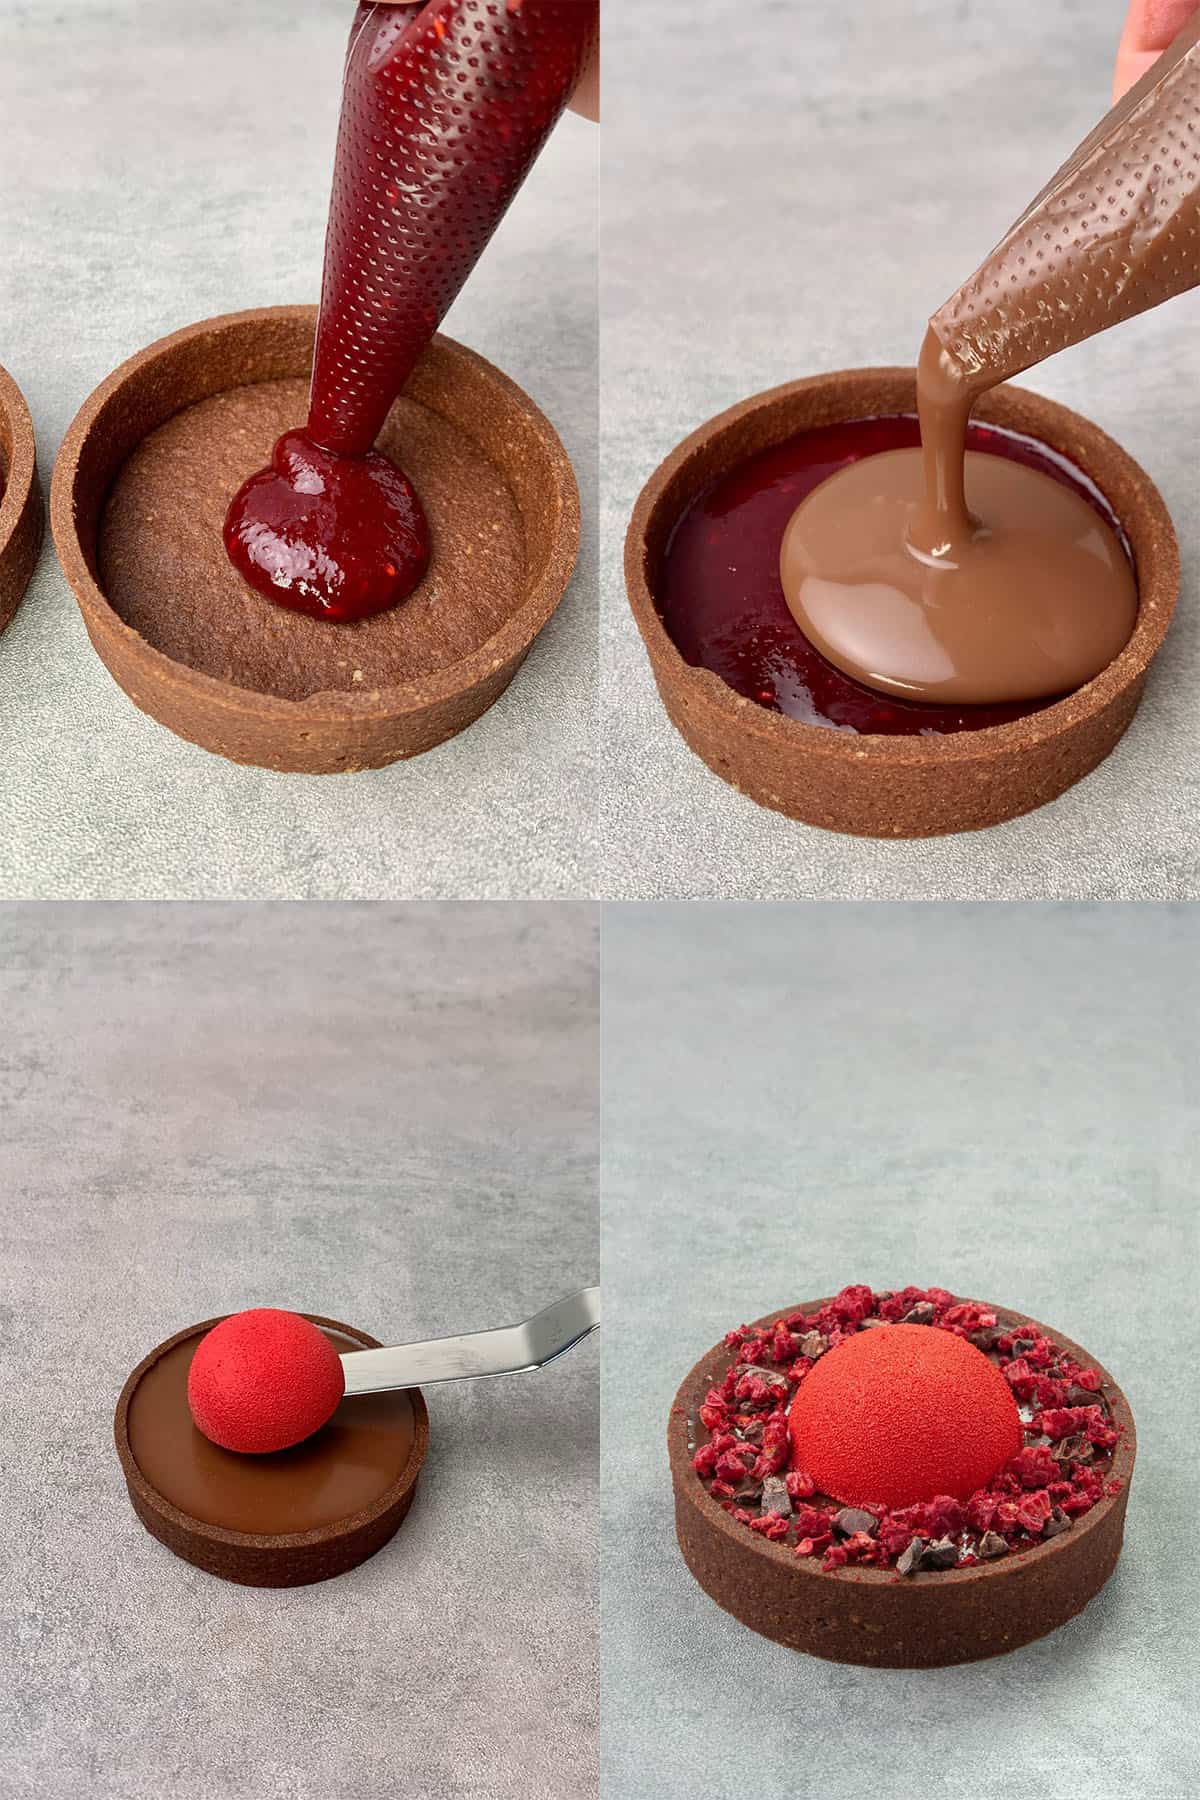
- Make the raspberry coulis and once it comes to room temp fill each tart case with it till half
- Let the coulis layer set in the fridge for a few hours or in the freezer for 30 min if you are in a rush. Before proceeding with the chocolate ganache layer make sure that coulis sets, otherwise they might melt together
- Once the coulis layer sets, make the chocolate ganache
- Let the chocolate ganache cool slightly and pipe it on top of the coulis layer
- Let the tart leave in the fridge to set for min 4 hours
- Once tart is properly set, take the raspberry mousse domes out of the freezer apply velvet spray then immediate place one onto each tart
- Decorate according to your liking eg. with cocoa nibs, freezed dried raspberries or fresh raspberries
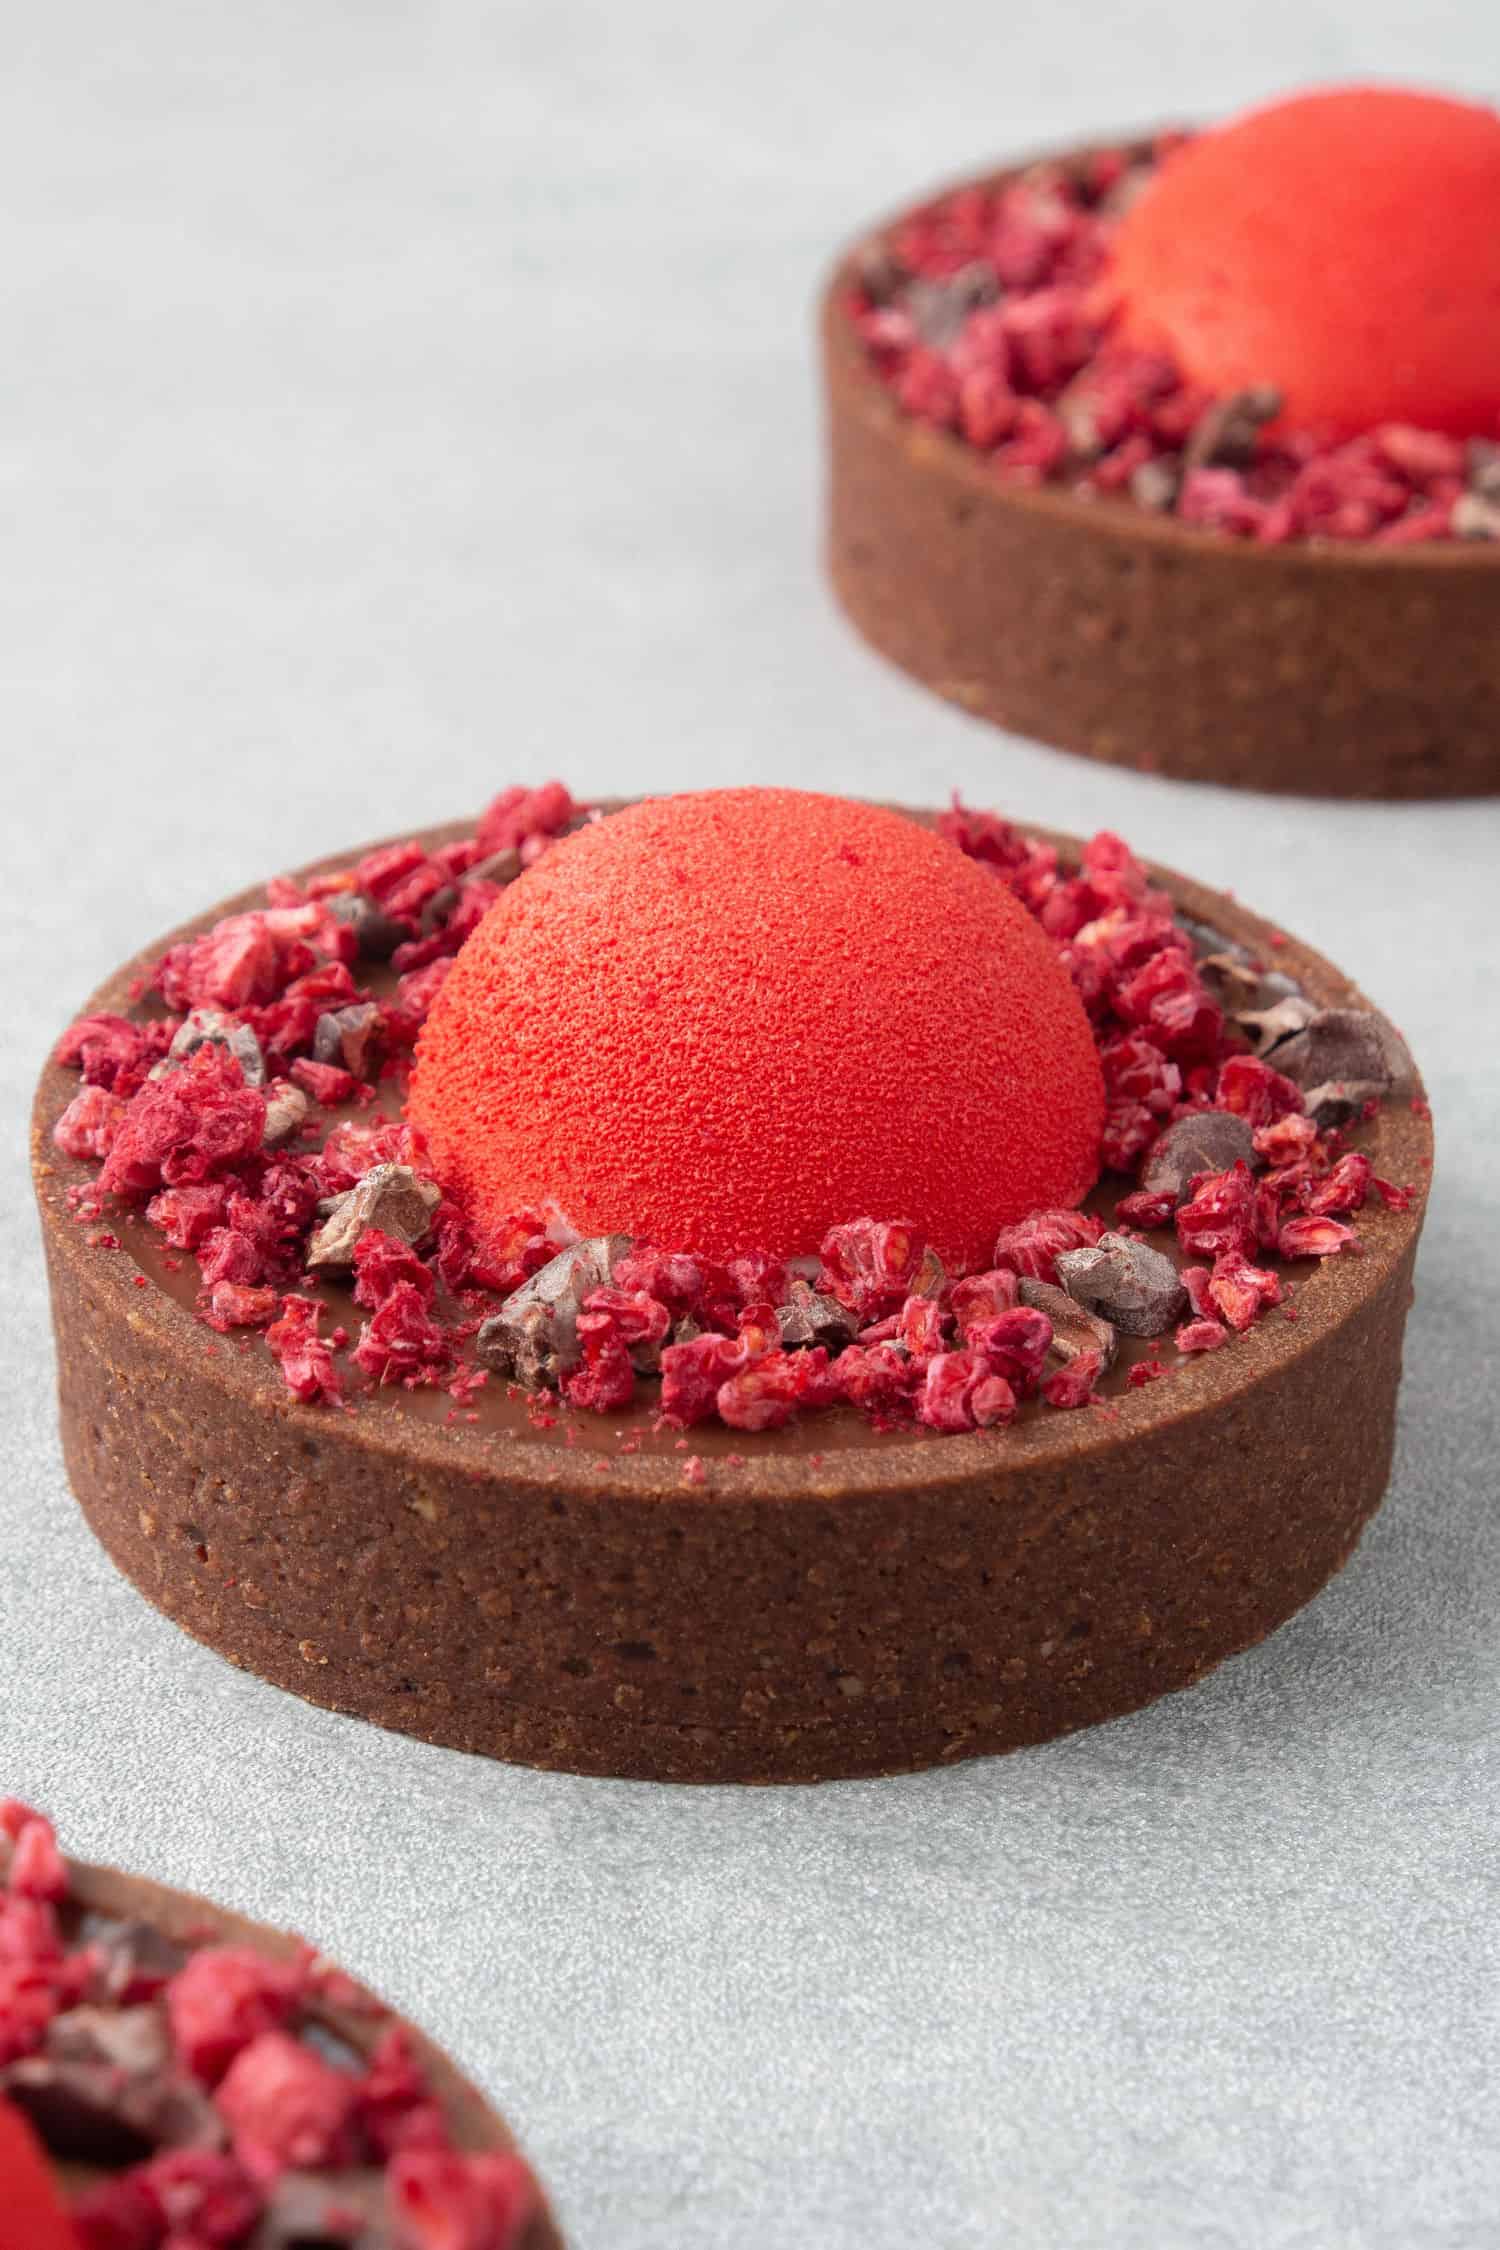
Voila, your Chocolate Rasberry tart is ready! Enjoy and store them in the fridge!
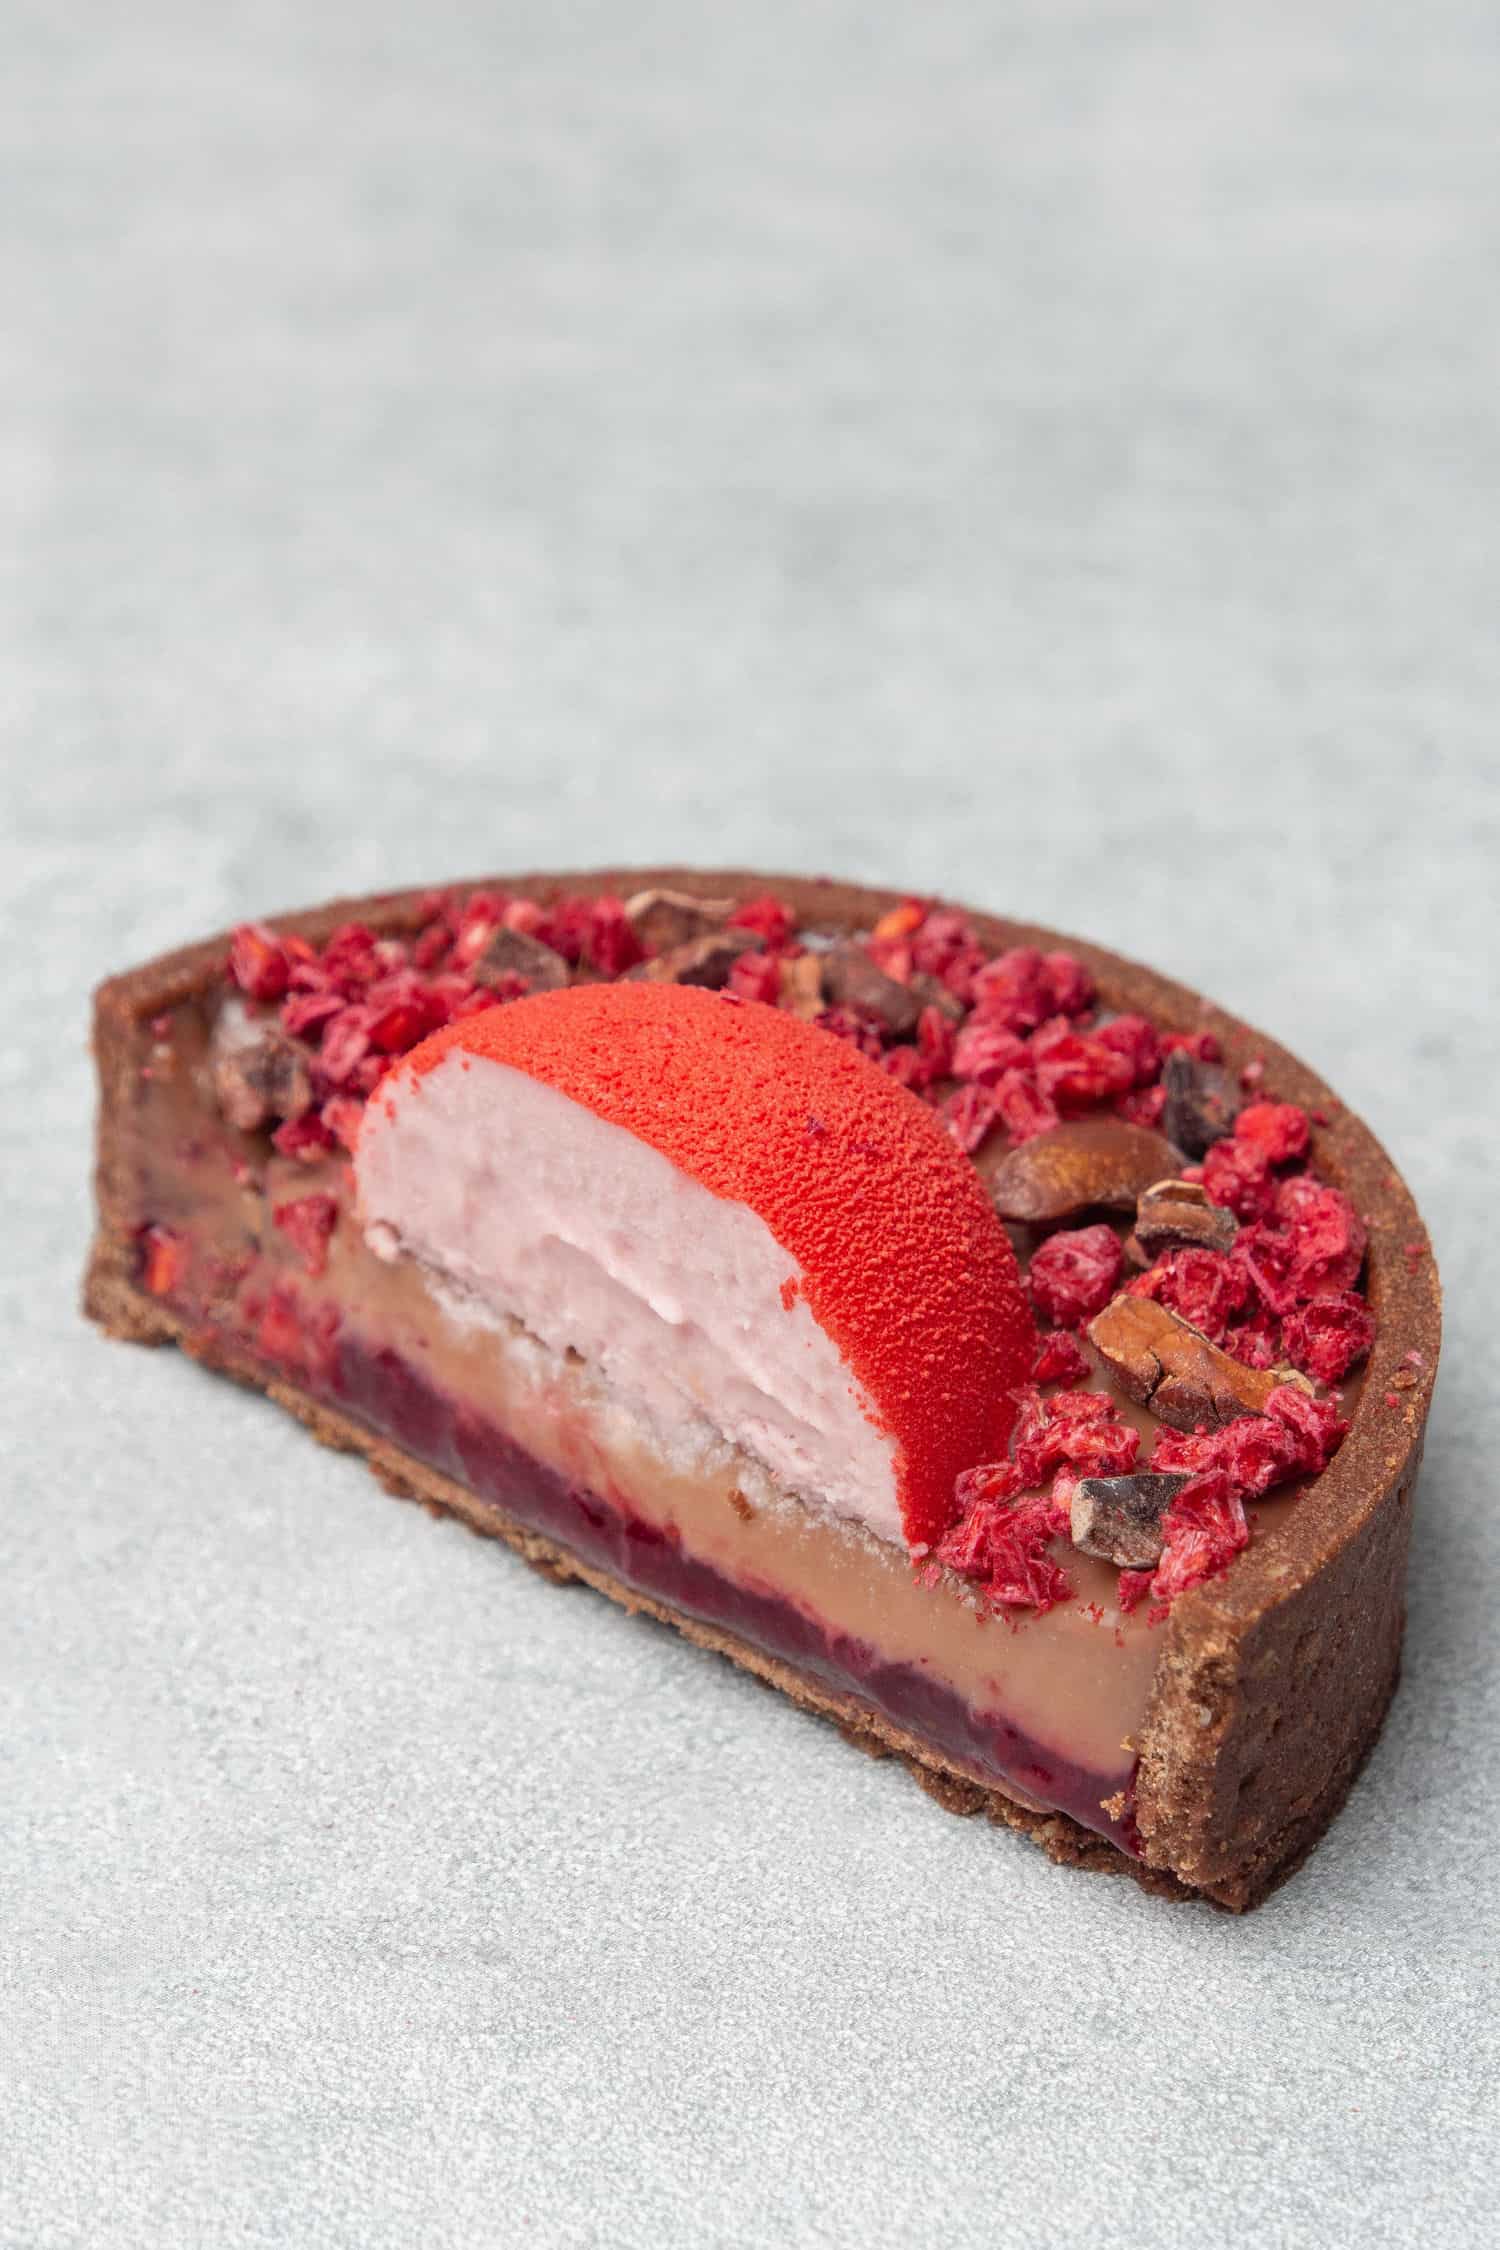
💡 Top Tip: They key part of the assembling process is to let each layer set before proceeding to the next
🌟 More Tart recipes
Check out my ultimate collection of tart recipes! With a couple of base crust recipes, you can make mini tartlets or larger ones in any shape, form, or flavor.
Chocolate Raspberry tart
Equipment
- Digital scale
Ingredients
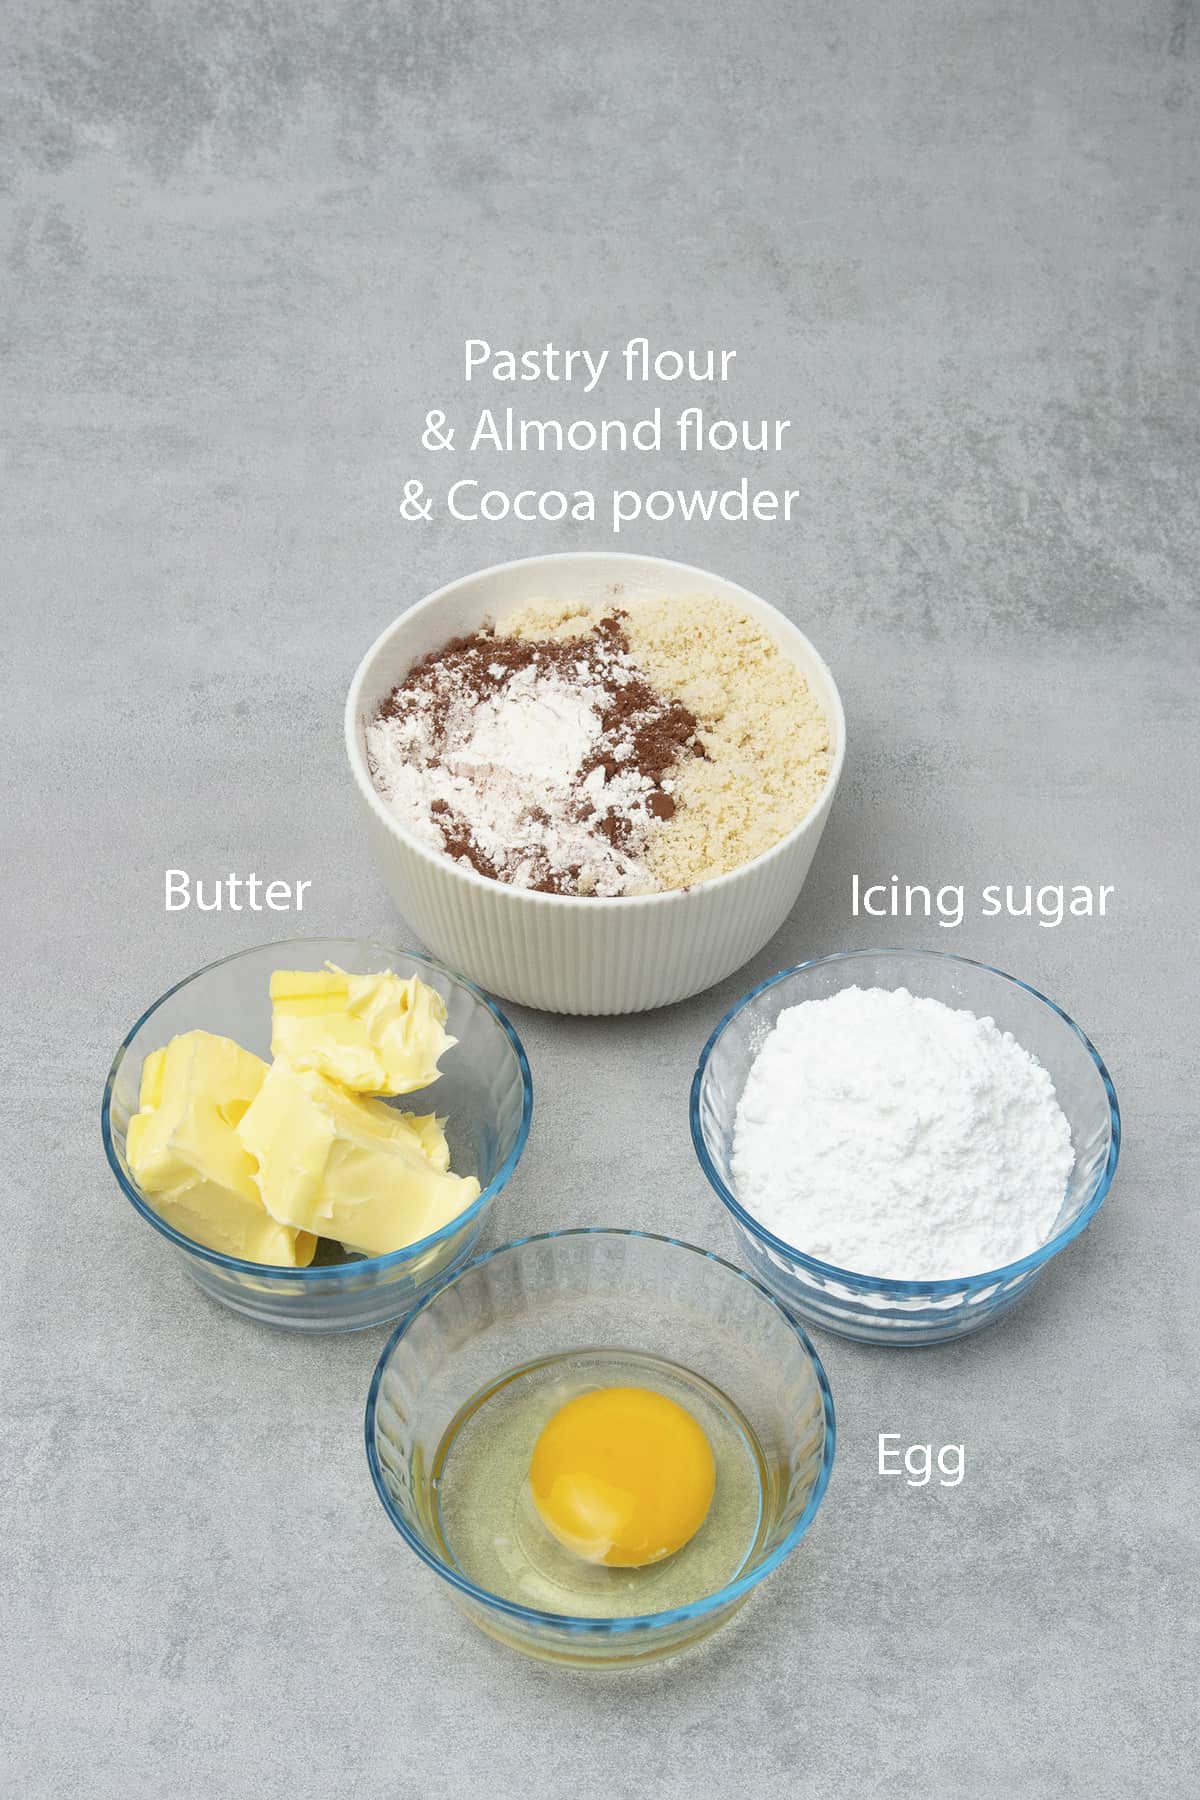
For the Chocolate Pâte Sablée
- 90 g (¾ cups) Icing sugar
- 200 g (1⅔ cups) Pastry flour
- 30 g (⅓ cups) Almond flour
- 30 g (⅓ cups) Unsweetened cocoa powder
- Pinch of salt
- 110 g (½ cups) Unsalted butter very cold
- 50 g (⅕ cups) Egg approx. 1 egg
For the Chocolate ganache
- 140 g (⅔ cups) Callebaut Milk Chocolate (callets) good quality milk chocolate
- 140 g (⅔ cups) Heavy Cream 36% fat content
For the raspberry coulis
- 500 g (4 cups) Raspberry puree most of the seeds removed
- 150 g (¾ cups) Granulated sugar adjust to the sweetness of your fruit
- 45 g (⅕ cups) lemon juice
For the raspberry mousse
- 0.5 Gelatine sheet 1.7g / sheet
- 50 g (⅕ cups) Callebaut WhiteChocolate (callets)
- 25 g (⅕ cups) Raspberry puree seeds removed
- 50 g (⅕ cups) Heavy Cream
- Silikomart Red velvet spray
Decoration
- freezed dried raspberry
- cocoa nibs
US customary cup measurement is an indicative figure only. Measure the ingredients with a digital scale by weight (gram). Baking is art but also science which requires precision and accuracy.
Instructions
For the Chocolate Pâte Sablée
- Sift together dry ingredients; flour, cocoa powder, icing sugar, almond, salt
- Add very cold butter cubes and rub the mixture between your hands until it becomes a sand like consistency. This will take around a minute or two
- Add egg into the mixture and mix with your hands just until the dough comes together, few seconds
- Knead with the palm of your hand for a minute or two (do not over knead and do not use mixer) just until the dough becomes smooth. Form a disk and cover the dough in plastic wrap. Let it rest in the fridge for min 2 hours. You can leave it resting in the fridge over night or you can even freeze the dough
- Take the dough out from the freezer and using one of the perforated tart rings, cut out 8 circles - this will be the bottom of your tart crust. Carefully move the dough circles with the help of an Offset spatula and place them into the rings one by one
- If at any point the dough gets too warm to work with, pop it back into the freezer for 5 minutes. You might need take the dough in and out of the freezer 10-15 times. It is extremely important to work with a dough that is cold enough to be able to handle (so not sticky) but not too cold which would result in breaking it
- Cut 8 long stripes out of the dough, this will be the side of the tart
- Carefully place the stripes into the ring one by one. Press each stripe onto the ring so it sticks to it
- Pre-heat oven to 160C / 320F
- After 2 hours take the pastry dough with the rings on them out and trim the top to the level of the tart ring with a sharp knife
For the raspberry coulis
- Cook all ingredients in a saucepan for 5-10 minutes until mixture slightly thickens and some water evaporates
For the chocolate ganache
- Chop chocolate into small pieces or use Callebaut Milk Chocolate (callets) and place them into a bowl
- Heat cream in a saucepan over medium heat just until simmering
- Pour warm cream over chocolate, let it set for a minute until chocolate gently melts then stir or hand blend together
For raspberry mousse
- Soak gelatin sheet into cold water
- Semi melt white chocolate in the microwave and make the raspberry puree using either frozen or fresh raspberry then run it through a sieve to get rid of seeds
- Heat raspberry puree until simmering, mix in gelatinous sheet and pour it over semi melted white chocolate. Mix until combined.
- Whip very cold heavy cream until soft peaks. Fold whipped cream into raspberry & white chocolate cream carefully making sure you do not deflate the mixture.
- Pipe mousse into Silikomart 15 Semi sphere mould. This quantity makes 8
- Place the mould into the freezer for minimum 6 hours for the mousse to get completely frozen.
- Once mousse frozen, apply velvet spray on top, use immediately while frozen
Assemble
- Let chocolate tart shells come to room temp
- Make the raspberry coulis and once it comes to room temp fill each tart case with it till half
- Let the coulis layer set in the fridge for a few hours or in the freezer for 30 min. Before proceeding with the chocolate ganache layer make sure that coulis sets
- Make the chocolate ganache. Let chocolate ganache cool slightly and pipe it on top of the coulis layer. Let the tart leave in the fridge to set for min 4 hours
- Once tart properly sets, take the raspberry mousse domes out of the freezer apply velvet spray then immediate place one onto each tart.
- Decorate with freezed dried raspberries and cocoa nibs
- Store in fridge



Jen
Hi, I tried the recipe for the tarts and they stuck to my rings after being baked even gave them another 10 mins in oven but wouldn’t come out think I had 3 contract and come away easy rest don’t understand what happened. Any ideas as want to try again. But they tasted amazing and the snap was perfect
thank you
Katalin Nagy
If some contracted, some not, I think the issue was that some you placed into the ring while the dough was at the right temp (not cold, not warm), the other maybe the dough was already warm and sticky?
Kaytia
I'd like to do this dough in a larger drop bottom tart pan I have that isn't perforated. Besides poking holes in the bottom and sides with a fork is there anything I can do? I do have a perforated silicone mat and baking sheet. Thanks!
Katalin Nagy
You have to blind bake the tart if the pan is not perforated https://www.spatuladesserts.com/how-to-blind-bake-pie-crust/
Sarah T
Hi,
Could I freeze the entire assembled tart for serving at a later date? Wanting to make ahead
Katalin Nagy
Yes you can, although it will never taste the same as making it fresh.
Zena Simpson
I'm abit confused are the raspberry coulis & puree the same thing?
Sorry just want to start making this but need to get it right;) Thanks Zena
Katalin Nagy
Not really but most people use these words interchangeably:)
Sandy Cawley
Absolutely divine
Khen
Hi, I can’t use gelatine ..so what would be the quantity of agar agar in the recipe ..please help
Kata
If you want to use agar agar instead of gelatin, please check the agar agar you purchase and follow the recommended measurement on the pack. I cannot recommend an exact amount for a product I haven´t used.