This is seriously the BEST eclair recipe that will take you through how to make classic French eclairs at home step by step. A foolproof eclair recipe that works even in home kitchen environment, besides, I am also including a detailed Troubleshooting Guide! Mastering homemade eclairs is one of the most rewarding skills for home bakers. Delicious crispy and creamy eclairs filled with chocolate or vanilla pastry cream covered with a chocolate glaze will impress everyone!
Have you ever experienced making flat or soggy eclairs? Or having huge cracks all over the surface? You might have tried all the recipes that claim the 'perfect classic eclair', and still ended up with flat, sad-looking ones? Never again! Let´s get started!
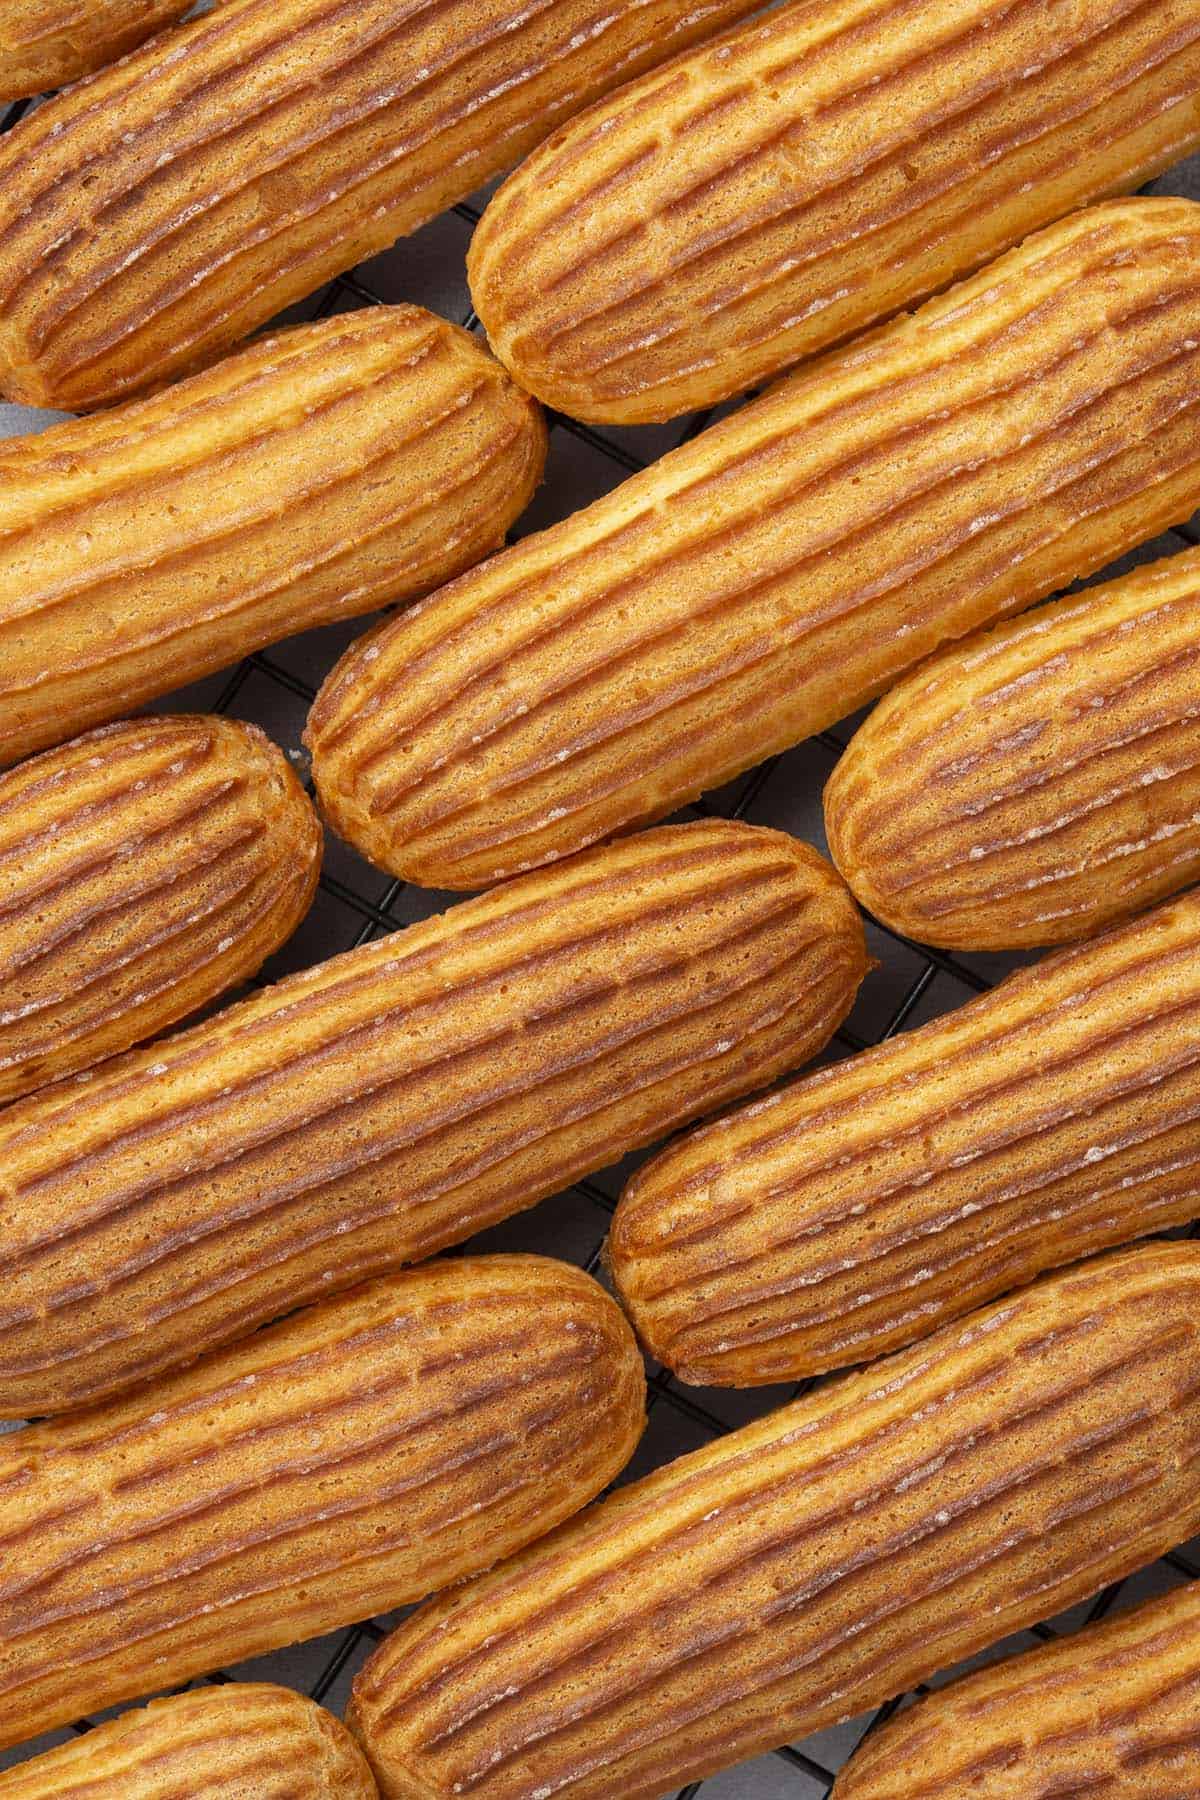
Jump to:
Why this is the best eclair recipe
Choux pastry in general (eg. eclairs, cream puffs, profiteroles) is made of a few basic ingredients like sugar, butter, flour, milk, and egg however it is important to read and follow the instructions carefully in order to avoid typical eclair mistakes such as 1. cracked surface on eclair shells, 2. soggy inside, 3. flat and deflated eclair 4. no air pocket to fill… just to name a few.
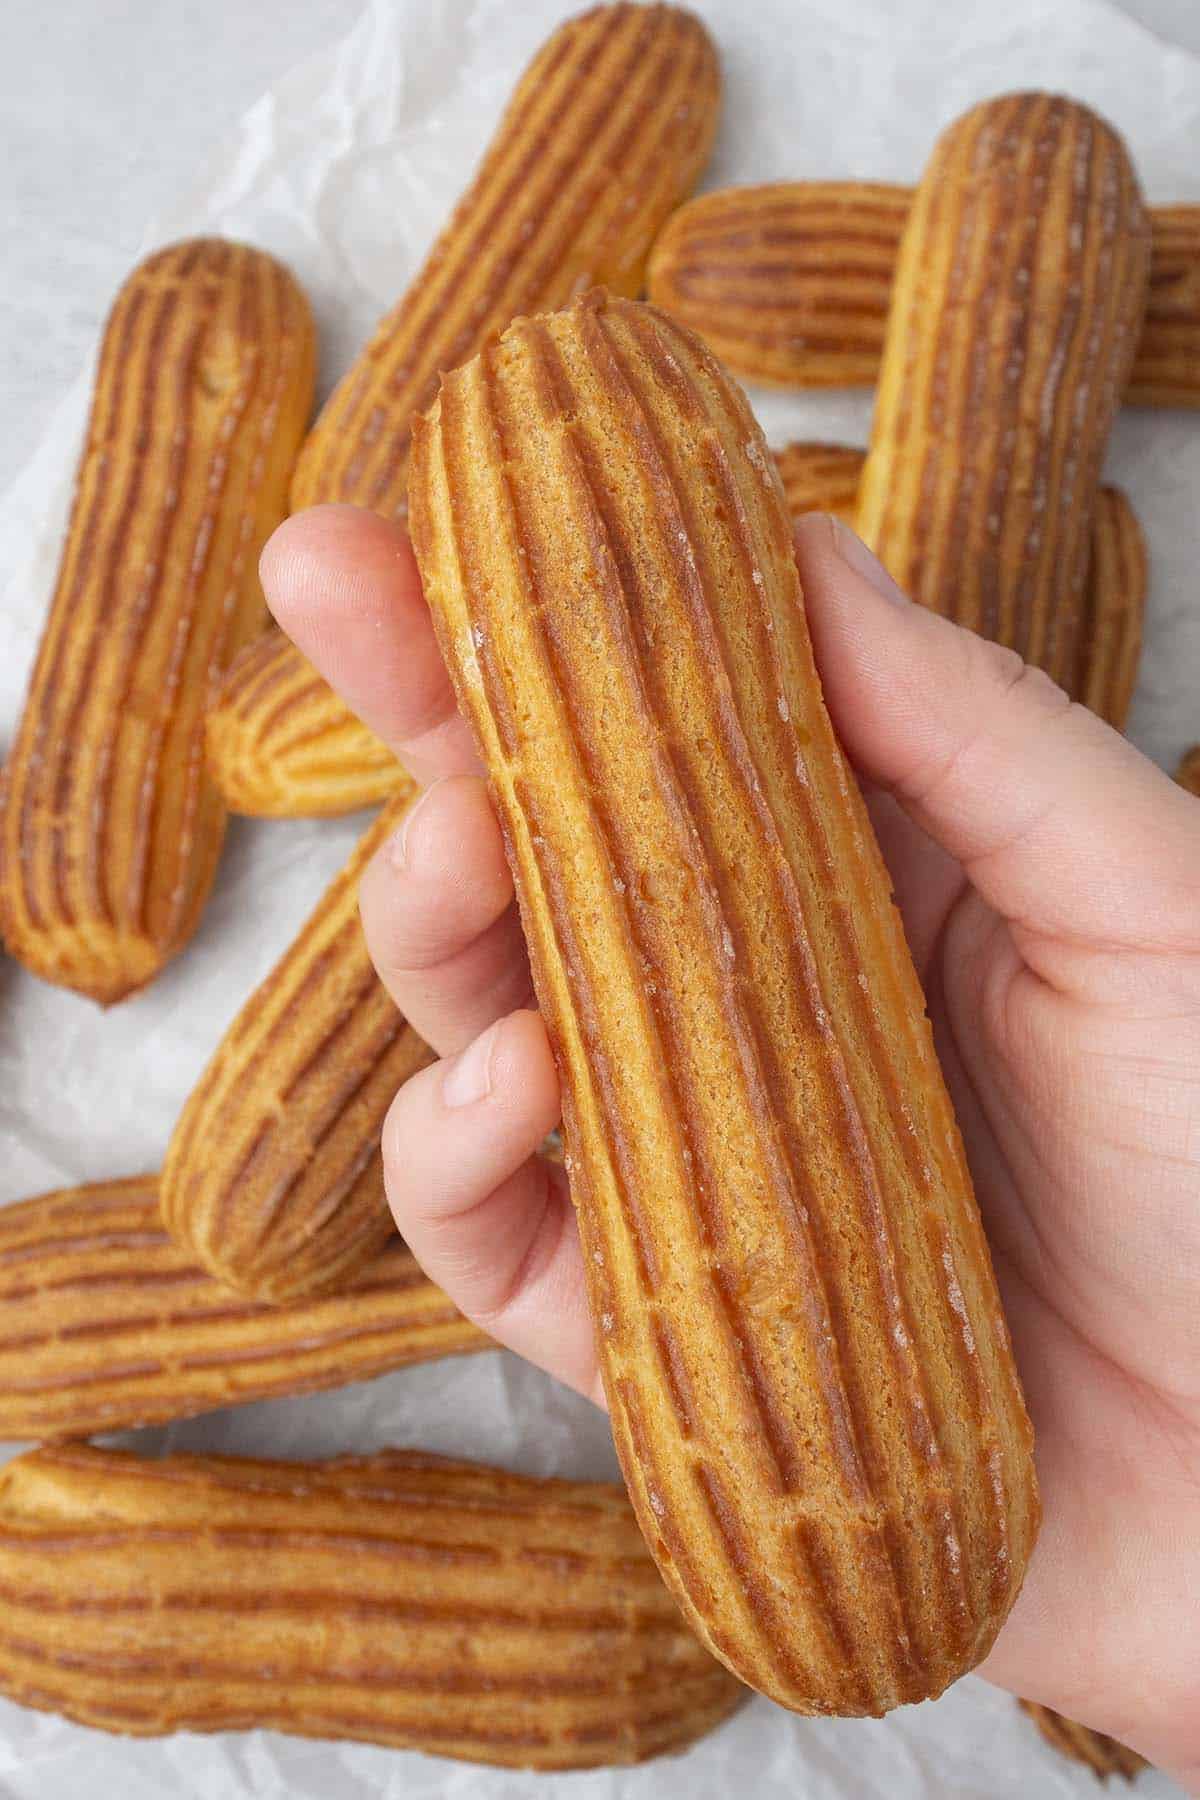
While making eclairs the perfect result what we are looking for is an oblong shape choux pastry that is risen evenly (so no major cracks on the side), holds its shape after baking, and has a lovely huge air pocket inside the choux that can be filled with a variety of creams, vanilla bean pastry cream being the most common one.
The most important factors to bake perfectly shaped, evenly risen eclairs are
- Using the right ingredients eg. high protein content bread flour
- Using the right equipment, eg. French star piping nozzle tip
- Learning the right technique, eg. piping skill
- Finding the right baking temperature: in my oven it is a 170C / 338F
In this recipe, I will cover all the necessary information you probably haven´t read anywhere else so your eclair will turn out exactly like mine!
Eclair is certainly one of the best European desserts that anyone can bake at home with this recipe.
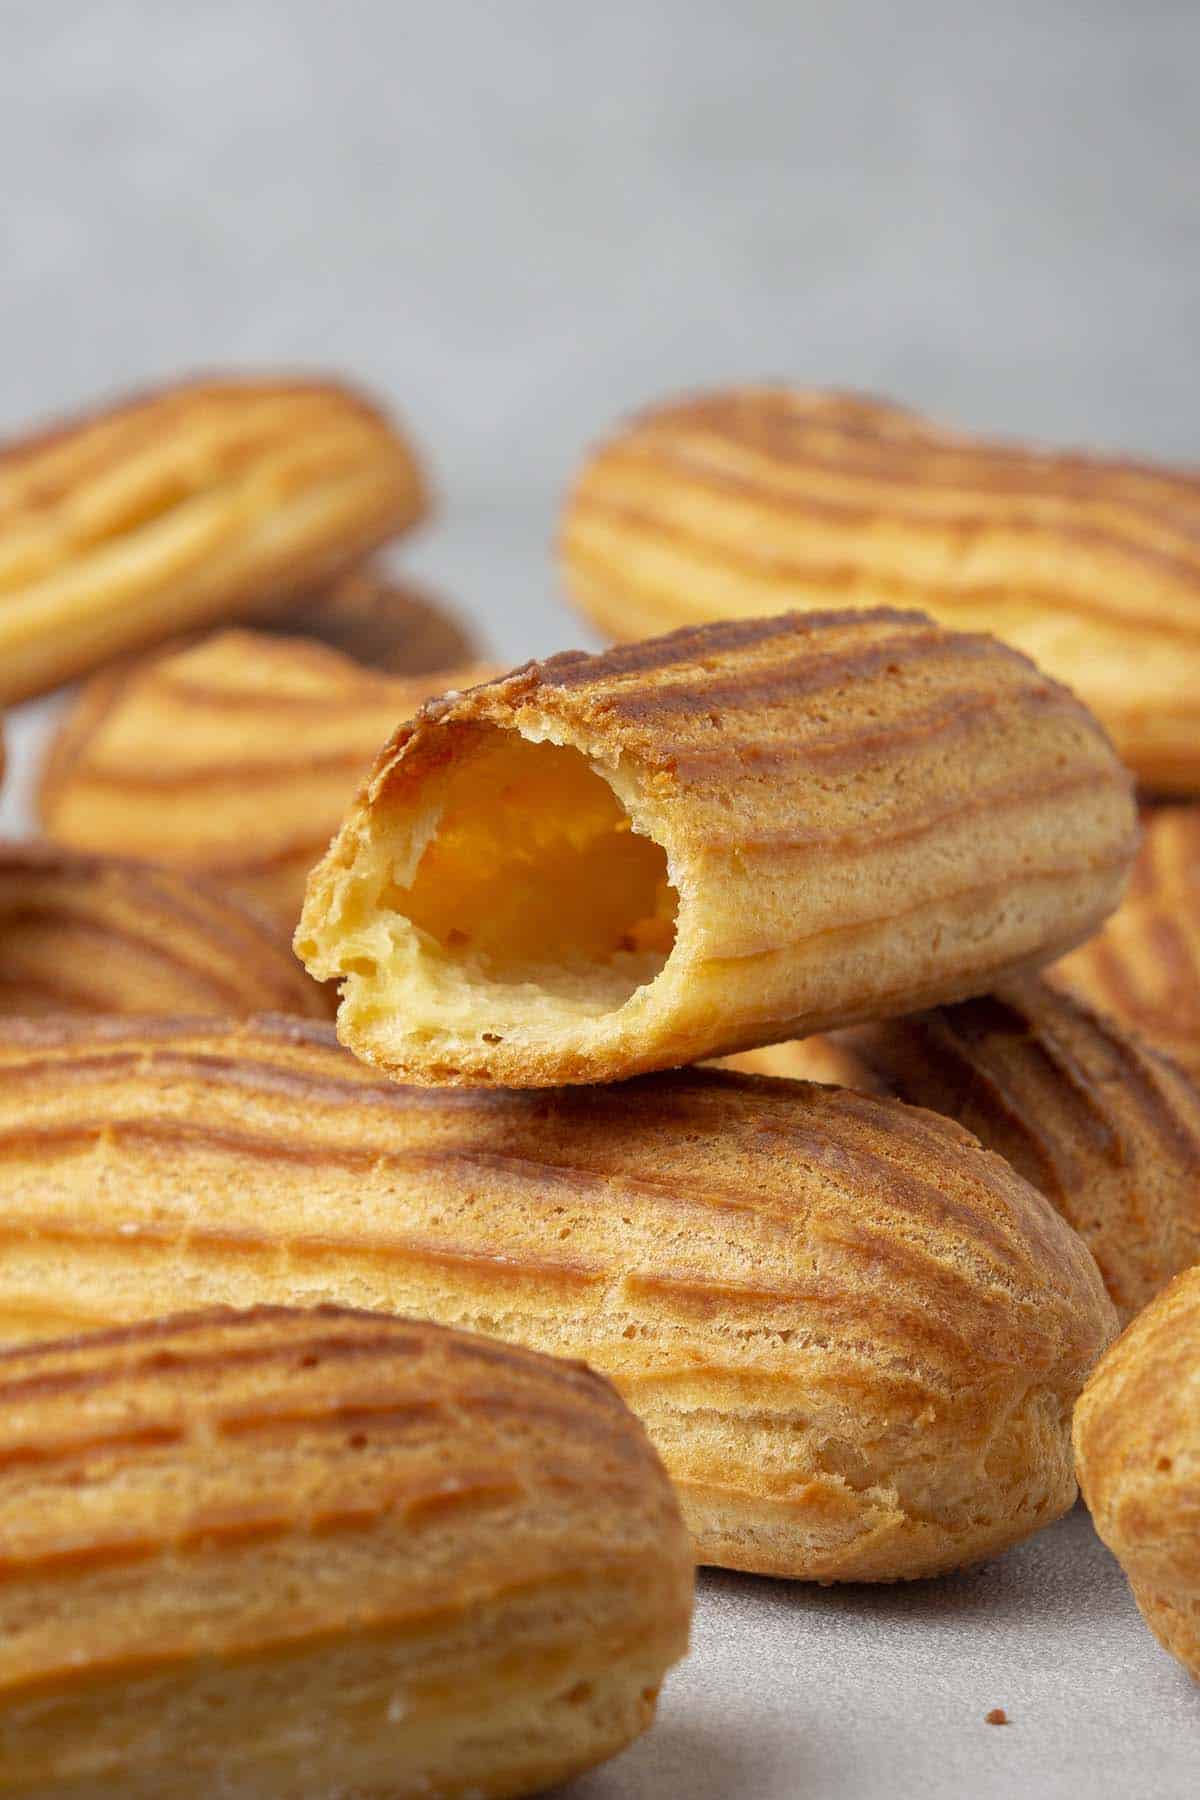
How hard it is to make homemade eclairs
Making homemade eclairs is actually not that hard, neither too complex nor time-consuming.
However, perfecting eclairs requires practice and precision yet it is totally doable for everyone, and there is nothing as rewarding as serving your homemade eclairs! The Pâte à choux itself comes together really easy and quickly using a handful of ingredients. The most difficult part of the recipe is probably the piping, however, you can always practice that until you feel comfortable with the result.
This eclair recipe might look long - and in fact, it is, because of the necessary information you need to know in order to succeed - but the process is much quicker in practice. Consider this recipe as a full-on eclair and choux pastry crash course, the only eclair recipe that you will ever need to read!
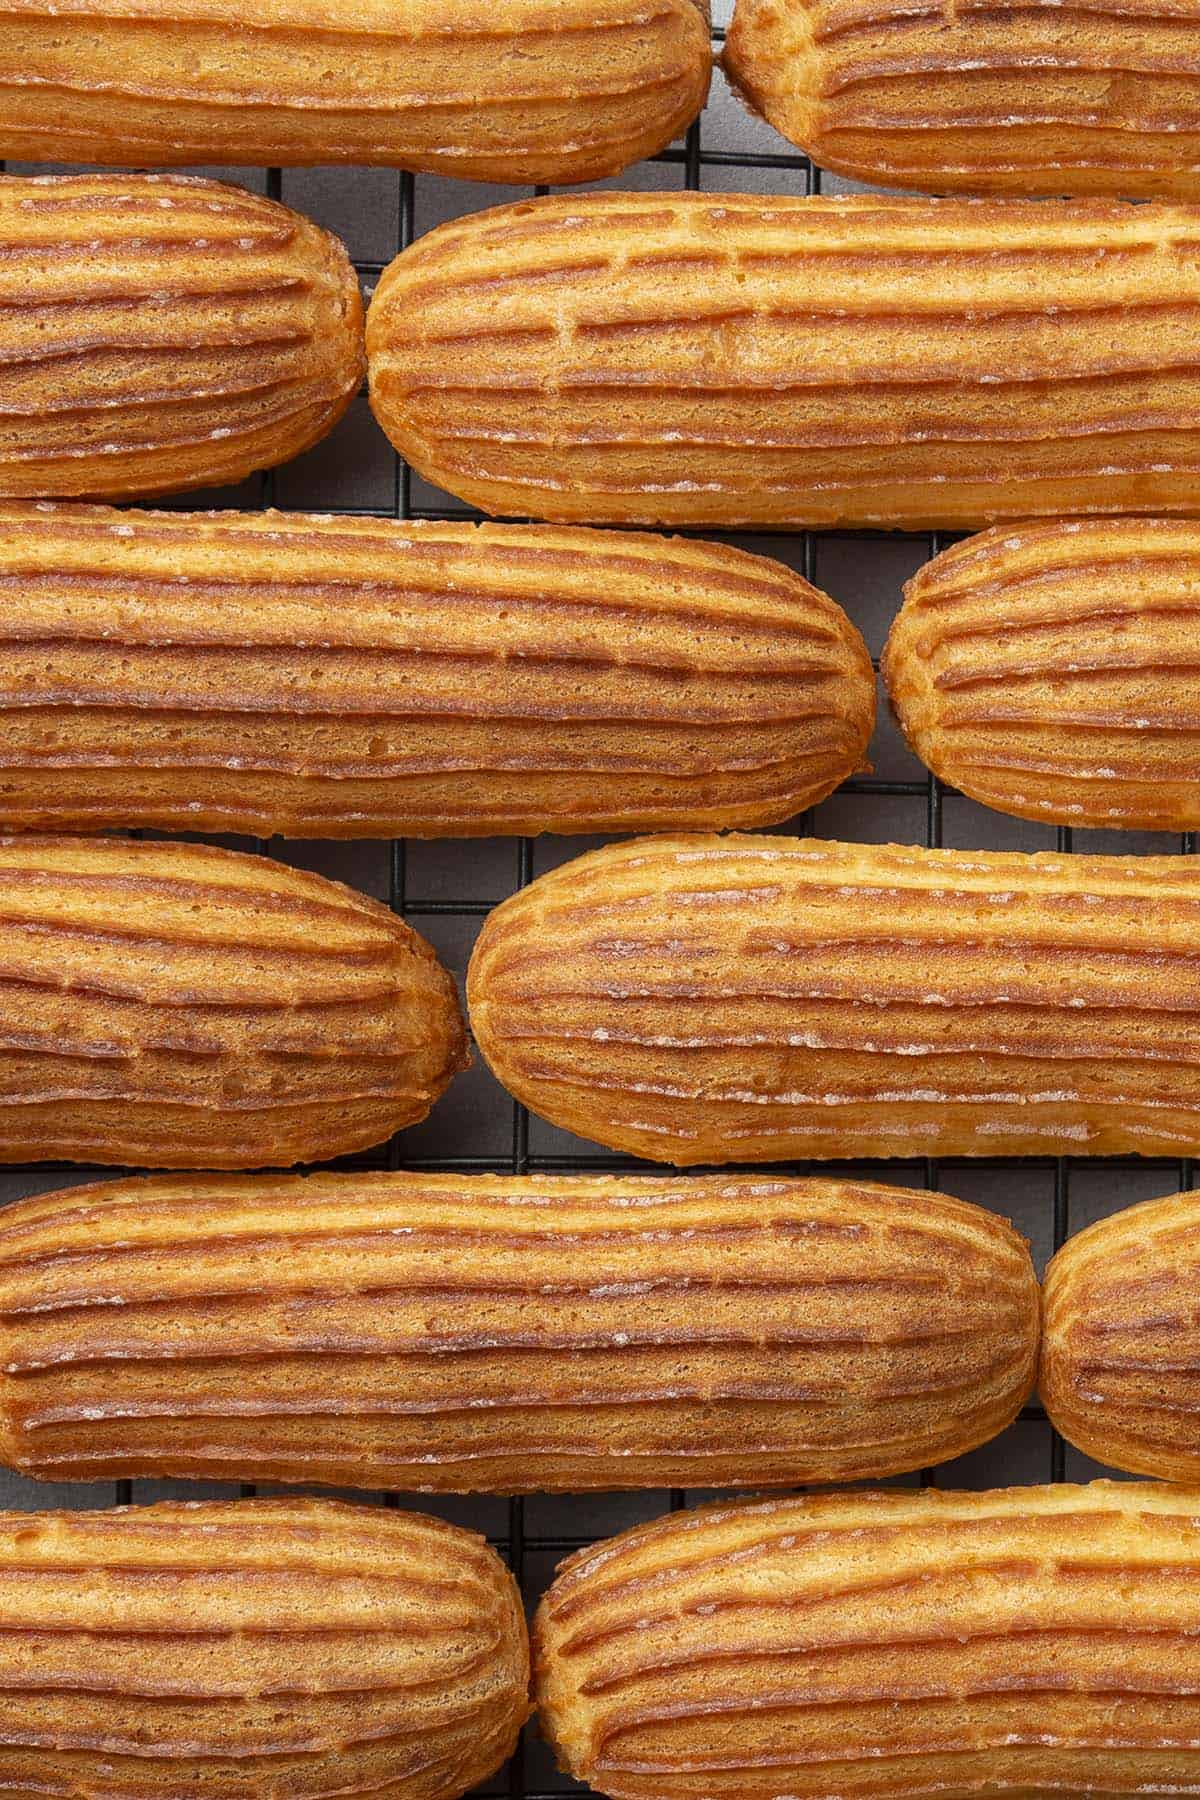
History of eclairs
According to Wikipedia, the word "eclair" comes from the French éclair meaning "flash of lightning". The name "éclair" was given to the dessert either because it is eaten quickly (in a flash), or, some believe that the name is due to the glisten of the frosting resembling lightning.
The éclair originated during the nineteenth century in France where it was called "pain à la Duchesse" or "petite duchesse" until 1850. Some food historians speculate that éclairs were first made by Antonin Carême (1784–1833), the famous French chef. The first known English-language recipe for éclairs appears in the Boston Cooking School Cook Book by Mrs. D.A. Lincoln, published in 1884.
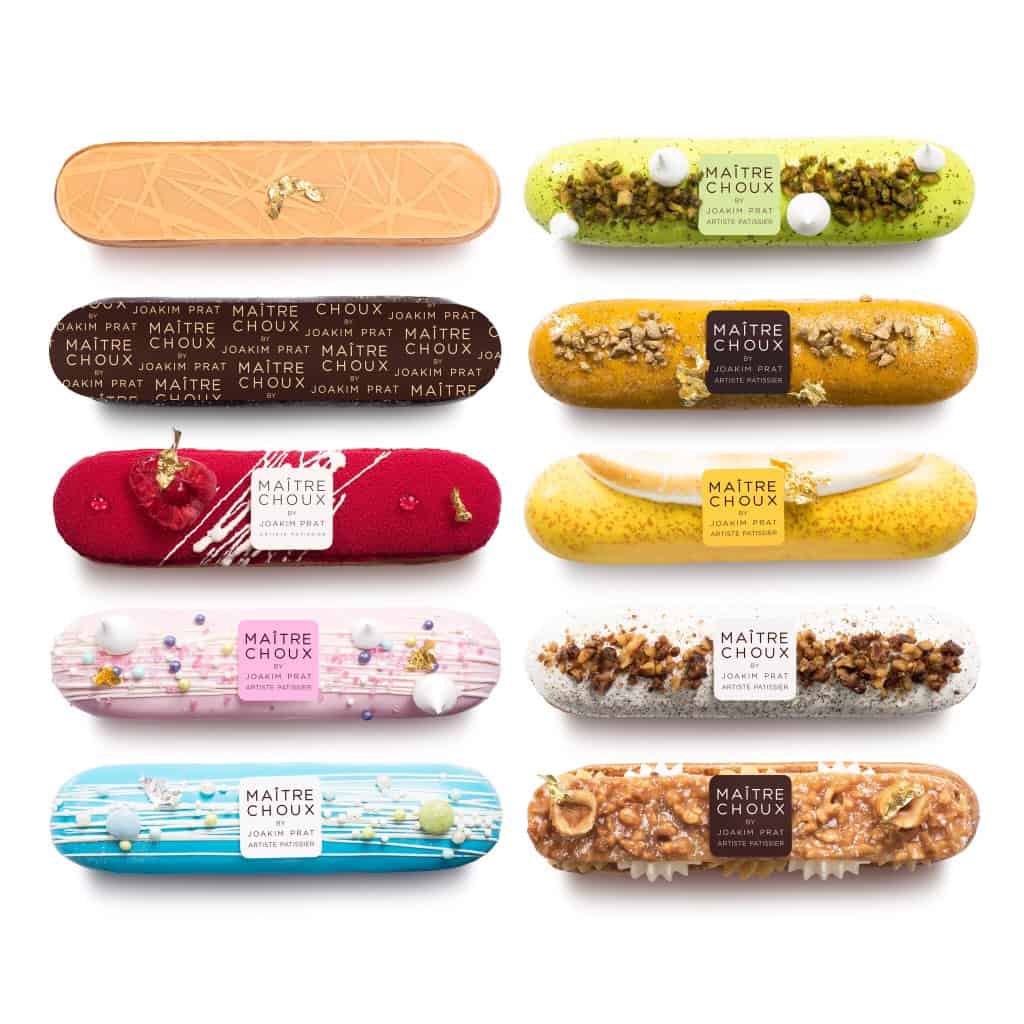
Eclair nowadays is one of the most popular desserts worldwide, its delicate texture, versatility, fancy individual serving size makes it the perfect crowd pleaser! With my eclair base recipe, you can easily make classic chocolate eclairs, whipped cream eclairs, strawberry eclairs, mini eclairs, or any eclair pastry you wish. If you want to take your eclairs to the next level, check out my favorite modern eclairs from Joakim Prat below.
Ingredient notes
For the choux pastry
- Milk: Whole milk is the best, definitely avoid using milk substitutes, unless you are aware of how to reformulate the recipe
- Water: Milk-water ratio in this Pâte à choux recipe is 50-50%. If you are more experienced, feel free to play around with different ratios
- Sugar: Choux dough is made using simple granulated sugar. While heating the mixture up, make sure sugar fully dissolves. If you want to learn about the different types of sugar and how to use them in baking, please read my article here
- Salt: An essential ingredient in most dessert recipes. Balances flavor and enhances other ingredients, in choux pastry recipe, salt also contributes to the right texture
- Butter: Use always unsalted as you want to be in control of the quantity of the salt. I am using 82% fat content European-style butter in all my recipes. While in most of the recipes butter needs to be at room temperature, this is an exception. Since butter will be heated, it is fine to use it straight out of the fridge
- Flour: Make sure to use high protein content bread flour to achieve that lovely huge air pocket. I am using a 12% protein content flour, and get very poor results with low protein pastry flours. It might not be called bread flour in your country, please search for the protein content on the bag and purchase the one that is recommended to make bread, pizza, etc. If you want to be a pro when it comes to deciding what type of flour to use in your baking, please read my article here
- Egg: Room temperature as always. I will have special notes on the quantity of the egg at a later stage of this recipe.
- Powdered sugar/icing sugar: Before baking the piped dough should be gently dusted with icing sugar - this will support even baking.
As you can see, the eclair ingredients are super simple, nothing fancy. The secret is behind the technique so make sure you continue reading my tips.
3 Expert tips
1. How to make Pâte à choux
The eclair dough is not the type of dough where you cannot add a bit of this, a bit of that at a later stage, the steps and their order in the recipe are strict therefore make sure you follow them.
Making any choux pastry whether it is Paris-Brest, cream puff, profiterole, or choux au craquelin starts with a cooking process.
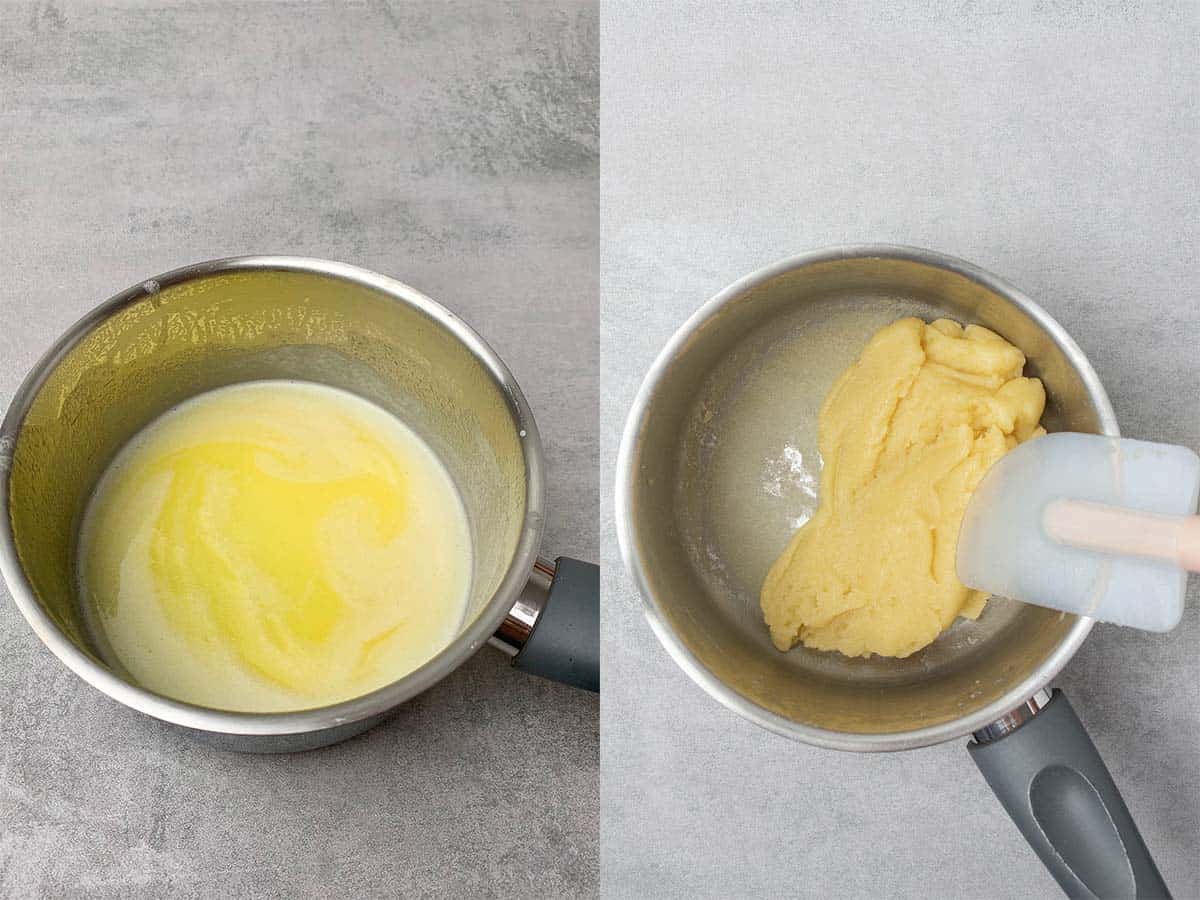
The choux dough is a cooked dough which means the butter, milk, water mixture the so-called first needs to be heated until simmering. Then, you will add the flour and cook the dough (the so-called panade) for a few minutes (2-3minutes) over medium heat mixing constantly. Make sure, you sift flour before adding to the mixture as you want to avoid lumps. The cooking process of the panade is ready when some moisture evaporates from the dough and by then there should be a thin skin formed on the bottom of the saucepan.
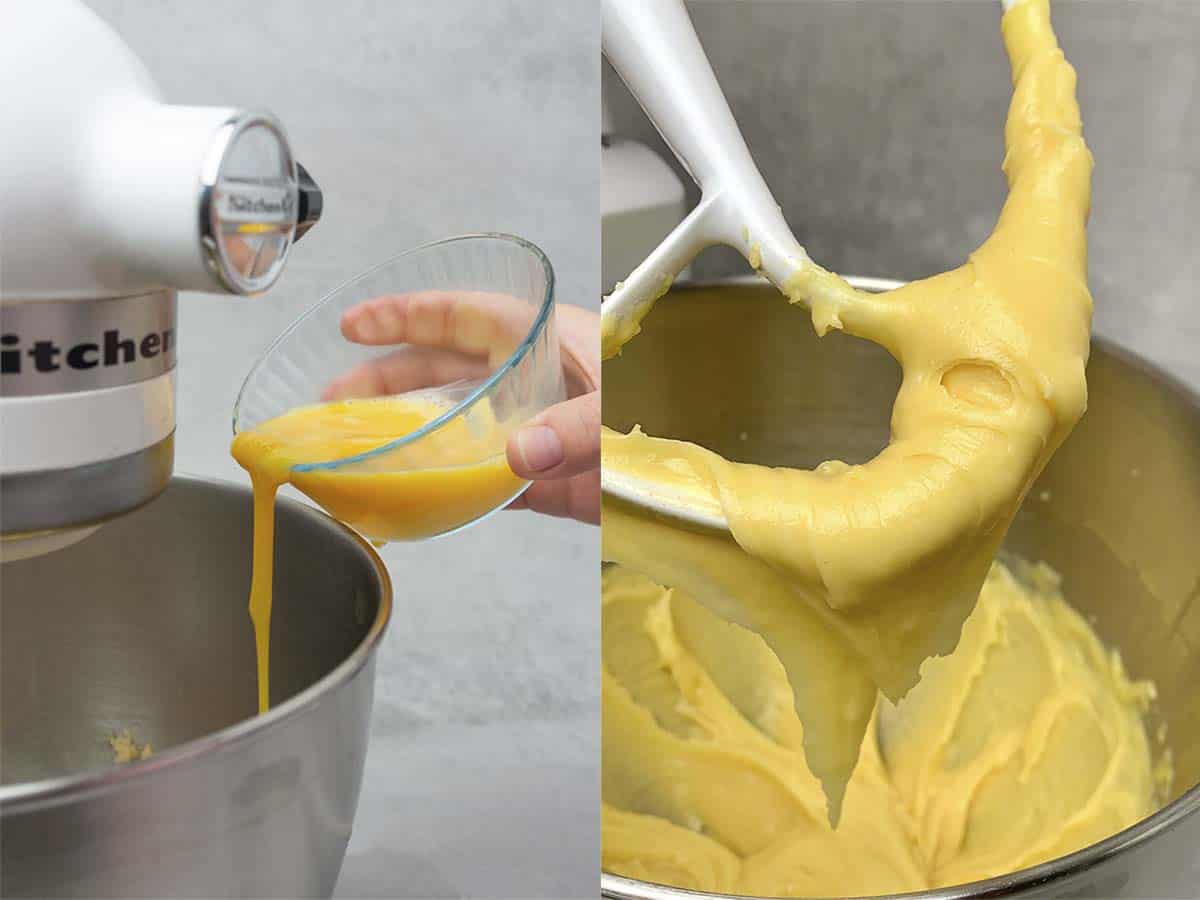
Mixing the egg in will need somewhat your judgment. Only add a small amount of egg at a time, consistently whisking after each addition (I am using the paddle attachment on my stand mixer). First, the mixture might separate but keep your mixer on, and the dough will come together and should reach a glossy, pipeable consistency. I like to do the “V test”: the dough is ready when it slowly falls down from the paddle attachment in a V shape. Slowly is key here, it should not be too runny.
Please note, that depending on the flour you use and how much you “dried” the mixture at the cooking stage, you might need to use slightly more or less egg than stated in the recipe. Very important that you can not add more flour to the mixture at this late stage, so while adding the egg into the mixture check the dough consistency regularly, and if you accidentally add more egg and the dough is too runny, start again.
2. How to pipe eclairs
As mentioned above, while mixing the egg in you have to take into consideration to mix in just as much egg to get a shiny, pipeable consistency. The mixture should not be too firm, nor too runny. To be honest with you, piping eclairs requires some practice and once you make 5-10x batches you will be able to pipe the dough much neater. Just keep practicing, I promise it is worth it!
Move the dough into a pastry bag fitted with French star nozzle tip (0.5cm / 1.3cm in diameter). Believe me, you will have to use a star tip, and won't get the same crack-free, neat-looking result with any other piping nozzle, particularly do not use round tip for piping.
It is also important to get rid of any air bubbles before piping. You can achieve this by pressing the air pockets out of the pastry bag with your hands before piping. On this note, while moving the choux batter into the piping bag, make sure you avoid "mixing in" any unnecessary air bubbles.
Now at this point, I suggest leaving the dough in the fridge for 1-2h – this again helps to achieve even baking later without major cracks on the surface.
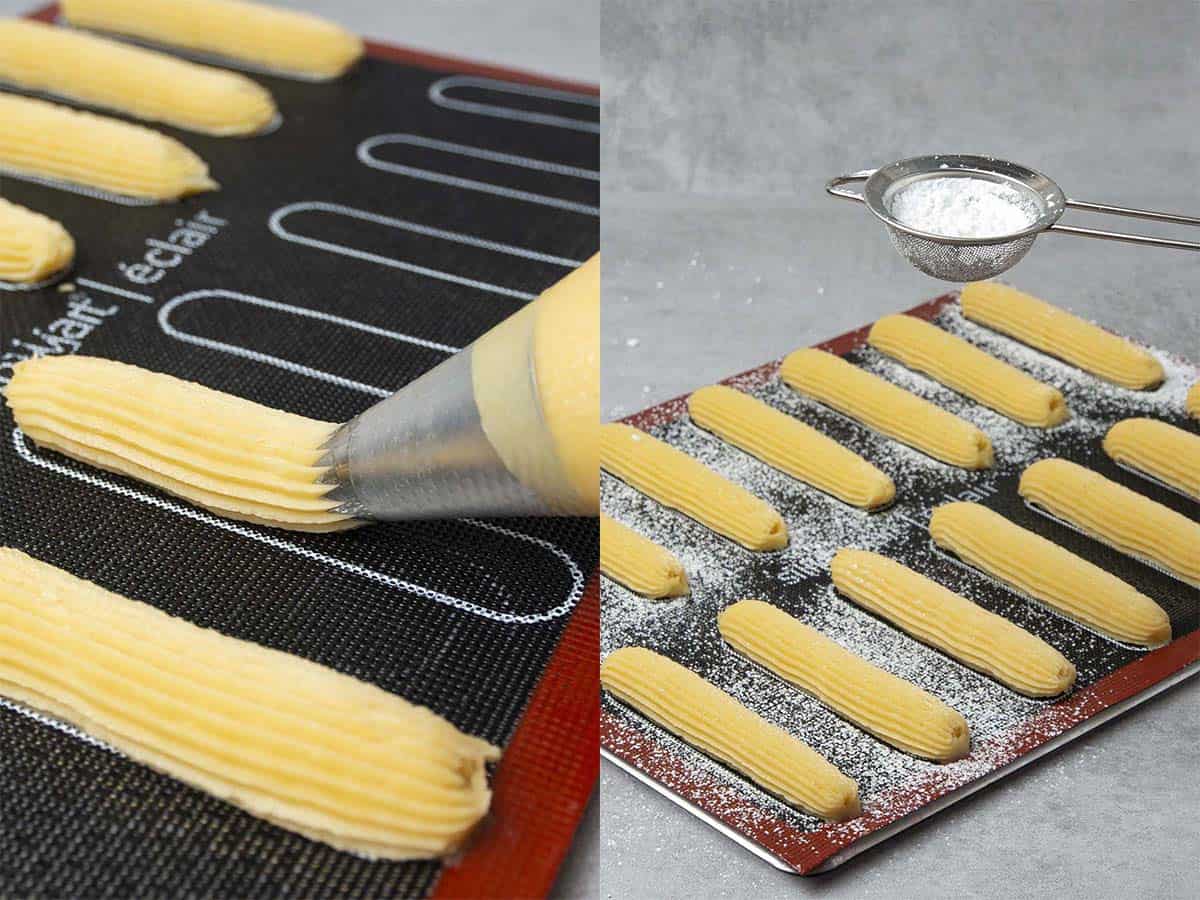
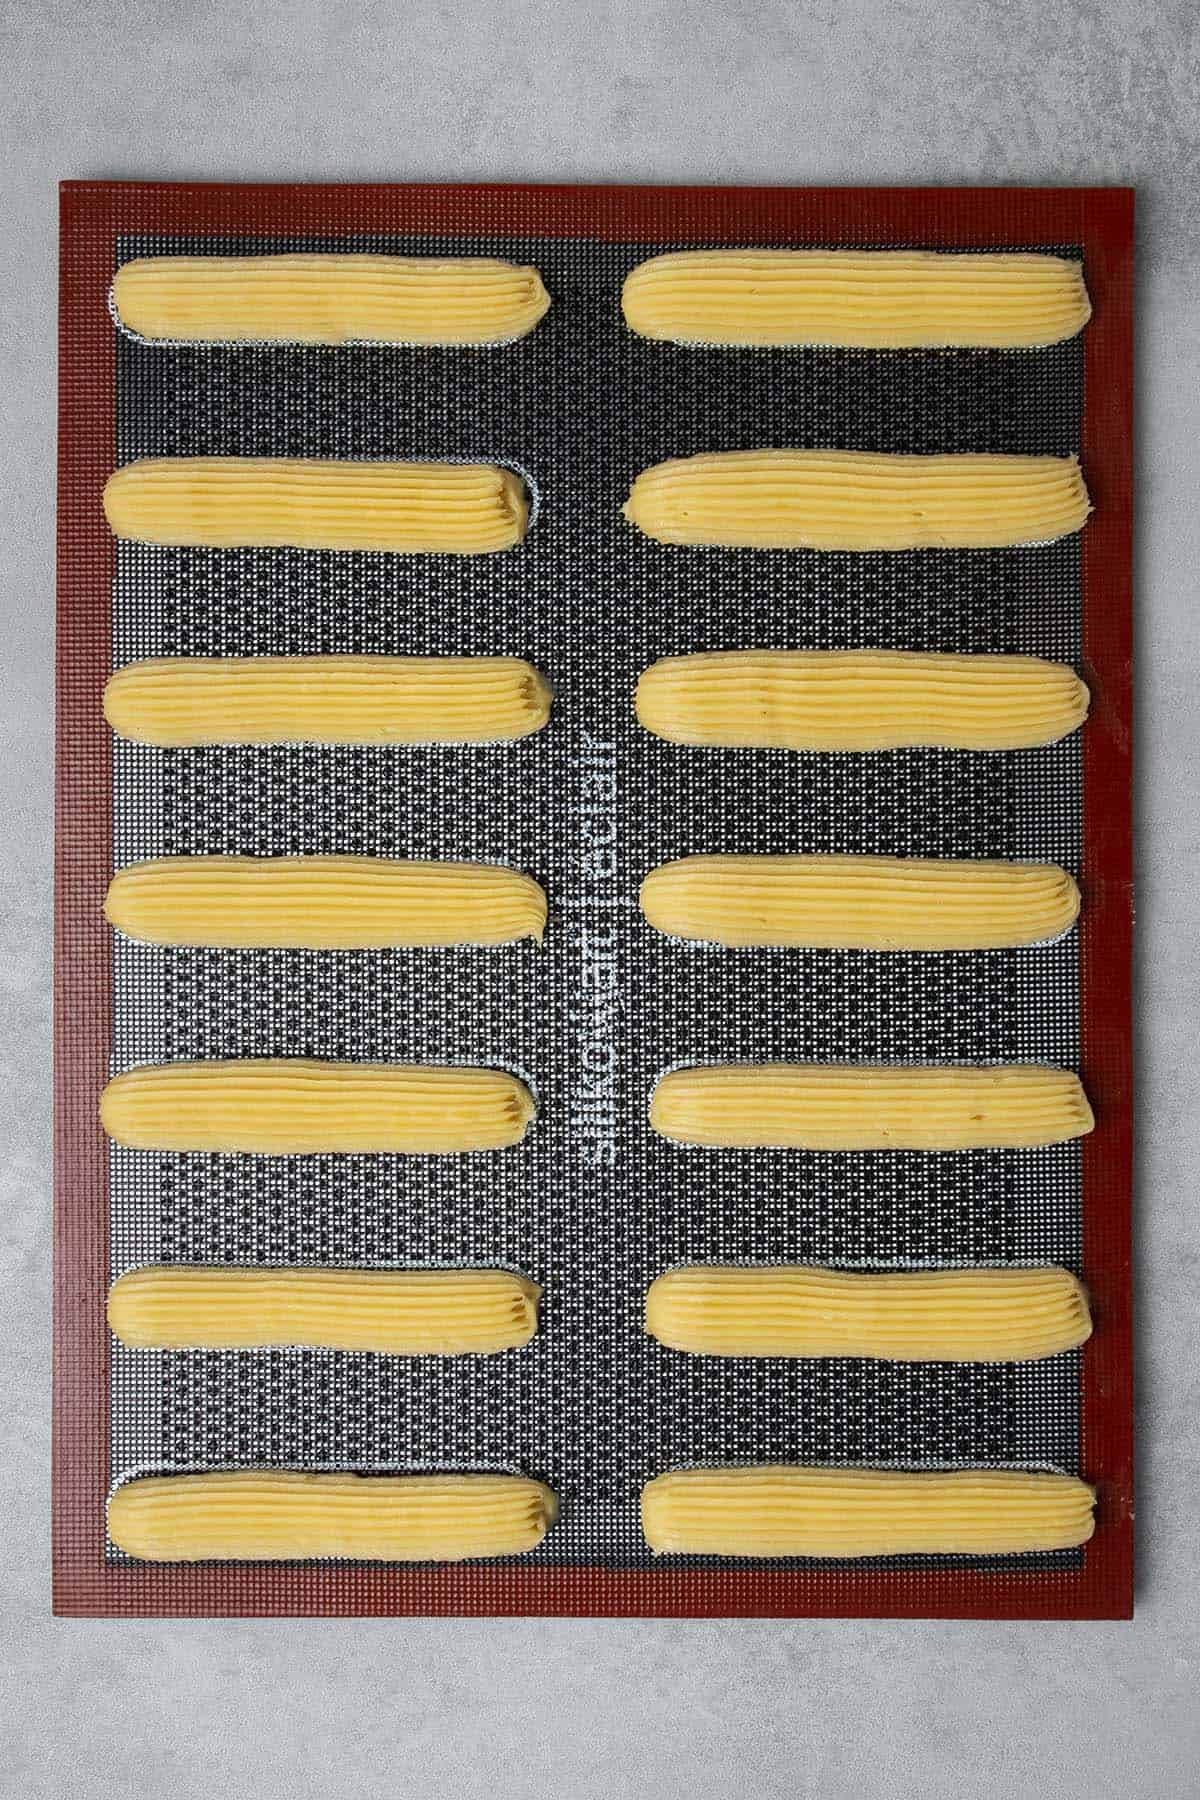
Once the dough is rested, pipe it at 45° angle, as evenly as you can, ideally onto a Perforated “air” baking mat that provides even baking due to air circulation through the mat. Alternatively, cover a baking sheet with parchment paper, and pipe the choux dough onto the paper. I don´t recommend using a silicone baking mat for making choux pastry as my experience is that the eclairs somewhat get wet from the bottom during baking.
This recipe quantity makes 14 eclairs, that fit onto the perforated mat, each 0.5cm / 1.3cm in diameter and about 10cm / 4 inch long. They will expand in the oven into a perfectly elegant, delicate French pastry size. Remember, do not pipe them too close to each other.
You might find that after piping there are small peaks at the end of the eclair shape logs, feel free to gently press them down with a lightly wet fingertip.
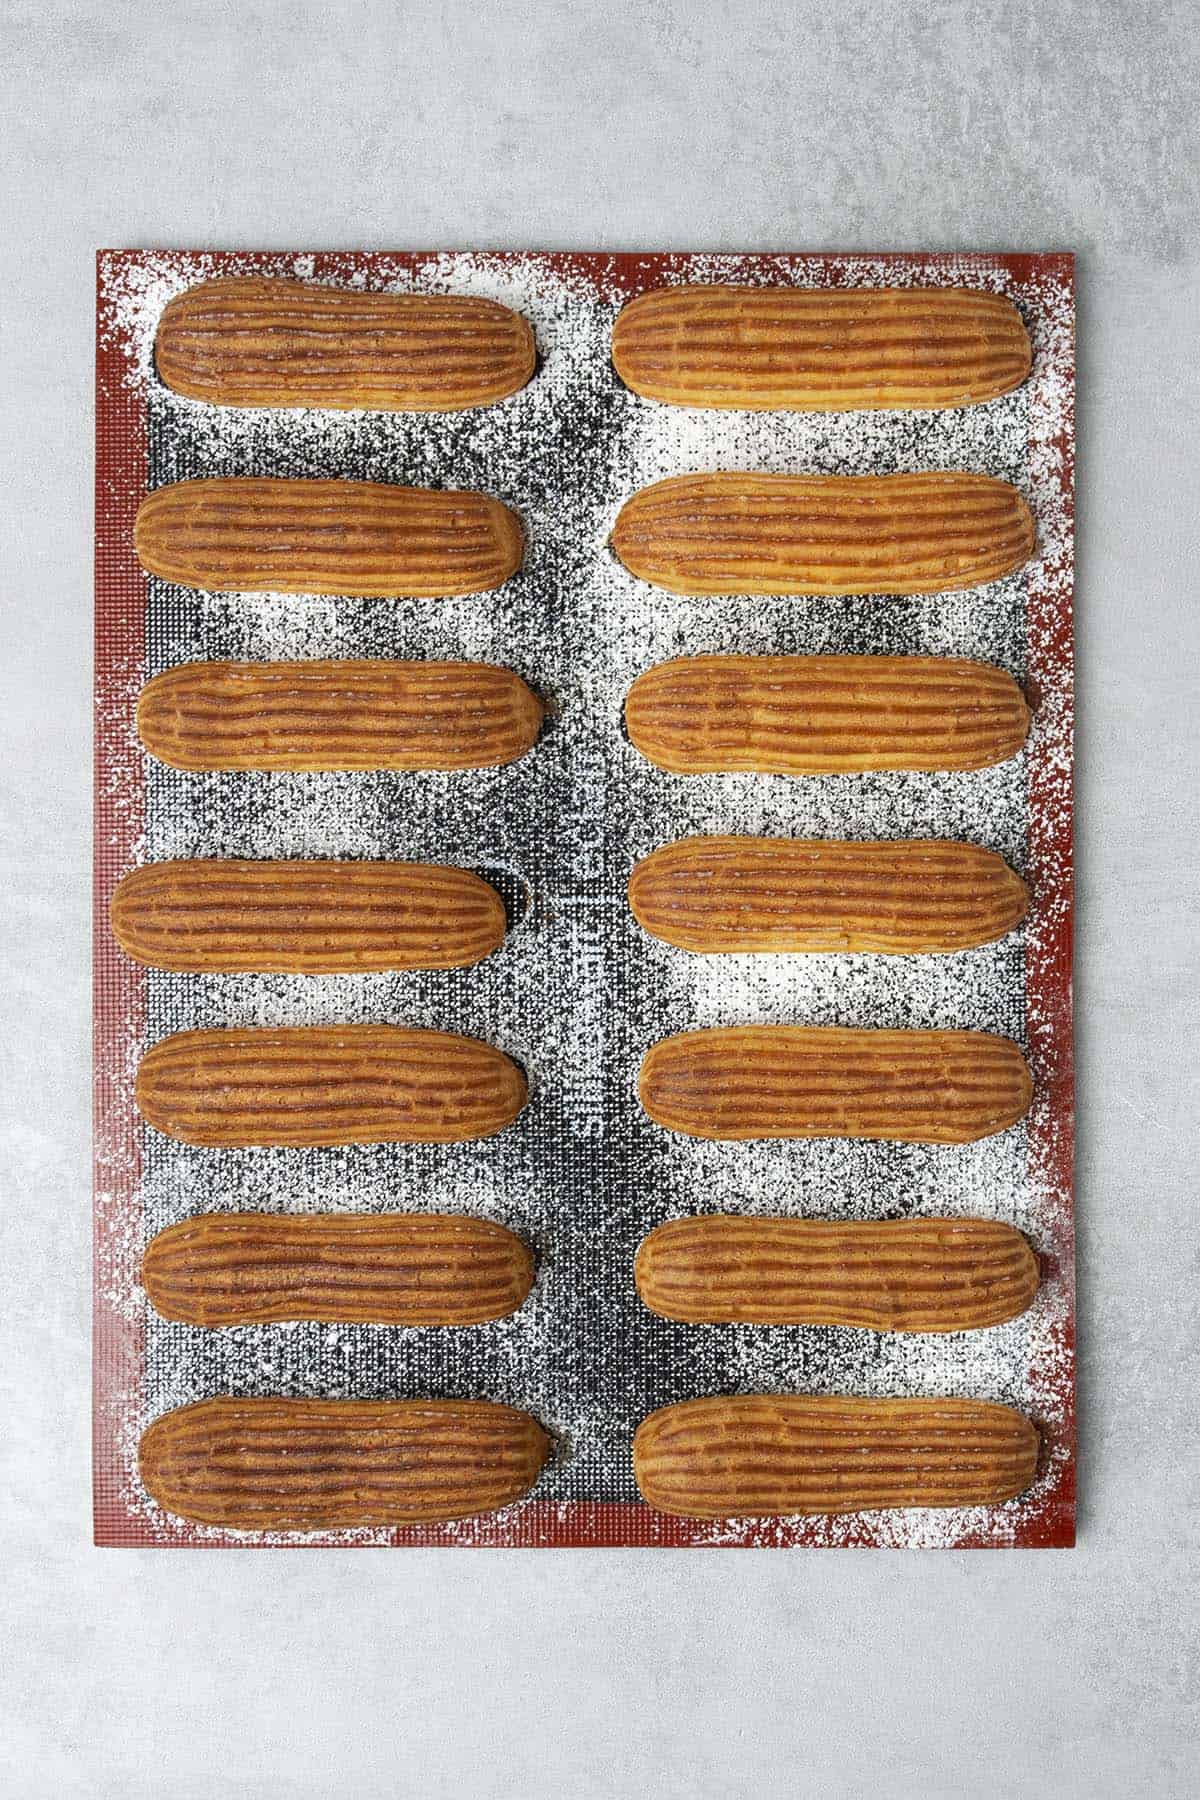
Once you are done with piping, gently dust the eclairs with icing sugar, this again helps to achieve neat results after baking. But, before jumping into baking, there is one more step. You must freeze the piped dough, this will ensure an even rise without crack on the eclair shells. I find it is enough to freeze the dough for 30 minutes while you are heating up the oven, but the longer the better. If you are doing it the first time, freeze them properly for 1-2hours. Please do not skip this step.
3. What is the right baking temperature for making eclairs
Some suggest starting with a high baking temperature, then decreasing for the second half of the baking time. I find even baking temperature works better, supports more even baking. Having said that, I suggest to pre-heat the oven to a higher temperature (200 C / 392 F no fan) then decreasing it later when placing the tray in, please see instructions in the recipe. Feel free to experiment with your own oven!
It is very important that you use a Digital oven thermometer that states the correct oven temperature. I personally do not bake without my oven thermometer on, and if your oven is over or under run 10C / 50F (that is very common), then it will be impossible to follow this recipe and get the same result.
It is also important that the fan is off on your oven. The fan can cause too much air circulation which can result in cracks on the eclairs while baking. Some of my Readers using professional ovens even had to cover the fan in the oven, it is that critical!
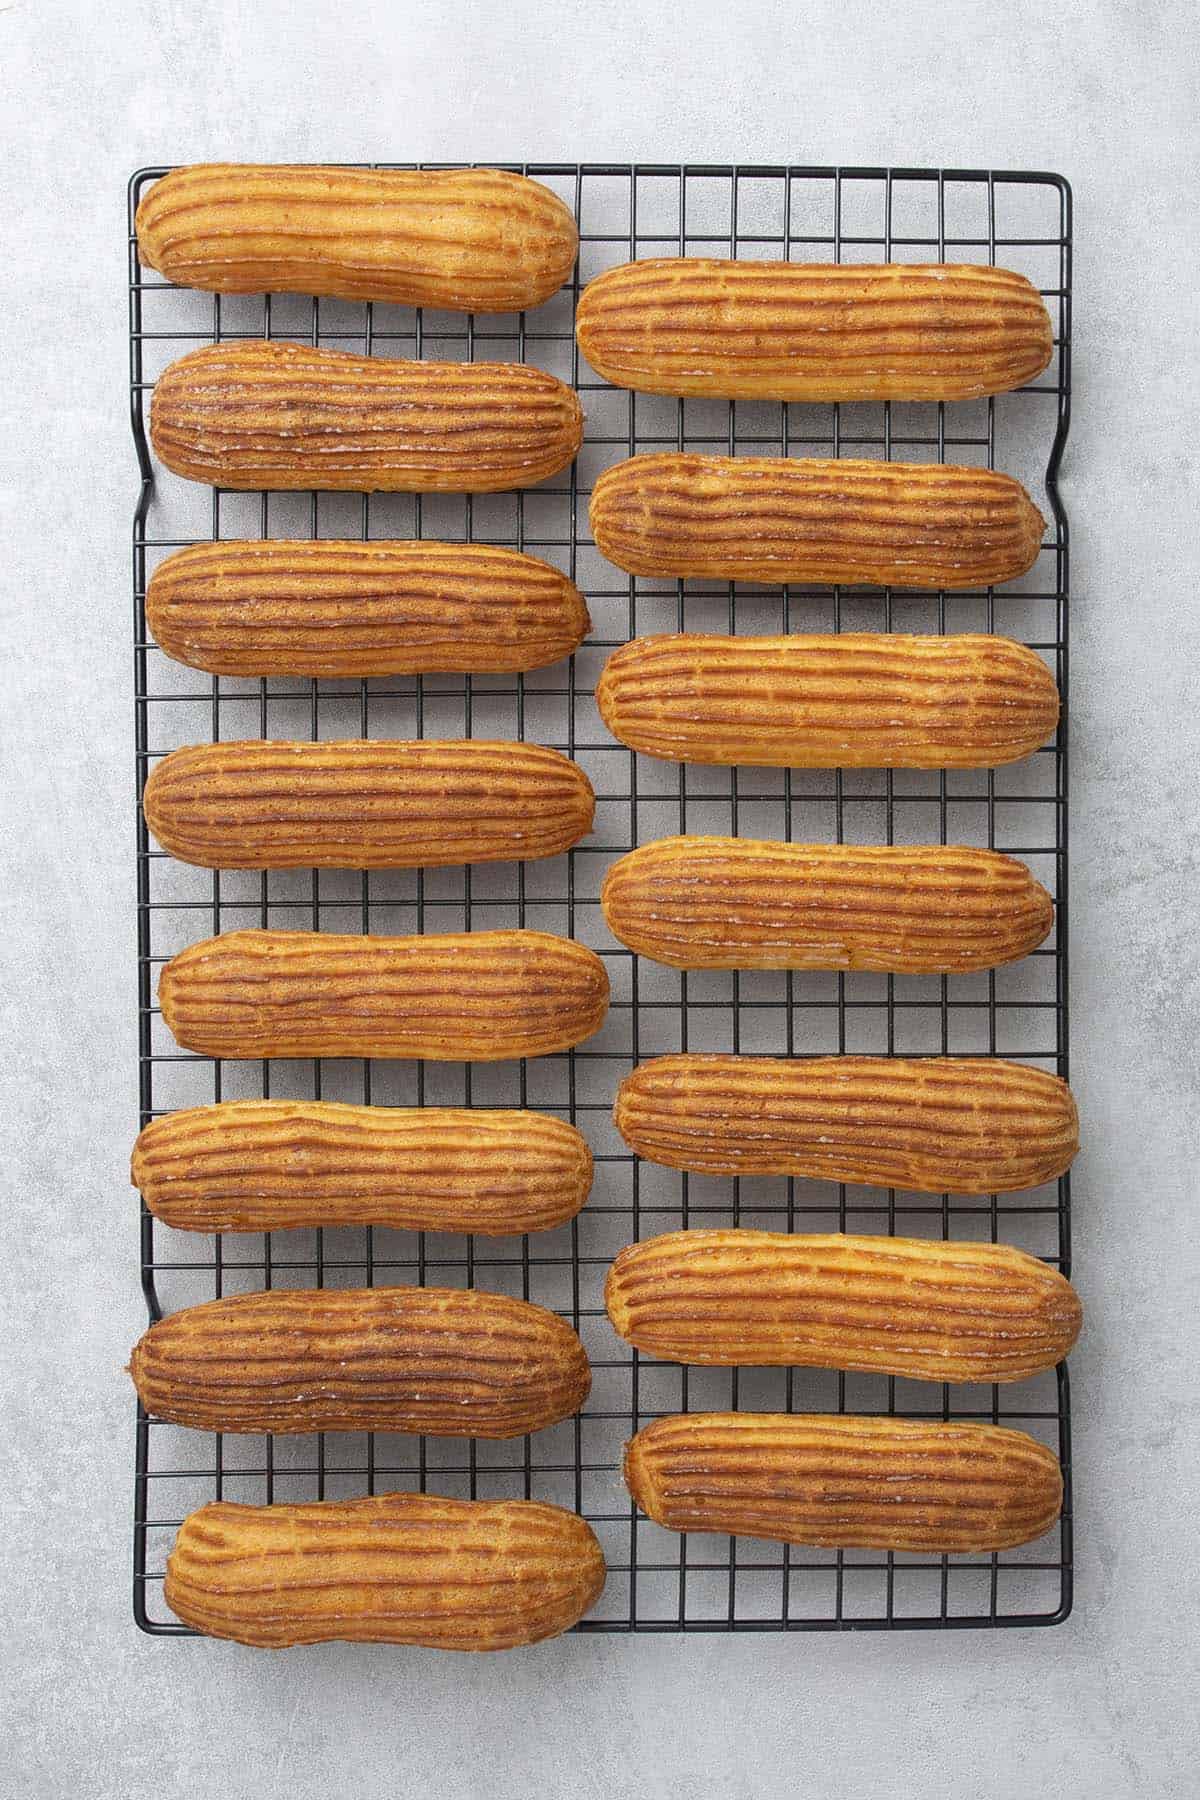
I bake the eclairs for 40 minutes in 170 C / 338 F (no fan) until they are nicely puffed up and golden brown, but you need to test and try your own oven. It is a good idea to take one out at 40 min, wait for a minute to see whether it collapses, if not, very likely that your eclairs are well baked. Overall, I suggest starting with my baking suggestions, however, each oven is different - especially home ovens - you will have to find what works best for you.
During baking, please do not open the oven door in the first 30 minutes under any circumstances as the choux will collapse.
Once the eclairs are well baked, let them cool on the Perforated “air” baking mat. Do not attempt to remove them earlier as the bottom might stuck into the perforated air mat while it is still hot.
Eclair Troubleshooting
While my choux pastry recipe is super detailed and will guide you through the process step-by-step, my Troubleshooting Guide might be useful, especially if you're baking eclairs the first time, it will help you to fix common issues that you may encounter.
Solution: The choux dough is too wet, mix in fewer eggs next time. Please note, that you cannot add extra flour at this stage, you will want to start the process all over again
Solution: Most likely your oven is not hot enough, either need to pre-heat the oven longer or need to increase the baking temperature next time. Or, perhaps the problem is related to the previous issue: your dough was too wet and get baked more like a pancake without rising properly. Make it less wet next time (use less amount of egg)
Solution: Most likely your eclairs were not baked well, bake them for a longer time
Solution: There are a number of reasons causing cracks on eclairs therefore a number of solutions can be considered. First and foremost, make sure you use a French star piping nozzle tip while piping, as with a simple round nozzle almost 100% you will get cracks on the eclair surface. Inappropriate piping techniques eg. applying uneven pressure while piping can also cause cracks on the eclair. Piping skill is something you will have to practice and it will improve over time. Too high oven temp and fan in the oven can also cause cracks on the top. Try to find the sweet spot in terms of oven temperature; a temperature that provides a nice rise but not too quick rise (that develops the cracks), and do not use fan mode in the oven.
Solution: There can be a number of issues causing not hollow eclairs. It is either related to issue No.2.: Inappropriate rise - if so you know how to fix it. If you have a nice rise on your eclairs but they are not hollow enough inside, most likely your flour has not enough protein. Even if you use bread flour, try a few different ones eg. 11, 12, 13% protein content and stick to the one that gives the best result.
Solution: Inconsistent piping pressure will result in lumpy eclairs that are not very neat and less professional-looking. While piling, try to hold the pastry bag at 45° angle and while holding with one hand, apply even pressure with your other hand. Your piping technique will get better over time, keep practicing.
Equipment notes
The good news is that you do not actually need a lot of fancy equipment to make professional-looking homemade eclairs, however, with a few smart tools you can really take your baking to the next level.
Perforated baking “air” mat for even baking
I have been using Perforated “air” baking mat for more than a year now from a brand called Silikomart and love it! I use it all the time for baking tarts, choux, even for cookies. Thanks to the holes in the mat, the heat spreads evenly throughout the mats’ surface guaranteeing a perfect and even baking. Use the Perforated “air” baking mat on top of the oven rack so that the air can circulate properly. If you do not own this wonderful baking equipment it´s worth considering investing in it, or alternatively lining a baking sheet with parchment can work too, it is just neater and less risky with Perforated “air” baking mat.
Stand mixer
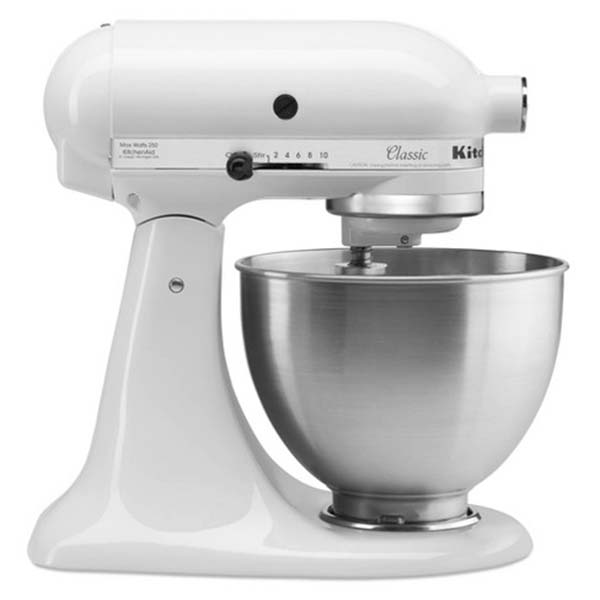
Mixing the pâte à choux theoretically can be done with an Electric hand mixer, however, it is more convenient with a Stand mixer using the whisk attachment. Remember, the eggs must be poured into the mixture very slowly, while the mixer is on so it can get incorporated into the dough properly, so using a stand mixer will make the process much easier.
French star tip
As mentioned above a French star nozzle tip is one of those super cheap and easy investments that can make or break this eclair recipe. If you want to max your chance of neat, burst-free eclairs, I definitely recommend using a star nozzle tip. There are different sizes available for start nozzle tips, a ½ inch / 1.3cm diameter is a good one to use in my view! Please note that when you pipe the eclairs, they might look very skinny, however, they will expand during baking, so in fact, they should look skinny.

Recipe FAQs
Yes, you can, however, you will need to adjust the baking time accordingly. Having said that, the larger the eclair, the riskier that it won´t bake throughout, so you have to pay extra attention to the correct oven temperature to bake them longer
Yes, most probably you can, I am working on a gluten-free version myself, however, you can´t just replace flour with gluten-free flour 1:1 without reformulating the recipe. When one ingredient changes, some other ingredients need to be changed too in order to keep the balance in the texture and flavor
It is unlikely since the rise of the eclair is actually thanks to the eggs. Sadly, I am not able to provide substitutes for all sorts of allergies and diets.
Once you fill and glaze the eclairs, they should be served straight away as choux pastry tends to get soggy from the filling. Any leftover can be stored in the fridge. Cover it, so it does not absorb any smell from the fridge
You can easily freeze the eclairs before baking, and bake them fresh when needed. Once they are baked, technically you can still freeze them, however, they might lose the crispiness a bit. Once filled with cream, I do not recommend freezing the eclairs but serving them shortly after
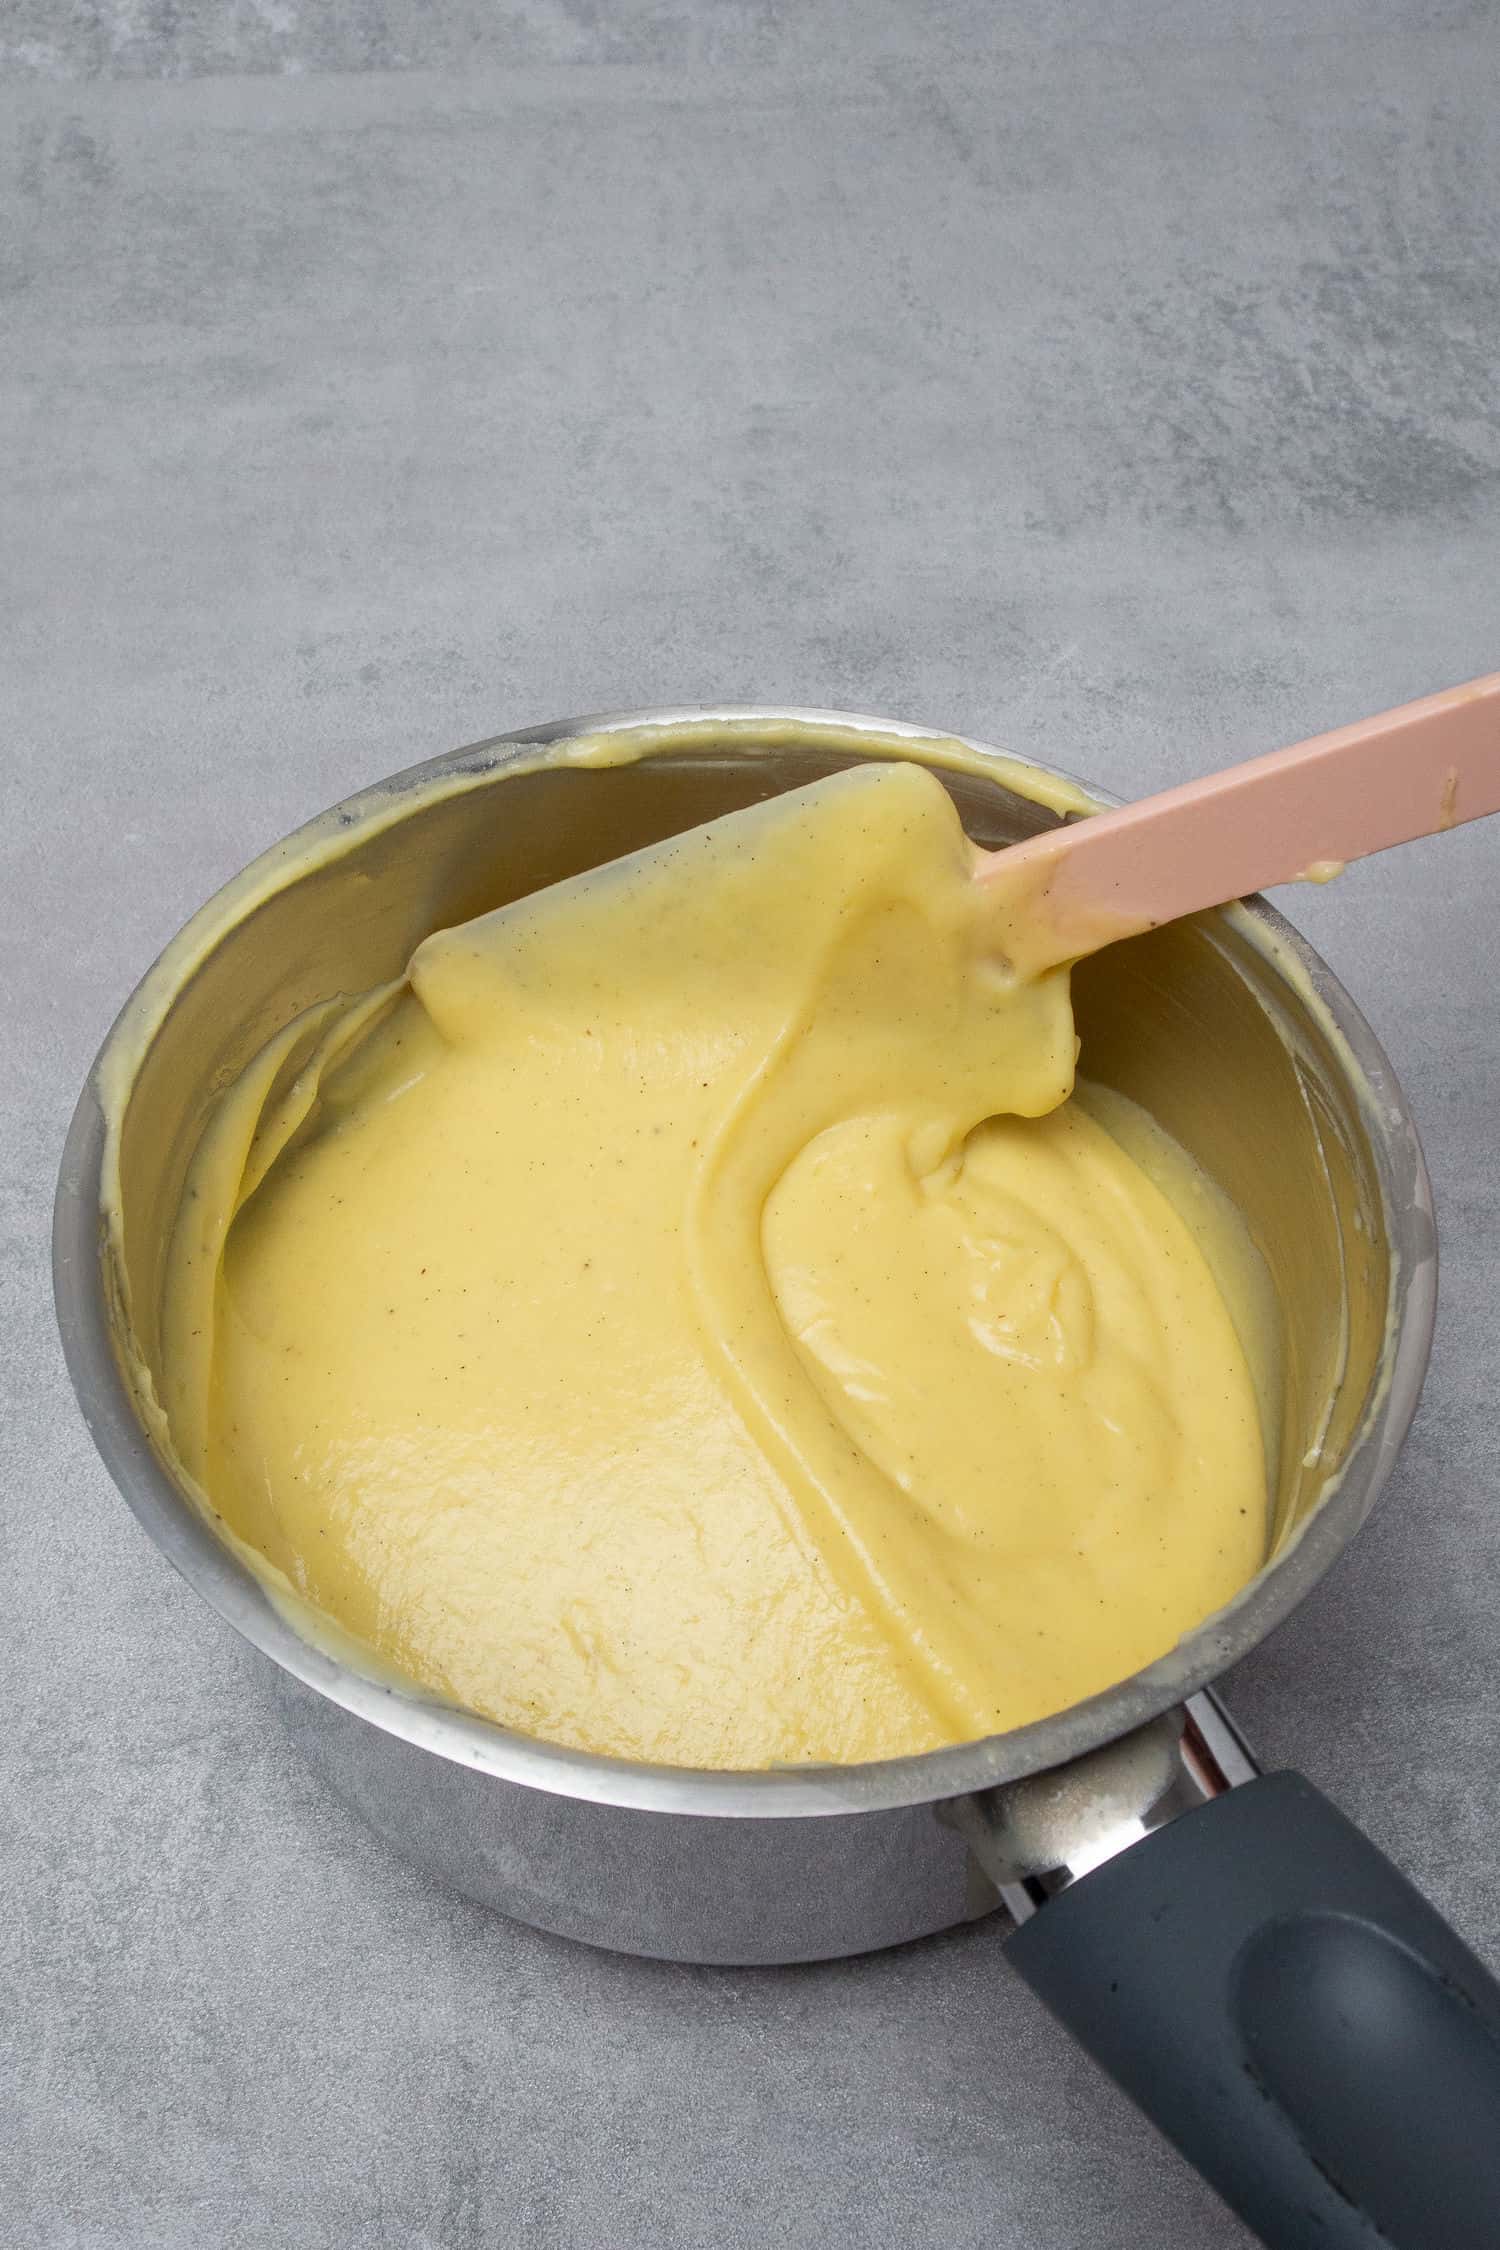
2 eclair filling ideas: chocolate and vanilla bean pastry cream
Eclairs are super versatile and you can literally fill them with an endless variety of creams, however, the two most popular ones are vanilla pastry cream and chocolate pastry cream. Pastry cream (Creme Patissiere) is a creamy custard that is super silky, rich but not overly sweet, the perfect filling for your cakes, eclairs, cream puffs, fruit tarts, etc.!
I have a whole detailed Baking Guide with tons of tips about making the perfect pastry cream (Creme Patissiere), make sure you read it! In summary:
- In a large enough bowl with the help of a Hand whisk, mix together sugar and egg yolk until slightly fluffy for about 1-2 minutes
- Mix in cornstarch, flour, and vanilla until thoroughly incorporated and have a smooth paste
- Bring milk to boil in a saucepan on medium heat then remove it as soon as it starts simmering. Make sure it is simmering but not crazy boiling
- Pour the warm milk over the egg yolk mixture slowly while whisking vigorously with a Hand whisk. This stage is effectively tempering the egg yolks and the mixture should already start to slightly thicken
- Pour the mixture back into the saucepan and cook on medium heat for a few minutes until it thickens. Concretely, it is approximately 1 minute after the first boil. It might get lumpy first, but don’t worry, just keep whisking, and the cream will get smooth and glossy. It’s worth keeping a good quality (so that the milk won’t burn in it) small/medium-sized saucepan for making pastry cream only
- If in doubt, strain the pastry cream for a lump-free, creamy end result
- Add in room temperature soft butter and mix with a Rubber spatula until completely incorporated. It is worth adding the butter in 3 stages and mixing well after each addition.
- The pastry cream needs to completely cool before filling the eclairs. Place the cream into a shallow bowl or container and cover the entire surface with plastic wrap to avoid skin forming on top. Store in fridge
It is super easy to turn this vanilla bean pastry cream into a chocolate version. Cook pastry cream as explained above, in the meantime, melt 100g chocolate (about ⅔ cup). Pour warm pastry cream over the melted chocolate and fold them together.
Since chocolate is solid at room temp, I suggest reducing the amount of thickening ingredients to half (so use only half of the corn starch and half of the flour). You might also want to consider adjusting the quantity of sugar slightly. Whether you are using dark chocolate or milk chocolate, you might want to add more or less sugar into the initial pastry cream recipe.
Alternatively, for lighter pastry cream, make diplomat cream which is also known as Crème Diplomate in French. This custard-like cream is a light concoction of pastry cream, whipped cream, and gelatin (optional).
Some more Choux pastry recipes
The PERFECT Eclair recipe (FOOLPROOF)
Equipment
Ingredients
For the eclairs
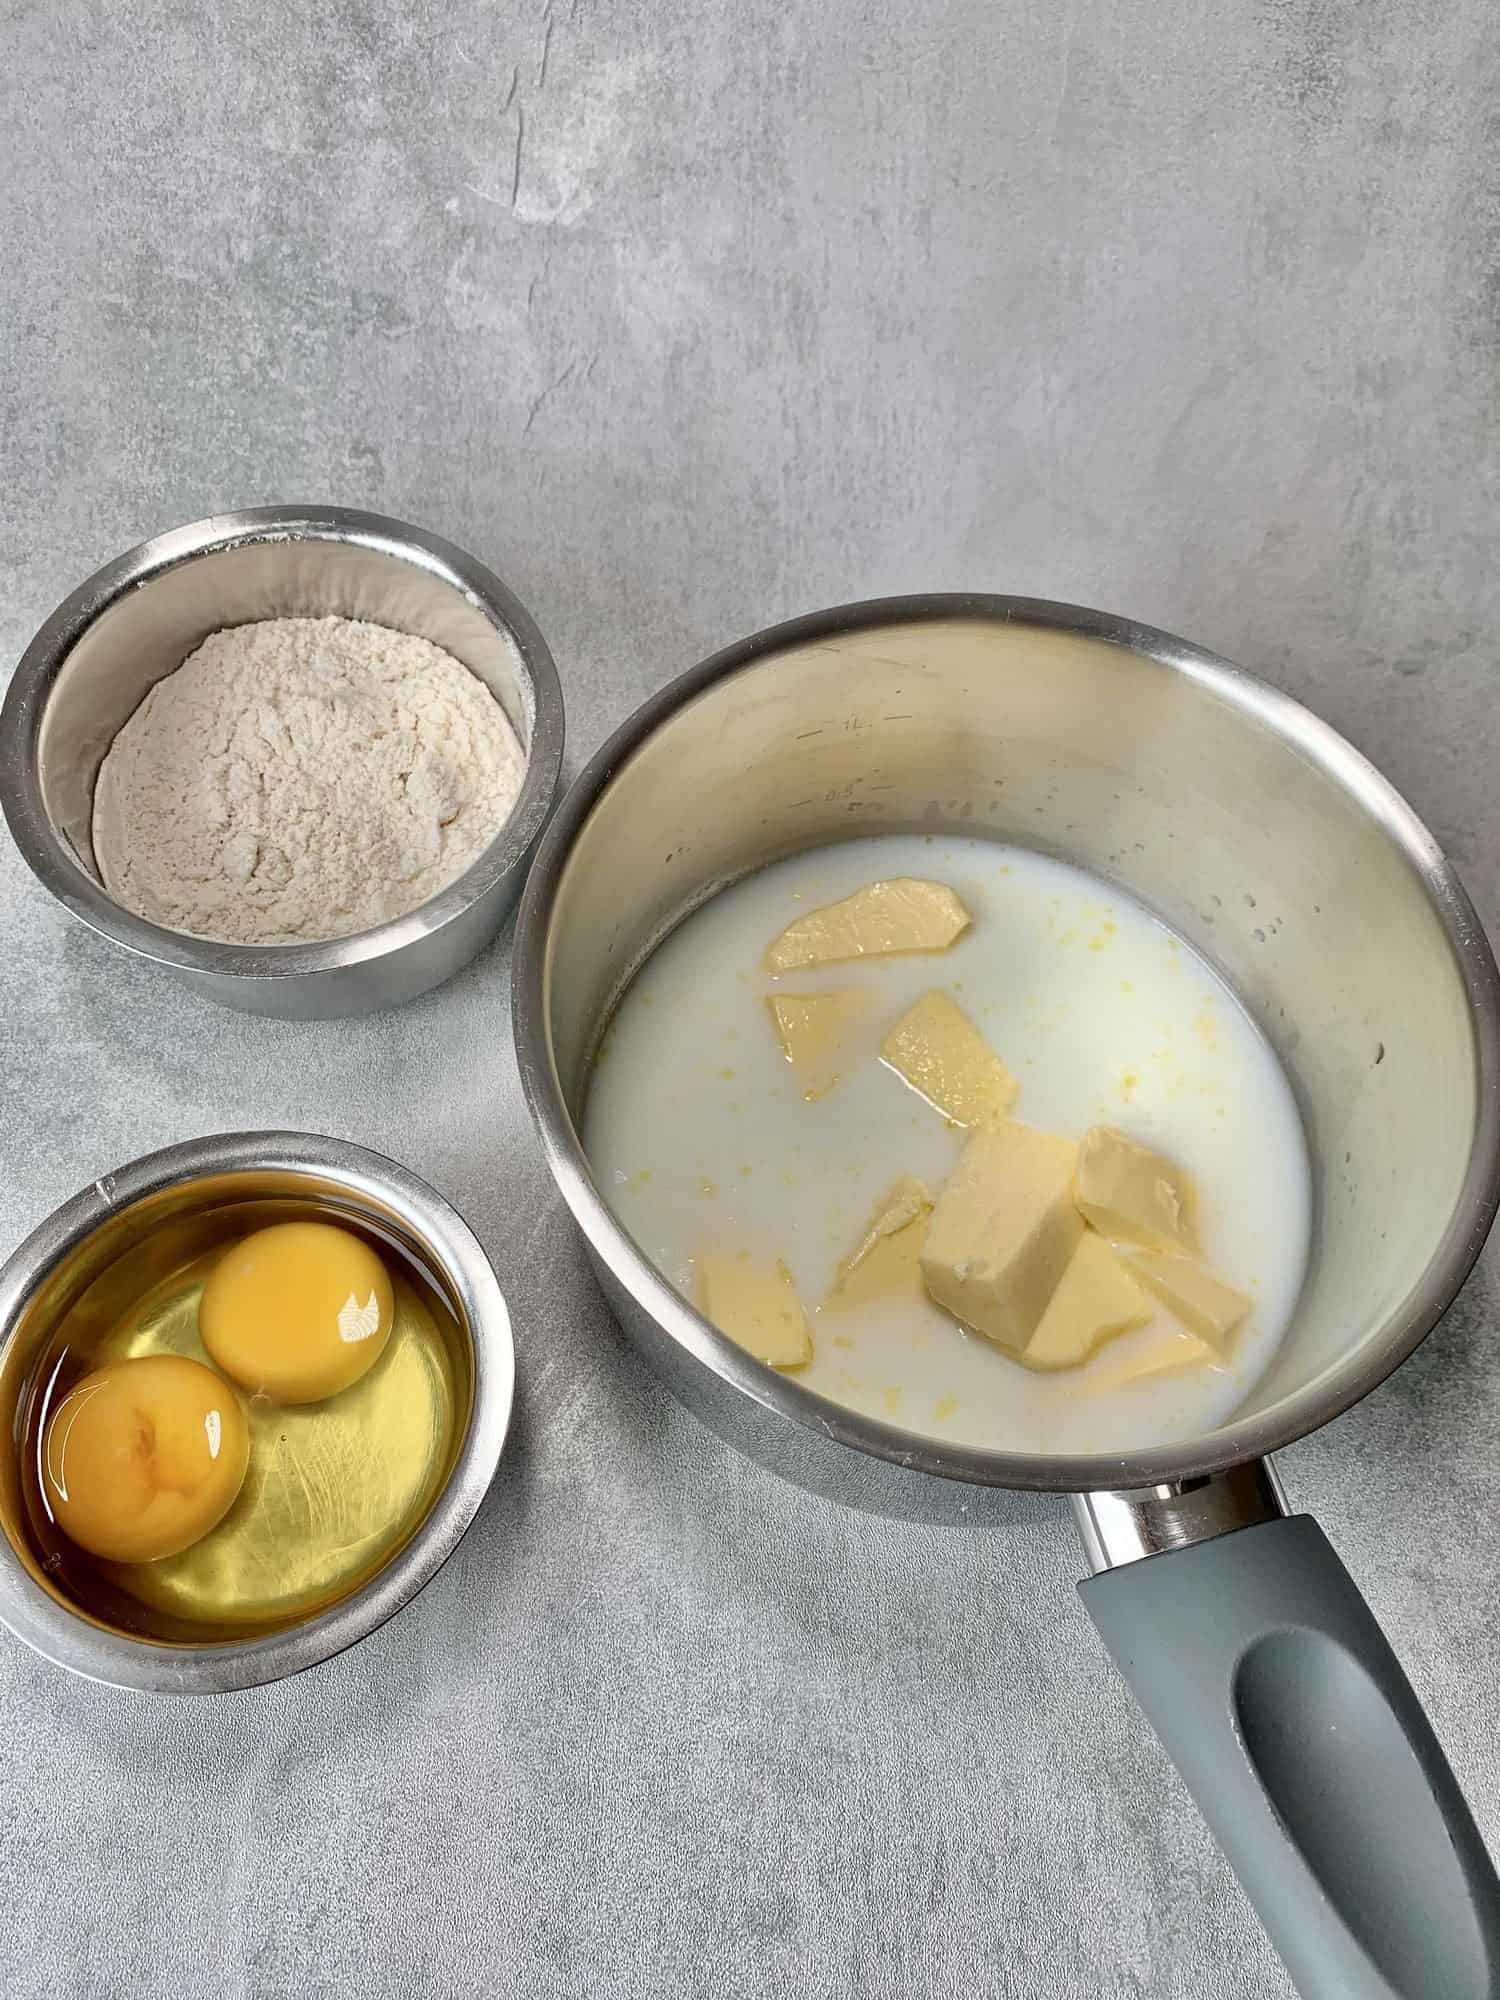
- 60 g (⅓ cups) Unsalted butter
- 60 g (¼ cups) Water
- 60 g (¼ cups) Whole milk
- ¼ teaspoon Salt
- 1 teaspoon Granulated sugar
- 70 g (½ cups) Bread flour high protein content flour, eg. 13%
- 110 g (½ cups) Egg might need slightly more or less, see tips
US customary cup measurement is an indicative figure only. Measure the ingredients with a digital scale by weight (gram). Baking is art but also science which requires precision and accuracy.
Instructions
- Sift flour then measure and set aside
- Place butter, water, milk, salt, and sugar into a saucepan over medium heat
- As soon as the mixture starts to boil remove from heat, add the flour in one go, and whisk vigorously with a Rubber spatula until it forms one smooth ball and flour bits are not visible
- Place the saucepan back to the stove and cook the dough for 3-5 min over medium heat mixing constantly. During this time water will evaporates from the dough and there should be a thin skin formed on the bottom up the saucepan
- Transfer the dough into the bowl of your Stand mixer and start whisking on low seead for a minute for the dough to cool a bit (use the paddle attachement)
- Start adding lightly whisked eggs onto the dough while the mixer is on. Only add a small amount of egg at a time and let the mixer incorporate the egg before adding in more. The dough will come together and should reach a glossy, pipeable consistency.
- The dough is ready when it slowly falls down from the paddle attachment in a V shape. Slowly is key here, it should not be too runny. Depending on how much you dried the dough at the previous cooking stage and the flour you use, the exact quantity of egg will need somewhat your judgement
- Move the dough into a pastry bag fitted with French star nozzle tip (0.5cm / 1.3cm in diameter) and rest the dough in the fridge for 1-2 hours
- Once the dough is rested, with the help of the French star nozzle tip pipe 14 equal size eclairs on Perforated "air" baking mat leaving enough space in between them as they will puff.
- Alternatively, cover a baking sheet with parchment paper, and pipe the choux dough onto the paper.
- Dust the piped dough with icing sugar, that also helps to avoid cracks. Place the tray into the freezer for 30 min at least before baking you can also freeze the dough at this point for a longer time
- Pre-heat oven to 200 C / 392 F (no fan)
- Lower oven temperature to 170 C / 338 F (no fan) and bake the eclairs for 40 min. Do not open the oven door in the first 30 min. If you are baking it the first time it is a good idea to take one eclair out of the oven at 40 min and check its consistency. If it is golden in colour, nicely puffed up, does not deflate on room temperature and the middle of the eclair is not raw (it is ok if it's a bit wet, it will dry while cooling down) then it is considered to be done
- Cool the eclairs on the perforated air mat
- Fill with chocolate or vanilla bean pastry cream. Use my recipes in here
Notes
- Measure your ingredients with a Digital scale for accuracy
- Use high protein content bread flour for the best results, I am using 12% protein content flour
- Do not skip the salt, it has a special function while baking eclairs
- Use lightly whisked room temperature eggs
- Make sure you read my Expert tips section above to maximize your success. A short recipe alone is not able to cover all the necessary details, and science behind baking. Consider this recipe more like an in-depth tutorial, literally the only recipe you will ever need to make eclairs
- While heating the milk, water, butter, salt, sugar mixture make sure that sugar and salt fully dissolves
- Do not skip sifting flour as you don´t want to deal with flour lumps while making this recipe
- Please note that you might need slightly more or less egg - and that is normal - depending on the flour you use and how much you dried the mixture while cooking it. Pay very close attention to the consistency while mixing the egg in and apply the V shape test.
- There are 2 chilling times involved - one fridge resting before piping, and one freezing before baking. Both of them are important to achieve neat, crack-free results
- Use a star nozzle tip so your eclair will puff neat
- If you have never used a piping bag and piping nozzle before, it is worth practicing before
- I strongly advise using a Digital oven thermometer to be able to measure your exact oven temperature
- While baking, do not use fan in your oven, it can encourage cracks on your eclairs

Sharmila Tapuria
I hav a very simple oven, should the heating of the rods be from below, like we do for cakes or both up and down both rods should heat???
thanks,sharmila
Katalin Nagy
It is hard to say as I don´t know your oven but I bake this with top & down heater on in my electric oven.
Mary jordan
Haven’t made recipe yet.Was wondering at one section you state to put dough in fridge at another you say freezer for 1- 2 hours, I assume you mean fridge??.thanks for recipe.
Katalin Nagy
We freeze the dough before baking.
Natasha
My first time using perforated baking mats. Do you place those straight on the oven rack or use them on top of cookie sheet?
Katalin Nagy
Ideally over a perforated baking tray or if that is not available, over the oven rack.