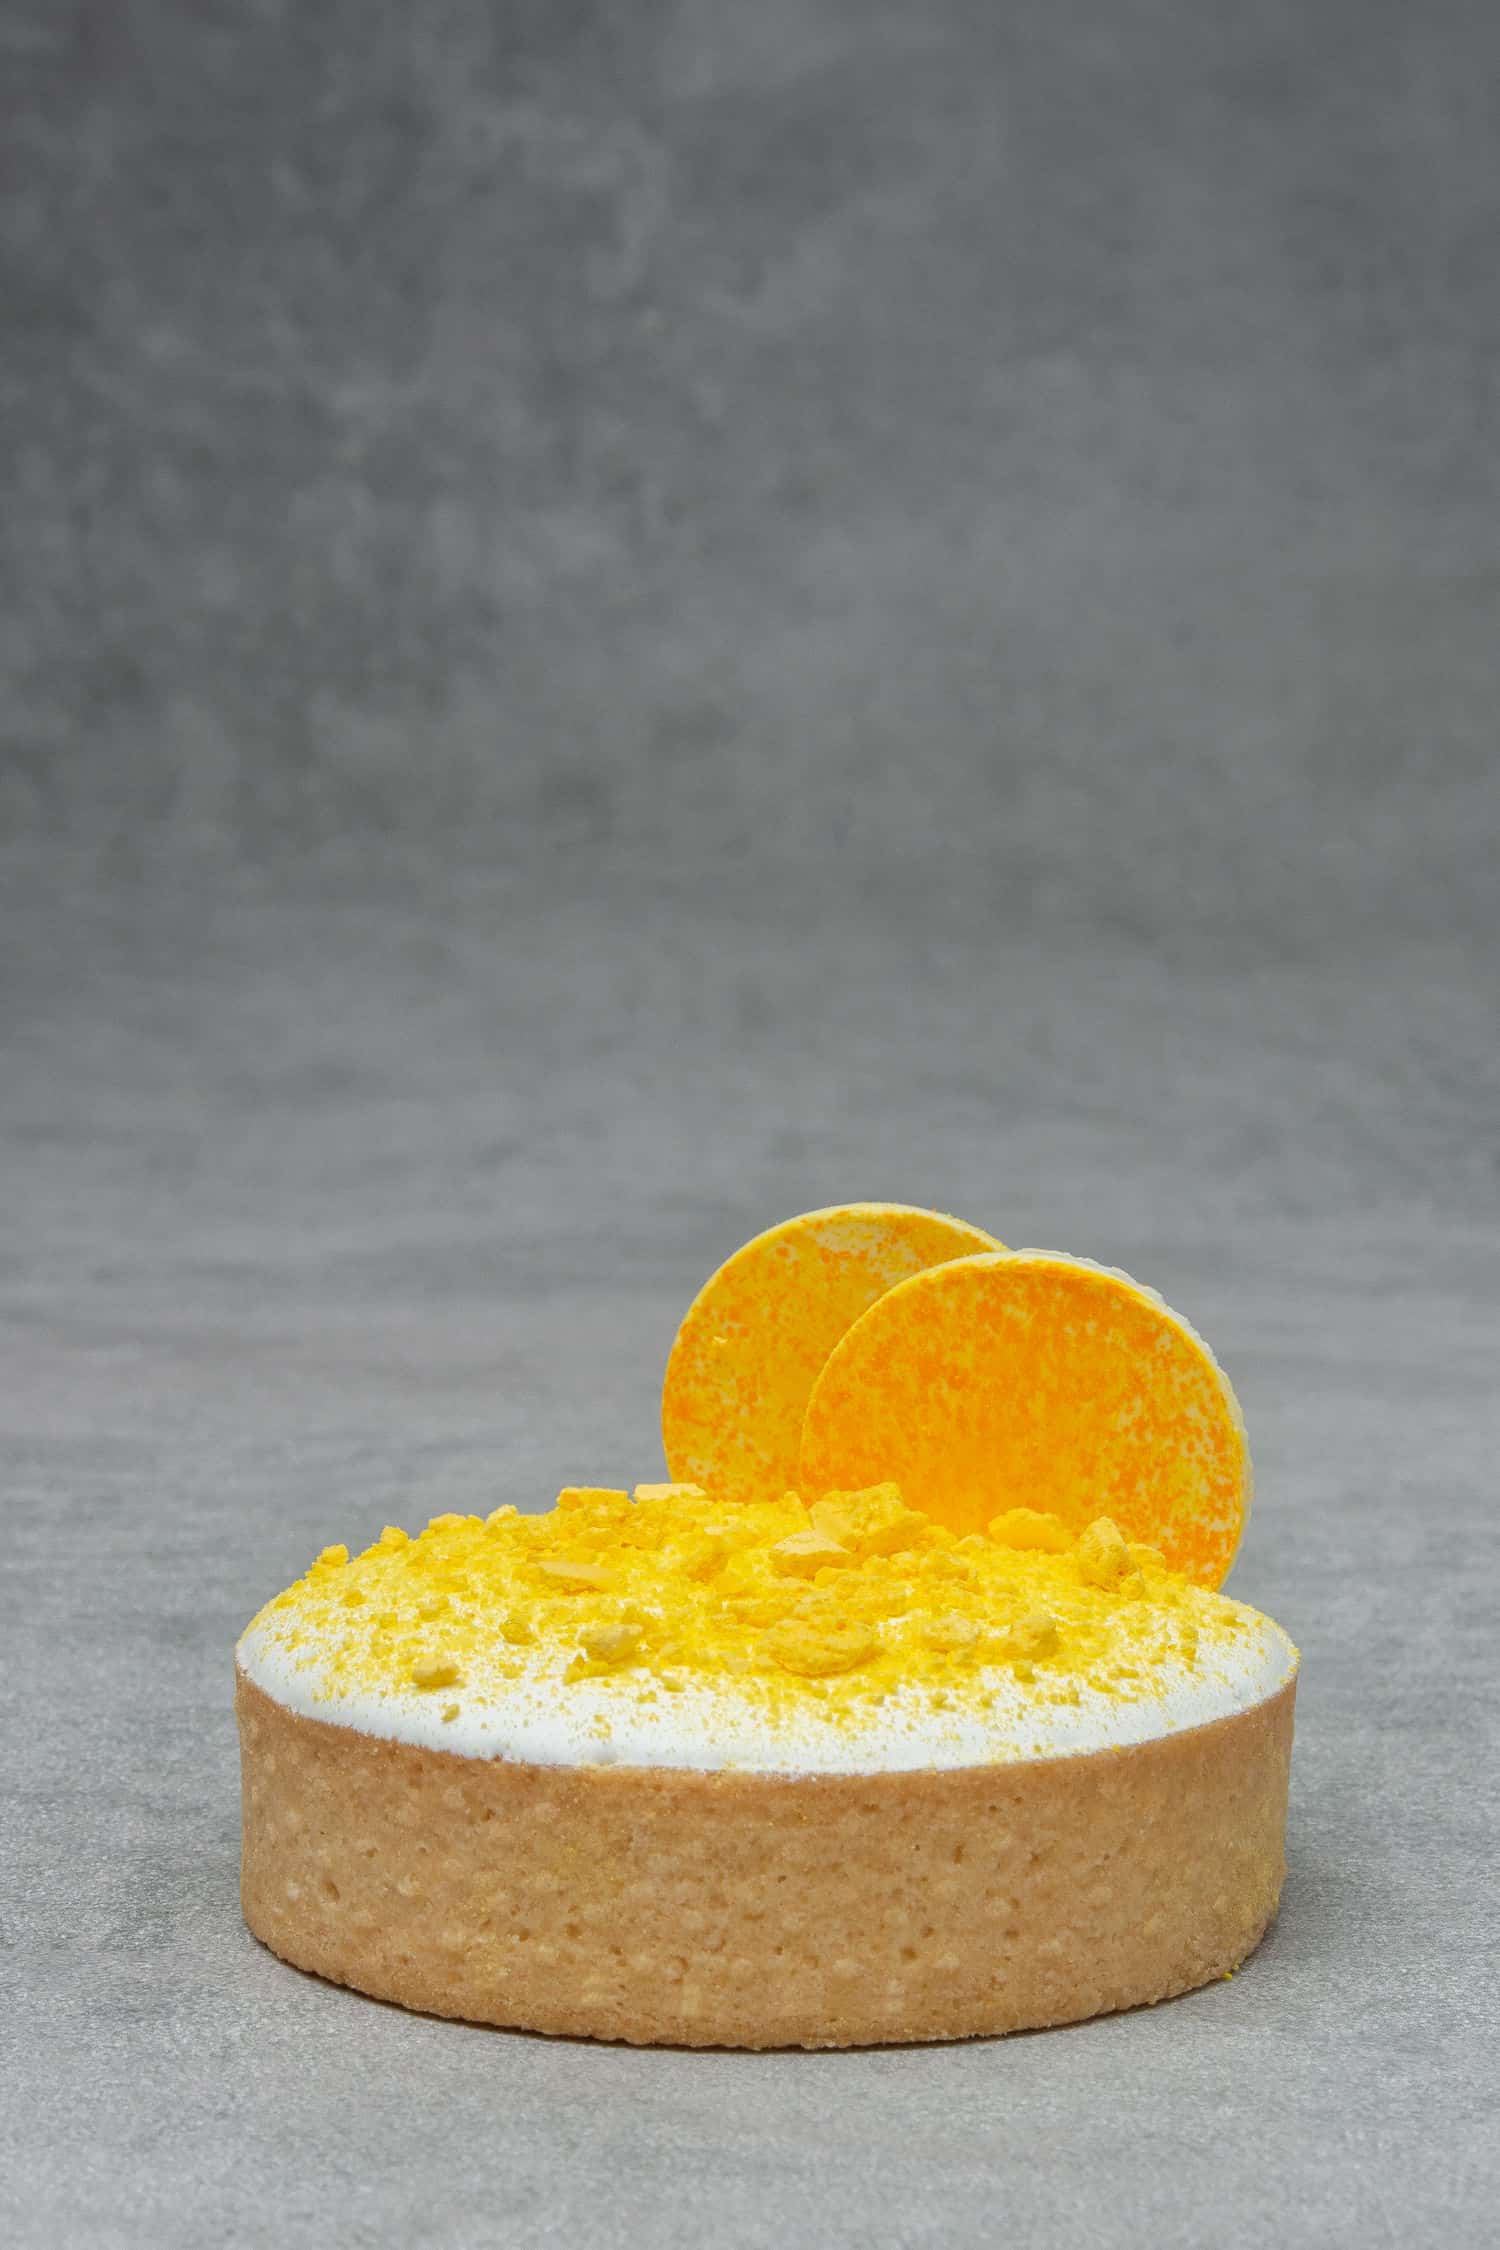
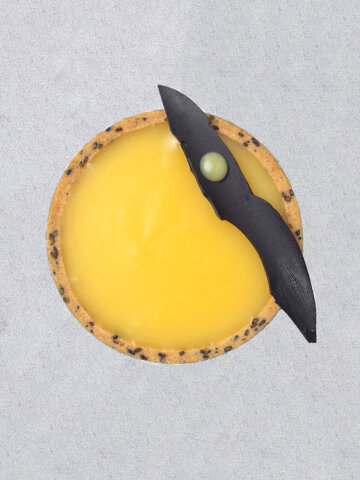
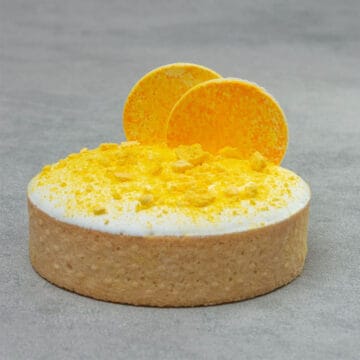
This delicate Mini Lemon Meringue Tarts recipe is a beautiful contrast of flavors and textures. A sweet shortcrust pastry shell is filled with tangy, creamy lemon curd and topped with silky Swiss meringue, crunchy meringue pieces, and a chocolate disk.
Jump to:
🌟 Why This Is The Best Recipe
- The taste: The sharp lemon curd full of natural citrus flavor against the buttery pastry and sweet Swiss meringue is irresistible!
- The texture: Are you a fan of lemon meringue pie? Then you'll love this dessert. It has all the soft, silky pie texture but with the added crunch of French pastry. They are like mini lemon meringue pie tarts!
- It's so pro: No one will believe you didn't buy this fancy French pastry in a professional patisserie shop. But with my pro tips, it's actually a lot easier to make than you might think.
📝 Ingredient Notes
For the tart crust

- Flour - I use pastry flour for my tart shells, but all purpose flour (or plain flour) will also be fine. Learn more about different types of flour in my flour guide.
- Almond flour - I always add almond flour to pâte sablée for a slightly crispier pastry with a delicious marzipan taste. You can replace it with other nut flours, or an equal amount of all-purpose flour.
- Powdered Sugar - This tart crust is not overly sweet and only needs a small amount of powdered sugar (icing sugar). Learn more by reading my sugar guide.
- Salt - This balances the sweetness and enhances the flavors.
- Butter - Use chilled cubes of unsalted butter with a high-fat content (at least 82%).
- Egg - Make sure the eggs are at room temperature. Learn more about the roles eggs play in baking here.
🛒 You’ll find detailed measurements for all Ingredients in the printable version of the Recipe Card at the bottom of this post
For the lemon curd

- Lemon: Use fresh, organic lemons to make the lemon curd. Weigh the lemon juice to make sure you use the correct amount. Take the zest off with a grater or zester.
- White granulated sugar: The meringue brings sweetness to this lemon meringue tart recipe, so we do not use much extra sugar.
- Egg: The egg yolks go into the lemon curd to thicken it, and we keep the egg whites for the Swiss meringue. Or, try my pavlova recipe.
- Butter: Use unsalted butter with a high-fat content (I use 82% fat content butter). The butter needs to be at room temperature to make this recipe.
🛒 You’ll find detailed measurements for all Ingredients in the printable version of the Recipe Card at the bottom of this post
For the Swiss meringue

- Egg white: To make a successful meringue, no egg yolk or fat of any kind can be in the whites. Take care when separating the egg whites from the egg yolks, and start again if you see any specks of yolk in the bowl of egg whites.
- White granulated sugar: The Swiss meringue technique involves heating egg whites and sugar together over a gently simmering water bath.
- Lemon juice: A small amount of freshly squeezed lemon juice helps to whip up the meringue.
🛒 You’ll find detailed measurements for all Ingredients in the printable version of the Recipe Card at the bottom of this post
👩🏼🍳 How To Make This Recipe
How to make tart crust
I recommend reading my Ultimate Pâte Sablée Guide (with video and pro tips) before you begin.
- Sift the flour, icing sugar, and salt into a large mixing bowl and mix them.
- Add chunks of very cold butter to the bowl of dry ingredients and rub the mixture between your fingers until it forms a sand-like consistency.
- Slowly start adding the beaten egg and mix with your hands until the dough comes together. Gently knead the dough with the palm of your hand for a minute or two until the dough becomes smooth.
- Roll out the dough to between two Silicone baking mats to 2mm thickness and then place the whole thing in the freezer for 10-15 minutes to chill.
- Take the dough sheet and mats out and peel off the top mat. Use a Perforated tart ring to cut 8 circles out to create the bottom of your tart crusts. Move the tart bases into the rings.
- Cut out 8 long strips of dough to form the sides of the tarts. Press the strips into the side of the rings, and place them in the freezer for one hour.
- Preheat the oven to 160C / 320F.
- Trim the edges of the tarts with a sharp knife and bake for 20 minutes.
- Carefully remove the rings and bake for a further 5-10 minutes until they are golden brown.
- Let the tart shells cool completely before filling.
💡 Top Tip: If the dough is too cold, you won't be able to roll it out, so wait a few minutes. If it is too warm, it will be difficult to handle so put it back in the freezer for a few minutes to chill it down again.


How to make lemon curd filling
I recommend reading my in-depth guide on lemon curd filling before making this recipe.
- Place lemon juice, egg yolk, and sugar into a double boiler (a heatproof bowl over a pan of simmering water).
- Cook the curd over medium heat by whisking constantly to avoid the eggs curdling.
- After about 8-10 minutes, the mixture will start to thicken like custard. I find the temperature at this stage is around 80C/176C.
- Remove the easy lemon curd filling from the heat, and pour the cooked curd through a sieve so it is extra smooth.
- Mix small cubes of room-temperature butter into the curd mixture with a rubber spatula. Make sure that each cube of butter is fully incorporated before adding the next. Then fold in the lemon zest.
- Pour lemon curd into a shallow container and cover the whole surface with plastic wrap (so it is touching the top of the curd and prevents skin from forming). Place curd in the fridge to cool and thicken further.
- Fill each tart case with lemon curd and let the lemon curd tartlets set in the fridge for at least 4 hours.
💡 Top Tip: You can also blend the butter into curd using an immersion blender, but a spatula is fine.
 5")
How to make meringue for lemon meringue tart
- Place egg whites and sugar into a heatproof bowl over a saucepan of simmering water (a double boiler). Heat over medium-high heat and whisk constantly until the mixture reaches a temperature of 70℃/158℉.
- Once the sugar has fully dissolved, move the Swiss meringue mixture into a Stand mixer and whip on low speed, then increase to medium/high. After one minute, add the lemon juice and beat the meringue at high speed until stiff peaks form.
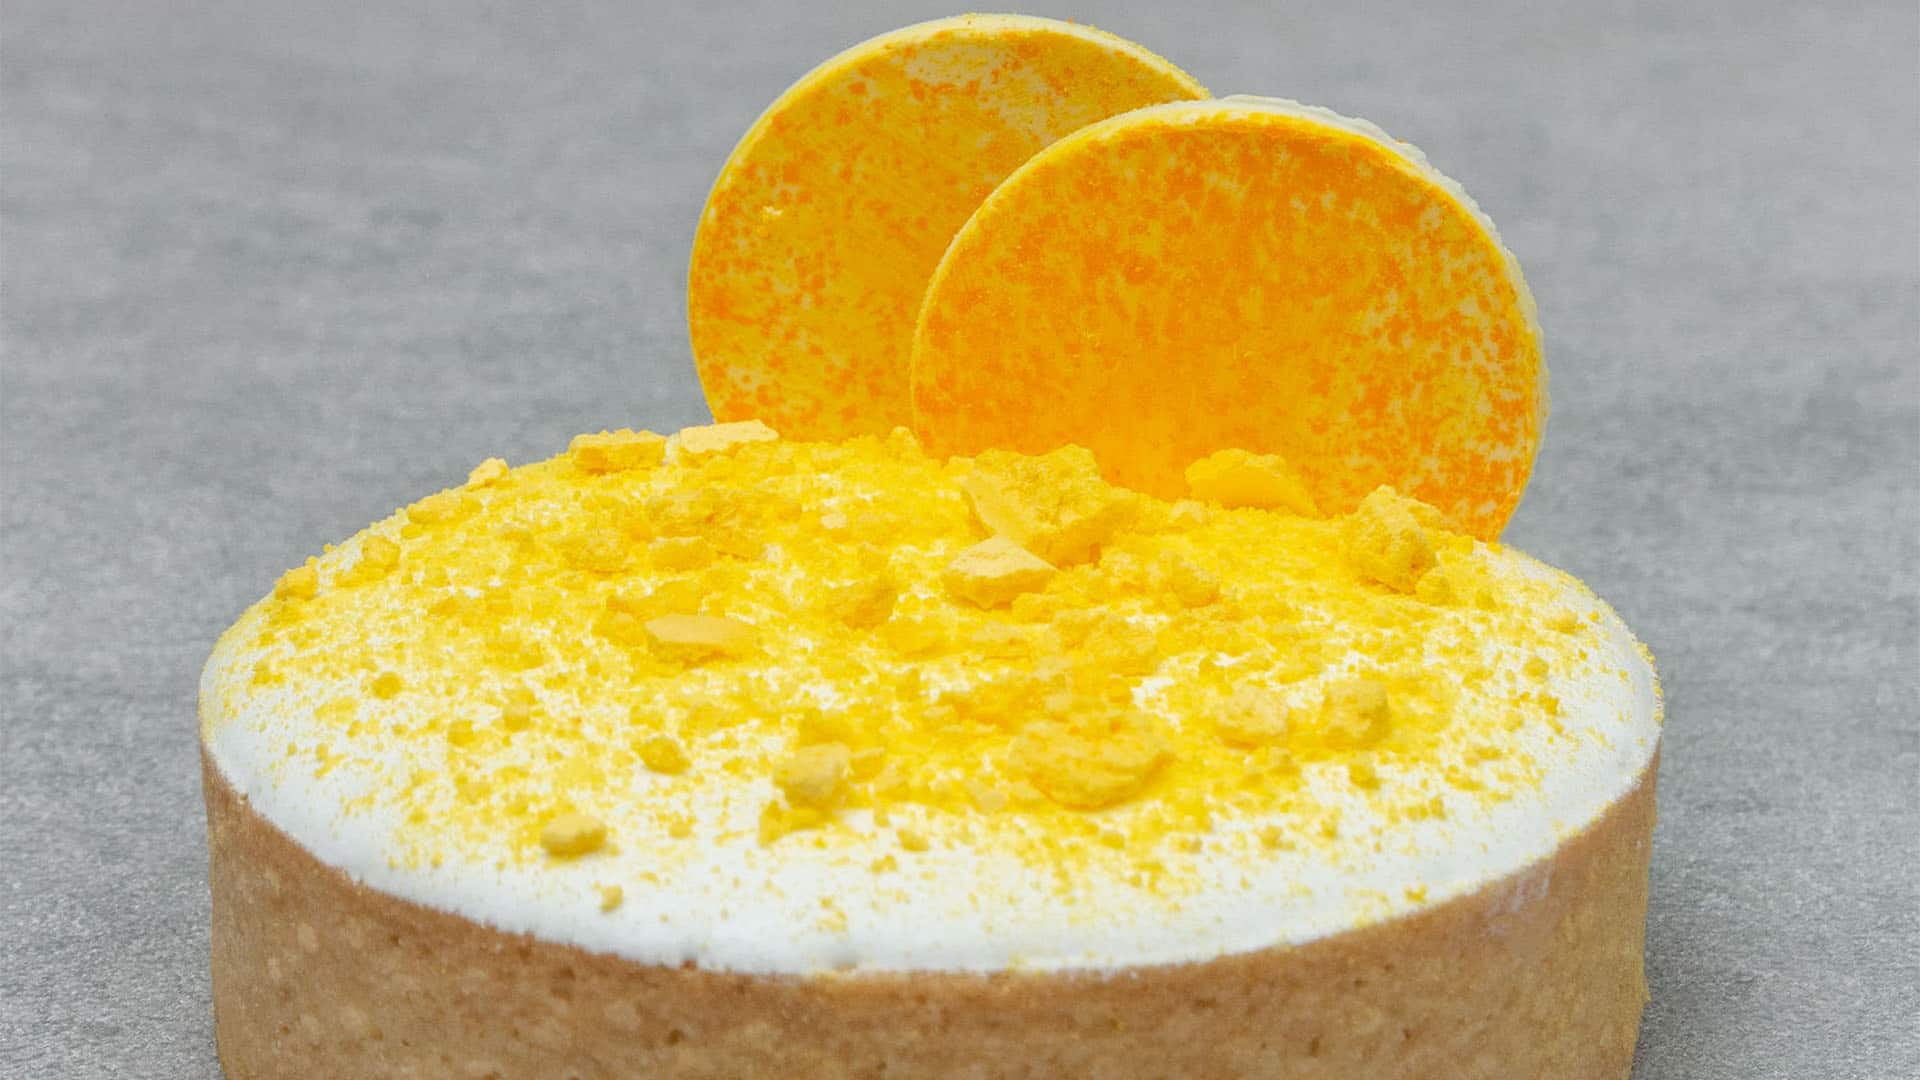
- Pipe or spoon the Swiss meringue on top of the individual lemon meringue tarts. Toast meringue with a kitchen torch if you prefer.
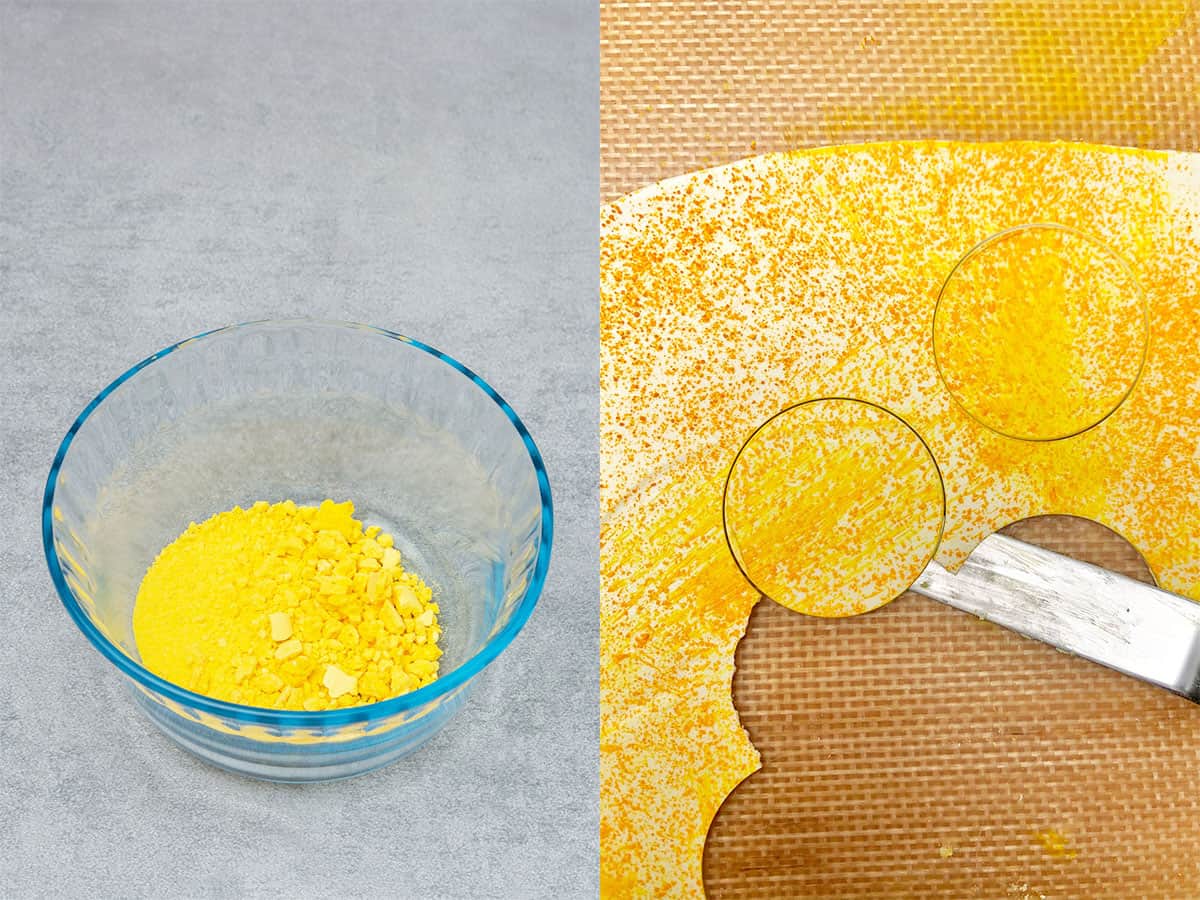
- To make chocolate disks, melt and temper white chocolate and mix it with yellow food coloring, spread disks onto a plate or tray, and refrigerate until set.
- To prepare a crushed meringue decoration, pipe disks of Swiss meringue onto parchment paper. Bake in a preheated oven at 90C / 194F for 1-2hours, then crush and sprinkle over the lemon tartlets.
💡 Top Tip: It's important to whisk the egg whites and sugar whilst heating to avoid scrambling the egg.

📖 Flavor Variations & Substitutions
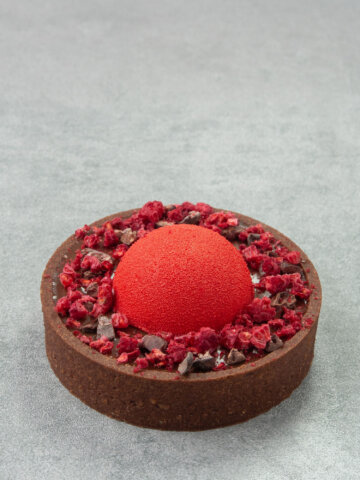
Once you have mastered this recipe for lemon meringue tart, you can adapt it. Swap out the lemon and make an orange curd filling instead, try a chocolate pastry crust, and use hazelnut flour in the pastry shell.
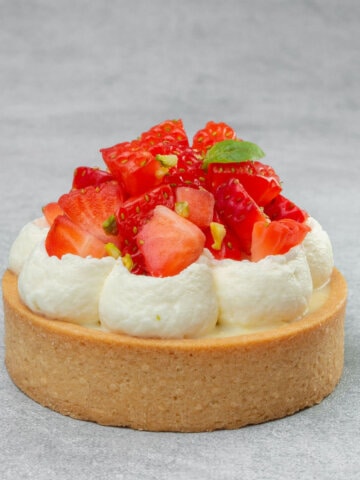
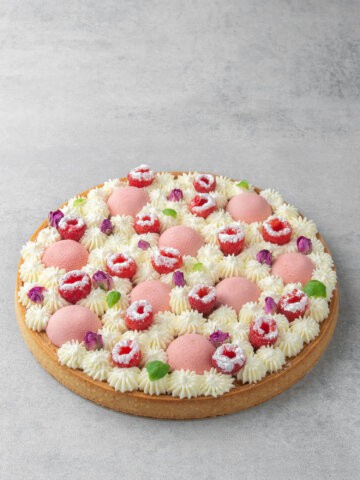
Instead of decorating this lemon dessert with Swiss meringue, you could pipe on some chantilly cream.
If you are baking around a dietary restriction, check out my substitution guides. I have lots of other tarts and pies recipes you can try baking, too!
❄️ Storage & Freezing
Stack unfilled sweet pastry tart cases in an airtight container. Once filled, store the mini lemon meringue tartlets in an airtight container in the fridge. Serve within 24 hours.
You can freeze mini tart shells before baking to bake when needed. You can also freeze baked tart shells and make the mini lemon meringue pies with them afterwards, although they might lose some of their crisp texture after defrosting. I do not recommend freezing the individual lemon meringue mini tarts once they are filled.
✨ Expert Tips To Make Mini Lemon Meringue Tarts
- Start from the center of the dough disc when rolling, and work your way out.
- If you do not have baking mats, roll dough on a lightly floured surface or between parchment paper.
- Wait for a minute after taking the tarts out of the oven so the pastry contracts. If the rings seem stuck, bake for a few more minutes and try again.
- The lemon filling will set as it cools in the fridge, so don't skip this step before decorating.
- Check my Christmas tree tutorial for more about Swiss meringue and my Hazelnut tart recipe for making chocolate disks.
- Feel free to torch the meringue topping with a kitchen torch for that iconic lemon meringue pie look.

🥣 Equipment notes
Always weigh ingredients by the gram using a Digital scale for precision.
Roll out the sweet pastry dough with a Rolling pin between two Silicone baking mats. It reduces the amount you need to handle the dough, and also means you don't need dusting flour.
Bake the tart shells on a Perforated “air” baking mat inside Perforated tart rings for best results. I use the 8cm/3.14-inch diameter rings for this mini lemon meringue tart recipe.
Whisk the lemon curd and Swiss meringue for the mini lemon tarts with a Hand whisk as they cook to avoid scrambling the eggs. Then, move the meringue to a Stand mixer.
All ovens vary, so I recommend always using a digital oven thermometer to make sure you are baking these easy lemon meringue tarts at the correct temperature.
❓Recipe FAQ
Ensure the tart cases and lemon curd are cool before filling. The lemon curd will thicken as it chills in the fridge, so do not skip this stage.
There are many similarities, but they are not essentially the same. They are both made from flour, butter, sugar, and egg or water, but in different quantities.
🍋 More tart recipes

Have you tried this recipe?
Please leave a 5-star ⭐️⭐️⭐️⭐️⭐️ rating on the recipe card and consider leaving a comment as well! I would love to hear about how your dessert turned out and your feedback also helps other Readers!
Mini Lemon Meringue Tarts
Equipment
Ingredients
Lemon curd
- 200 g (¾ cups) Lemon juice approximately 5-6 lemon, freshly squeezed
- Lemon zest Zest of lemons of the above
- 6 Egg yolks
- 240 g (1¼ cups) Granulated sugar
- 200 g (¾ cups) Unsalted butter room temperature, soft butter
Sweet tart crust
- 230 g (2 cups - 2 tablespoons) Pastry flour All Purpose flour or plain flour will work too
- 90 g (¾ cups) Powdered sugar
- 30 g (⅓ cups) Almond flour
- Pinch of salt
- 110 g (½ cups) Unsalted butter very cold
- 50 g Egg approximately 1 egg
Swiss Meringue
- 60 g Egg whites approximately 2 egg white
- 100 g (½ cups) Granulated sugar
- ½ teaspoon Lemon juice
Decoration (optional)
- meringue crumb
- chocolate disk
US customary cup measurement is an indicative figure only. Measure the ingredients with a digital scale by weight (gram). Baking is art but also science which requires precision and accuracy.
Instructions
How to make tart crust
- Sift the flour, icing sugar, almond, and salt together into a bowl. Add very cold butter cubes, and rub the mixture between your hands until it becomes a sand-like consistency.
- Slowly add the egg to the mixture, and mix with your hands just until the dough comes together. Knead with your hand for a minute until the dough becomes smooth.
- Roll the dough out to 2mm thickness between two Silicone baking mats and place the whole thing into the freezer for 15 minutes. Meanwhile, prepare your oven rack with the Perforated "air" baking mat and Perforated tart rings on top.
- Take the dough out from the freezer and peel off the top mat. Use one of the Perforated tart rings to cut out 8 circles to form the tart bases. Place the bases into each tart ring.
- Cut 8 long stripes out of the dough, to form the sides of the tart. Place the strip into the rings and press them in so they stick to it. Place them in the freezer for 1 hour.
- Preheat oven to 160C / 320F.
- After 1 hour, take the pastry dough cases out and trim each one with a sharp knife.
- Bake the tartlet cases for 20 minutes, then carefully remove the rings and bake for another 5-10 minutes until golden brown. Allow the cases to cool completely before filling.
How to make lemon curd filling
- Place the egg yolk, lemon juice, and sugar in a heatproof bowl over a pan of simmering water (double boiler). Cook the curd over medium-high heat whilst whisking constantly to stop the egg from curdling.
- After about 8-10 minutes, the mixture starts to thicken like custard (at aroung 80C /176F). Remove it from heat, and pour the cooked curd through a sieve.
- Mix the chunks of room-temperature butter into the curd with a spatula. Make sure each chunk is fully incorporated before adding the next, then fold in the lemon zest.
- Pour the lemon curd into a container and cover the surface with plastic wrap to stop it from forming a skin. Refrigerate to let it thicken before use.
- Fill each tart case with lemon curd up to the edge and then allow them to set in the fridge for a minimum of 4 hours.
How to make meringue for lemon meringue tart
- Place the egg whites and sugar into a heatproof bowl over a pan of simmering water (double boiler). Heat the mixture over medium-high heat whilst whisking constantly until it reaches a temperature of 70℃/158℉.
- Once the sugar fully dissolves, move the egg white sugar mixture into your Stand mixer and start whipping on low speed, then increase to medium/high. Add in the lemon juice after 1 minute and continue beating the meringue at high speed until stiff, shiny peaks form. This can take up to 5-10 minutes.
- Pipe or spoon Swiss meringue on top of the tarts to decorate them.
Notes
- Always weigh ingredients by the gram using a digital scale.
- Take care when separating eggs. If any yolk gets into the egg white for the meringue, it will fail.
- Use fresh, organic lemons for the best flavor. Weigh the lemon juice, as the amount you get from each lemon varies.
- If at any point the dough gets too warm and sticky to work with, put it back into the freezer for 5 minutes. It is extremely important to work with a dough that is cold enough to be able to handle (so not sticky) but not too cold, which would result in breaking it.
- When rolling out the dough, start from the center of the disc and work your way out. This recipe quantity will reach the silicone baking mats from edge to edge.
- Wait for the pastry to contract after taking the tarts out of the oven; it will make it easier to remove the rings. If they won't come off, return them to the oven for a few more minutes and try again.
- The lemon curd tart filling will set as it cools in the fridge, so don't skip this step before decorating.
- Whisking is important when making the lemon curd and Swiss meringue to avoid cooking the eggs and scrambling them!
Kai Drange
Love the detailed information. Knowing not only exactly what to do, but also why, makes it much more likely to get a good result on the first attempt. I was very pleased with the (in my opinion) prefessional-looking end result. My lemon curd was a tad too runny, so I should probably have let it thicken a bit more. Easily fixably on my next attempt. Other than that, I’d say texture and taste was exactly what I was hoping for.
I’ll probably be reading all the content here at Spatula Desserts. From what I’ve seen so far the explanations and recipes here seems to be excellent all around. Katalin Nagy, thank you for creating all this content. Much appreciated!
Tiago Rodrigues
Hello,
First of all, congratulations on your work. Concerning this recipe, I would like to make the curd filling french style, meaning, cooking it on the oven . Is The pastry cooking process the same? Cooking with the ring and without the ring, plus the cooking time with the filling?
Thank you in advance.
Kata
Hey, I have not tried this method yet so I can´t advise. I recommend baking the tart and cooking the curd separately.
Sanela+Jovovic
Amazing! Good job!
Nebras
Good looking & delicious recipe 😍♥️👏🏻
Jis
Hi, how much lemon zest is needed?
admin
It says in the recipe 3:) Overall you will need 3 lemon, the juice and zest as well