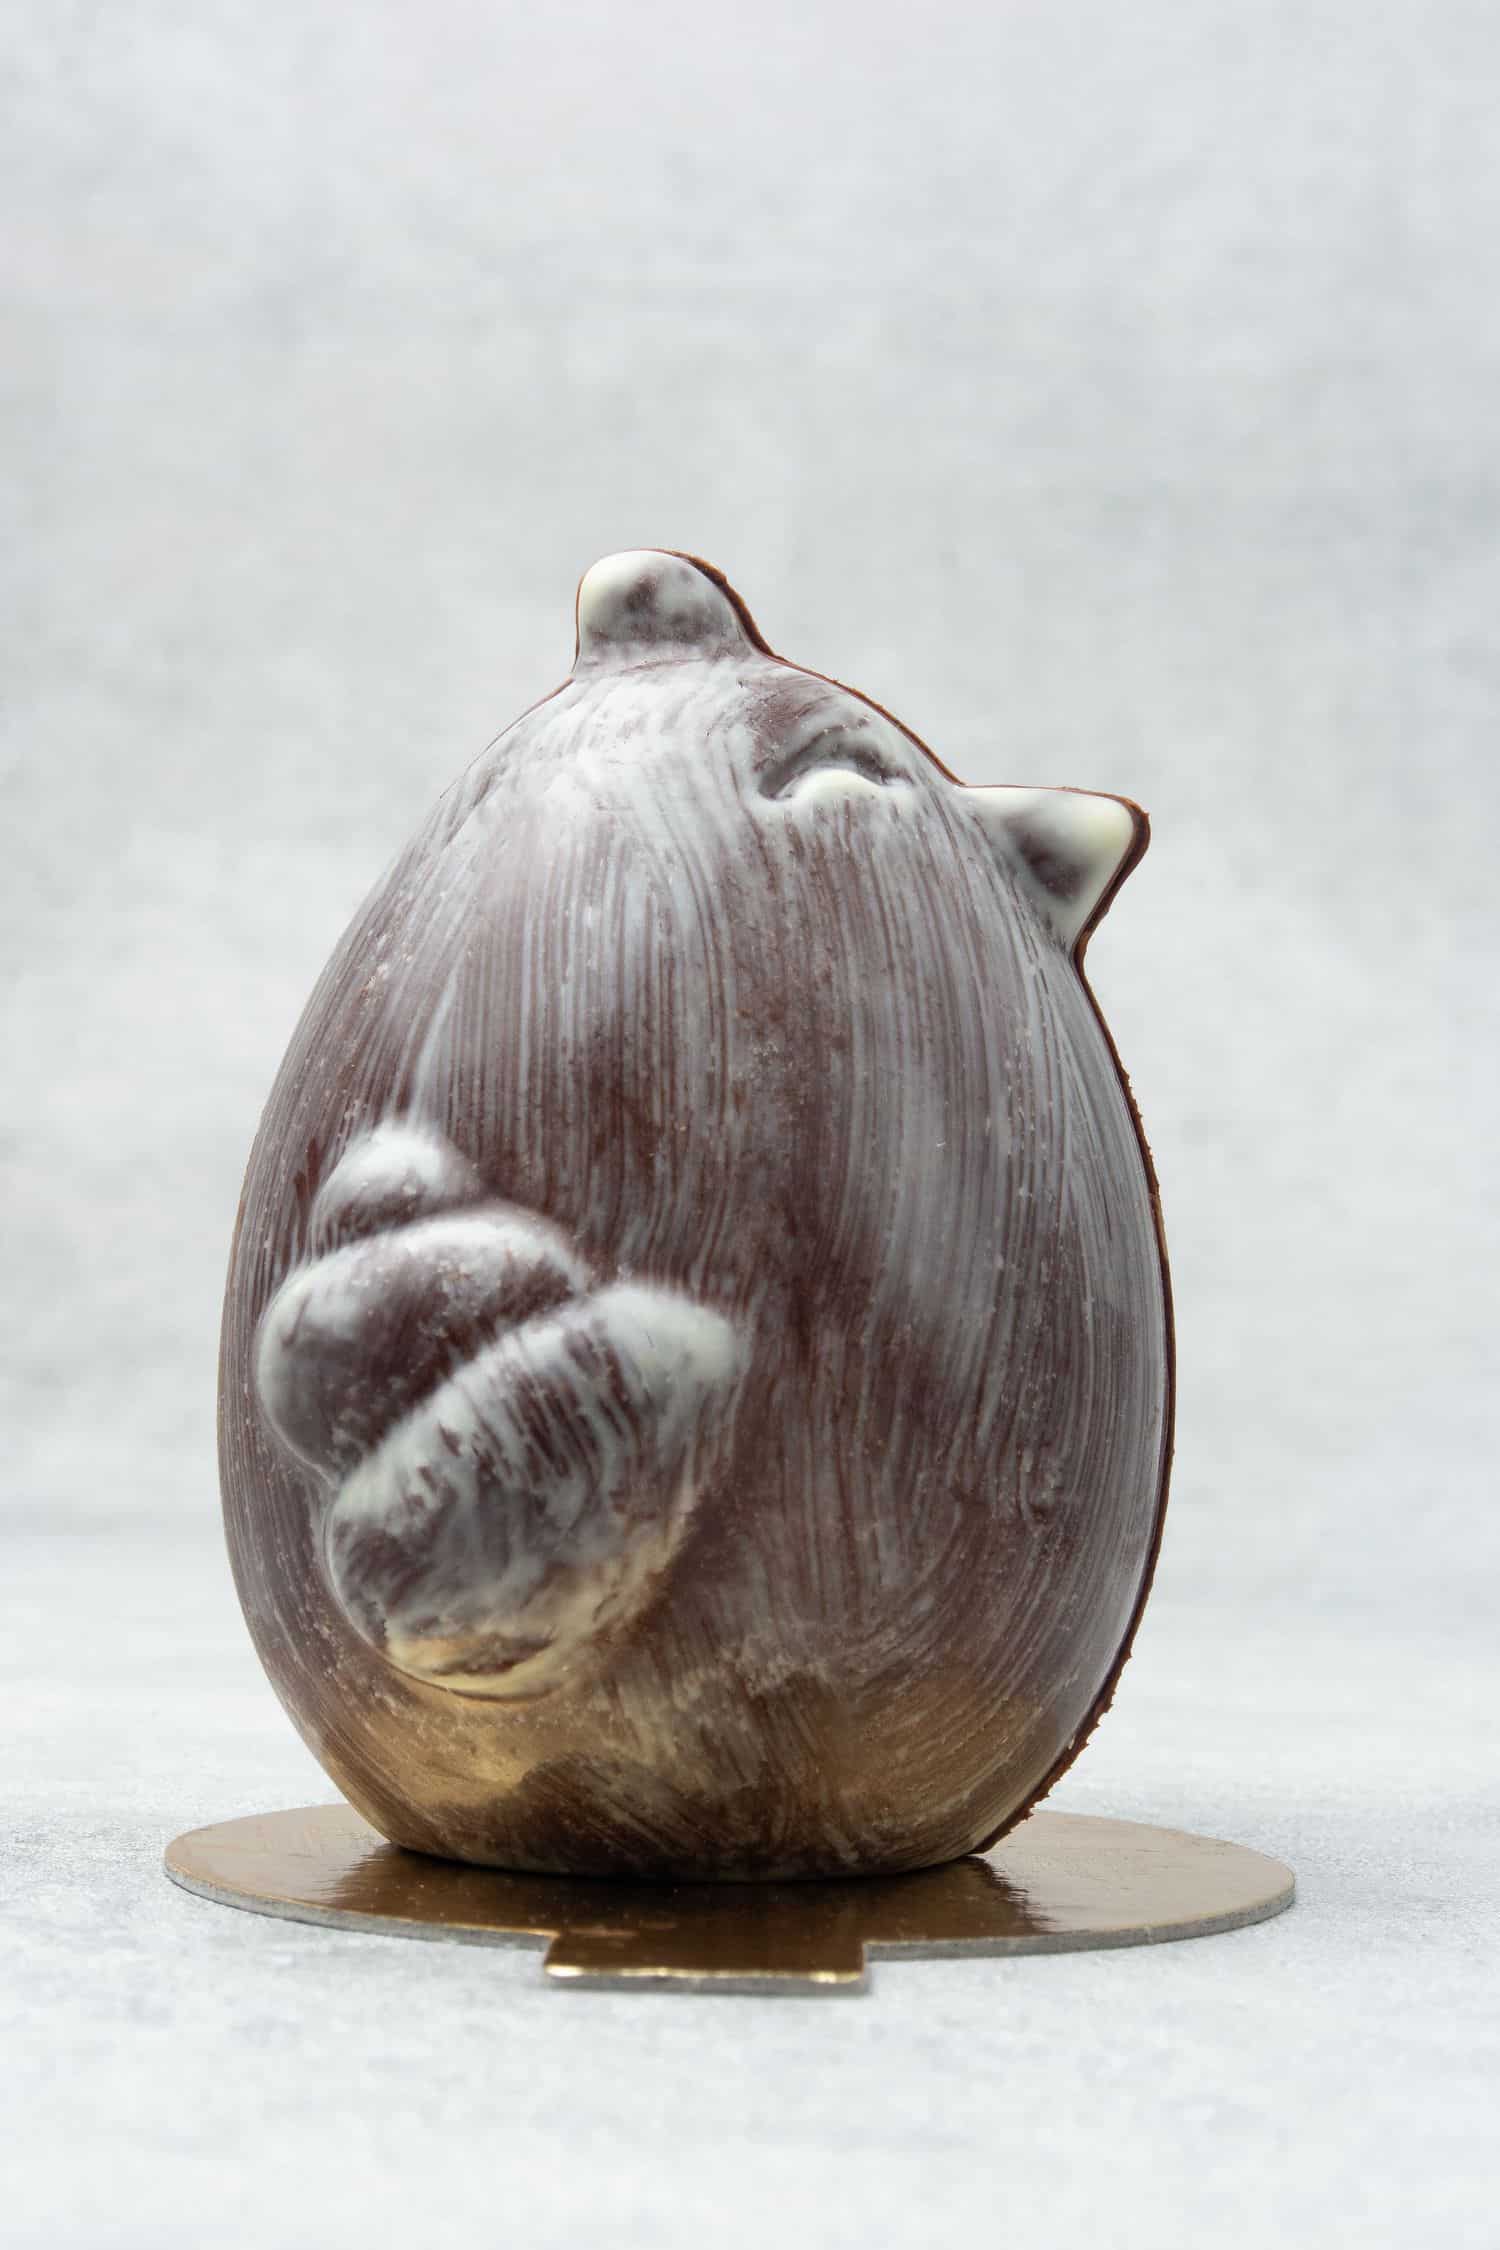
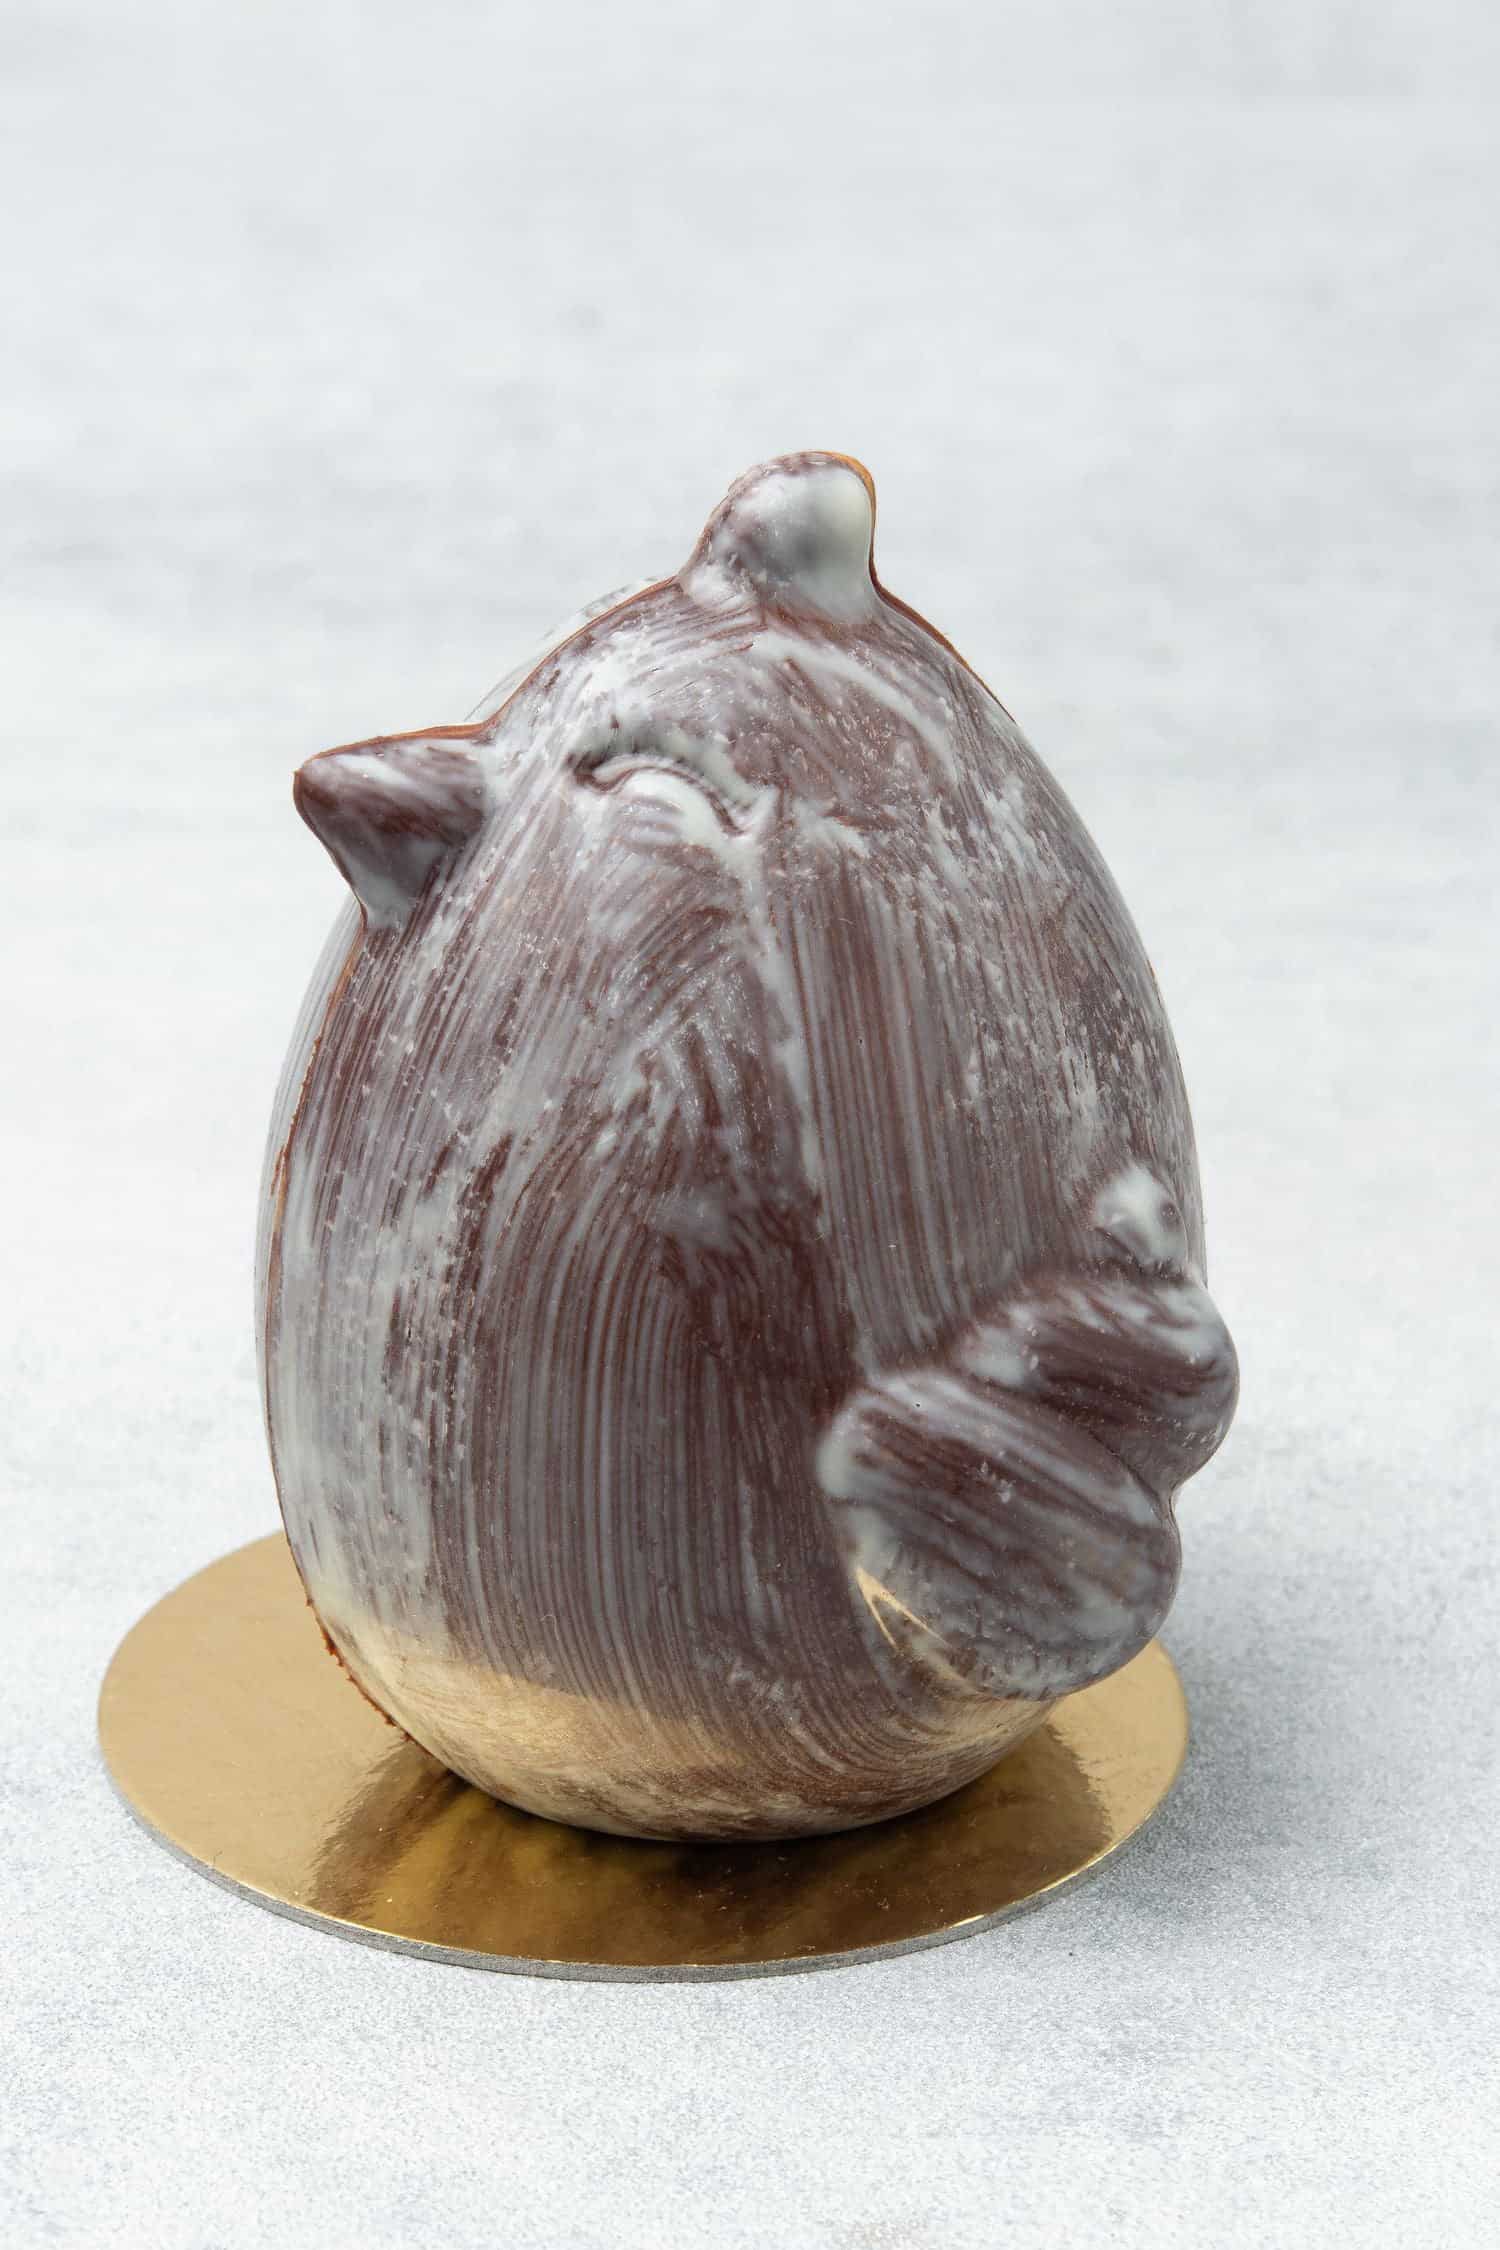
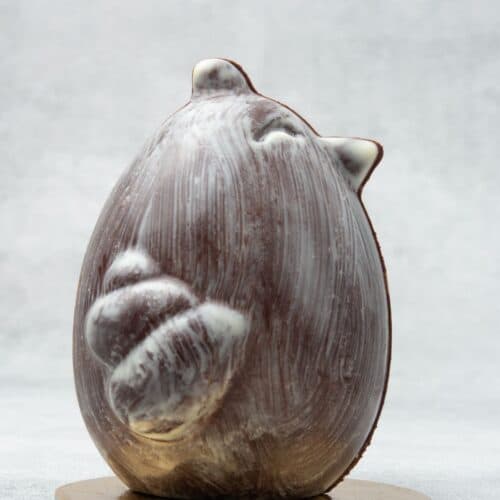
There is nothing more satisfying than learning how to make molded chocolate figures at home eg. this Chocolate Chick for Easter. Once you learn the technique, using different molds, you will be able to make any chocolate figure. The Chocolate Chick can be the perfect edible handmade gift over Easter or can be used to decorate an Easter cake.
Jump to:
Why this is the best recipe
My step-by-step tutorial will take you through all the necessary details you need to know about how to make molded chocolate figures like this Chocolate Chick! It is actually much easier than it might look, all you need is a mold, good quality chocolate, and some patience! As with any chocolate work, it requires precision and some practice but totally doable at home even for beginners so continue reading the tons of tips I have for you!
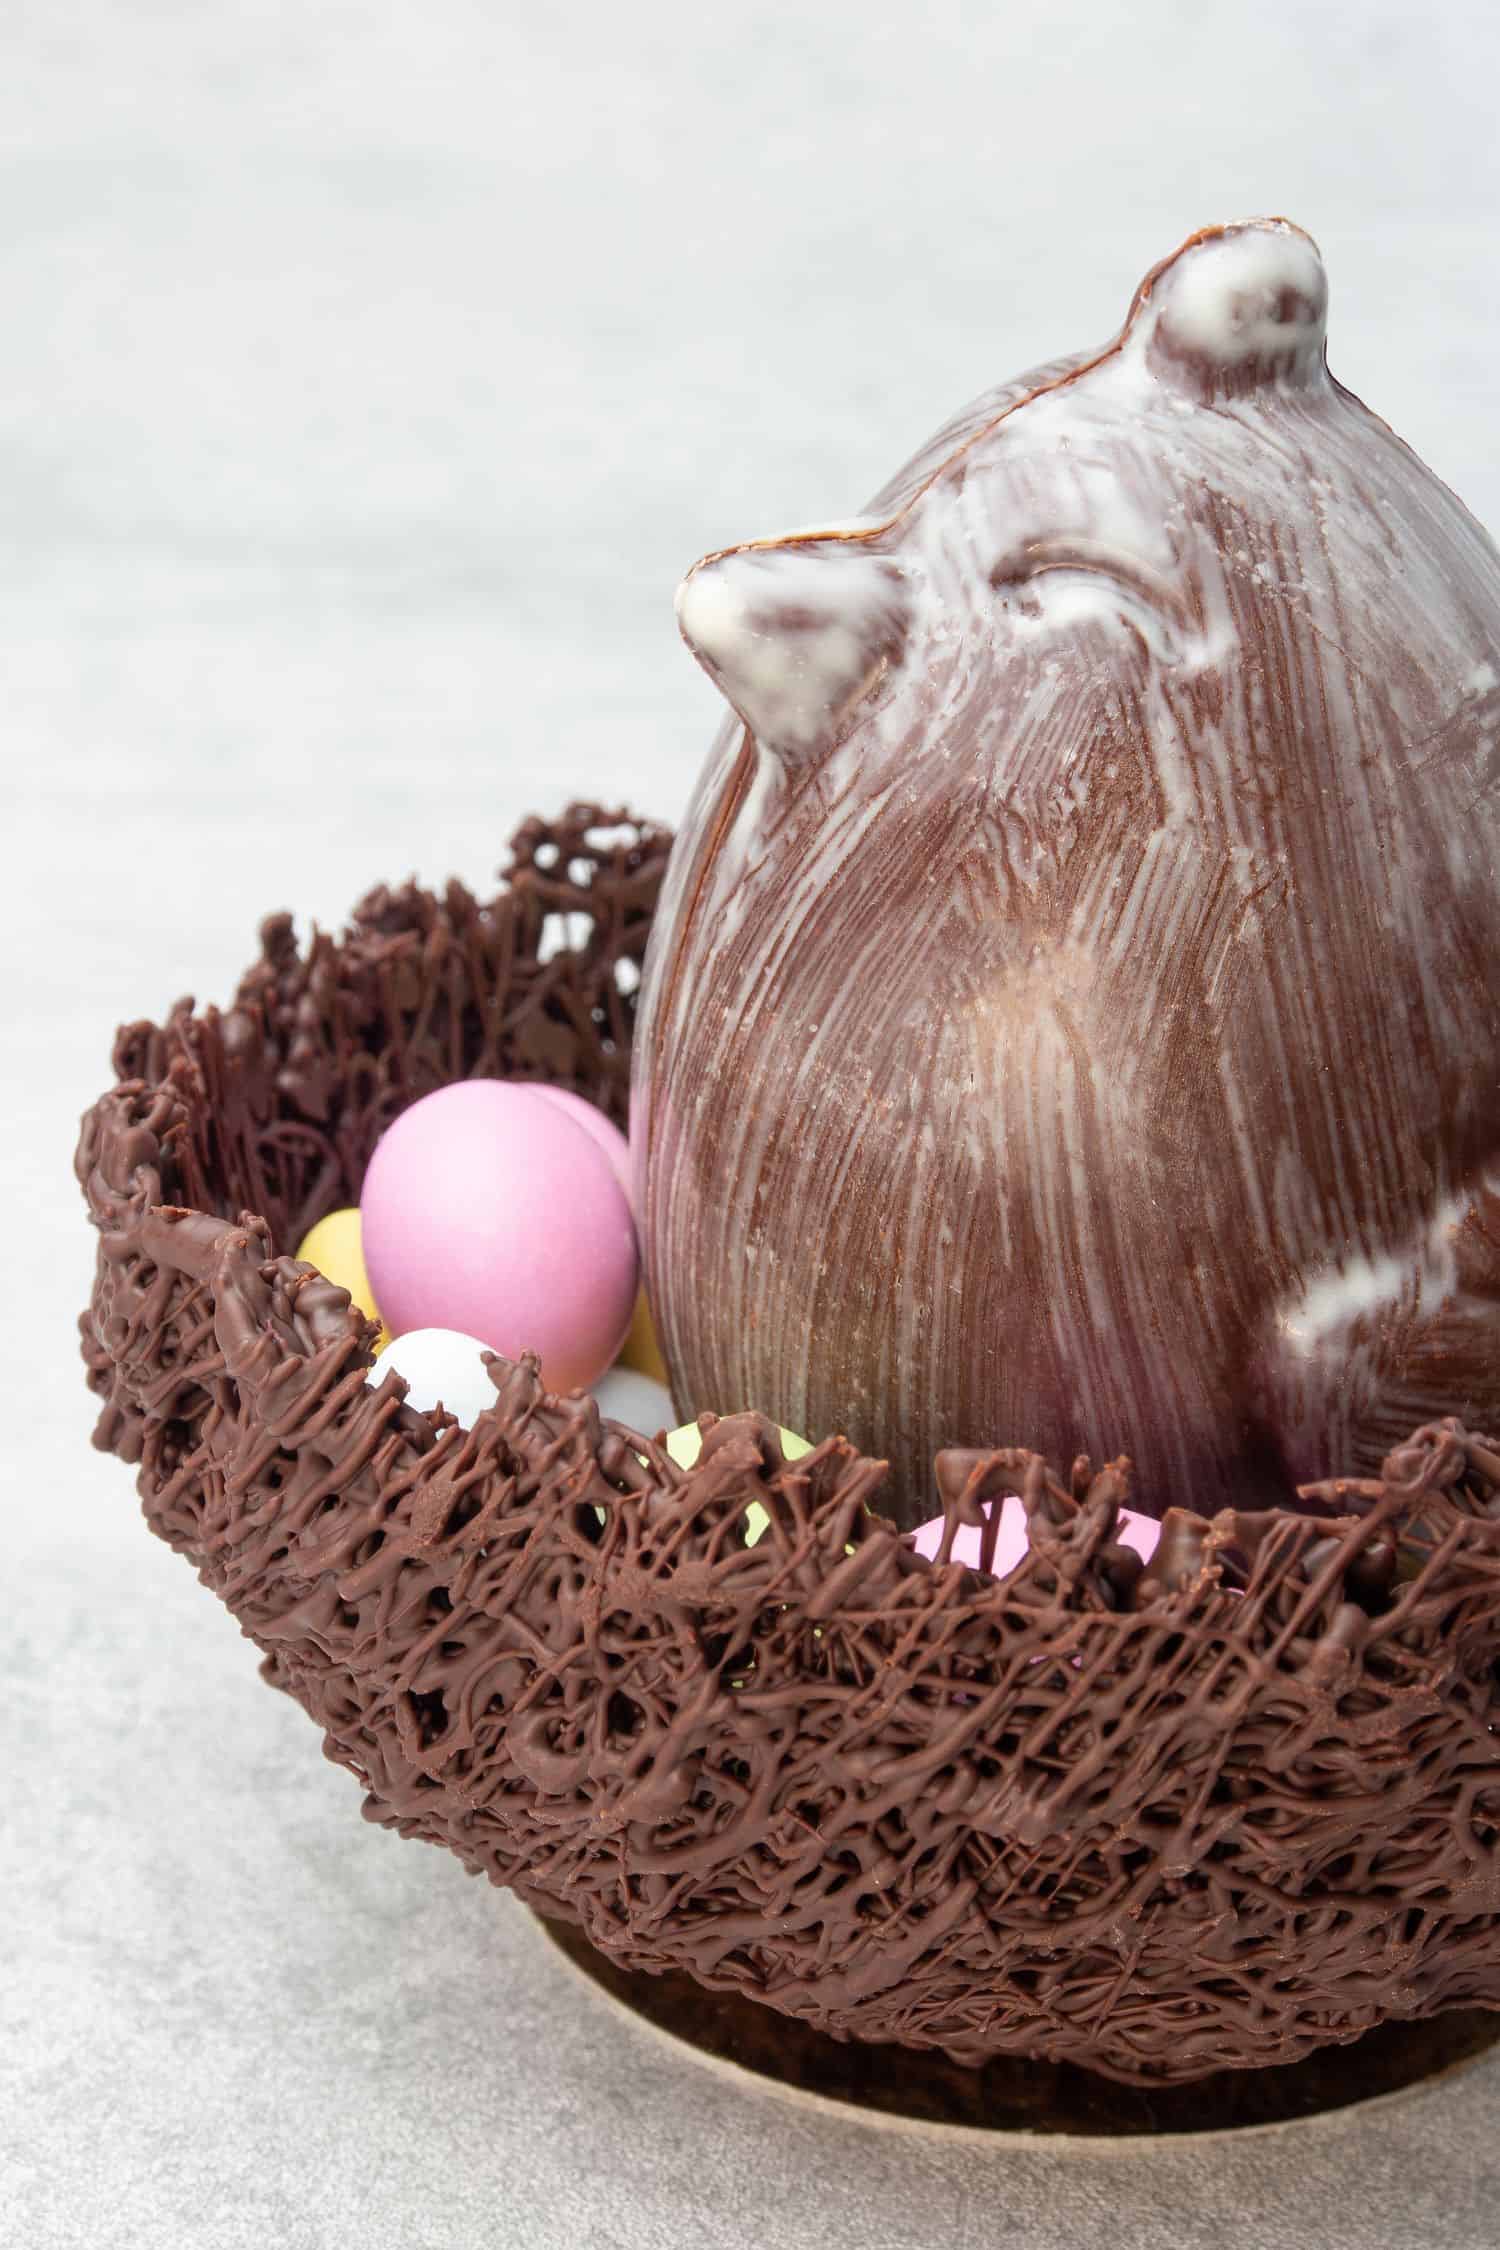
You can take your chocolate chick to the next level with my easy DIY Chocolate Nest!
Ingredient notes
- Chocolate: Obviously you will need some chocolate to make a Chocolate figure however not all chocolate is created equal. In general, worth remembering that in the case of recipes that require chocolate decoration or chocolate work, the quality of the chocolate goes way beyond taste. You might have recognized that by simply melting chocolate then waiting to set, you won´t achieve shiny results. You need couverture chocolate if you want to replicate those beautifully shiny chocolate bonbons or decorations you see in pastry shops. In this recipe, I am using Callebaut Dark Chocolate (callets) and Callebaut WhiteChocolate (callets) These are high-quality chocolate (yet affordable) that contains a higher percentage of cocoa butter than the average supermarket chocolate. Couverture type of chocolate is used by professionals and by home bakers who want to take their chocolate work to the next level. I order mine from Amazon and surprisingly the price/kg is not even so much more expensive than low-quality supermarket chocolate.
- Cocoa butter powder (optional): There are a few ways to temper chocolate and since in my Hot chocolate Bomb post earlier I shared the seeding method, I thought it is useful if I share another method this time that is called cocoa butter powder method . If you can´t access cocoa butter powder, no problem, please read my earlier post about the seeding method in which case no cocoa butter is needed. If you would like to purchase cocoa butter, I recommend Callebaut Mycryo
Exact ingredient quantities can be found at the bottom of this page in the RECIPE CARD!
3 Expert tips
1. What is the difference between melting and tempering chocolate
Both involve melting chocolate…but they are very different, indeed.
In short, when chocolate is melted, the molecules separate. When you temper the chocolate, you bond those molecules back together so your chocolate will harden with a glossy shine and fine “snap”. With simply melting chocolate, without tempering, the chocolate will somewhat harden but will lose its initial shine, will be matt with an unpleasant texture.
There is no need to temper chocolate when you use chocolate IN a recipe like when you make brownies, however when chocolate IS the recipe, for example, chocolate decoration, chocolate bonbon, etc. you need to apply proper pre-crystallizing / tempering. Without appropriate chocolate tempering, it is likely that you simply won´t be able to unmould these Raspberry Ruby chocolate bonbons from the mold because they stay will crystallize unevenly and stay somewhat too soft and unpleasant.
The good news is that as fancy as it sounds, chocolate tempering is actually rather easy and quick, really nothing to be worried about! There is one easy step between melted and tempered chocolate… Continue reading!
2. How to temper chocolate
From the Callebaut website I think you might find this piece of learning material below useful:
Each variety or type of chocolate should be tempered before you use it to mold chocolates and hollow figures or to enrobe cakes and chocolates. In short, whenever chocolate needs to have a beautiful satin gloss and a hard snap, tempering is absolutely crucial.
When you add chocolate to dishes as a flavor component (e.g. chocolate mousses), it suffices to simply melt it without tempering.
What is tempering / pre-crystallising?
The purpose of tempering chocolate is to pre-crystallise the cocoa butter in it, which is important to make your chocolate ready for processing. During tempering, the cocoa butter in the chocolate takes on a stable crystalline form. This guarantees a perfect finished product with a satin gloss and a hard snap. It also makes the chocolate contract during cooling, which makes it easier to unmould.
If chocolate is simply melted and then left to cool down, the finished product will not be glossy. If you make the small effort of bringing your chocolate to the right working temperature properly, you are guaranteed to get the desired end result. And that’s what we mean by tempering: bringing chocolate up to the right working temperature while making sure that the crystalline structure of the cocoa butter in it is stable.
There are various methods to temper chocolate, earlier I made a blog post about seeding method, please read in here. With the seeding method, you basically temper the chocolate using the chocolate itself, no need for cocoa butter, so if you can´t access cocoa butter please temper your chocolate with the seeding method.
For this Easter chocolate figure I used a different method, I tempered the chocolate with cocoa butter powder. Compared to the seeding method I find the cocoa butter method even easier and more stable, with less opportunity for mistakes.
For the exact melting, working, and set temp of your chocolate follow the instructions on the bag of chocolate you are working with, as per below:

Please note, that I am tempering 50g Callebaut WhiteChocolate (callets) with ¼ teaspoon of cocoa butter powder and brush it onto the mold then tempering 2 x 100g Callebaut Dark Chocolate (callets) with ½ teaspoon of cocoa butter powder each to create the dark chocolate shell itself - this quantity can make 4 half chicks = 2 chicks overall
Step 1
Melt Dark chocolate to 45-50°C / 113-122F and White chocolate to 45°C / 113F. I recommend using a microwave, however, check and stir the chocolate every 30 seconds. Or, you can use a double boiler, in this case, do the process over low heat so you don´t burn the chocolate and make sure chocolate won´t get wet from the steam
Step 2
Allow the dark chocolate to cool at room temperature to 34.5°C / 94F, white chocolate 31.5°C /89F by stirring with a spoon
Step 3
Add 1% cocoa butter powder to your melted chocolate, i.e. ¼ teaspoon for 50g chocolate or ½ teaspoon for 100g chocolate. I am using a product from Callebaut called Mycryo and it is perfect. Buy any cocoa butter powder if Mycryo is not available for you
Step 4
Mix well cocoa butter powder with chocolate
Step 5
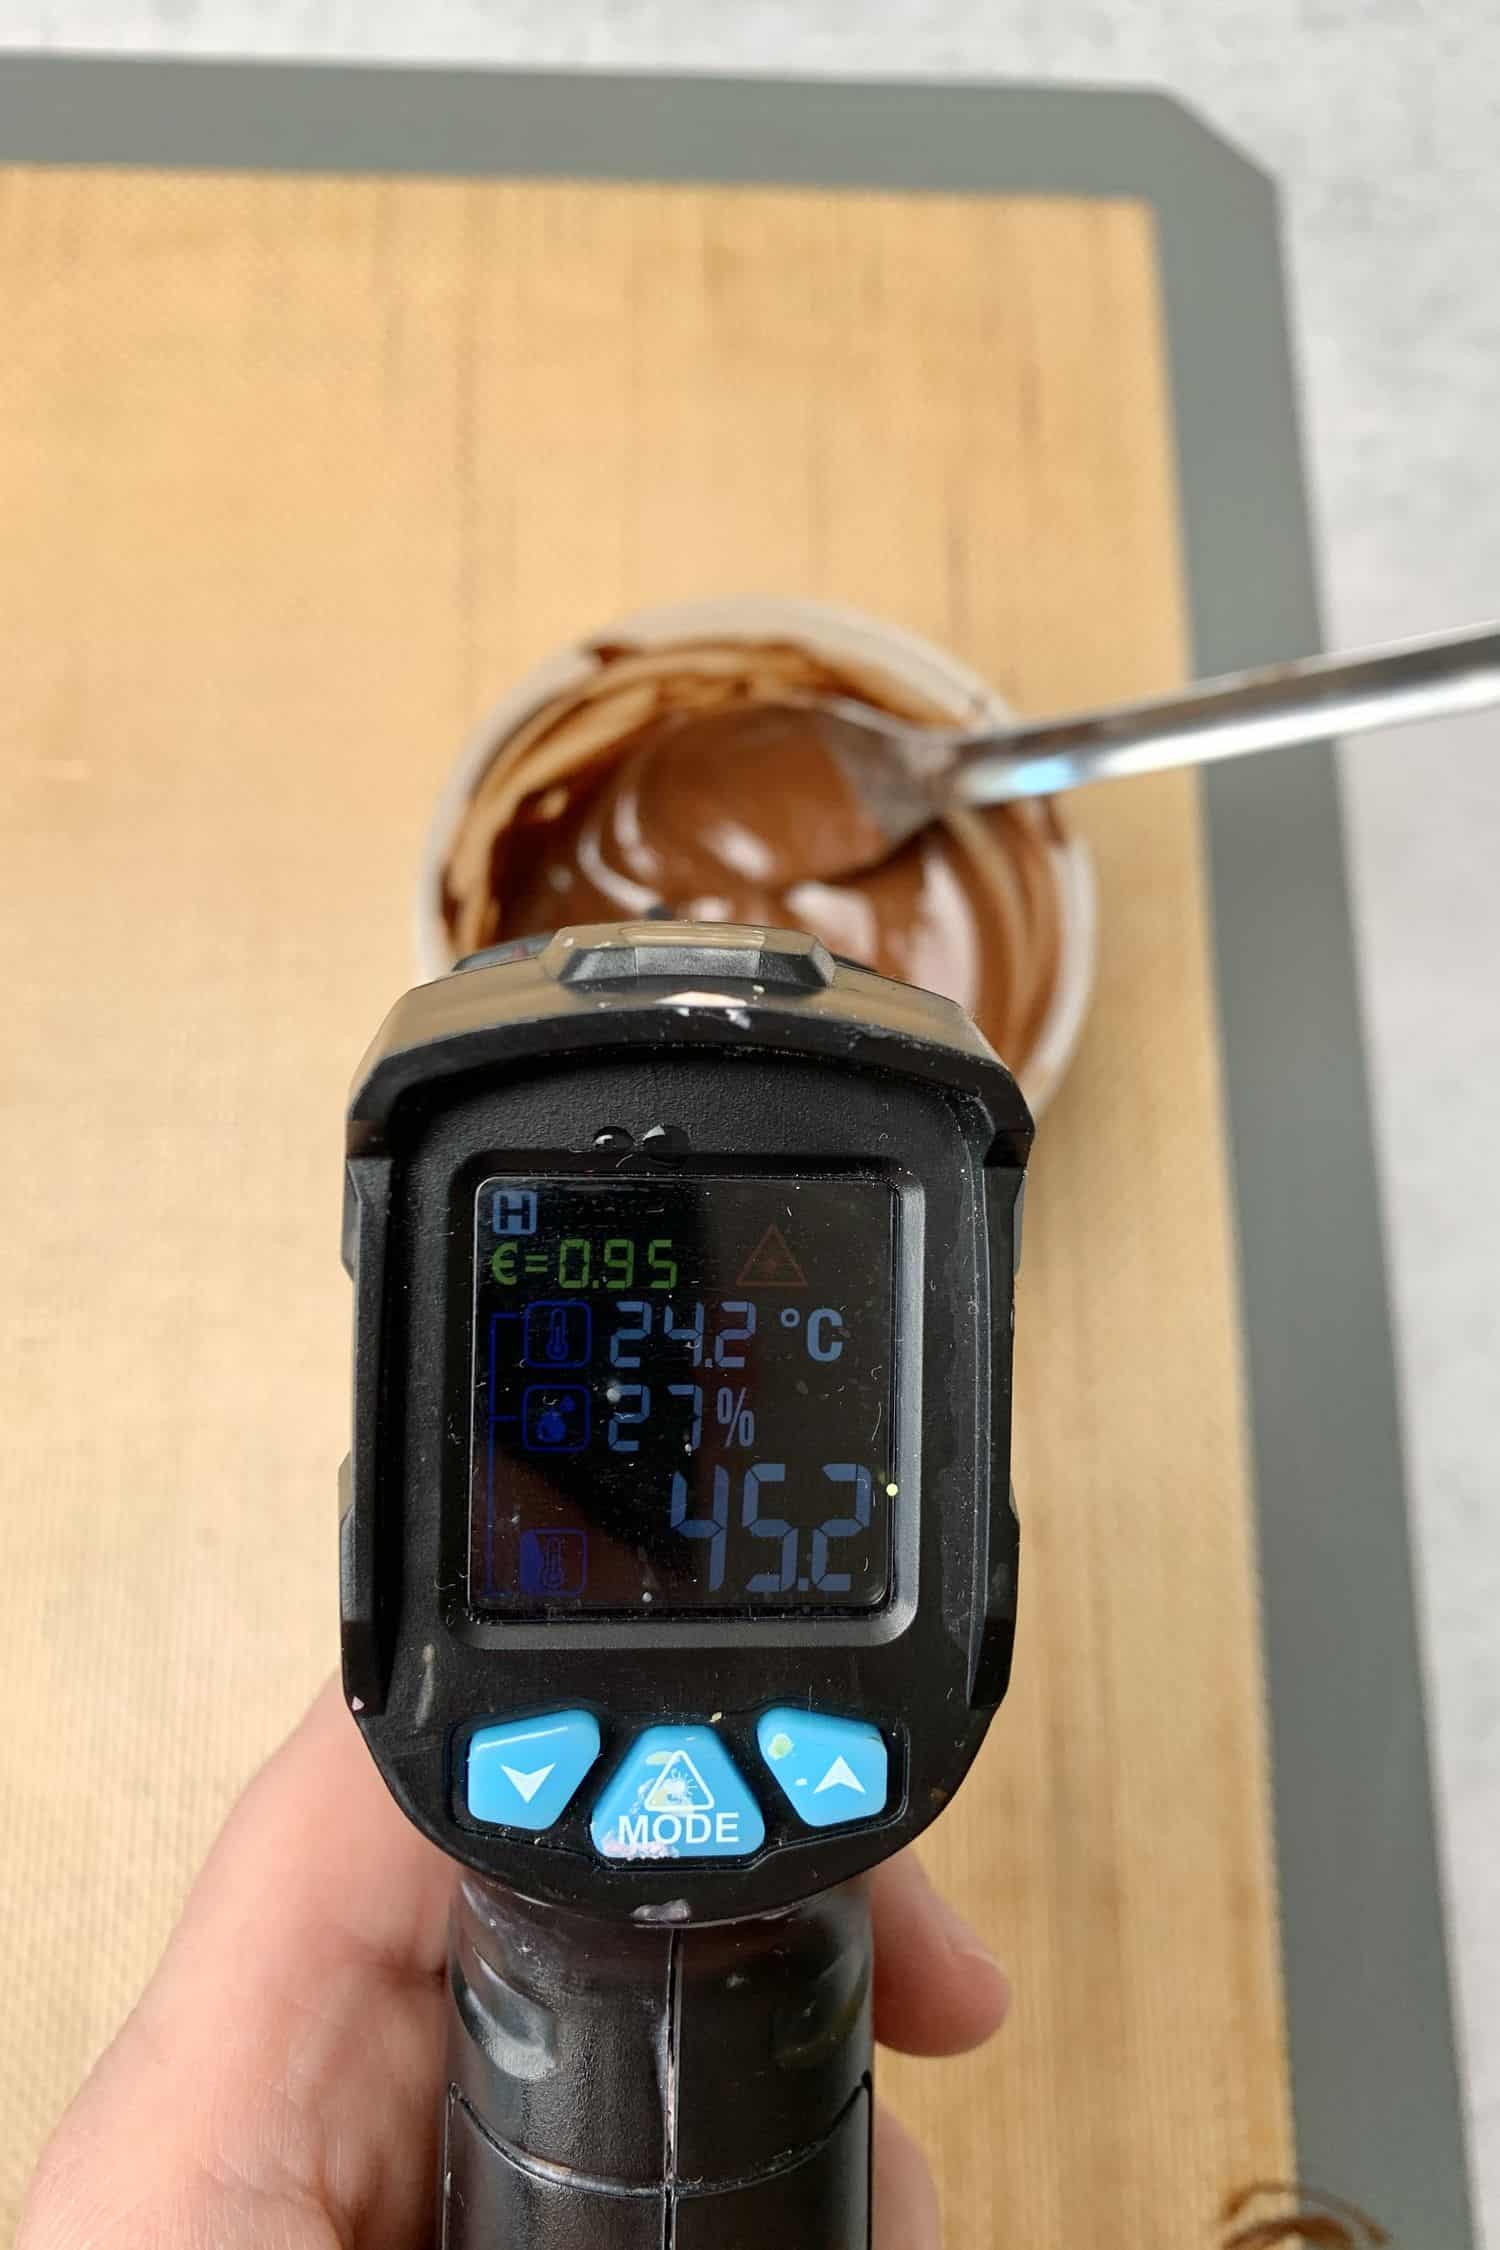
Use chocolate according to the recipe bearing in mind the chocolate “working temp” and “set temp”. Once cocoa butter powder is well mixed into the chocolate, let it cool to around 30C /86F then start using the chocolate. The basic rule is that the warmer the chocolate temp the runnier the chocolate is. Chocolate will start to harden at “set temp” (27C / 80.6 F) and you won’t be able to work with it as it will get too solid. Meaning, you have to work with a chocolate that is approx. between 27-30C / 80.6-86F.
That´s it, easy peasy!
What happens if you don´t want to temper chocolate? The Chocolate Chick figure won´t set, will stay matt, somewhat soft, and most probably won´t come out of the mold.
4. Step-by-step process of making molded chocolate
Please note, that this mold (Paul Cino from Silikomart) makes 4 half Chicks so overall 2 Chicks.
First, you will need to temper 50g Callebaut WhiteChocolate (callets) with ¼ teaspoon of cocoa butter powder and brush it onto the mold. Then when it has set, you will have to temper 100g Callebaut Dark Chocolate (callets) with ½ teaspoon of cocoa butter powder and create the first layer of dark chocolate shell. Then, once it has set again you will have to temper 100g Callebaut Dark Chocolate (callets) with ½ teaspoon of cocoa butter powder and create the second layer of dark chocolate shell.
After the chocolate tempering, making the molded Chocolate chocolate is actually rather easy!
1. Make sure first that you properly clean the mold (I am using vinegar and paper towel) as any residue will be seen on the chocolate
2. Place a clean parchment paper on the table or use Silicone baking mat . In this way, any chocolate that will end up on the table can be re-used
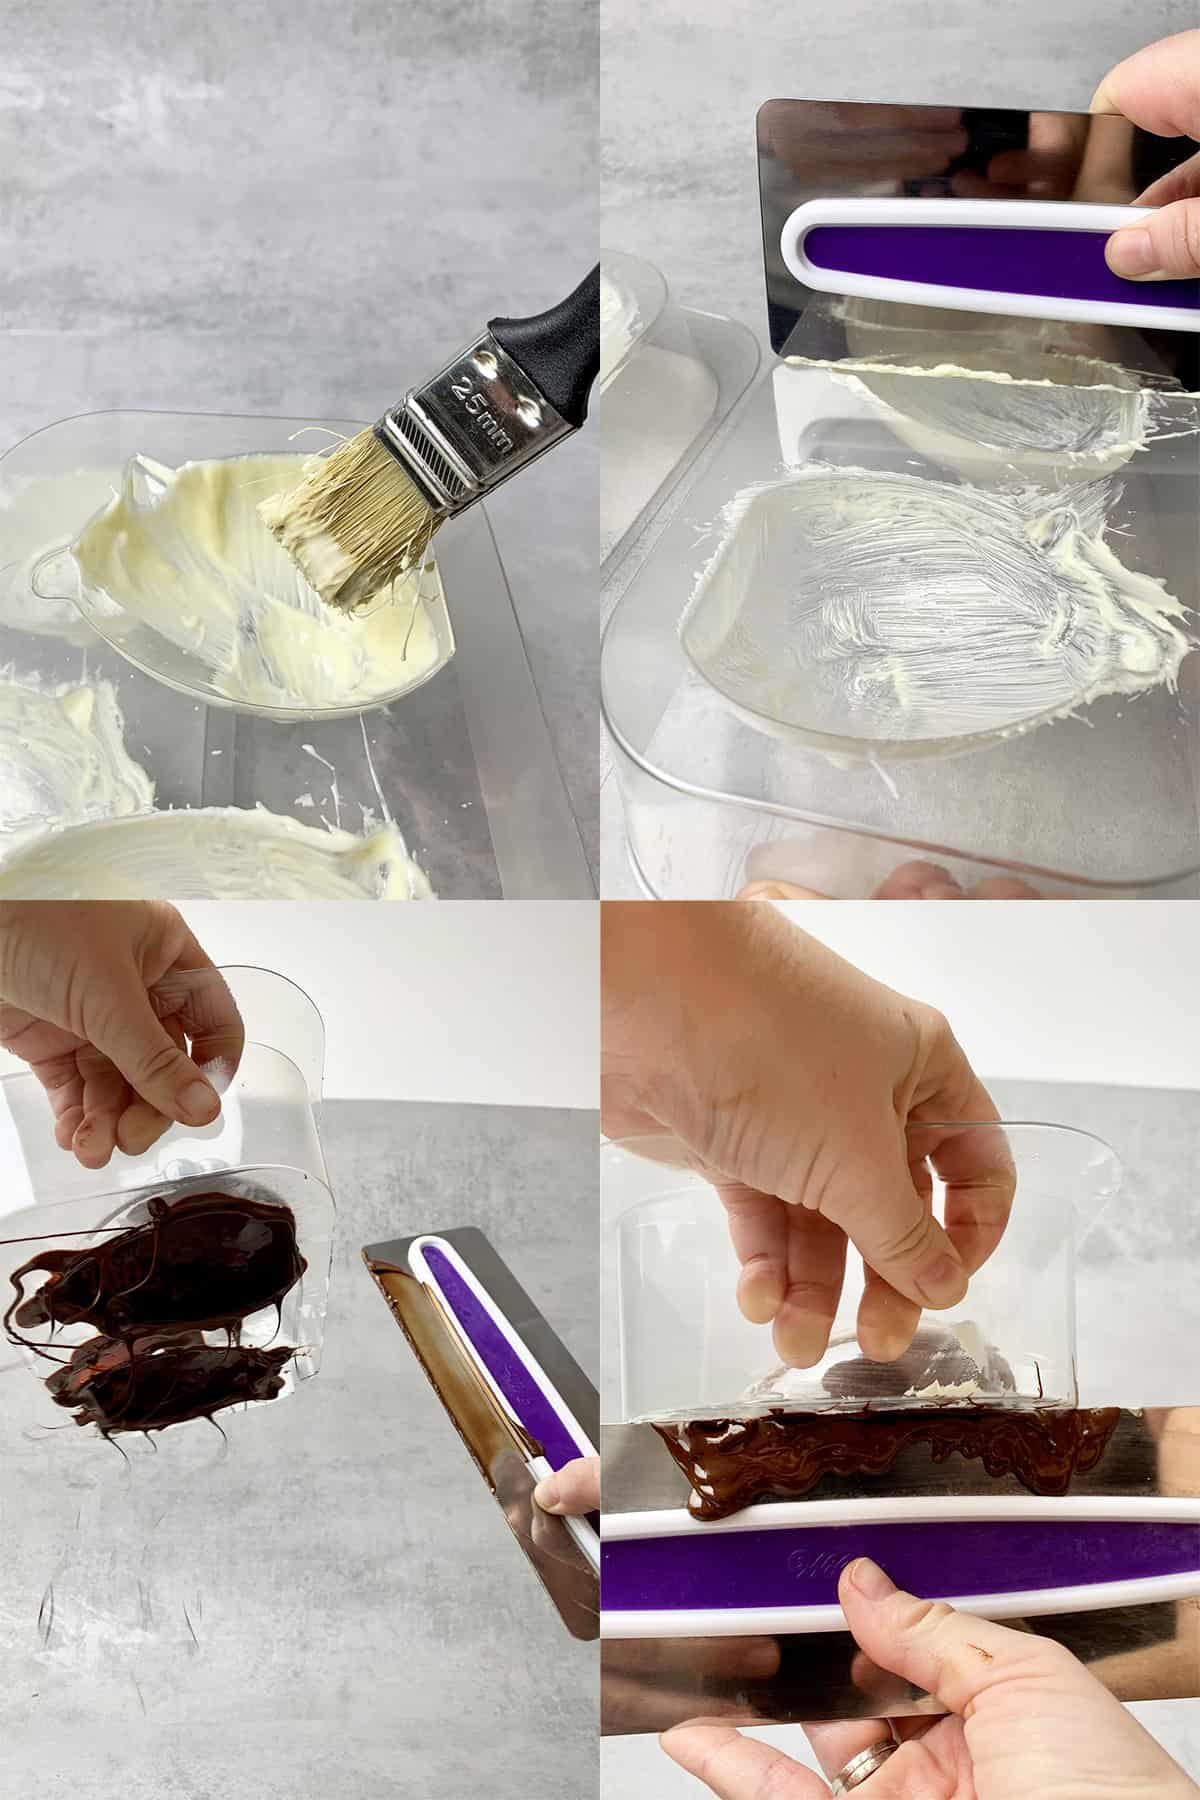
3. Temper 50g Callebaut WhiteChocolate (callets) as explained above then using a brush or perhaps your fingers, apply a small amount of white chocolate on the mold then scrape the excess down. Make sure you use the chocolate on the “working temp” that is between 27-30C / 80.6-86F – see notes above at the chocolate tempering section. Note: You won´t need all the chocolate, but it is very difficult to temper anything less than 50g. Let the remaining chocolate set and you can re-use it any time.
4. Place the mold into the freezer and start tempering the first batch of dark chocolate (100g).
Tip: Assuming tempering will take 3-5 minutes, the previous layer of white chocolate will be set in the freezer over this time however you must check that it is “dry” as you touch and matt. Do not apply the next layer of chocolate unless the previous layer is fully set! Drying time greatly depends on the thickness of the chocolate.
Tip: Before applying the next layer of chocolate wait for the mold to come back to room temp otherwise - if you pour the next layer into the freezing cold mold - the chocolate will set immediately and that is not what we aim for
5. After tempering, apply the first layer of dark chocolate in the mold in the following way
- pour the chocolate into the mold
- turn the mold all around with your hands so the chocolate can reach all parts of the mold, make sure, you do not miss the edge!
- turn the mold upside down
- gently tap the side of the mold with the scraper to get rid of the excess chocolate - that should fall onto the table (and can be re-used later)
- scrape excess chocolate off the surface of the mold while still holding the mold upside down
- at this point, you should have a dark chocolate layer in the mold that is not too thick, not too thin, and even
- the surface of the mold should be as clean as possible, make sure you properly clean it with the scraper as it will have an impact on how easily you can remove the chocolate figure from the mold later
Then again, put the mold back in the freezer.
6. Start tempering the remaining dark chocolate (100g). After tempering, apply the last, second layer of chocolate the same was as explained in point 5. Make sure, that the mold is well covered with chocolate particularly the edges as you need thick enough edges to be able to "glue" the two sides together
7. Pop the mold back to the freezer for 15-30 min for the chocolate to set
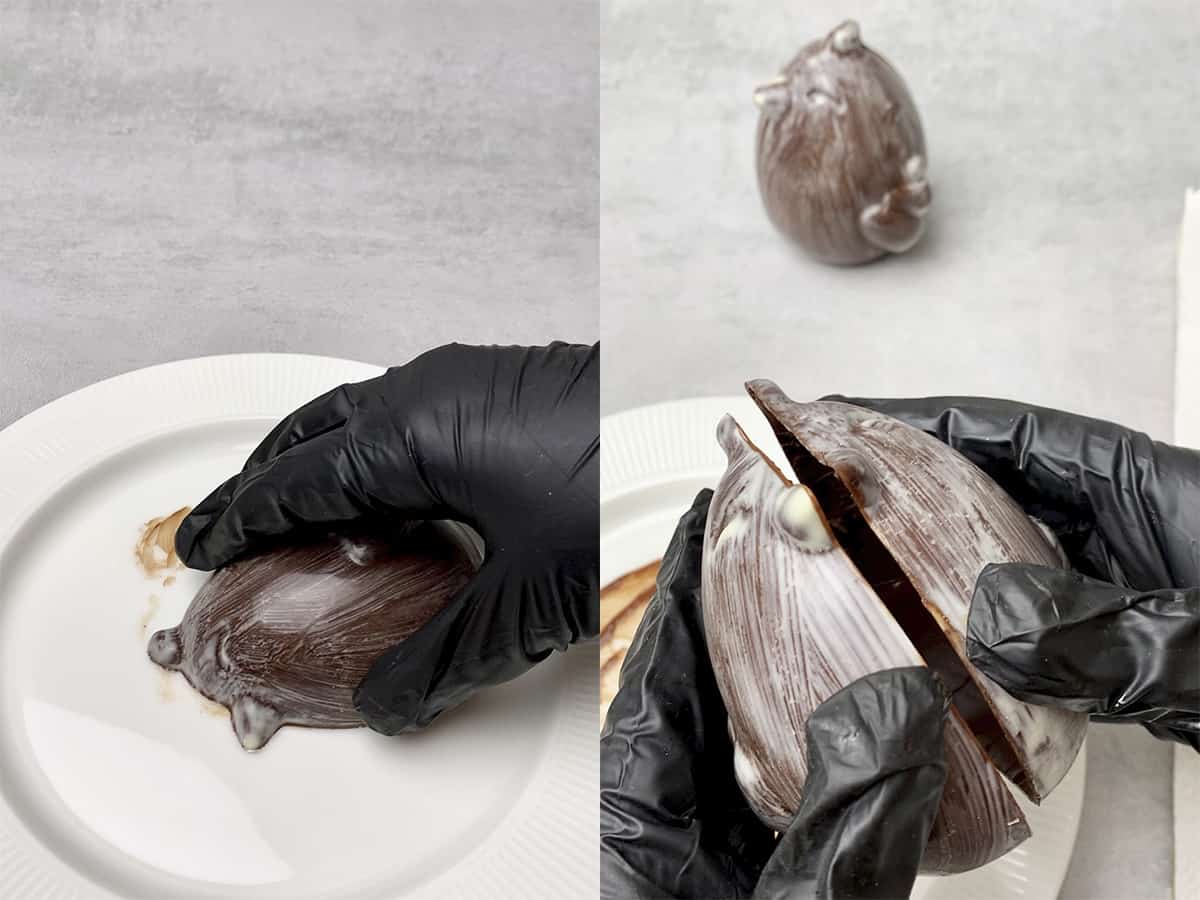
8. Take the mold out of the freezer and if the chocolate is tempered correctly, the half chocolate chicks should easily pop out when you turn the mold upside down. Make sure, you do not force the mold nor press it in the middle, instead gently tap it onto the kitchen counter, if needed
9. It is time to glue the half chickens together! Microwave a small plate until it gets warm, turn one half chick upside down and smooth the edge of the chocolate in 3 seconds. After, carefully grabbing the other side of the chick, smooth the edge again with the help of the warm plate and seal the two together. The two half chicks should stick together as the warm plate melts the edges a bit. Throughout the process make sure you gently work with the chocolate and do not break it or melt it with your fingers
Tip.: Use gloves while unmoulding and gluing the Chocolate Chicks. Gloves can prevent leaving fingerprints on the surface of it and also ensures that you do not melt the chocolate with your warm fingers
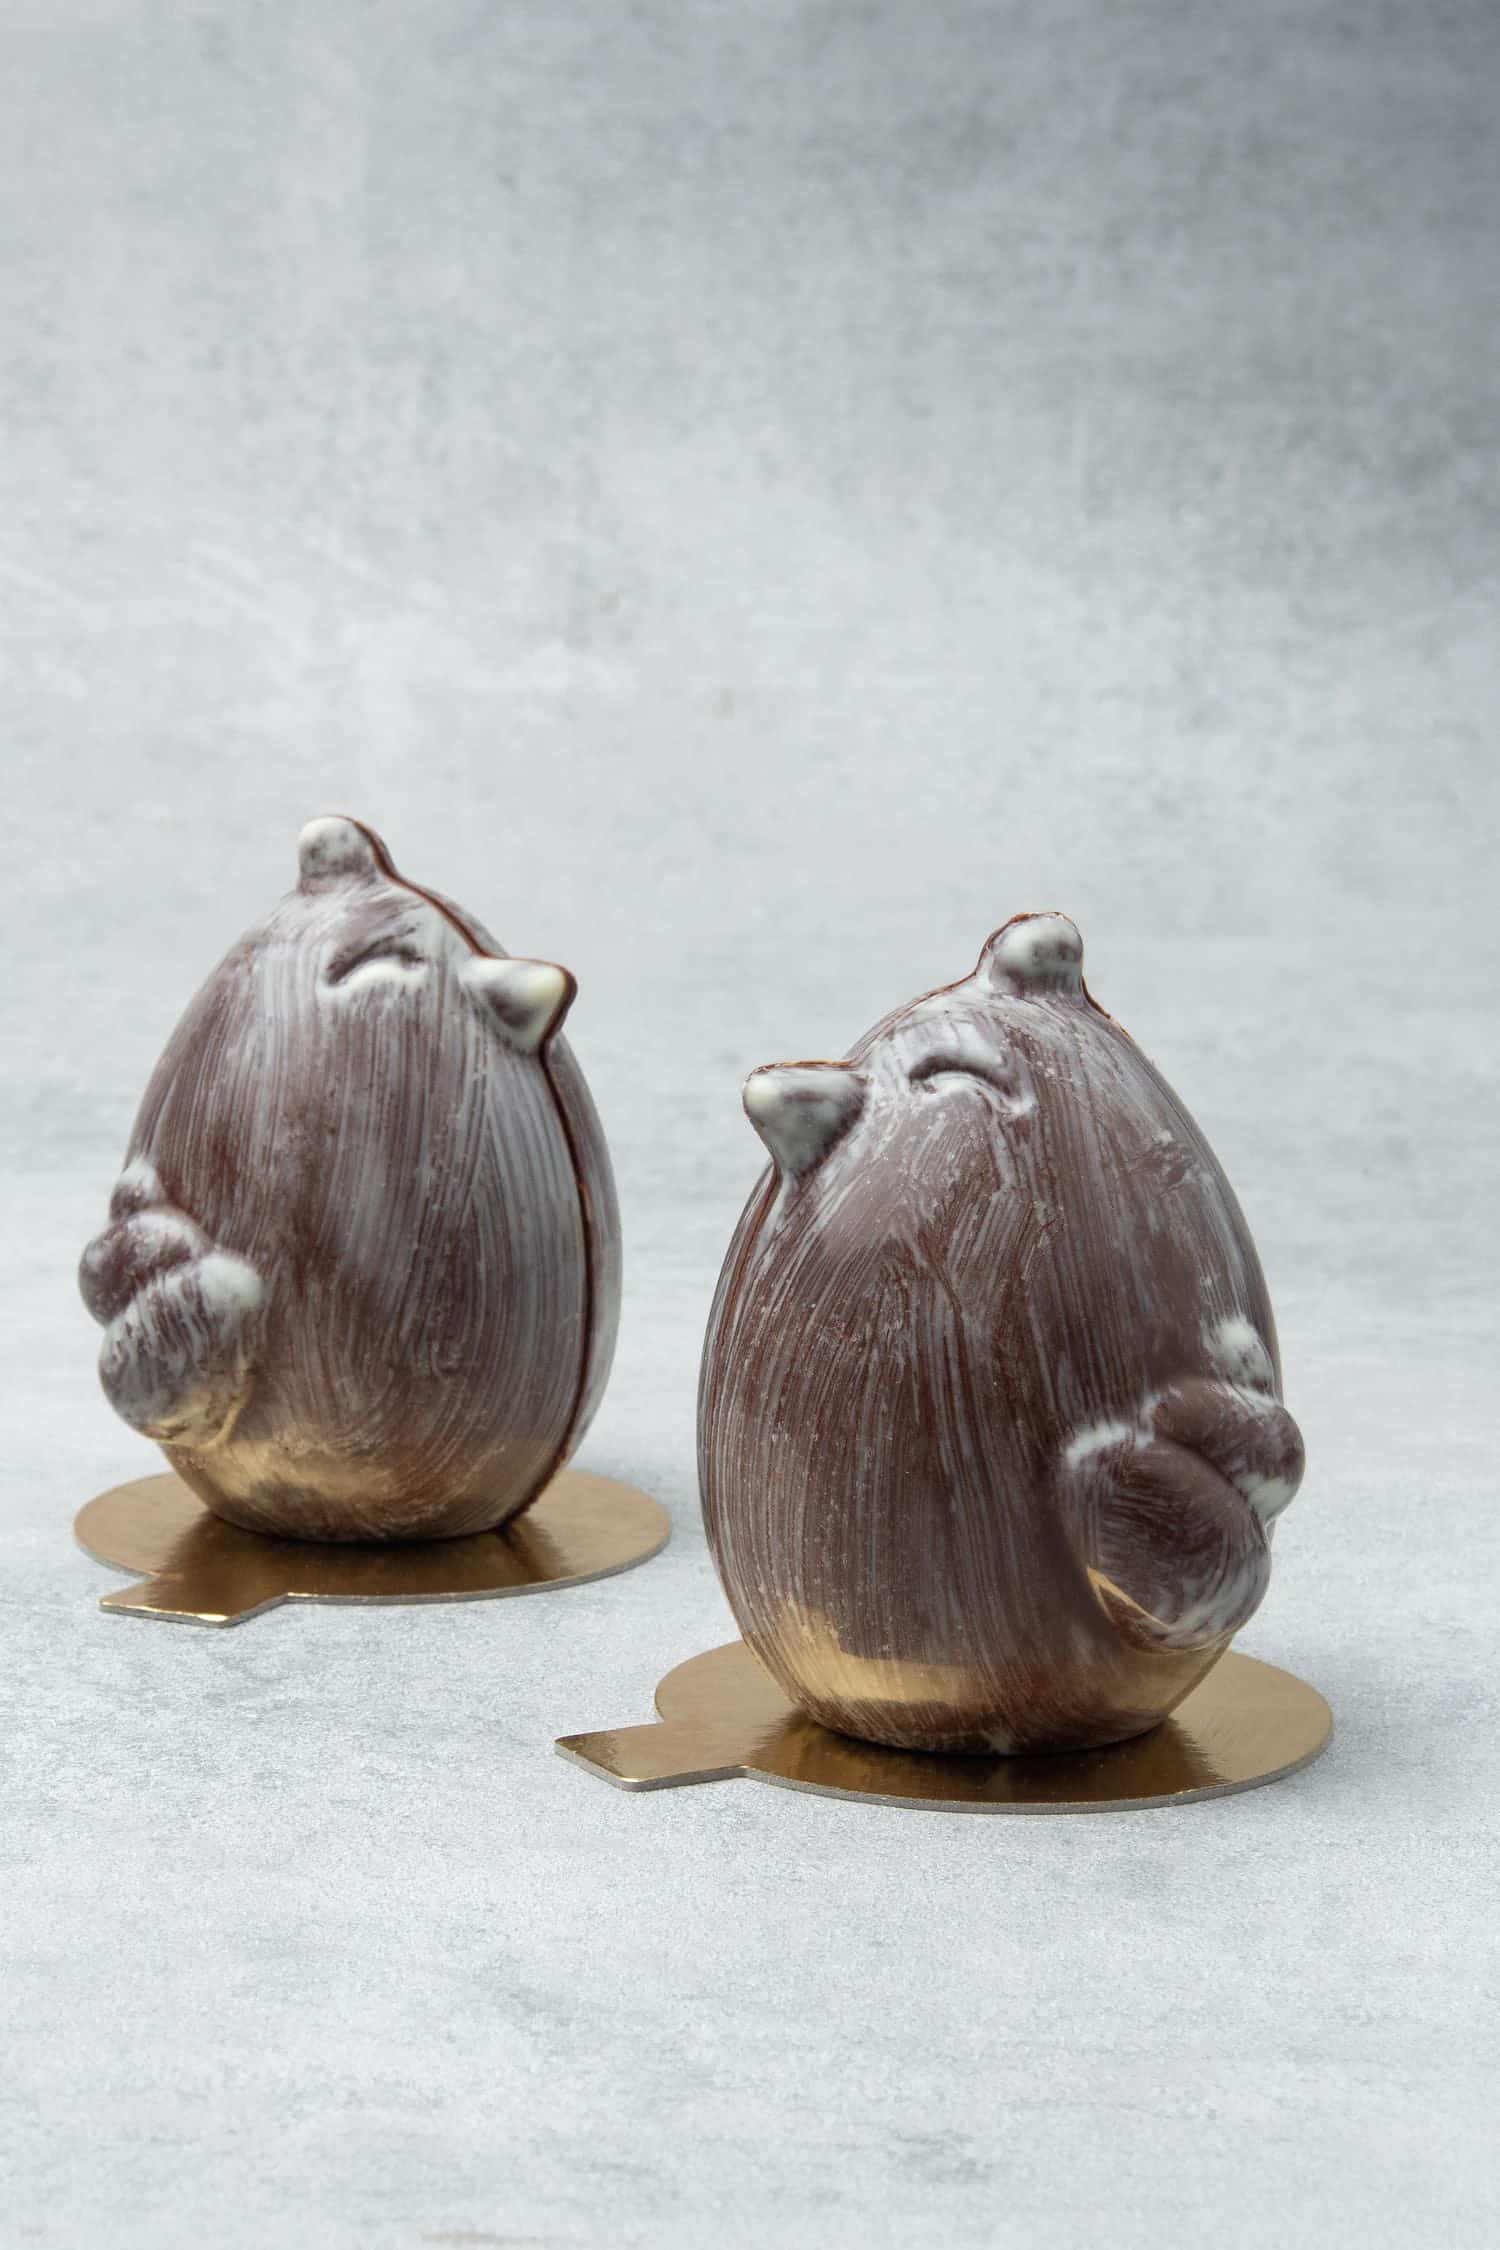
These hollow Chocolate Chicks can be stored at room temp (20c / 68F) or if your home is warmer, store them in the fridge
Equipment notes
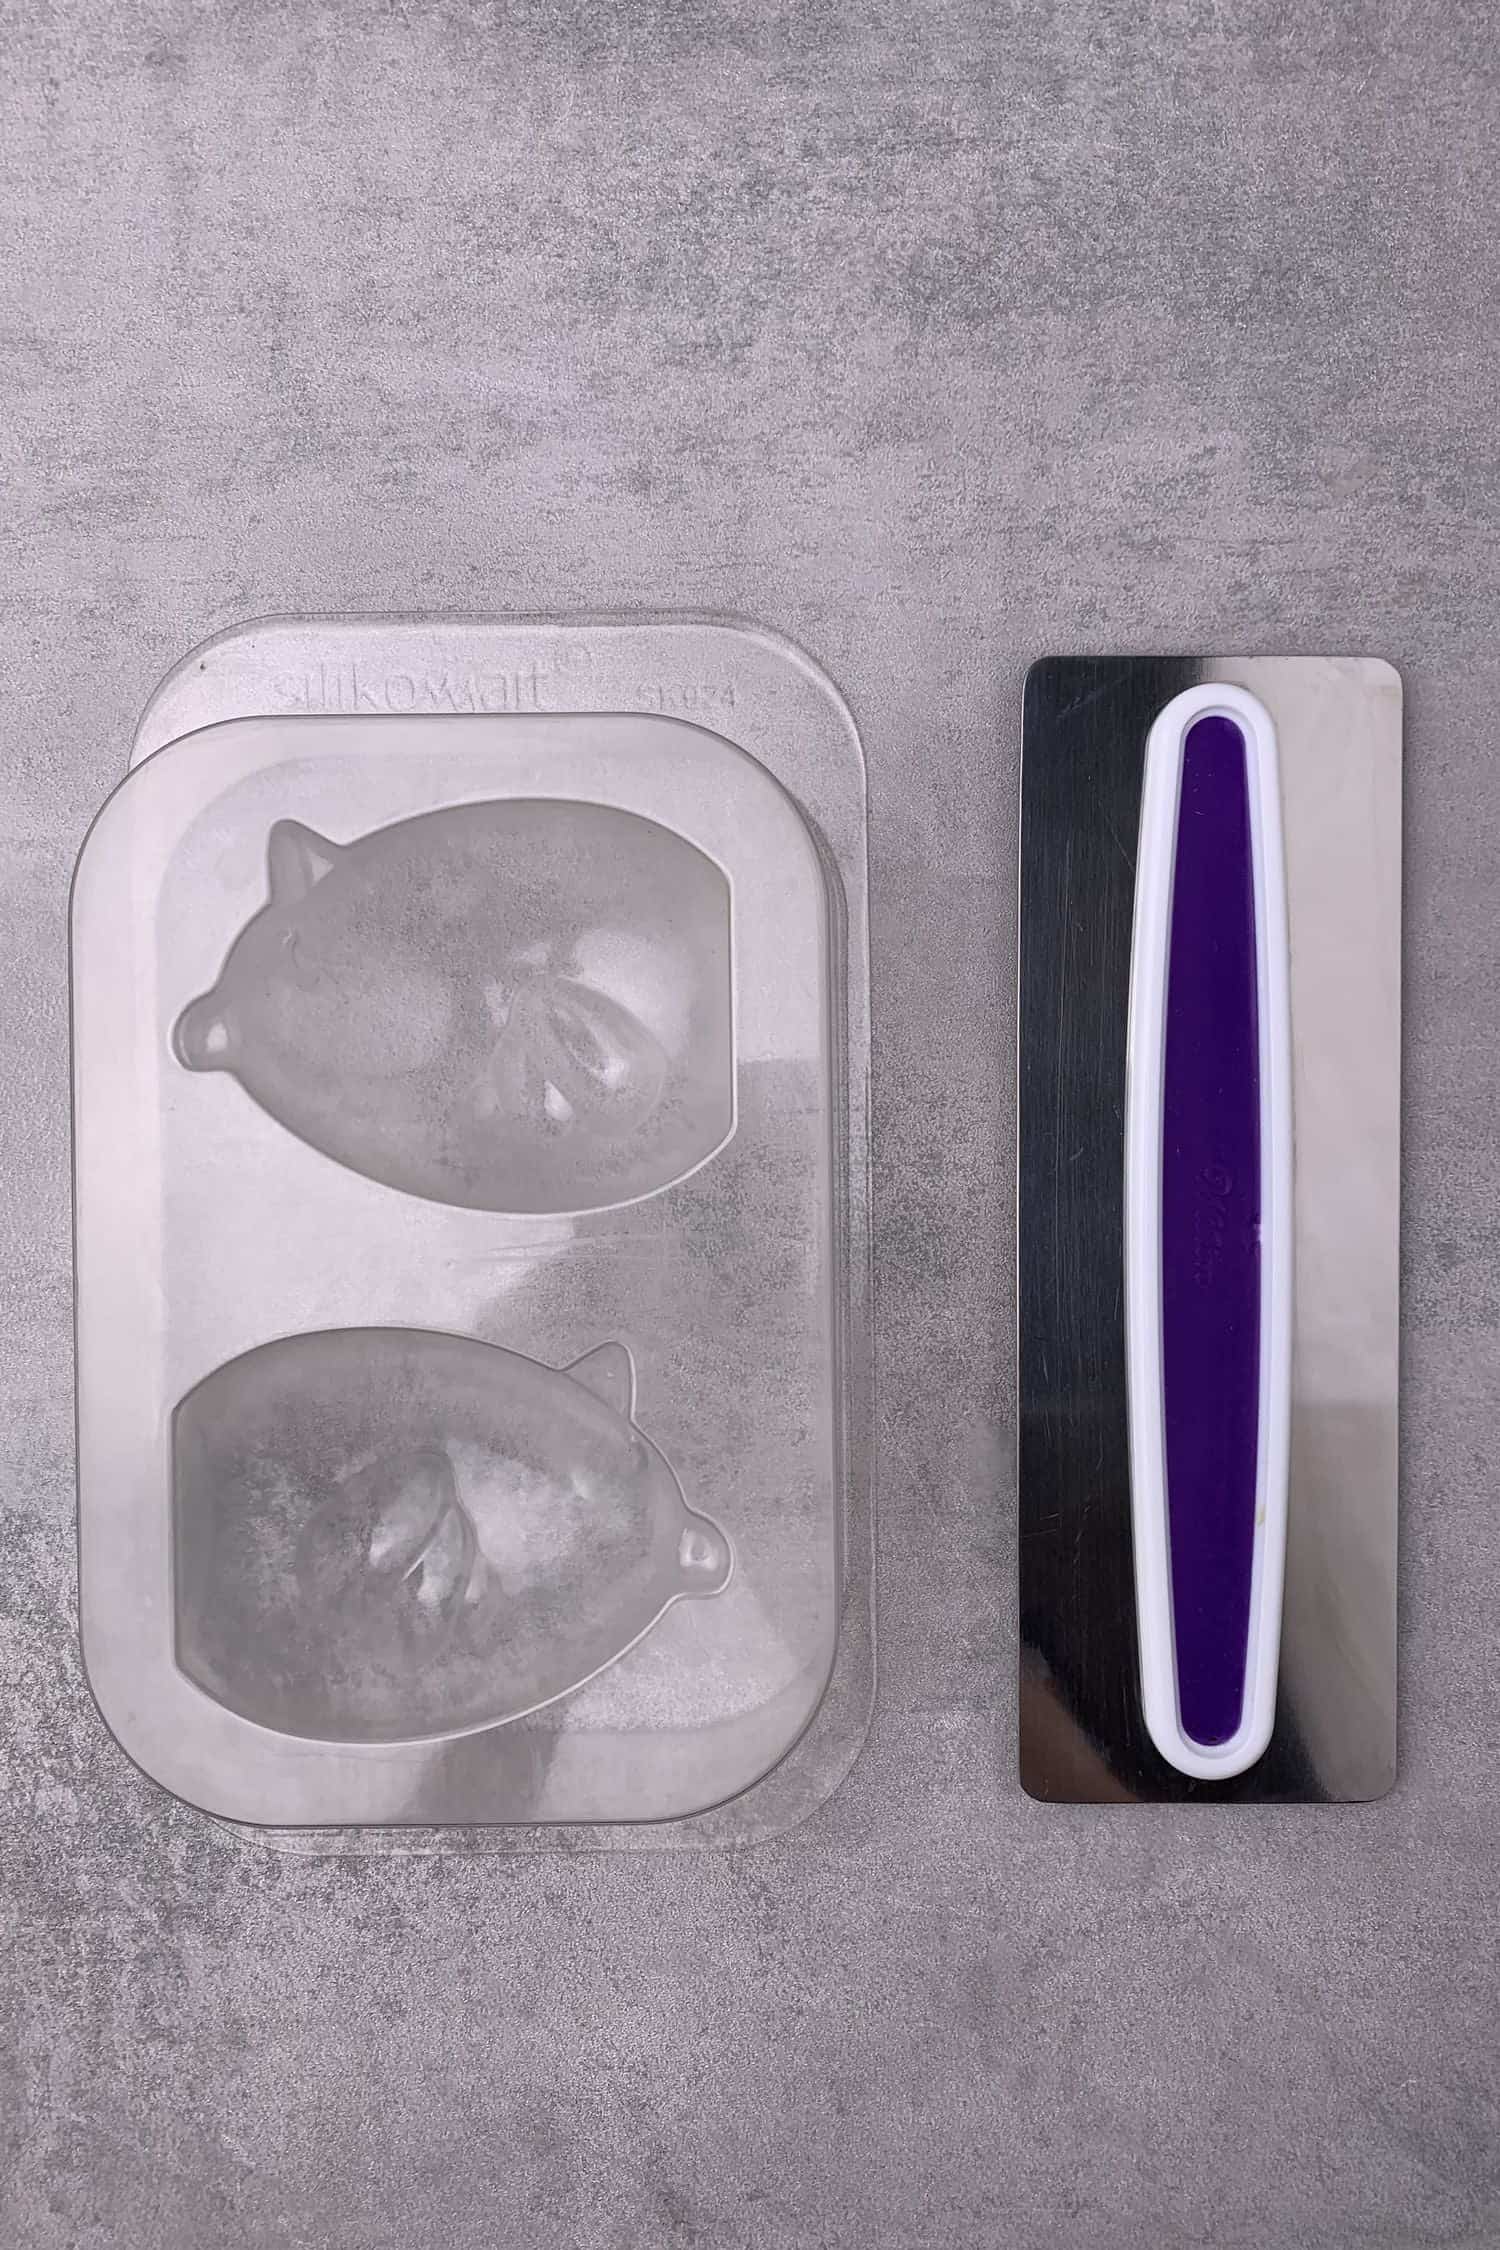
For making hollow chocolate figures you will of course need some mold. There are a great variety of shapes and designs available to purchase according to your liking. Material wise polycarbonate and silicone are the most common ones. I have a few different versions and using them for different occasions. Chocolate molds are actually rather affordable considering the magic you can make with them. They cost around 5-20 USD, a great investment in my view.
The mold I am using to make these Chocolate Chicks called: Paul Cino from Silikomart, I love the design and it is super easy to work with it, I can warmly recommend it!
For a consistent happy baking experience always measure your ingredients with the help of a Digital scale. Cup measurement is an indicative figure only and not appropriate for making chocolate figures!
For the chocolate tempering, you will need a thermometer. I purchased an Infrared thermometer gun last year and absolutely love it, it is the most accurate and convenient way to check the temperature! You can also measure the choc temp with other kinds of cheaper thermometers, choose according to your preference. One important thing is that for tempering you have to measure the temperature so “guessing” is not an option and will lead to best-in-class kitchen disaster.
And last but not least, a scraper is very useful to keep the mold clean from excess chocolate. There are chocolate scrapers available to purchase like this one, I simply use my Wilton cake scraper.
Troubleshooting Guide
Chocolate work is really about following a few simple rules that are mainly related to good quality ingredients, equipment, and most importantly the right temperature.
The good news is that once you nail the temperature part, very likely you will be making beautiful molded chocolate figures like this Molded chocolate Chick, and chocolate decorations over and over again. The bad news is that any mistake will be visible immediately, so I thought to summarize a couple of typical mistakes below:
1. Chocolate accidentally overheated in the microwave
While melting chocolate it has to reach 45C (white) 45-50C (dark). If by accident you overheat the chocolate or burn it, please start again. Chocolate molding can only be achieved with properly tempered chocolate
2. Chocolate is too runny
While molding the chocolate there is a point when you will have to turn the mold upside down to get rid of excess chocolate. If chocolate is too runny, you might find that all the chocolate falls off instead of the "excess" part. Runny chocolate means inappropriate (too high) temp chocolate. Make sure that you wait until chocolate reaches about 30C / 86F
3. Chocolate is too firm
While molding the chocolate you will have to pour the chocolate into the mold, then turn the mold in all directions so the chocolate will reach into the entire mold. If chocolate is too firm, you might find that instead of chocolate smoothly covering the mold, it will stuck in one place and set quickly. This can happen for two reasons: either chocolate was too firm in the first place meaning inappropriate (too low) chocolate temp.
Make sure, you don´t wait too long after tempering the chocolate as the chocolate starts to set at 27C / 80.6F. Another issue can be that the mold was too cold (out of the freezer), please make sure that you let the mold warm up a bit at room temp before pouring chocolate in.
4. Chocolate figure stuck in the mold
Unmolding the chocolate is the most rewarding part of the entire process but also the most nerve-wracking too. Freezing really helps as chocolate contracts so it will be able to pop out of the mold easier. If not, you should gently tap the mold onto the kitchen counter but do not push the chocolate as it is very fragile at this point and you might break it.
There are 2 main reasons for chocolate stuck in the mold: 1. Either chocolate was not tempered properly or 2. Chocolate did not have enough time to set
More Easter recipes
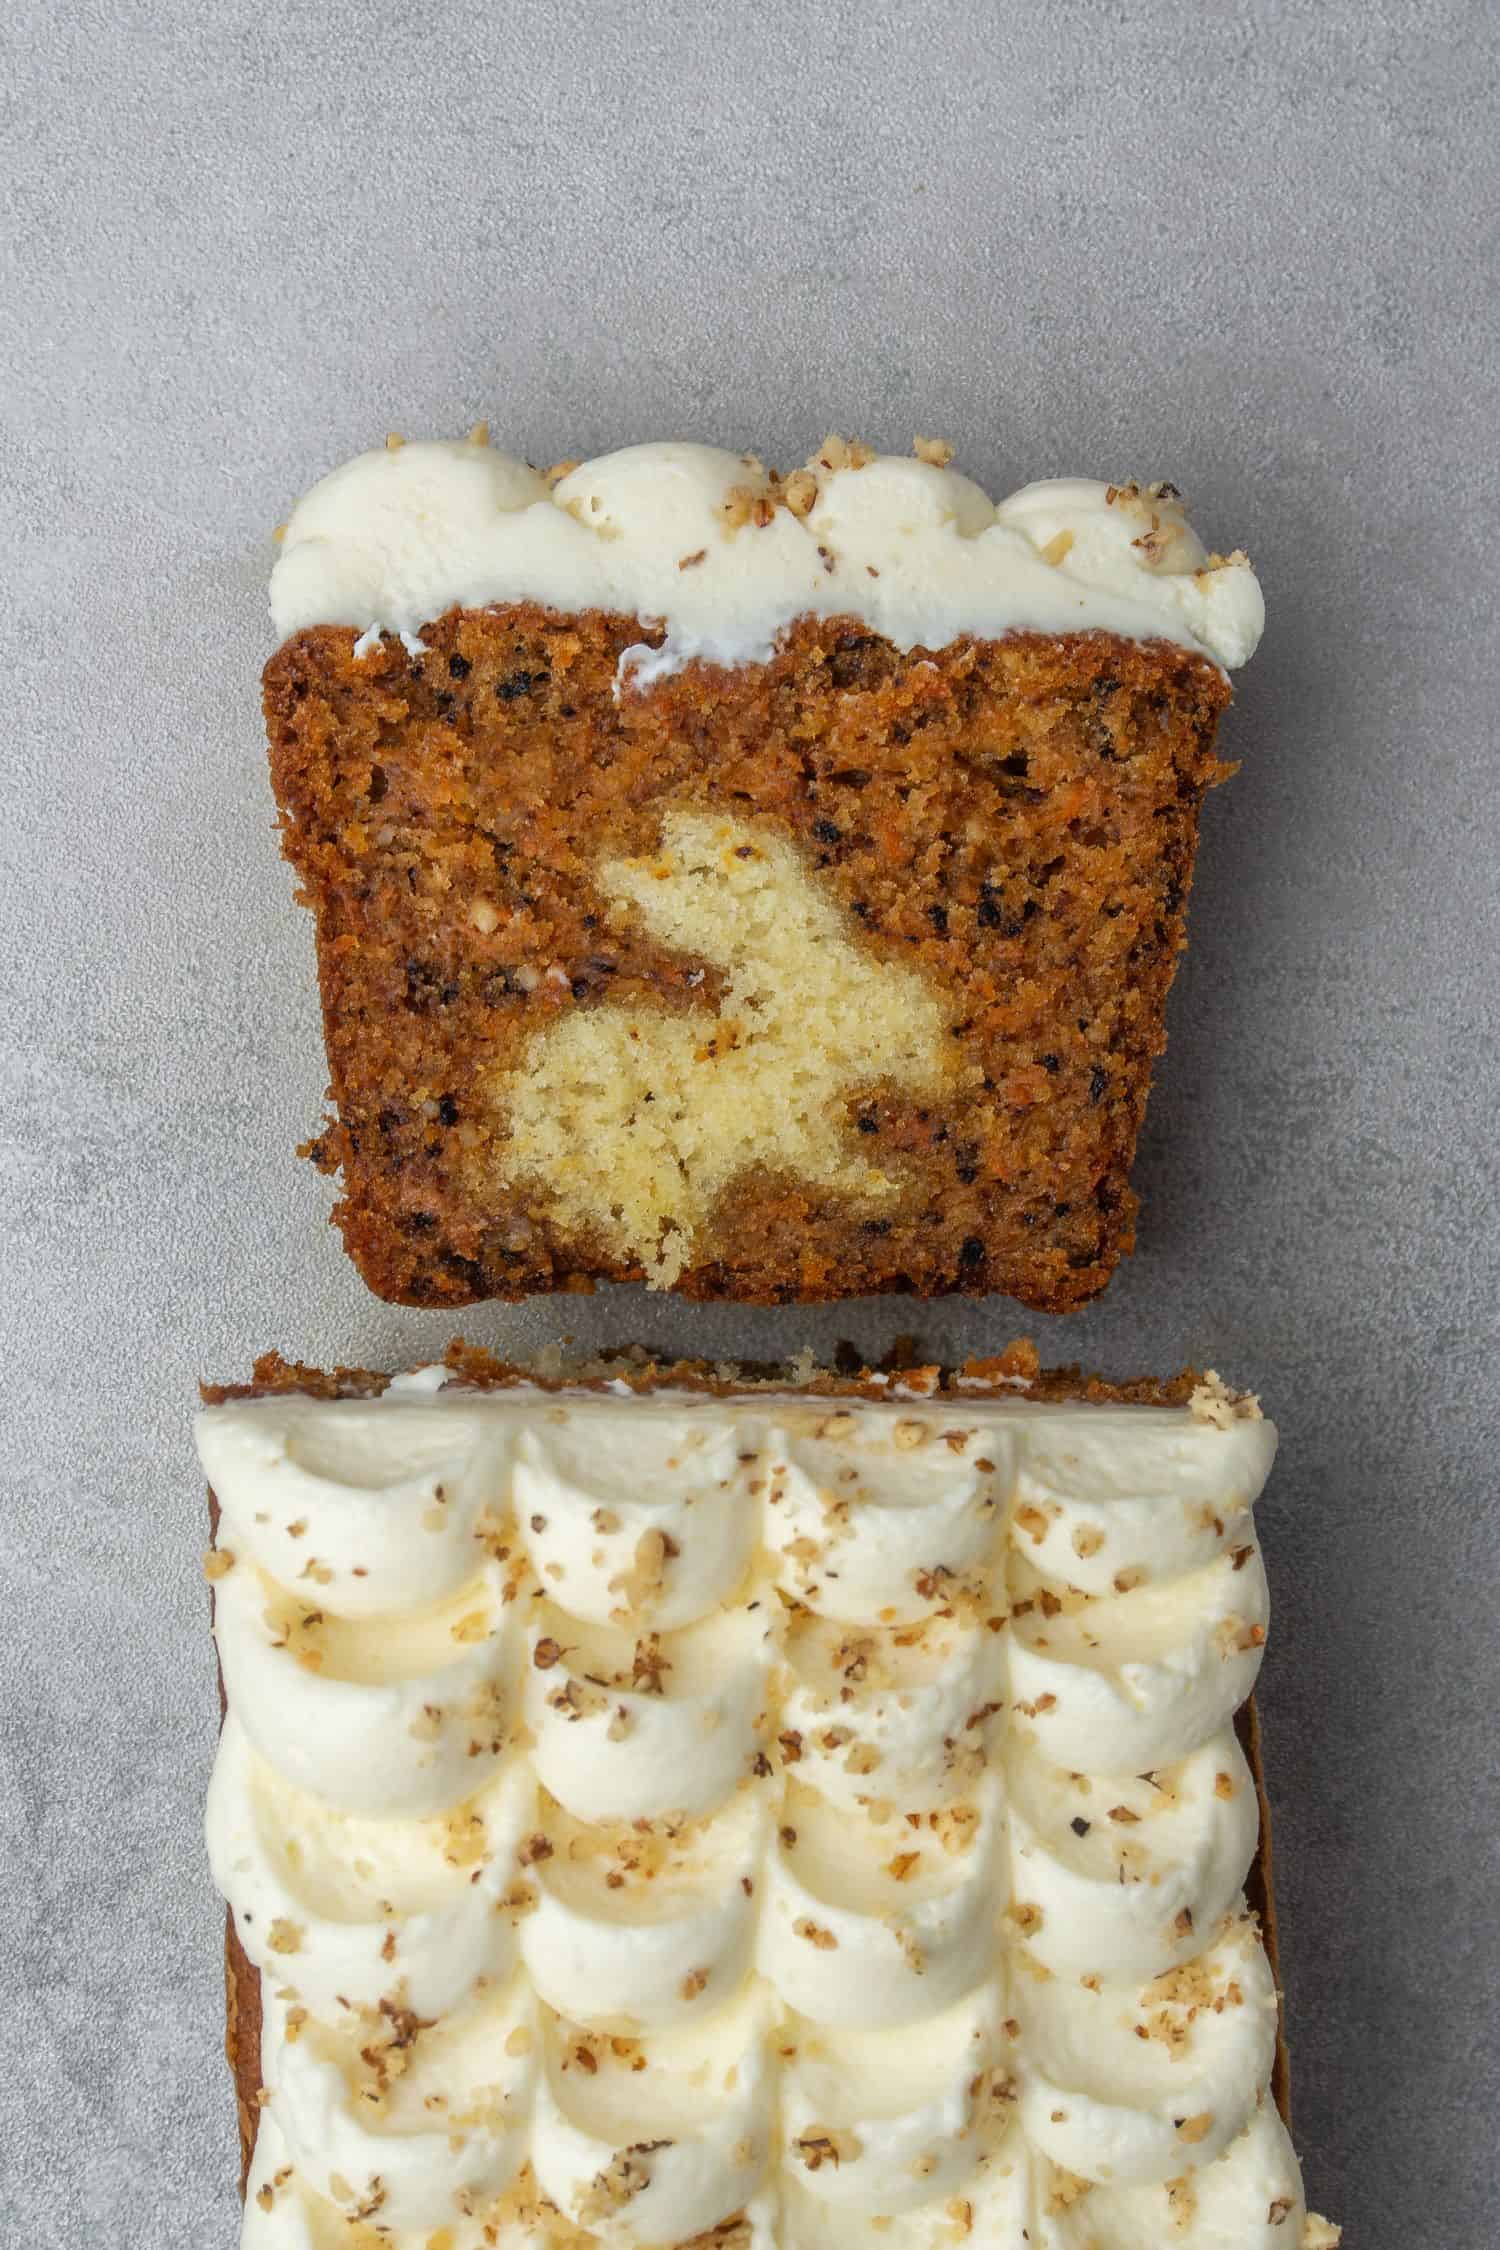
Surprise inside Easter carrot loaf cake - This is the ultimate Easter cake with a hidden bunny in each slice! Yes, I understand the irony of having a bunny in a carrot cake, but how adorable is it?!
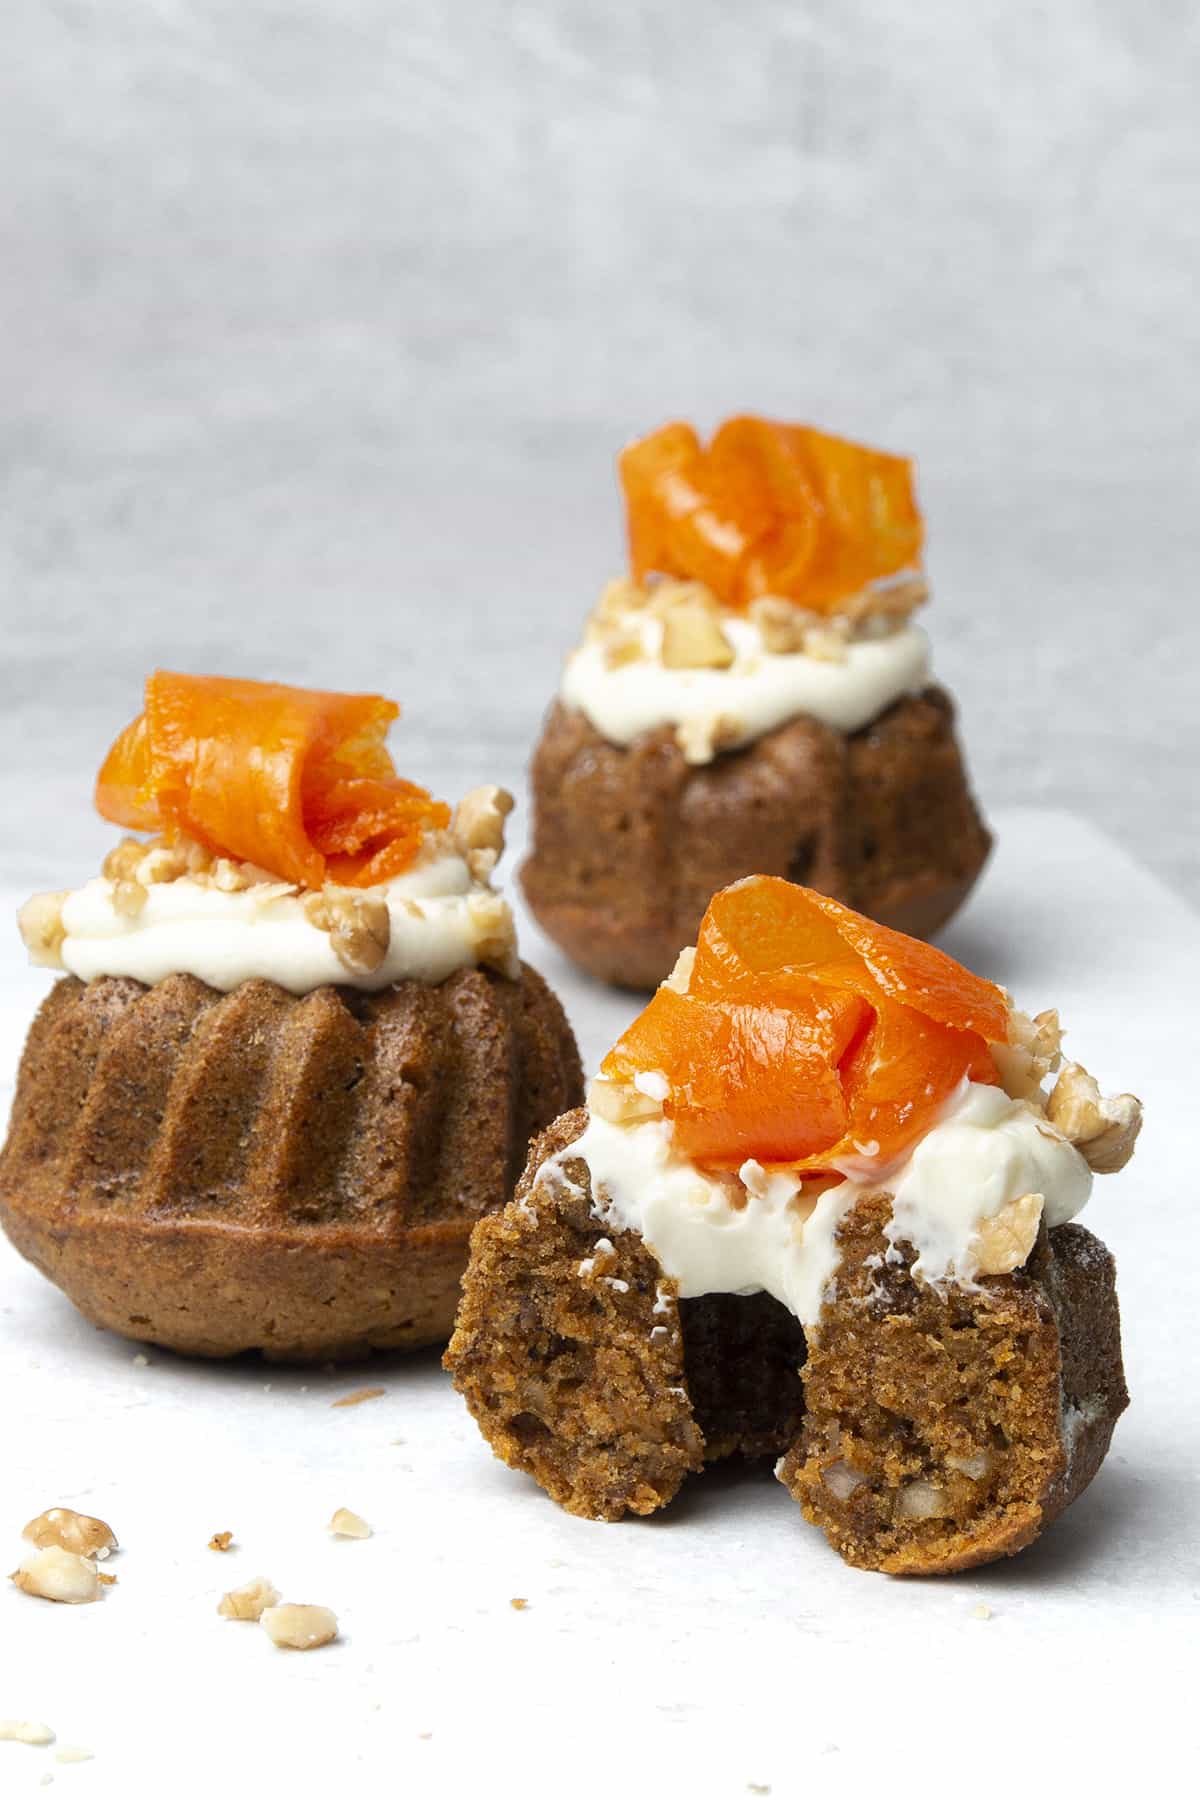
Mini Carrot cake - Easy Mini Carrot cakes with silky cream cheese frosting are the Ultimate Carrot cake experience in a lovely Mini Bundt version!
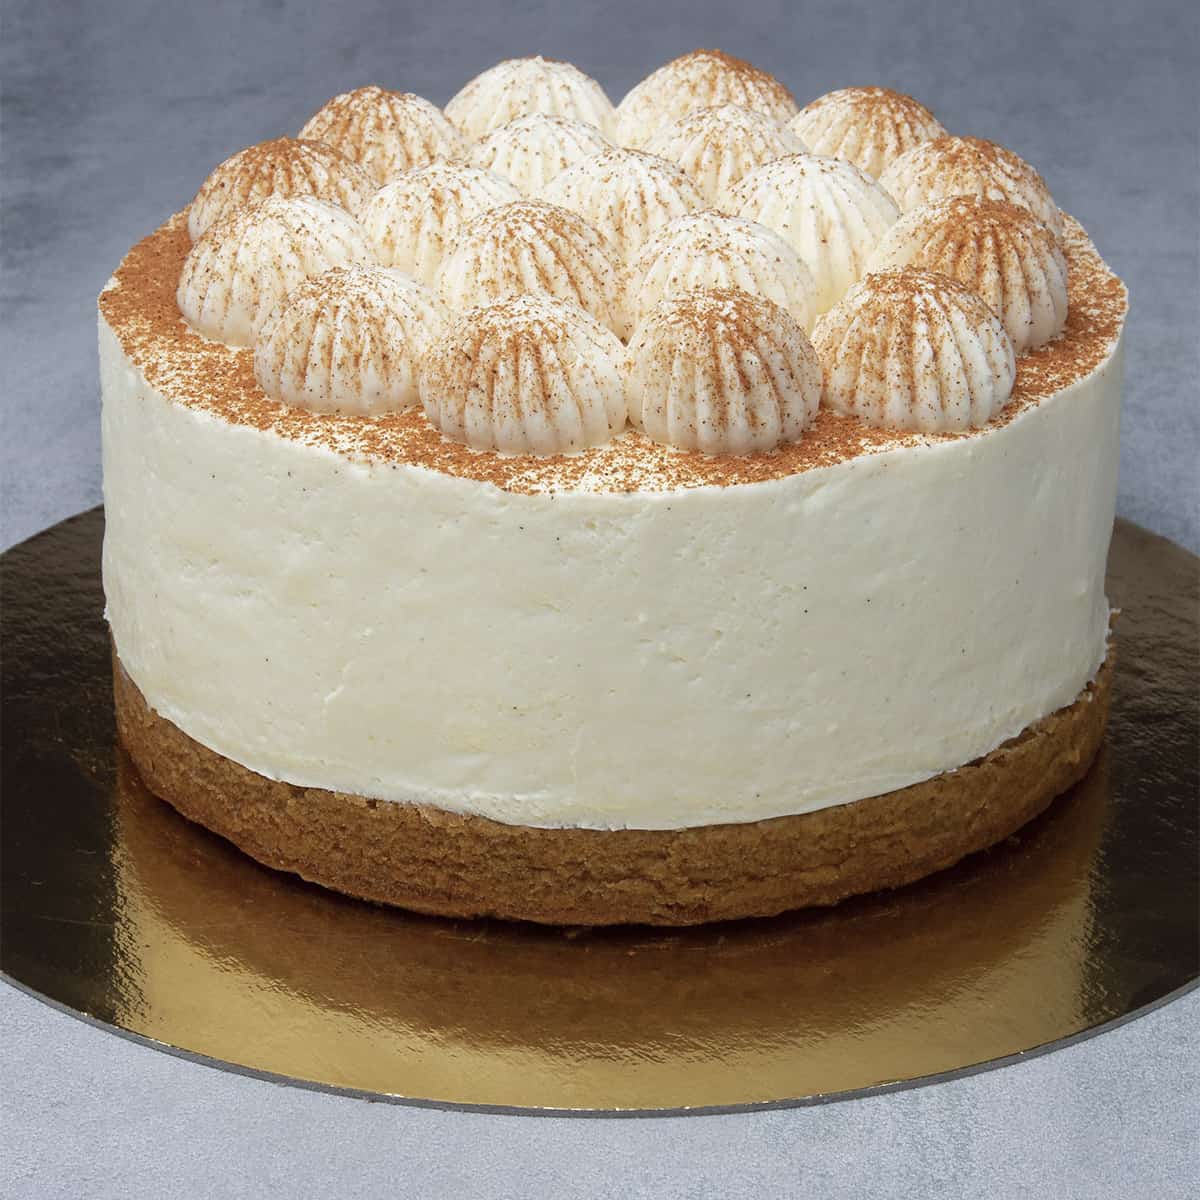
Carrot cake with cream cheese mousse filling - The best Carrot cake I have ever had!
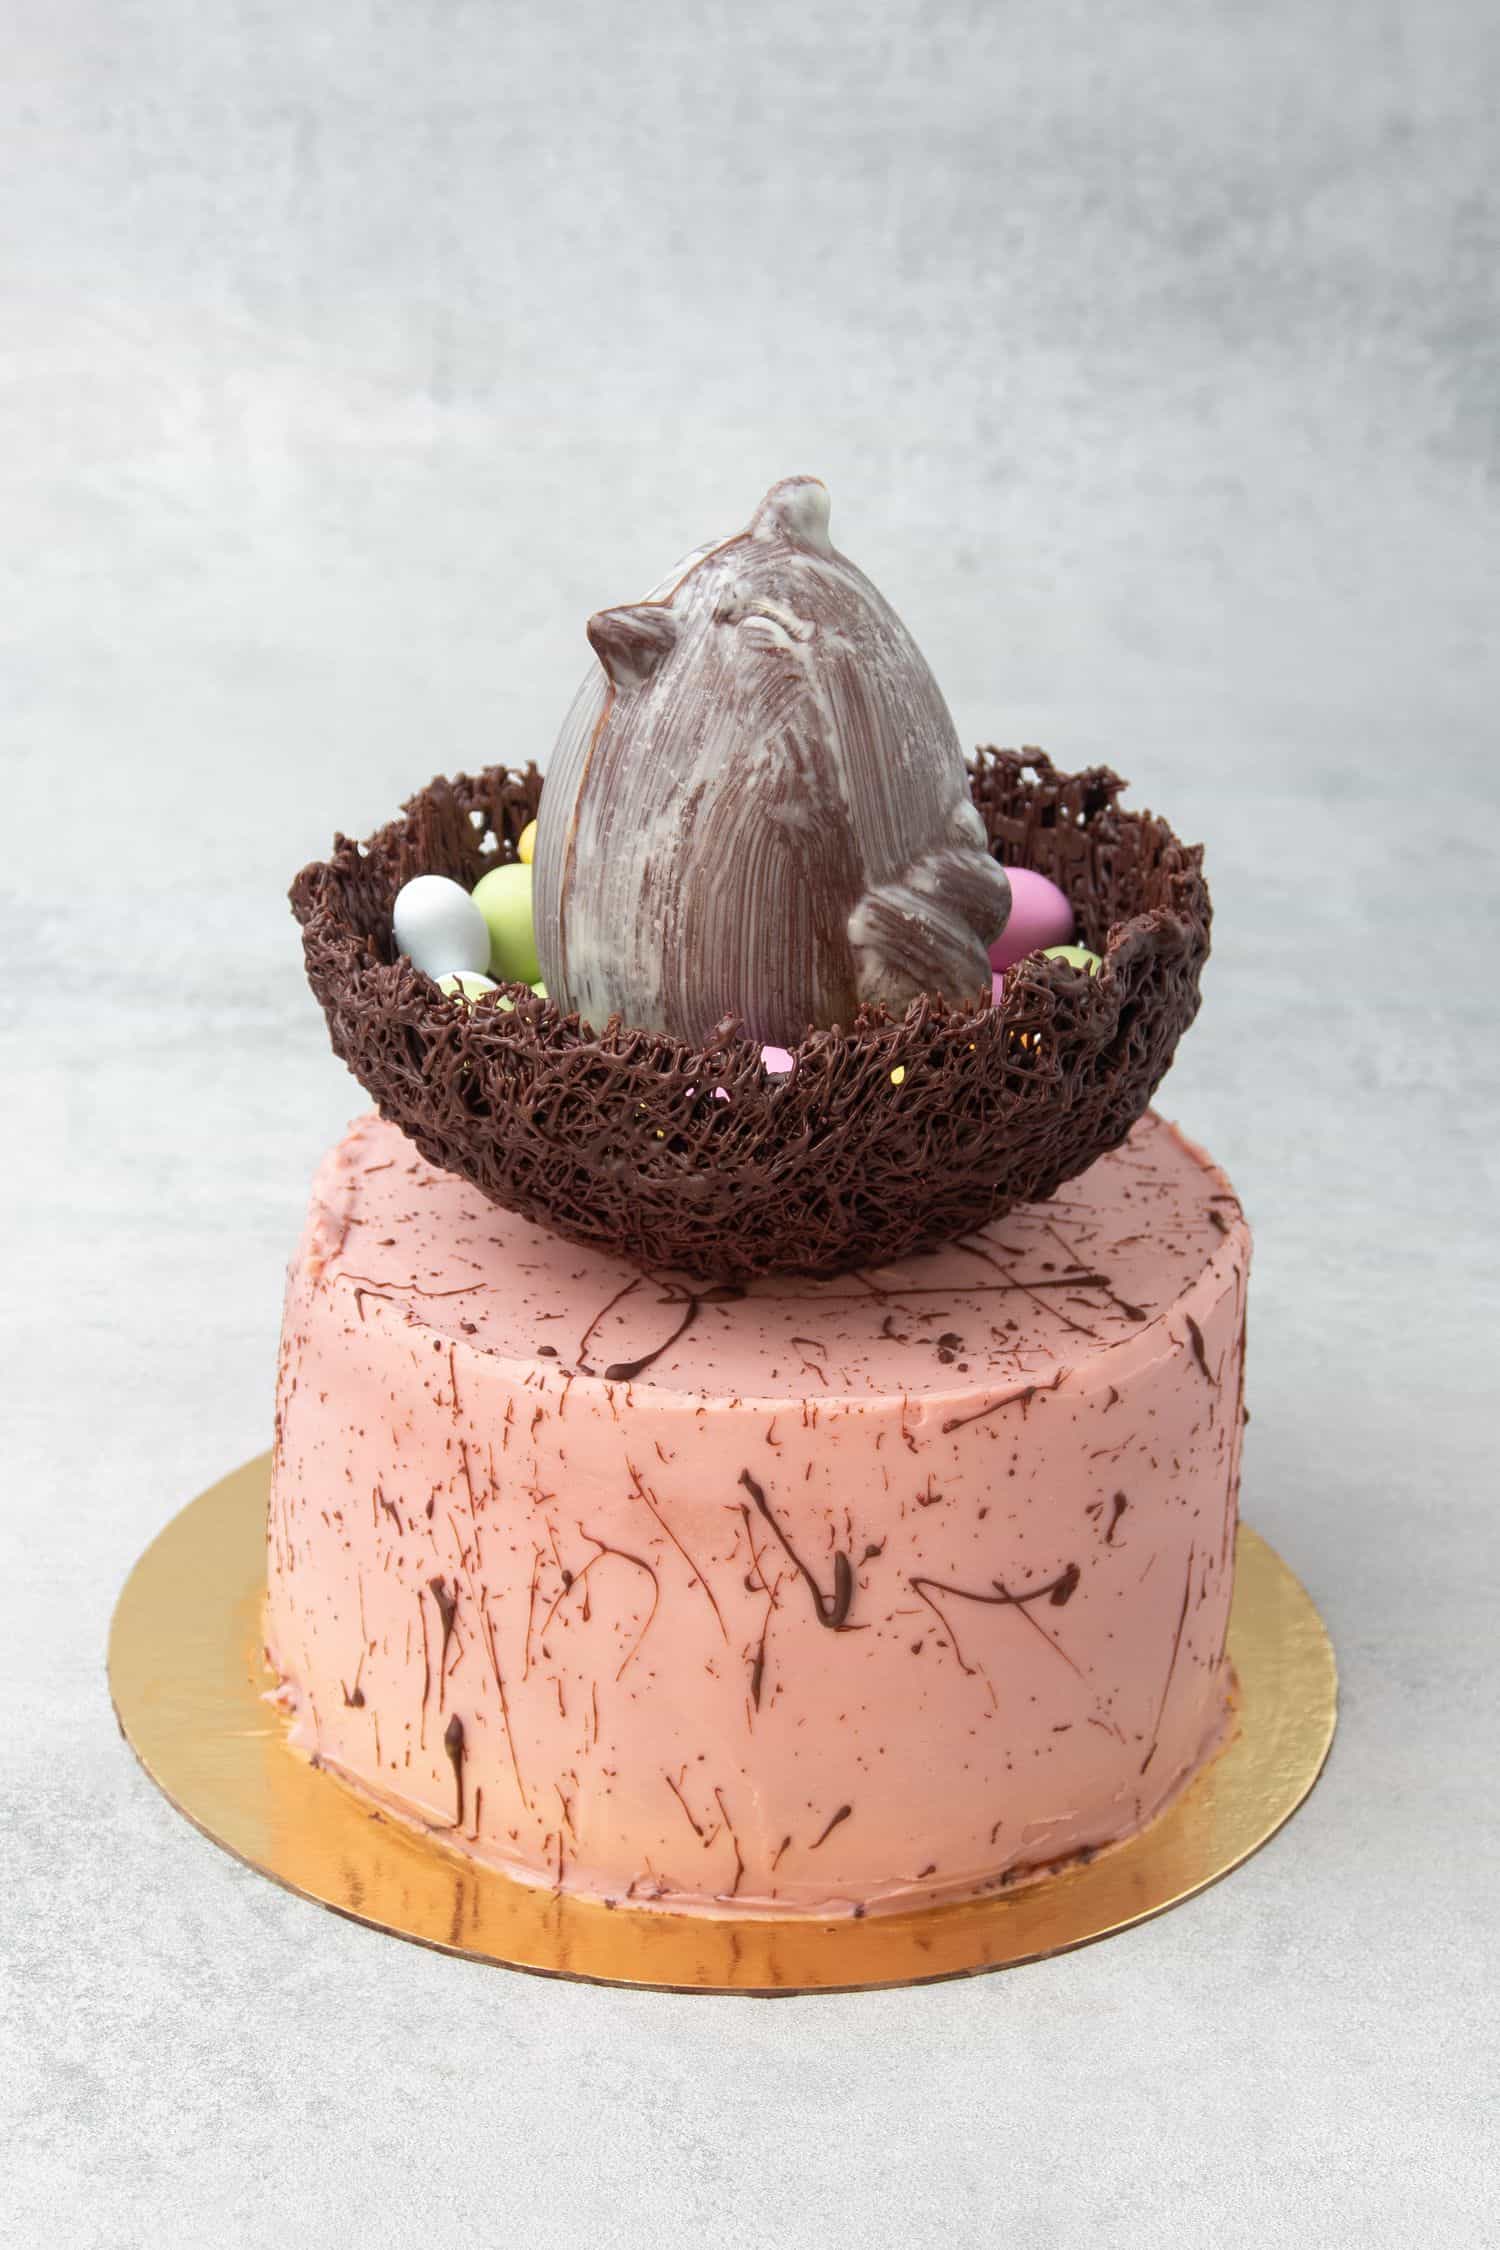
Speckled Easter egg cake - Strawberry cake with Ruby chocolate whipped ganache frosting that does not only look stunning but also extremely delicious with all-natural flavors and colors!
Easter Bunny Head cake - A showstopper Easter carrot cake shaped into a super cute bunny head!
Easter egg cookies - These cookies are the easiest baking choice for Easter, besides, they are crispy and chewy, gooey and buttery, sweet but not overly sweet, super delicious, everyone will love them.
DYI Molded Chocolate for Easter
Equipment
- Digital scale
- Chocolate mold, the one I am using called Paul Cino from Silikomart
Ingredients
For the white pattern on the Chicks
- 50 g White chocolate use high quality chocolate eg. Callebaut White Chocolate (callets)
- ¼ teaspoon Cocoa butter powder for tempering the chocolate
For the dark chocolate shell
- 200 g Dark chocolate use high quality chocolate eg. Callebaut Dark Chocolate (callets)
- 1 teaspoon Cocoa butter powder for tempering the chocolate
US customary cup measurement is an indicative figure only. Measure the ingredients with a digital scale by weight (gram). Baking is art but also science which requires precision and accuracy.
Instructions
Temper the chocolate
- Please note that you will need to temper chocolate 3x: first, 50g white choocolate to create the pattern on the Chicks then 100g dark chocolate to create the first layer of the shell then again 100g dark chocolate to create the second layer of the shell
- Use a thermometer, eg. Infrared thermometer gun to measure the chocolate temp while tempering.
Make Chocolate Chick
- Make sure first that you properly clean the mold (I am using vinegar and paper towel) as any residue will be seen on the chocolate
- Place a clean parchment paper on the table or use Silicone baking mat . In this way any chocolate that will end up on the table can be re-used
- Temper 50g white chocolate as explained above then using a brush or perhaps your fingers, apply a small amount of white chocolate on the mold then scrape excess down
- Pop to mold into the freezer meanwhile temper the first batch 100g dark chocolate
- Apply the first layer of dark chocolate on the mould, turn the mold upside down, scrape down excess then place the mold into the freezer. Meanwhile temper the second batch 100g dark chocolate
- Apply the last, second layer of chocolate. At this point, make sure that the mould is well covered with chocolate particularly the edges. Place the mold into the freezer for 15-30 min for the chocolate to set
- Take the mould out of freezer and if the chocolate is tempered correctly, the half chocolate chicks should easily pop out when you turn the mould upside down
- Microwave a small plate until it gets warm, turn one half chick upside down and smooth the edge of the chocolate in 3 seconds. After, carefully grab the other side of the chick, smooth the edge again with the help of the warm plate and seal the two together
- Store at room temperature as you would normally store chocolate

Amel Boualit
I love all your reciepes