
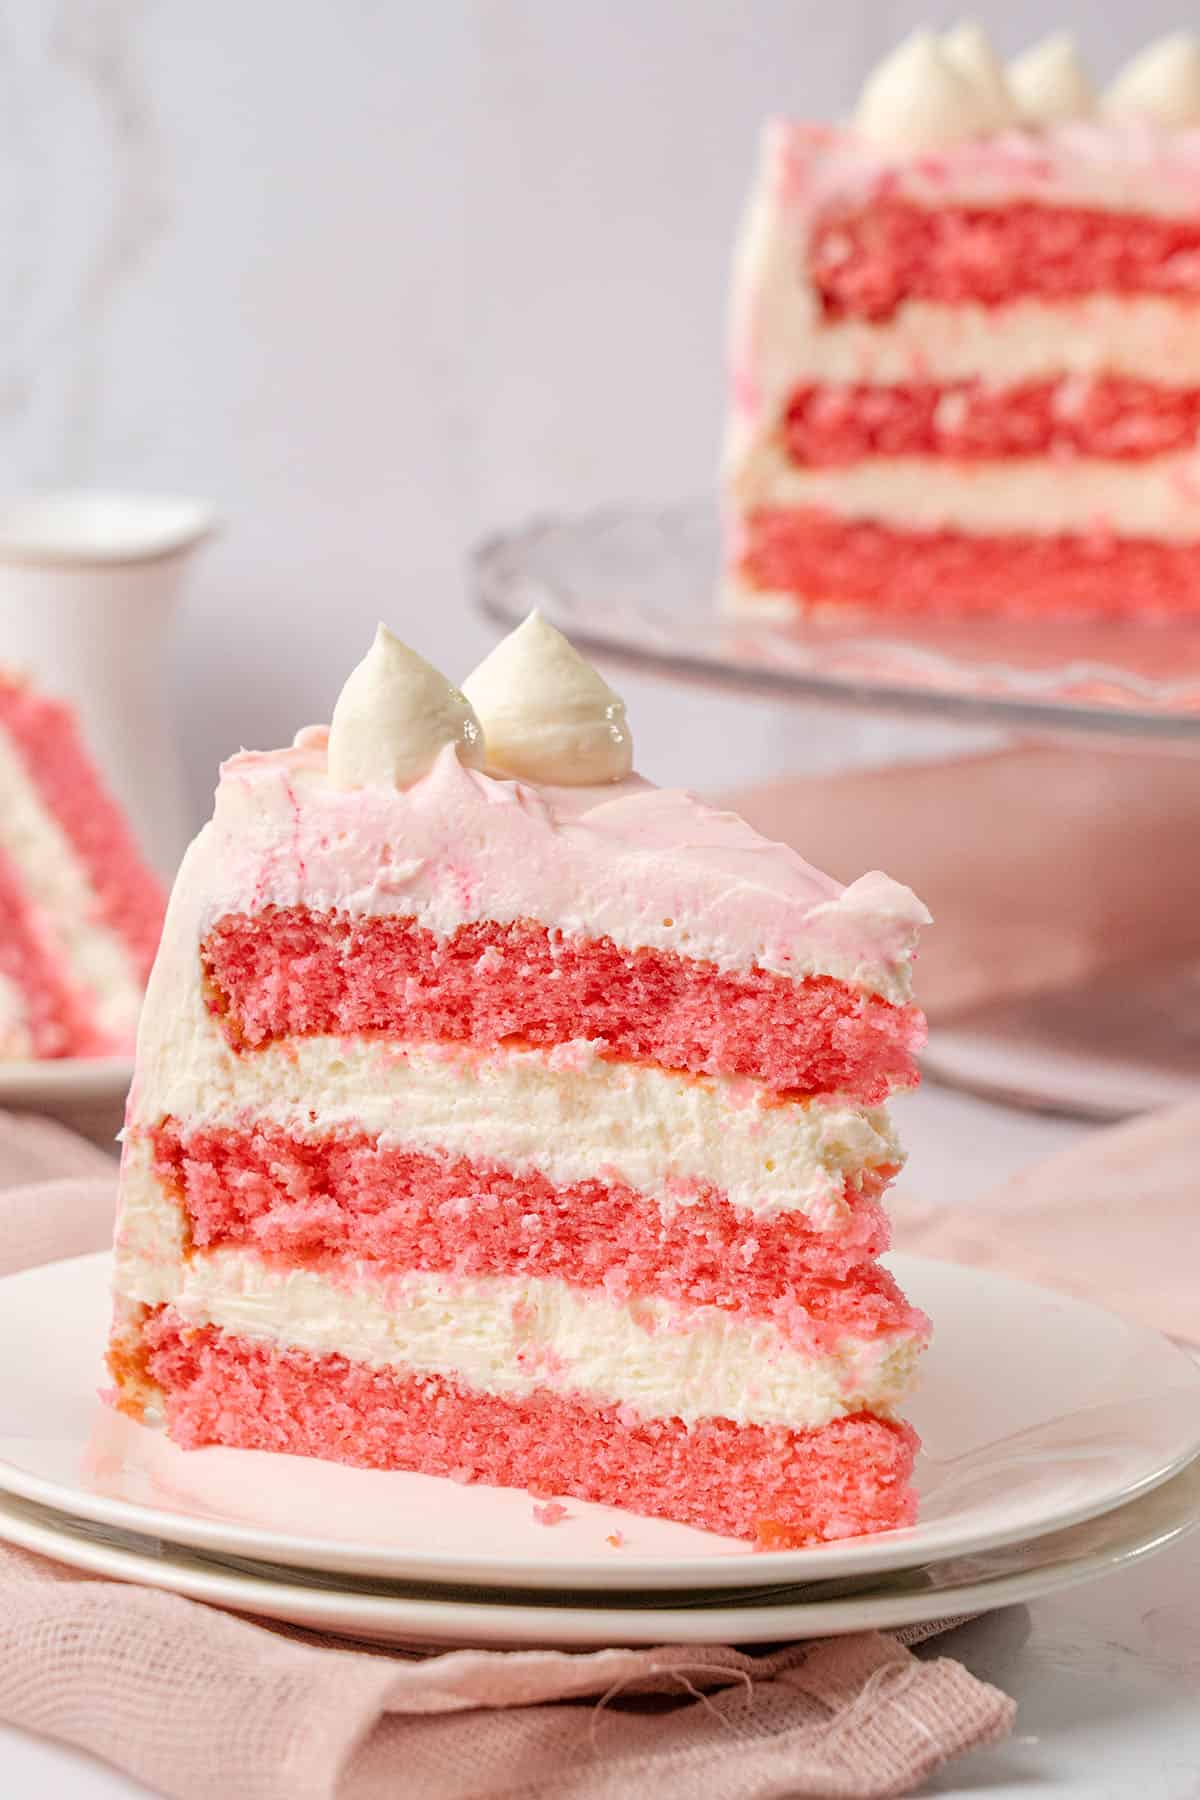
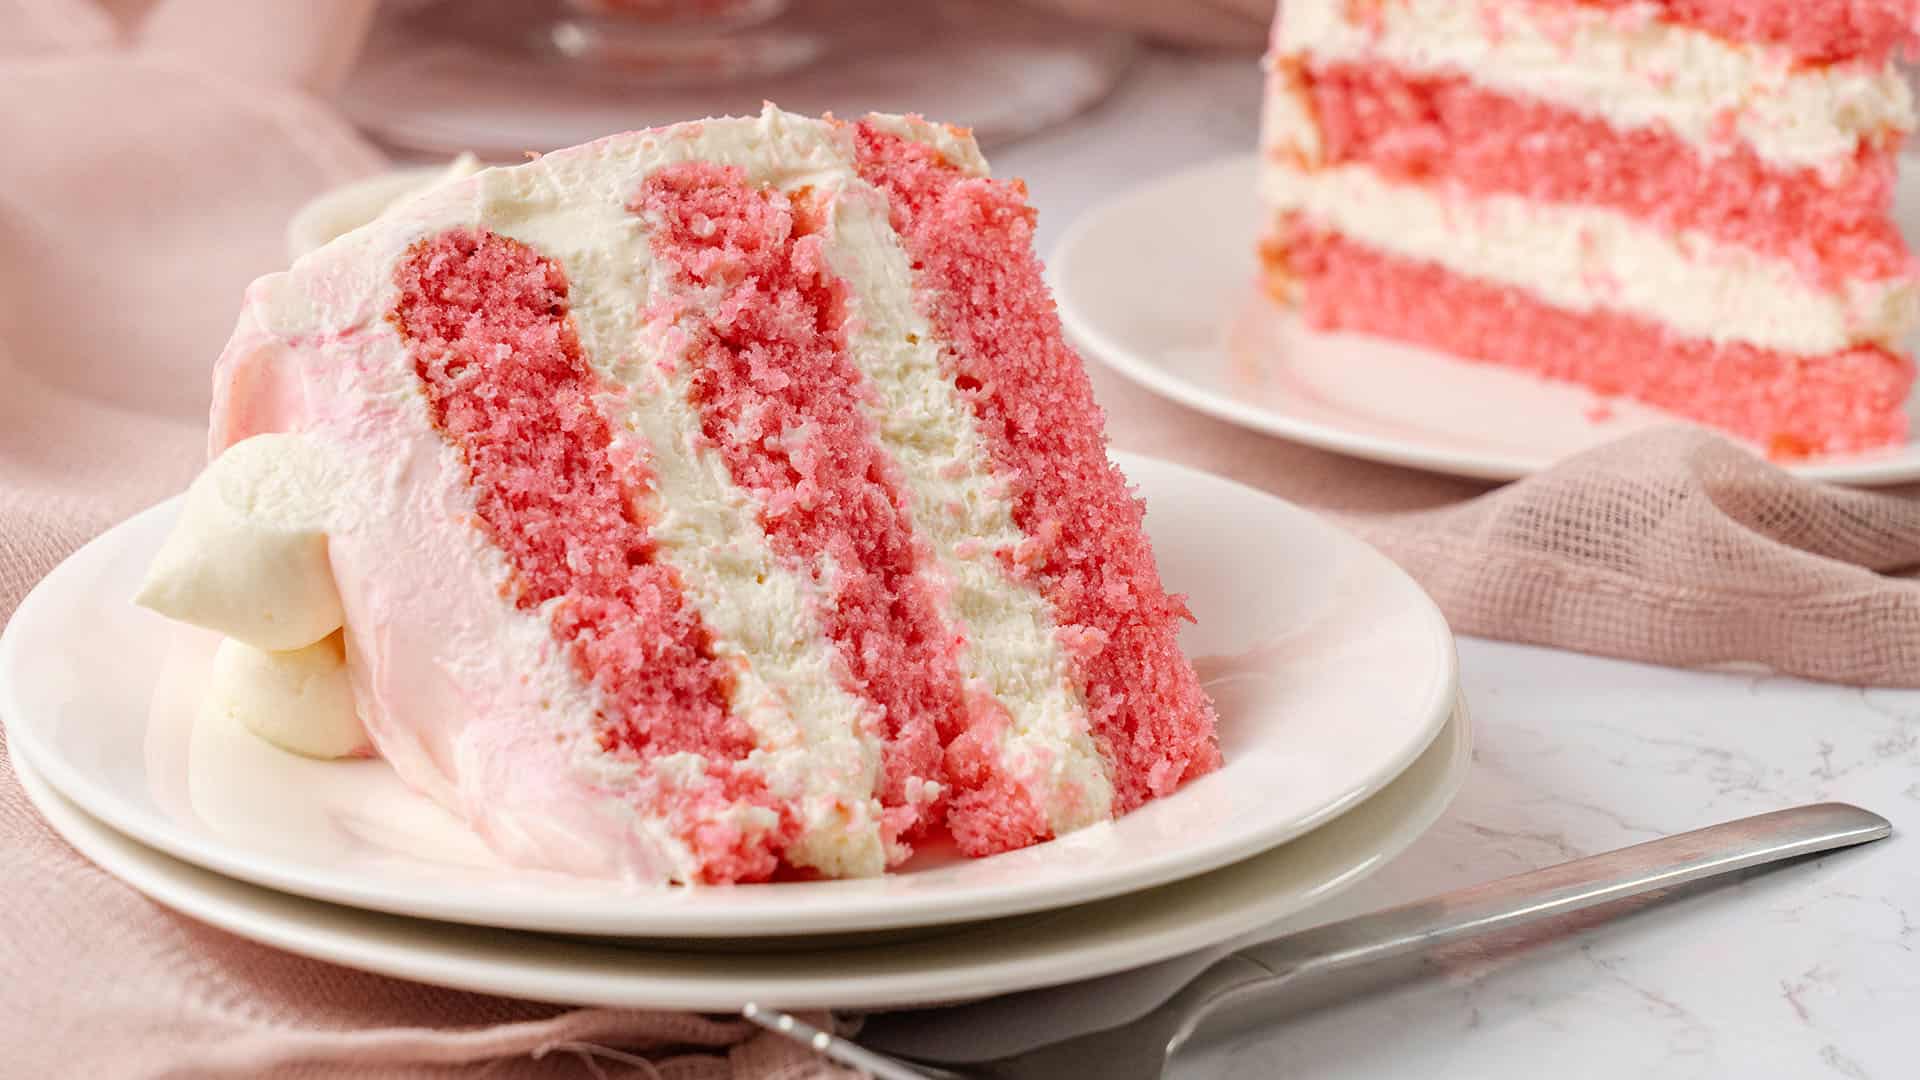
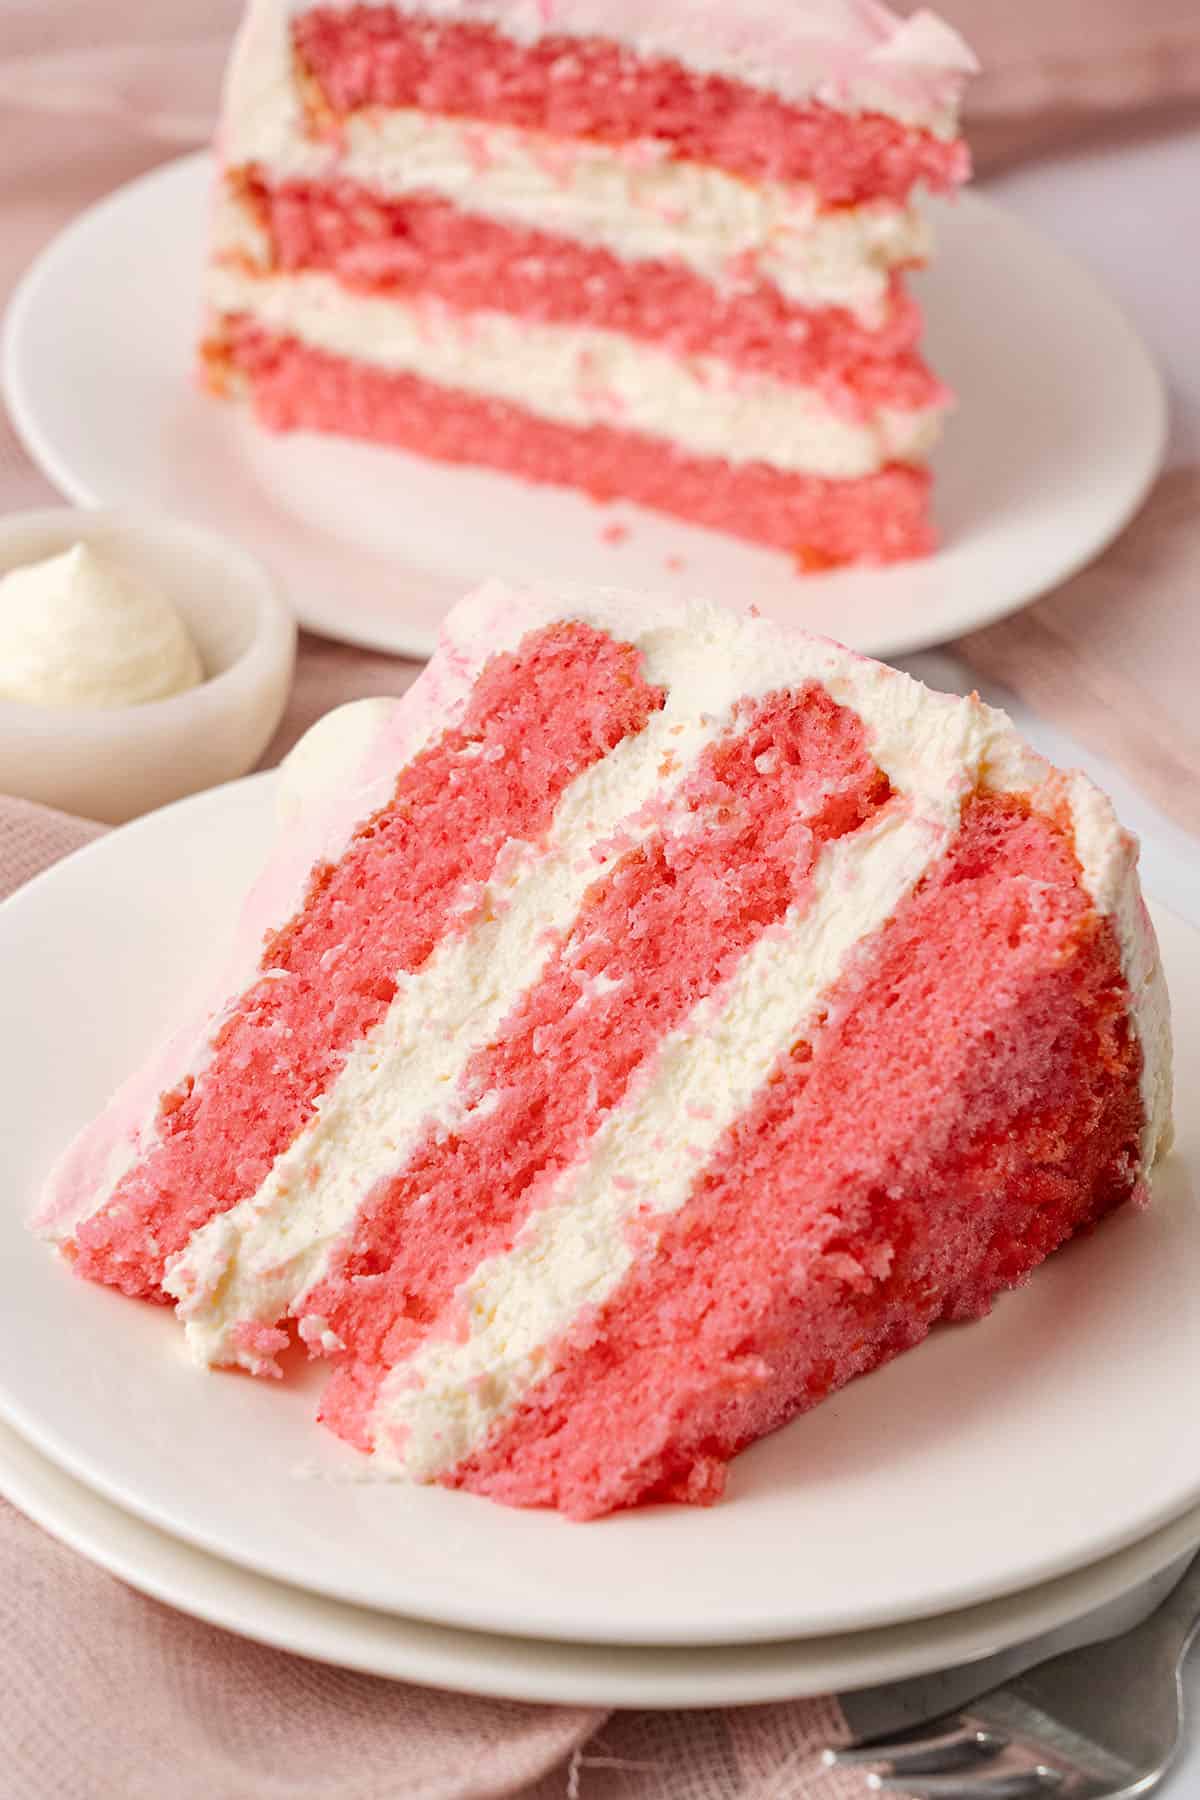
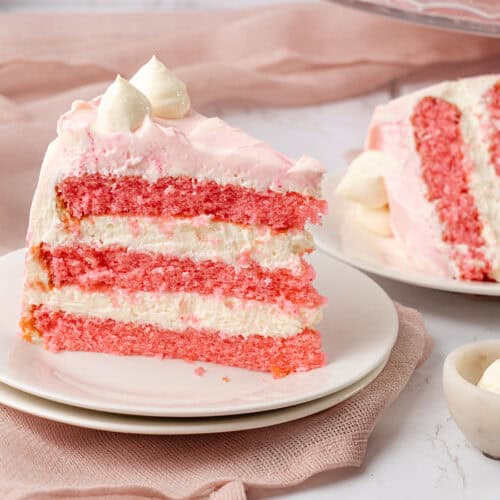
This pink cake, also known as pink velvet cake, is as delicious as it is pretty: three soft, moist vanilla sponge layers in a beautiful shade of pink, filled and covered with a light, not-too-sweet cream cheese frosting, and finished with an easy pink marble design. It is the perfect pink birthday cake, baby shower cake, or Valentine's Day treat, and just right for a princess-themed party.
This recipe has been on Spatula Desserts since 2023. Since then, I've scaled the recipe up to an 8-inch cake at your request and updated the post with new photos, helpful baking tips, and ingredient substitution options based on your questions.
Read what others said about this recipe

"I’ve tried your pink cupcakes before and was really happy to see your pink cake recipe earlier this week. This cake is super moist and so easy to make, with impressive results. Everyone loved it!" Joshua
Best Pink Cake Recipe
Many pink cakes are either a red velvet in disguise, with cocoa and buttermilk, or a strawberry cake that never turns truly pink. This homemade pink layer cake is simple and honest, made from scratch with no boxed cake mix. A light, fluffy, moist vanilla sponge colored a pretty, even pink, with fresh vanilla and cream cheese flavors. Unlike my red velvet cake, there is no cocoa here.
The sponge is my vanilla moist sponge cake, simply tinted pink. It is made with oil instead of butter, so it stays soft and tender even straight from the fridge. It rises tall from whipped eggs alone, with no baking powder.
My view on coloring is that natural options like freeze-dried strawberries or berry puree sound appealing, but they change the cake's flavor, add moisture or acidity that affects the crumb, and fade to a dull, brownish pink in the oven. Liquid supermarket food coloring is also not ideal. It is so weak that you need a lot of it, which thins the batter.
For a clean, reliable pink, I use a concentrated pink gel food coloring, such as Americolor. A few drops are enough, and they don't change the flavor or texture.
The frosting is my cream cheese frosting without butter, the same one I use in my chocolate cake with cream cheese frosting. Instead of butter and many cups of powdered sugar, it gets its body from full-fat cream cheese and mascarpone, so it stays fresh, tangy, and only gently sweet. A little of it, tinted pink, gives the cake its marble finish.
For a smaller treat, try my pink cupcakes.
Katalin's Key Take on Why Try Cream Cheese Frosting Without Butter
A cream cheese frosting needs two things. Something to bind the water in the cream cheese, and enough fat to hold its shape. In a classic recipe, butter provides the fat and powdered sugar binds the water. Take the butter away, and most recipes compensate by adding even more sugar to stop the frosting from turning runny. It holds its shape, but it ends up cloyingly sweet, and the tangy cream cheese flavor disappears.
My frosting takes a different route. Instead of more sugar, it uses more fat: high-fat mascarpone replaces the butter, and full-fat cream cheese forms the base. The fat gives the frosting its body, so only a small amount of powdered sugar is needed. The result:
- Balanced sweetness. You taste fresh, tangy cream cheese, not just sugar, which is the perfect contrast to a rich chocolate cake.
- A light, creamy texture that stays creamy. Without butter, the frosting never sets rock-hard in the fridge, so the cake can be served cold and still taste soft.
- Quick and foolproof. Three ingredients, used straight from the fridge, and a few minutes of whipping.
The one rule is that every dairy ingredient must be high in fat. Low-fat cream cheese or mascarpone contains more water, and the frosting will turn runny no matter how carefully you whip it.
Bake the Pink Sponge
Bring all the ingredients to room temperature and preheat the oven to 170°C / 340°F, without the fan.
Line three straight-sided 8-inch (20 cm) cake pans with parchment paper on the bottom and sides; avoid springforms, as the batter is runny.
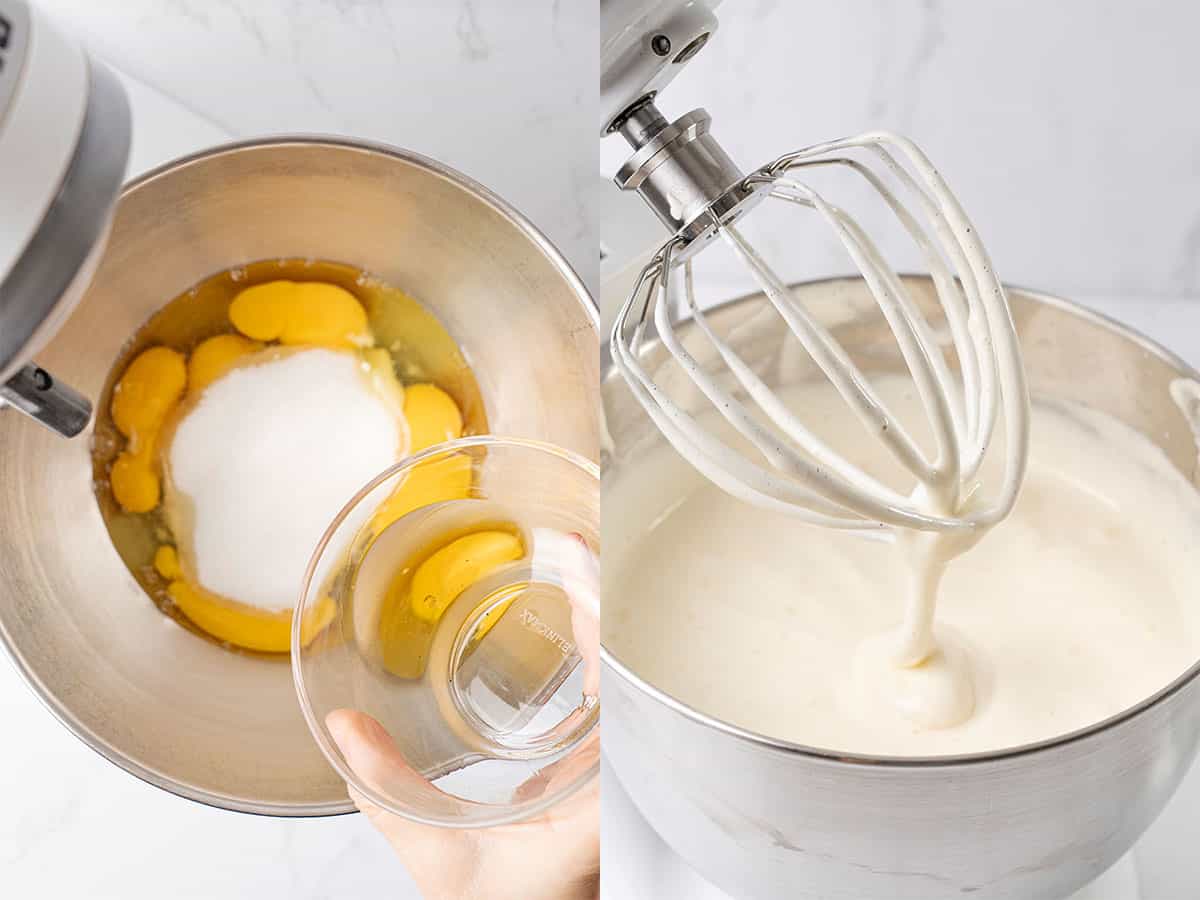
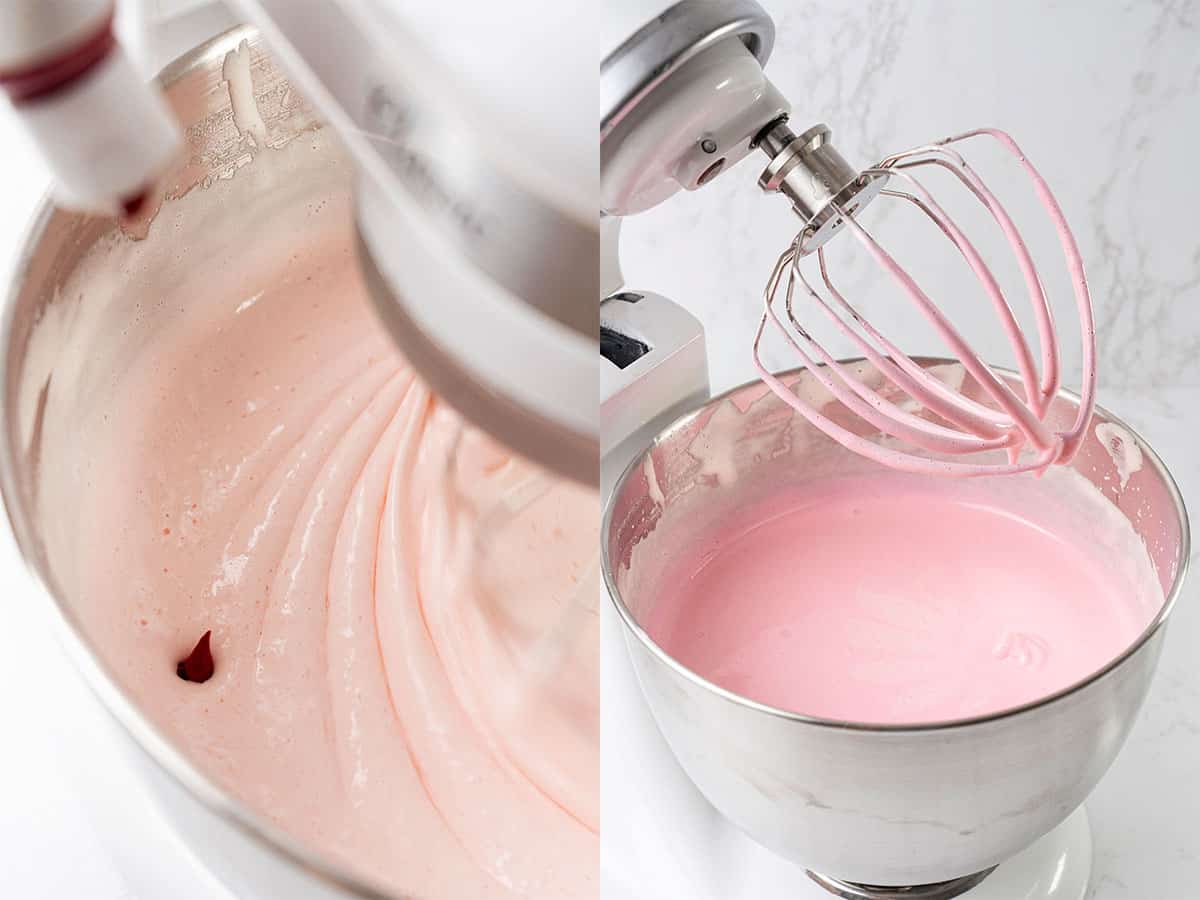
Whip the eggs, sugar, and vanilla extract with an electric hand mixer or stand mixer on high speed for at least 5 minutes, until thick, pale, and at the ribbon stage: when you lift the whisk, the mixture falls back in a ribbon that sits on the surface. Turn the mixer down to low and whip for another 1 to 2 minutes to break up the large air bubbles. Add the pink gel color now so it spreads evenly. If you would like a deeper pink, add a little more.
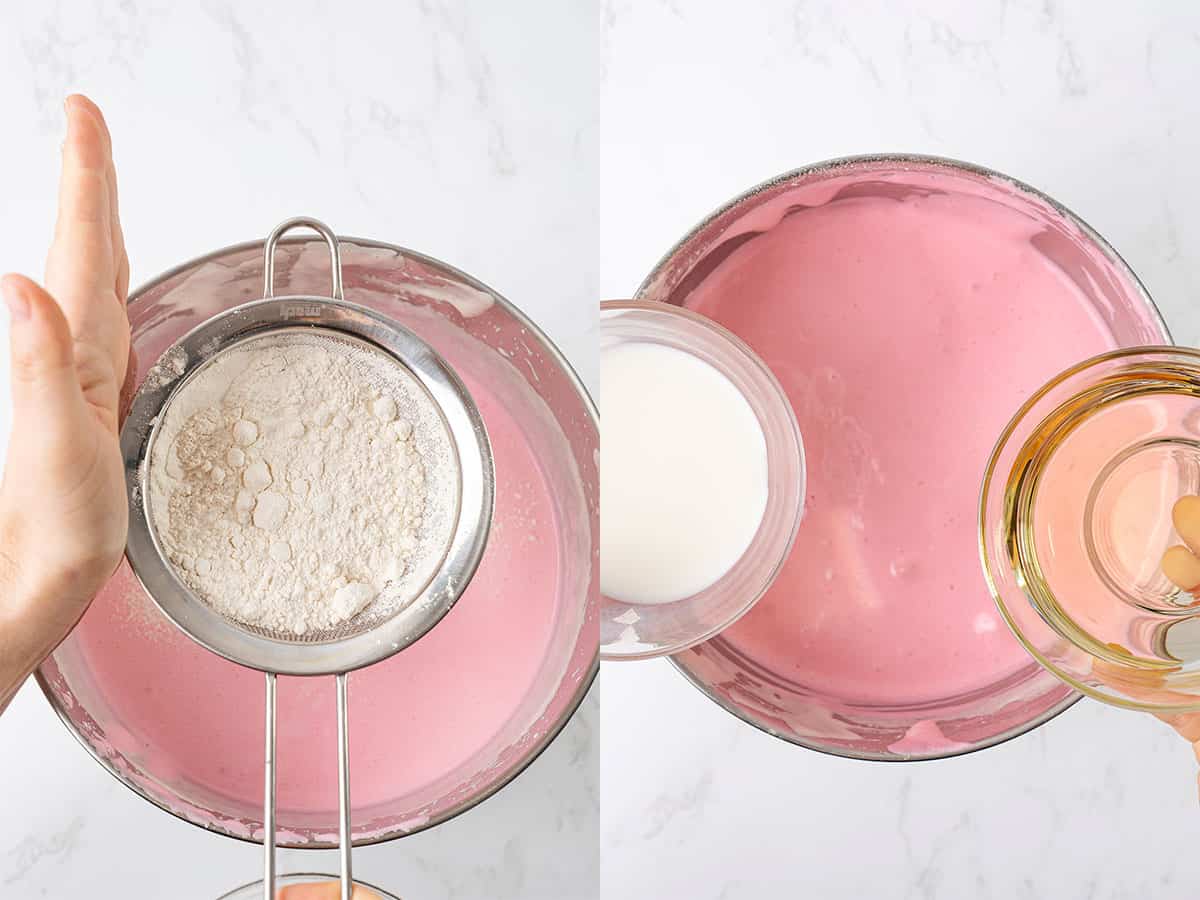
Sift the flour over the egg mixture and gently fold it in with a rubber spatula until no flour remains, taking care not to deflate the batter. Pour in the room-temperature milk and oil, then combine with a cut-and-fold motion: cut down the center, scoop up from the bottom, fold over the top, and turn the bowl, just until combined.
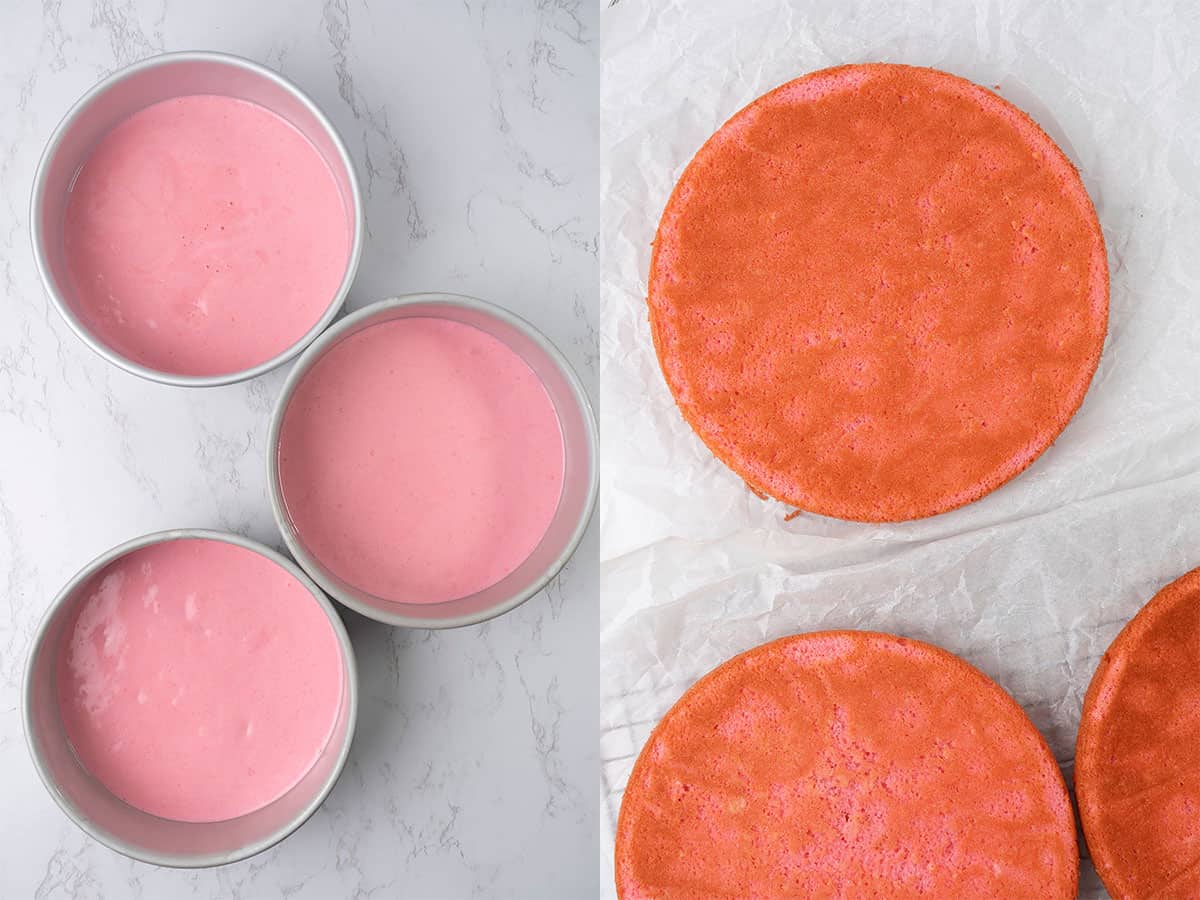
Divide the batter evenly among the three pans. Then, bake for about 30 minutes, or until a toothpick inserted in the center comes out clean. Keep the oven door closed until the sponges have set, as this airy batter can easily deflate. They are ready when the tops spring back, the sides pull away from the pans, and a toothpick comes out clean.
Turn the sponges upside down on a cooling rack and let them cool completely to keep them from sinking. Then chill them; cold sponges are much easier to stack and frost.
If a sponge ever does sink, see my guide on why cakes sink.
Whip the Cream Cheese Frosting
We use the cream cheese and mascarpone straight from the fridge. What matters is that both are full-fat. Choose block cream cheese, such as Philadelphia, which holds less water than the spreadable kind in a tub, and mascarpone with around 41% fat. That fat gives the frosting its body, so it needs only a modest amount of sugar.
Put the cream cheese, mascarpone, sifted powdered sugar, and vanilla extract into a large bowl. Begin mixing on low speed so the sugar does not puff out of the bowl. Then, whip with an electric hand mixer for two to three minutes until smooth, fluffy, and pipeable. If you use a stand mixer, fit the whisk attachment and keep an eye on it.

Stop the moment it looks fluffy. Unlike buttercream, this frosting never firms up with extra whipping; it loosens and can separate. Pipe a small swirl onto a plate to check that it holds its shape; if it feels soft, refrigerate it for 30 to 60 minutes to let it set.

Assemble the Pink Cake layers
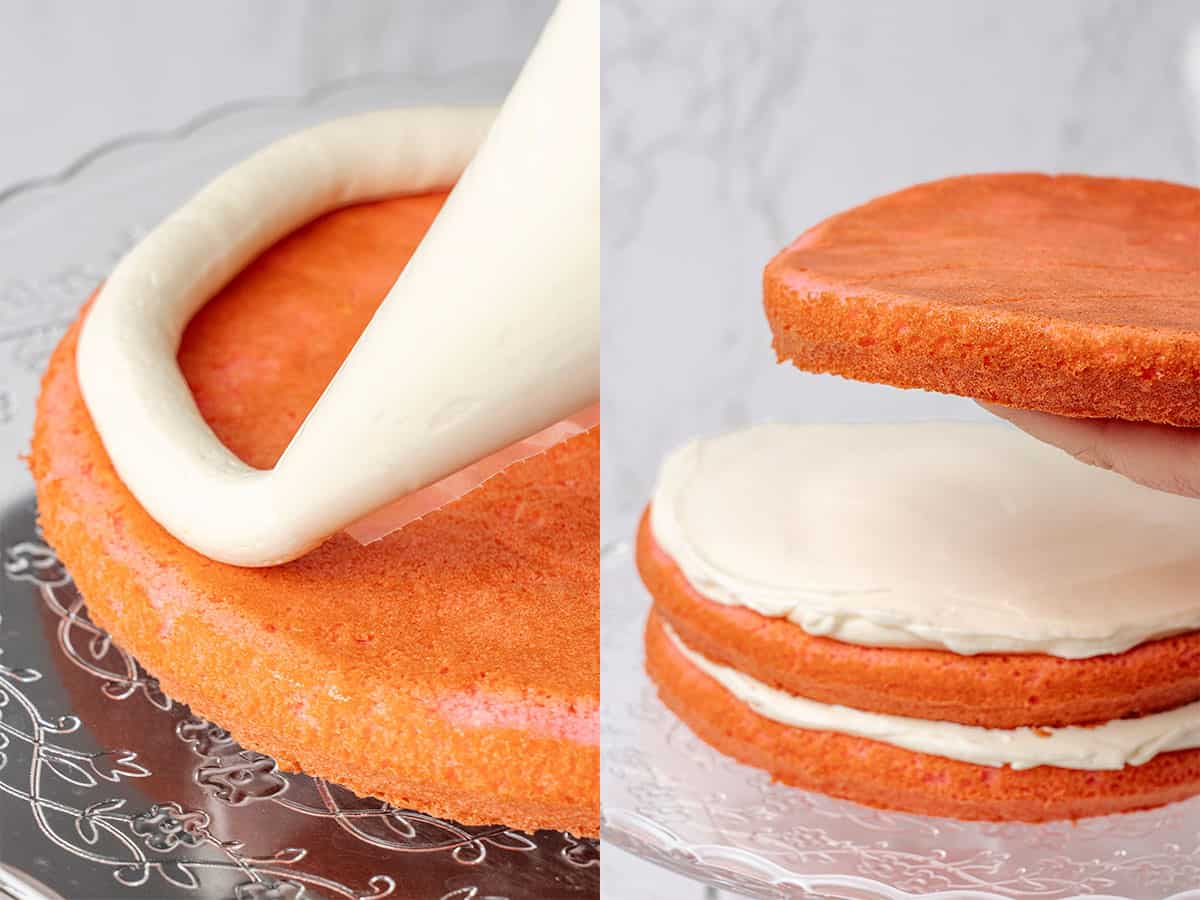
Remember that the same frosting fills the layers, covers the outside, and makes the marble decoration, so weigh it with a digital scale. I use 300 g of frosting for each of the two filling layers, and keep the rest for the crumb coat, the final coat, and the decoration. Weighing the filling also makes every layer look identical when you cut the cake.
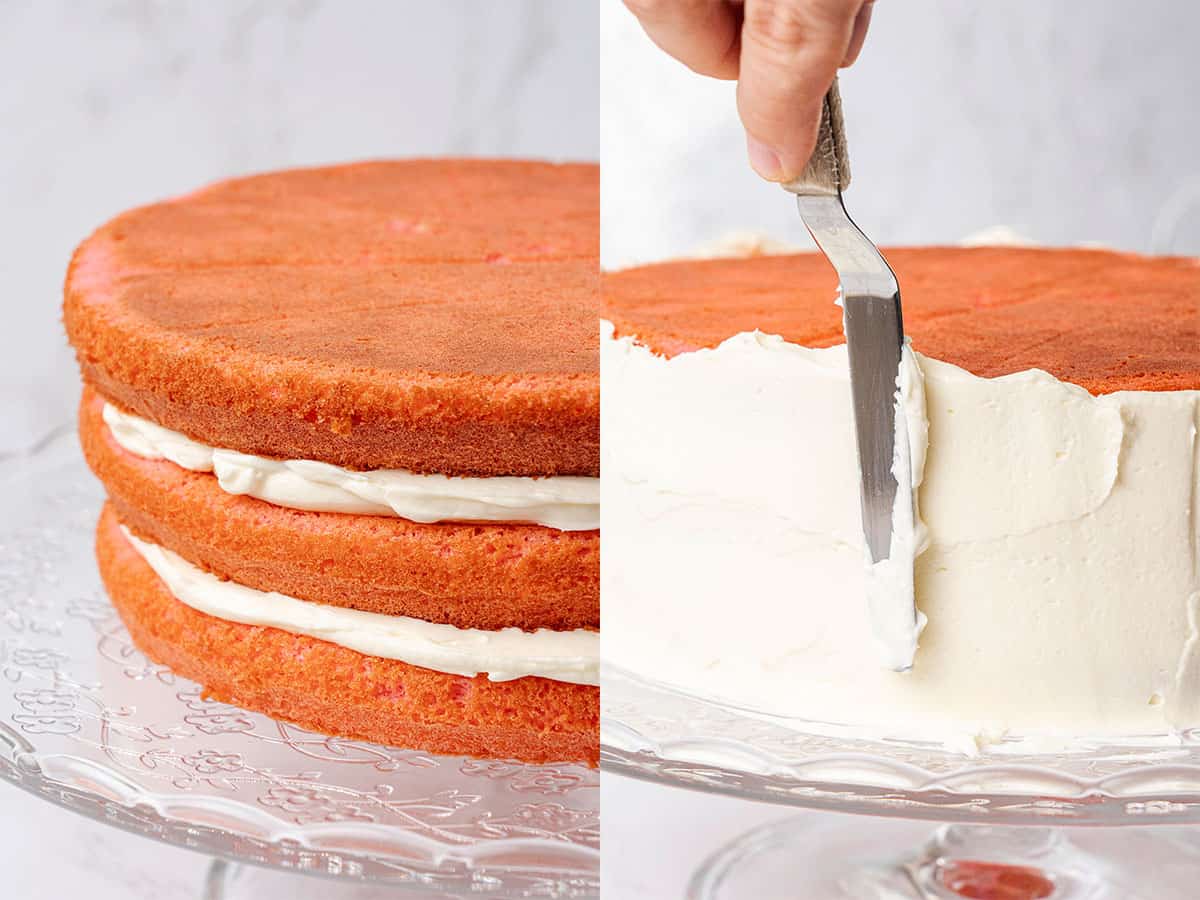
Place the first pink sponge directly on your serving plate or cake board, as a filled cake is hard to move later. Spread the first portion of frosting evenly over it with an offset spatula, add the second sponge and the second portion, then top with the third sponge. Check from eye level that the layers are level and straight, and chill the cake for at least 30 minutes, until the frosting has firmed up.
Spread a thin crumb coat over the whole cake to trap loose crumbs, then chill for another 30 minutes.
How to make the marble pink decoration
Set aside a little frosting for the top piping decoration, then take a few spoonfuls of the remaining frosting and tint them pink with a drop of gel color.
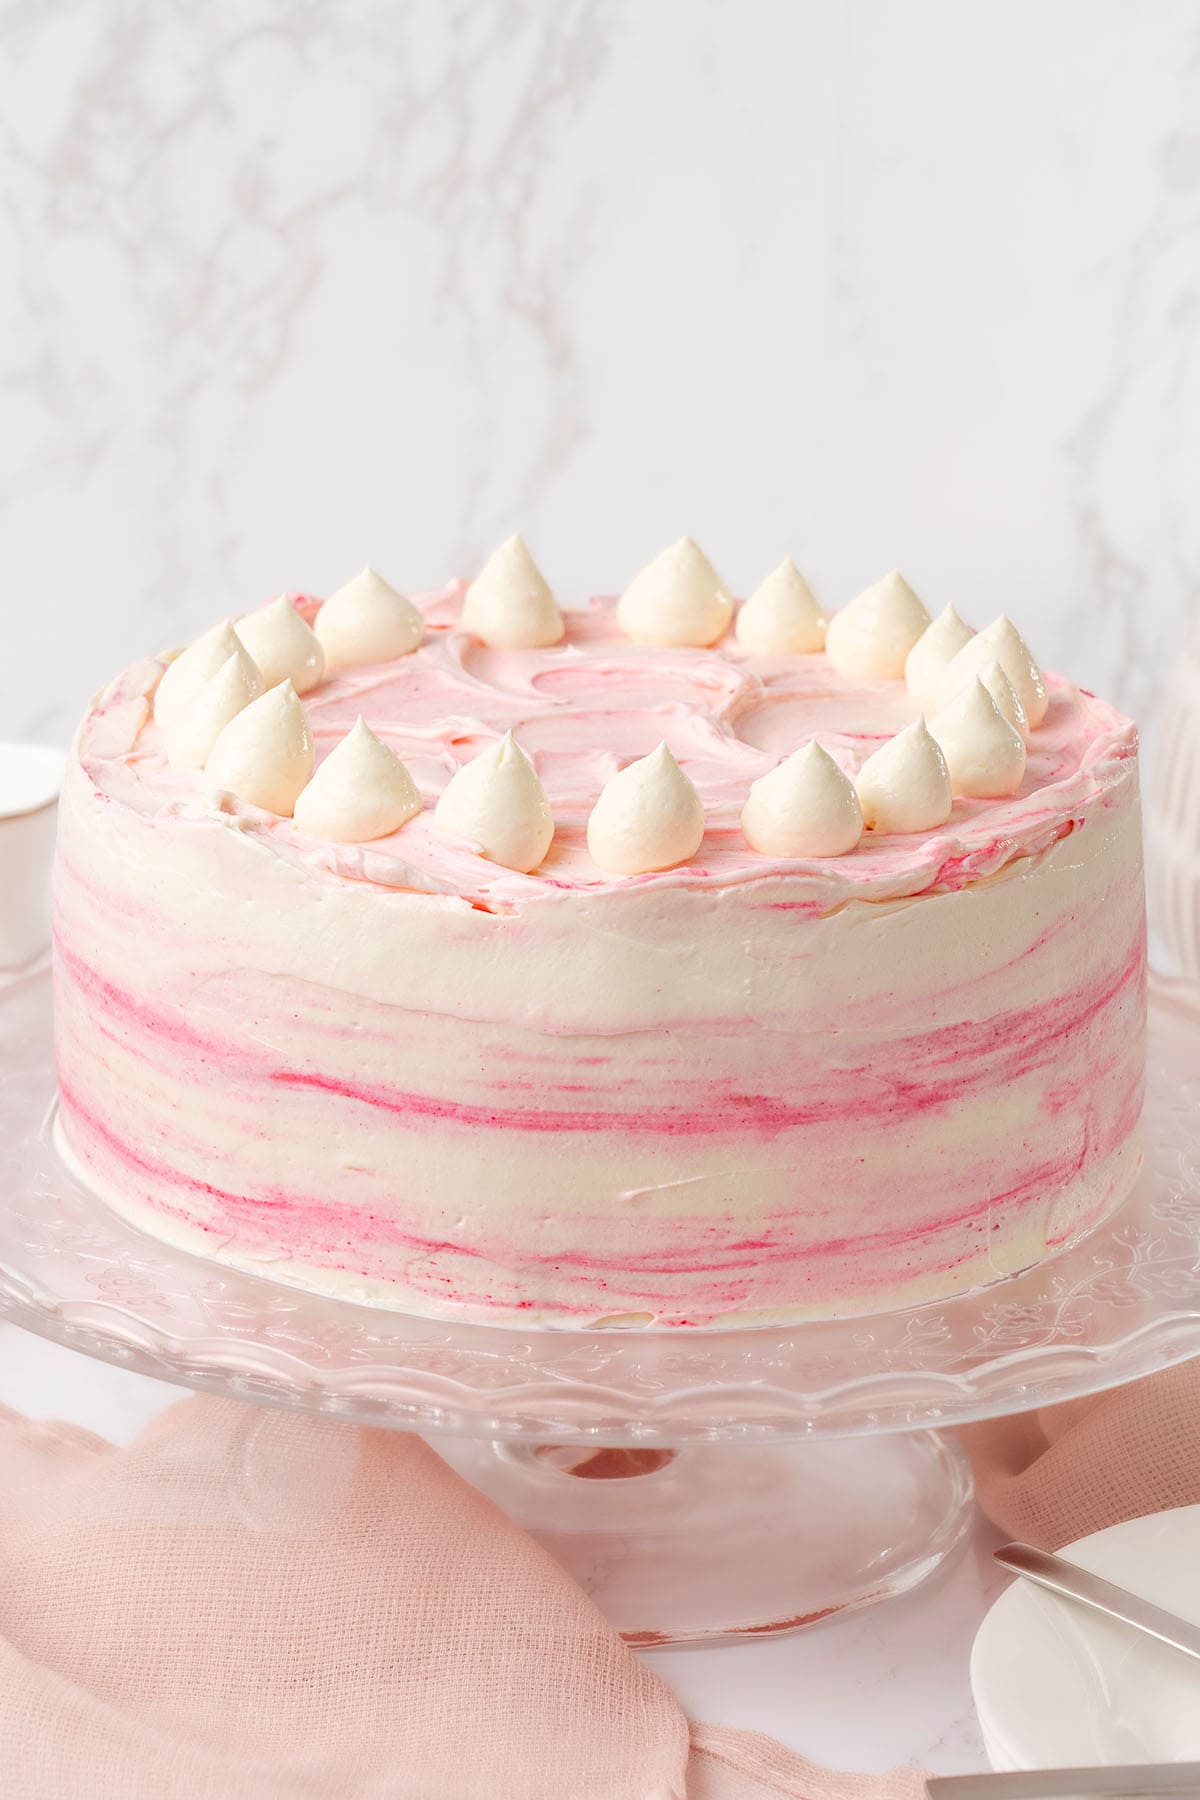
Now make the marble finish. Cover the chilled cake with a final coat of white frosting while turning it on a cake turntable. While this coat is still soft, dot small spoonfuls of the pink frosting randomly over the sides and top. Hold a cake scraper upright against the side of the cake and turn the turntable in one smooth motion: the pink dots streak through the white into a soft marble effect. Smooth the top the same way with an offset spatula, working from the edge towards the center. Stop as soon as you like the pattern. The more you scrape, the more the two colors blend into one even pink.
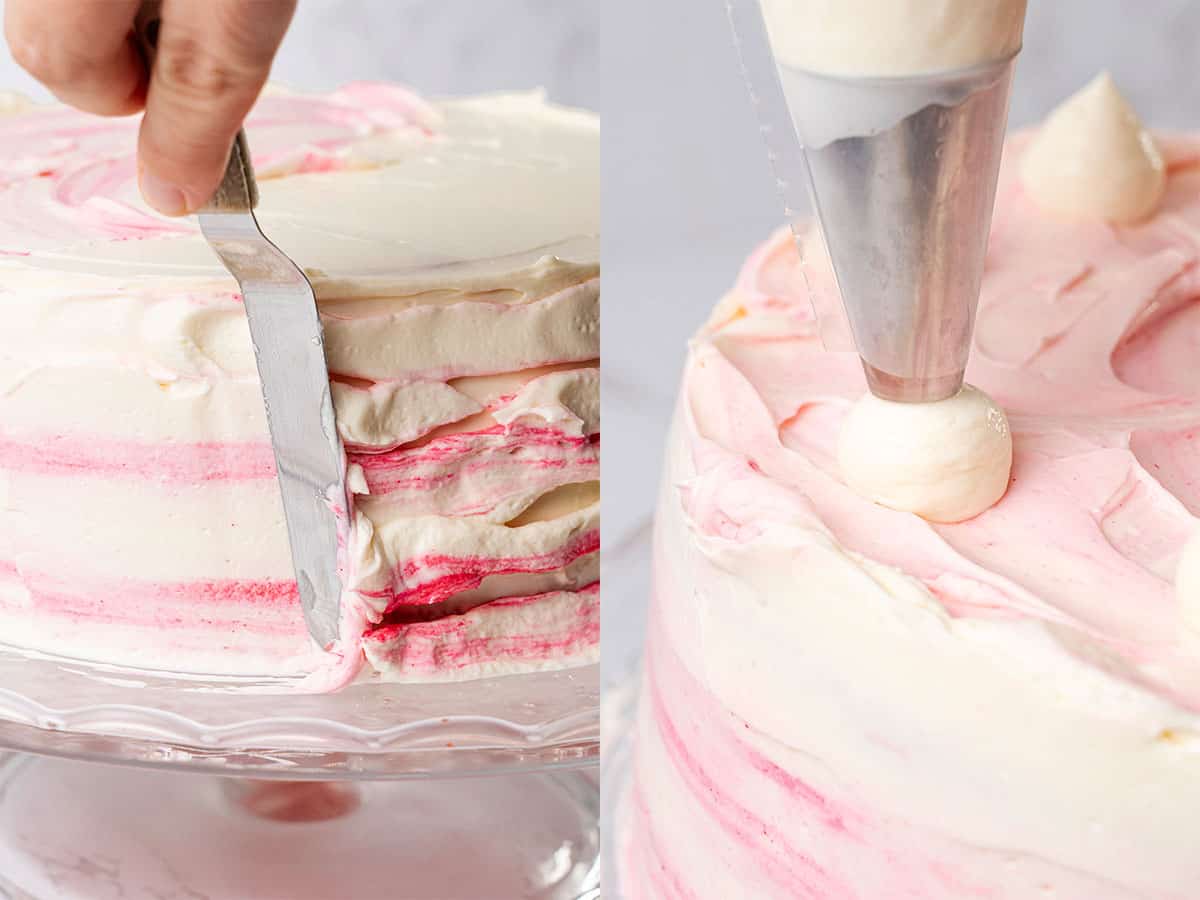
If at any point the frosting feels soft or the cake feels unstable, return it to the fridge for 30 minutes to an hour before carrying on.
Put the remaining white and pink frosting into a piping bag fitted with a French star nozzle, and pipe your favorite design on top of the cake. Chill the cake for an hour before serving so the frosting sets neatly.
Storage & Make-Ahead
Because the frosting is made with cream cheese and mascarpone, store the cake in the fridge, covered or in a cake container, for 2 to 3 days. Covering it stops it from drying out or picking up smells from the fridge. The frosting stays creamy when chilled, so you can serve the cake straight from the fridge.
The sponges can be baked ahead. Keep them covered in the fridge for 2 to 3 days, or double-wrap them in plastic wrap and foil and freeze them for up to 3 months. Thaw them, then fill and frost the cake before serving. I do not recommend freezing the frosted cake, as the frosting does not freeze well.
Flavor Variations
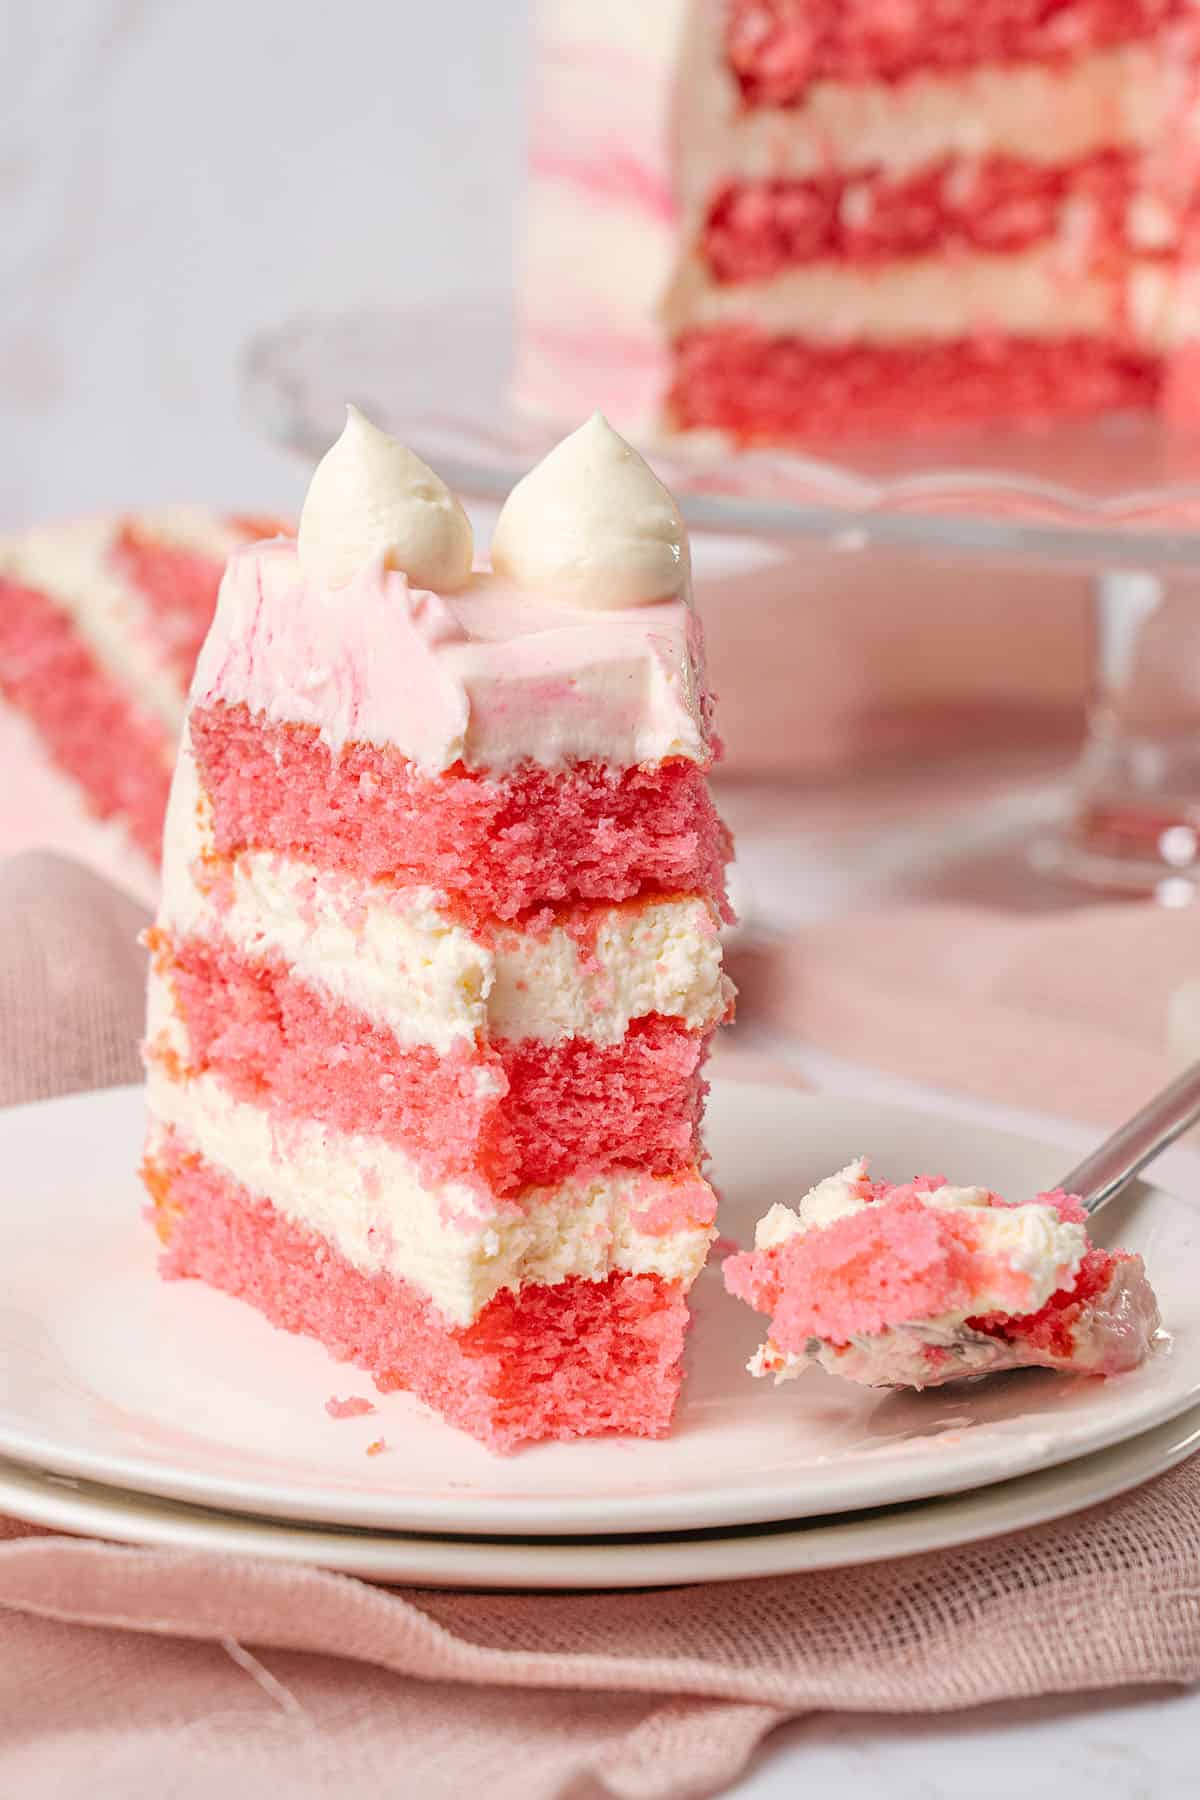
For a cake that is pink inside and out with real fruit flavor, use the strawberry sponges from my strawberry crunch cake, or swap the frosting for my naturally pink strawberry cream cheese frosting or raspberry cream cheese frosting.
Feel free to also try my fresh, zesty lemon cream cheese frosting.
For a chocolate lover's version, use my chocolate sponge cake with pink cream cheese frosting.
And for a romantic finish, decorate the top with my white chocolate covered strawberries.
Ingredient Substitutions
If you cannot find mascarpone, use the same weight of very cold heavy cream with at least 36% fat, or make your own using the homemade recipe in my mascarpone substitute guide.
In the sponge, any neutral oil, such as sunflower or canola, can replace the vegetable oil; see my vegetable oil substitute guide. Avoid melted butter, which firms up in the fridge and makes the sponge less soft. You can swap the milk for an unsweetened plant milk, such as oat or soy.
The eggs, on the other hand, cannot be replaced. This sponge has no baking powder, so the whipped eggs are what make it rise; egg replacers simply will not work here.
Cake flour gives the softest, most tender crumb, but all-purpose flour works too. A gluten-free sponge would need the recipe to be reformulated rather than a straight swap; my flour guide explains the options.
For natural color instead of gel food coloring, tint the frosting with finely ground freeze-dried strawberries or raspberries, or color the sponge with a little beetroot powder. Both give a softer, more muted pink, and the berries add a fruity flavor.
For any other ingredient, browse my substitute guides.
Expert Tips to Make Pink Cake
- Bring all the cake ingredients to room temperature before you begin. Room-temperature eggs whip up to a much larger volume, which helps this sponge rise.
- Do not cut the egg whipping short. Whip for at least 5 minutes until the mixture reaches the ribbon stage, then whip on low for another minute or two to make the bubbles smaller and the crumb even.
- Use a concentrated gel food coloring rather than liquid coloring, and add it during the low-speed whipping for an even color.
- Fold the flour in gently with a rubber spatula, using a cut-and-fold motion. Stirring knocks out the air the eggs have trapped.
- Make the batter fresh and bake it right away; it loses air if it sits.
- Cool the sponges, and only stack and frost them once they are completely cool.
- Use cold, full-fat cream cheese and mascarpone for the frosting, and stop whipping as soon as it is fluffy.
- Tint the frosting at the very end and mix only until the color is even, so it does not turn runny.
What Equipment to Use
A digital scale is essential for accurate measuring and for dividing the batter evenly, and a digital oven thermometer makes sure you bake at the right temperature.
Use an electric hand mixer or stand mixer to whip the eggs and the frosting, and a rubber spatula for folding. You will need three straight-sided 8-inch (20 cm) cake pans, not springforms.
A cake turntable and a cake scraper make the marble finish easy, and a piping bag with either a round or French star nozzle tip gives you neat swirls on top.
To bake the cake in another size, see my cake pan sizes guide.
Try Some of My Other Celebration Cakes
If you loved this pink cake recipe, here are more celebration cakes to try next:
Also, check out my roundup of layer cake recipes for more celebration cake inspiration.
Have you tried this recipe?
Please leave a 5-star ⭐️⭐️⭐️⭐️⭐️ rating on the recipe card and consider leaving a comment as well!
Easy Pink Cake with Cream Cheese Frosting
Equipment
- 20 cm / 8 inch cake pan
Ingredients
For the pink vanilla sponge cakes
- 6 Eggs at room temperature
- 200 g (1 cup) Granulated sugar
- 3 teaspoons Vanilla extract
- Pink food coloring high quality gel eg. Americolor
- 190 g (1½ cups) All purpose flour
- 45 g (3 tablespoon) Whole milk at room temperature
- 80 g (⅓ cup) Vegetable oil
For the cream cheese frosting
- 900 g (4 cups) Cream cheese full fat eg. Philadelphia
- 340 g (1½ cups) Mascarpone full fat
- 180 g (1½ cups) Powdered sugar sifted
- 3 teaspoons Vanilla extract
- Pink food coloring high quality gel eg. Americolor
US customary cup measurement is an indicative figure only. Measure the ingredients with a digital scale by weight (gram). Baking is art but also science which requires precision and accuracy.
Instructions
For the pink vanilla sponge cakes
- Preheat the oven to 170°C / 340°F (no fan). Line 3 x 20 cm (8-inch) pans with parchment paper on the bottom and sides.
- Whip the eggs, sugar, and vanilla on high speed for at least 5 minutes, until thick, pale, and ribbon-stage. Lower the speed and whip for 1 to 2 minutes more, adding the pink gel color until you reach a shade slightly deeper than you want.
- Sift in the flour and fold it in gently with a rubber spatula.
- Add the milk and oil, then cut and fold just until combined.
- Divide the batter equally between the pans using a digital scale. Bake for 30 minutes without opening the oven door until the sponges have set and a toothpick comes out clean.
- Turn the sponges upside down onto a cooling rack, cool completely, then chill before assembling.
Cream cheese frosting
- Place the cold cream cheese, cold mascarpone, and sifted powdered sugar in a bowl. Whip with an electric hand mixer, starting on low speed, for 2 to 3 minutes, adding the vanilla, until fluffy and pipeable. Stop right there; over-whipping makes it runny. Chill for 30 to 60 minutes if it feels a bit soft.
Assembling
- Measure the frosting: you will need about 300g between the layers, about 350g for the crumb coat, and about 400g to frost and decorate.
- Place the first sponge on your serving plate and spread an even layer of frosting on top. Repeat with the second sponge, then top with the third. Chill for at least 30 minutes, until firm.
- Apply a thin crumb coat and chill for 30 minutes.
- Set aside some frosting for piping and tint a few spoonfuls pink. Cover the cake with a final coat of white frosting. While it is soft, dot the pink frosting over the sides and top, then smooth with a cake scraper on the turntable to create the marble effect.
- Pipe the remaining frosting on top. Chill before serving.
- Store in the fridge, covered, for 2 to 3 days.
Notes
- Measure your ingredients with a digital scale for accuracy.
- All sponge ingredients must be at room temperature; room-temperature eggs whip up to a much bigger volume.
- Use a concentrated gel food coloring, not liquid coloring.
- The cream cheese and mascarpone must be full-fat and used cold.
- Whip the eggs to the ribbon stage; the sponge has no baking powder, so the air in the eggs is what makes it rise.
- Fold the flour in gently and do not overmix, or the batter will deflate.
- Keep the oven door closed until the sponges have set.
- Stop whipping the frosting as soon as it is fluffy; it only gets runnier with more whipping.
- Chill the cake between each stage of assembly.
Britt
Hey!! This recipe doesn’t call for eggs in the cake only the cupcakes, correct?
Katalin Nagy
Not sure what you mean, they are 2 eggs mentioned in the recipe card.
Gina
This is not enough batter for three pans, only one.
Balint Balazzs
I guess you used a bigger pan than stated in the recipe, pls check the following article for conversions to different cake pan sizes. https://www.spatuladesserts.com/cake-pan-sizes-conversions/
Joshua
I’ve tried you pink cupcakes before and was really happy to see your pink cake recipe earlier this week. This so a super moist cake and so easy to make with impressive results. Everyone loved it!