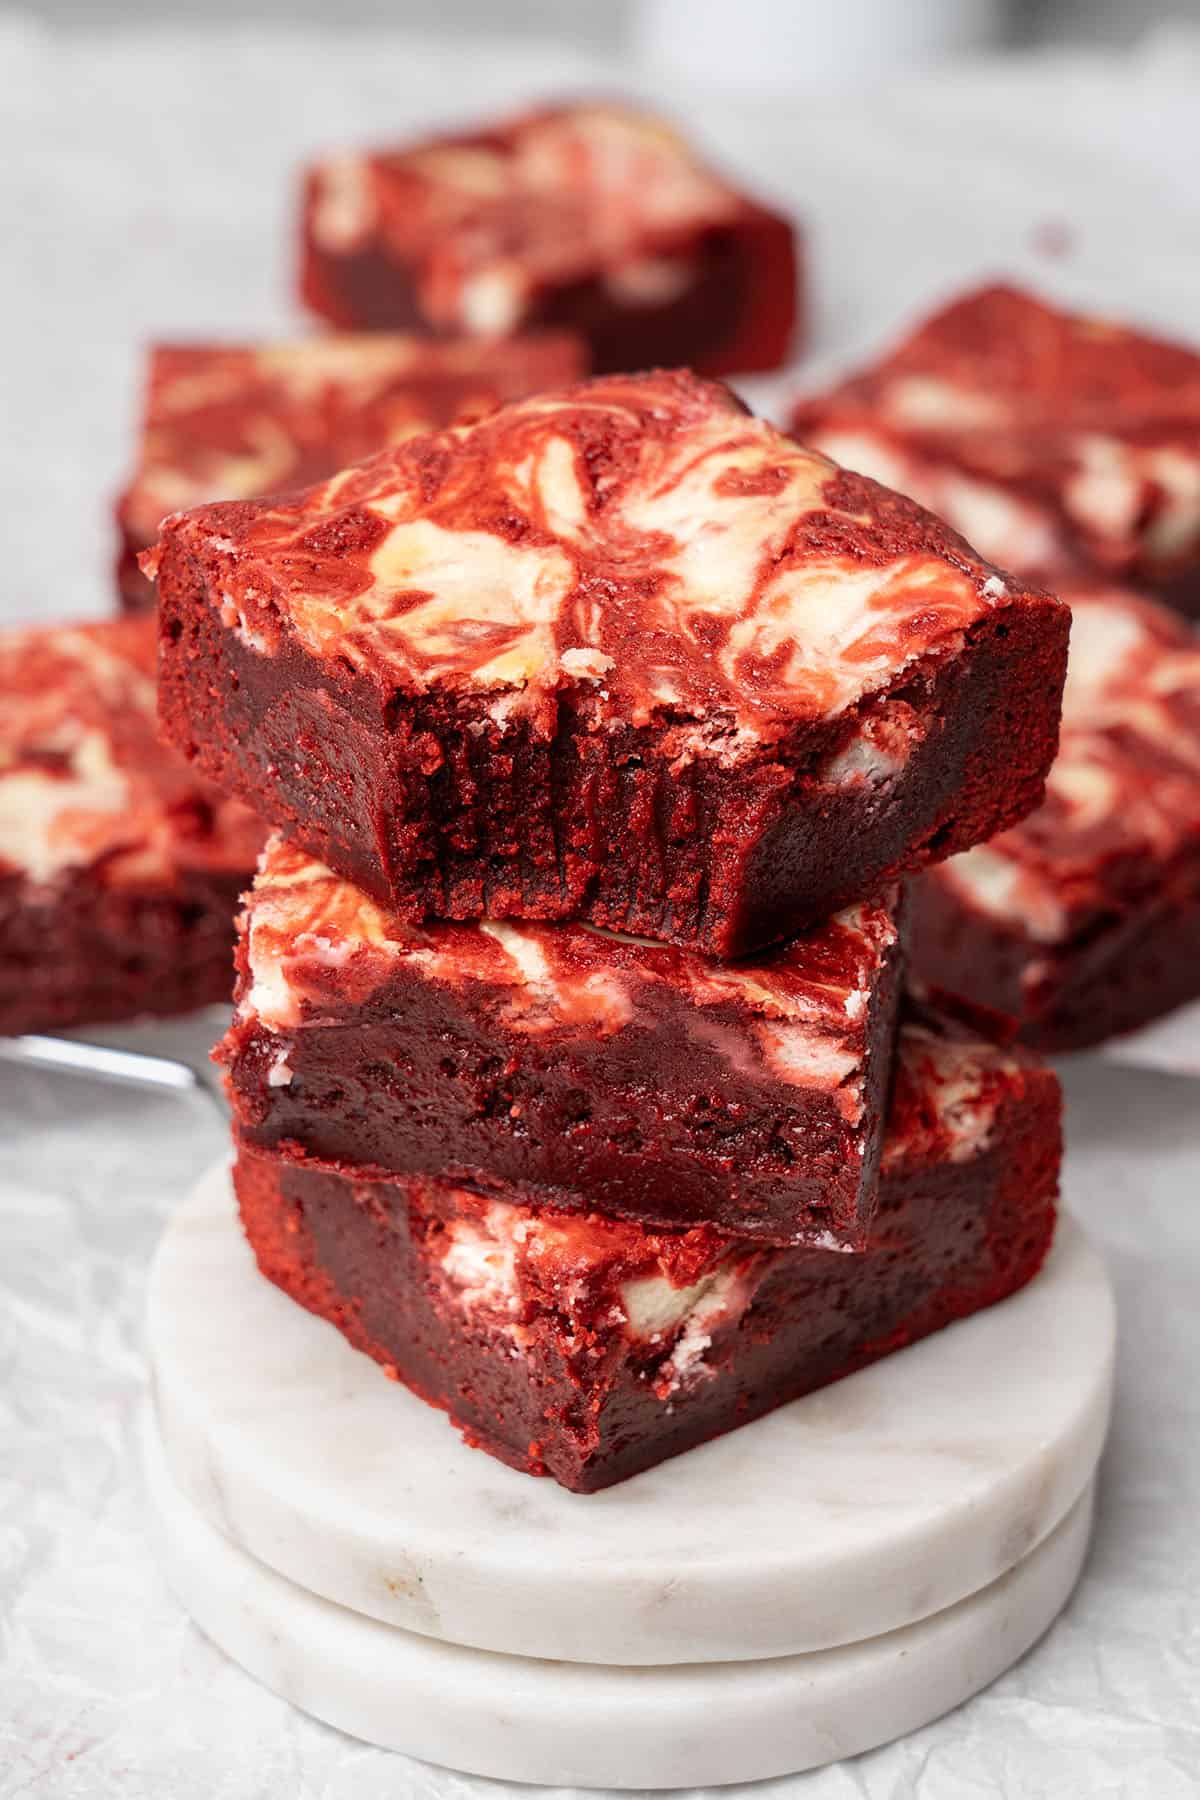
You have to try these perfectly moist, dense, and fudgy red velvet brownies with a rich marbled cream cheese crackly top! In this easy recipe, you will find the famous red velvet flavor in brownie format, the best of both!
Jump to:
📖 What is red velvet?
The origins of red velvet come from Victorian velvet cakes, which were incredibly soft, moist and velvety in texture due to the way their cocoa powders interacted with flour. A chemical reaction between other ingredients used at the time with cocoa powder created a deep red color, and thus red velvet cakes were born.
The jury is still out on who invented red velvet desserts, with several institutions claiming credit including the Waldorf Astoria Hotel in New York. Either way, we love it so much and now I have created it into the best red velvet brownie recipe!
Why not try my red velvet cake with cream cheese mousse cake or Elizabeth´s red velvet oreo cookies?
📖 What is red velvet brownie made of?
I use traditional brownie ingredients in this easy red velvet brownie recipe but omit the melted chocolate as this would overpower the red color. Instead, we stay closer to the original red velvet recipes and make these red velvet cheesecake brownies with cocoa powder.
I added a cream cheese marble swirl to the top of the brownie batter as cream cheese and red velvet complement each other so well, and it also looks so pretty with the vivid red color.
🌟 Why this is the best Red Velvet Brownies recipe
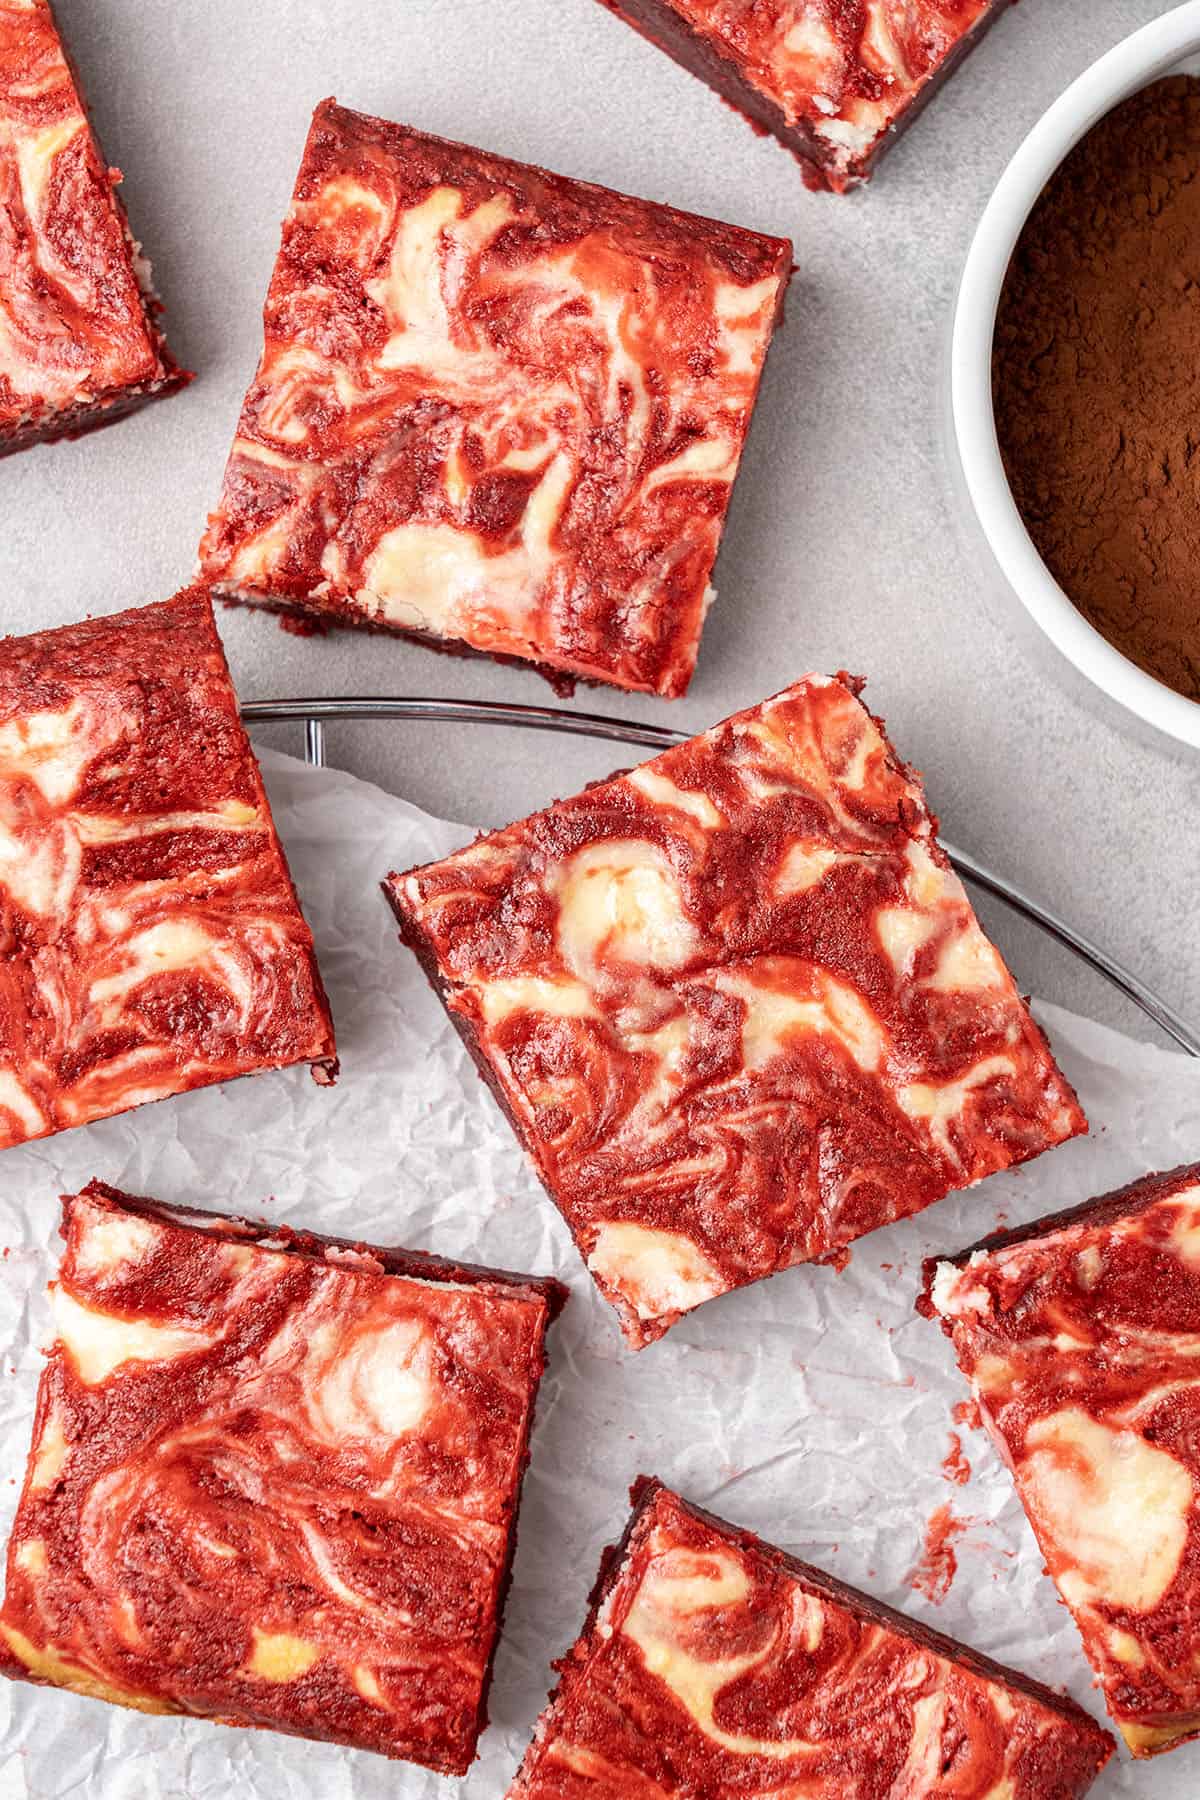
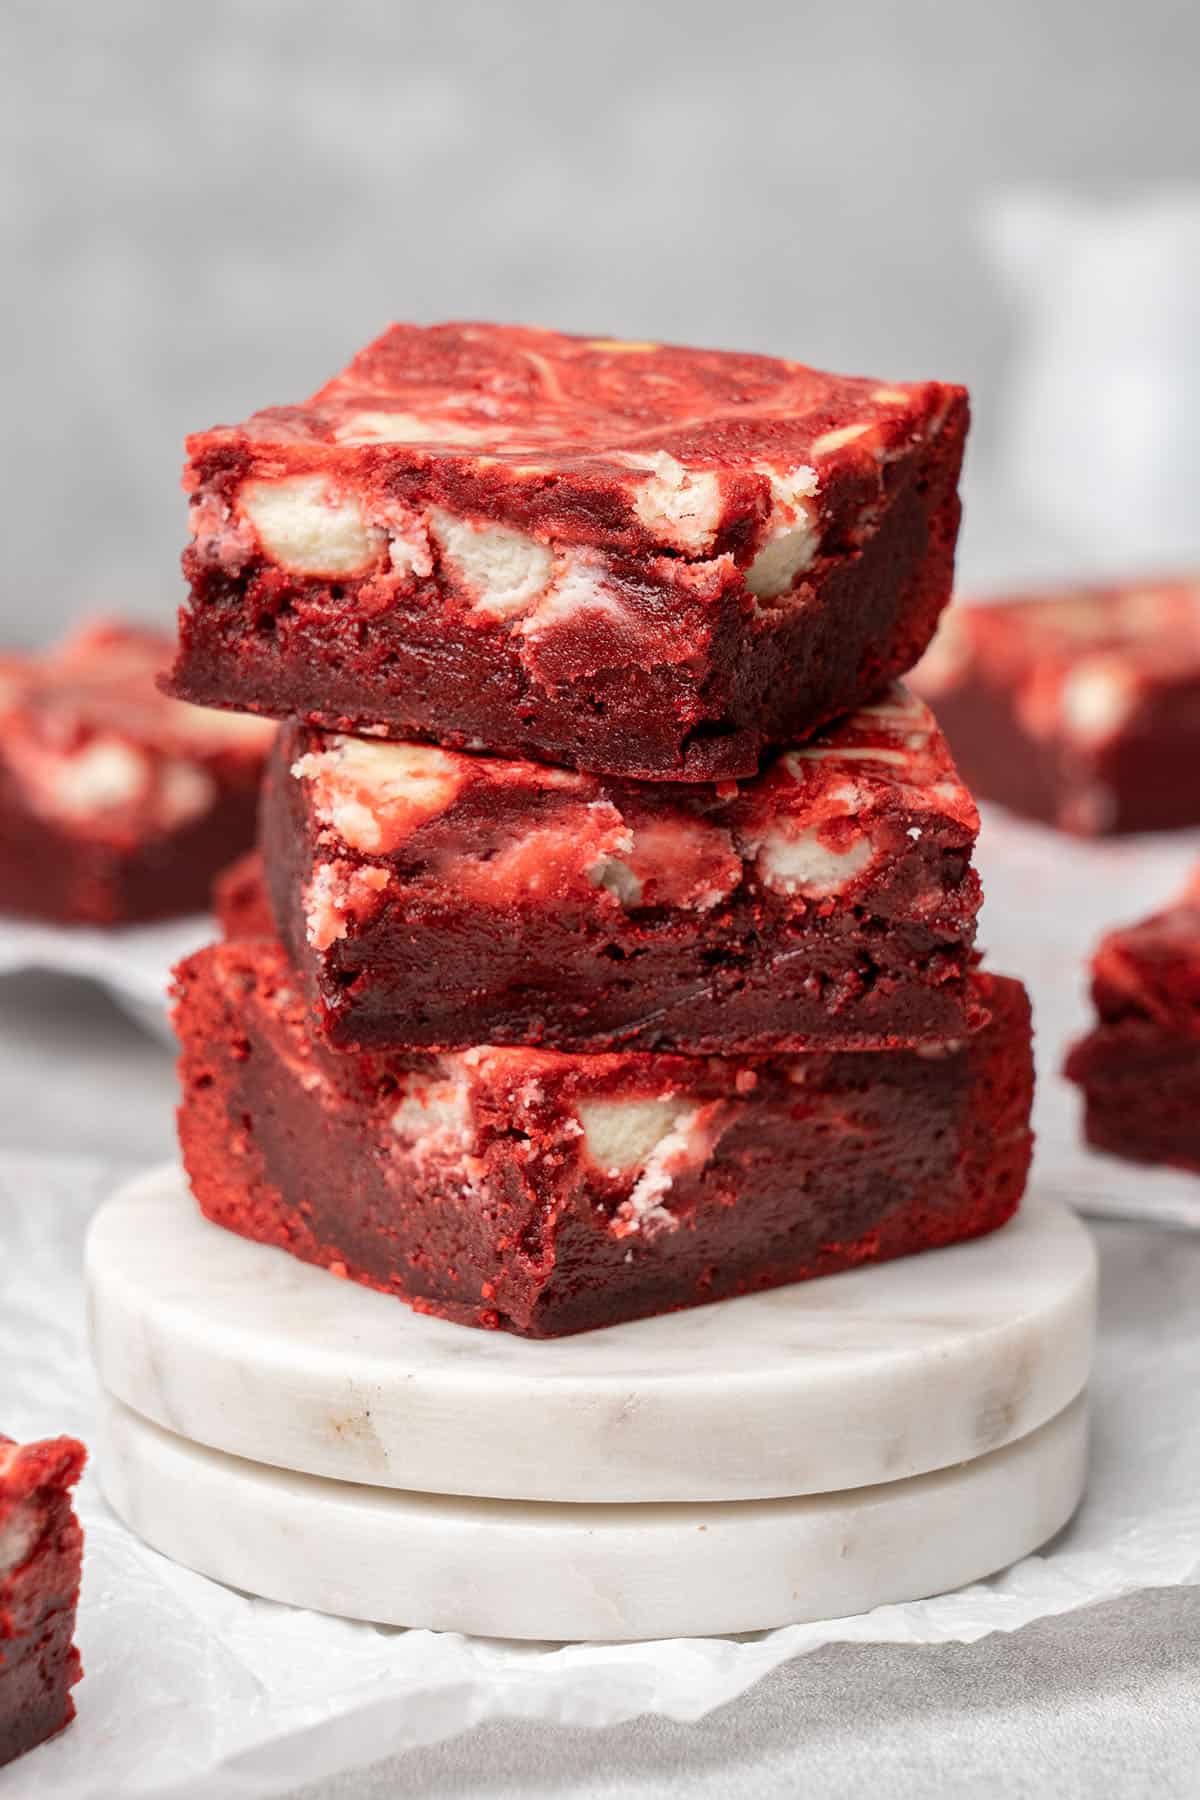
- The texture: These red velvet cream cheese brownies are fudgy and dense with a trademark crackly top that is swirled with cream cheese to give a beautiful marble effect.
- The taste: Delicious chocolaty flavor and tangy, rich cream cheese that cuts through the sweetness but makes them even richer, smoother and irresistible.
- The simplicity: There are no complex ingredients or fancy kitchen equipment to make this delicious brownie recipe, you will probably have everything in your pantry already. They're also quick to make, and finished in under an hour!
- It's so pretty: Adding a cream cheese swirl to any dessert makes it so pretty to look at (like this pumpkin cream cheese pie) and these red velvet cream cheese brownies are no exception. The marbled crinkly top and deep red color make them a feast for the eyes as well as the soul.
📝 Ingredient notes
For the red velvet brownies
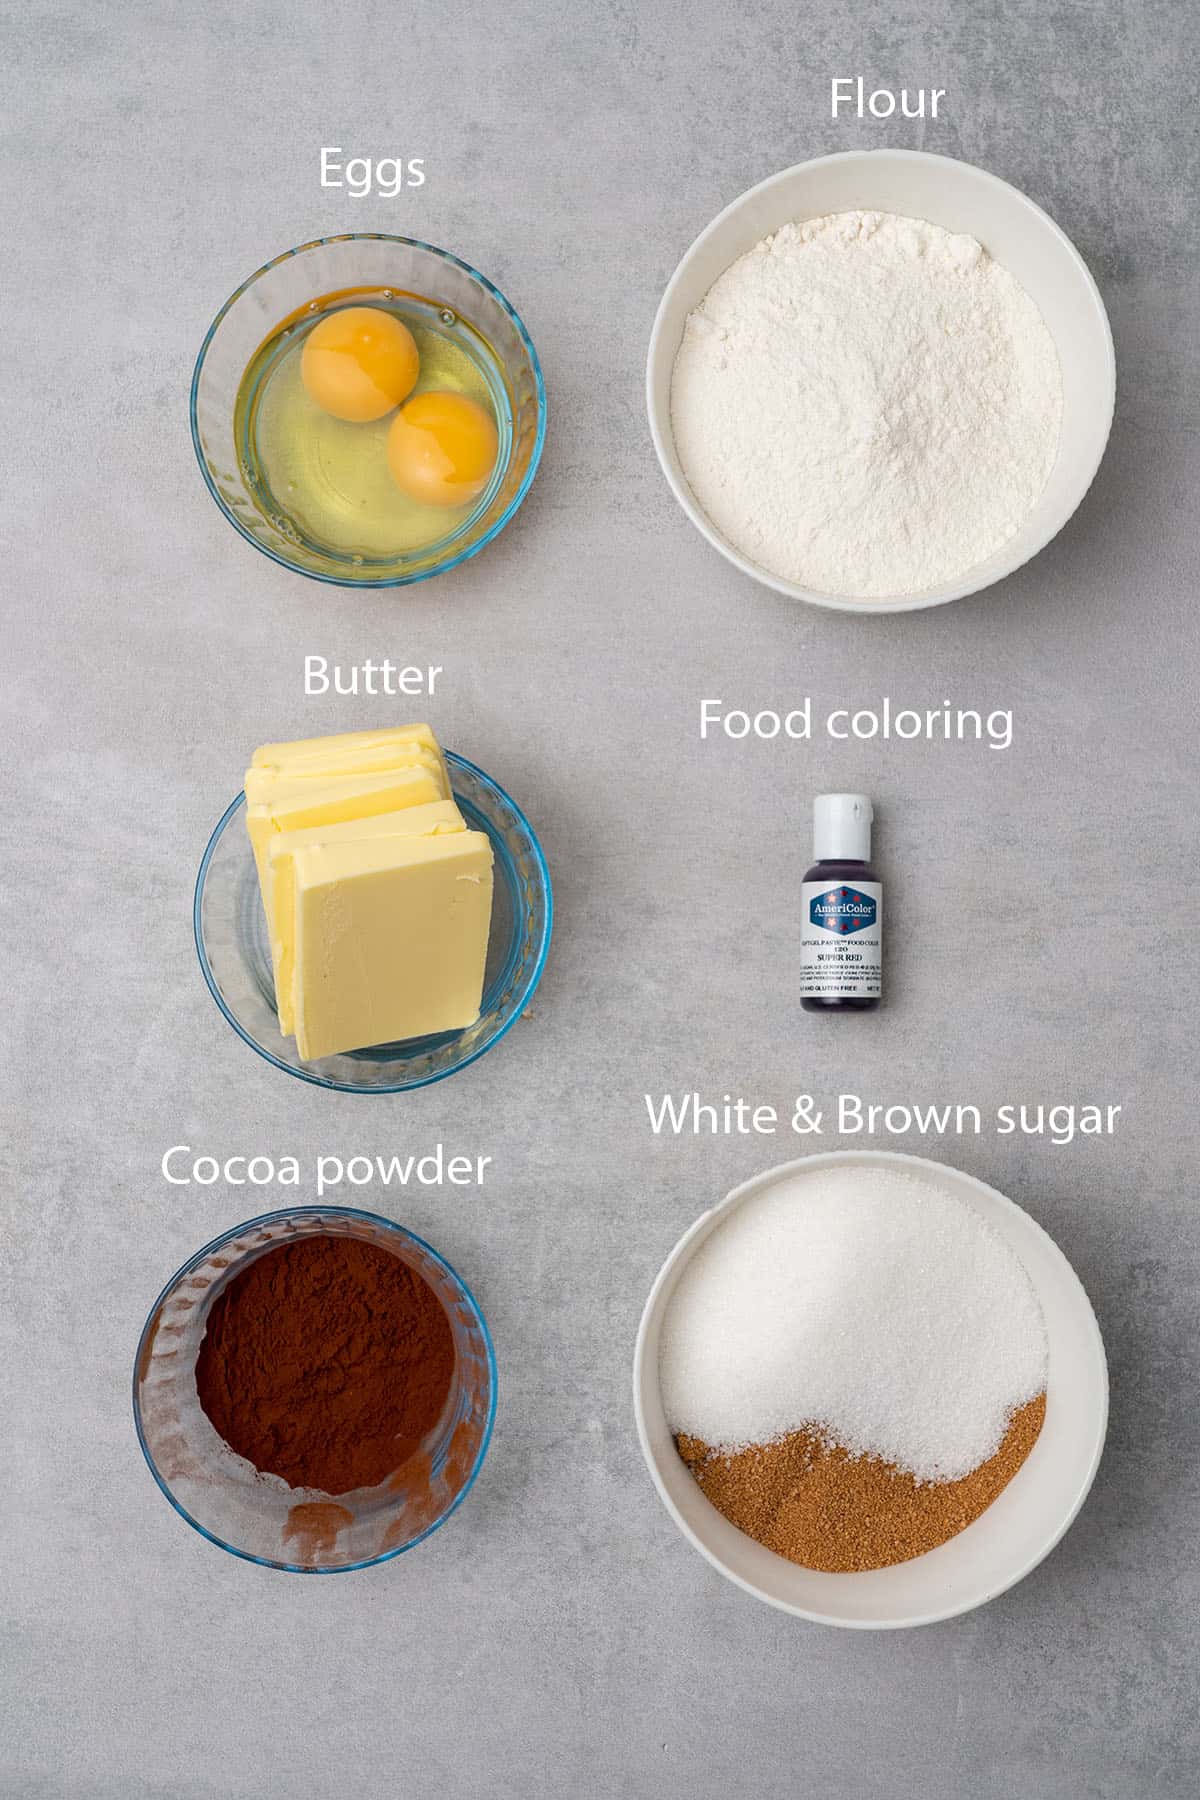
- All-purpose flour: All-purpose flour (also known as AP flour or plain flour) is the best flour for baking brownies as it's medium strength and very versatile. Read my guide on all-purpose flour and its role in baking.
- Unsalted butter: Butter is the fat component and fat is what makes brownies moist and gooey. Always use unsalted butter in baking to control the level of salt and try to get butter with at least 82% fat content. Or you could even make your own butter!
- White granulated sugar: We use two types of sugar in these brownies to get the right texture and flavor, one of them is granulated sugar. To find out more about the different kinds of sugar and their role in baking, read my guide.
- Brown sugar: You can use light or dark brown sugar in this easy red velvet brownie recipe. Brown sugar also adds some extra warm caramel undertones.
- Eggs: Eggs bind all the ingredients together, provide a little bit of leavening and add moisture and richness, too. Always use room-temperature eggs in baking, and to find out more read my guide on what eggs do in baking.
- Cocoa powder: To get a chocolate brownie taste but beautiful red velvet color, we need to use high-quality dark cocoa powder that has an intense flavor. I use dark cocoa powder from Callebaut that has a wonderful rich cocoa taste. Red velvet brownies with cocoa powder have an intense cocoa taste without overpowering the red color.
- Salt: We use salt in brownies to help enhance the red velvet flavor as well as balance the sweetness, so whilst it might seem strange it is essential!
- Red food coloring: It is important to use the right food coloring for making this red velvet brownies recipe and similar items like this red velvet cake as some lower-quality products will fade and not give you the vivid color you desire. I recommend using gel food coloring, and Americolor is a quality brand I use.
🛒 You’ll find detailed measurements for all ingredients in the printable version of the Recipe Card at the bottom of this post
For the cream cheese swirl
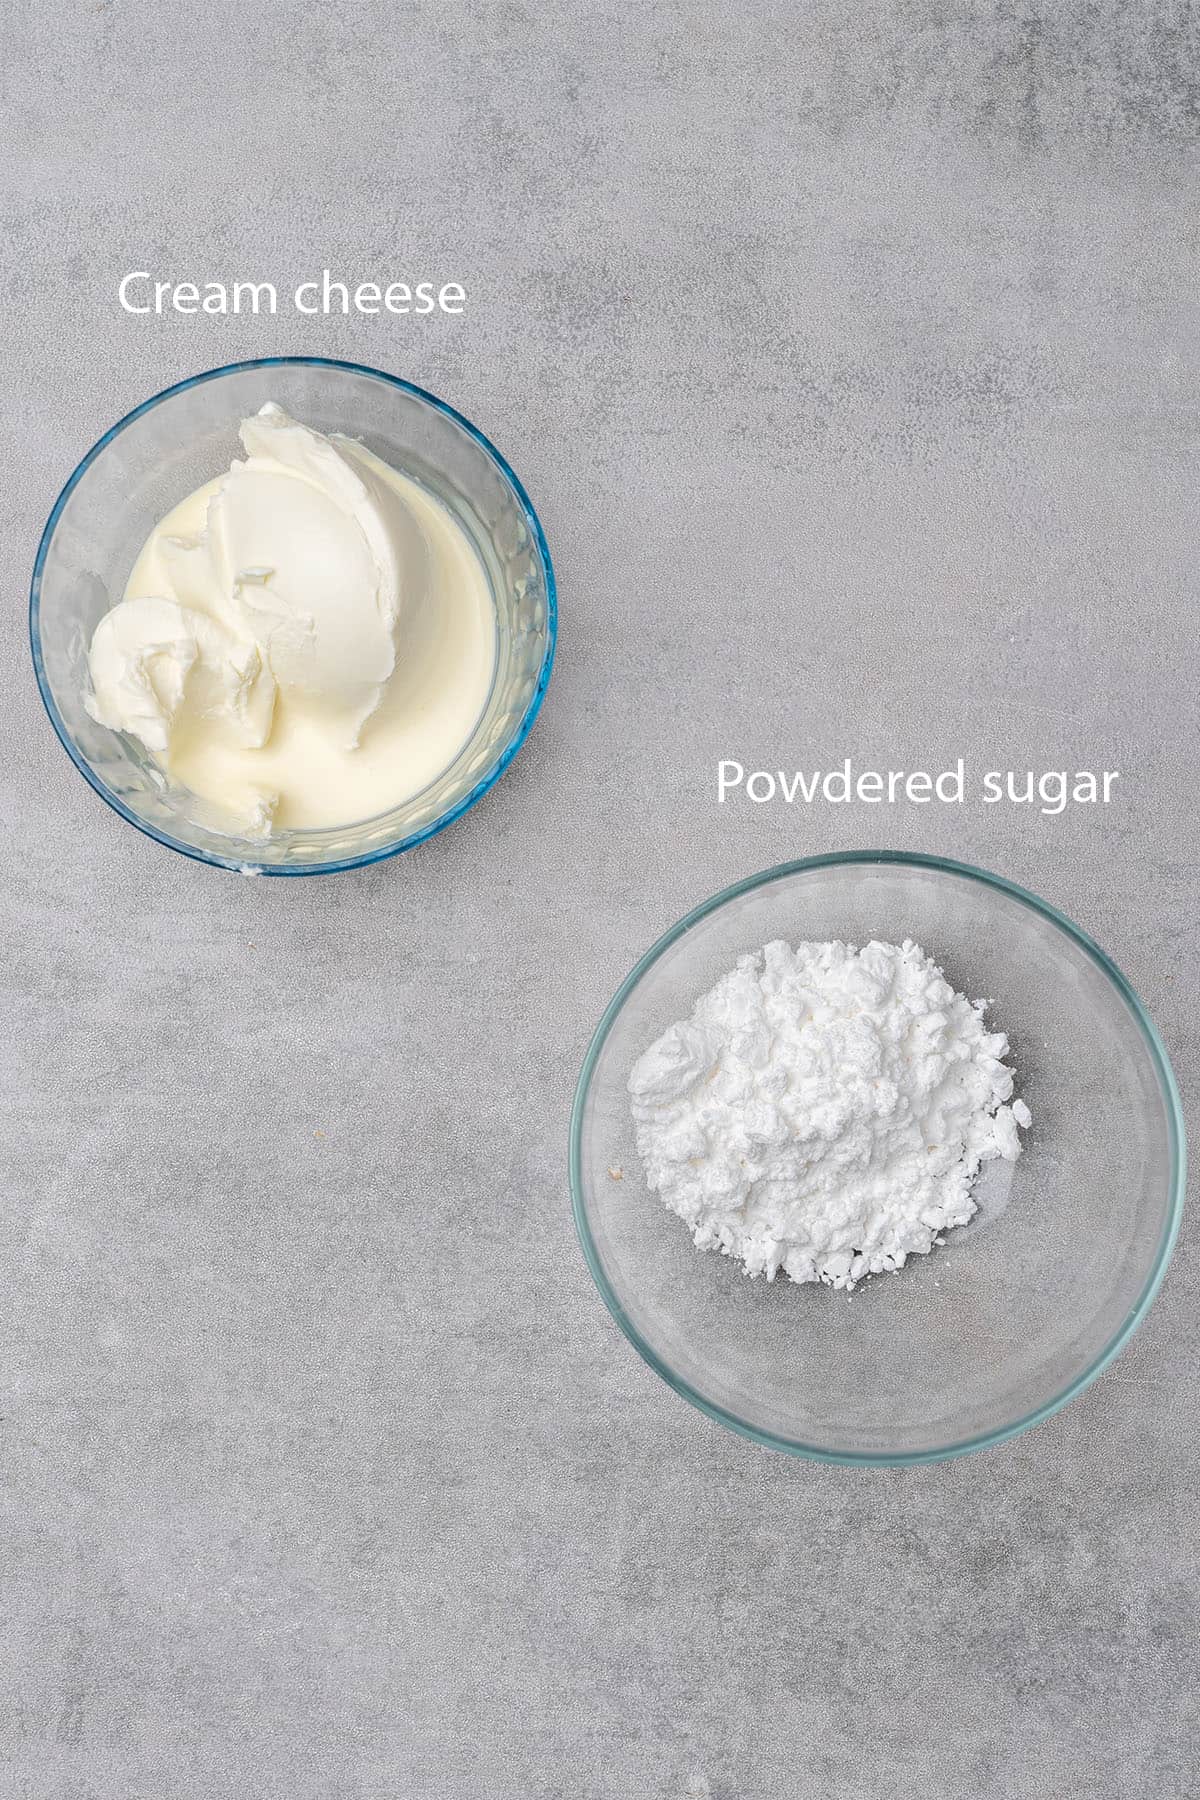
- Cream cheese: Use good quality and full-fat cream cheese, for example by Philadephia.
- Heavy cream: Try and use a heavy cream (sometimes known as double cream) with at least 36% fat content
- Powdered sugar: Also known as icing sugar, this sweetens the tangy cream cheese swirl. We only need a small amount.
🛒 You’ll find detailed measurements for all ingredients in the printable version of the Recipe Card at the bottom of this post
👩🍳 How to make this recipe
1. Step-by-step process
- Make the cream cheese swirl by blending the ingredients together with an electric hand mixer until combined, then place it into a piping bag.
- Preheat the oven to 175 C / 347 F (no fan).
- Line a brownie pan with parchment paper and brush the inside with a small amount of oil.
- Melt the butter in the microwave in 30-second increments, stirring each time.
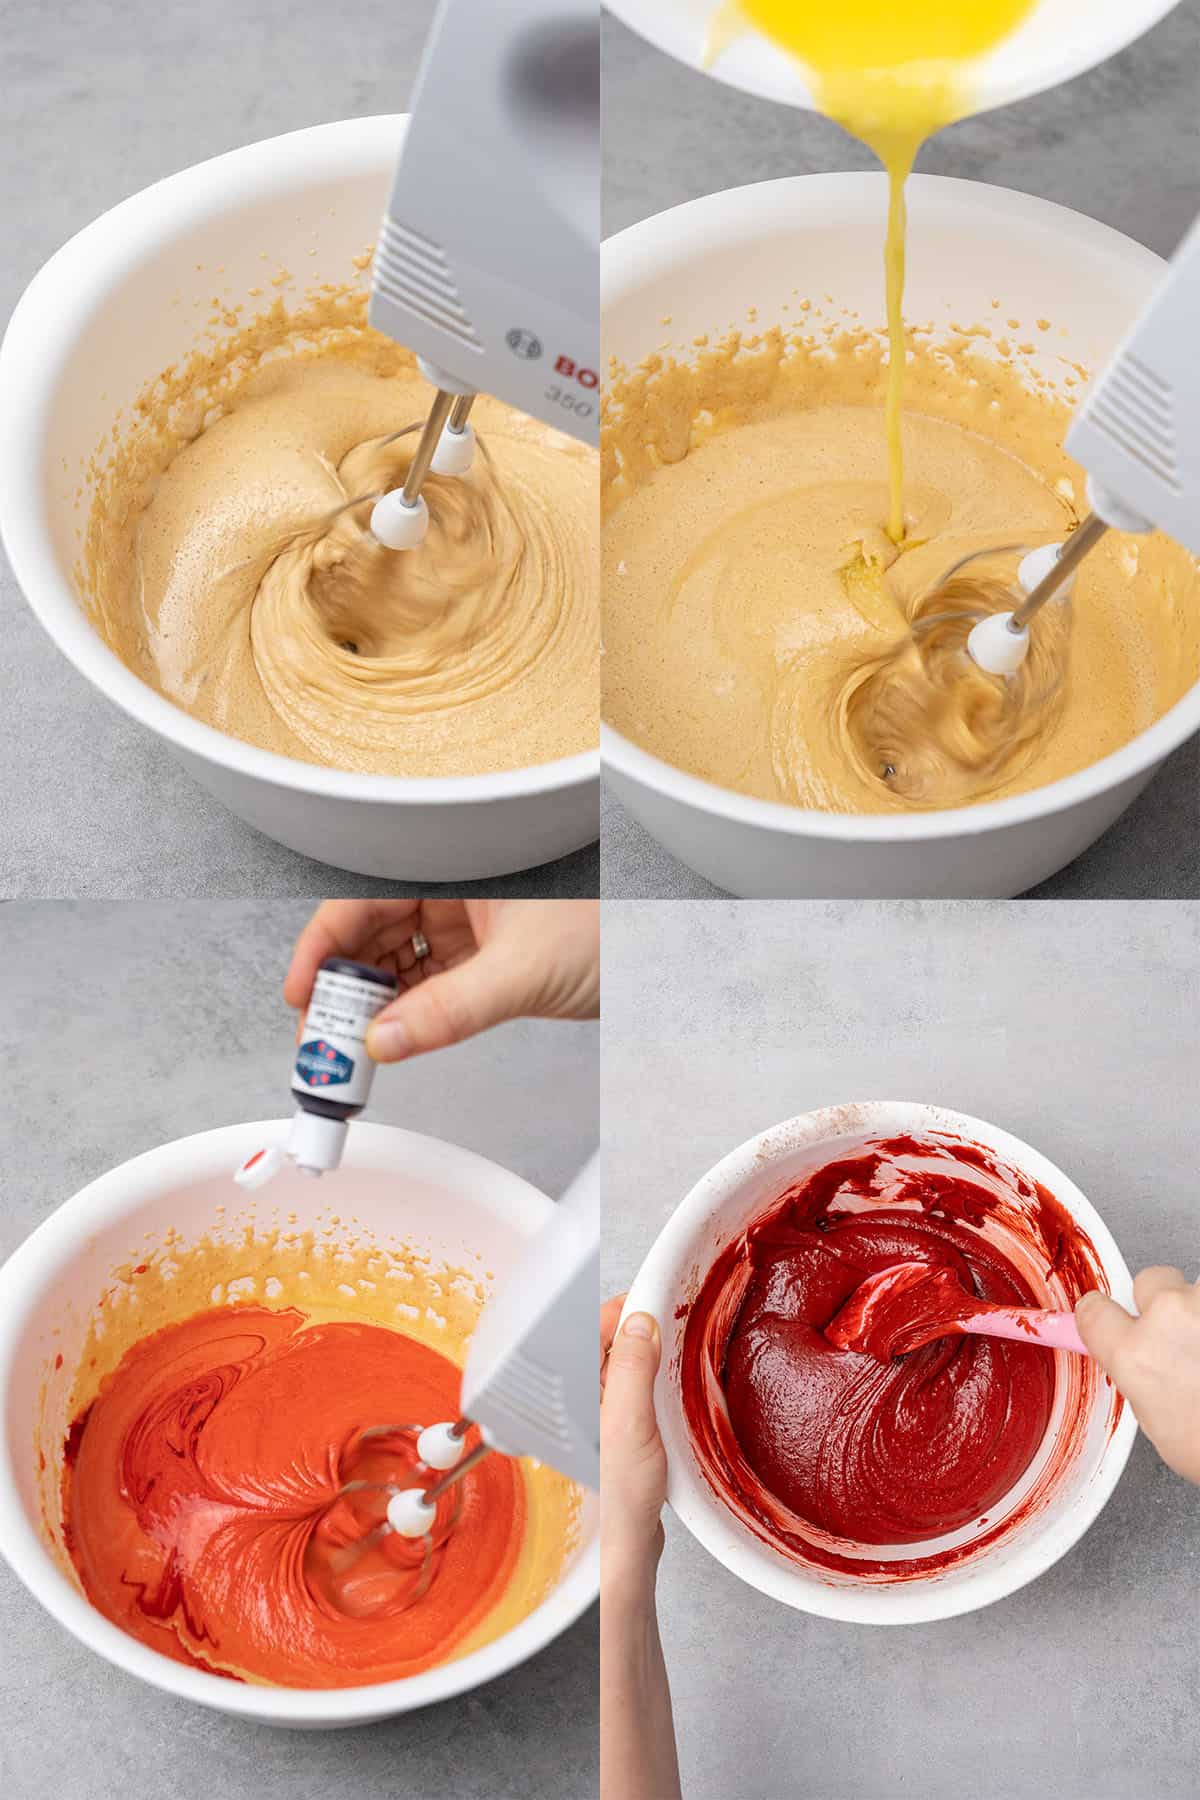
- Whip the eggs and sugar together using an electric hand mixer until pale and creamy, which will take around 5-7 minutes.
- Slowly add the melted butter with the mixer on low speed, and then add the red food coloring until the red velvet brownie batter reaches a vivid red color.
- Sift in the dry ingredients. Add the sieved flour, cocoa powder, and salt, and fold the mixture together with a rubber spatula, taking care not to over-mix.
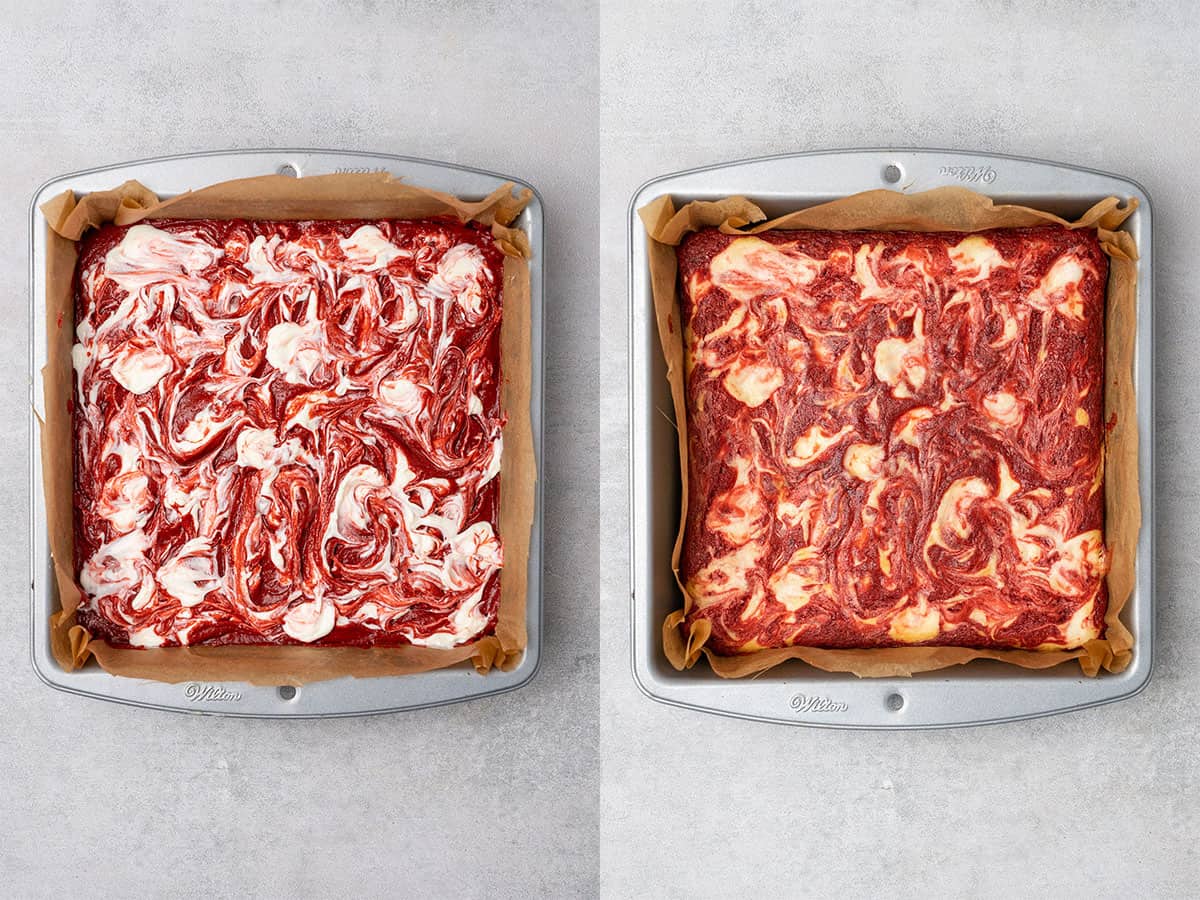
- Pour the batter into the pan and pipe dots of the cream cheese mixture all over the surface of the red velvet brownie batter.
- Create a marble effect by using a chopstick or small spoon to gently swirl the cream cheese mixture into the top of the brownie batter.
💡 Top Tip: You can add more red food coloring after folding in the dry ingredients if you want to achieve a deeper color.
2. How to bake
- Bake for 30 minutes at 175 C / 347 F (no fan) or until the edges look fully baked but the middle looks slightly gooey (but not raw).
- Cool the brownies in the 7-inch/18 cm square brownie pan for a few hours, then carefully remove them from the tin and cut the red velvet cream cheese brownie slab into pieces.
- Store leftover brownies in an air-tight container in the fridge and consume them within 3-4 days.
Red velvet brownies taste great and extra fudgy straight out of the fridge, or you can let them come to room temperature or even warm them up again before eating.
For more information, check my article about how to store brownies to keep them fresh.
💡 Top Tip: The red velvet cheesecake brownies will continue to set and solidify as they cool, so don't cut them when they are fresh out of the oven.
✨ Flavor variations & Substitutions
Scatter some white chocolate chips on top of the red velvet brownies before baking for an even sweeter, chocolate brownie taste.
Try adding a teaspoon vanilla extract or some fragrant spice to the brownie batter to warm up the flavors. Ground cinnamon, nutmeg, and ginger (or pumpkin pie spice mix) all taste delicious with red velvet. If you have any leftovers, make these pumpkin blondies too!
Serve these red velvet brownies with cream cheese frosting to slather on some extra decadence and a silky smooth cream cheese taste.
Stir some chopped nuts like macadamia or pecans through the batter of these red velvet cheesecake brownies to add even more richness and some extra crunch.
Or try stirring cookie chunks through the batter to make red velvet oreo brownies for example or pieces of Lotus Biscoff cookies. You could also marble the top with Biscoff as well as cream cheese.
If you are baking around a dietary restriction or preference, there are substitutions you can make. Read my guides on butter substitutes and egg substitutes and take note of the quantities and instructions when making the swap to get the best result.
Love red velvet? Try making this red velvet pound cake next.
🎓 Expert tips
- For best results, weigh your red velvet brownie ingredients using a digital scale.
- There is deliberately no baking powder in this recipe to keep the brownies as dense and fudgy as possible.
- The salt is deliberate though, as it balances and enhances all the flavors so be sure not to skip it.
- Preheat your oven before baking your brownies, and to ensure it is the right temperature consider using a digital oven thermometer.
- Ovens vary, so you might need to adjust the baking time from the specified 30 minutes. You can tell brownies are done when the middle is still gooey but the edges are baked. A toothpick should come out slightly sticky, but not with raw batter on it.
- It is better to slightly underbake brownies than to overbake to make them fudgier than ever.
- Do not cut red velvet brownie bars until the brownie slab has completely cooled in the pan. It will set as it cools, at which point you can cut.
- Feel free to decorate the brownies with these white chocolate covered strawberries
🥣 Equipment Notes
Using the right size brownie pan is important to get the perfect brownie thickness, this recipe uses a 7-inch/18 cm square brownie pan to make 9 square brownies.
Make sure your oven is at the right temperature for baking by using a digital oven thermometer.
Always weigh your ingredients using a digital scale and do not measure by volume. Baking is all about precision, after all.
A rubber spatula is an important and versatile piece of kitchen kit, excellent for mixing brownie and cake batter without knocking out too much air.
You will need an electric hand mixer to whip the eggs and sugar together to the right consistency.
To smooth the brownies in the baking pan, use an offset spatula and this will help achieve a perfect crackly top.
❓Recipe FAQs
The term red velvet refers to taste, texture and color. Velvet cakes are exceptionally moist and soft, and have a deep red color and a delicious chocolate flavor. But yes, red velvet cakes are made with cocoa powder so should have a mild chocolate flavor.
Red velvet cake originated in the Victorian era, but there is no definitive consensus on who exactly invented it.
Back in Victorian times when red velvet cakes were first made, the cocoa powder they used reacted with the flour in a certain way that turned the sponge a deep red color. These days, the same effect is achieved with food coloring.
These red velvet cream cheese brownies should be stored in the fridge in an airtight container and eaten within 2-3 days for the best taste. Check my article about how to store brownies to keep them fresh.
To freeze red velvet brownies, double-wrap them in plastic food wrap and aluminum foil, and consume them within 2 months. Defrost thoroughly before eating.
🍫 More Brownie & Blondie recipes
Red Velvet Brownies (VIDEO)
Equipment
Ingredients
Red Velvet Brownies
- 200 g (1 cups) Granulated sugar
- 120 g (½ cups) Brown sugar light or dark brown sugar
- 2 Egg room temperature
- 200 g (¾ cups) Unsalted butter melted but not hot
- 225 g (1¾ cups) All purpose flour
- 20 g (¼ cups) Cocoa powder unsweetened high quality cocoa powder eg. Callebaut
- ½ teaspoon Salt
- Red Food coloring high quality gel eg. Americolor super red 120
Cream Cheese Swirl
- 90 g (⅓ cups) Cream cheese eg. full fat Philadephia
- 20 g (2 tablespoons) Heavy cream 36% fat
- 25 g (¼ cups) Powdered sugar
US customary cup measurement is an indicative figure only. Measure the ingredients with a digital scale by weight (gram). Baking is art but also science which requires precision and accuracy.
Instructions
Cream Cheese Swirl
- Mix all the cream cheese swirl ingredients with an electric hand mixer for a minute or two until combined
Red Velvet Brownie
- Pre-heat oven to 175 C / 347 F (no fan)
- Prepare a 7 inch /18 cm square brownie pan. Brush the inside of the cake pan with a tiny bit of oil then use parchment paper on the bottom and side as well. Set aside
- Melt butter in the microwave
- In another bowl whip the eggs with sugar with the help of an Electric hand mixer until pale, for about 5-7 minutes
- Slowly add melted butter into the mixture while the mixer is at low speed and mix throughout, then mix in red food coloring until the desired color is achieved
- Sift in flour, cocoa powder, and salt, and fold the mixture together. Do not over mix
- Adjust color if required by adding more red food coloring
- Pour the red velvet brownie batter into the prepared pan
- Move the cream cheese mixture into a Piping bag, make a small hole in the piping bag and pipe smaller and bigger dots all around the red velvet brownie batter. For the marble effect, grab eg. a chopstick or small spoon and gently swirl the cream cheese mixture into the brownie batter
- Bake for 30 minutes at 175 C / 347 F (no fan). It is ready when the edge looks baked and the middle looks slightly gooey but not raw. Do not overbake! It will further set as it cools
- Let it cool in the 7 inch /18 cm square brownie pan for a few hours, then carefully cut it.
- Any leftover can be stored in an air-tight container refrigerated for 3-4 days
Notes
- Use always unsalted butter in dessert recipes, but also make sure you add the salt stated in the recipe as that will balance the sweetness
- Use combination of white and (light or dark) brown sugar for the best texture
- Egg should be used at room temp
- Baking powder is not included in this recipe intentionally, so ýour Red Velvet Brownies will turn out wonderfully fudge and gooey
- Red is a very difficult color to achieve in baking so make sure to use high quality gel food coloring eg. Americolor. Poor quality food coloring will make the brownies either pink or the cocoa powder will simply overpower and your brownies will turn out brownish.
- Although some recipes state to use lighter cocoa powder, please note that it will impact the cocoa taste on your Red velvet brownies. I use high quality dark cocoa powder from Callebaut that has a wonderful cocoa taste
- Digital scale is required for a consistent, happy baking experience:)
- Always pre-heat your oven and consider using a digital oven thermometer for the best results
- Each oven is different so you might need to adjust the baking time slightly but in my oven. I bake the brownies for 30 minutes. It is ready when the edge looks sort of baked, and the middle slightly gooey but not raw.
- For the best fudge brownie experience consider rather slightly under bake your dessert
- Do not attempt to cut the Red velvet brownie bars while it is still hot, as it further sets as it cools


Kris
Hello,
My oven is fan only. What is the best tempt to bake the brownies at please? Thanks!
Kata
The temp I state in the recipe is the temp you need to bake brownies. It is the temp INSIDE the oven, NOT the temp stated on the oven knob, if that makes sense? If using a fan, it usually adds an extra 15C / 59F. So to answer your question, inside the oven the temp should be 175 C / 347 F but you might need to set the know for 160C / 320F to achieve that.
Kris
Hi,
My oven is fan only. What’s the best temp to bake it for this recipe with the fan please?
Laura
So delicious cocoa and cream cheese flavor and really easy to make! I love red velvet flavor and this brownie does not disappoint:)