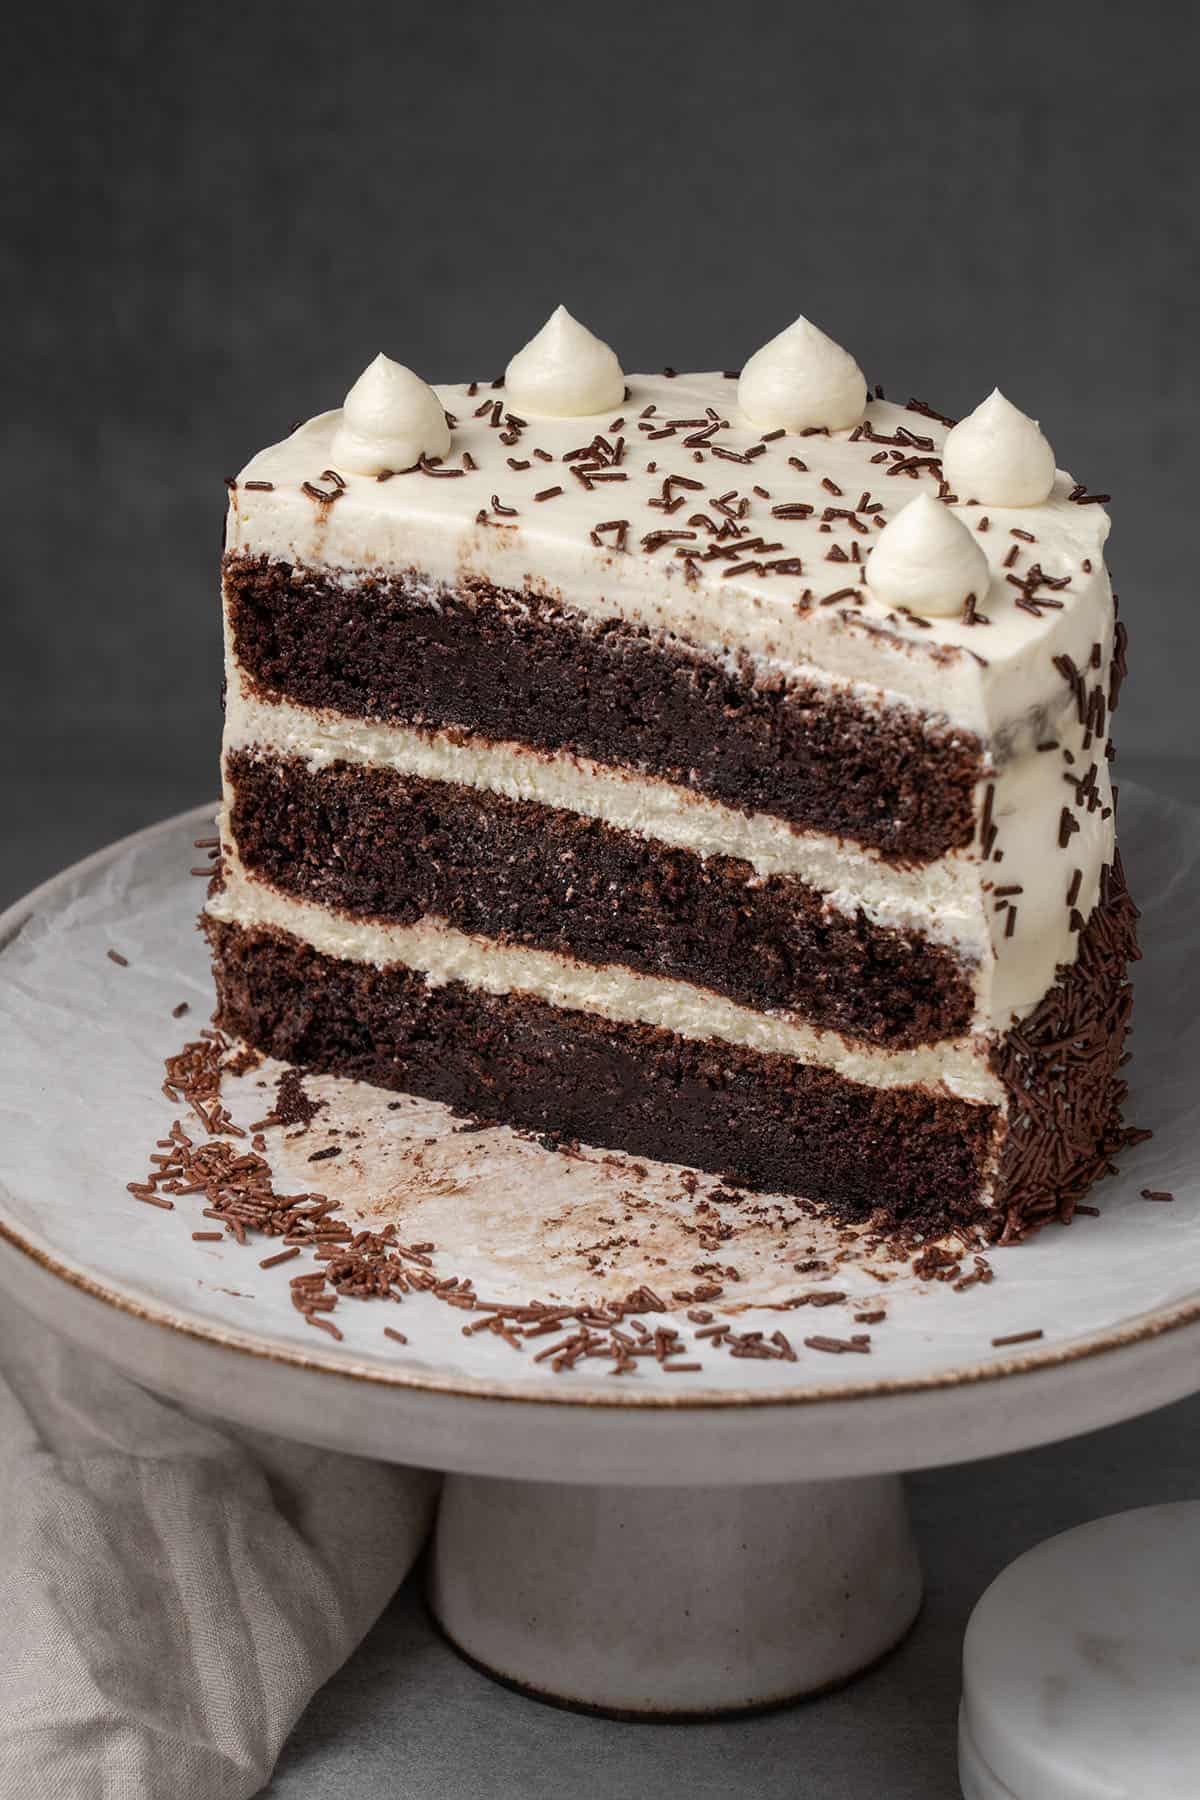
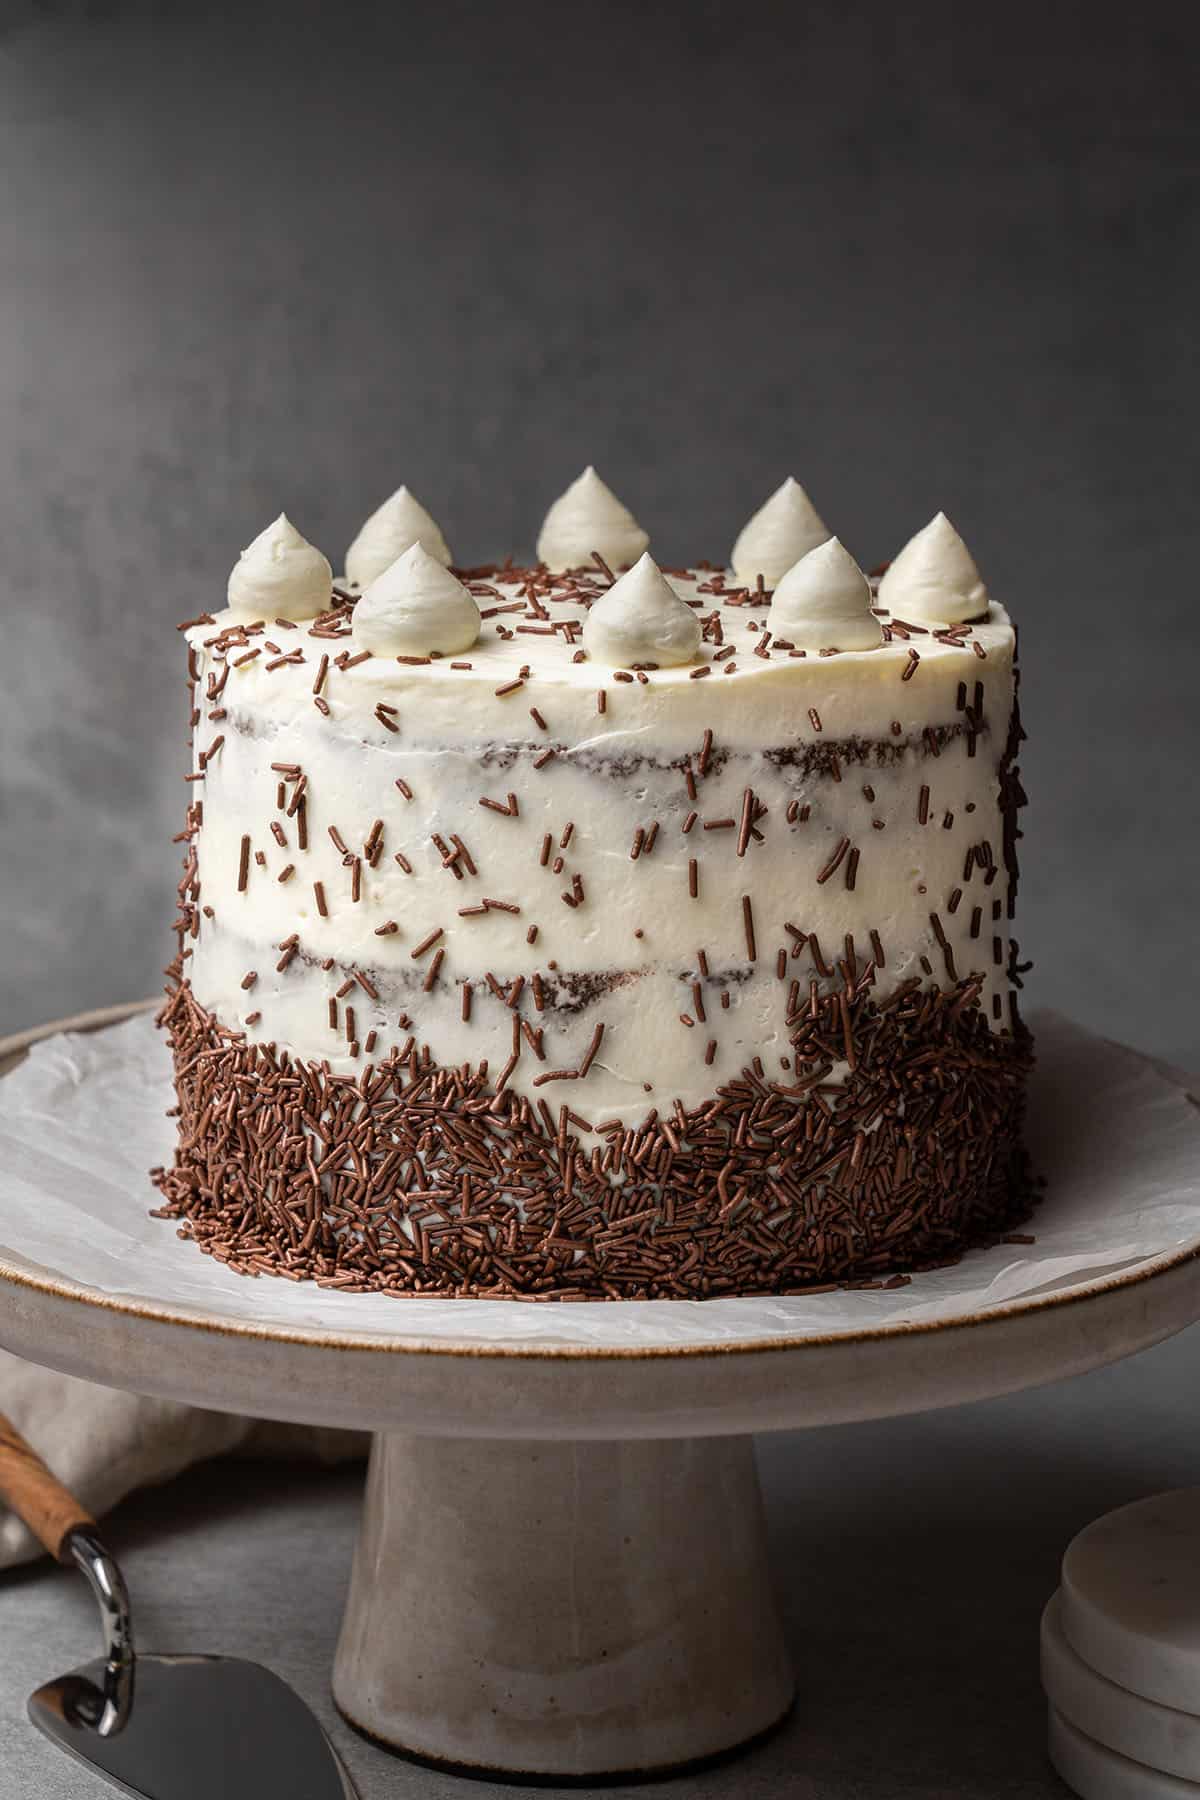
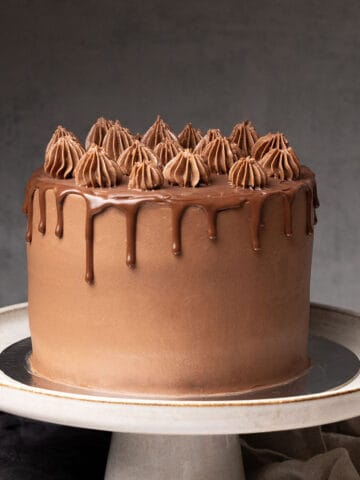
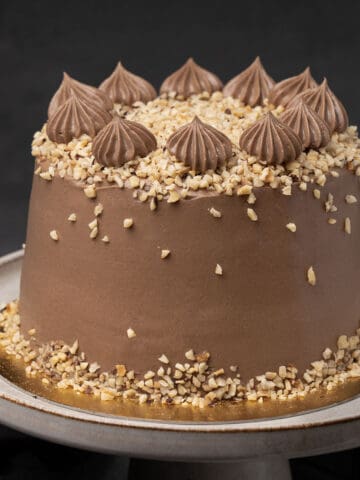
This is the best Chocolate Cake with Cream Cheese Frosting that is super moist with rich chocolate flavor, very well balanced in sweetness, and surprisingly simple to make. This triple layer chocolate cake with cream cheese frosting is perfect for any celebration or weekend gathering! Pairing chocolate cake and cream cheese frosting is definitely a match made in heaven.
Jump to:
🌟 Why this is the best recipe
- It is really easy – There is nothing easier than my chocolate sponge cake that effectively comes together in 2 bowls. My signature cream cheese frosting without butter is made of 3 simple ingredients, you will love it!
- It is a quick recipe – As fancy as it may sound, the chocolate sponge cake in this recipe is super quick to make and can be made in under 15 minutes. Even the frosting comes together in 5 minutes! It's a great recipe for beginner bakers that is sure to wow both your friends and family.
- It is super delicious – I never compromise on taste! The cake layers are super moist and airy, while the frosting is the perfect whipped consistency. You can't buy such a fresh perfect sponge cake with a no-butter cream cheese frosting, packed with so much delicious flavor and amazing texture in a store. Imagine a Philadelphia Cream Cheese Chocolate Cake!
- It is an honest and detailed tutorial – By following the exact step-by-step guide, I can assure you that your cake will turn out phenomenal every time. While the recipe might look long, all the tips and tricks that I'm sharing here will help you to achieve the best layered cake. Baking is science and every little detail I share is to help YOU succeed!
📝 Ingredient notes
For the Chocolate Cake
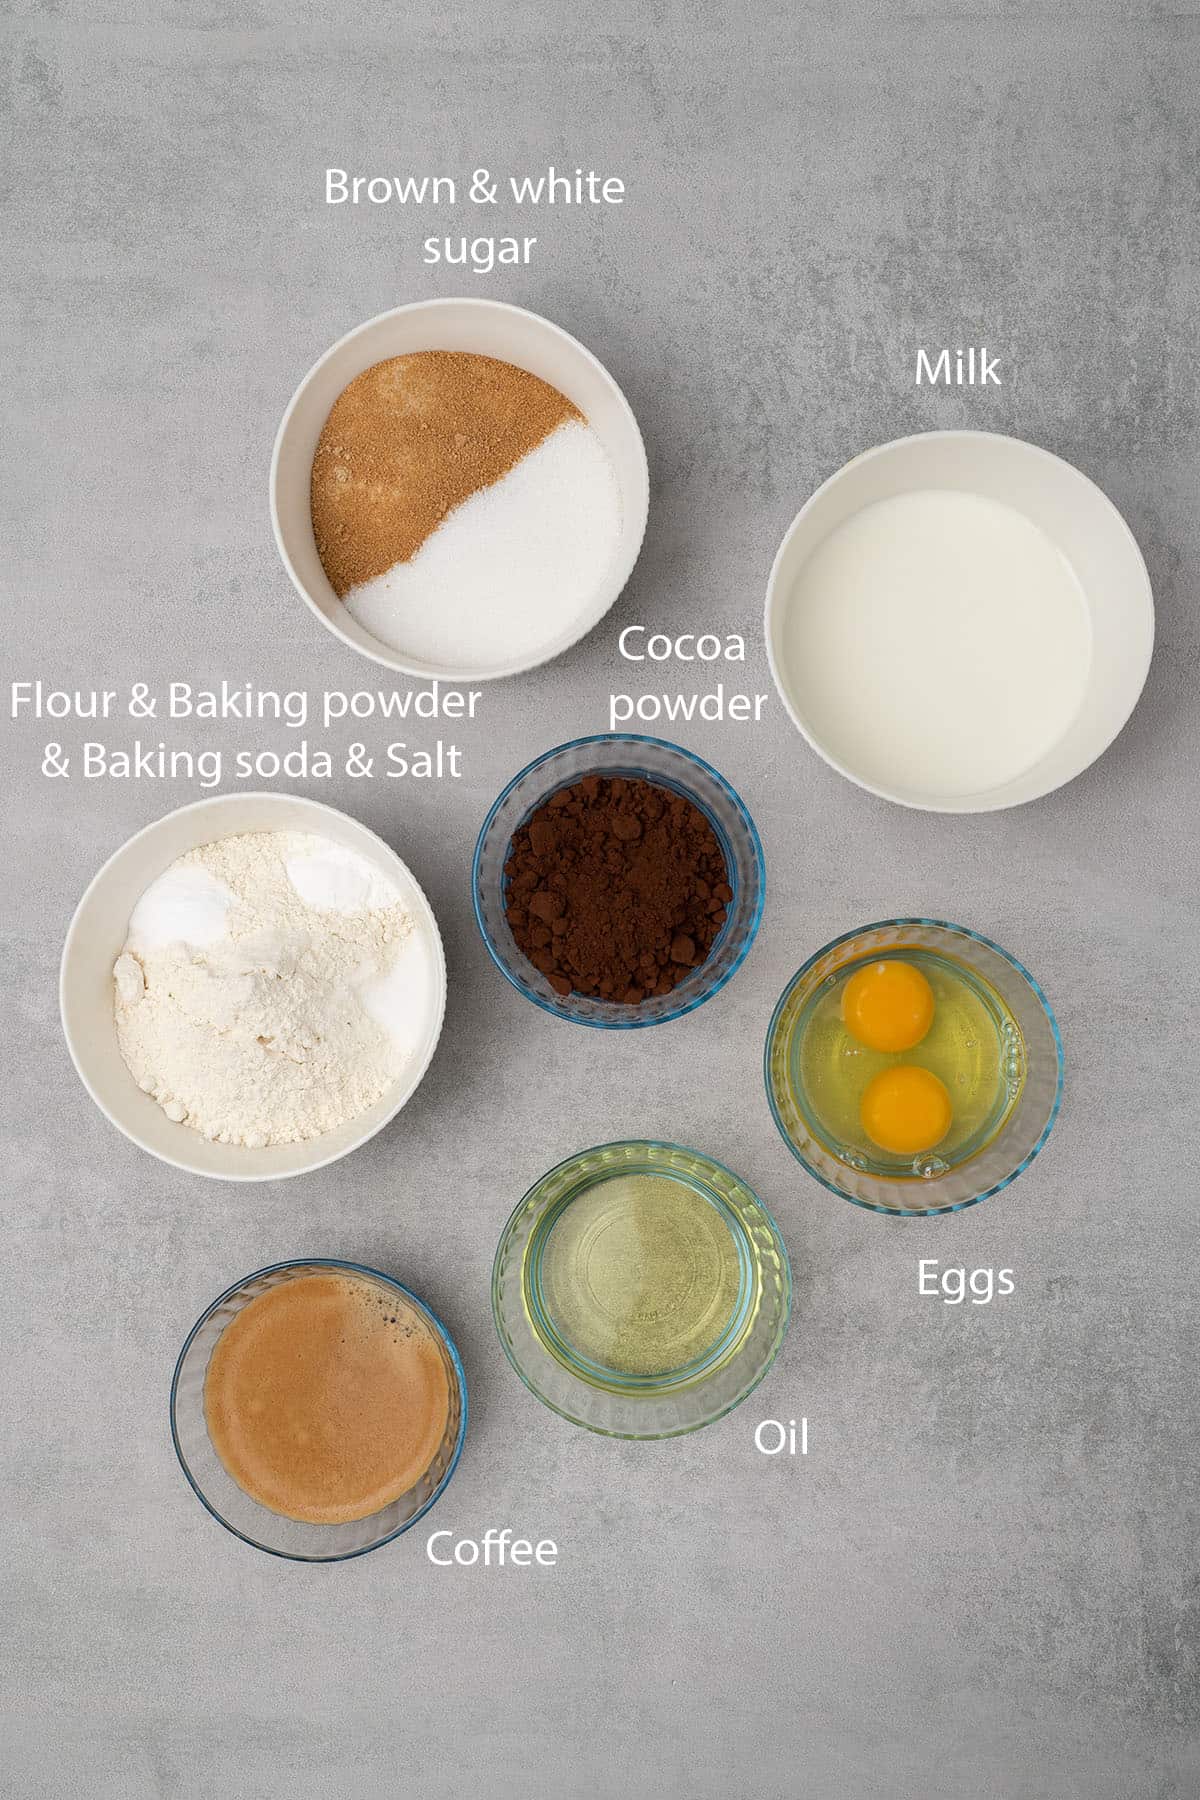
- Egg: Using room temperature eggs is very important in this recipe (and most baking recipes) because it helps the cake properly emulsify. Don’t be tempted to use cold eggs otherwise the batter can turn out to be a completely different texture. In a pinch, place whole eggs in a bowl of very hot sink water for 5 minutes to make them room temperature.
- Oil: I use a neutral oil in this recipe, such as vegetable oil. Using oil in a sponge cake, rather than butter, will yield a more moist crumb that will stay the perfect texture even once refrigerated.
- Milk: Always opt for whole milk since it is the creamiest and richest, perfect for a sponge cake! Again, be sure the milk is at room temperature, similarly to the eggs, so that the cake batter will properly emulsify.
- Coffee: Coffee is the perfect chocolate companion because it simply enhances the chocolate flavor. I promise, you won’t taste a coffee flavor in this cake recipe, rather it will help the cocoa powder stand out. I always recommend incorporating a bit of coffee into chocolate desserts; it’s a game-changer! I like to brew a fresh cup of coffee before making this cake and allow it to cool slightly before. If you don’t have coffee on-hand, the cake will still be wonderful. You can simply leave it out and replace it with room temperature water.
- Sugar: Adding brown sugar and granulated sugar to this recipe is very important. The molasses in the brown sugar will affect the texture of your cake in the best way possible. If you want to learn about the different types of sugar and how to use them in baking, please read my sugar guide.
- Flour: All purpose flour, cake flour, or pastry flour makes the best cakes since they are considered “soft flour” which are low on protein resulting in a delicate, tender texture. In this recipe, I tend to opt for all-purpose flour since it isn’t as delicate as cake flour but will still make a moist, super soft texture, but any of the above flours will work wonders. Make sure you sift flour before using it in the recipe to avoid lumps. If you want to be a Pro when it comes to deciding what type of flour to use in your baking, please read my article here.
- Baking powder + Baking soda: These ingredients are leaveners that have two important functions; increase the volume and lighten the texture of the cake. Some sponge cakes rely on whipped egg whites to provide the cake with height and a fluffy texture, but in this recipe, we rely on baking soda and baking powder to do the trick!
- Unsweetened Cocoa Powder: How to make a sponge cake chocolate flavored? Add cocoa powder! Generally use unsweetened, 100% cocoa powder in baking as it will have the most consistent results without being too rich, but just right. I use a Dutch-processed cocoa powder which has a lovely dark color resulting in a beautiful dark chocolate sponge cake. Plus dutch processed cocoa is lower in acidity. Make sure to sift the cocoa powder before adding the batter to avoid lumps. For more info on cocoa powder and its substitutes check my cocoa powder guide.
- Salt: Salt balances out the sweetness in all desserts. It’s essential in all baking recipes and makes a huge difference even in small amounts. Fine salt is ideal for baking, try to avoid large salts since they won’t disperse as well in the batter.
🛒 You’ll find detailed measurements for all Ingredients in the printable version of the Recipe Card at the bottom of this post
For the Cream Cheese Frosting
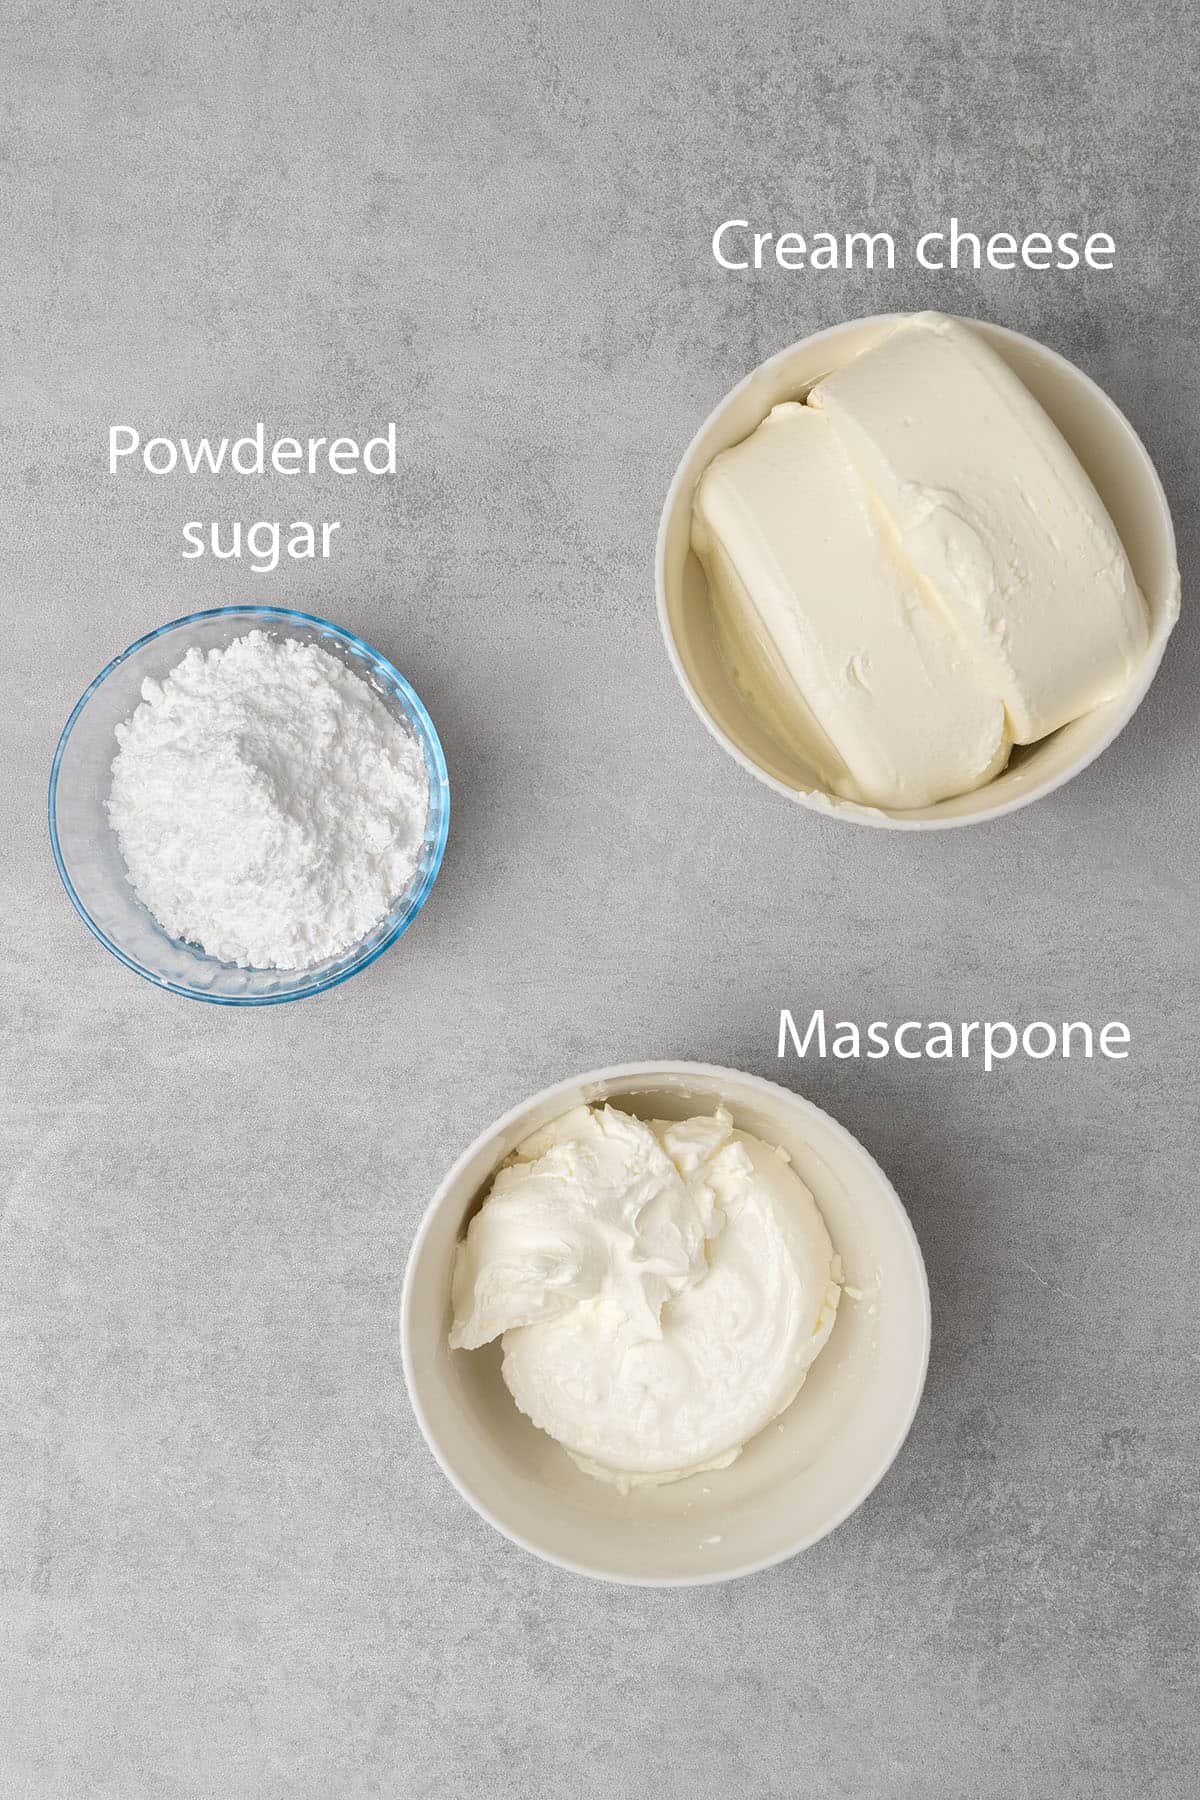
- High-Fat Cream cheese: Cream cheese is the base of the recipe. It’s important you use cream cheese with a high-fat content of 33%+. You can use the cream cheese cold straight from the fridge! Check out some of my other cream cheese desserts as well!
- Powdered sugar or Confectioners sugar: Use fine powdered sugar so that your frosting won´t turn out grainy. Powdered sugar should always be sifted to remove any lumps. Check my recipe for homemade powdered sugar
- High-fat mascarpone: Since there is no butter in this recipe we need to have something with high-fat content to avoid a runny consistency. Mascarpone is an excellent substitute for the classic butter in a recipe, but be sure you’re buying the high fat version. Mascarpone should have a 41% fat content. If mascarpone is not available for you, check my mascarpone substitute article which also has a homemade mascarpone recipe.
- Vanilla extract or bean paste (optional): Vanilla is the perfect flavoring agent. Of course, you can substitute it with another flavoring agent such as cinnamon, cocoa powder, pumpkin spice, etc if you’re trying to attain a different flavor profile.
If you prefer a chocolate cake with chocolate cream cheese frosting (which in my opinion may be overkill, but still delicious), you can mix in a few tablespoons of sifted unsweetened cocoa powder into the frosting for an extra chocolatey flavor!
🛒 You’ll find detailed measurements for all Ingredients in the printable version of the Recipe Card at the bottom of this post
👩🍳 How to make this recipe
Making this intense chocolate cake recipe with cream cheese icing is very straightforward with a few key steps. You may wonder how do you make frosting with cream cheese and not butter, and it’s super simple! Below you will learn how to bake the cakes, whip up the frosting and then finally layer the cakes. This is definitely one of my favorite go-to layered cakes because of its incredible flavors and ease.
1. How to make the Chocolate sponge layers
I am using my signature chocolate sponge layers here, it is a recipe that is incredibly simple to assemble and made using only two bowls. You can use a mixer to help but it is not required! This is definitely a recipe you will come back to again and again.
- Prepare your baking pans: I use 3 x 6 inch / 15cm round cake pans. Grease pans with a light brush of oil and then add parchment paper to the bottom and sides of the pan. Set aside for later.
- Preheat your oven to 200°C or 425°F. Later, right after you place the cake pans inside the oven, the temperature will inevitably drop a bit and you can lower the oven temperature to 180°C / 356°F. Consider using a Digital oven thermometer to understand your oven temperature, since most ovens tend to vary (even once set to a temperature).
- Another helpful tip is to ensure your eggs, milk, and coffee are at room temperature.
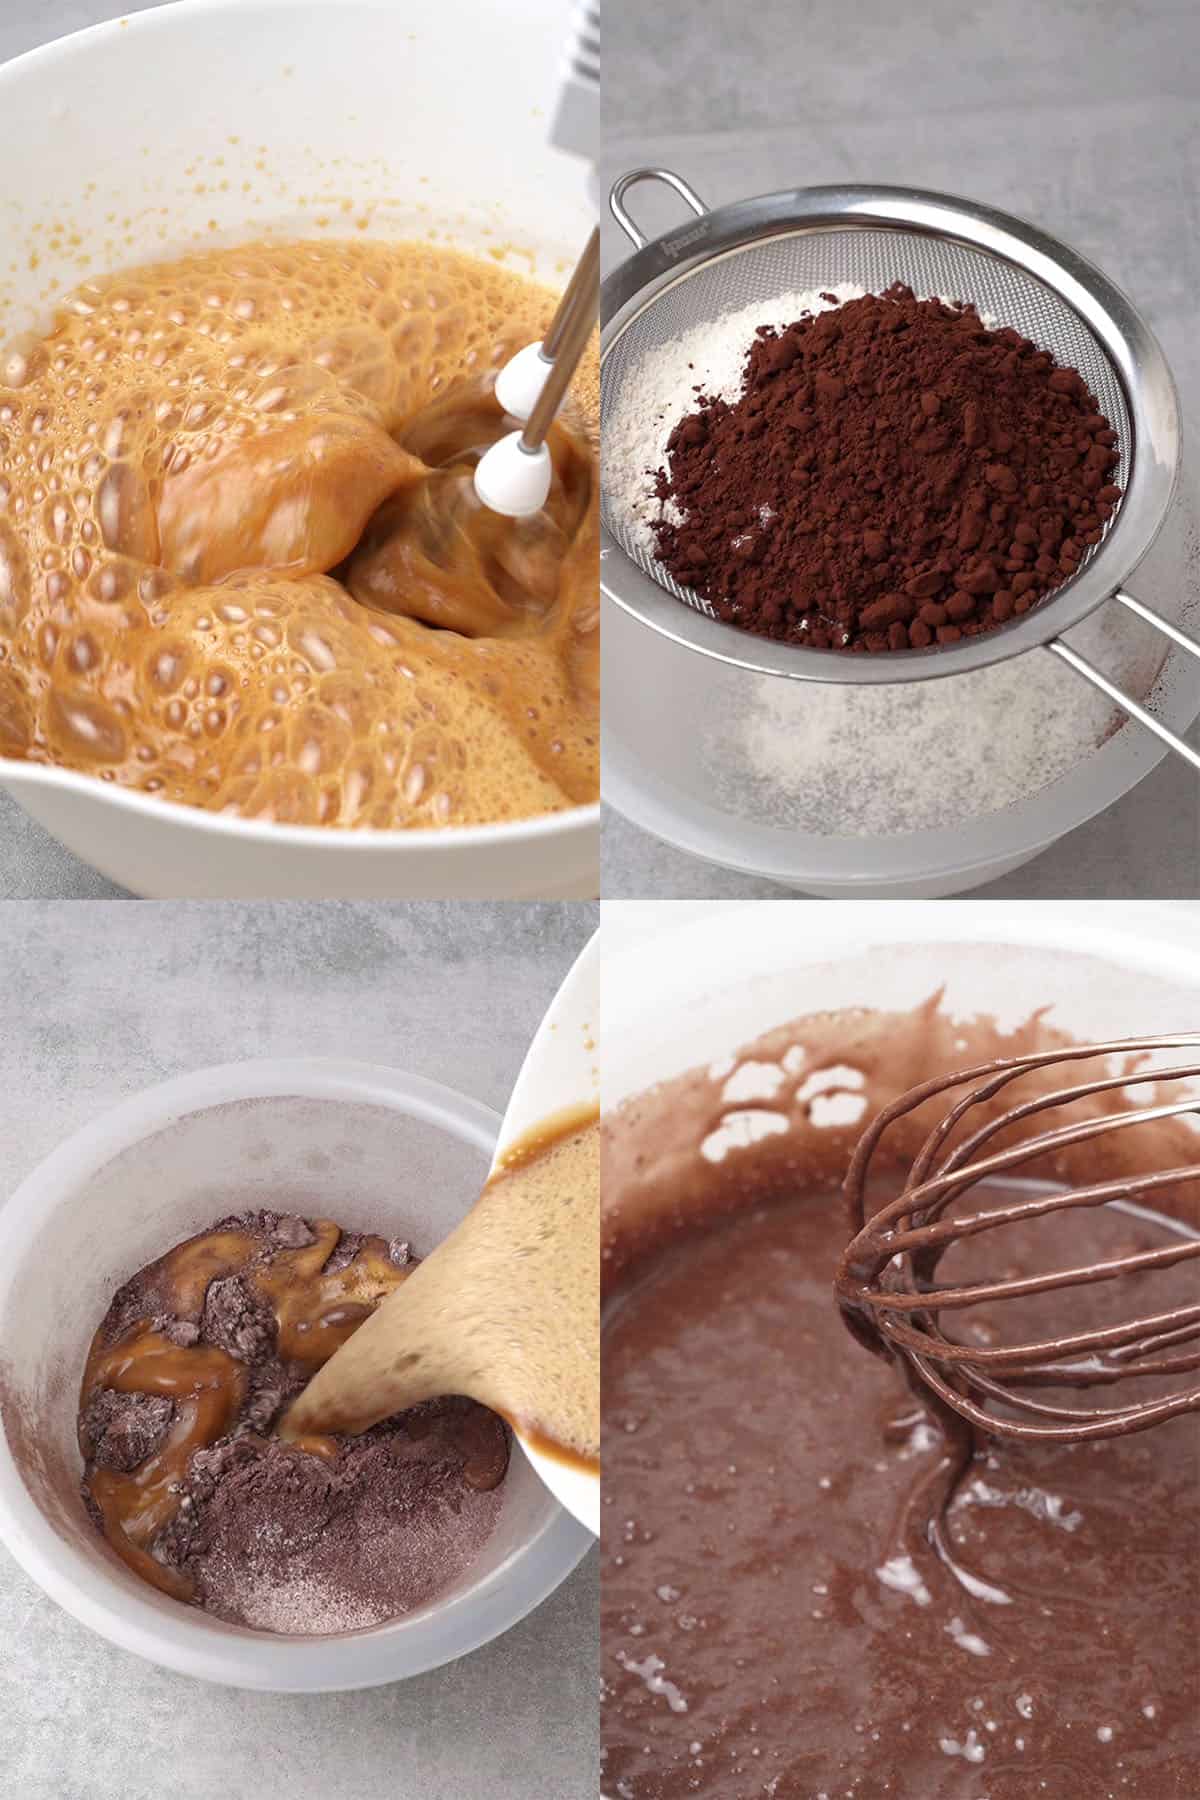
- Using an electric mixer (handheld or stand mixer) whip the wet ingredients (oil, sugar, milk, coffee, and eggs) for a minute or two until combined.
- In a separate large bowl, sift together the dry ingredients which include the flour, baking soda, baking powder, salt, and cocoa powder.
- Pour the wet ingredients into the dry ingredients and carefully fold by hand using a rubber spatula (or wooden spoon if that is what you have at home). Don’t use a mixer at this point. Only mix until the flour is no longer visible. We don’t want to overmix the batter otherwise it can become tough.
- Your cake batter will be very liquidy at this point which is perfect! Do NOT add more flour to thicken it; the batter should be quite thin.
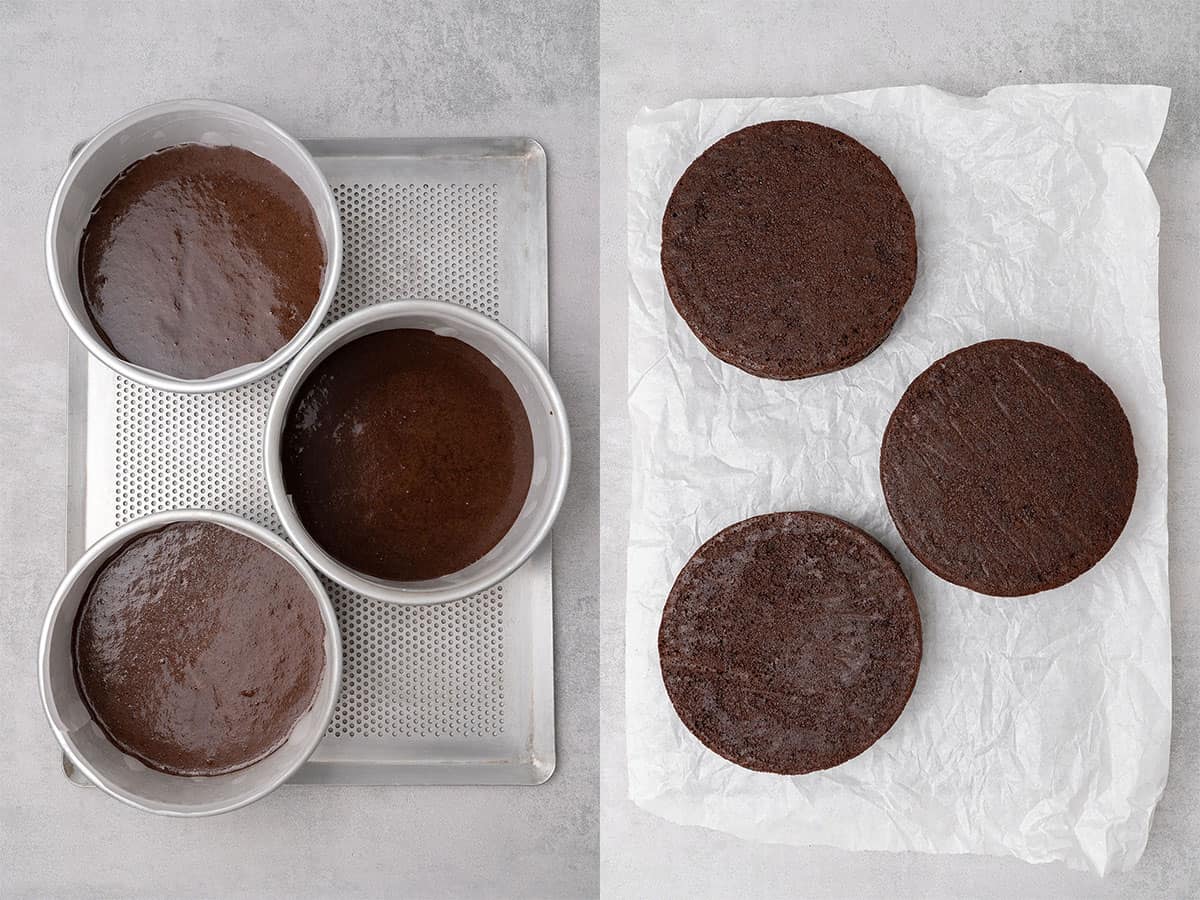
- Pour the batter into the prepared cake pan(s). Weigh the total batter on your digital scale and then divide evenly among your cake pans for even layers.
- Lower the oven temperature to 180°C / 356°F and bake for 25-30 minutes. Check the middle of the cake with a toothpick to make sure it comes out clean. If the toothpick comes out clean, your cakes are baked.
- Remove cakes from the oven and place them onto a wire baking rack to cool completely. Once the cake is completely cool, for at least 1 hour, you can carefully remove it from the pan & store it in the fridge until ready to use.
Should you come across any issues, please check my article about potential baking problems eg. sinking cake, and how to avoid it.
💡Top Tip: Besides the toothpick check, you can also fairly well judge the required baking time by checking the side of the sponges. When it is well baked, the side starts to separate from the tin.
2. How to make cream cheese frosting
Making cream cheese frosting without butter is simple and quick. Check my more detailed cream cheese frosting recipe, should you need more information.
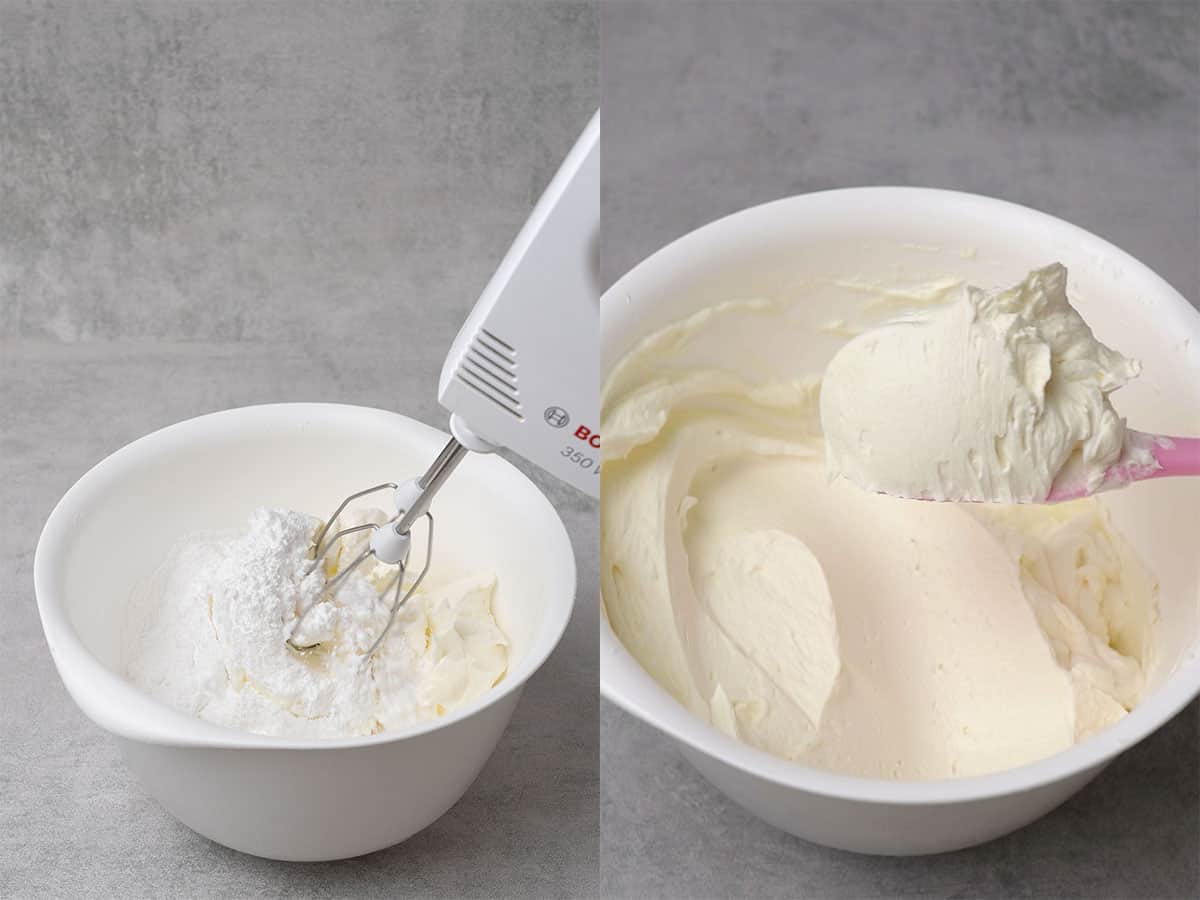
- Place the cream cheese, mascarpone, and sifted powdered sugar into a mixing bowl or bowl of an electric mixer
- Start at low speed so the powdered sugar doesn’t go everywhere. Whip everything together for about 2-3 minutes, using a handheld electric mixer or the stand mixer. It will be much more difficult to whip by hand with a whisk since all the ingredients are cold.
- Add the vanilla bean paste, if desired. When the frosting reaches a fluffy, pipeable consistency, stop right there and do not overmix. If you continue to beat the frosting, it will separate and become runny.
The frosting should be stable enough to pipe or frost the cake at this point, however, if time allows, it is great to set it in the fridge until ready to use.
💡Top Tip: Besides not over whipping and using the right ingredients, the best way to thicken cream cheese frosting is to refrigerate it for 30-60 minutes before using
3. How to assemble the cake
Assembling this moist Chocolate Cake with Cream Cheese Frosting is a rather simple step-by-step process that is fuss-free to follow. I recommend making the cake first and placing it in the fridge for a few hours to firm up. Then, once the cake layers are baked and have completely chilled, prepare the cream cheese frosting as per the recipe instructions. You can also refrigerate the frosting before icing the cake to help it become even sturdier.
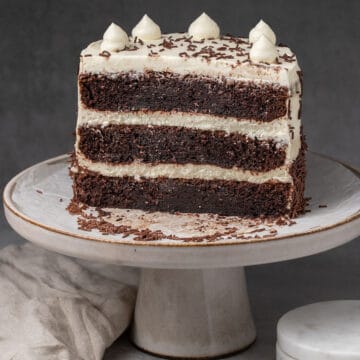
The Chocolate Cake with Cream Cheese Frosting consists of the following layers from bottom to top:
- Chocolate Sponge Cake
- 200g Cream cheese frosting
- Chocolate Sponge Cake
- 200g Cream cheese frosting
- Chocolate Sponge Cake
I suggest the following process:
- Grab your Digital scale and measure the frosting so that the layers will look identical when you cut the cake. There will be some remaining frosting for the outside of the cake.
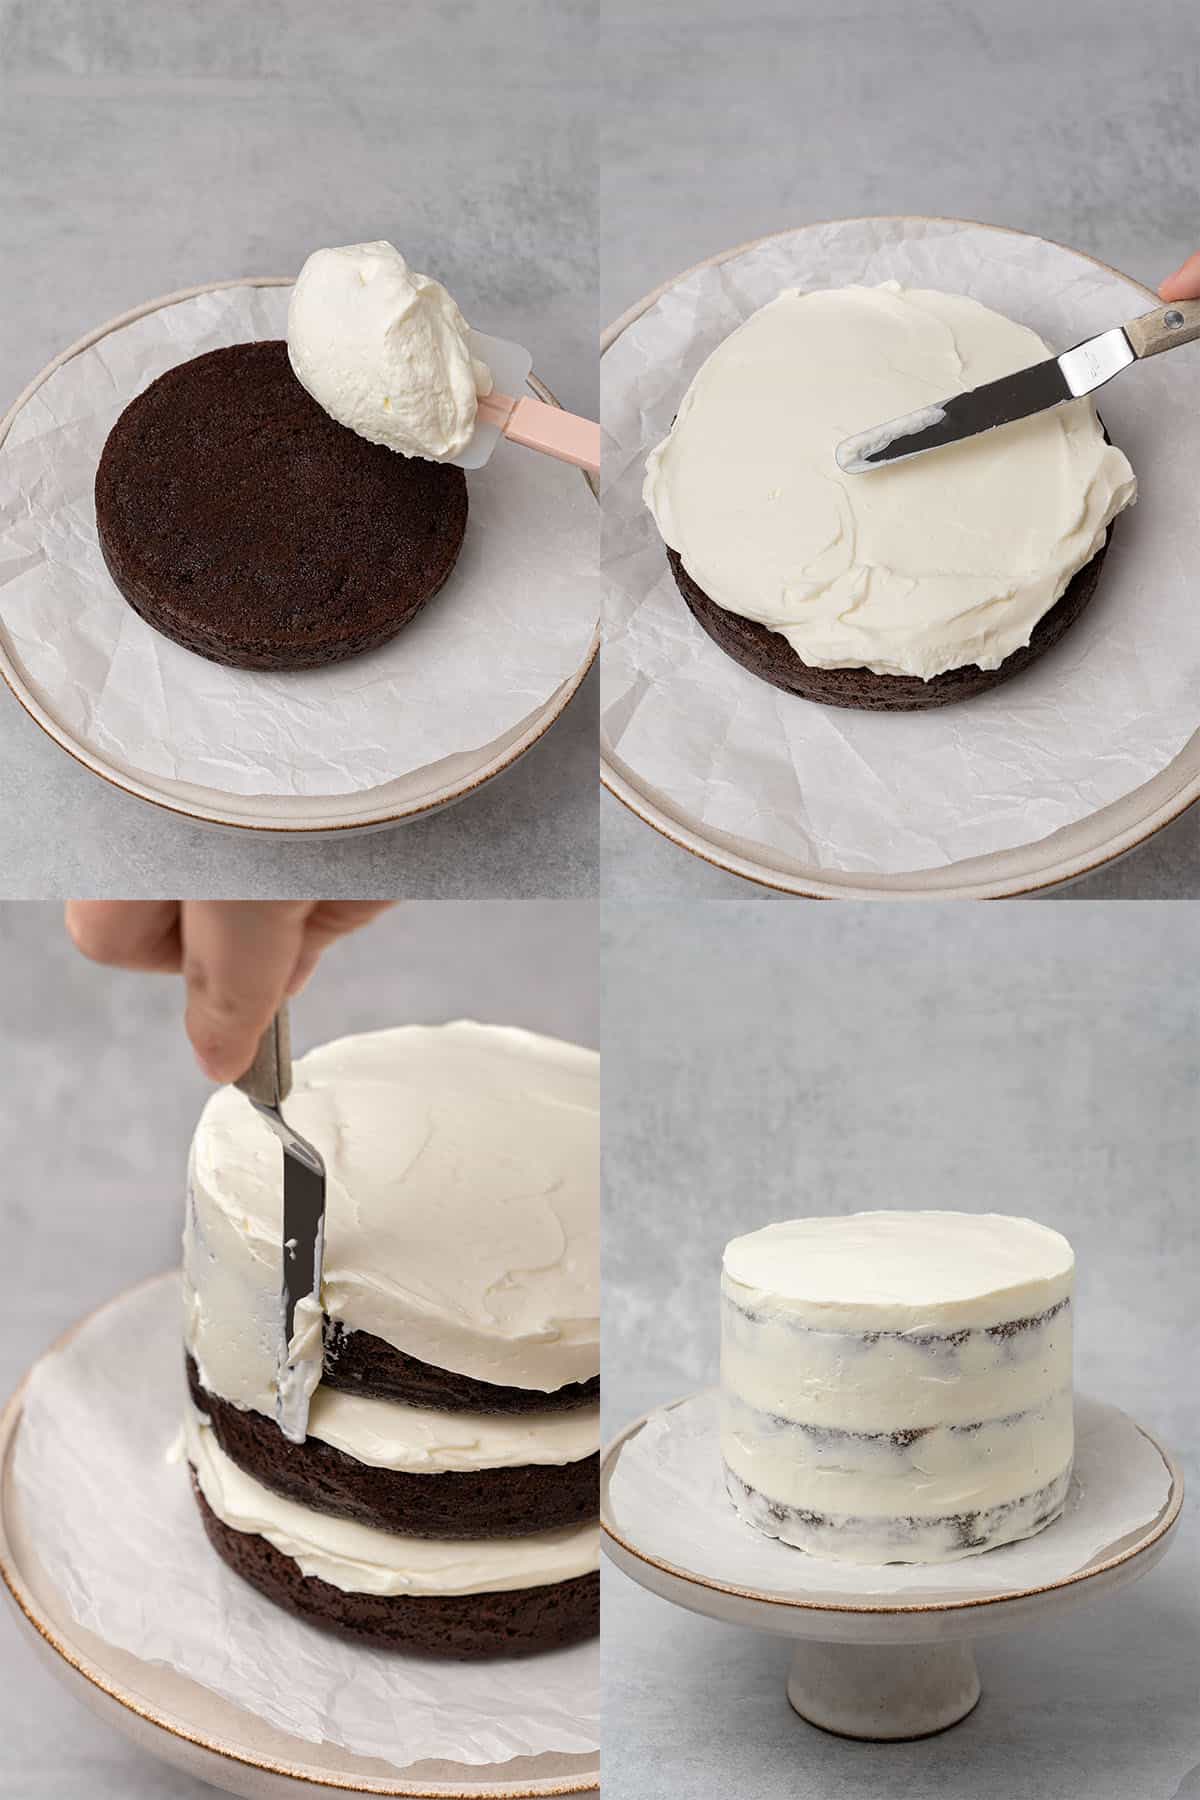
- Start to build up the layers from the bottom to the top
- Once the last cake layer is placed, chill the cake for a minimum of 30 minutes.
- Crumb coat the cake with a thin layer of frosting and then chill the cake again for another 30 minutes before decorating.
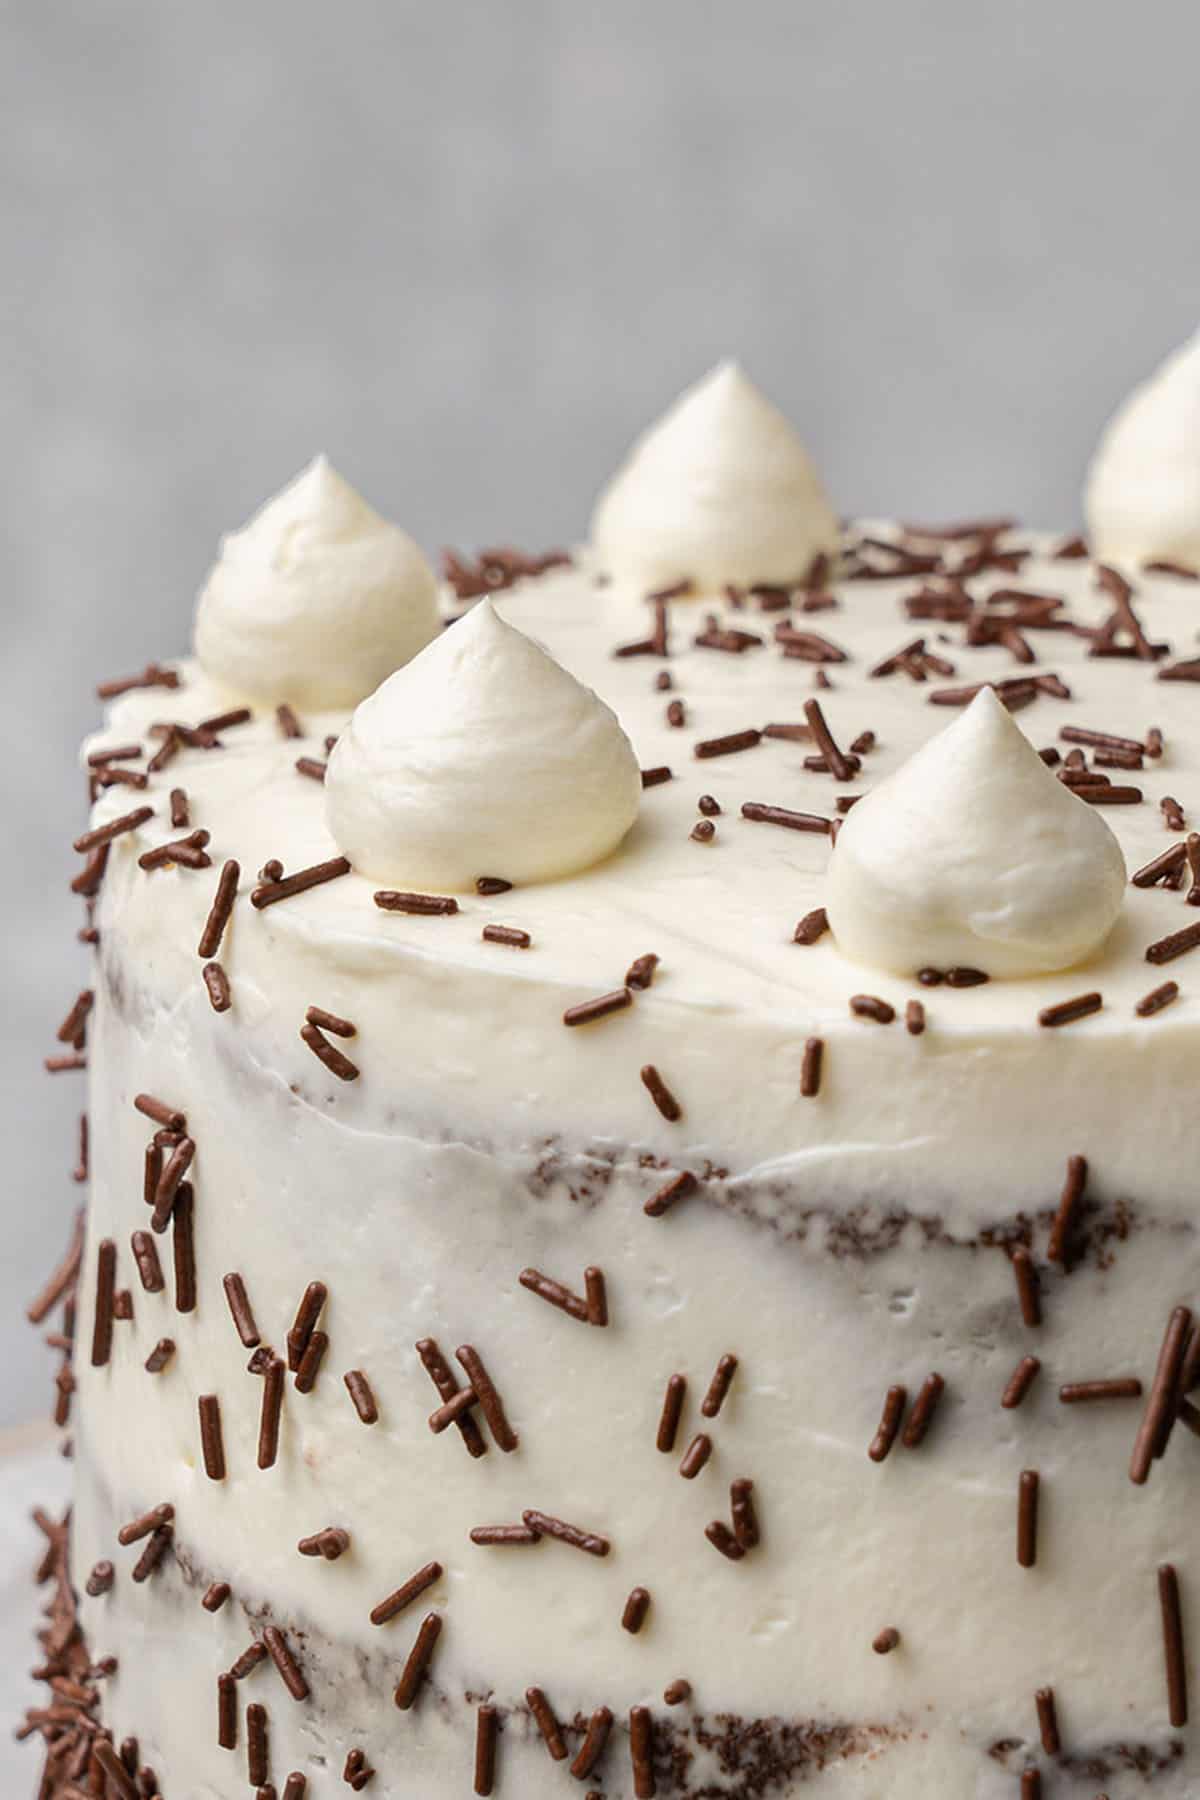
- I left the cake in this semi-naked way but you can also apply another layer of coating if you wish.
Please note that after the coating you should have enough frosting left over for the decoration.
💡Top Tip: If at any point the frosting feels soft or the cake feels unstable, place it into the fridge for 1 hour to chill and then continue on with the next layer.
4. How to decorate
This rich Chocolate Cake with Cream Cheese Frosting is super easy to decorate.
Test your frosting: Pipe some frosting onto a plate to check if it is thick and holding its shape. If the frosting won't hold its form or it is too runny you will need to put it in the fridge to firm up and chill.
- Make sure the cake is fully chilled.
- Press chocolate sprinkles into the bottom sides of the cake.
- Sprinkle a few chocolate sprinkles over the top and sides of the cake.
- Pipe the decoration on top of the layered cake using a large round piping tip nozzle.
- Place the decorated cake into the fridge to chill for one hour.
Voila! Your cake is decorated and ready to enjoy. The Chocolate Sponge layer cake is best served on the same day. Any leftovers can be stored covered in the fridge for 1-2 days.
💡Top Tip: If you want to make this a chocolate layer cake with a cream cheese swirl design, simply layer as directed and use your knife or spatula to create a swirl pattern in the frosting on the sides of your cake. It can look stunning!
🥣 Equipment notes
For this chocolate cake with cream cheese icing I use three 15 cm (6 inch) round cake pan. You can choose to use larger cake pans if you prefer. There are notes above about how to change your cake pan size and batter quantity. However, this will affect your bake time.
You also need to consider that you need divide the batter evenly between the pans using a Digital scale for even baking. Also, for the frosting, it is recommended to divide the in between the layers so it looks very neat when cutting the cake.
To assemble the cake, a Cake turntable and an Offset spatula are super handy. For decorating the cake I suggest a Piping bag and a round nozzle tip.
🎓 Expert tips
- For the cake, use room temperature ingredients so that they will properly emulsify. If your milk or egg is too cold, the cake batter might even break.
- Do not overbake your chocolate sponge layers as that will result in a dry texture.
- For even cake layers, weigh the batter using a Digital scale for accuracy and then divide it among the pans.
- Always add salt to your chocolate cake batter to balance out the sweetness.
- Cream cheese frosting is very easy to overwhip. When whipping the frosting stop as soon as the mixture has reached a thick & fluffy consistency (this will take 1-2 minutes). It won't get any stiffer after this point. In fact, if you overbeat it, it will get only runnier and then break.
- You must chill the sponge cakes before assembling the cake otherwise they will become crummy and your cake won’t be as sturdy.
- If at any point the frosting feels soft or the cake feels unstable during assembling, place it in the fridge for 1 hour to chill before continuing on with the next layer.
🔢 Conversions to different pan sizes
1. For the chocolate sponge cake
I have a detailed conversion chart and explanation in my chocolate sponge cake recipe, however, in a nutshell, use the below guidance:
| Quantity | Cake Pan Size (inches) | Cake Pan Size (cm) | How much batter | Bake Time |
| 3 round pans for 3 layered cake | 6-inches | 15 cm | 1x recipe | Approx. 25-30 minutes per cake |
| 2 round pans for 2 layered cake | 6-inches | 15 cm | ⅔x recipe | Approx. 25-30 minutes per cake |
| 3 round pans for 3 layered cake | 8-inches | 20 cm | 1.5x recipe | Approx. 35-40 minutes per cake |
| 2 round pans for 2 layered cake | 8-inches | 20 cm | 1x recipe | Approx. 35-40 minutes per cake |
2. For the cream cheese frosting
More or less you can follow the batter conversions for the frosting as well when making smaller / larger cakes if you want to keep the sponge cake vs frosting proportions taste-wise and visually as well.
So, for example, if you make a 8 inches / 20 cm 3-layered cake (instead of this 6 inches / 15cm 3-layered cake), make 1.5x of the frosting.
❓Recipe FAQs
This seems to be a question many people have and I’m happy to share it is a match made in heaven! Chocolate cake plus cream cheese frosting truly complement each other in the best way in terms of taste and texture.
This chocolate sponge cake works perfectly with the cream cheese frosting, the sweet chocolate taste perfectly complements the slightly savory cream cheese frosting. But, if you want alternative ideas, a vanilla cake, strawberry cake or even carrot cake would work perfectly too!
Yes of course you can. This recipe works no matter what size or shape of cake you want to bake. Keep in mind, you will need to adjust the baking time and ingredients accordingly, please see my conversion table above
In this recipe, I use a neutral oil such as vegetable oil to make this cake moist. Additionally, be sure not to overbake the cake otherwise it can become less moist.
You probably can! However, you can't easily leave out or change an ingredient without reformulating the entire recipe. When one ingredient changes, some other ingredients need to be changed too in order to keep the balance in the texture and flavor. Sadly, I am not able to provide substitutes for different types of allergies and diets.
I’d recommend only leaving your cake out for 1-2 hours maximum but only if your kitchen is "room temperature" meaning around 22 C / 71 F. Store the cake in the fridge, and do not leave out cakes like this on a hot day. Cakes that can sit out for 6+ hours require a totally different frosting with more butter, sugar, and often even fondant, marzipan, etc.
Once you assemble the Chocolate Cake with Cream Cheese Frosting, it should be stored in the fridge. Always cover the cake so that it doesn’t dry out or absorb any smalls from the fridge. If there is leftover cake (after serving) it can be stored in the fridge for 1-2 days in an airtight container.
I do not recommend freezing the entire cake as the frosting does not freeze well. However, you can freeze the sponge cakes prior to assembly, wrap them tightly in plastic wrap, and place them into a sealable bag.
🍰 More cake recipes
Chocolate Cake with Cream Cheese Frosting (VIDEO)
Equipment
- Digital scale
Ingredients
For the chocolate sponge cake layers
- 170 g (1⅓ cups) All purpose flour any low protein content flour eg. pastry flour can work too.
- 45 g (½ cups) Cocoa powder unsweetened, dutch processed
- 120 g (⅔ cups) Granulated sugar
- 120 g (⅔ cups) Brown sugar
- 1 teaspoon Baking soda
- 1 teaspoon Baking powder
- ½ teaspoon Salt
- 70 g (⅓ cups) Vegetable oil
- 2 Eggs room temperature
- 165 g (⅔ cups) Milk room temperature
- 120 g (½ cups) Coffee freshly brewed strong coffee, room temperature
For the Cream cheese frosting
- 600 g (3 cups) Cream cheese full fat eg. Philadelphia
- 200 g (1 cups) Mascarpone full fat
- 100 g (¾ cups) Powdered sugar sifted
- ½ tablespoon Vanilla extract pure, eg. Nielsen Massey
US customary cup measurement is an indicative figure only. Measure the ingredients with a digital scale by weight (gram). Baking is art but also science which requires precision and accuracy.
Instructions
For the chocolate sponge layers
- Heat oven to 200°C or 425°F (no fan). When you open the oven door, the temperature will inevitably drop a bit therefore I always recommend pre-heating the oven higher than the actual baking temp.
- Prepare 3 15 cm (6 inch) round cake pan with parchment paper
- With an Electric hand mixer whip together the wet ingredients for 1-2 minutes: room temperature egg, oil, sugar, coffee and milk
- Sift dry ingredients; flour, baking powder, baking soda, cocoa powder, salt
- Pour wet ingredients into dry ingredients then fold just until combined
- Divide batter equally into 3 cake pans with the help of a Digital scale
- Place baking pans into the oven and reduce oven temperature to 180°C / 356°F (no fan). Bake for 25-30 min or until a toothpick inserted in the middle of the cakes comes out clean
- Cool the chocolate sponges on Cooling rack. Chill them in the fridge before assembling the cake
For the cream cheese frosting
- Whip mascarpone, cream cheese, vanilla bean paste or vanilla extract and powder sugar until smooth and fluffy, this will only take a few minutes. Use a hand mixer and do not over beat as it can become runny
Assemble
- Measure the frosting (200g in between each layers)
- Start to build up the layers from the bottom to the top. Once the last cake layer is placed, chill the cake for a minimum of 30 minutes
- If at any point the frosting gets soft or the cake gets unstable, place it into the fridge to chill then only after continue
- Crumb coat the cake with a thin layer of frosting and then chill the cake again for another 30 minutes before decorating. I left the cake in this semi-naked way but you can also apply another layer of coating if you wish.
- Chill the cake before decorating
Decoration
- Press chocolate sprinkles into the bottom sides of the cake. Sprinkle a few chocolate sprinkles over the top and sides of the cake.
- Pipe the decoration on top of the layered cake using a round piping tip nozzle.
- Place the decorated cake into the fridge to chill for one hour before serving
- Store refrigerated
Notes
- Measure your ingredients with a Digital scale for accuracy
- All ingredients for the chocolate cake must be at room temperature to properly emulsify: eggs, milk, coffee etc.
- For the frosting, use mascarpone and Philadephia full fat versions
- Make sure you read my Expert tips section above to maximize your success. A short recipe alone is not able to cover all the necessary details, and science behind baking. Consider this recipe more like an in-depth tutorial, literally the only recipe you will ever need
- Do not overbake your sponge layers as that will result in a dry texture. Use the toothpick test to check if your cake is ready.
- Cool the cake completely on a wire rack. This will help the cake not break when it’s fully cooled and can be removed from the pan.
- When whipping the frosting, pay attention to the consistency and stop as soon as it is fluffy and pipeable consistency. This will take only a few minutes
- During the assembling, if at any point the frosting feels soft, or the cake feels unstable, place it into the fridge for 1h to chill then continue with the next layer


Rachel
This recipe looks amazing, I’m excited to try it out for my dads birthday. Thanks for all the notes and suggestions. Do the tins need to be 3” deep or is 2” ok?
Kata
Probably 2inch will be fine. Let me know how it turns out:)
Laura
This is the most wonderful recipe that looked a bit complicated at first but then following your step by step instructions turned out absolutely delicious and stunning. I love chocolate and cream cheese together and it’s not too sweet.