This Red velvet Pound Cake with Heart Center is the ultimate Valentine´s day cake you can surprise your loved one with this year! An easy red velvet pound cake with mild chocolate flavor, melt in your mouth buttery crumb, and exceptionally silky cream cheese frosting. And! A hidden heart in each slice, how cute is that?
Jump to:
What is red velvet cake?
Red velvet cake is a traditionally reddish-colored chocolate cake with cream cheese icing. A Red velvet cake recipe is usually made with a combination of buttermilk, butter, cocoa, vinegar, flour, and baking soda. Its red color is nowadays enhanced with natural or artificial food coloring – either way, it is a perfect contrast with the white cream cheese frosting. Red velvet cake is easily one of the most popular celebration cakes thanks to its mild chocolate taste, light cream cheese icing, and dramatic red look!
Try my Red velvet cake with cream cheese mousse which is a lighter version of the well-known cake!
Ingredient notes
For the heart insert
- Butter: Use always unsalted as you want to be in control of the quantity of the salt. I am using 82% fat content butter in all my recipes. In this recipe, butter needs to be at room temperature which technically means soft enough to be able to cream but not too soft or runny so avoid last-minute microwaving
- Icing sugar: Icing sugar dissolves quickly while creaming with butter hence being the best choice when it comes to this sponge. If you want to learn about the different types of sugar and how to use them in baking, please read my article in here
- Egg: Room temperature as always
- Flour: All-purpose flour or pastry flour makes the best cakes. They are so-called "soft flour" which are low on protein resulting in a delicate, tender texture. If you want to be a Pro when it comes to deciding what type of flour to use in your baking, please read my article in here
- Baking powder: Has two functions: increase the volume and lighten the texture
Making this sheet cake for the Red velvet Pound Cake with Heart Center is actually super easy, what you need to pay attention to is more the assembling part, keep reading my tips!
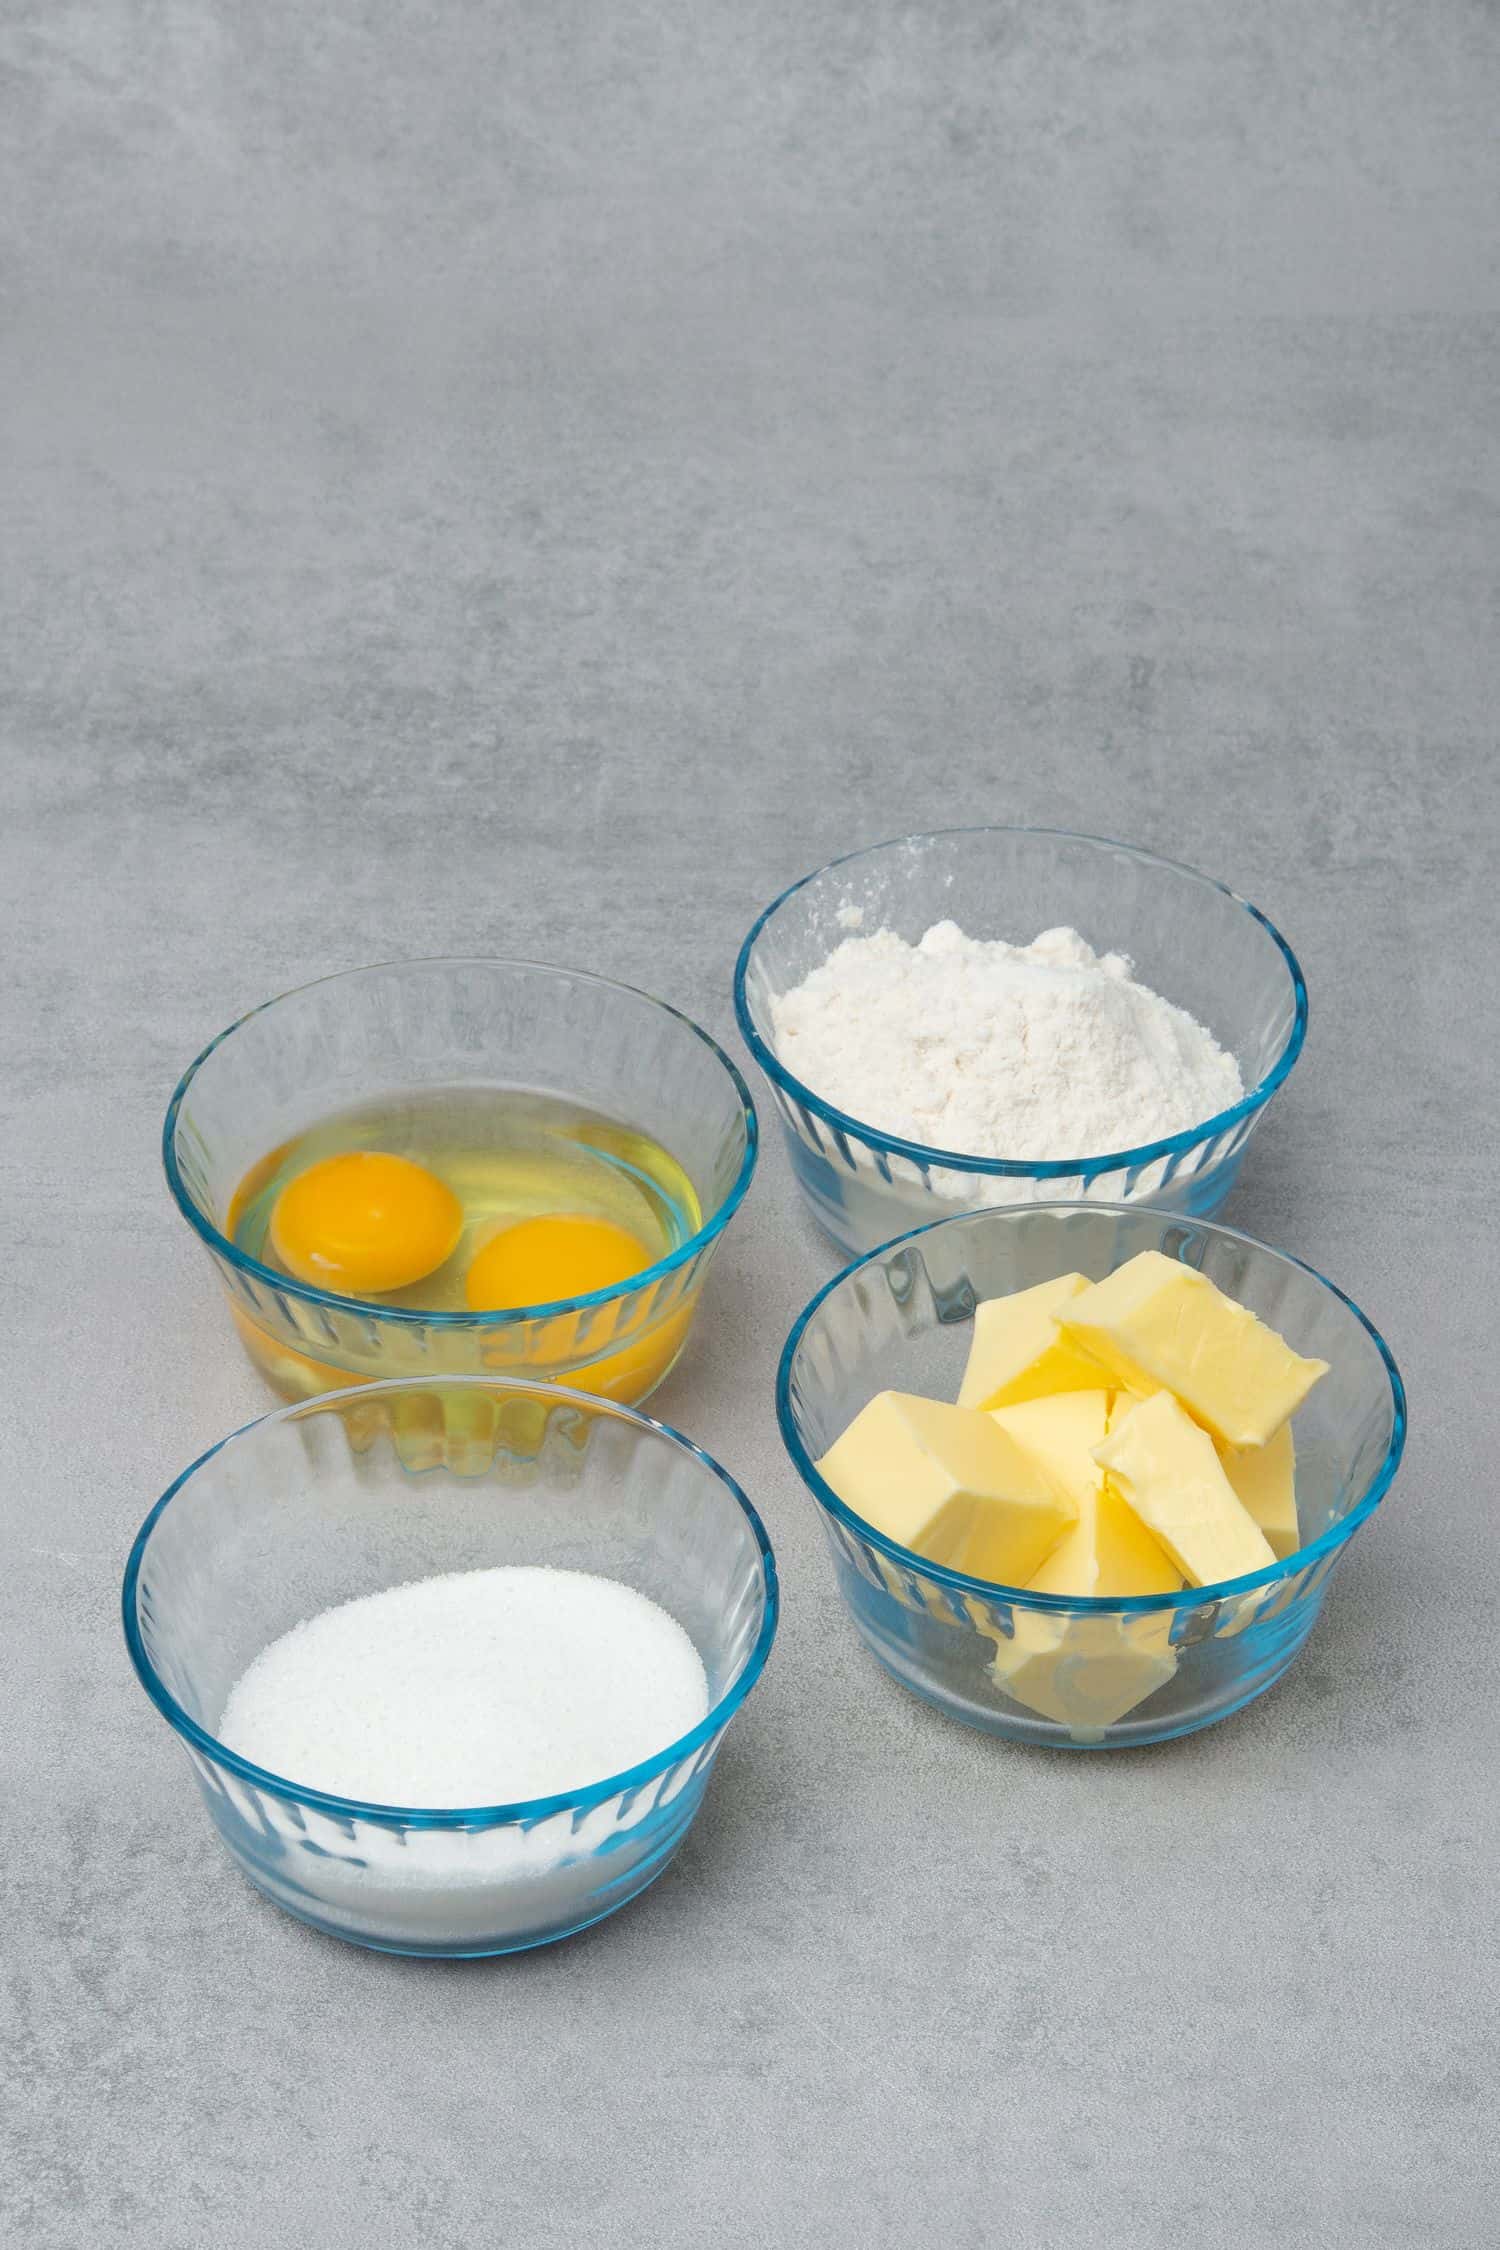
For the Red velvet pound cake
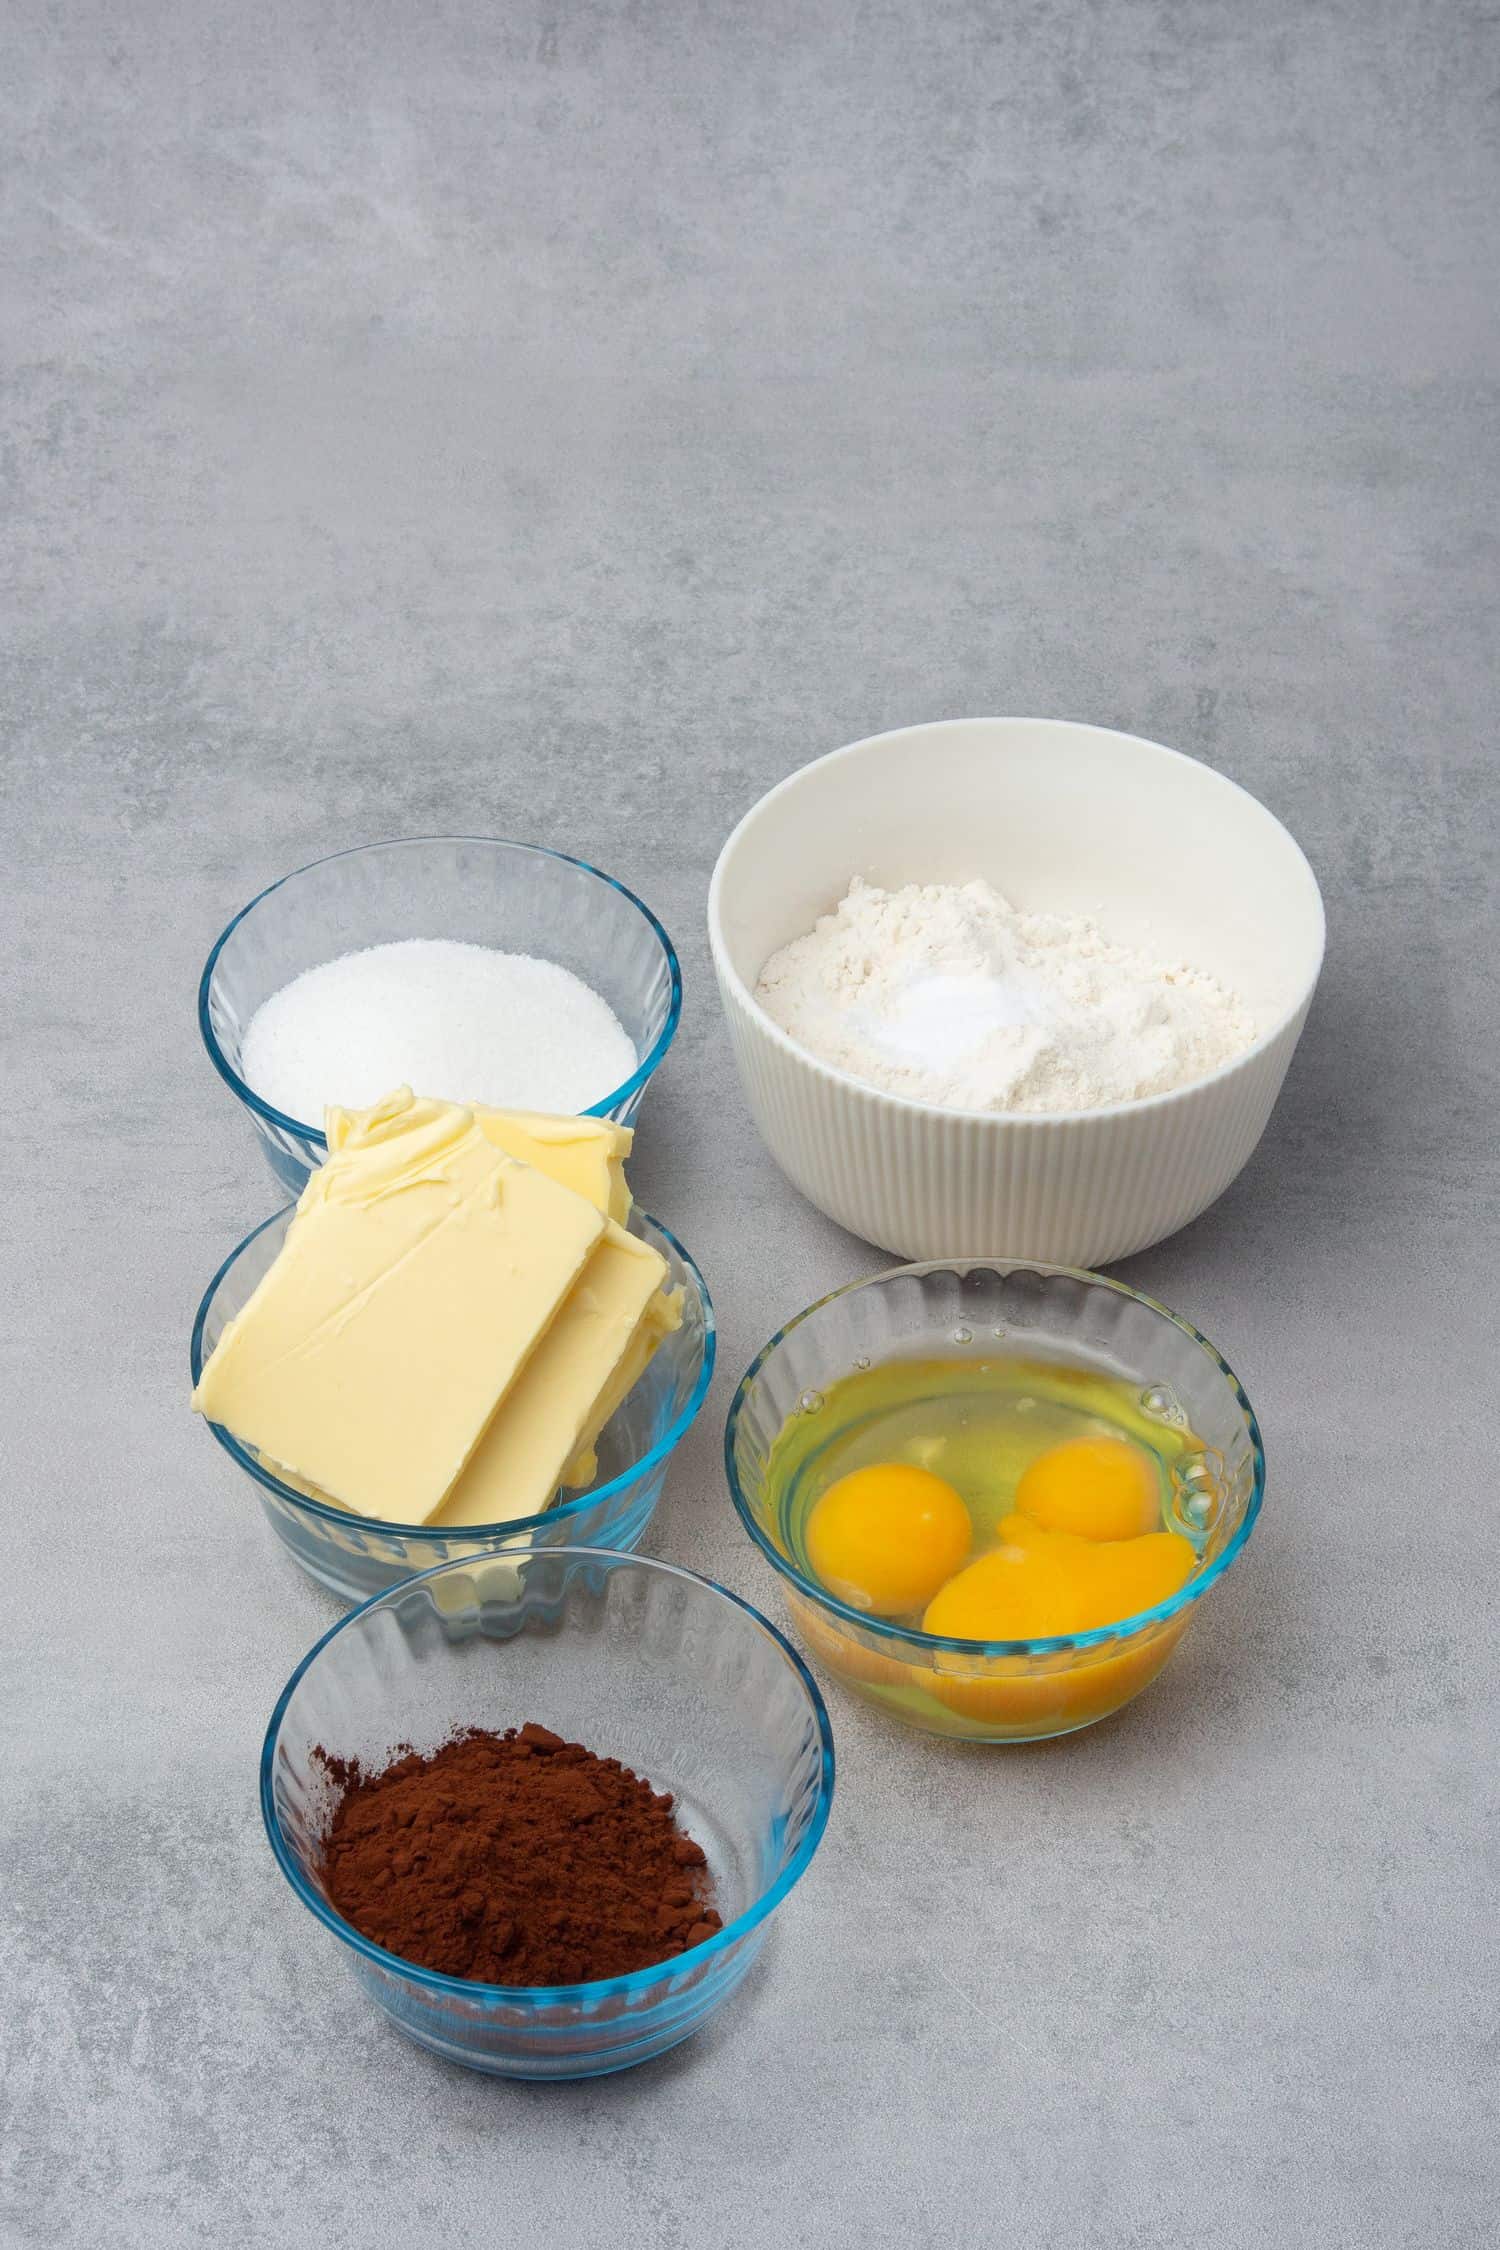
- Butter: Same as above, use unsalted and room temperature, 82% fat content butter to be able to well cream it with sugar
- Granulated Sugar: Standard, all purpose granulated or white sugar is perfectly fine
- Egg: Room temperature always
- Flour: All-purpose flour or pastry flour both for this recipe
- Unsweetened Cocoa Powder: Generally I suggest using unsweetened, 100% cocoa powder in baking. I always use dutch-process cocoa powder, it has a lovely dark color and it is lower in acidity however in this Red cake recipe if you have non-dutch-processed (that is lighter) unsweetened cocoa powder, it is even better. As mentioned above red velvet cake is generally a mild chocolate cake, however, you will need to balance the cocoa powder in this recipe and achieve the “sweet spot” – meaning when the cake already has chocolate flavor but the cocoa powder does not overpower the red color. It is difficult to give exact measurement as it depends on the strength and quality of the cocoa powder AND red food coloring you are using so you will need somewhat your own judgment
- Red food Coloring: You will need some sort of food coloring to make any Red velvet cake recipe. Beetroot powder can be used as a natural alternative however it won´t give as bright color as gel food colorings. In terms of brands, I used Silikomart here, try to choose a high-quality concentrated gel or it won't make it red enough. In terms of quantity, it is hard to give measurements when it comes to food coloring since it largely depends on the brands available in your country. As a general rule, start with a small amount, then increase it gradually. If your batter before baking has a bright red color, it should be colorful enough after baking, see my process picture later
As you can see this Red velvet Pound Cake with Heart Center is literally following the traditional pound cake ingredients, it will be super moist and delicious.
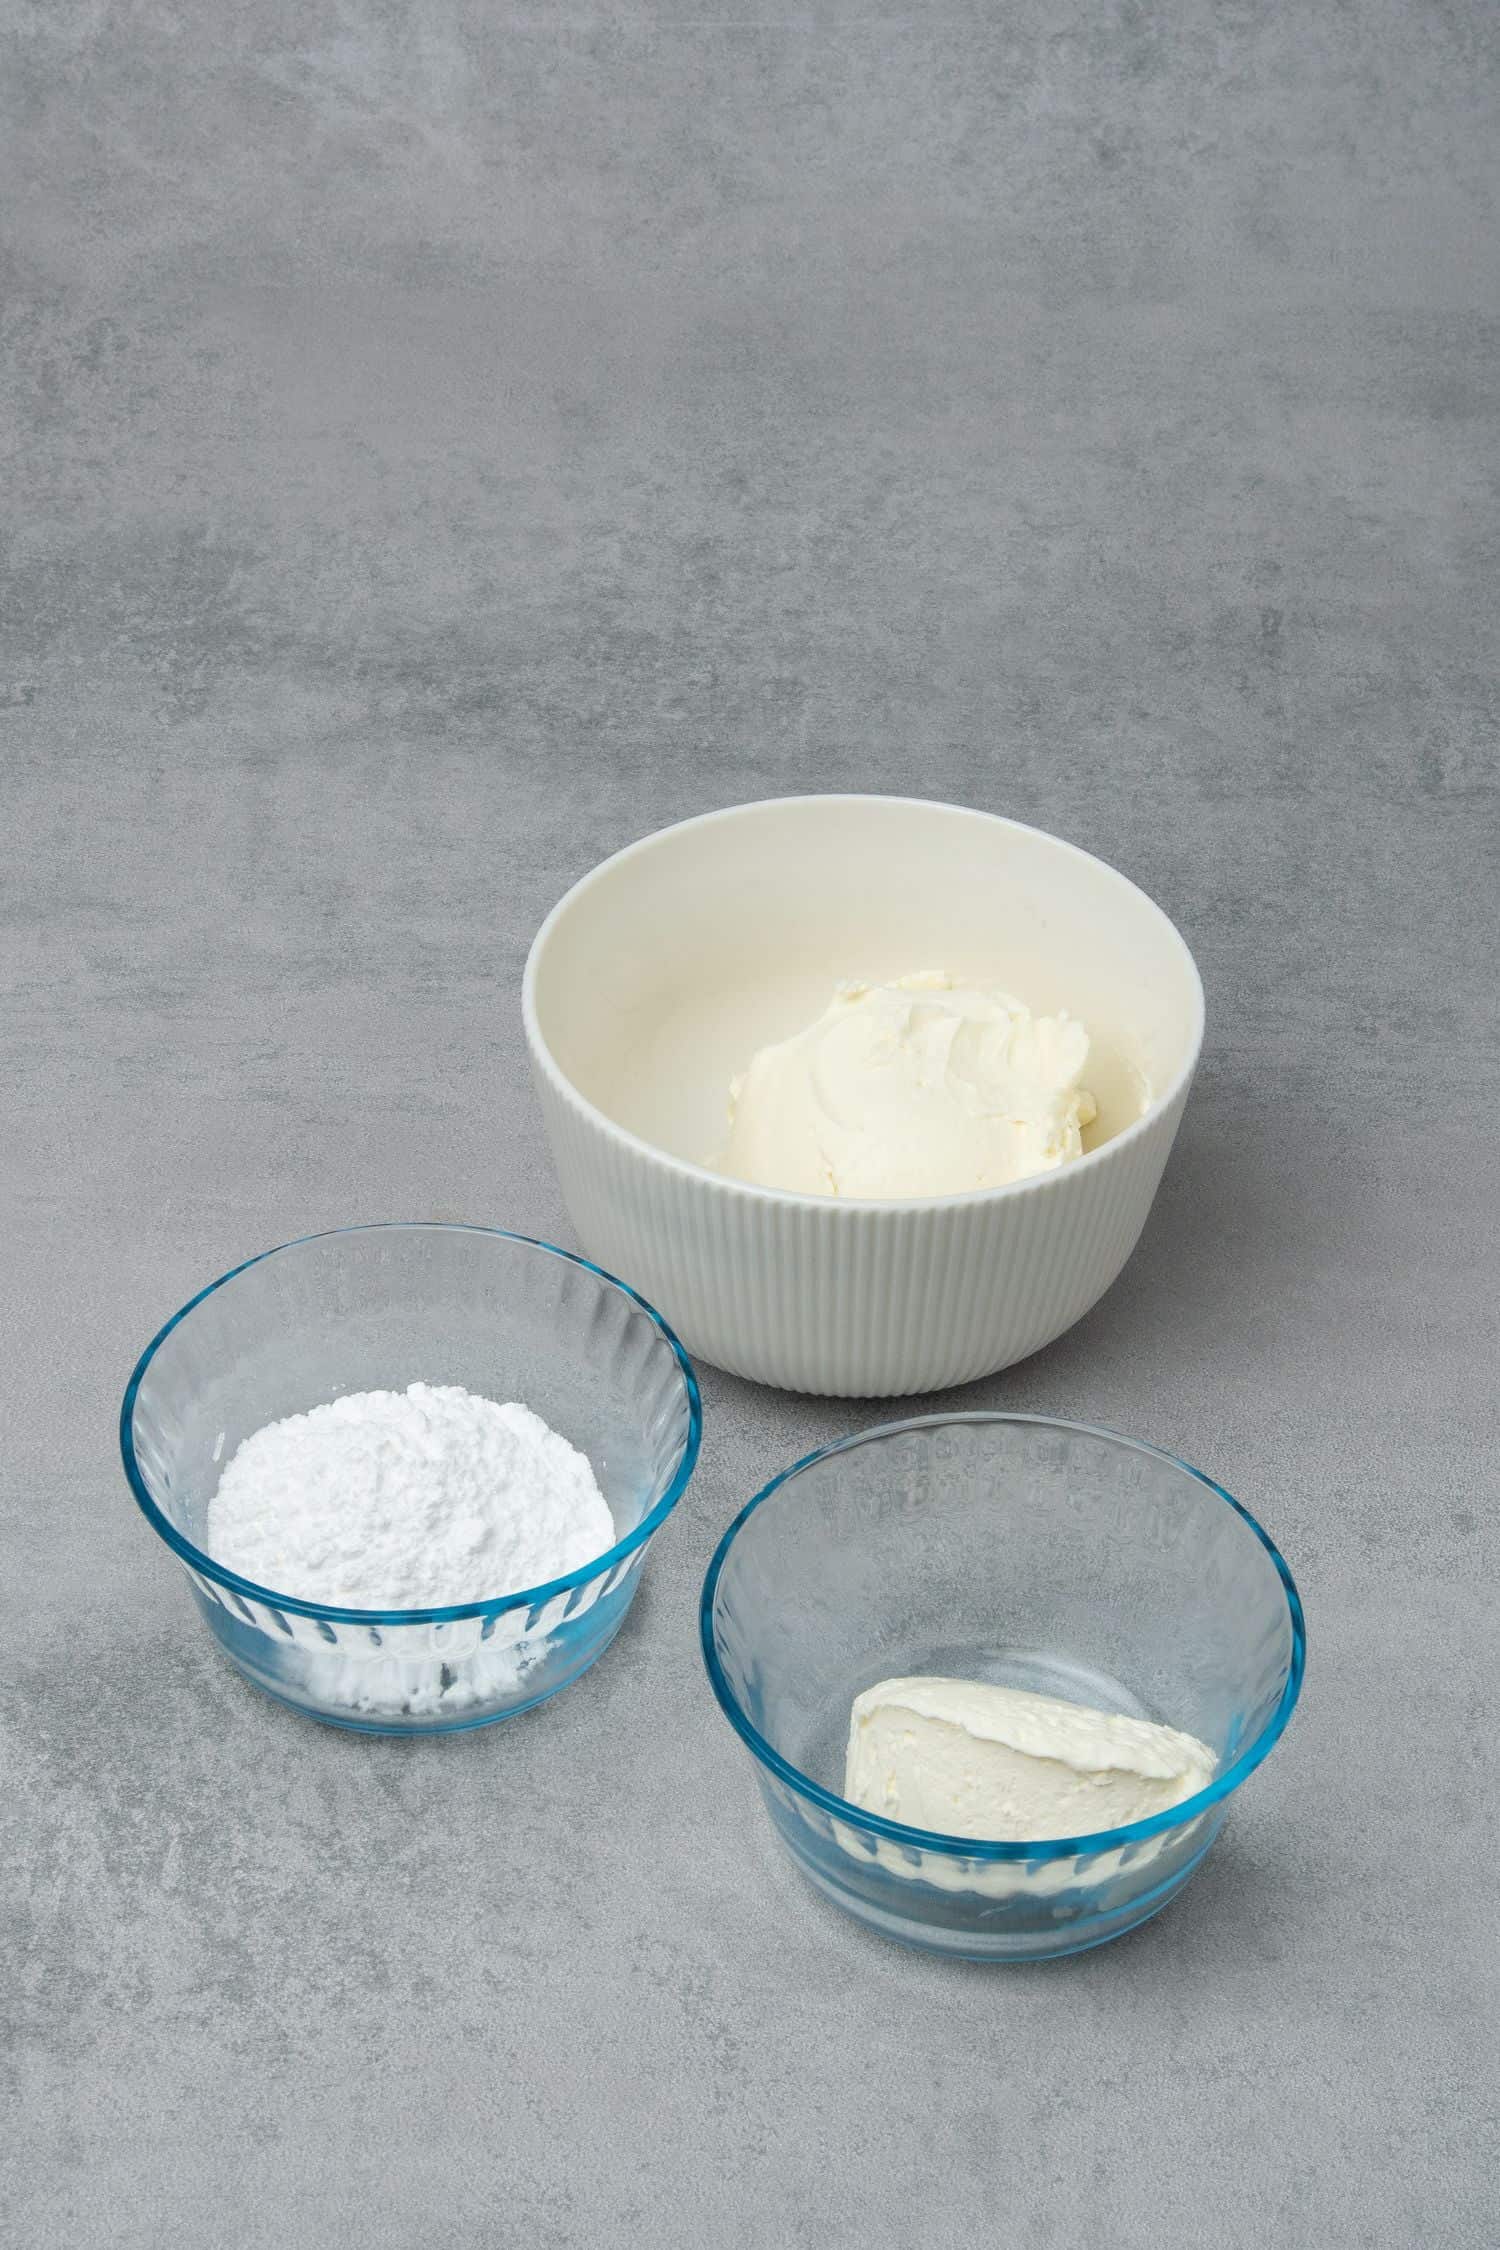
For the cream cheese frosting
- Mascarpone: Very rich Italian cream cheese, exceptionally smooth, and easy to spread or whip. The flavor is milky and naturally slightly sweet. Use full-fat version at room temperature. Many cream cheese frosting recipes call for butter, however, once you make it with mascarpone, you will never want to make it with butter again! I prefer the taste as well as the texture of the mascarpone. It has a somewhat mild, but milky very natural taste profile, and most importantly it does stay pleasantly fluffy even in the fridge, unlike butter. Do not overbeat though while whipping, stop as soon as it becomes fluffy to avoid grainy, soupy texture
- Cream cheese: I always use Philadelphia when I state cream cheese in my recipes, use full fat. I find it easy to cream and very pleasant in taste. I usually beat it with a hand mixer for less than a minute, just until it becomes fluffy and increases a bit in volume to avoid overwhipping
- Icing sugar: Icing sugar is the first choice when it comes to whipping up the frosting. The question I often get is whether the quantity is a typo. NO, it´s not! You do not actually need a lot of sugar when you are using mascarpone and cream cheese! See my tips below
You can leave the Red velvet Pound Cake with Heart Center unfrosted if you feel like but I really recommend trying my low sugar cream cheese frosting, you will love it!
4 Expert tips
1. How to make the heart insert
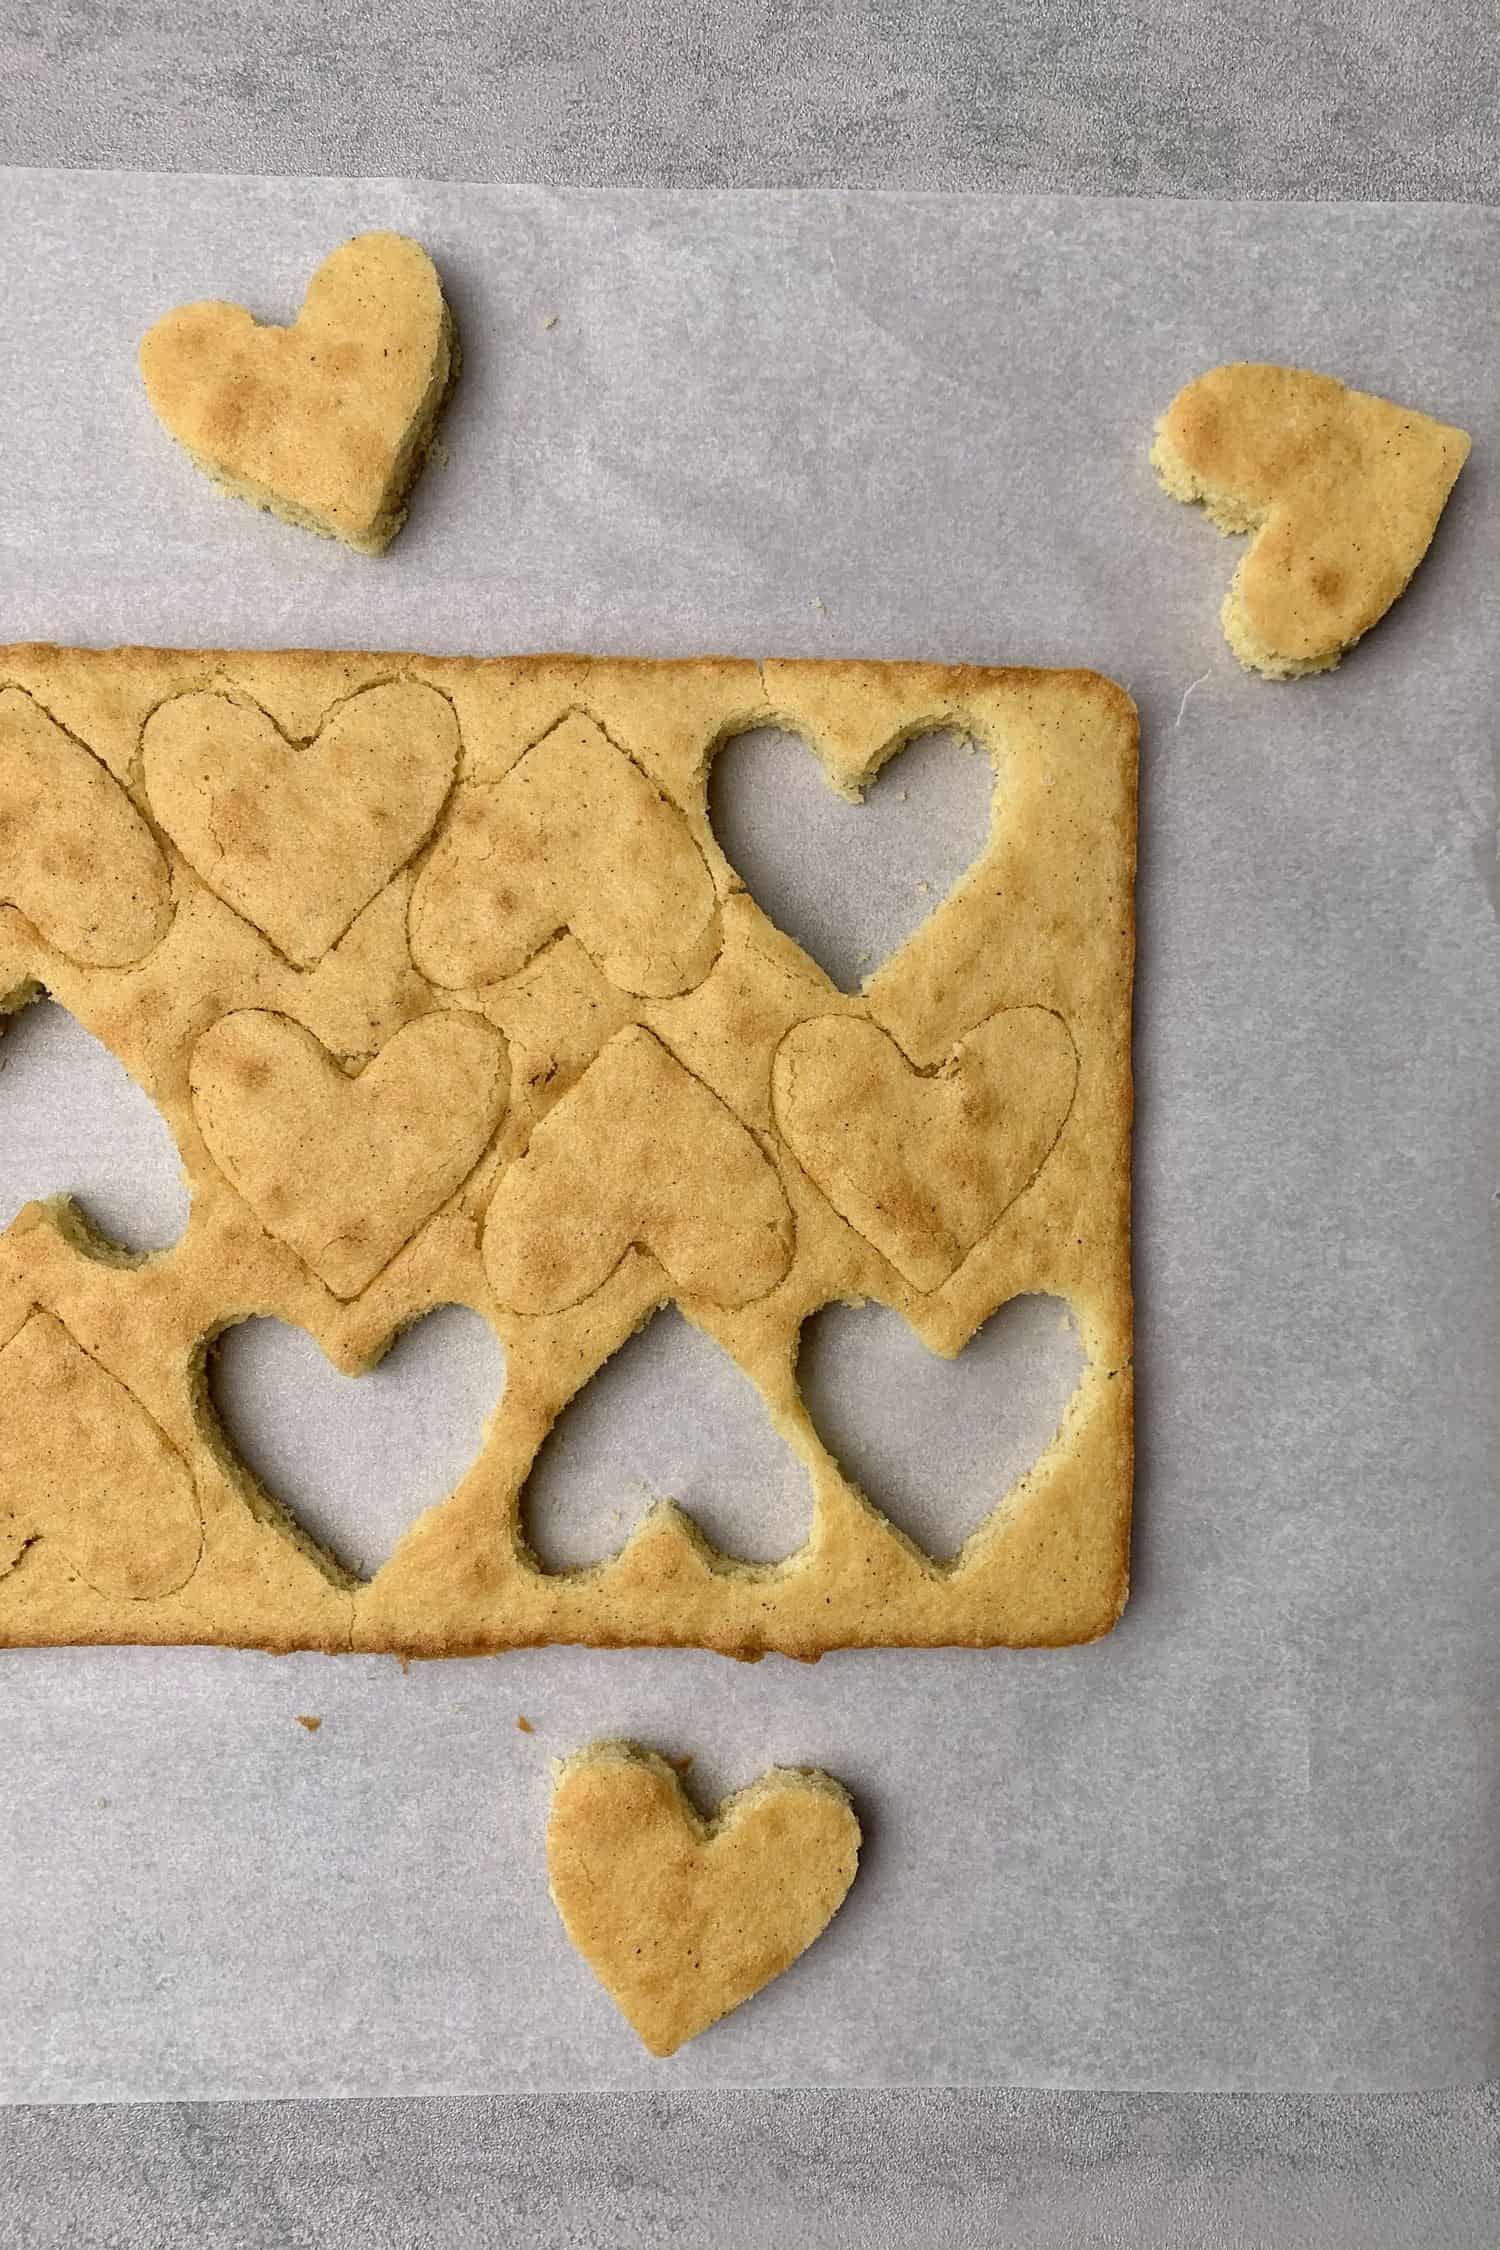
The best part of this Red velvet pound cake is the surprise heart shape hidden in each slice! It might look very difficult to make, but in fact, it is a super easy baking hack
- Make a vanilla sheet cake according to it the recipe
- Once baked, allow it to cool completely on a wire rack. Using a heart shape cookie cutter, cut heart shapes out of the sponge. Note: The cookie-cutter should be lower than the height of your loaf tin so it can fit in the red velvet part of the loaf
- Arrange the heart shapes tightly after each other. Wrap them together in foil and freeze them while assembling the red velvet cake. Note: The length of the heart pattern should be at least 3 cm / 1 inch shorter than the length of your loaf tin
- Make sure that the heart shapes are well frozen together before assembling this Surprise inside Red velvet loaf cake
Check out my this amazing heart shaped breakfast cheese arepas if you want a delicious savory dish for Valentine´s day morning.
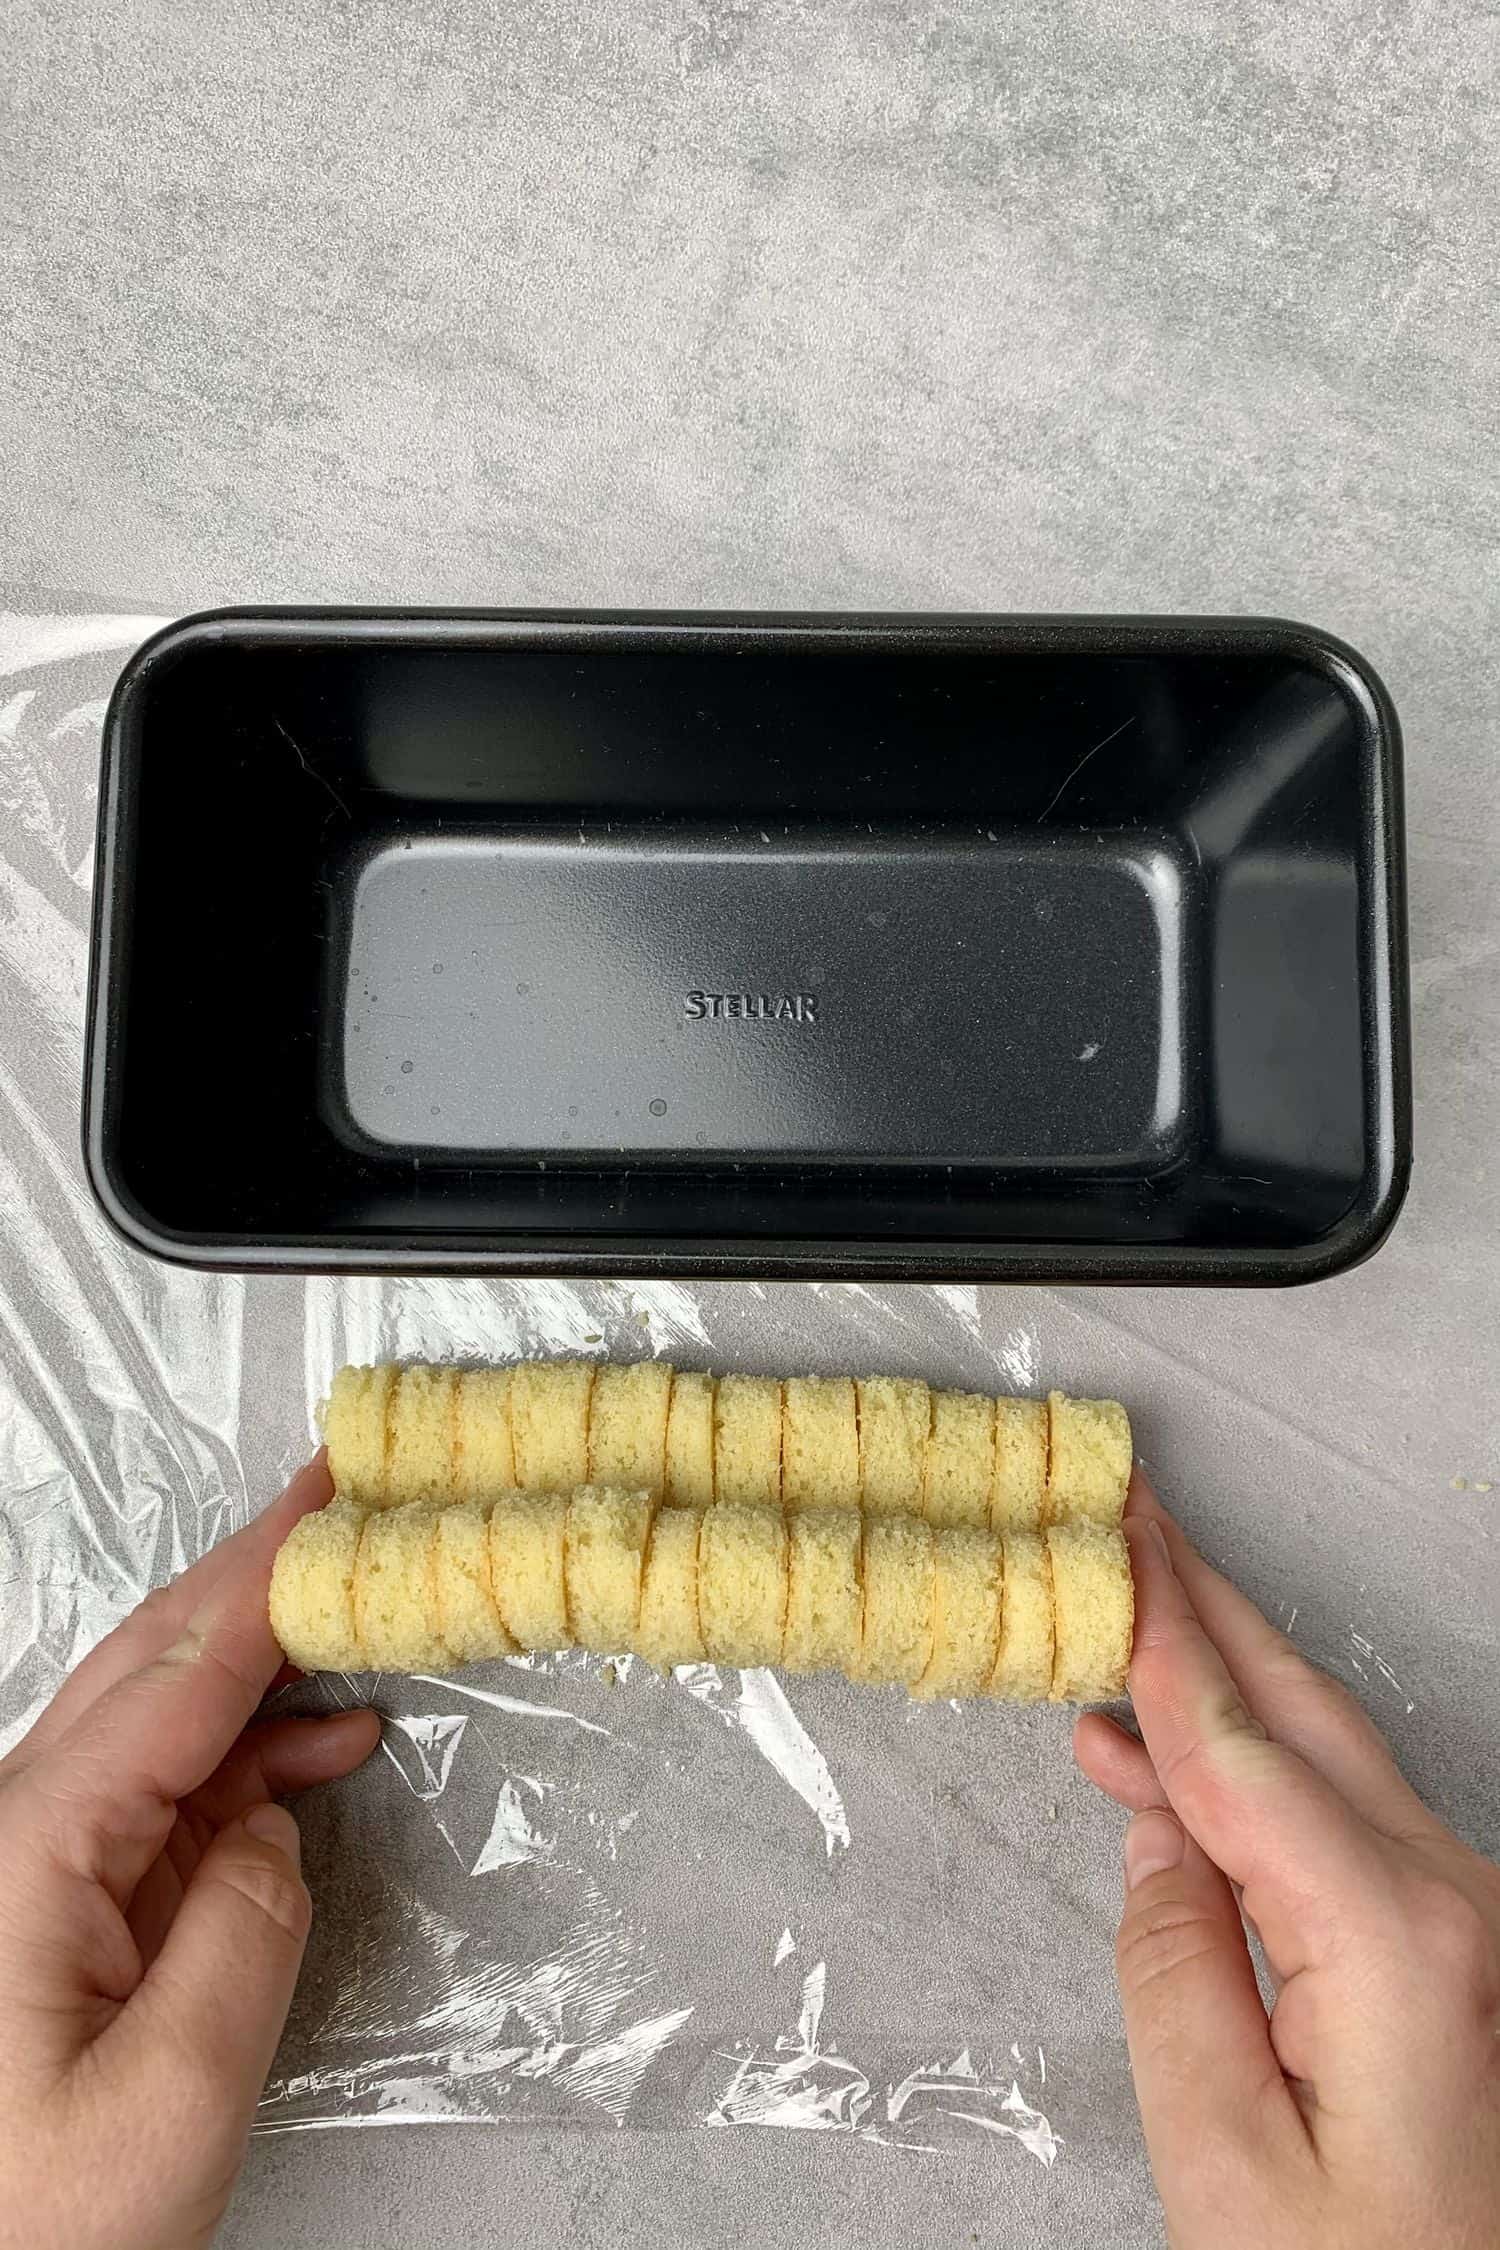
2. How to make moist Red velvet loaf cake
This is my go-to Pound cake recipe that I use eg. to make my popular Mojito Pound cake or Lemon Pound cake! You can use it with any glaze at any season eg. lemon, chocolate, etc. This Red velvet pound cake is very moist with velvety crumbs and extremely delicious! The recipe originally calls for an equal amount of sugar, butter, flour, and egg hence the name "pound cake" however I recommend reducing the sugar slightly
- Grease your loaf tin, mine is 10x20cm, make sure to adjust the recipe according to the size of your tin or it might overflow/will stay too flat
- The baking temp will be 175 C / 347 F but preheat oven +20C / 68F as oven temp will drops when you open the door and place the baking tins in
- Use Digital oven thermometer to understand your real oven temp
- Ingredients must be all measured with a Digital scale
- All ingredients must be at room temperature, they won´t properly emulsify if eg. butter is too cold, the batter might even break
- Cream room temp butter and sugar with an Electric hand mixer for 5 minutes until creamy and pale
- Add in egg, one at a time, mix with a hand whisk after each addition
- Mix high-quality gel red food coloring into the wet ingredients
- Sift in dry ingredients: flour, cocoa powder, baking powder, and salt
- Fold the mixture with a rubber spatula just until fully combined, do not over mix
- Adjust the color if needed eg. add more red food coloring
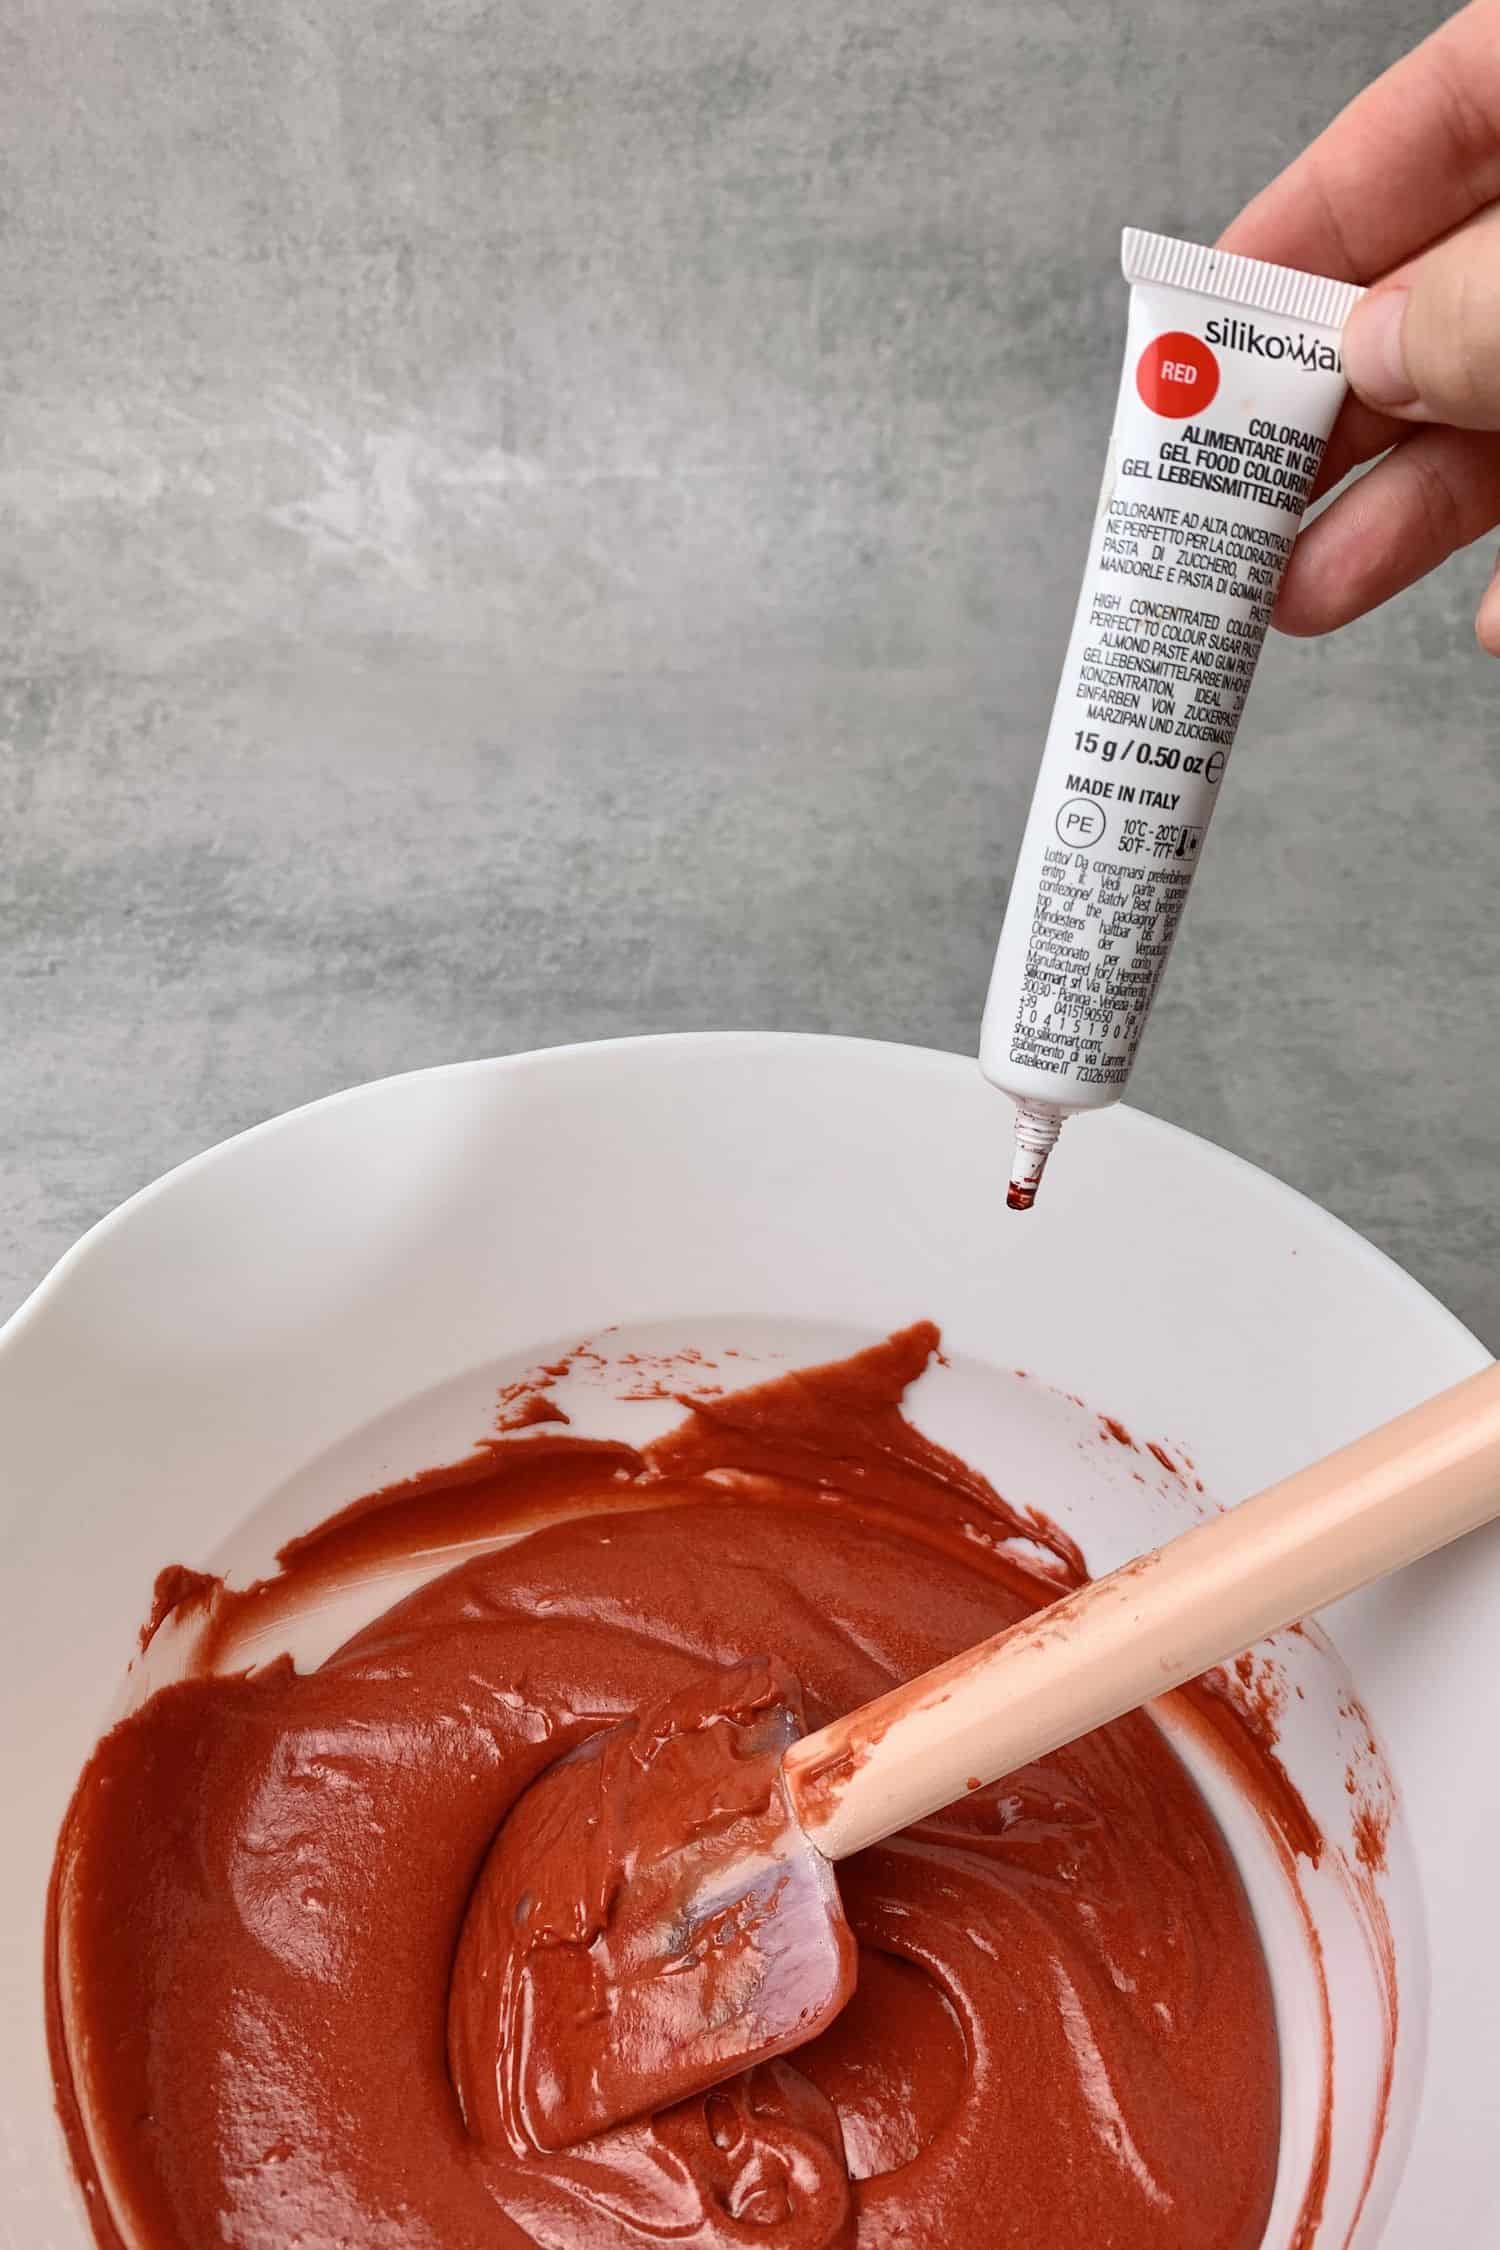
3. How to assemble the cake step by step
Once you have the frozen heart shapes and Red velvet cake batter ready, it is time to assemble this cake and bake!
- Pipe a thin layer of red velvet cake batter on the bottom of the loaf tin then remove the heart shape pattern from the freezer
- Place the heart shape pattern in the middle of the loaf tin into the red velvet cake batter making sure that the pattern does not lean on any side, it is in an upright position. Tip.: Push the heart pattern sort of down into the cake batter. During baking, the cake will rise and the heart pattern should stay in the middle of the red velvet loaf
- Pipe the rest of the red velvet cake batter around the heart pattern, make sure that the level of the cake batter is the same on all 4 sides of the pattern otherwise the cake won´t be symmetrical
- Pipe more red velvet cake batter on the top of the heart shape and smooth the top with an offset spatula
- On top of the cake apply a very thin butter line – this will help the Loaf cake to open up instead of breaking in a random way
- Bake for 40 minutes or until a toothpick inserted into the middle of the cake comes out clean
- Let the cake cool in the tin. Frost only when the cake is cooled
TIP: It is very important that you work neatly with the heart insert during the assembling process and any imperfection will risk not having a neat cut on the cake after baked.
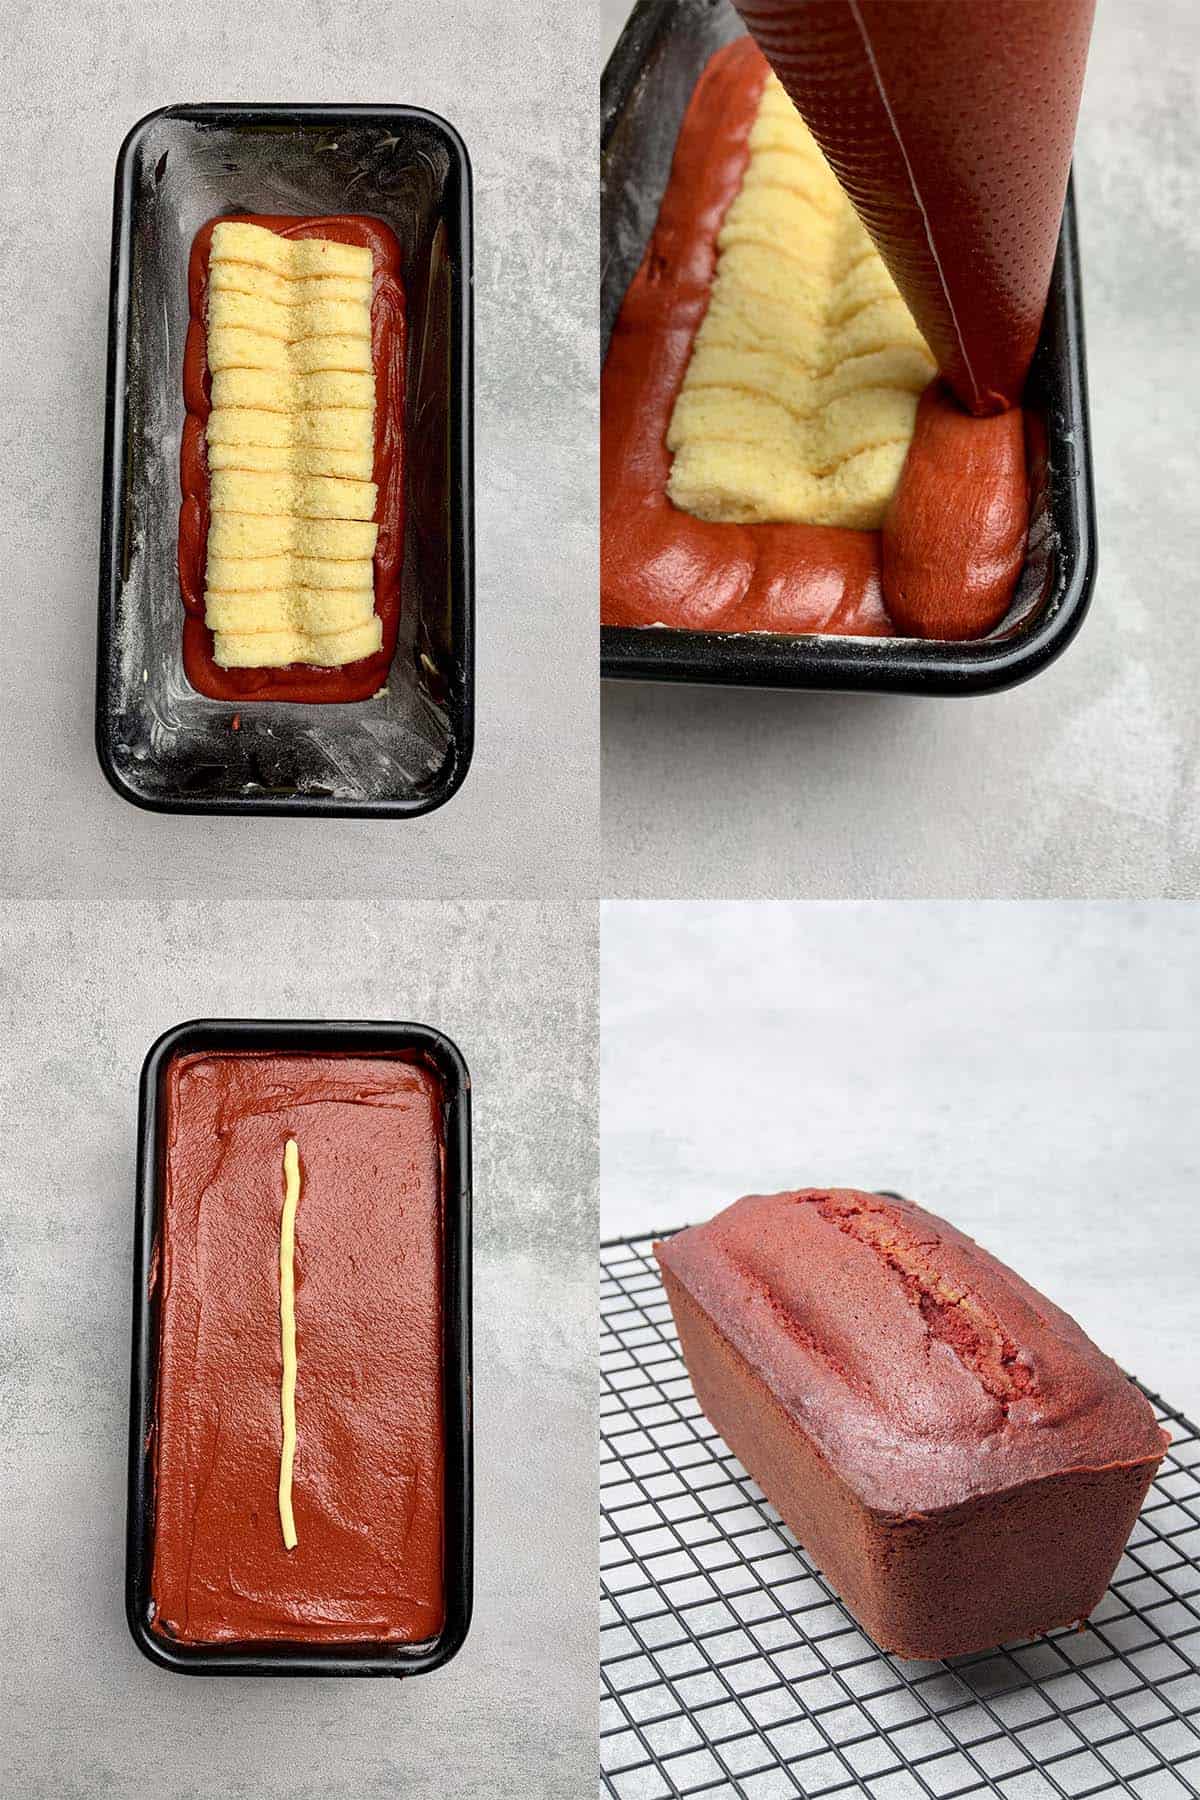
2. Pipe the rest of the red velvet cake batter around the heart pattern
3. On top of the cake apply a very thin butter line – this will help the Loaf cake to open up
4. How to make the BEST cream cheese frosting with only a small amount of sugar
I am using my go-to cream cheese frosting; it is whipped cream cheese, mascarpone, and a small amount of powdered sugar whipped until fluffy, pipeable consistency.
While making cream cheese frosting there are a couple of considerations worth bearing in mind:
1. sift powdered sugar to avoid lumps 2. do not over whip the mixture 3. use full-fat cream cheese and mascarpone
Basically, you will have to whip the mixture with an electric hand mixer for a minute or two until it reaches a creamy, fluffy consistency then stop - that is where a lot of people make the mistake. Bear in mind that the frosting won´t get stiffer after this point, in fact, if you overbeat it, it will get only runnier then it will break. I don´t use my stand mixer to whip cream cheese frosting since it is really easy to overwhip it.
Once you are happy with the cream cheese frosting consistency and the red velvet cake is chilled, apply the frosting on top with a piping bag or spoon.
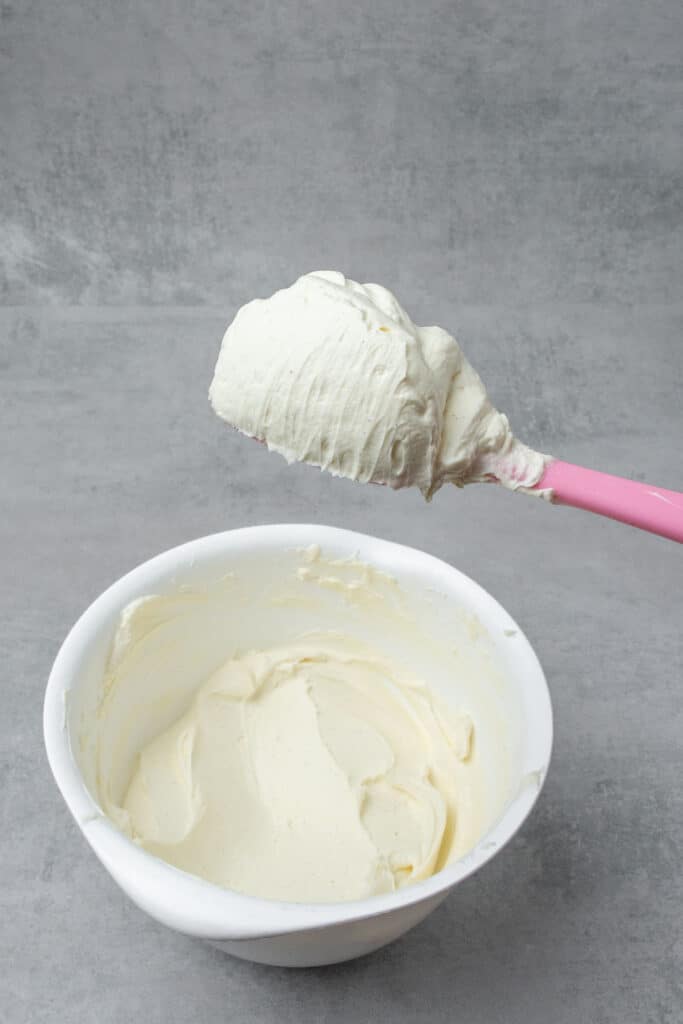
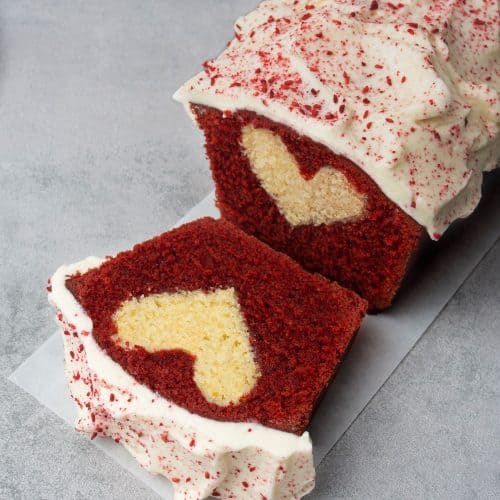
Red velvet Pound Cake with Heart Center
Equipment
Ingredients
Heart insert
- 75 g (⅔ cups) Powdered sugar sifted
- 75 g (⅓ cups) Unsalted butter soft, room temperature
- 1 Egg room temprature
- 1 teaspoon Vanilla extract
- 75 g (⅔ cups) All-purpose flour
- ½ teaspoon Baking powder
Red velvet
- 170 g (¾ cups) Unsalted butter soft, room temperature
- 130 g (⅔ cups) Granulated sugar
- 3 Eggs room temperature
- 155 g (1¼ cups) All-purpose flour
- 1 teaspoon Baking powder
- Pinch of salt
- 15 g (⅕ cups) Cocoa powder Unsweetened, light in colour. You might need to add less cocoa powder depending on the strength of the red food colouring
- Red food colouring ideally gel, high quantity
Cream cheese frosting
- 150 g (⅔ cups) Cream cheese ex. Philadelphia. Use full fat
- 50 g (¼ cups) Mascarpone full fat
- 25 g (2 Tablespoon) Powdered sugar sifted
US customary cup measurement is an indicative figure only. Measure the ingredients with a digital scale by weight (gram). Baking is art but also science which requires precision and accuracy.
Instructions
Start with the Heart insert
- Pre-heat the oven to 180 C / 356°F.
- Beat together room temperature butter and powdered sugar until pale and fluffy, then mix in the eggs, then sift in flour & baking powder and fold until combined
- Line approx. 32x25 cm / 12.5x9.8 inches baking tray with parchment paper and bake the sponge for 10-14 min or until a skewer inserted comes out clean. Do not overbake or it mihht dry out
- Once baked, allow it to cool completely on a wire rack. Once cooled, using a heart shape cookie cutter, cut heart shapes out of the sponge. Note: The cookie cutter should be the same height or lower than the height of your loaf tin
- Arrange the heart shapes tightly after each other. Wrap them together in foil and freeze them while assemblinh the red velvet cake. Note: The length of the heart pattern should be at least 3cm / 1inch shorter than the length of your loaf tin.
Continue with the Red velvet cake batter
- Grease a loaf tin (10x20cm / 4x8inches) Adjust quanitity if working with a smaller / larger tin
- Beat together room temperature butter and sugar until pale then add eggs, one at a time. Mix in red food coloring
- Sift in flour, baking powder, cocoa powder, salt and fold together until fully combined
- Adjust color by adding more food coloring until desired red color achieved
- Pipe a thin layer of red velvet cake batter on the bottom of the loaf tin then remove the heart shape pattern from freezer
- Place the heart shape pattern in the middle of the loaf tin, press it down into the red velvet cake batter, then pipe the rest of the red velvet batter around the heart pattern. Make sure that the level of the batter is the same on all 4 sides of the pattern and that the heart log does not lean on any side
- Bake for 45 min minutes, or until a skewer inserted into the middle of the loaf comes out clean. Take the loaf tin out of the oven, once slightly cooled move the cake over to a wire rack and allow to cool completely on it
Frosting
- Make the cream cheese frosting by beating cream cheese, mascarpone and spowdered sugar together until creamy and fluffy, this will cake about 1-2 minutes with a hand mixer. Avoid over beating as it can get runny
- Once the red velvet cake completely cool, apply the frosting on top with a help of a spatula or spoon

Leonie Arthmanathan
Followed instructions to the letter! Red batter still managed to seep through, just looked like a normal loaf cake in the end. A slight waste of time. Cake was still tasty but very dense.
Kata
Hey, sorry to hear that your Red velvet loaf did not work out. It is a bit of a tricky one as I explain also in the recipe, one needs to work neatly, freeze the hearts upfront then carefully pipe the red batter around it before baking. It is a technique that has proven to work, I have a similar recipe with bunny insert (for Easter) and with Christmas tree insert (for Christmas). Also, many of my Readers have had great success with this recipe as you can see in the comments, so I find it slightly disappointing that you leave a 1 star rating on it. Anyway, hope you learned something new by reading my baking tips and techniques. Best wishes, Katalin
Ann Mary
The recipe is just awesome. Loved baking this surprise for my loved ones. Eagerly awaiting for so many more recipes
Mae
Beautiful, tasty cake
Irina
A cake I loved making! The recipe is simple in fact, but when you cut it you reveal the nice surprise inside! ❤ Sure to impress! 😉 Mine didn’t turned out red velvet, I suppose I should have used a little less cocoa, but I had already mixed it with the flour. Well, next time. 😊
Mireia
I loved this recipe and also my bf 😍😍
Giselle
I Loved Making this suprise - inside - red- velvet cake , it turned out amazing and I loved it 🙂
Adriana Benarroch
Thanks for sharing this recipe! It works really nice and the result is amazing!
Debbie Arnold
Loved making this pretty cake!
Faith
Pls can I arrange the heart insert without freezing it first
admin
You need to arrange the heart shapes close to each other neatly then freeze the entire log so it will be easy moving the log into the cake batter.