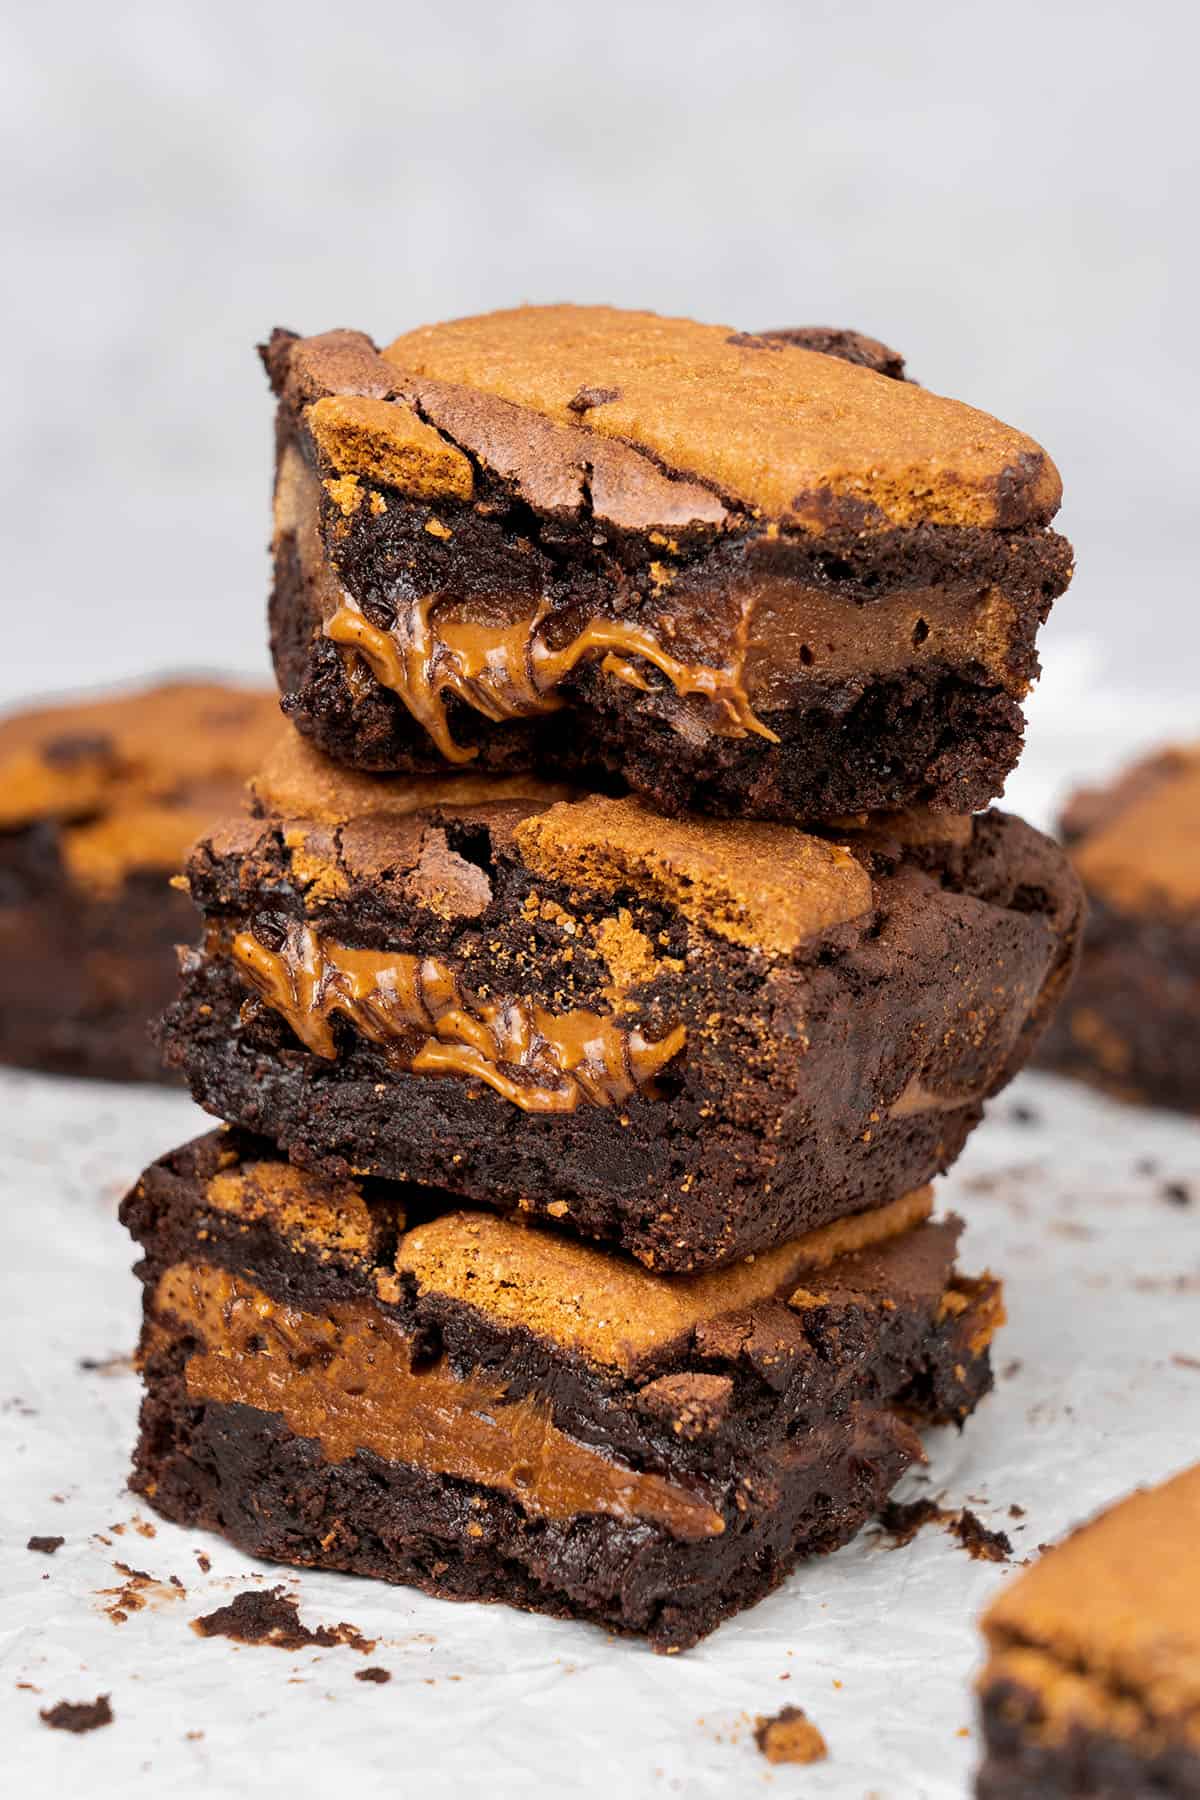
This Biscoff Brownies recipe uses both Biscoff cookie spread and Biscoff cookies so if you're a big fan of Biscoff cookie butter and fudgy brownies, you need to try this! By following my step-by-step guide, you can make wonderfully gooey brownies easily loaded with Biscoff!
Jump to:
📖 What are Biscoff and Biscoff spread
Biscoff cookie is a famous biscuit made by Lotus Bakery, a Belgian company.
After gaining international fame, the company added Biscoff spread to its product collection. Both Lotus Biscoff cookies and Biscoff spread taste wonderfully sweet with that unique caramel and cinnamon flavor!
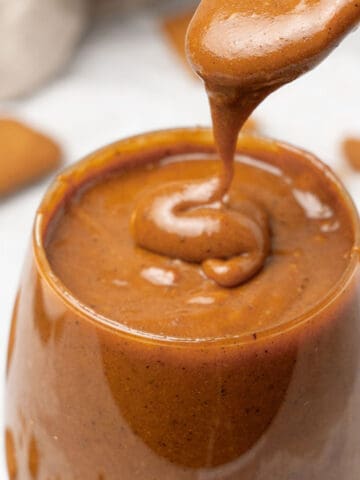
Biscoff cookie butter spread looks similar to peanut butter, but it tastes so much better! It's so versatile you can add it to various baked goods! No Biscoff Butter spread in your pantry? No problem! Check my homemade Lotus Biscoff Spread recipe!
This is the ultimate Fudgy Biscoff Brownies recipe that are using both of these wonderful ingredients.
🌟 Why this is the best recipe
- It's easy! - You can be a total beginner in baking and achieve an awesome result by following this Biscoff brownie recipe!
- It's quick! - The total time to make this Lotus brownies cake is about 1 hour but most of it is done by your oven! It's reasonably quick considering the wonderful result that you can enjoy afterward!
- It's super delicious! - This recipe has a fantastic combination of sweet, chocolate, caramel, and spicy flavor in one bite! You don't want to miss it!
- It's fudgy, and gooey on the inside! - By following the exact method in this guide you can achieve amazingly gooey Biscoff brownies with the most delicious Biscoff butter layer in the middle!
- It's so versatile! This recipe is made using Biscoff spread and Biscoff biscuits. However, you can modify the ingredients and skip the Biscoff to make other kinds of delicious brownies eg. Nutella Brownies.
📝 Ingredient notes
Try your best to find these exact ingredients (there are only a few) and avoid substitutes unless really necessary. This recipe doesn't require vanilla extract as the flavor will come from the Biscoff butter and cookies.
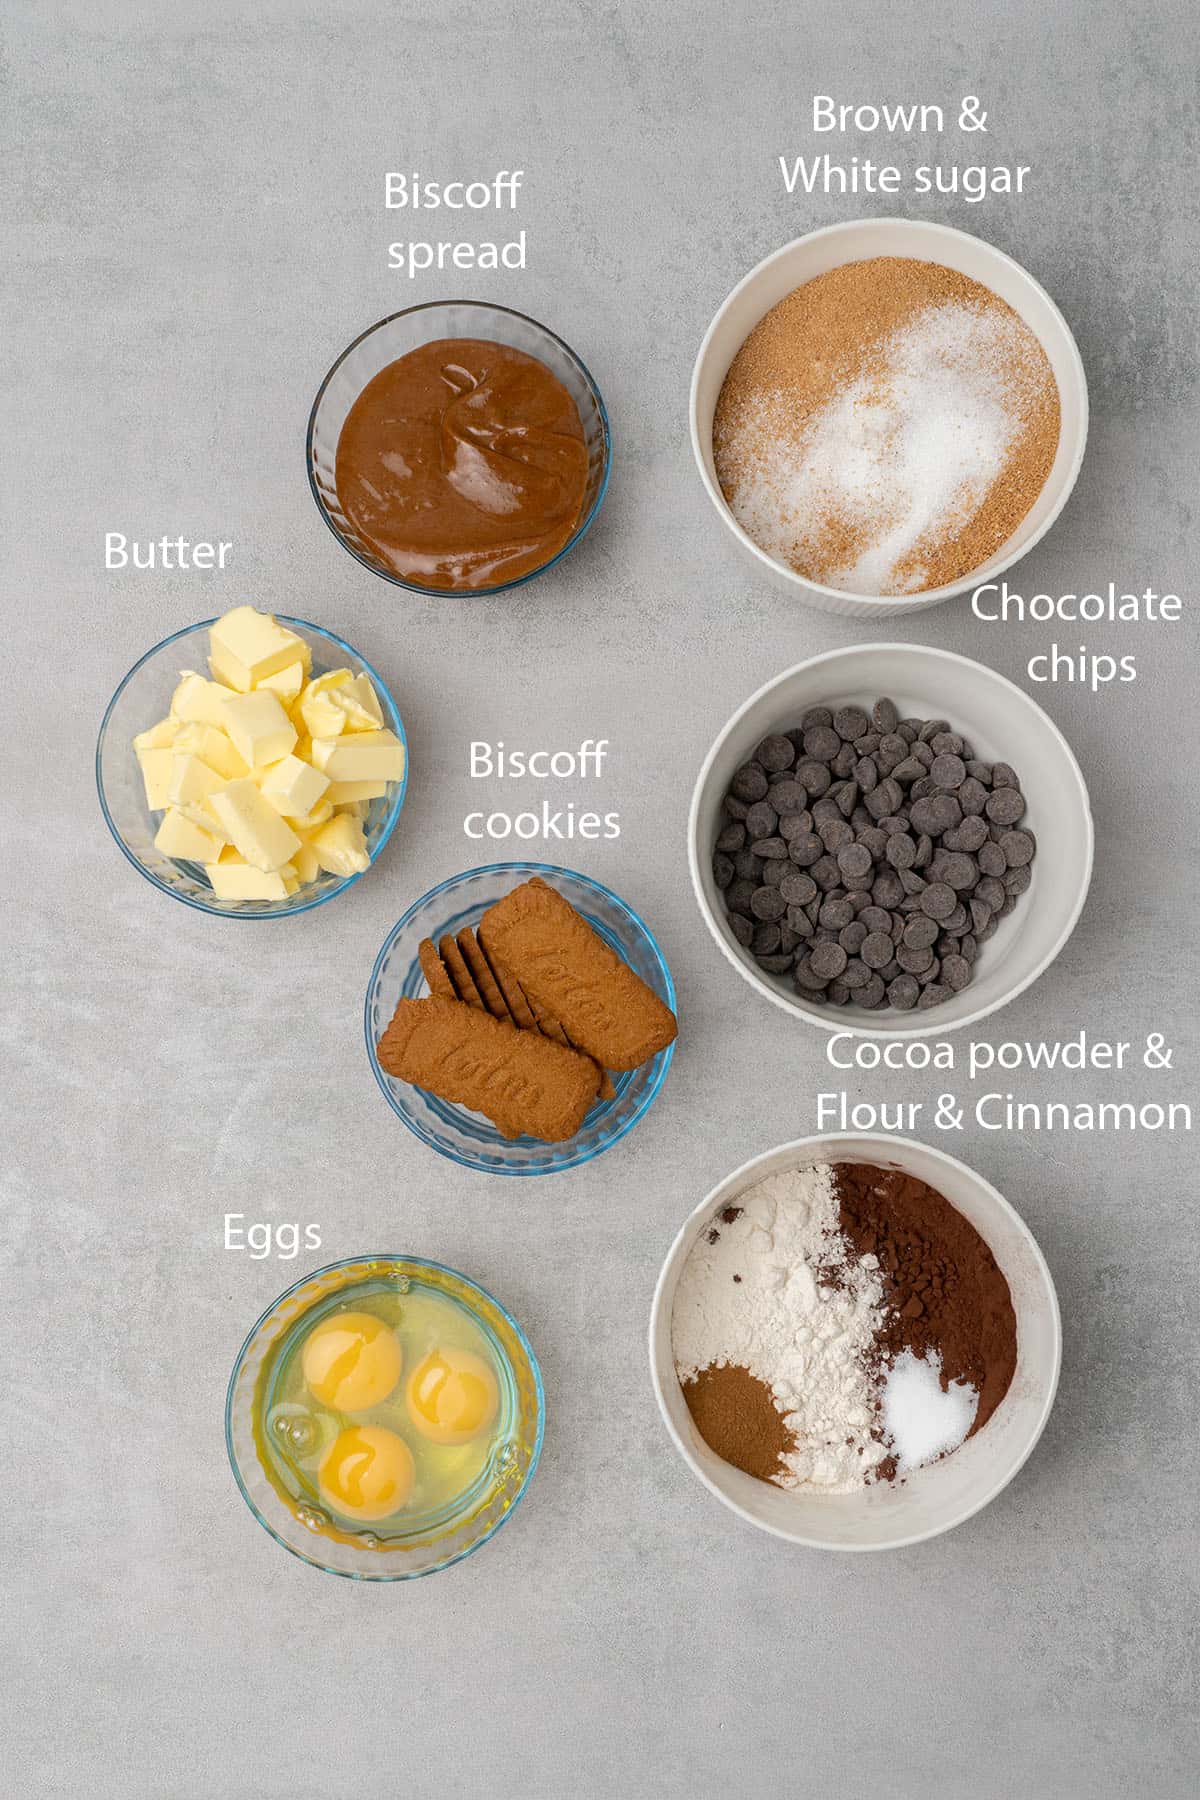
- Butter: It's important to use the unsalted version of butter in baking. This way, you can easily control the saltiness of the batter. You can use any brand of butter, but I prefer using the one with 82% fat content. Don't worry about the temperature, the butter in this recipe will be melted so you can use it straight from the fridge.
- Sugar: You will need a combination of white sugar and brown sugar. Sugar in this recipe doesn't only contribute to the sweetness but also the wonderful texture and the beautiful, crackly top. If you're interested in learning more about sugar, check out my sugar guide.
- Egg: Unlike butter, the eggs need to sit for a while until it reaches room temperature.
- Flour: All-purpose flour works great in this recipe. If you're interested to learn more about different types of flour, check out my flour guide.
- Cinnamon: Biscoff spread has some spicy flavor in it. You can use cinnamon powder to highlight the unique taste of Biscoff!
- Salt: A large pinch of it to balance the sweetness!
- Unsweetened cocoa powder: Cocoa powder will add that delicious, deep chocolate flavor! If possible, use only unsweetened, 100% cocoa powder. Biscoff brownies with cocoa powder taste so good!
- Chocolate chips: Use semi-sweet chocolate chips to make this recipe. It's important to use only high-quality chocolate in baking as it very much affects the final taste!
- Biscoff spread: This wonderful cookie spread is super versatile! You can use it in so many baked goods, including brownies! It has an amazing proportion of sweet, caramel, and spicy flavor. It's pretty easy to find. However, if you prefer the DIY method, then try my homemade Lotus Biscoff spread recipe!
- Biscoff cookies: Use Biscoff cookies as decoration. This final touch will make the Biscoff brownie looks even more appetizing!
🛒 You’ll find detailed measurements for all ingredients in the printable version of the Recipe Card at the bottom of this post
👩🍳 How to make this recipe
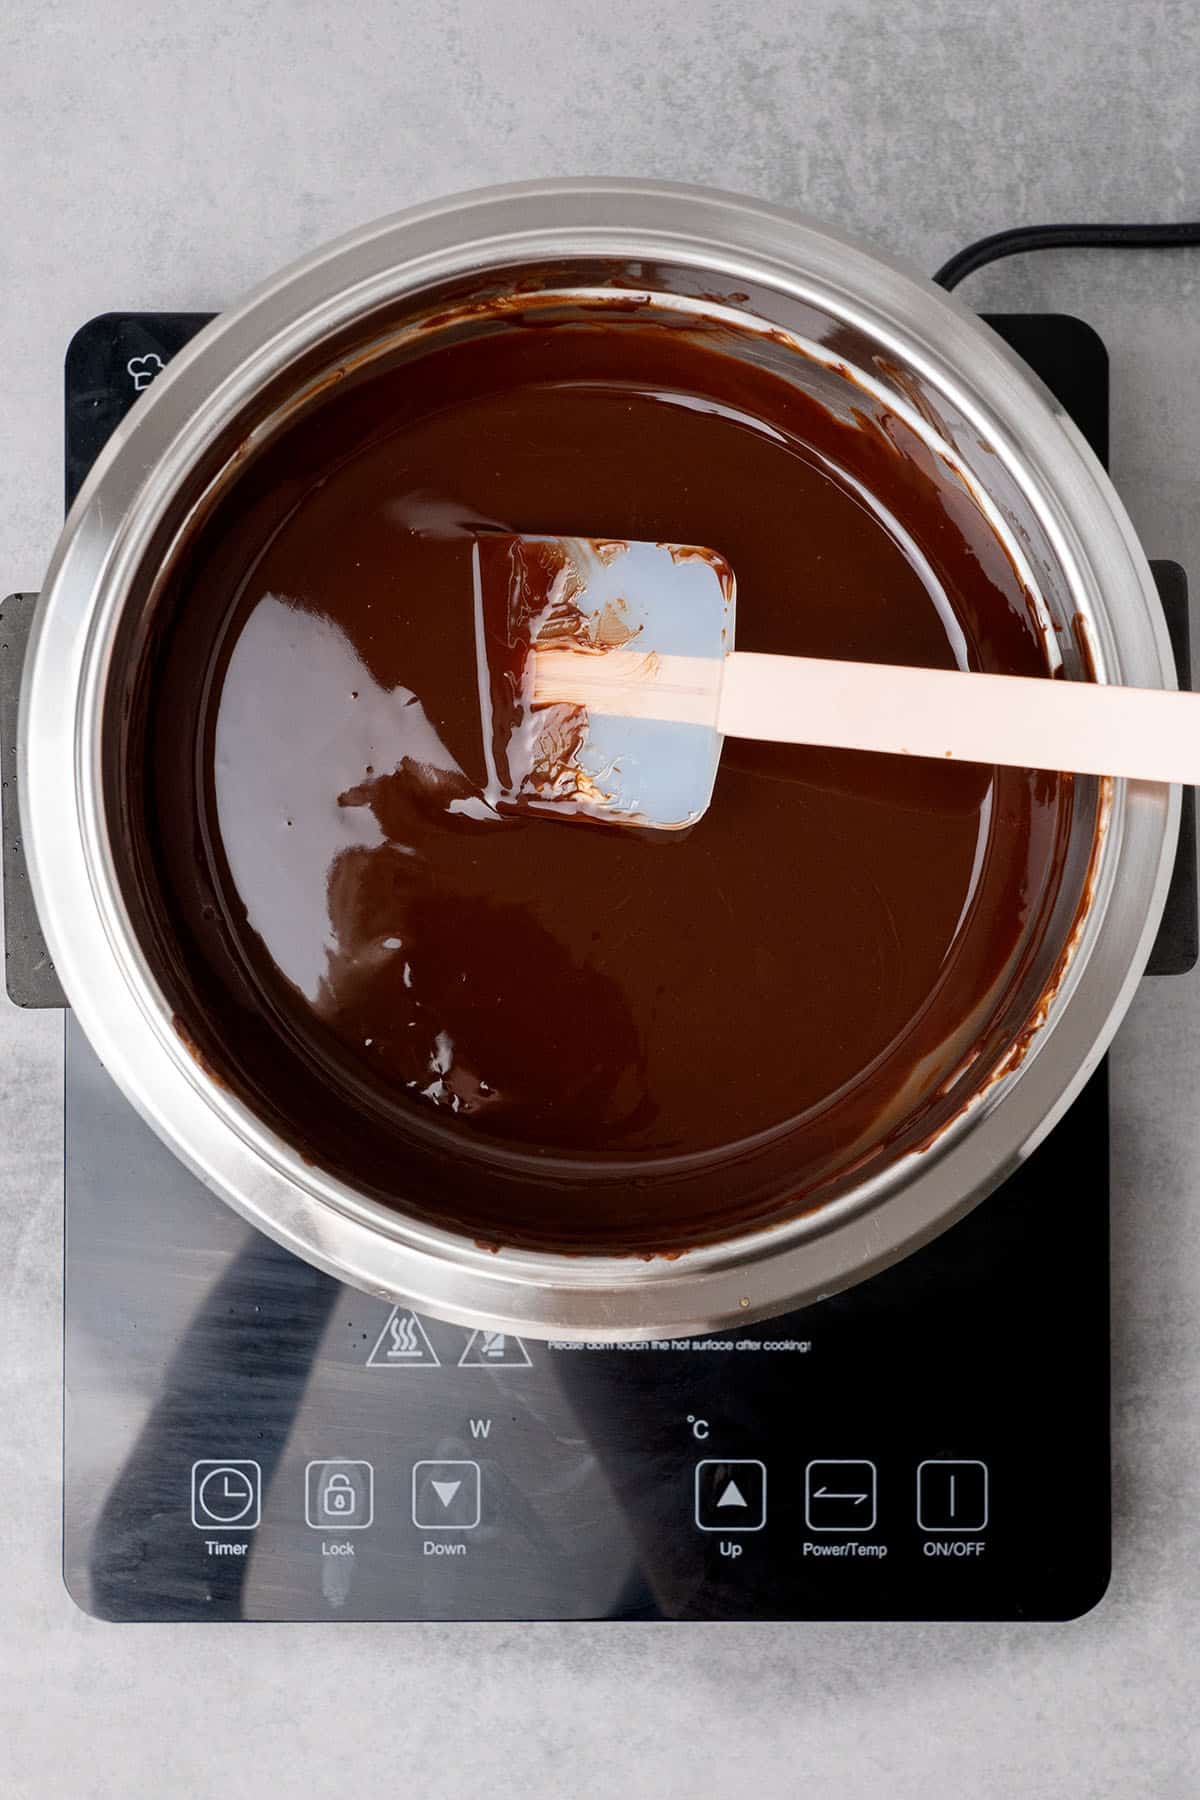
1. How to melt chocolate without burning it
Chocolate is a delicious ingredient and it can be pricey. You need to treat it correctly.
The question is, how do you melt the chocolate without burning it?
There are two options that you can try:
First, you can use a double-boiler. If you don't have a double-boiler pot, you can use a regular pot and a glass bowl instead. You will need to fill a pot with water and place a clean glass bowl on top of the water. Add the chocolate to the glass bowl and let the water boil.
This method will require you to be very careful because you don't want to let any drop of water enter the chocolate bowl. Also, you will need to remove the bowl from the heat right after some of the chocolate looks melted. Then, you can continue stirring the chocolate on your kitchen countertop until they're fully melted.
The second method that you can try to melt chocolate is by using a microwave. Add the chocolate chips to a plastic microwave-safe bowl. If possible, use a plastic bowl since a glass bowl can get really hot and burn your chocolate. During the heating process, open your microwave every 30 seconds and stir the chocolate. You may need to repeat this process until the chocolate is fully melted.
For more details, read my how to melt chocolate chips article.
💡 Top Tip: It's important to use only high-quality chocolate chips. They give better flavor and texture. Besides, they don't break easily during the melting process.
2. Step-by-step process
Follow these steps to help you get the delicious, moist, incredible Lotus Biscoff Brownies!
First of all, grab your digital kitchen scale. Preparing the ingredients with a scale helps you avoid problems. This tip is not only beneficial for making this recipe but also for trying other baking recipes that use gram units. The more accurate the measurement, the better the result. So, use a scale instead of measuring cups whenever possible.
Also, you will need to prepare a square baking pan. Brush some melted butter or oil on the inner part of the pan and line it with parchment paper.
Then, follow these steps to achieve the best result:
- Melt butter and chocolate. Place the butter and chocolate chips together in a double boiler (or in a microwave-proof bowl if you use a microwave). Stir them together to help the melting process.
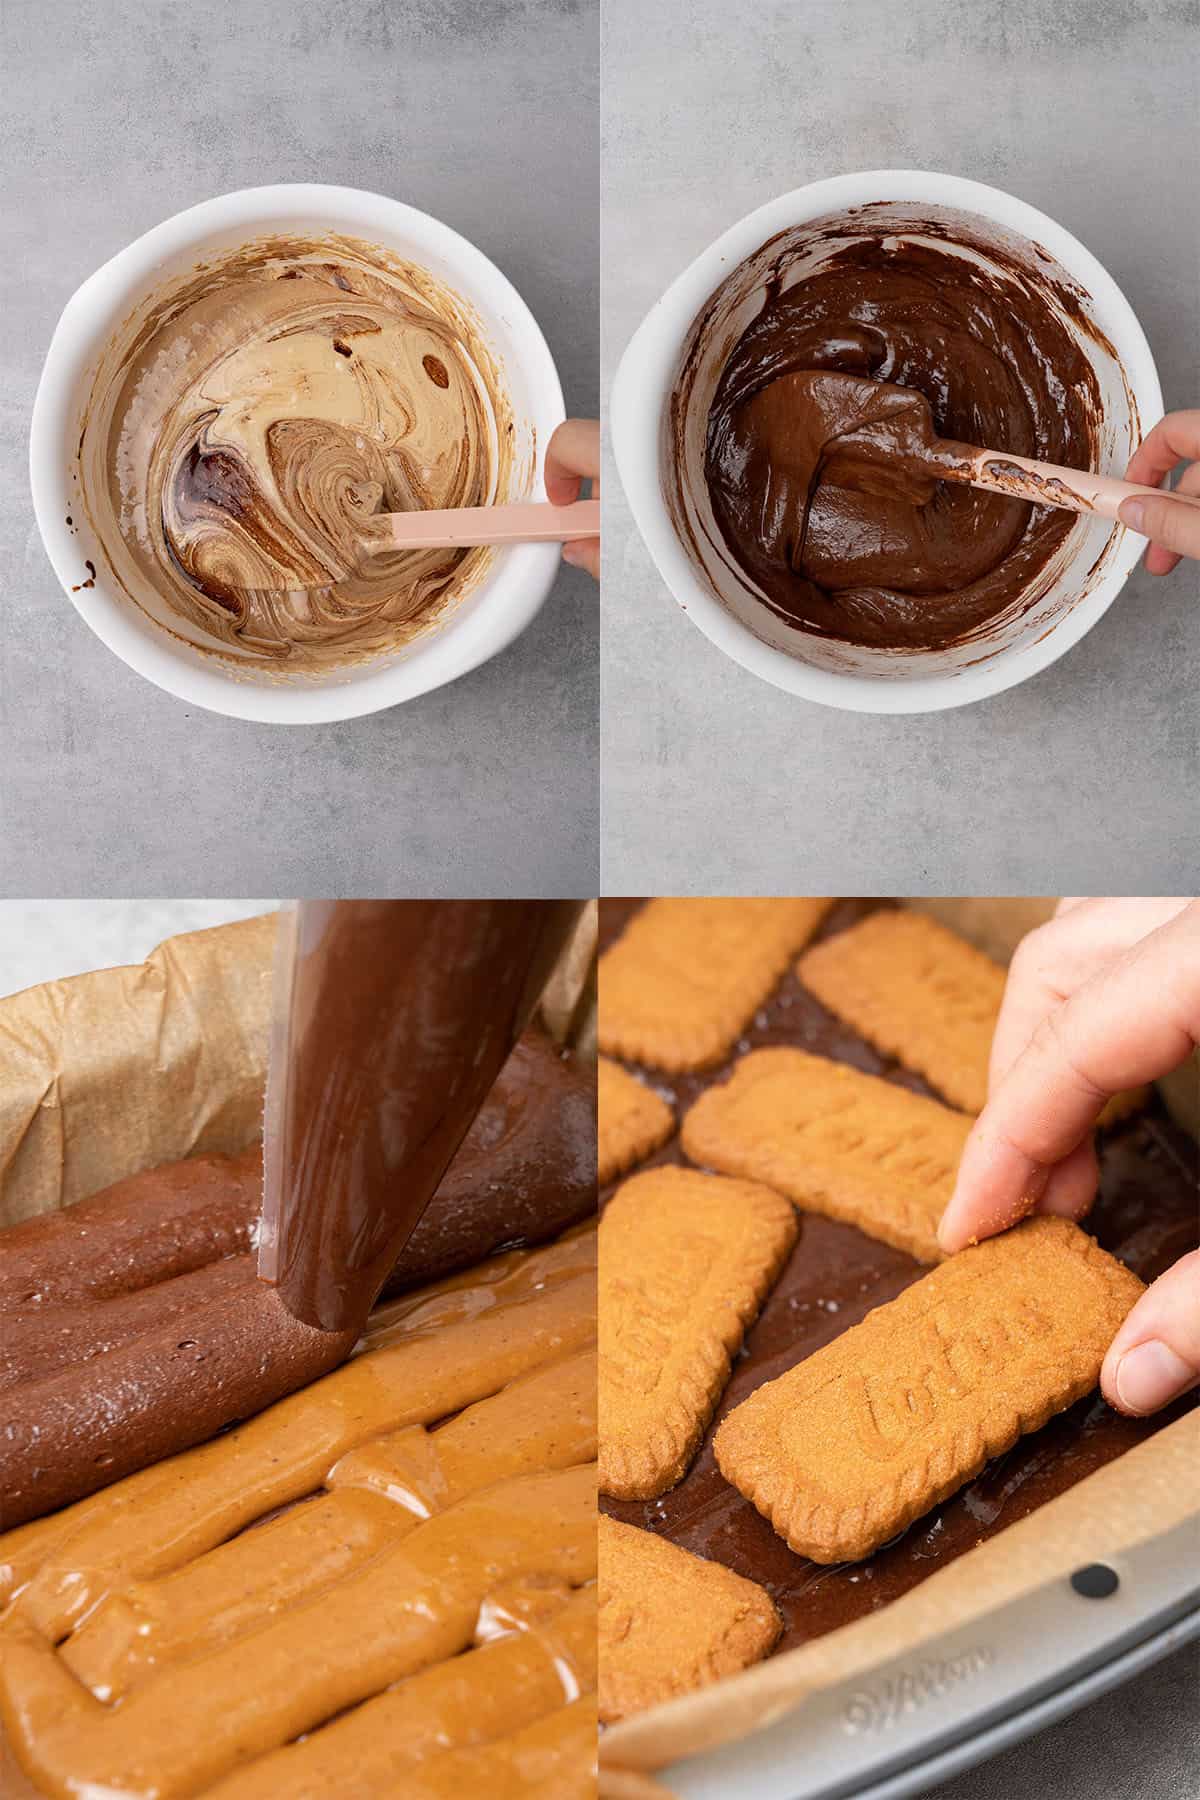
- Whip together eggs and sugar. Let your melted chocolate sit. In the meanwhile, grab another bowl and whip the eggs and sugar. Remember that this recipe requires white sugar AND brown sugar. You can whip these ingredients easily using an electric hand mixer.
- Mix the melted chocolate and whipped eggs. Leave your electric mixer and grab a clean rubber spatula. Pour the melted chocolate and butter into the whipped eggs and sugar. Use the spatula to mix them carefully.
- Sift the dry ingredients. Sift all of the dry ingredients i.e. all-purpose flour, cinnamon powder, cocoa powder, and salt into the wet ingredients. Do not underestimate this process. It's important to do to avoid any lumps in your batter.
- Fold the dry ingredients and wet ingredients. Grab your rubber spatula and fold in the dry ingredients to the wet ingredients. Mix them well and stop mixing when it's combined. Overmixing may result in cake-like brownies.
- Pour half of the batter into the pan. Grab the prepared brownie pan and pour the batter into the pan carefully. Then, smoothen the top using an offset spatula.
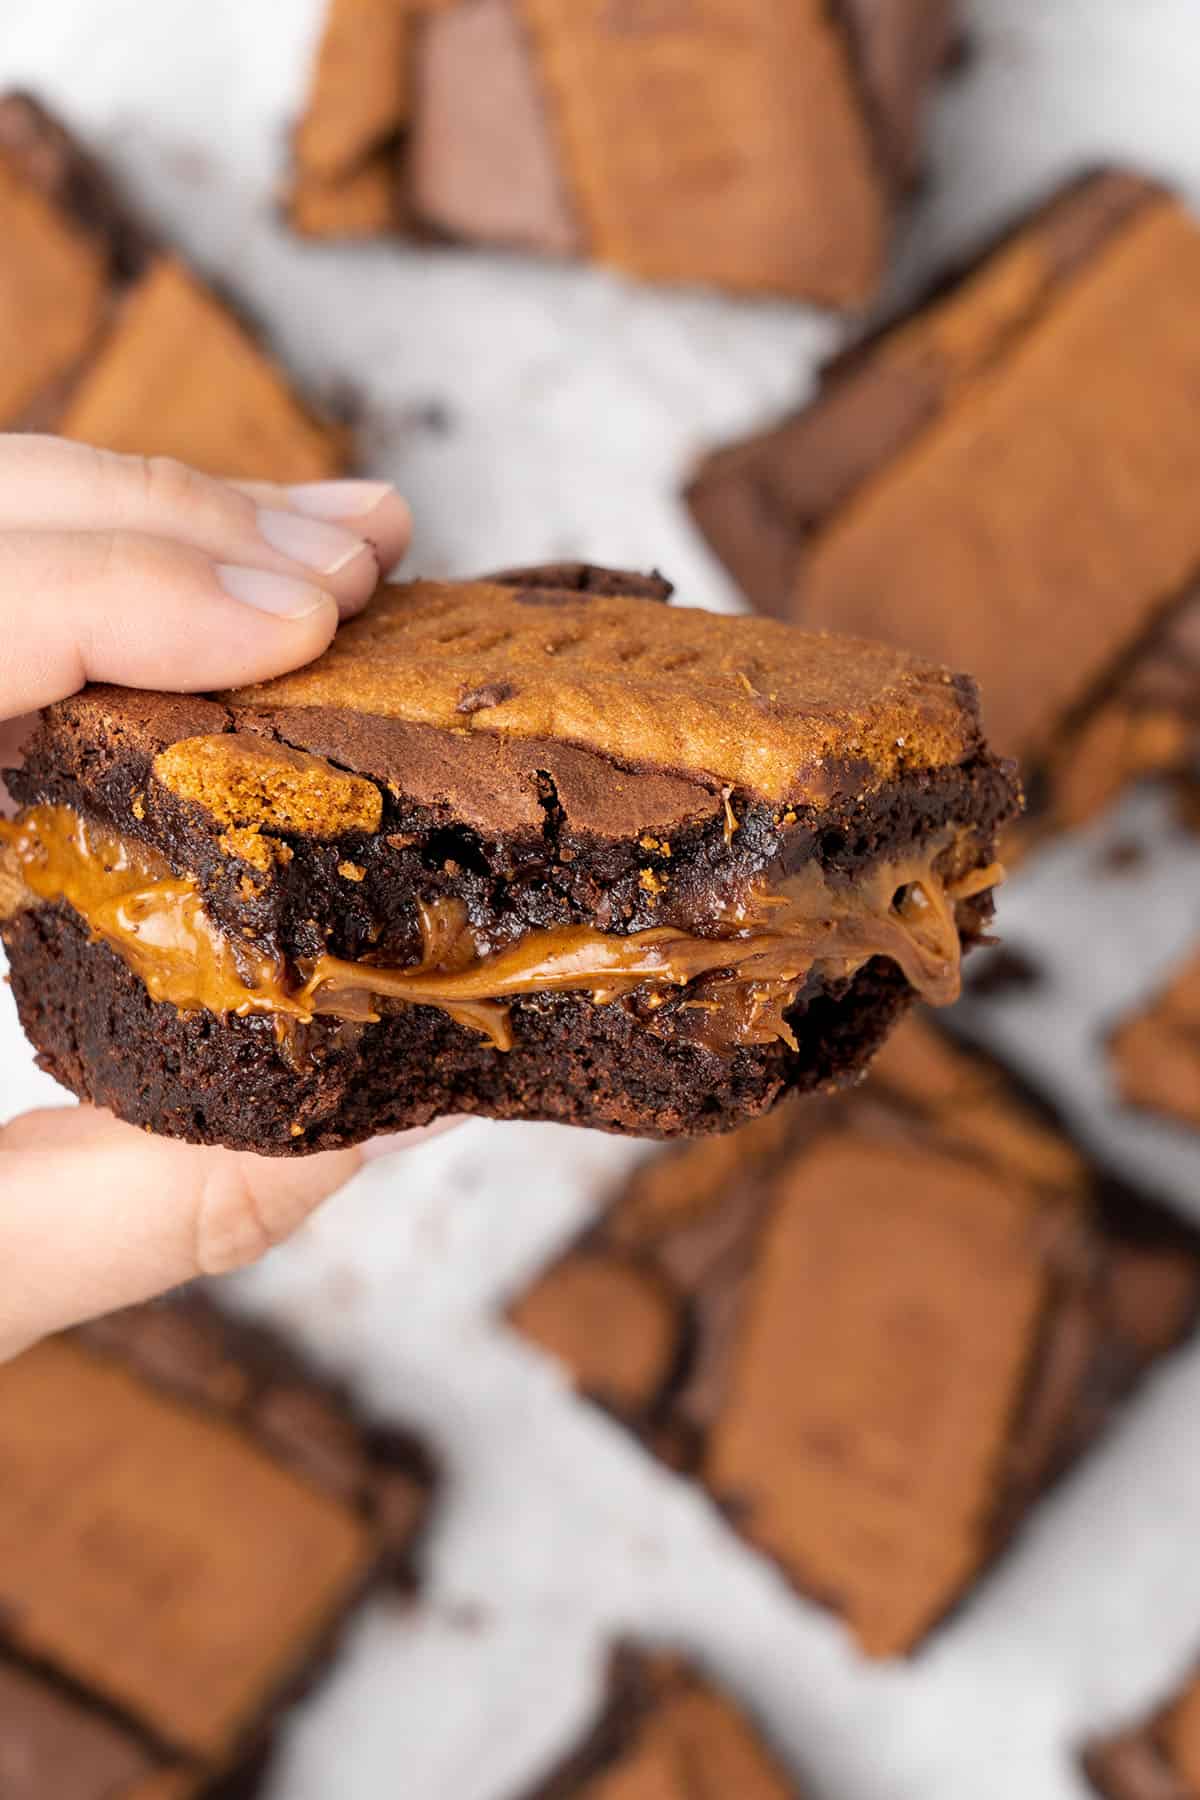
- Make a Biscoff spread layer. Pipe the Biscoff spread on the brownie batter carefully. You can make a thick layer if you want.
- Pour, or even better if neatly pipe the remaining brownie batter into the pan. Smooth the top using an offset spatula so it looks neat. Try not to mix the top layer of brownie batter with Biscoff layer below
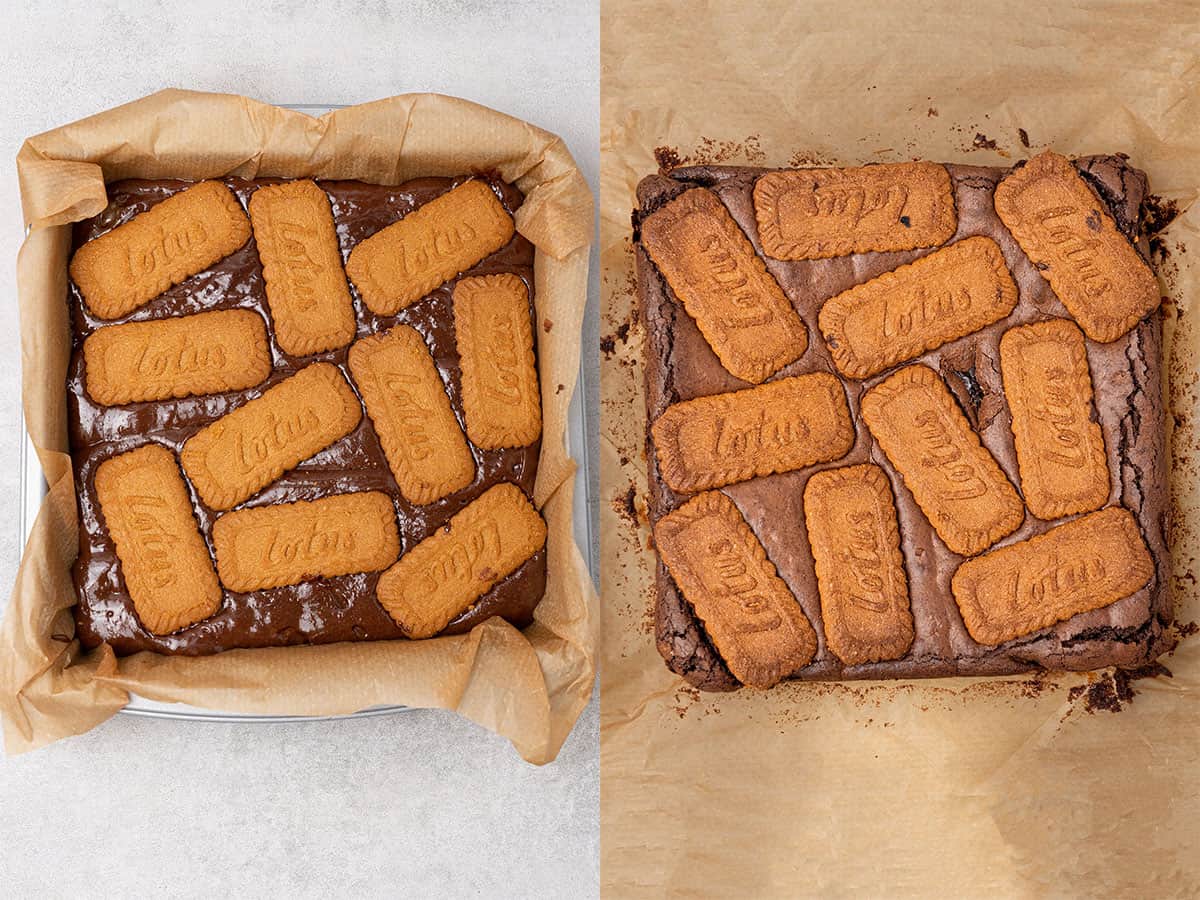
- Decorate with Biscoff cookies. Place Biscoff cookies on top of the batter.
💡 Top Tip: It's important to use the right utensil for every process. Whip the eggs using an electric mixer so it's easy and quick. However, mixing the wet ingredients and dry ingredients requires a rubber spatula because you don't want to overmix them.
3. How to bake
The actual baking process is as important as the mixing process. You need to do it carefully to achieve the best result!
So, preheat your oven before the baking process. You need to bake the Lotus Biscoff brownie at 180 degrees Celsius or 356 degrees Fahrenheit (no fan) but pre-heat the oven slightly higher as the oven temperature drops when you open the oven door. If you're unsure about your actual oven temperature, use a digital oven thermometer.
Keep in mind that every oven is different. I bake this Lotus brownie for about 35 minutes, but you may need to slightly adjust the timing. After 30 minutes of baking, pay attention to the outer part of the brownies. If the edge looks baked, try to insert a toothpick into the brownies. If the toothpick comes out gooey, take out the brownies.
You don't want to wait until the toothpick comes out clean because it means that the brownies are overbaked.
For more information on storage, check my article about how to store brownies to keep them fresh.
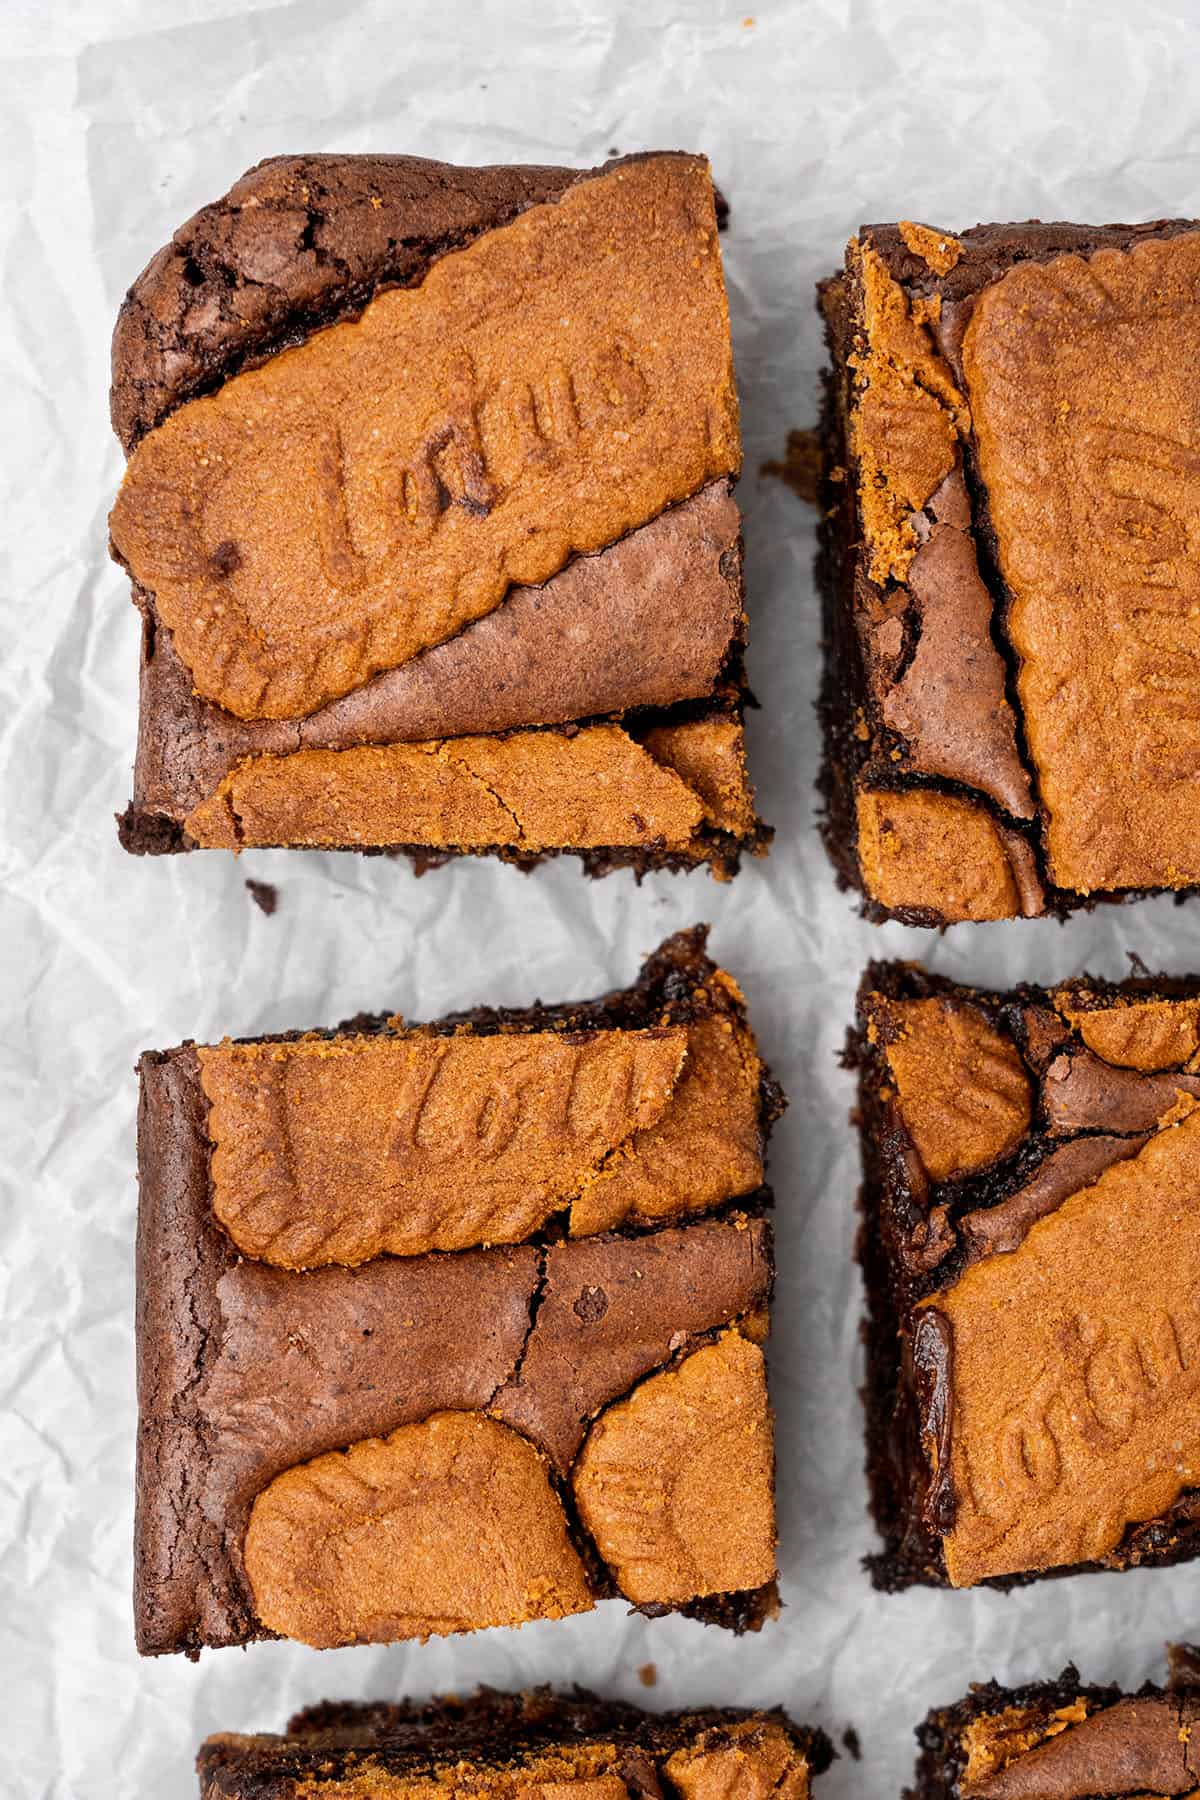
💡 Top Tip: The brownies continue to set during the cooling process. So, let it sit in the pan during this process. Do not cut when it's hot as it might be too sticky.
4. How to achieve gooey, fudge center on your Biscoff brownie
The ratio of the ingredients is very important (enough fat, enough sugar, etc.) so you will need to measure the ingredients accurately. Hence, please use a digital kitchen scale when preparing the ingredients.
After preparing and mixing the ingredients carefully, you will also need to bake your brownies carefully. You want to take out your brownies right before it's "fully baked".
💡 Top Tip: When you insert a toothpick into your brownies and it comes out clean, it means that the inner part of the brownies has been fully baked and it's not gooey anymore. Take it out when the side looked baked and the middle is still slightly gooey.
🥣 Equipment Notes
This Biscoff brownies recipe will need some basic baking equipment. It's important to use the right equipment for every process.
First of all, you will need a digital kitchen scale to measure the ingredient precisely. It's super important to use the right amount of ingredients to avoid any trouble.
For melting the chocolate, you can use either a microwave or a double boiler. You can use a DIY double boiler using a regular pot and a glass bowl.
Then, you will need an electric hand mixer to whip the eggs and sugar easily and quickly.
An inexpensive rubber spatula will be useful for folding wet ingredients and dry ingredients. Do not use an electric mixer for this process because you don't want to overmix the batter.
For the actual baking process, you will obviously need an oven. Also, you will need a 7-inch square brownies pan to hold the batter during the baking process. Remember that the pan needs to be brushed with oil or melted butter. Then, it also needs to be lined with parchment paper so you can take out the brownies easily once it's baked and cooled down.
Before placing the filled baking pan into the oven, make sure that the oven temperature is correct. You can check it with a digital oven thermometer.
After pouring the batter into the pan, use an offset spatula to make it look nice and neat!
🎓 Expert tips
- The quality of the chocolate chips is super important as it greatly affects the taste. Cheap chocolate may result in unpleasant greasiness and it's easy to break during the melting process.
- Use a digital scale to measure the ingredients. The correct measurement will help you avoid hassle during the baking process.
- Mix the wet ingredients and dry ingredients using a rubber spatula until it's just combined. Do not overmix.
- For this recipe, use an electric mixer only to whip the egg and sugar. Do not use it for incorporating the dry ingredients with wet ingredients as it may result in overmixing.
- It's super important to not overbake your brownies. You want the interior of the brownies to be gooey and fudgy. It's better to slightly under-bake than overbake your brownies.
- Avoid mixing the gooey Biscoff spread layer with the bottom and top layer of brownie batter
- Let the brownies cool down before removing them from the pan. Also, let it cool down before cutting so it's not too sticky.
❓Recipe FAQs
The original Biscoff biscuits have a pleasant combination of sweet, caramel, and cinnamon flavors.
Biscoff brownie is a type of chocolate cake (=brownie) that is made with either Biscoff spread, Biscoff biscuits, or both! This recipe uses both of those unique ingredients and it's super delicious!
You can add Biscoff spread to the brownies by piping carefully on top of the brownies batter and covering it with the remaining brownies batter. For the Biscoff biscuits, you can simply lay them on top of the batter before baking.
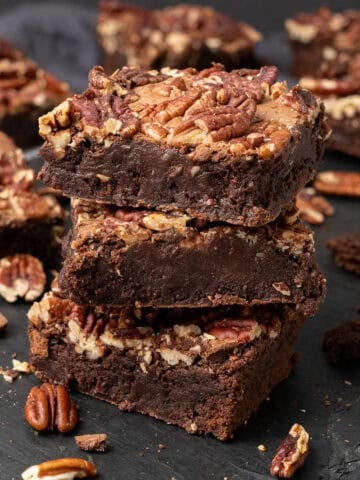
If you don't have a Biscoff spread at home you can make it yourself using Biscoff biscuits. If you want to completely skip Biscoff biscuits and Biscoff spread, you can check out my pecan brownie recipe.
It will require about 2 hours until the Biscoff brownie is cool enough to cut into small squares.
After letting the brownie cool for at least 2 hours, you can cut it into small squares and enjoy them. If there are any leftovers, keep them inside an airtight container at room temperature or in the fridge for about 3-4 days. If you decide to store it in the fridge, remember to cover the brownies so it doesn't absorb the smell of other foods.
Gooey brownies can last for days without freezing. However, if you decide to freeze it, keep it inside an airtight container before placing it inside the freezer. Remember that after the freezing process, the interior of the brownies might slightly change.
✨ More Biscoff recipes
Make sure to try my Biscoff recipes collection!
🍫 More Brownie Recipes
Biscoff Brownies (VIDEO)
Equipment
- Digital scale
Ingredients
- 150 g (¾ cups) Chocolate use semi-sweet quality chocolate eg. Callebaut Dark Chocolate (callets)
- 150 g (¾ cups) Unsalted butter
- 3 Eggs room temperature
- 150 g (¾ cups) Granulated sugar
- 150 g (¾ cups) Brown sugar
- 30 g (⅓ cups) Cocoa powder unsweetened Dutch processed
- 75 g (⅔ cups) All purpose
- ½ teaspoon Cinnamon
- ½ teaspoon salt
- 300 g (1⅓ cups) Biscoff spread homemade Biscoff butter recipe
- 10 Biscoff cookies to decorate the top before baking
US customary cup measurement is an indicative figure only. Measure the ingredients with a digital scale by weight (gram). Baking is art but also science which requires precision and accuracy.
Instructions
- Pre-heat oven to 180 C / 356 F ( no fan)
- Take a 7 inch /18 cm square brownie pan, brush the inside of the cake pan with a tiny bit of oil then use parchment paper on the bottom and side as well. Set it aside
- Melt butter and chocolate in a bowl over simmering water over medium heat
- In another bowl whip together the eggs with sugar with the help of an Electric hand mixer until pale, for about 5-7 minutes
- Pour the melted butter and chocolate mixture into the egg-sugar mixture, and combine with a Rubber spatula. Do not use a mixer at this point
- Sift in flour, cinnamon, salt, and cocoa powder and fold the mixture together. Do not overmix
- Pour half of the batter into the prepared 7 inch /18 cm square brownie pan , then pipe Biscoff spread on top without mixing it with the brownie batter
- Pipe the other half of the brownie butter on top of the Biscoff spread layer. Try not to mix the Biscoff layer with the brownie batter layer. Smooth the top with an Offset spatula then place Biscoff cookies on top
- Bake for 25-30 minutes at 180 C / 356 F ( no fan). The brownie is ready when the edge looks baked and the middle looks slightly gooey but not raw. Do not over-bake! The brownie will further set as it cools
- Let the brownie cool in the 7 inch /18 cm square brownie pan then carefully cut
- Store at room temperature or in the fridge for 2-3 days
Notes
- Use always unsalted butter in dessert recipes, but make sure you add the salt stated in the recipe as that will balance the sweetness
- Use a combination of white and (light or dark) brown sugar for the best texture and beautiful butterscotch flavor
- The egg should be used at room temp
- Baking powder is not included in this recipe intentionally, so ýour Brownie will turn out wonderfully fudge and gooey
- The quality of the chocolate chips along with the quality of cocoa powder will define the taste of your brownies so try to use high-quality ingredients
- If you cannot access Biscoff spread, try my homemade Biscoff butter recipe
- Digital scale is required for a consistent, happy baking experience:)
- Melt chocolate over a double boiler or in the microwave so you won´t burn it
- Always pre-heat your oven and consider using a digital oven thermometer for the best results
- Each oven is different so you might need to adjust the baking time slightly
- For the best fudge brownie experience consider rather slightly under bake your dessert
- Do not attempt to cut the brownie bar while it is still hot, as it further sets as it cools



Christina
My brownie turned out AMZING!! This will be my forever favorite brownie recipe!
Shannon Toney
I followed this recipe to the letter. I even weighed the ingredients as they have them. I cooked them and they were more than just gooey. They were runny so I let them go longer and longer and longer up to twice as long as what they said it was still runny in the middle. I wanted to love this recipe so much. There’s nothing wrong with my oven. The temperature is correct on the inside as I use a thermometer my eggs were room temperature.
Katalin Nagy
Sorry to hear. This is my standard brownie recipe that I use to make 20 different kinds you can see on my website, I have hard time imagining what could have gone wrong. If it did not bake even after an hour, I imagine either the ingredients were measured incorrectly or you forgot something e.g. the flour or your oven extremely underruns.