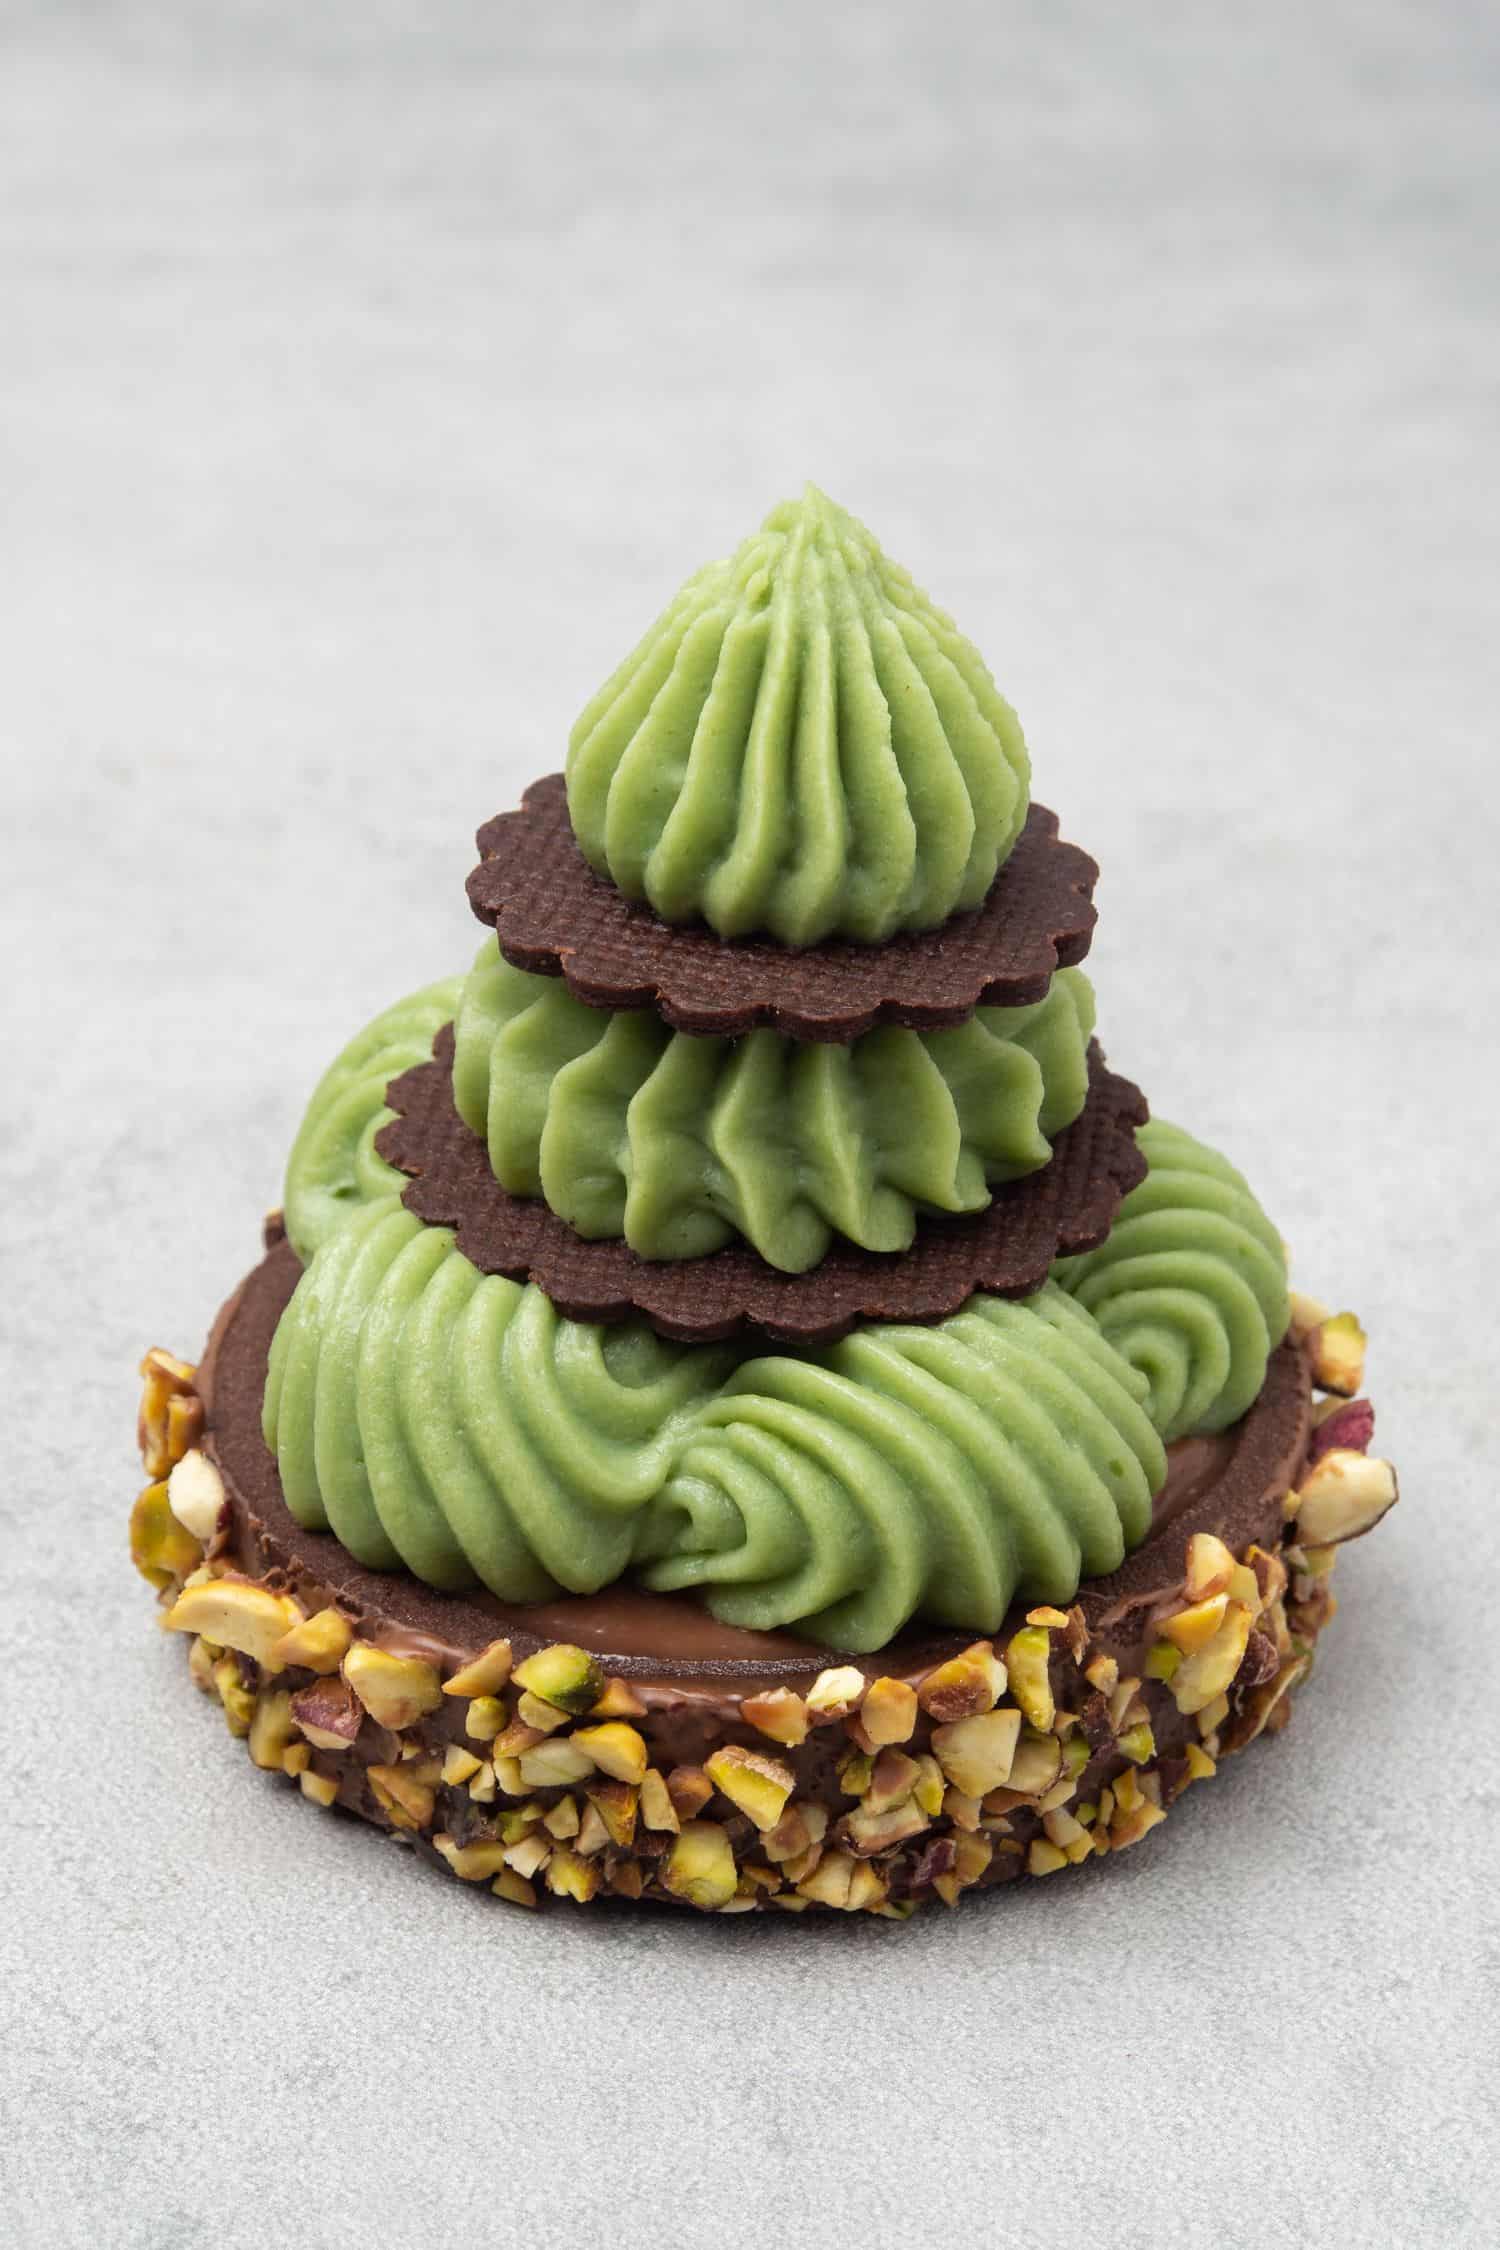
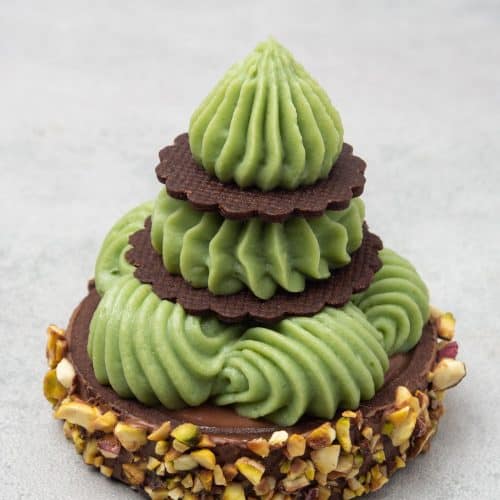
These festive mini Christmas Tarts are the ultimate elegant Christmas desserts you to for your holiday dinner to impress everyone! Homemade Pâte Sablée tart cases filled with crunchy pistachios, and creamy pistachio paste that is topped with silky chocolate ganache. Then, delicious Pistachio whipped ganache is used on top to make the Christmas tree decoration.
These Christmas Tarts are creamy and crunchy at the same time with intense yet natural pistachio and chocolate flavors. Imagine serving them after Christmas dinner, a showstopper Christmas dessert that will impress everyone over the holiday season!
Jump to:
📝 Ingredient notes
For the Chocolate Pâte Sablée tart shell
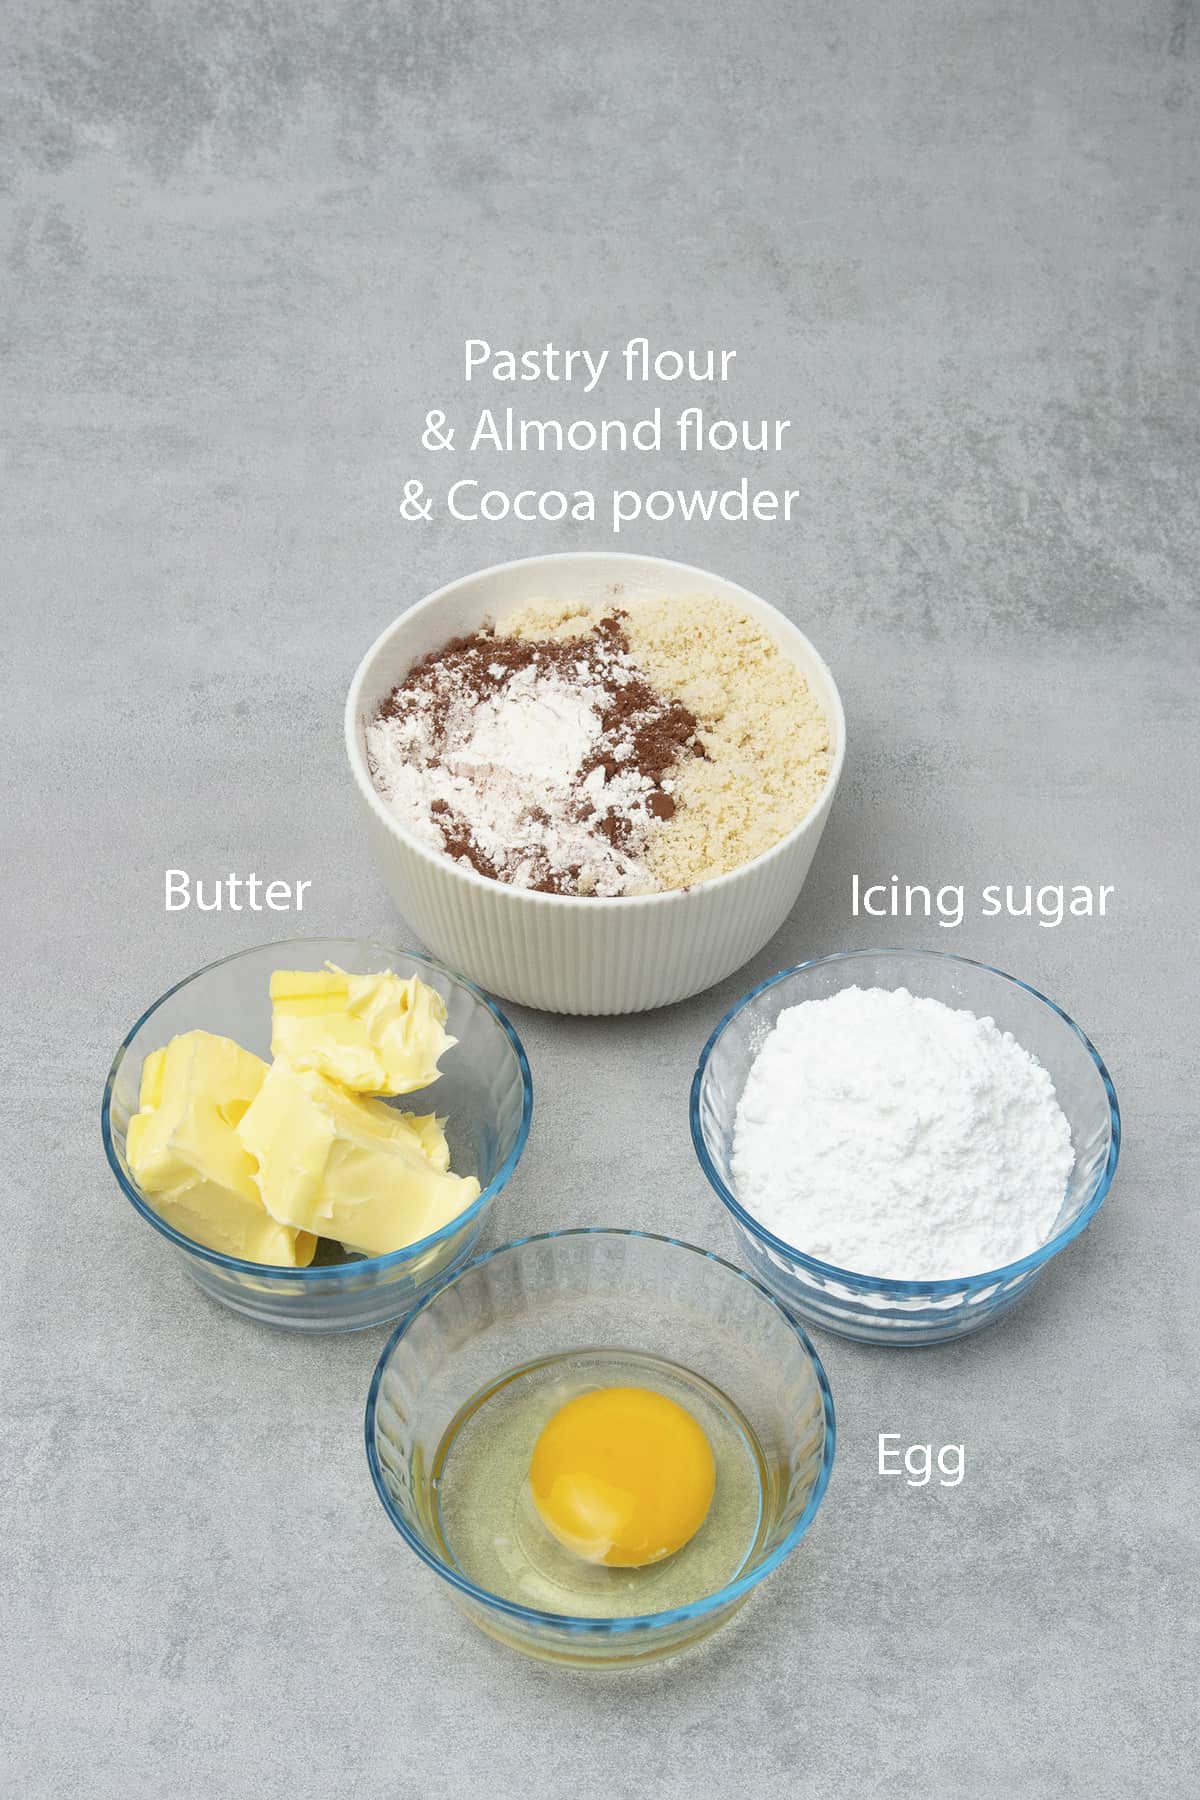
- Flour: I am using pastry flour for this Christmas tart recipe, feel free to use AP if can’t find pastry flour in your supermarket. For more details on flour, please read my flour guide
- Almond: Some Pâte Sablée recipes contain almonds, while some don’t, I prefer mine with some almond flour in it from the taste and texture point of view. You can replace it with an equal amount of flour
- Cocoa powder: Cocoa powder will make this into a wonderful Chocolate Pâte Sablée! Always use unsweetened, 100% cocoa powder in baking. I use dutch-process cocoa powder, it has a lovely dark color and it is lower in acidity
- Sugar: This chocolate sweet pastry dough for the Christmas tree tarts is made with powdered sugar.
- Salt: An essential ingredient in most dessert recipes. It balances the flavor and enhances other ingredients.
- Butter: Use always unsalted as you want to be in control of the quantity of the salt. I am using 82% fat-content butter in all my recipes, including this Christmas tart. The butter needs to be properly chilled, which means take the butter out of the fridge, cut it into chunks then place it into the freezer for 10-15 minutes before using it
- Egg: Use oom temperature as always in baking
🛒 You’ll find detailed measurements for all Ingredients in the printable version of the Recipe Card at the bottom of this post
For the pistachio whipped ganache
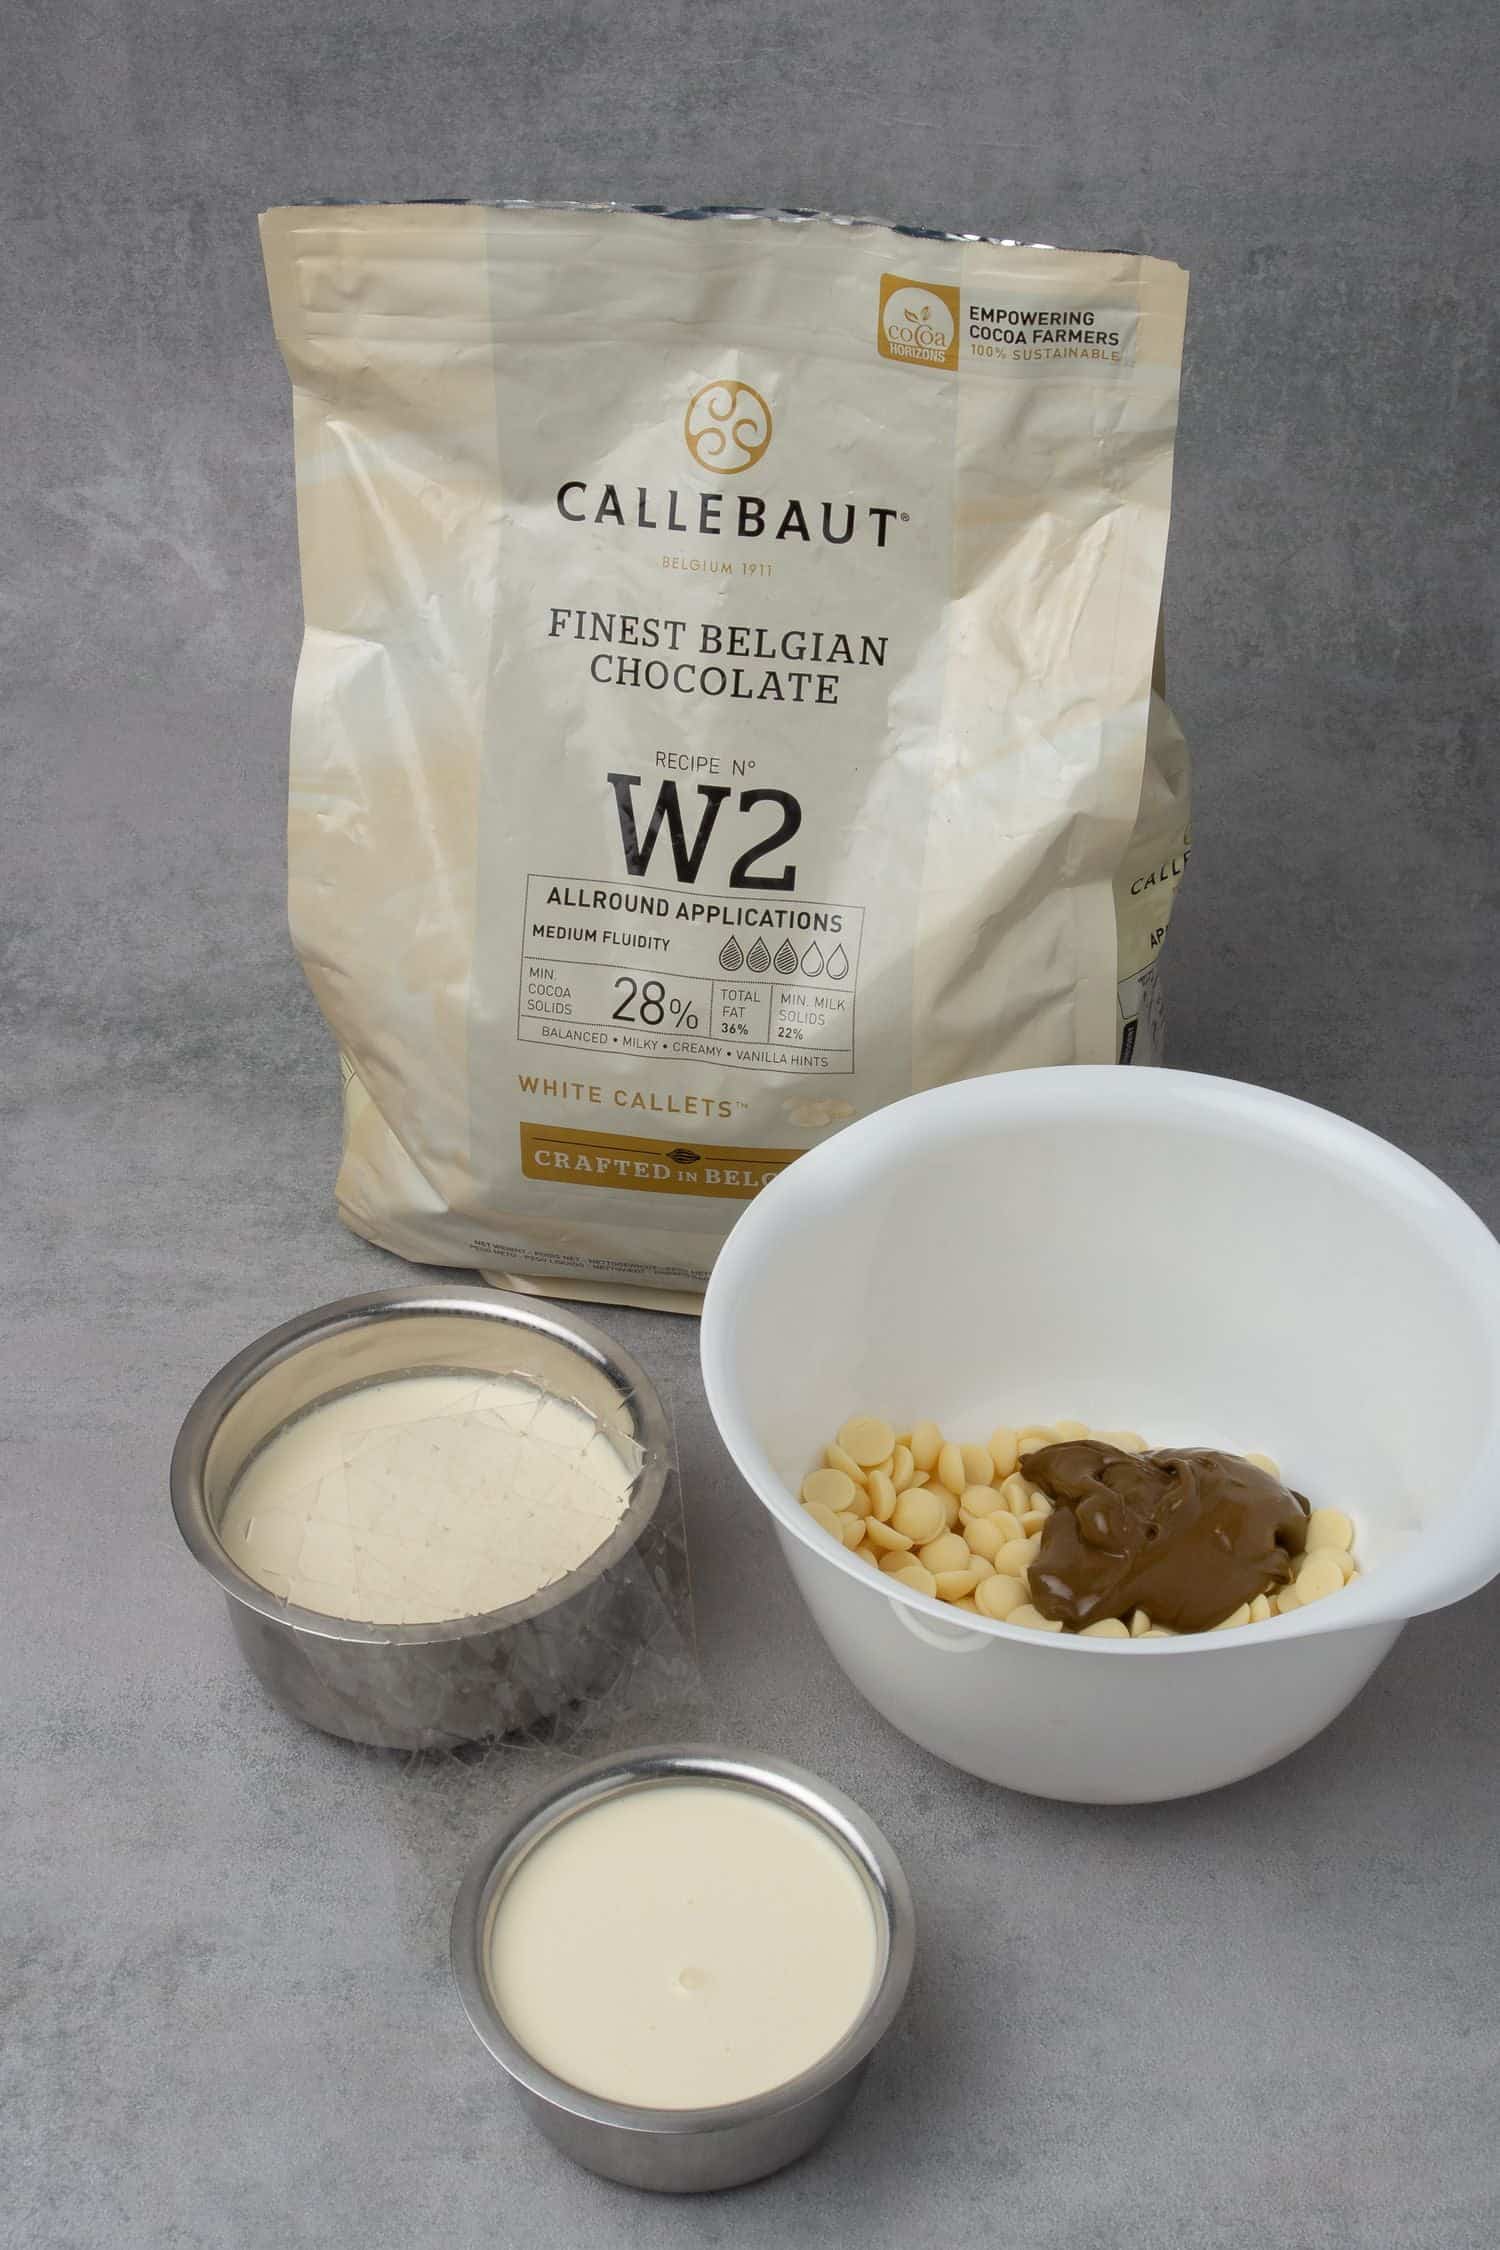
- White chocolate: It is worth remembering that not all chocolate are created equal, in fact, the quality of the chocolate goes way beyond taste. In this recipe, I am using Callebaut White chocolate (callets), which is a high-quality chocolate (yet affordable) that contains a higher percentage of cocoa butter than the average supermarket chocolate.
- Whipped Cream / whipping cream: Also known as heavy cream or double cream, has a fat content between 36% and 40%, and the one I am using has 36% fat content.
- Gelatin: It´s an odorless, tasteless and colorless thickening agent, very often used by pastry chefs particularly in mousse cakes. Powder or sheet versions are available, in my recipes I always use sheet (1,7 g / sheet), which I found easier to handle. For details on how to use gelatin or how to replace it, please read my gelatin article
- Pistachio paste: Make sure that you use 100% pistachio paste (that has one single ingredient: pistachio) as many spreads claim to be pistachio paste with less than 50% pistachio in it. I bought mine online from Amazon, it has a super deep and delicious pistachio taste without any additives, oil, milk powder, or sugar. High quality pistachio paste will make this Christmas dessert tarts wonderfully flavorful
- Food coloring (optional): Depending on the pistachio paste you are using you might or might not achieve the desired green color in your cream. A very small amount of food coloring (gel or powder) can be always handy to fine-tune the green color
🛒 You’ll find detailed measurements for all Ingredients in the printable version of the Recipe Card at the bottom of this post
For the Chocolate ganache
- Chocolate: The chocolate tart will be as delicious as the quality of the chocolate you are using. Please please please use high cocoa content chocolate which you would anyway enjoy eating on its own and avoid using “baking chocolate”. The one I am using is Callebaut Milk Chocolate (callets)
- Heavy cream: Same as above
👩🍳 How to make this recipe
1. Process of making Chocolate tart shells (chocolate pie crust)
I have a detailed Chocolate pate sablee recipe, please check that out for more details, troubleshooting guide, etc.
- Measure all ingredients with a Digital scale and prepare all the equipment ahead: Rolling pin, Silicone baking mat, Perforated “air” baking mat, Perforated tart ring
- Place the measured butter chunks into the freezer for 5-10 minutes
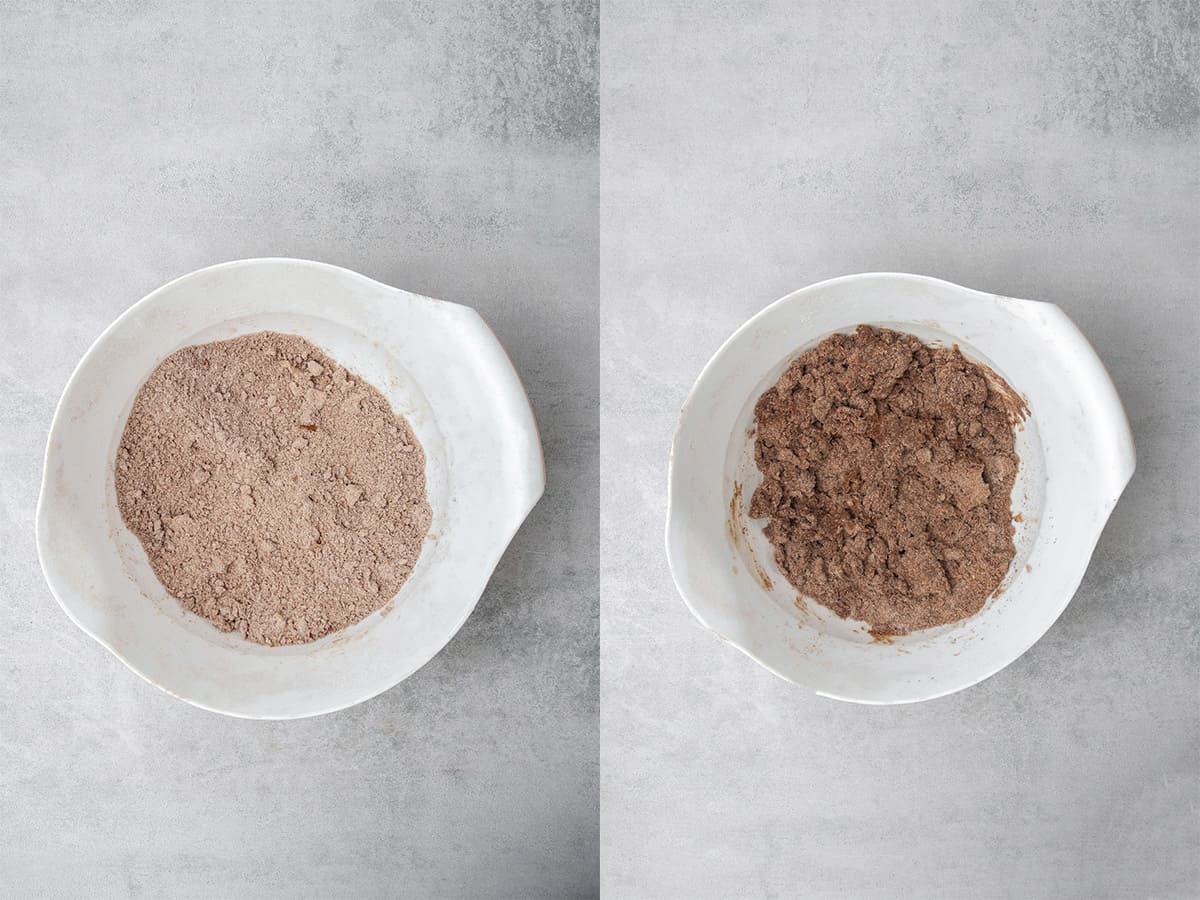
- Sift together the dry ingredients; flour, icing sugar, cocoa powder, almond, salt, and mix so they are combined properly
- Add very cold butter chunks to dry ingredients and rub the mixture between your hands until it becomes a sand-like consistency. This will take about 2 minutes, make sure you do not spend too much time with this step as butter can easily warm up, and that is something we want to avoid. Please note that there is no need to use a food processor!
- Add egg into the mixture and mix with your hands just until the dough comes together. First, it might look crumbly but do not add more wet or dry ingredients to the recipe instead gently knead the dough with the palm of your hand for a minute or two (do not over-knead and do not use a mixer) just until the dough becomes smooth
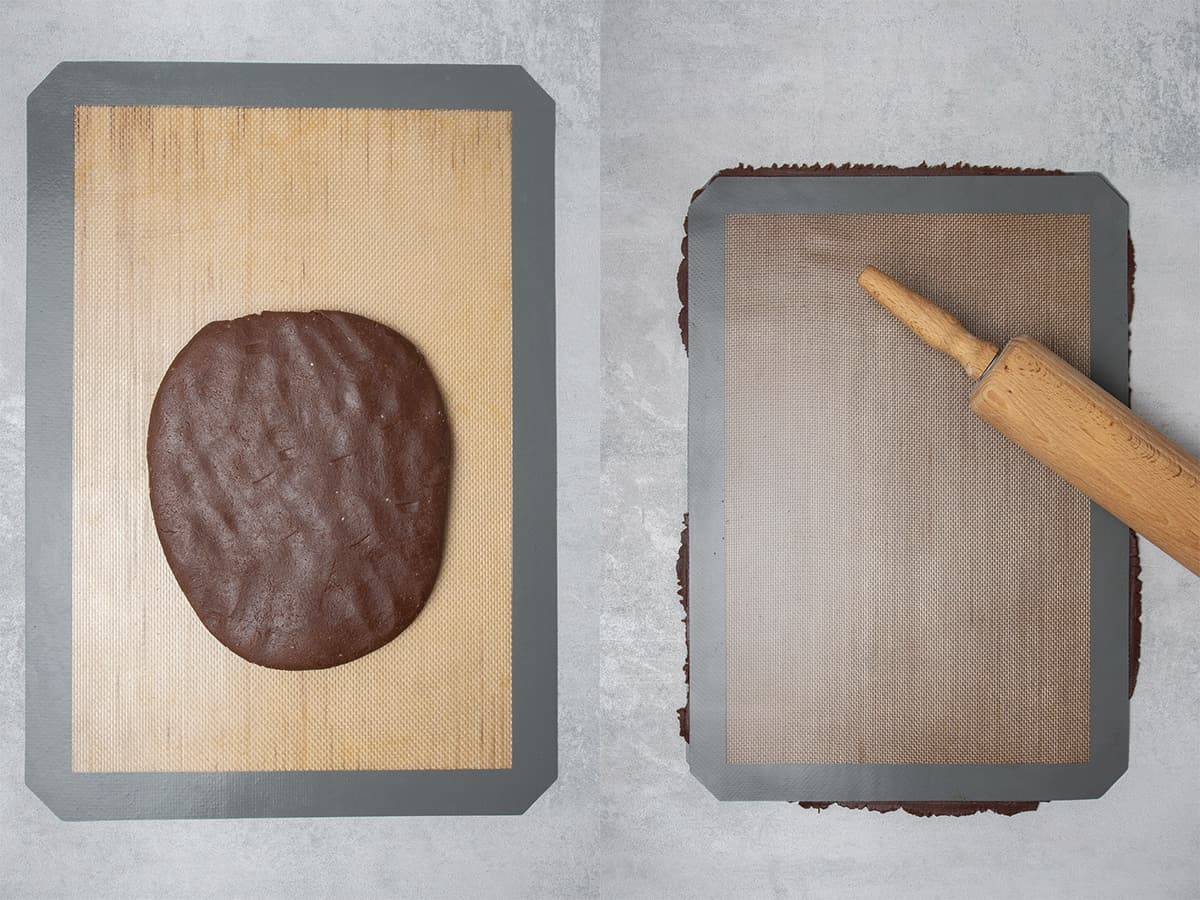
- If the dough is too warm and sticky, place it into the fridge for 10-15 minutes first. Otherwise, continue rolling the dough out into 2mm thickness between two Silicone baking mat. The recipe quantity is designed in a way that once you roll the dough out, it will reach the silicone baking mat from edge to edge (11.6 inches / 30 cm x 16.5 inches / 42cm)
- Place the chocolate tart dough into the freezer for 10-15 min in between the two Silicone baking mat. Do not remove the mat at this point as the dough might stick to the mat while it is warm
- Prepare your oven rack with the Perforated "air" baking mat and Perforated tart rings on top
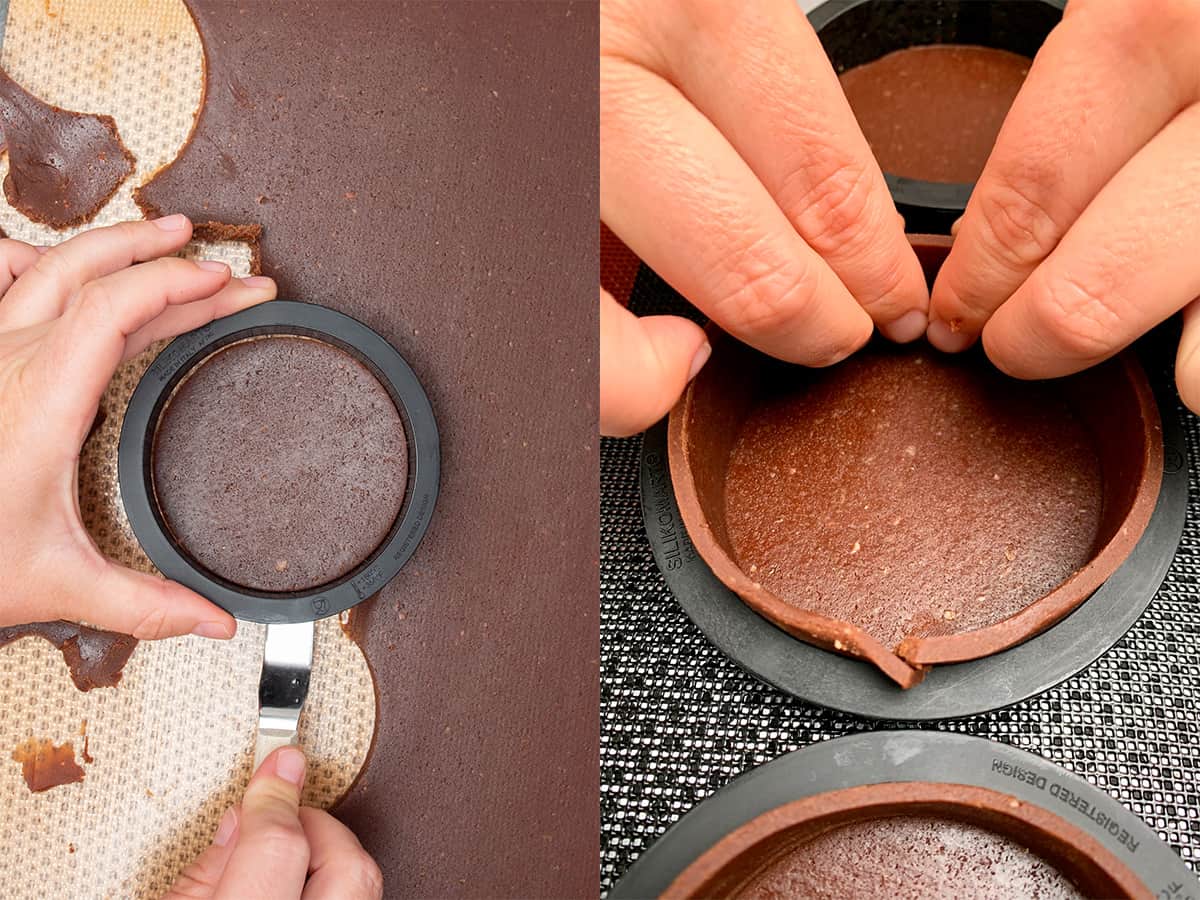
- Take the dough sheet out from the freezer, remove the top of the silicone mat, and using one of the Perforated tart rings, cut out 8 circles – this will be the bottom of your tart crust. Carefully move the dough circles with the help of an Offset spatula and place them into the rings one by one
- If at any point the chocolate pastry dough gets too warm to work with, pop it back into the freezer for 5 minutes. You might need to take the dough in and out of the freezer a lot of times but that is fine, don´t try to force the dough while it is warm. It is extremely important to work with a dough that is cold enough to be able to handle (so not sticky) but not too cold which would result in breaking it
- Cut 8 long stripes out of the dough, this will be the side of the tart
- Carefully place the stripes into the ring one by one. Press each strip onto the side of the ring so it sticks to it. Again, make sure you work with a dough that is cold enough but not frozen as that would make it impossible to place it into the tart pan without breaking it
- Place the Perforated tart rings with the chocolate pastry dough in them into the freezer for 1 hour
- Pre-heat oven to 160C / 320F (no fan)
- After 1 hour, take the sweet shortcrust pastry dough with the rings on them out and trim the top with a sharp knife
- Bake them for 20 min then carefully remove the rings. Once you take the chocolate tarts out of the oven wait for a minute or two for the pastry to somewhat contract within the ring then you will be able to easily remove the rings. If the pastry seems to be stuck onto the ring, it means probably you will need to bake it for a few more minutes. Do not force it as you can easily break it
- Once the tart rings are removed, you will need to place the tart cases back to the oven. Bake them for another approx. 10 minutes, adjust the baking time if needed. Rotate the baking sheet, if necessary. Let them cool completely on the Perforated "air" baking mat before filling them
Please note that the recipe can be made with traditional (non-perforated) equipment, however, in that case, you will need to apply the blind baking method
💡 Top Tip: To make the sable cookies for the Christmas tree pattern decoration, simply use the leftover dough, roll it out, cut out 6 smaller and 6 larger circles, and bake it in the oven at 160C / 320F for 10 minutes
2. How to make chocolate ganache filling
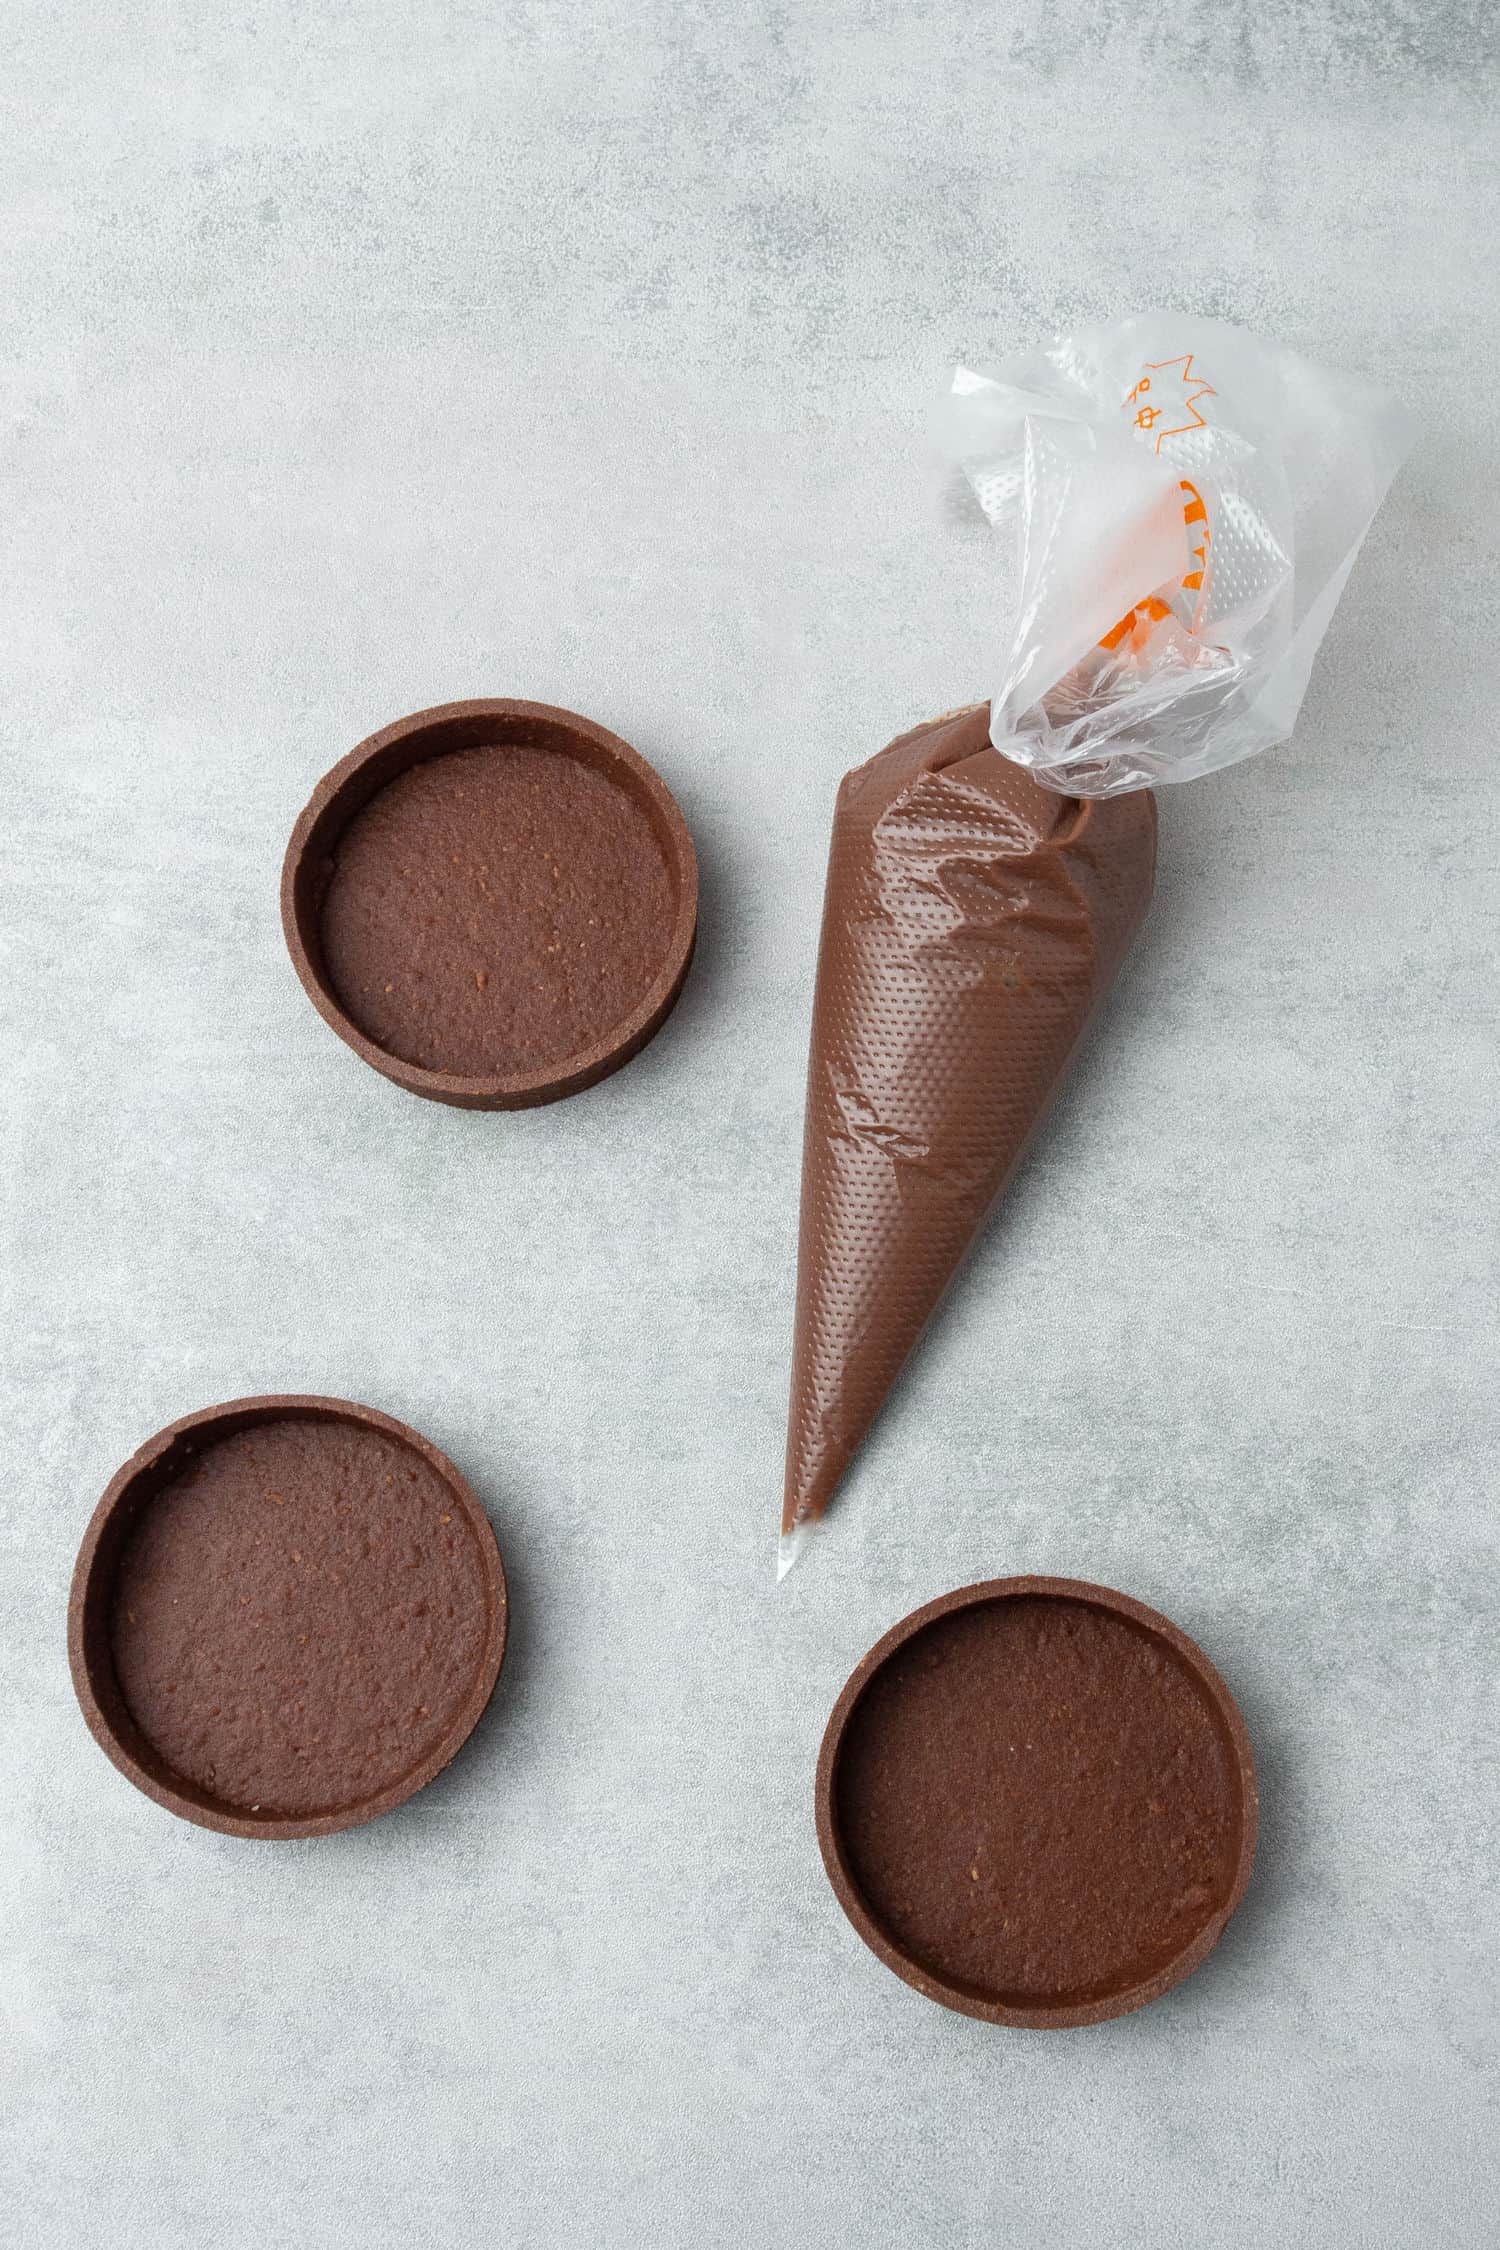
This Christmas tartlets will be filled with a super easy chocolate ganache.
Chocolate ganache is chocolate and cream mixture with endless uses; cakes, cupcakes, tarts, etc. I recommend buying high-quality chocolate with high cocoa content chocolate to avoid disappointment. I am using Callebaut Milk Chocolate (callets) that tastes amazing and works wonderfully silky while making ganache.
Regarding the cream, I am using heavy cream that has a 36% fat content. Do not make this ganache using low-fat creams or vegetable creams.
Chocolate ganache is a 1:1 mixture of chocolate and warm cream
- Place finely chopped chocolate into a bowl or use Callebaut Milk Chocolate (callets)
- Heat cream until just simmering
- Pour warm cream over Callebaut Milk Chocolate (callets)
- Let the two sit for a minute then stir together or use a blender to emulsify
- Let it slightly cool before the tartlets. No need to wait until fully sets but it should be cooled somewhat
💡 Top Tip: The simmering moment is the perfect temperature to heat the cream up. If it’s boiling, the cream is too hot and could burn the chocolate. If the cream is not warm enough, it won´t melt the chocolate properly and won’t emulsify.
3. How to make pistachio-whipped ganache
The tree decoration on the Christmas tarts is made of a super delicious pistachio-whipped ganache.
As mentioned above ganache is chocolate-cream 1:1 ratio mixture. As for whipped ganache, it also contains gelatine and the cream ratio is higher so when it is whipped, the consistency will be super creamy and fluffy.
In this Christmas tree tart recipe am using Callebaut White chocolate (callets), which is creamy and has a natural taste so when I add flavor to the ganache, in this case, pistachio paste, it will come through really strongly.
How to make pistachio whipped ganache
- Place Callebaut White chocolate (callets) into a bowl (or finely chopped chocolate)
- Pour pistachio paste on top of the chocolate. Make sure the pistachio paste is 100% without any sugar
- Soak gelatin sheets in cold water
- Heat some part of the cream until simmering. If it’s boiling, the cream is too hot and could burn the chocolate. If the cream is not warm enough, it won´t melt the chocolate properly and won’t emulsify
- Mix gelatin into the warm cream
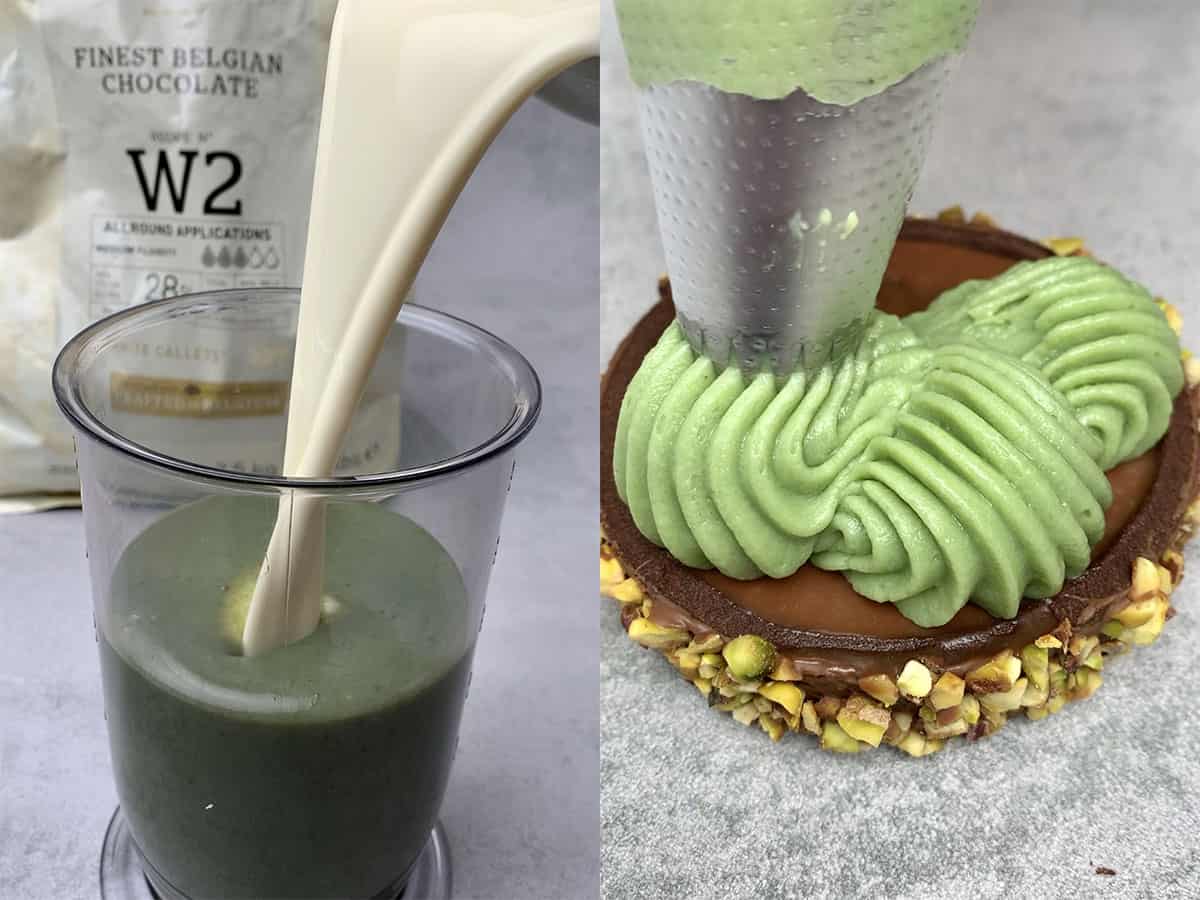
- Pour warm cream over the chocolate & pistachio paste
- Let the two sit for a minute then stir together or use a blender to emulsify
- Once slightly cooled, pour the rest of the cold cream into the mixture and fold
- Cover the surface of the ganache with plastic wrap and refrigerate for min. 4 hours
- 4 hours later or even better if the next day, take the ganache out of the fridge and gently whip it up in a stand mixer or by using an electric hand mixer. It will reach a fluffy, pipeable consistency in a minute or two. Make sure, you do not overwhip the mixture as it can get runny
💡 Top Tip: The color of the whipped ganache will depend on the quality of the pistachio paste you are using and can go anywhere from bright green to almost yellowish, or brownish. If unhappy with the color, use a very very small amount of green food coloring
4. How to assemble the Christmas tree tarts
Assembling this Christmas tart is super easy once you have all the elements ready.
1. Make the pistachio ganache first as it will need to set in the fridge for min 4 hours, overnight is even better
2. Next, make the tart shells and sable cookies and let them cool
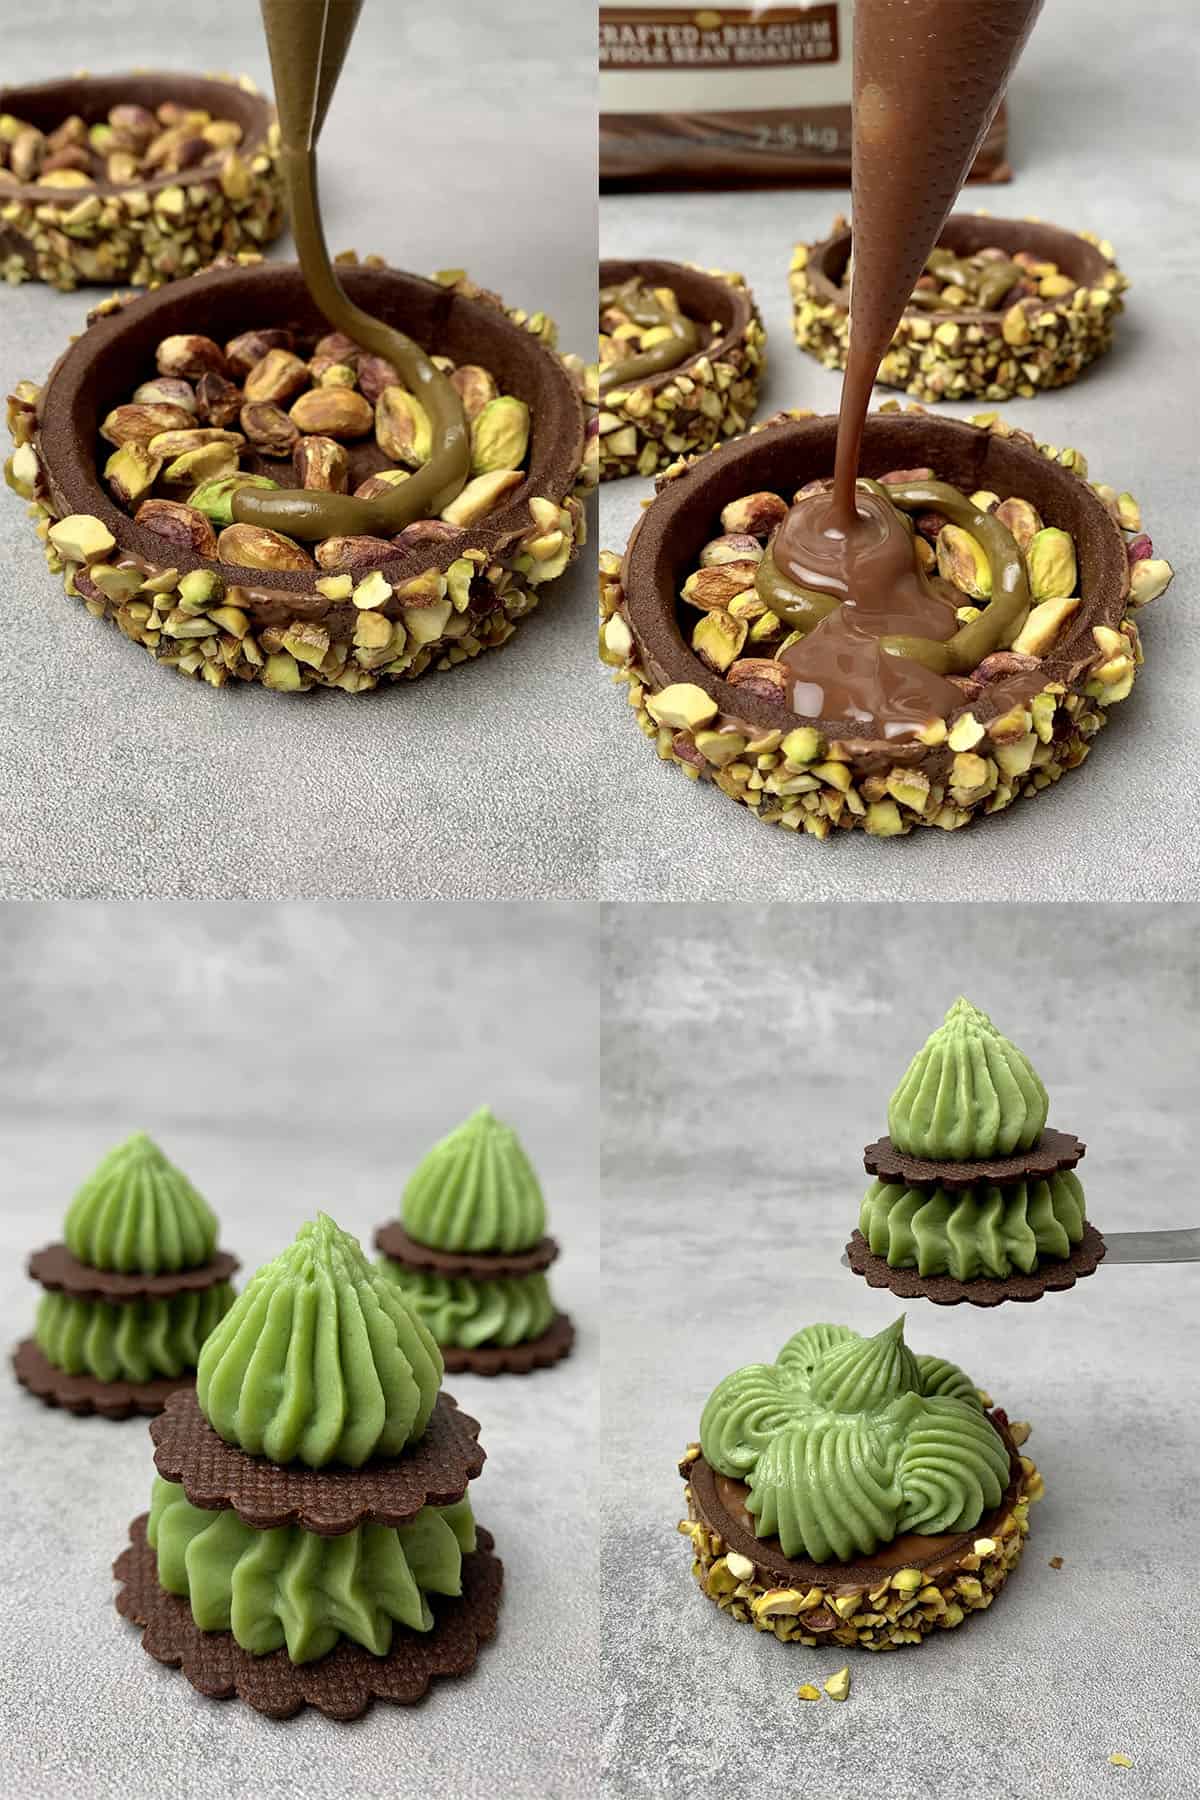
3. Before filling the tart shells, brush melted chocolate on the side of the tart shell (outside) and apply finely chopped pistachio on the side. The pistachio will stick to the tart due to the melted chocolate
4. Then, place a few pieces of pistachio into each tart shell and pipe pistachio paste on top
5. Start preparing the chocolate ganache according to the recipe and pour it over the pistachio and pistachio paste to fully fill the tart shells
6. Pop the tarts into the fridge for the ganache to set, this can take min. an hour.
7. In the meantime, take the pistachio ganache out of the fridge and whip it up until it reaches a pipeable consistency. Move the whipped ganache into a piping bag fitted with French star nozzle tip.
8. Arrange the sable cookies: each tart will need one larger and one smaller sable cookie. Pipe pistachio whipped ganache on top of the larger sable cookie then carefully place the smaller sable cookie on top and pipe pistachio whipped ganache on top. This will be the Christmas tree pattern decoration that you will use later on top of the tart
8. Once the chocolate ganache is set, pipe pistachio whipped ganache over the mini tarts
9. Lastly, place the Christmas tree shape decoration on top (that you made in step 8) and your Christmas tart is ready!
10. The tart will need a few more hours in the fridge before serving for all the layers to properly set
💡 Top Tip: When assembling the Christmas mini tarts, make sure that each layer is fully set before continuing with the next to avoid making a mess.
🥣 Equipment notes
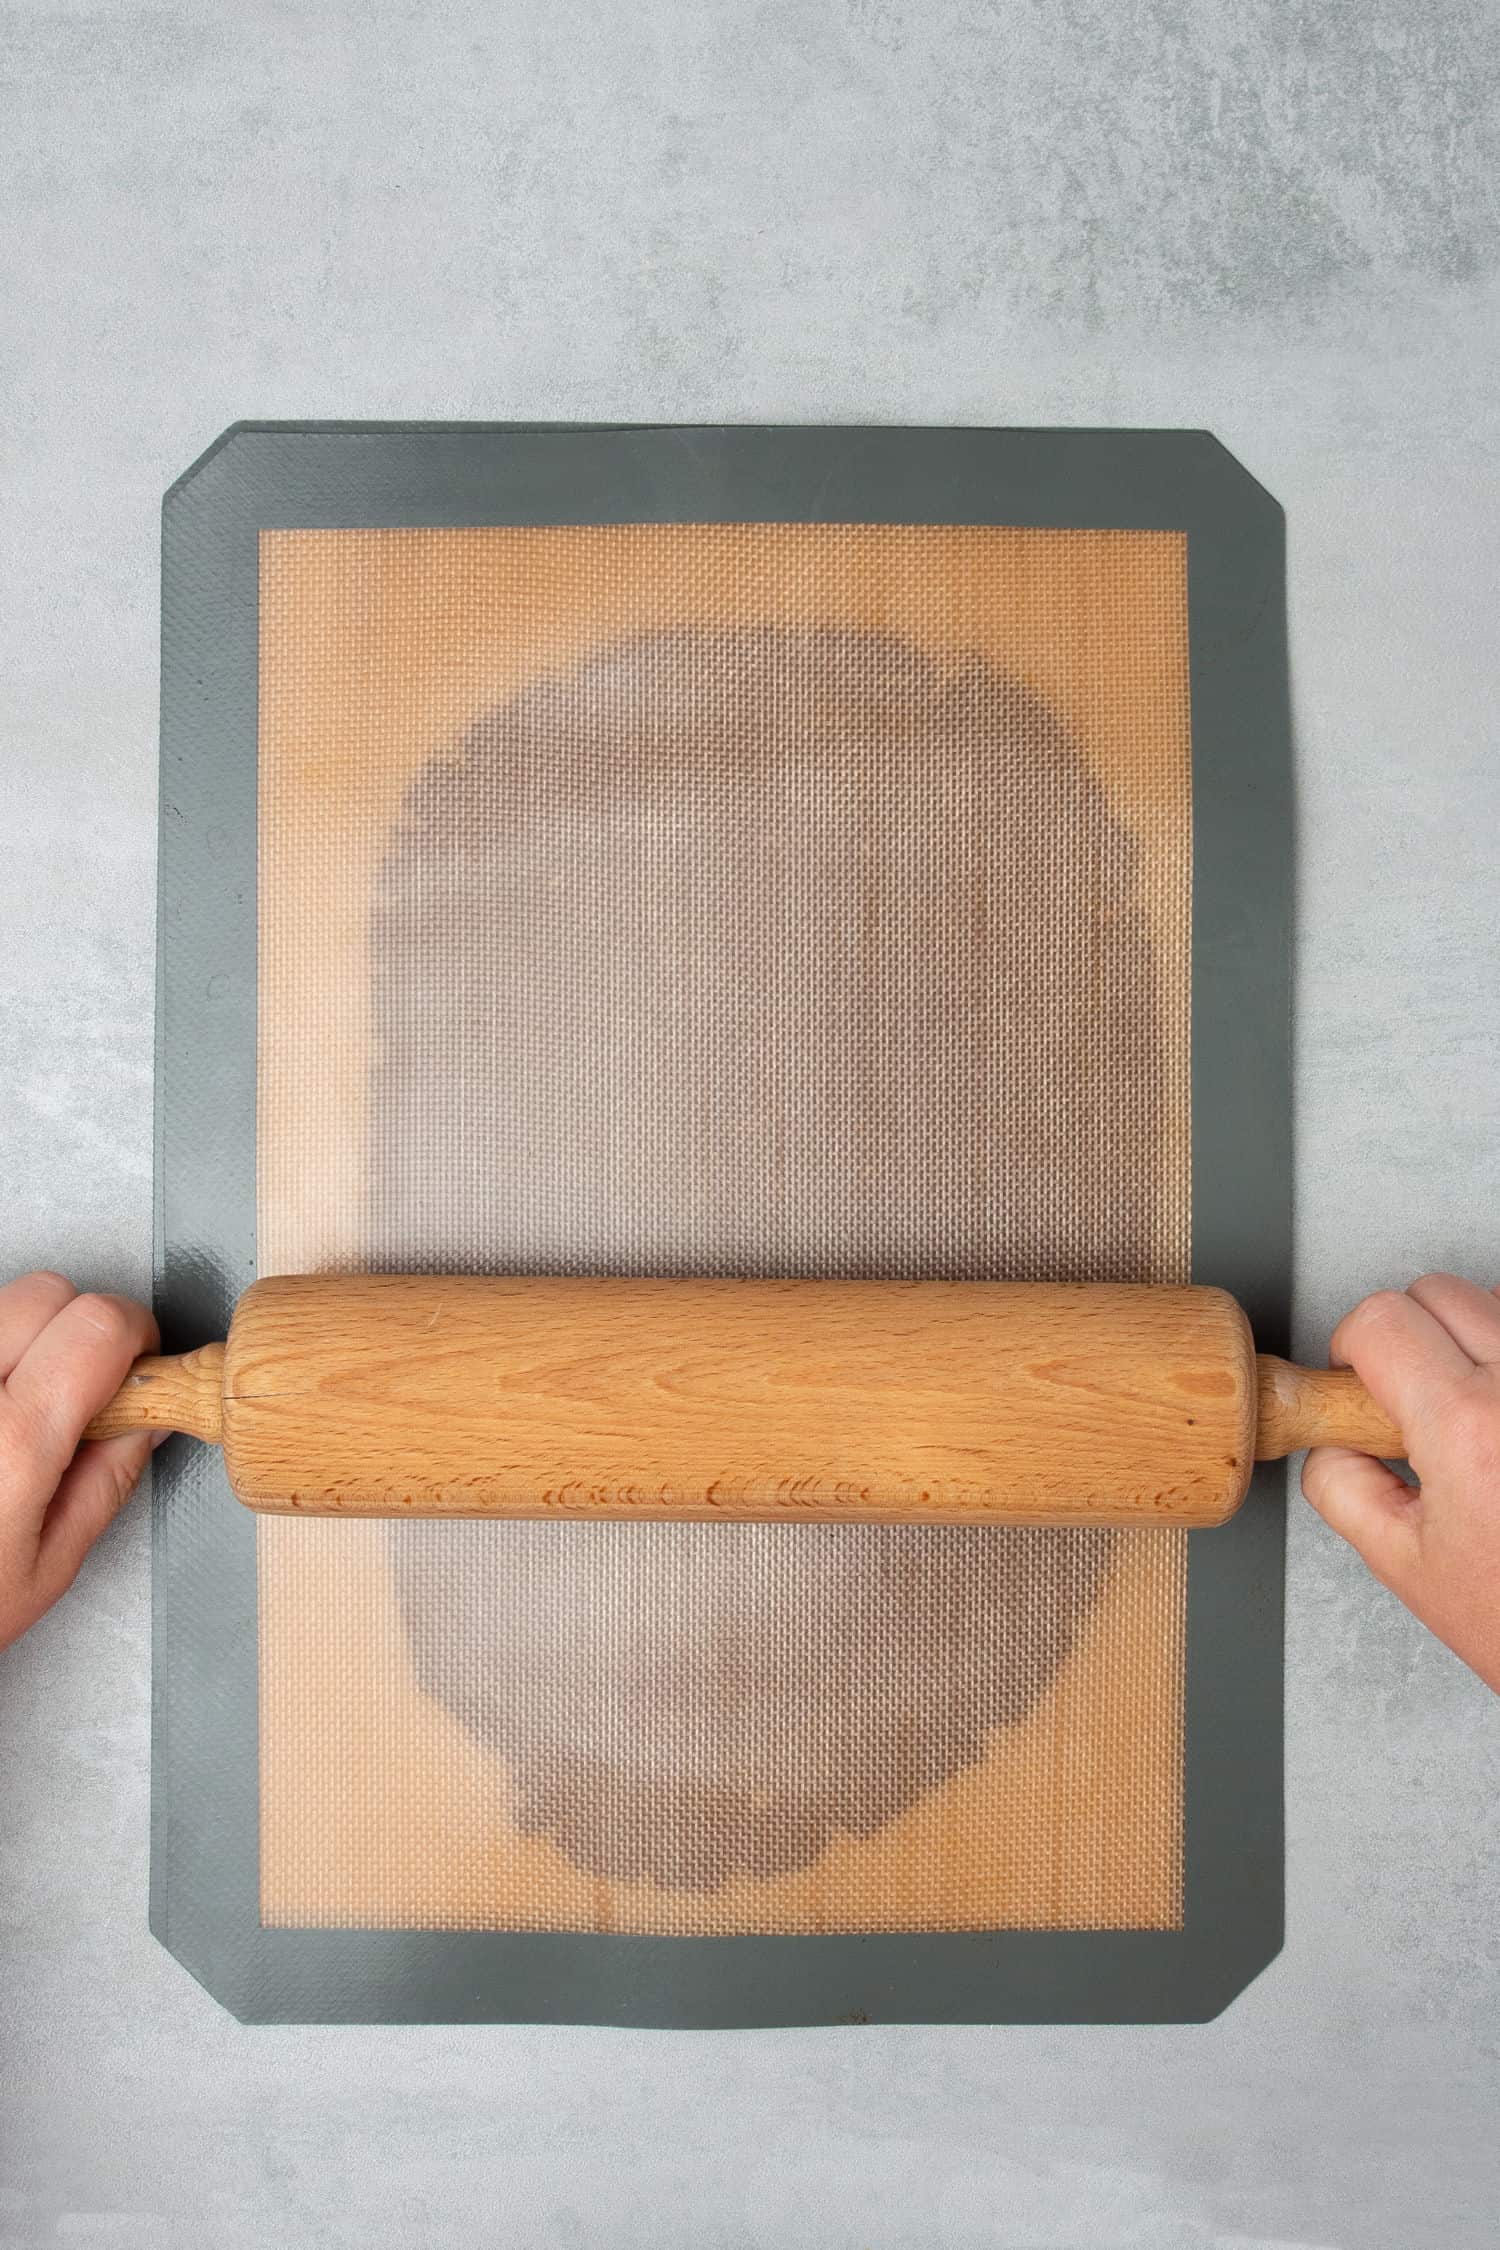
Silicone baking mat
I recommend using 2 Silicone baking mat for rolling the pastry dough out in between them.
While rolling, start from the center of the disc and work your way out in all directions.
Perforated baking “air” mat
The Perforated “air” baking mat is perfect for making tart crust, éclairs, or even cookies. Thanks to the holes in the mat, the heat spreads evenly throughout mats’ surface guaranteeing perfect and even baking without blind baking.
While baking the mini chocolate tart shells, use the Perforated “air” baking mat straight on top of the oven rack (so not in a baking pan) so that the air can circulate properly.
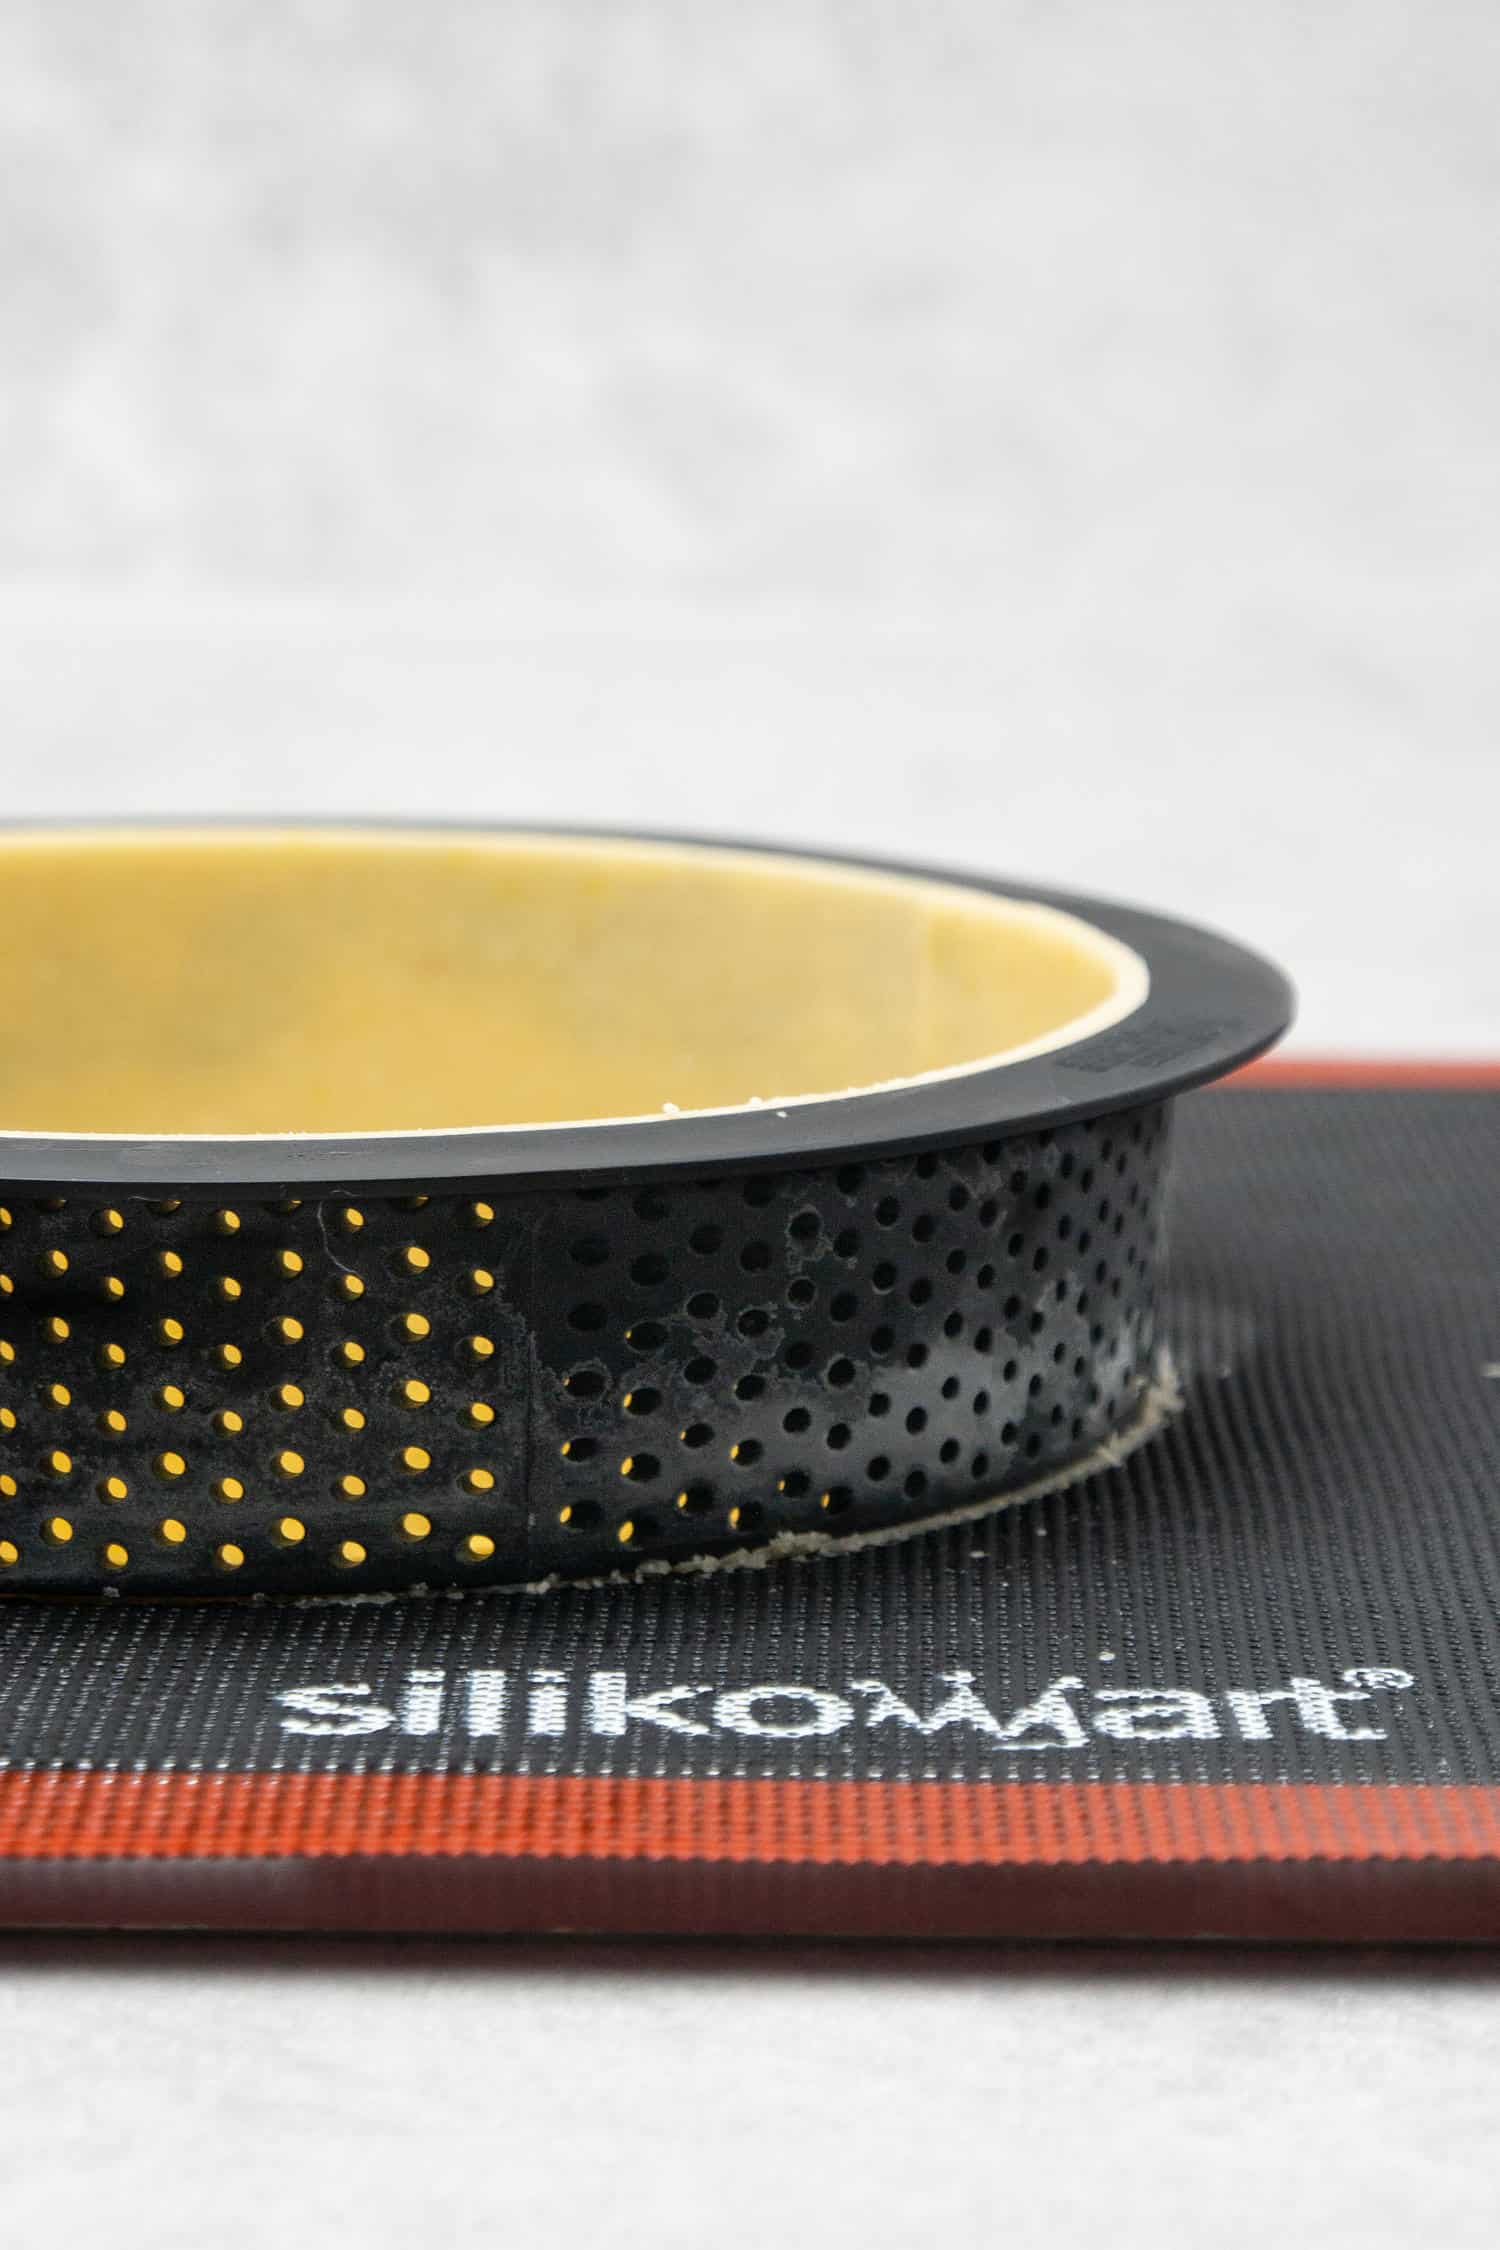
Perforated tart ring
The Perforated tart rings are non-stick and stainless, they allow homogeneous baking due to the even air circulation. Silikomart offers rings in various shapes and sizes, I am using an 8cm (3,14inch) diameter round version in this case, however, the recipe can be made in larger rings as well just like this Raspberry Frangipane tart.
❓Recipe FAQs
Yes, you can use traditional equipment (eg. tart pan) and technique (eg. bling baking), however, for the best results I can warmly recommend investing in a couple of tart rings and a perforated baking mat
Yes of course you can, this recipe works no matter what size or shape of tarts you want to bake, however, you will need to adjust the baking time accordingly, as well as maybe double the recipe ingredients depending on how many you want to bake.
Probably you can, however just as making it gluten-free, you will need to adjust the ingredients somewhat if the egg is left out. Sadly, I am not able to provide substitutes for all sorts of allergies and diets
Before you fill the chocolate tart cases, you can store them easily on top of each other in an air-tight container. Once you fill them, they should be served the same day. Any leftover dessert can be stored in the fridge for 1-2 days.
You can easily freeze the tart cases before baking, and bake them fresh when needed. Once they are baked, you can still freeze them, however, they might lose their crispiness a bit. Once filled with cream, I do not recommend freezing them but serving them shortly after.
🌟 More Tart recipes
🎄 More Christmas recipes
Christmas tarts
Equipment
- Digital scale
Ingredients
For the 6x Chocolate Pâte Sablée tart shell and 12x Chocolate Sablée cookies
- 90 g (¾ cups) Powdered sugar
- 200 g (1⅔ cups) Pastry flour
- 30 g (⅓ cups) Almond flour
- 30 g (⅓ cups) Unsweetened cocoa powder
- Pinch of salt
- 110 g (½ cups) Unsalted butter very cold
- 50 g Egg approx. 1 egg
For the Chocolate ganache
- 150 g (¾ cups) Dark or Milk Chocolate good quality, eg. Callebaut Milk Chocolate (callets)
- 150 g (⅔ cups) Heavy Cream 36% fat content
Pistachio layer in the tart
- 60 g (½ cups) Pistachio
- Pistachio paste optional
Pistachio decoration on the side
- small amount of melted chocolate
- 100 g (¾ cups) Pistachio finely chopped
Pistachio whipped ganache
- 225 g (1¾ cups) White chocolate good quality, eg. Callebaut WhiteChocolate (callets)
- 550 g (2⅓ cups) Heavy Cream fat content min 36%
- 60 g (½ cups) Pistachio paste 100% pistachio only!
- 4 Gelatine sheet
US customary cup measurement is an indicative figure only. Measure the ingredients with a digital scale by weight (gram). Baking is art but also science which requires precision and accuracy.
Instructions
Pistachio whipped ganache
- Place Callebaut WhiteChocolate (callets) into a bowl or alternatively chop white chocolate into small pieces and place them into a bowl. Pour pistachio paste on top
- Soak gelatin into cold water
- Heat 250g cream until simmering, mix gelatin sheet in and pour it over the chocolate & pistachio paste mixture
- Let the chocolate cream mixture set for a minute until chocolate gently melts then stir together or hand blend. Once mixture slightly cools to room temp, stir in rest of the cream, cover the top of the ganache with plastic wrap and refrigerate for minimum 4 hours
- The mixture should thicken after 4 hours and can be whipped into a pipeable, fluffy consistency in a Stand mixer. Once it is reached a fluffy consistency (1-2min), make sure you do not over whip the ganache as it can break. Whipped ganache should be stored in the fridge before using it or best if you use it immediately
For the 6x Chocolate Pâte Sablée tart shell and 12x Chocolate Sablée cookies
- The dough will be enough to make 6 tarts and 6 larger and 6 smaller sable cookies
- Sift together dry ingredients; flour, cocoa powder, icing sugar, almond, salt
- Add very cold butter cubes and rub the mixture between your hands until it becomes a sand like consistency. This will take around a minute or two
- Add egg into the mixture and mix with your hands just until the dough comes together, few seconds
- Knead with the palm of your hand for a minute or two (do not over knead and do not use mixer) just until the dough becomes smooth. Form a disk and cover the dough in plastic wrap. Let it rest in the fridge for min 2 hours. You can leave it resting in the fridge over night or you can even freeze the dough
- If at any point the dough gets too warm to work with, pop it back into the freezer for 5 minutes. You might need take the dough in and out of the freezer 10-15 times. It is extremely important to work with a dough that is cold enough to be able to handle (so not sticky) but not too cold which would result in breaking it
- Cut 6 long stripes out of the dough, this will be the side of the tart
- Carefully place the stripes into the ring one by one. Press each stripe onto the ring so it sticks to it
- Cut out 12 circles with the help of 2 cookie cutters; 6x small ones and 6x larger ones eg. 3 cm and 5 cm in diameter. Make sure the larger one is not bigger than the actual diameter of the tart
- Freeze the sable cookie circles too before baking. It is enough to freezer them for about 1h
- Pre-heat oven to 160C / 320F (no fan)
- After tart dough is well frozen (2h), take them out of the freezer and trim the top to the level of the tart rings with a sharp knife
- For the cookies, re-roll the leftover dough and cut out 6 smaller and 6 larger size cookies then bake them at 160C / 320F (no fan) for 10 minutes
For the chocolate ganache
- Chop chocolate into small pieces and place them into a bowl
- Heat cream in a saucepan over medium heat just until simmering
- Pour warm cream over chocolate, let it set for a minute until chocolate gently melts then stir or hand blend together
Assemble
- Prepare all the elements ahead of assembling: Tart shells, Sablee cookies, Pistachip whipped ganache, Chocolate ganache, Small amount of melted chocolate, Chopped pistachio, Pistachio paste (optional)
- Once tart shells are cooled to room temp, brush their side (outside) with melted chocolate and apply finely chopped pistachio on the side. The pistachio will stick to the tart due to the melted chocolate
- Place few pieces (10) of pistachio into each tart shell and pipe a small amount of pistachio paste on top
- Pour chocolate ganache over the pistachio and pistachio paste and fill the tart shells to the top
- Pop the tarts into the fridge for the ganache to set, this can take min. an hour. Make sure ganache is fully set before attempting to continue with the next step
- Arrange the sable cookies and prepare the Christmas tree shape decoration that will go on top of the tarts: each tart will need one larger and one smaller sable cookie. Pipe pistachio whipped ganache on top of the larger sable cookie then carefully place the smaller sable cookie on top and pipe another layer of pistachio whipped ganache on top
- Once chocolate ganache is fully set in the tart, pipe pistachio whipped ganache on top
- Lastly, carefully place the Christmas tree shape decoration on top (that you made earlier). The tart will need a few more hours in the fridge before it fully sets



Martha
Hi! can I replace gelatine sheets for gelatine podwer? How Thanks!!! many grams do I need? Thanks!!!
Kata
Yes you can pls check my gelatin article for more details (just search for gelatin on my site, I have a baking guide on the subject).