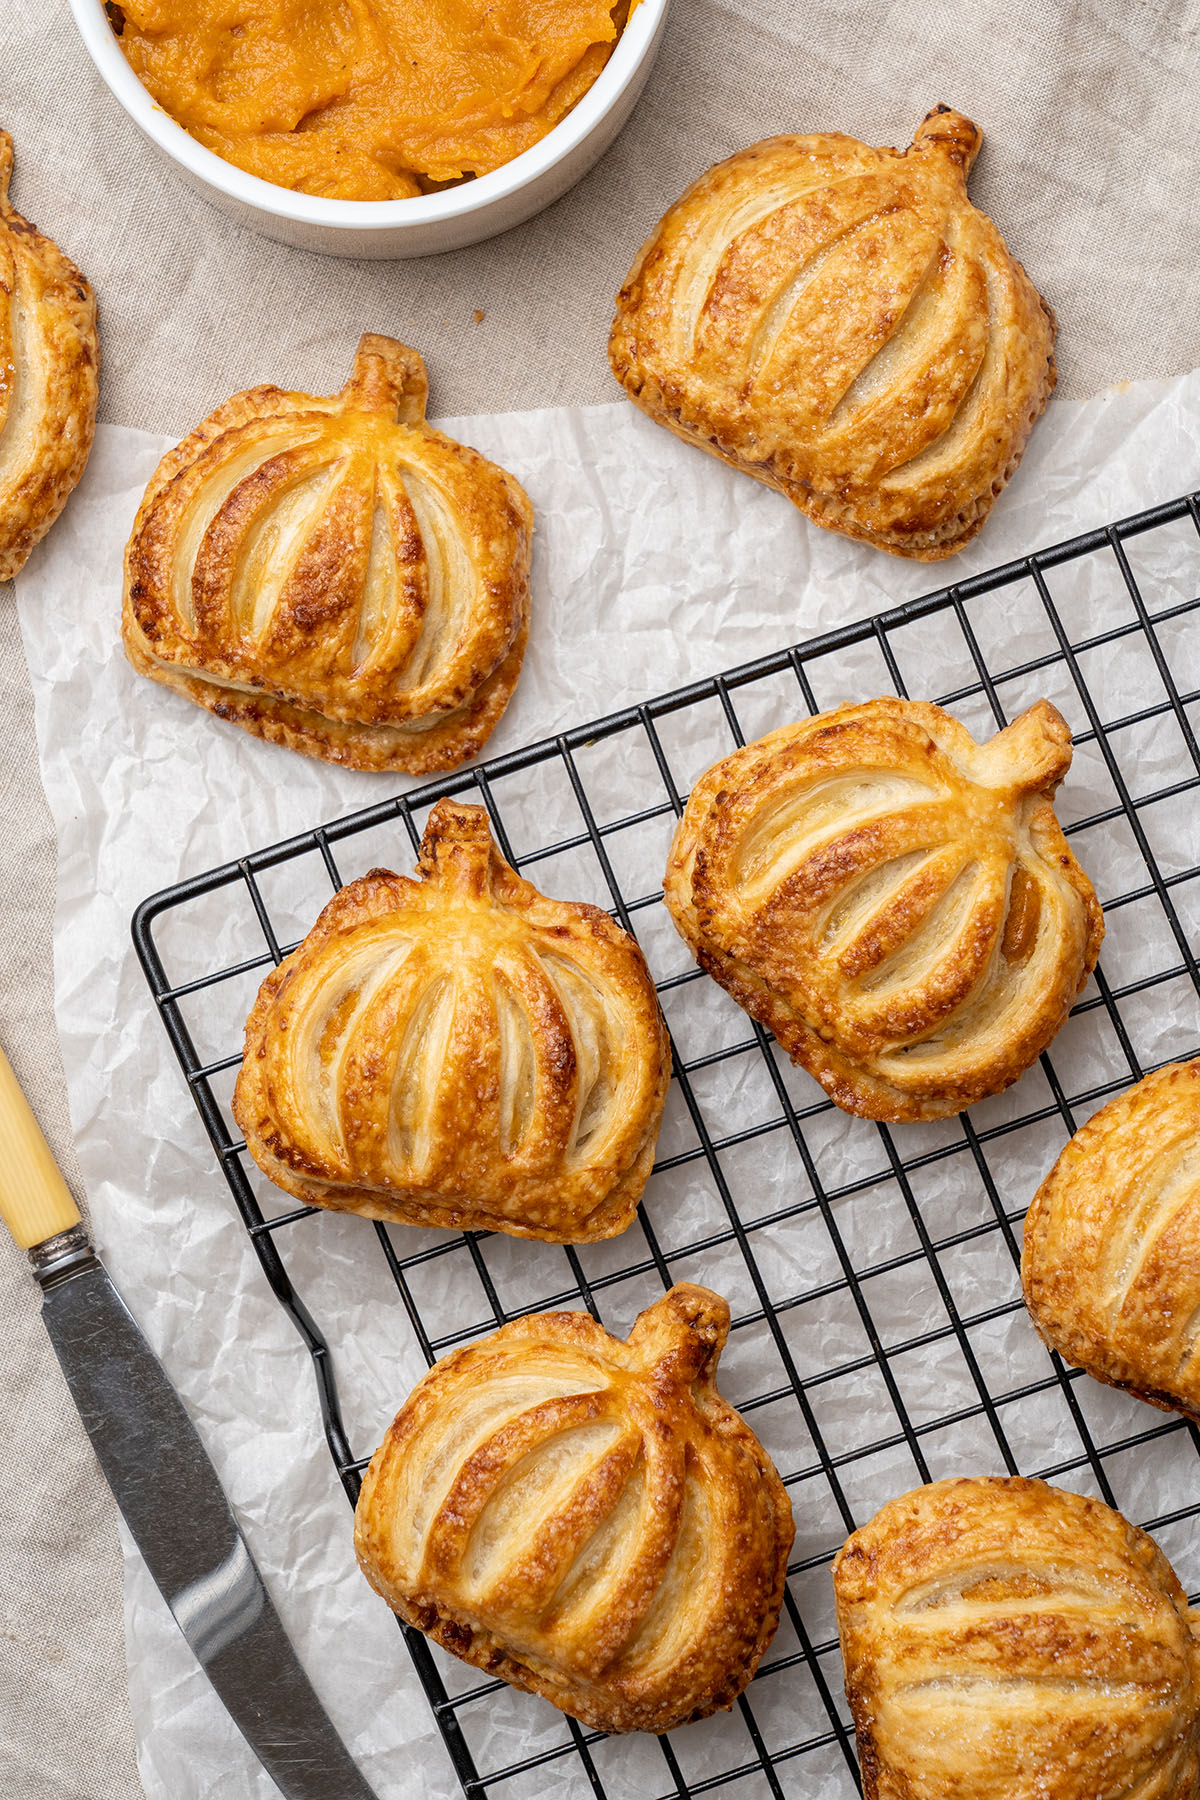
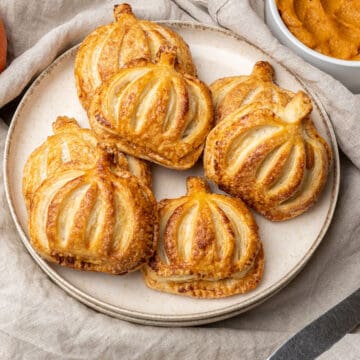
With creamy pumpkin filling and a buttery, flaky crust, these adorable pumpkin hand pies are a fun and easy dessert to add to your Thanksgiving dinner table. A portable alternative to the traditional pumpkin pie served during October and November, you won't want to stop at just one of these addictive mini pumpkin shape pies!
In this super easy recipe, I'll show you step-by-step how to make the best, easy mini pumpkin pies your taste buds have ever experienced.

Jump to:
📖 What is a hand pie made of
Although hand pies look complex, they are actually quite simple to make! The flaky crust is made from common ingredients such as flour, salt, sugar, water, eggs, and butter. Meanwhile, the pie filling is made from sweet and savory fillings such as fruits, meats, cheeses, and vegetables.
Hand pies filled with savory ingredients are also commonly known as empanadas. Once assembled and sealed, they are baked, fried, or deep-fried to a crispy, golden-brown perfection.
🌟 Why this is the best recipe
- It is easy to make - The steps to make these mini pumpkin hand pies are quite simple. Even beginners can make them with ease!
- It is versatile - The best part about this pumpkin hand pie recipe is that you can customize it to your taste by using different herbs and spices or a different filling altogether! Take a look at my homemade apple hand pie recipe for another variation of this one.
- It is the most delicious - In addition to having the flakiest, butteriest crust, I take my pumpkin filling up a notch with egg yolk and condensed milk. It almost tastes like a pumpkin crème brulée!
- It won't get soggy - If you follow all the instructions and expert tips at the end of this recipe, you'll have the perfect balance of crust and filling without the soggy bottom.
- They're fun to make - These fun and festive fall hand pies can be made either using pumpkin shaped cookie cutters or simply just draw a pumpkin shape onto a piece of paper and cut the dough around it! Jack o lantern hand pies are perfect for special fall holidays such as Halloween and Thanksgiving. Individual pumpkin pies are also great additions to a Fall party menu and come without the guilt!
📖 How do you keep pumpkin hand pies from getting soggy
The flaky, golden crust is one of the best parts of pumpkin hand pies. Here are a few ways to prevent your mini pies from getting too soggy:
- Make sure that your filling isn't too wet. Before measuring your homemade or canned pumpkin puree to mix with the rest of the ingredients, use a cheesecloth to drain any excess water.
- Keep your ingredients very cold. Keeping the ingredients of the pie dough very cold at all times is also key to keeping the crust nice and flaky. If you need to, stick the dough back in the freezer for a few minutes to chill.
- Don't overwork the dough. When working the pie dough with your hands, there is no need to overwork the dough. It is OK if butter chunks are left in the dough as it encourages the flaky texture. Never use a mixer to work the dough!
- Cut slits on the top of the pie. Cut slits into the top layer of pie dough to help steam and moisture escape from the hand pies as they bake.
📝 Ingredient notes
For the pie dough
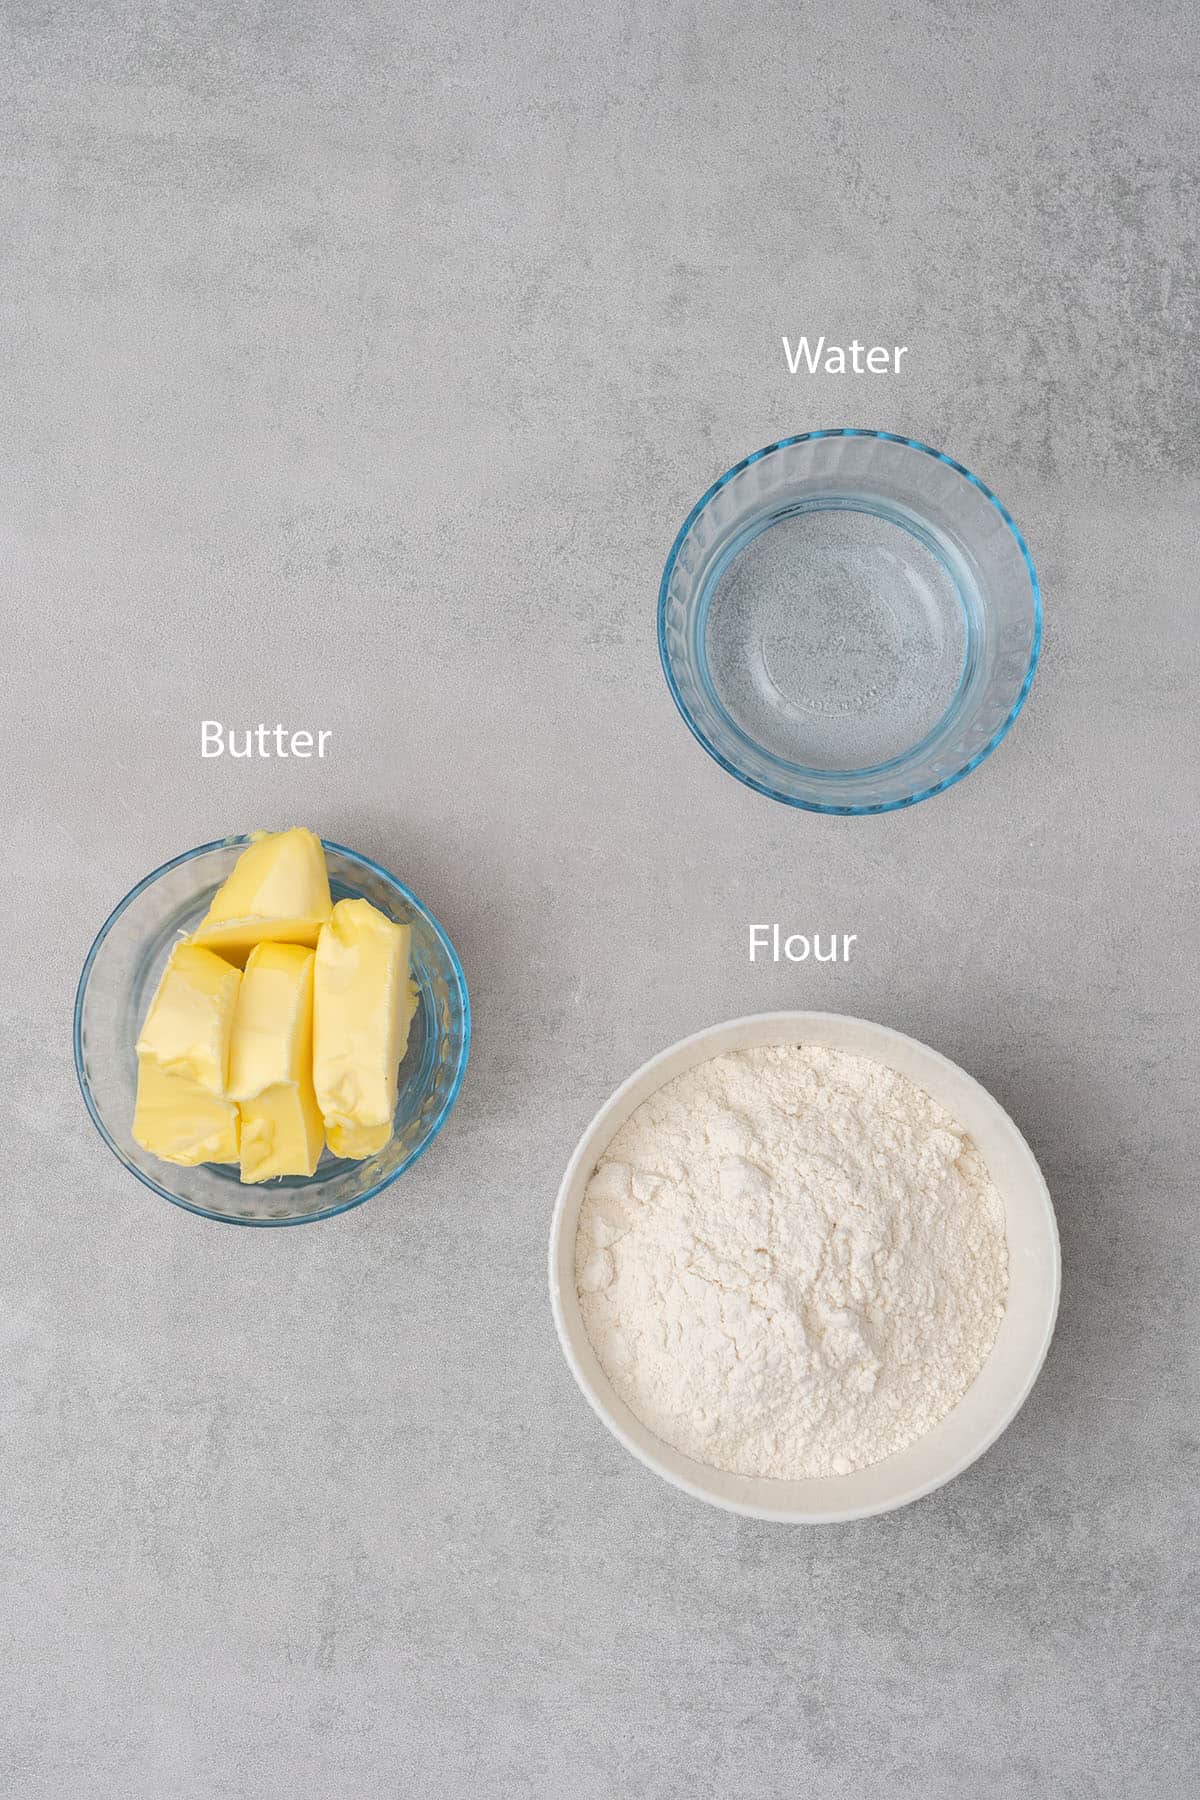
- All-purpose flour: Any plain, white all-purpose flour with medium protein content will do. Check out my flour guide to learn about the different types of flour and how to use them in baking.
- Salt: The salt will help to enhance and balance out the flavors in the recipe. It is an essential ingredient in many of my dessert recipes.
- Unsalted Butter: To completely control the salt content, use unsalted butter. I recommend butter with 82% fat content in my recipes. It also needs to be very cold for this recipe for the pie dough to reach the right consistency. There are no exceptions, as using butter that is room temperature will make the dough impossible to use for the recipe.
- Water: Like the butter in the recipe, the water must be very cold. Depending on the type of flour you use, you may need to adjust the amount of water to achieve the right consistency.
🛒 You’ll find detailed measurements for all Ingredients in the printable version of the Recipe Card at the bottom of this post
For the pumpkin filling
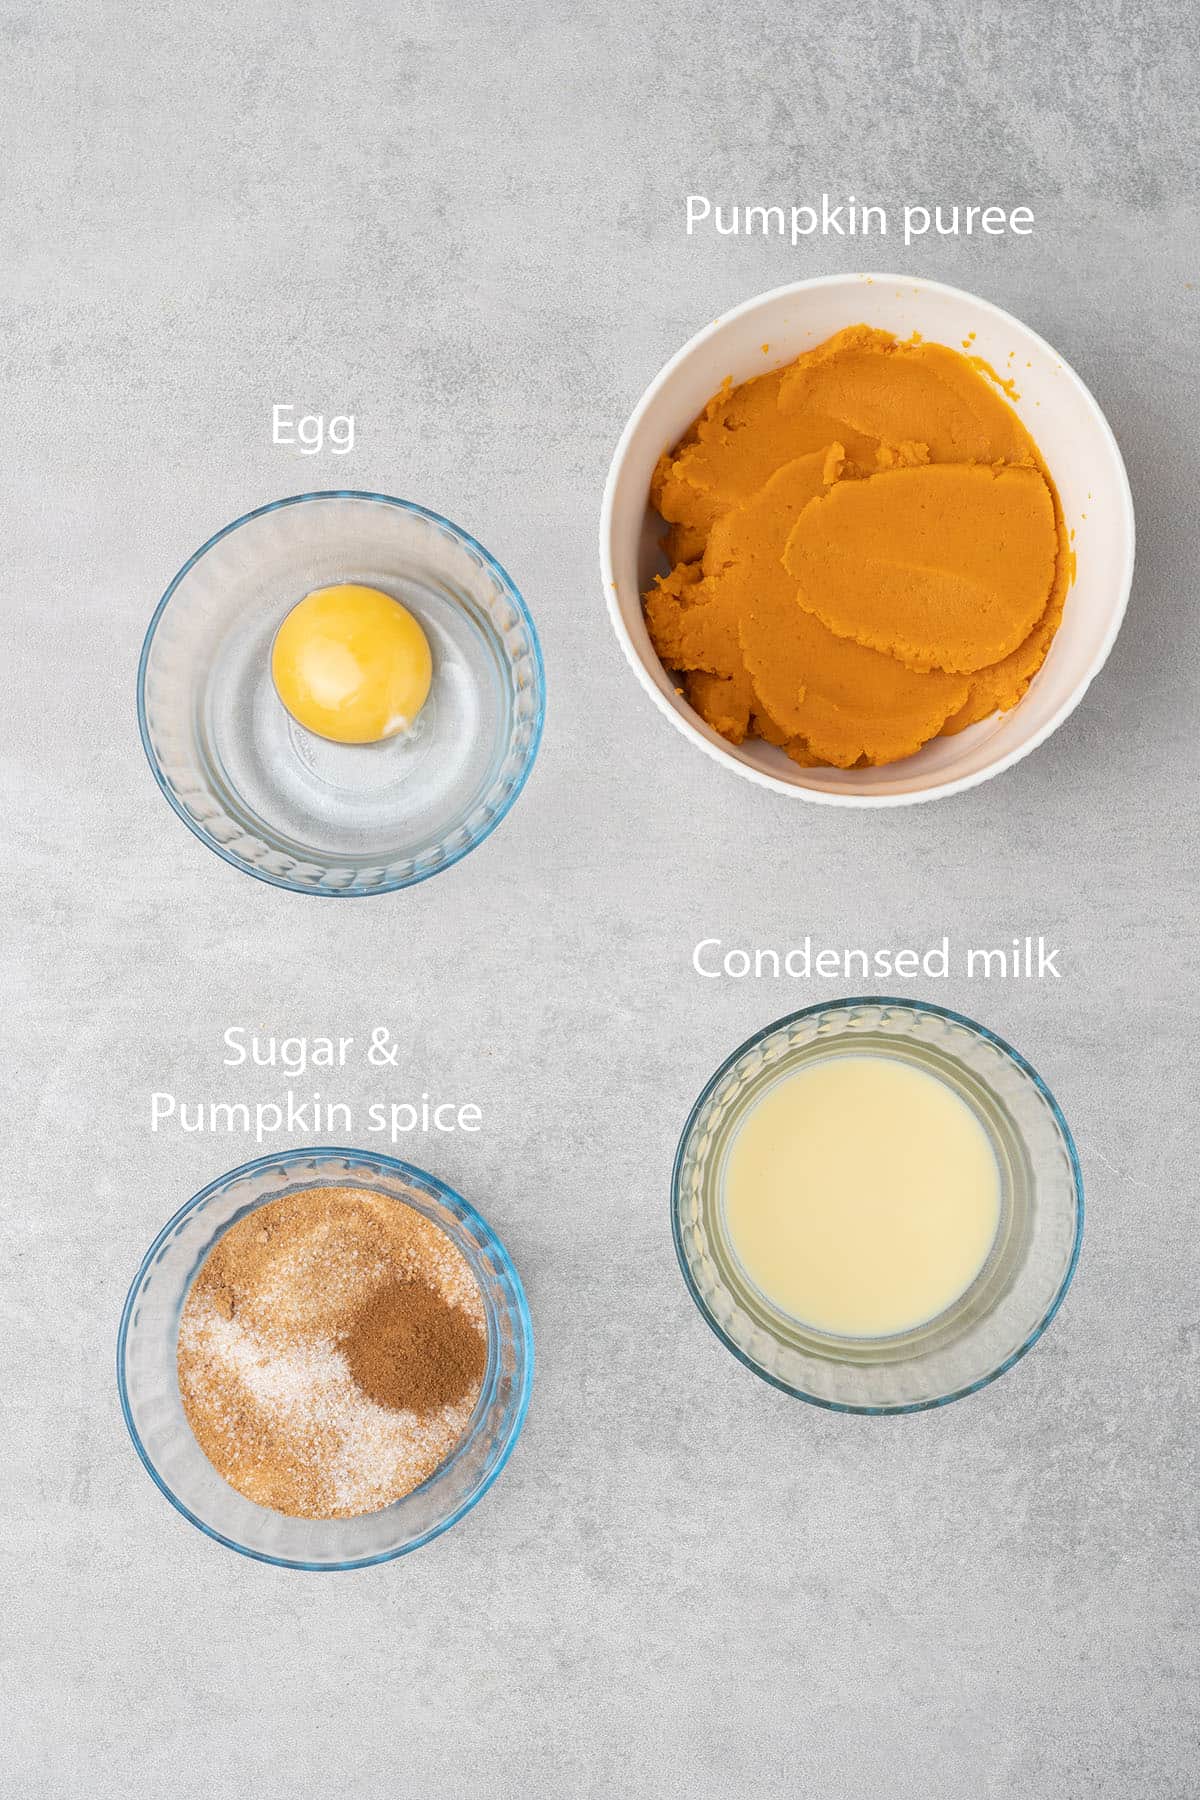
- Pumpkin Puree: I highly recommend using homemade pumpkin puree for the best pumpkin hand pies. However, if you are short on time or don't have a pumpkin, store bought canned pumpkin puree works just as well.
- Pumpkin Spice: I use a mix of cinnamon, ginger, and nutmeg in this recipe. However, you can also get creative and make your own pumpkin pie spice mix.
- Sugar: The combination of brown and granulated sugar will give the filling its sweet flavor.
- Egg: You will need the yolk only from one egg.
- Condensed Milk: The sweetened condensed milk will add to the sweet flavor and creamy texture without adding moisture that could result in a soggy hand pie.
For the egg wash
- Egg: There are many ways to make your egg wash (whole egg, yolk only, egg white only). For this recipe, I prefer to use an entire egg for the best shine and color without burning.
- Milk: You will only need a dash of milk. I prefer to use whole milk for the best shine. However, you can also use almond milk for vegan pumpkin hand pies (although it won't have as much shine).
🛒 You’ll find detailed measurements for all Ingredients in the printable version of the Recipe Card at the bottom of this post
👩🍳 How to make this recipe
1. How to make the pie crust for hand pies
When it comes to making the perfect pie dough, the temperature is crucial. If the dough becomes too warm at any time, it will become too sticky and impossible to roll or assemble.
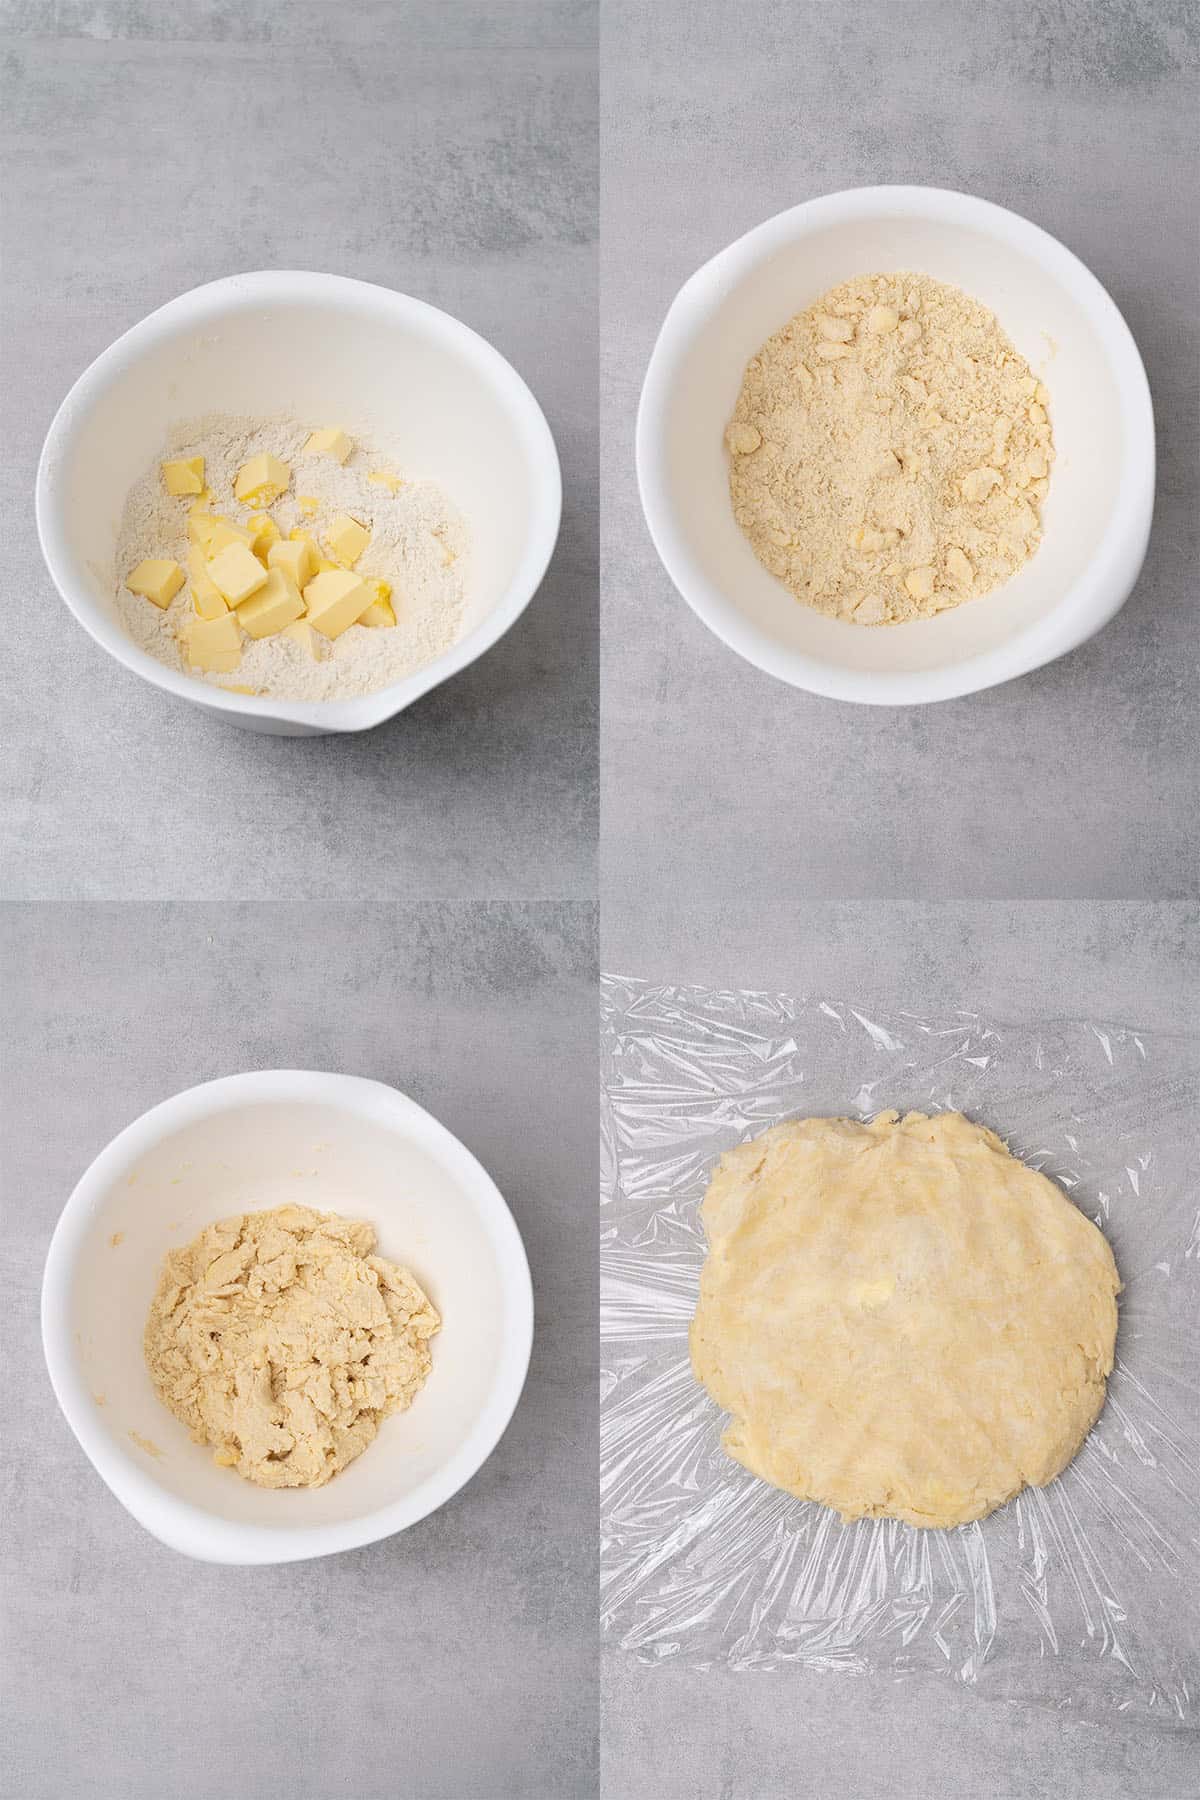
- Combine the flour and salt in a large bowl. Next, cut the butter into small chunks.
- Chill the flour mixture, butter chunks, and water in the freezer for roughly 10 minutes until they are all very cold. Then, add the cold butter chunks to the flour mixture.
- Using your fingers, rub the cold butter and flour mixture together until it begins to feel like sand. It's OK if some bigger butter chunks are left in the mix.
- Next, gradually add the cold water from the freezer to the dough. Pour only small amounts at a time and stir with a spatula or wooden spoon after each pour.
- Gently work the dough with your hands. Do not use a mixer, as it will overwork the dough! Do not worry if it looks crumbly at the start. In a minute or so, it will start to come together. Remember, it is OK if some butter chunks are remaining.
- Use your hands to mold the mixture into a disc shape. Then, cover it with plastic wrap and let it chill in the refrigerator for at least two hours.
💡 Top Tip: If the dough mixture becomes too warm or sticky to work with, stick it in the freezer for a few minutes, then continue working.
2. How to make the pumpkin filling for the pumpkin hand pies
This delicious pumpkin filling is made with 100% pumpkin puree and delicious spices to give it its sweet flavor. Get creative and make your own combination of spices!
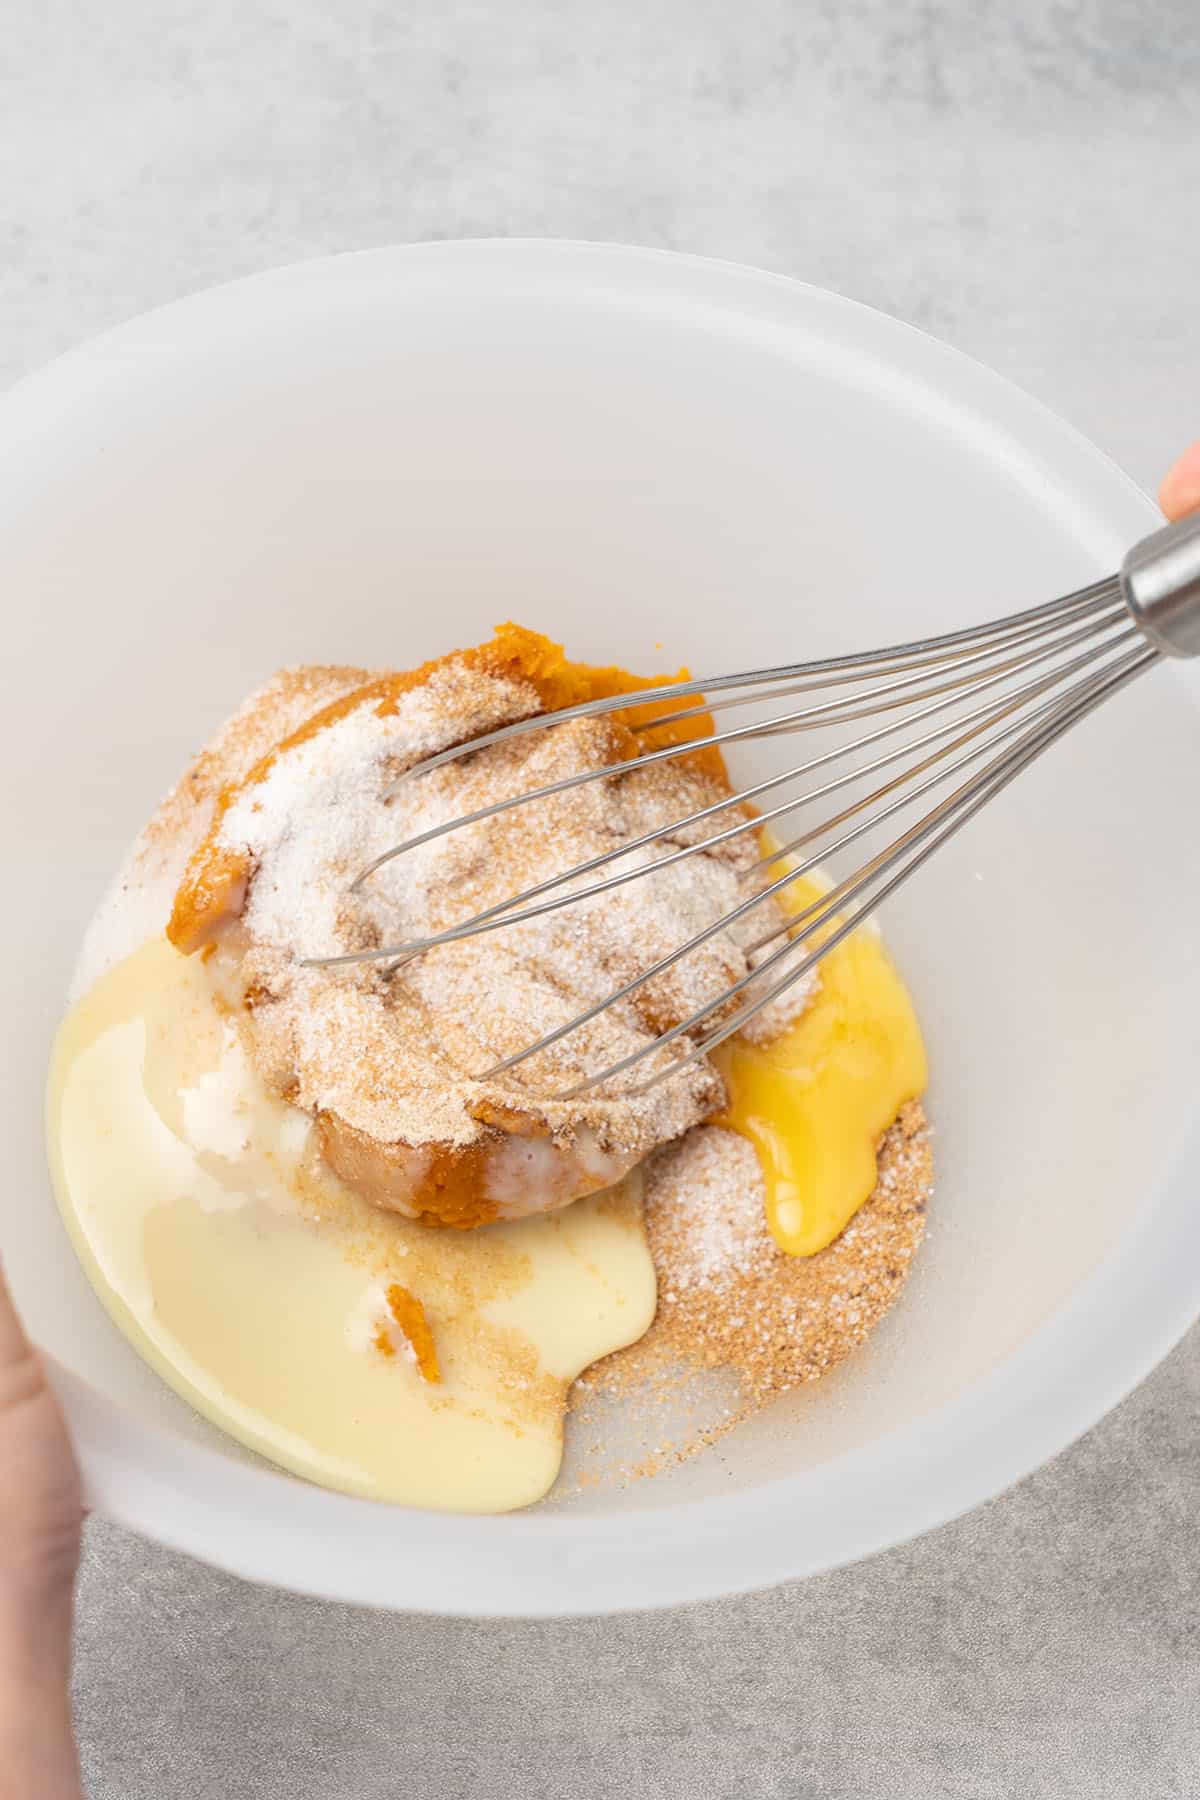
- Add your wet and dry ingredients (pumpkin puree, pumpkin spice mix, granulated sugar, brown sugar, egg yolk, and milk) to a bowl).
- Using a hand whisk, thoroughly whisk the ingredients together.
💡 Top Tip: To avoid filling that is too wet, use a cheesecloth to drain the excess water from the pumpkin puree before mixing the ingredients.
3. How to assemble the mini pumpkin shape pies
Now it's time for the fun part: Filling your pumpkin pie hand pies and preparing them for baking!
- Once you chill the pie dough disk for at least two hours, let it rest for a few minutes on the kitchen counter. Doing so will allow it to become just warm enough to roll without breaking but should still remain cold.
- Move the dough to your silicone baking mat or lightly floured surface and begin rolling it out to approximately 3mm thickness. While rolling, use your hands to turn the dough so that it keeps even. Do not force the dough at any point. It should remain smooth, cold, and easy to work with.
- Use a pumpkin cookie cutter or paper template to cut the pumpkin shapes from the dough. They should be approximately 7.5 cm / 3 inches in diameter. Then, place them in the refrigerator for roughly 15 minutes.
- Next, place half of the chilled dough on your perforated baking mat or parchment paper. This half of the dough will become the bottom of the hand pie.
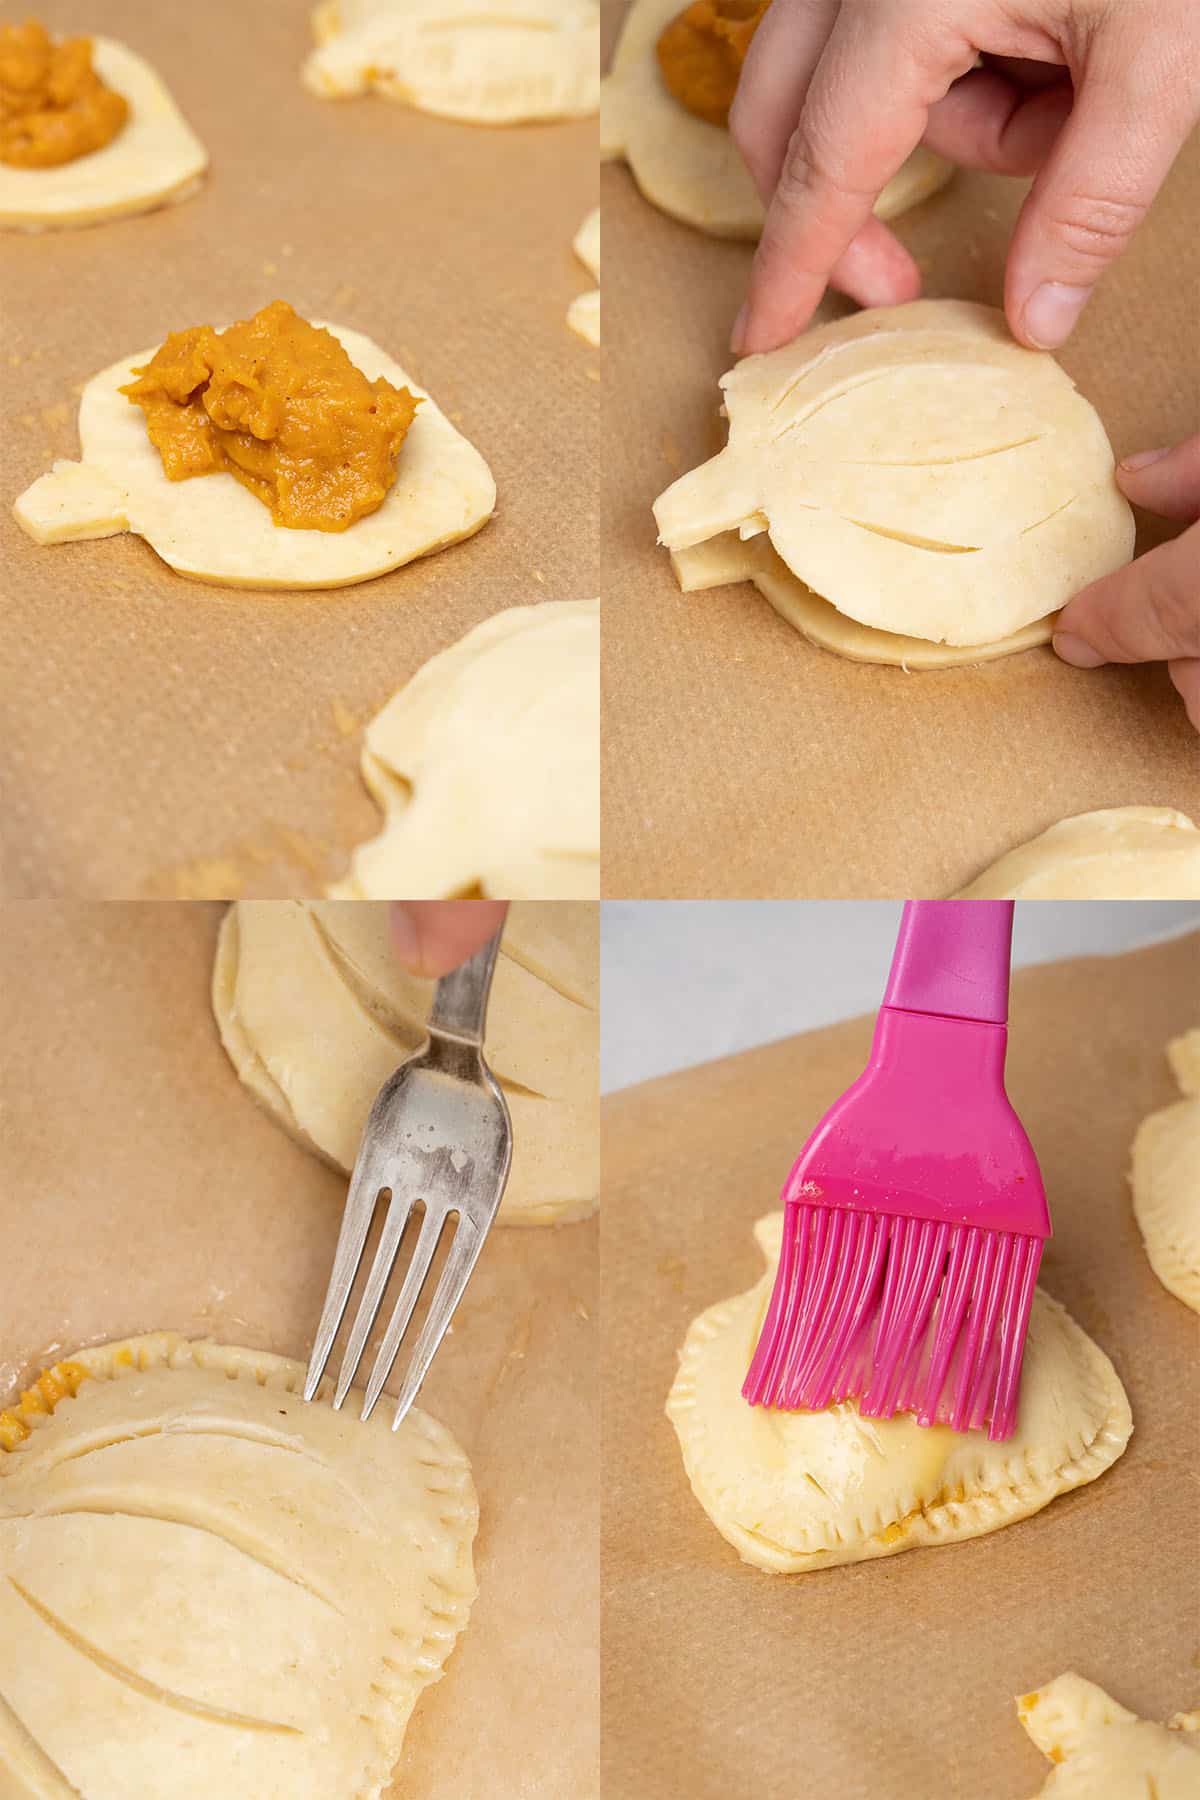
- Using a silicone pastry brush (recommended), apply your egg wash around the edges of the dough. Next, place approximately 1 teaspoon of the filling in the center, leaving enough space around the edges.
- Take the second half of the chilled dough and place it on top of the filling. This part of the dough will become the top of the hand pie.
- Using your finger, press the edges to create a seal, and then crimp the edges with a fork.
- Then, carefully cut four slits on the top of the pastry using a sharp knife. The slits should only be on top and should not cut all the way down to the filling.
- Next, apply some egg wash on top and dust with sugar.
💡 Top Tip: When rolling the dough, start rolling from the center to the sides. Refrain from adding too much flour while rolling. The dough should be cold enough to work without sticking to the counter. If not, let it chill in the freezer for a few minutes.
4. How to bake the mini pies
Hand pies are best when fresh and hot, so I recommend that you wait until just before you plan to serve them before putting them in the oven.
- Preheat the oven to 190C / 374F (no fan). In the meantime, chill the unbaked hand pies in the freezer for about 15 minutes.
- Next, place them in the oven on a lined baking sheet and bake for 25 minutes. They are done when the top reaches a golden brown color, and the bottom is evenly baked.
- Let them cool for a few minutes on the baking sheet before moving them onto a cooling rack.
- Serve fresh, top with cream cheese frosting, cinnamon sugar, whipped cream, or ice cream, and enjoy!
💡 Top Tip: If your pumpkin hand pies begin browning faster than they cook, cover the top with aluminum foil and then finish baking them.

🎓 Expert tips
- If you want a deeper flavor, use dark brown sugar, which contains more molasses than light brown sugar.
- To ensure that the butter is nice and cold, cut it into cubes and place it in the freezer for at least 10-15 minutes before using it.
- When it comes to temperature, you don't want it so warm that it will tear or be too cold to break. Instead, you want to aim for an "in-between" cold temperature.
- Only knead the dough for 1-2 minutes, or it can become overworked. Never use a food processor or mixer!
- Work as quickly and neatly as possible to make the pie dough and assemble the pies. The warmer the dough gets, the more difficult it is to use. If the dough gets too warm to work with, place it in the fridge or freezer for several minutes before you continue.
- Don't overfill the pie, as it will leak out of the sides when baked. If you cannot seal the top and bottom layers together, it is a sign that you have too much filling!
- Before removing your pies from the oven, check the bottom to ensure they are well-baked. If the top is browning too quickly, place aluminum foil on top and continue baking.
🥣 Equipment notes
Any time you bake, a digital scale is necessary to ensure you have the proper amount of ingredients. I also highly recommend using a digital oven thermometer, as some oven temperatures can vary by a few degrees.
You'll need a good rolling pin to roll your pie dough between two silicone baking mats.
A perforated "air" baking mat will help to evenly bake the hand pies once they go in the oven. If you don't have one handy, you can also use parchment paper.
Although not required, a silicone pastry brush will make applying your egg wash super easy.
❓Recipe FAQs
You can store baked pumpkin hand pies at room temperature in an airtight container for up three days. Unbaked pumpkin hand pies can be wrapped in plastic and placed in a freezer-safe container for up to two months before baking.
It is OK to freeze your hand pies as long as you do it before baking. If you freeze it after it is baked, it will notably change its texture and taste. It may also result in a soggy crust! To freeze your pumpkin hand pies, wrap the unbaked pies in plastic and then place them in a freezer-safe container. They will last for up to two months.
While the ingredients and process of making hand pies and turnovers are very similar, the shape and final assembly make the difference. Turnovers are made from one piece of dough folded into a triangle shape and sealed at the corners. On the other hand, hand pies are made using two pieces of dough shaped into a circle or square (or a cut-out shape of your choice) and then sealed closed on all sides. Check out my puff pastry pumpkin turnovers for a recipe that will have your mouth watering this Thanksgiving!
When baking a pumpkin pie or pumpkin hand pie from scratch, you want to aim for the pumpkin puree with as much flavor and as little water as possible. The smaller, round sugar pumpkins are the most popular go-to for pumpkin pies. To learn about which pumpkins are best to use in pumpkin puree, check out my guide on making pumpkin puree from scratch.
🥧 More Pie Recipes
🎃 More Pumpkin recipes
Pumpkin Hand Pies (VIDEO)
Equipment
- Digital scale
Ingredients
Pie dough
- 250 g (2 cups) All purpose flour
- ½ teaspoon Salt
- 180 g (¾ cups) Unsalted butter very cold
- 80 g (⅓ cups) Water very cold
Pumpkin filling
- 105 g Pumpkin puree
- ¼ teaspoon Pumpkin spice mix of cinnamon, ginger and nutmeg
- 35 g Brown sugar
- 35 g Granualated sugar
- 1 Egg yolk
- 75 g Condensed milk
Egg wash
- 1 Egg
- Dash of milk
US customary cup measurement is an indicative figure only. Measure the ingredients with a digital scale by weight (gram). Baking is art but also science which requires precision and accuracy.
Instructions
Start with Pie dough
- In a large bowl whisk flour and salt until fully combined. Cut butter into small chunks.
- Pop the butter chunks, the flour mixture, and water into the freezer for 10 minutes.
- Once all ingredients are nicely chilled, add very cold butter chunks into flour and rub the mixture between your fingers until it becomes a sand like consistency. Leave some bigger butter chunks in the mixture, no need to fully incorporate the butter into the flour.
- Add very cold water into the dough, a small amount at a time and stir with a spatula or wooden spoon after each addition.
- Start working the dough with your hands. First it will look crumby but it should come together in the next minute or so. Remember, leave in some butter chunks, do not overwork the dough and do not use a mixer.
Continue with making the Pumpkin filling
- Mix all ingredients in a bowl using a hand whisk.
Assembling and Baking
- After 2 hours, take the pie dough disk out of the fridge and let it rest few minutes on the kitchen counter. The dough should stay cold but slightly warmed up to be able to roll it out without breaking it.
- Transfer the disk to a lightly floured surface or Silicone baking mat and start rolling it out. Make sure you turn the dough with your hands after each rolling so it will become even. No need to add too much flour while rolling, the pie dough should be cold enough not to stick to the kitchen counter. If at any point the dough gets too warm, pop it back into the freezer for a minute and continue.
- Roll the dough to 3mm thickness. Remember, do not force the dough, after rolling, it should stay smooth and cold, easy to work with.
- With the help of a pumpkin shaped cookie cutter or pumpkin shaped paper template (about 7.5 cm / 3 inches in diameter) cut out the pumpkin shapes then refrigerate them for 15 minutes.
- Apply egg wash all around the edges of the dough, then place about 1-2 tablespoons of filling in the center of each dough leaving a small border around the edge. Then, place the top crust over the filling. Press your finger around the edges to properly seal them then crimp with a fork.
- Cut 4 slits on top of the pastry - carefully so you do not cut all the way down to the filling. Apply egg wash on top then dust with some sugar.
- Place unbaked hand pies in the freezer for 15 minutes while pre-heating the oven to 190C / 374F (no fan).
- Bake them for about 25 minutes or until the top is golden brown and the bottom is evenly baked.
- Let hand pies slightly cool in the baking tray for 5 minutes then move them onto a cooling rack.
- Serve them fresh. Any leftovers can be stored at room temperature in air-tight container for 2-3 days.
Notes
- For a deeper flavor use dark brown sugar. It has a little more molasses in it than light brown sugar.
- Be as creative as you like by adding herbs and spices. This versatile filling is very easy to customize.
- For the best taste and texture make sure that your pumpkin puree is not watery. Strain it on cheesecloth to get rid of some of the liquid if necessary, then measure it.
- Work as quickly with the pastry as you can as over time, when the pastry warms, it will stick and would make it very difficult to handle
- If the pastry warms up, place it into the fridge or freezer immediately, then continue after the dough is chilled and not sticky
- Be mindful of the filling. You should fill the pastry with as much filling as you can, however, avoid placing too much filling on the dough as you should be able to "close" it with the top layer of dough. Avoid filling leaking to the edge of the pastry as you would find it difficult to seal it.
- Check the bottom of the pastry - whether it is well baked - before removing the pastries from of the oven






Phil
I’ve seen your hand pies on Instagram and had to try them this weekend. They are the most adorable mini desserts and so simple to make! Love them😍