
This easy apple galette has a buttery, flaky pie crust filled with tender cinnamon apples, finished with a drizzle of apple caramel made from the drained apple juices.
If you have made any of my other galettes, you already know how forgiving this format is. No blind baking, no crimping, and no fuss. This apple version adds one extra step that makes all the difference: you drain the juice from the macerated apples before assembling the galette, then cook it down in minutes into a glossy, concentrated apple caramel to drizzle over the top right before serving. That one step is what separates a beautiful galette from a leaking, soggy-bottomed, rustic (in a bad way) one.
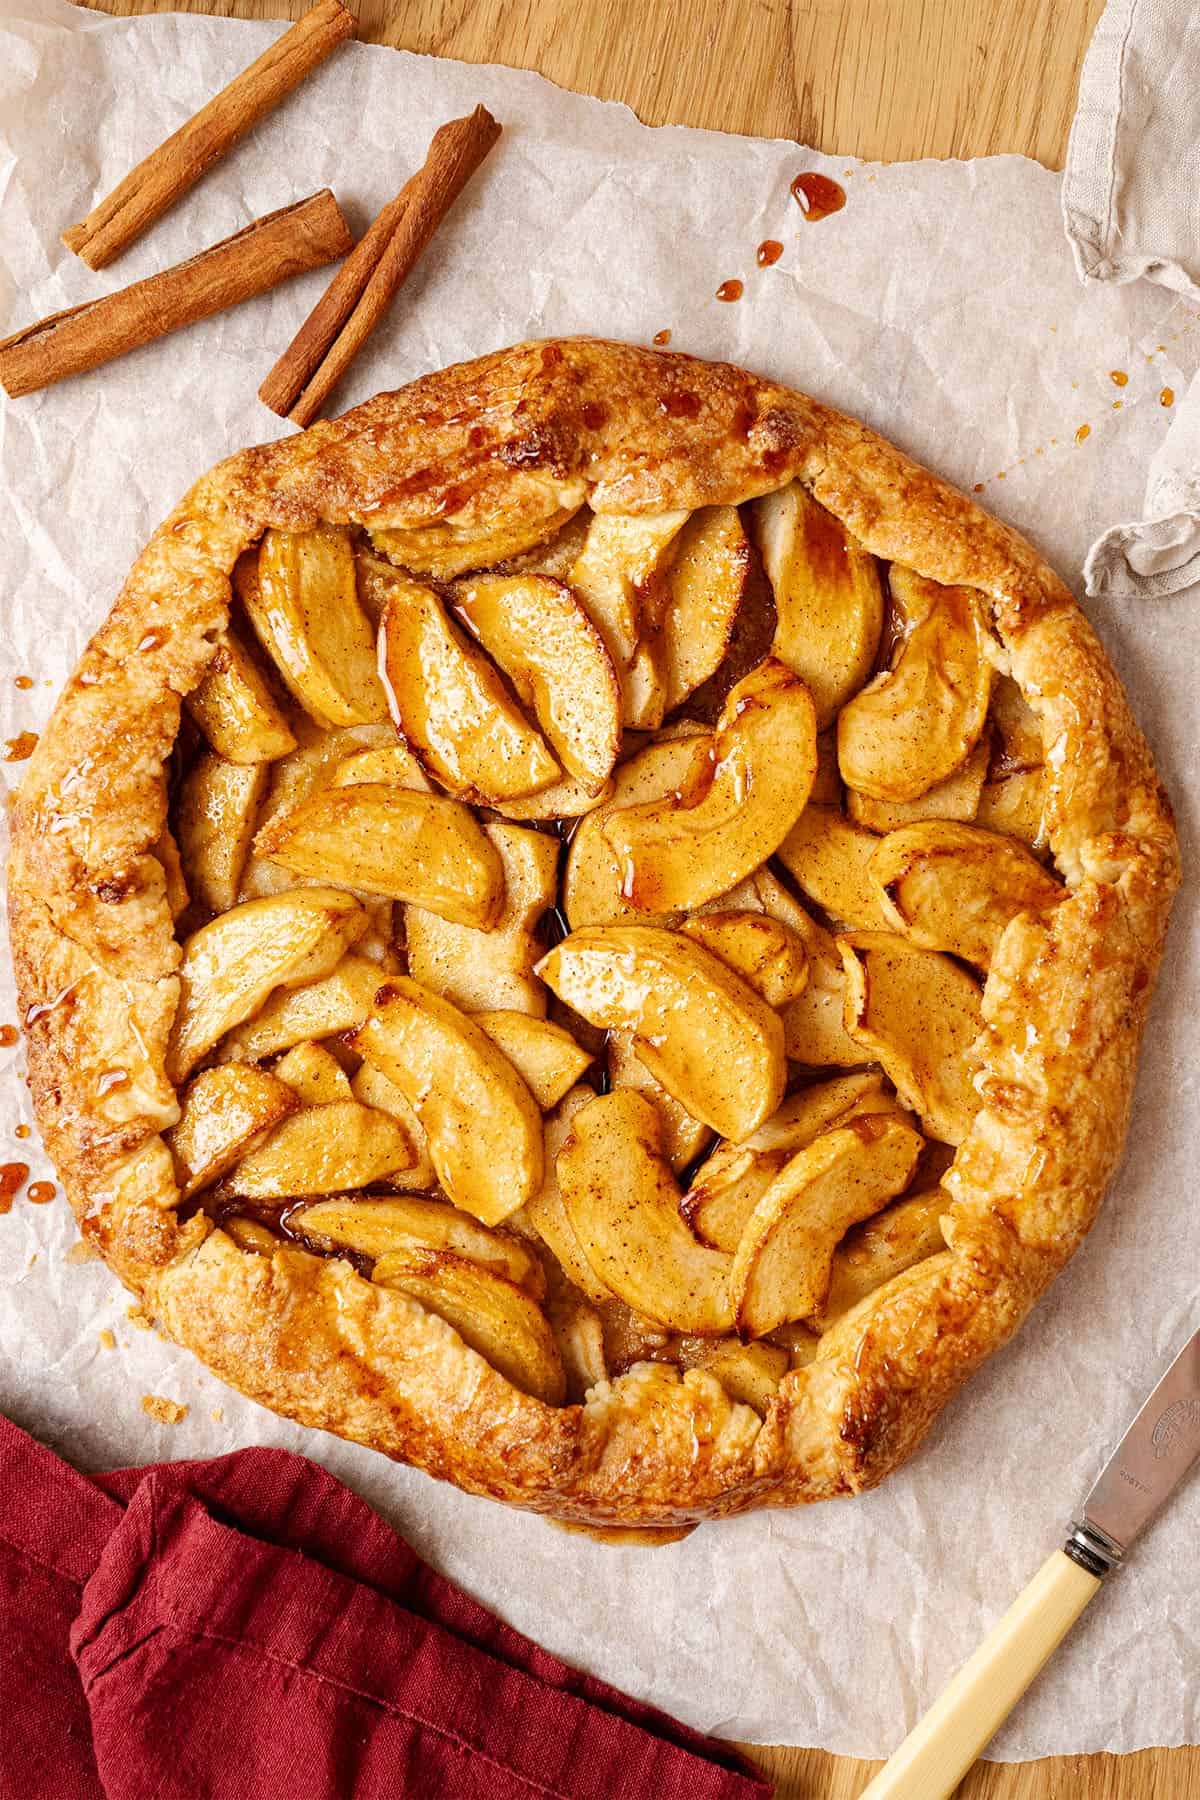
Best Apple Galette Recipe
A galette is essentially an open-faced, free-form pie. With this recipe, the crust stays crisp, the apples are perfectly tender, and nothing leaks.
A galette is one of the most rewarding things you can bake. It looks like something from a French bakery window, it is genuinely simple to make, and it requires no equipment beyond a rolling pin and a baking tray. No pie dish, no lattice, no fussy crimping. You roll the dough, arrange the filling, fold the edges roughly, and bake.
What makes this version stand out is the combination of choices: Granny Smith apples for their tartness and structure, a cream-cheese dough that folds without cracking, long apple slices arranged in overlapping layers that hold their shape in the oven, and an apple caramel made from the drained filling juices that gets drizzled over the top at the end.
The final result is a deeply flavored, genuinely beautiful apple dessert that comes together way faster than traditional apple pie.
Katalin's Key Take on Why Most Apple Galettes Leak — and How to Stop It
Here is what happens: apples tossed with sugar will release a pool of liquid within 10 minutes. That liquid is full of flavor, but it is also why so many galettes crack and leak. Most recipes online simply mix the apples with their juices and spoon everything into the center of the dough. Don't do that.
This recipe does two things differently. First, you drain most of the apple juice before assembling, leaving only the spiced apple slices. Second, you sprinkle almond flour across the pastry before adding the apples, which acts as a moisture barrier between the fruit and the dough. The almond flour soaks up any residual juice that escapes during baking, so the pastry never gets wet.
Then take the drained juice, simmer it for 5 minutes, and it becomes a beautiful, deeply apple-flavored caramel to drizzle on at the end. No separate caramel recipe needed. Nothing wasted.
Start With the Galette Dough
This dough uses cream cheese alongside cold butter. Cream cheese adds a small amount of acidity that inhibits gluten development, which means the dough stays tender and pliable. It is more forgiving to roll, less likely to crack at the edges, and easier to pleat without splitting.
Sift the flour, salt, and sugar into a bowl, then add the cold butter cut into small cubes. Rub the mixture between your fingers until it looks sandy with a few small chunks of butter still visible. Those chunks are intentional: they will melt in the oven and create flaky layers in the crust.
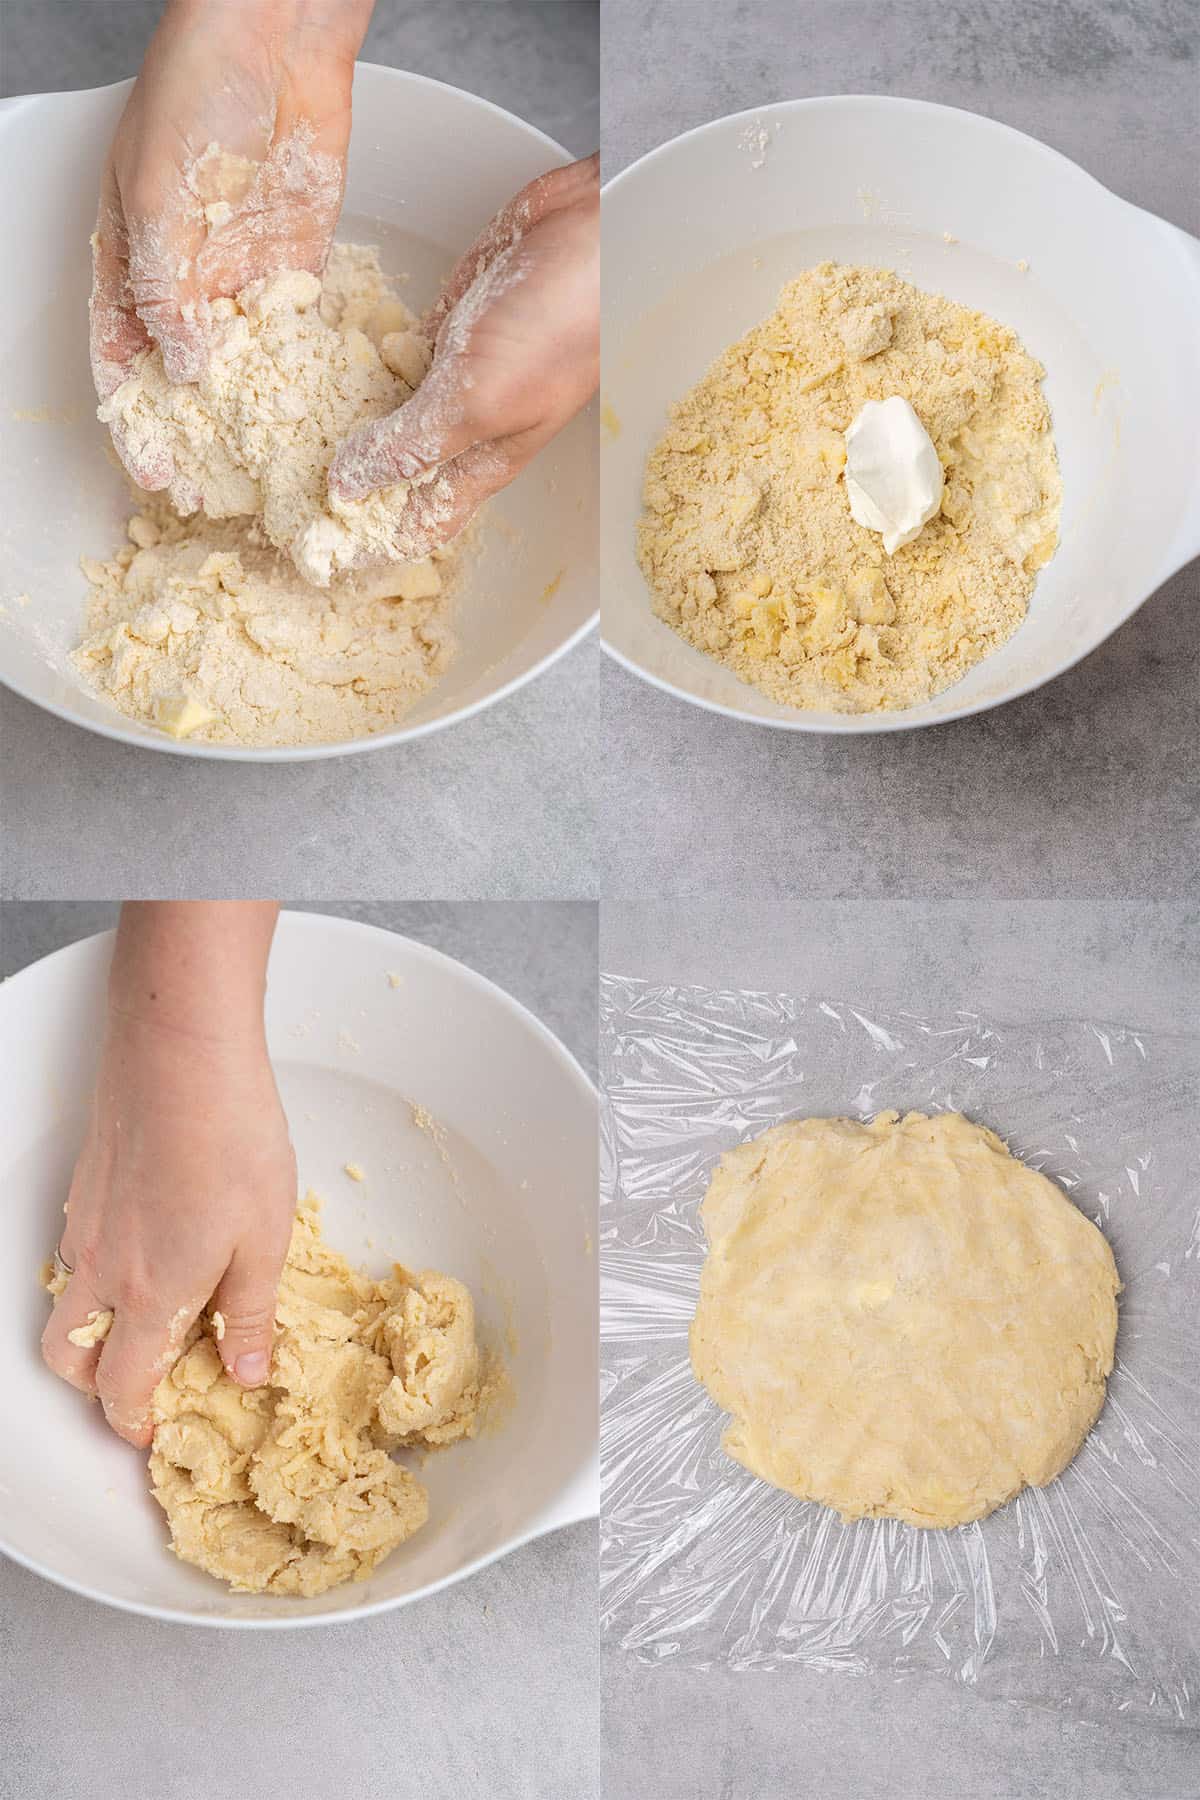
Add the cold cream cheese and cold heavy cream and mix until the dough just comes together. Knead briefly with the palm of your hand for about a minute, just until it forms a smooth disk.
Press the dough into a flat disk roughly 1 inch (2.5 cm) thick, wrap tightly in plastic wrap, and refrigerate for at least 1 hour. This rest lets the gluten relax and keeps the butter cold, both essential for dough that rolls easily and bakes crisp.
How to Roll and Handle the Dough
Take the dough out of the fridge, but do not roll it immediately. Cold dough straight from the refrigerator is often too firm and will crack as soon as you press the rolling pin into it. Wait a few minutes until the dough warms up just enough to be pliable, but not so warm that it sticks.
Lightly flour your work surface and your rolling pin, or roll the dough between two silicone baking mats. Rolling between the mats eliminates the need for extra flour, which is important: too much flour worked into the dough at this stage changes the texture of the final crust.
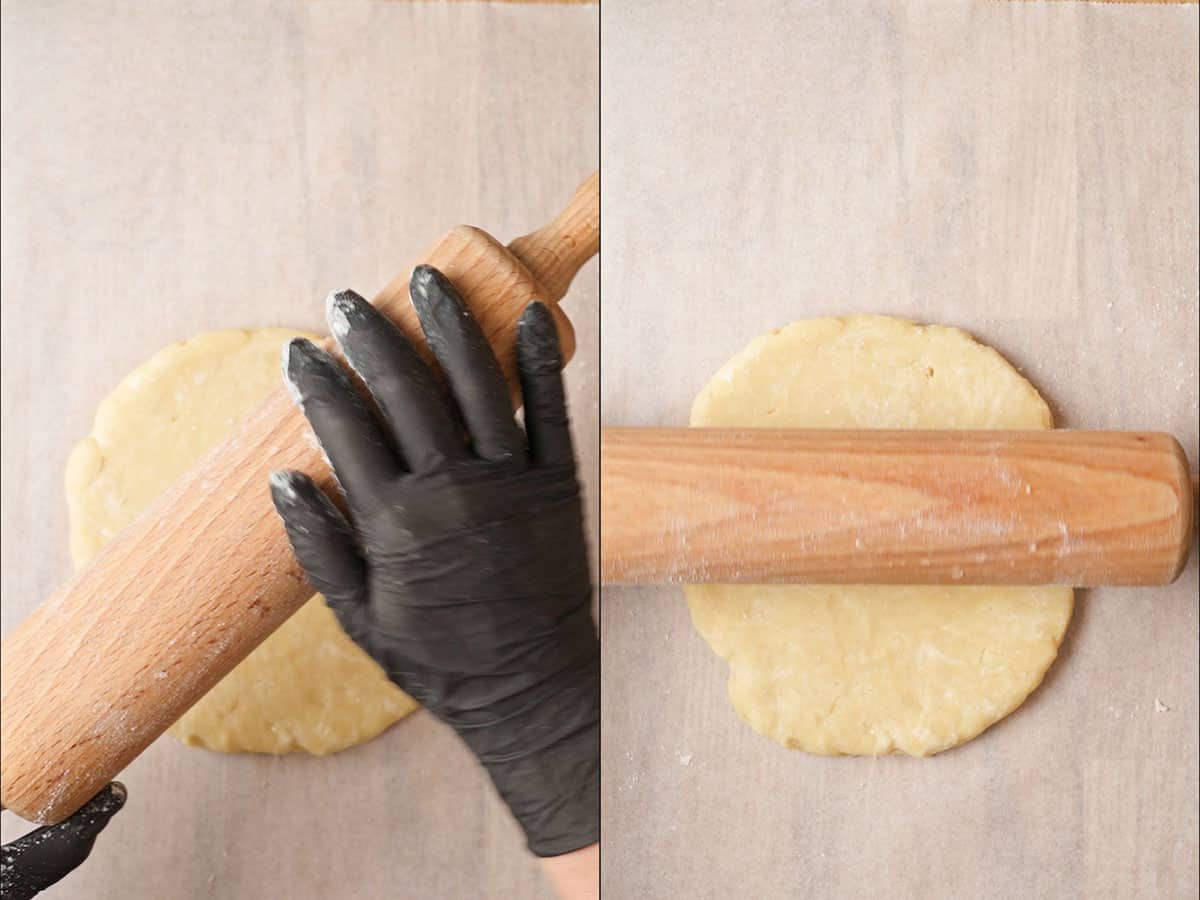
Place the dough disk in the center and begin rolling from the middle outward, rotating a quarter turn after every few passes. Rolling from the center rather than back and forth in one direction keeps the thickness even and prevents the edges from thinning out before the center is large enough.
You are aiming for a rough 12-inch (30 cm) circle about ⅛ inch (3 mm) thick. It does not need to be a perfect circle. If the dough sticks to the surface, lift it gently and add a small dusting of flour underneath.
If cracks appear at the edges, press them back together with your fingers immediately before they widen. Once rolled, slide the dough onto a parchment-lined baking tray using the mat or a rolling pin to help you lift it, and refrigerate while you prepare the filling.
Prepare the Cinnamon Apple Filling
Peel the apples and slice them into long, thin strips, around ¼ inch (5 mm) thick.
Place the apple slices in a bowl and add the brown sugar, cinnamon, and lemon juice. The spices at this stage are flexible: cinnamon is the base, but a pinch of ginger, allspice, or nutmeg all work well alongside it and give the filling more depth. Toss to coat evenly, then let the mixture sit for 10 minutes without touching it.
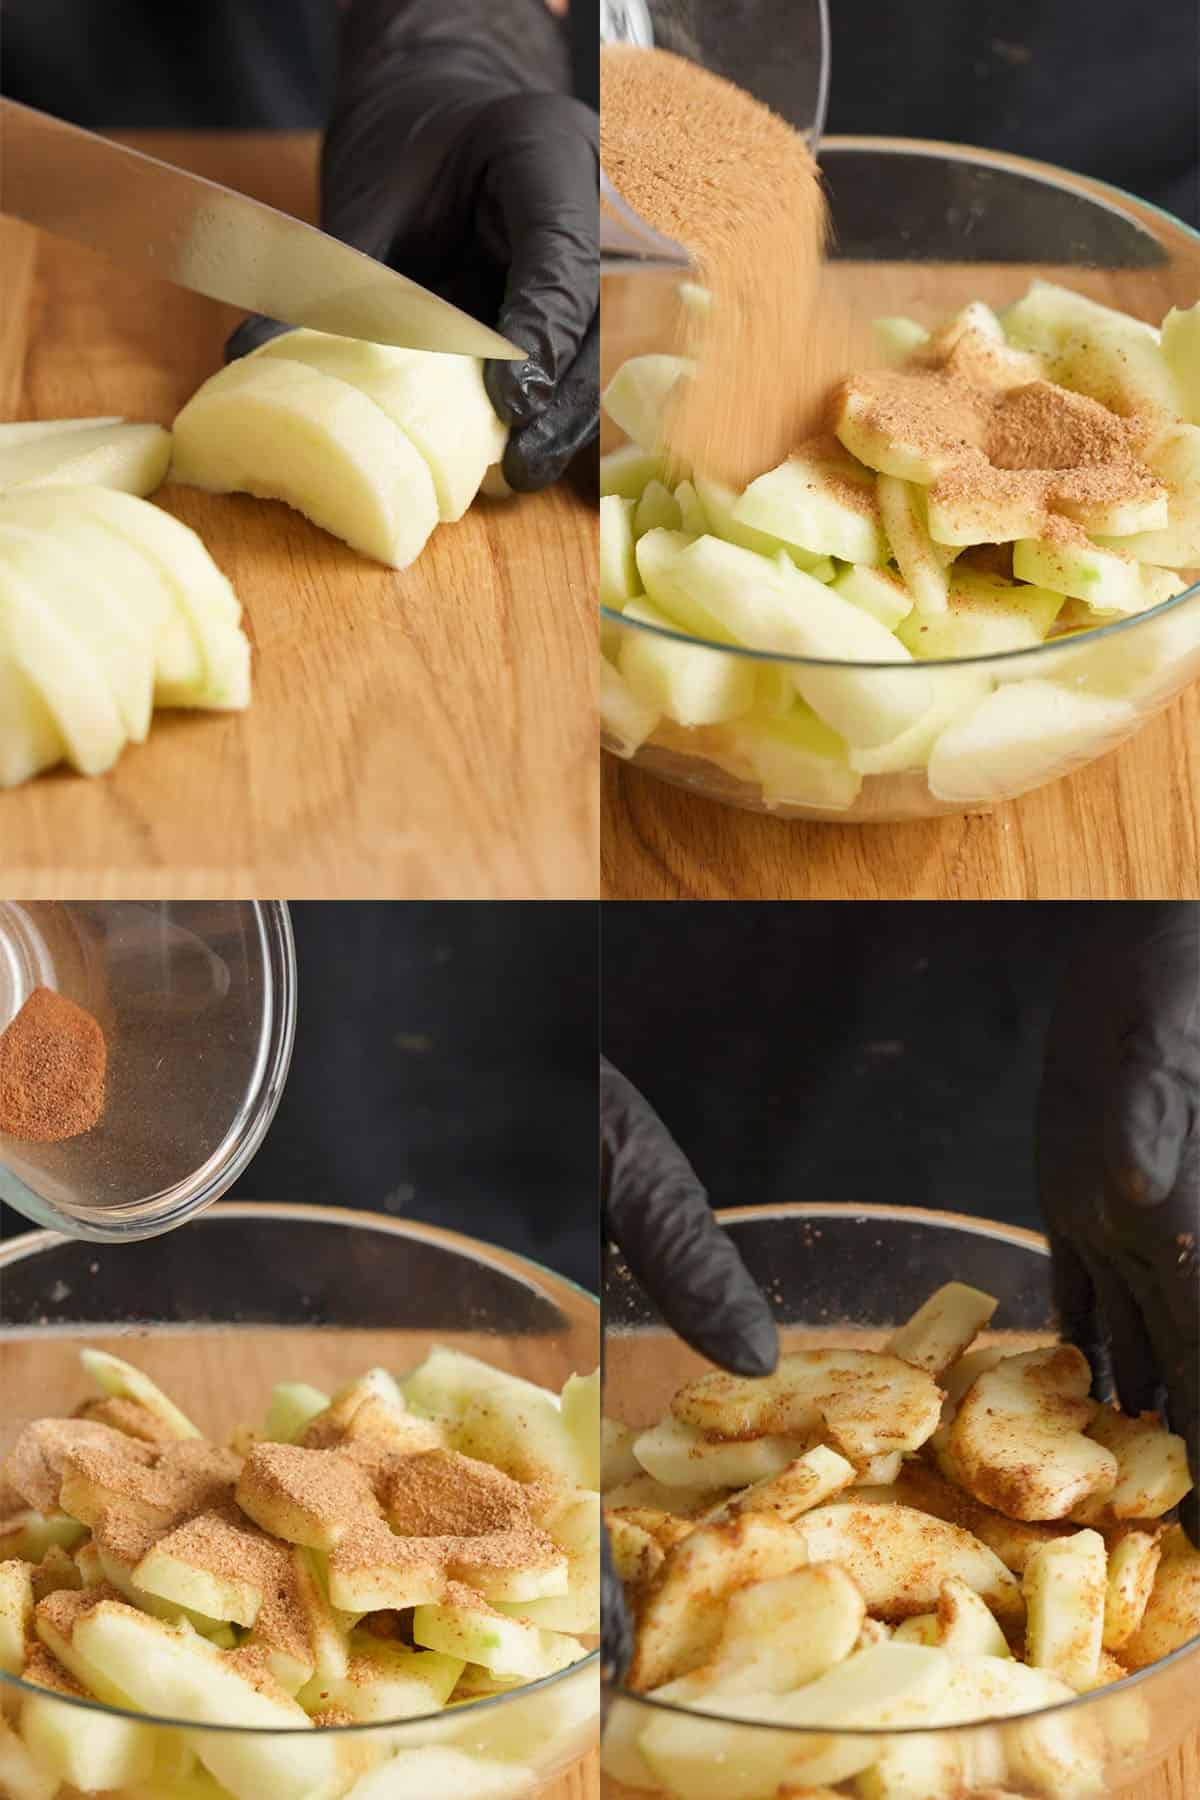
You will see a pool of golden juice collect at the bottom of the bowl. This is exactly what you want to happen here, rather than inside the galette.
Carefully tilt the bowl and pour off as much juice as possible into a small saucepan. Drain the apple slices, but leave them lightly coated with the spiced sugar mixture; that is fine.
Assemble the Apple Galette
Sprinkle 1 to 2 tablespoons of almond flour evenly over the center of the rolled dough, leaving a 1-inch (2.5 cm) border clear around the edges. The almond flour creates a dry barrier between the apples and the pastry that absorbs any residual moisture released during baking.
This is the same technique I use in all my galette recipes, and it's why the base stays crisp. If you have seen galette photos where the pastry under the filling looks pale or raw, this is the step that was missing.
Arrange the drained apple slices over the almond flour in overlapping layers, working from the center outward. Keep the 1-inch border clear so you have room to fold.
Gently lift the dough edges and fold them inward over the outer ring of apples, making pleats as you work around.
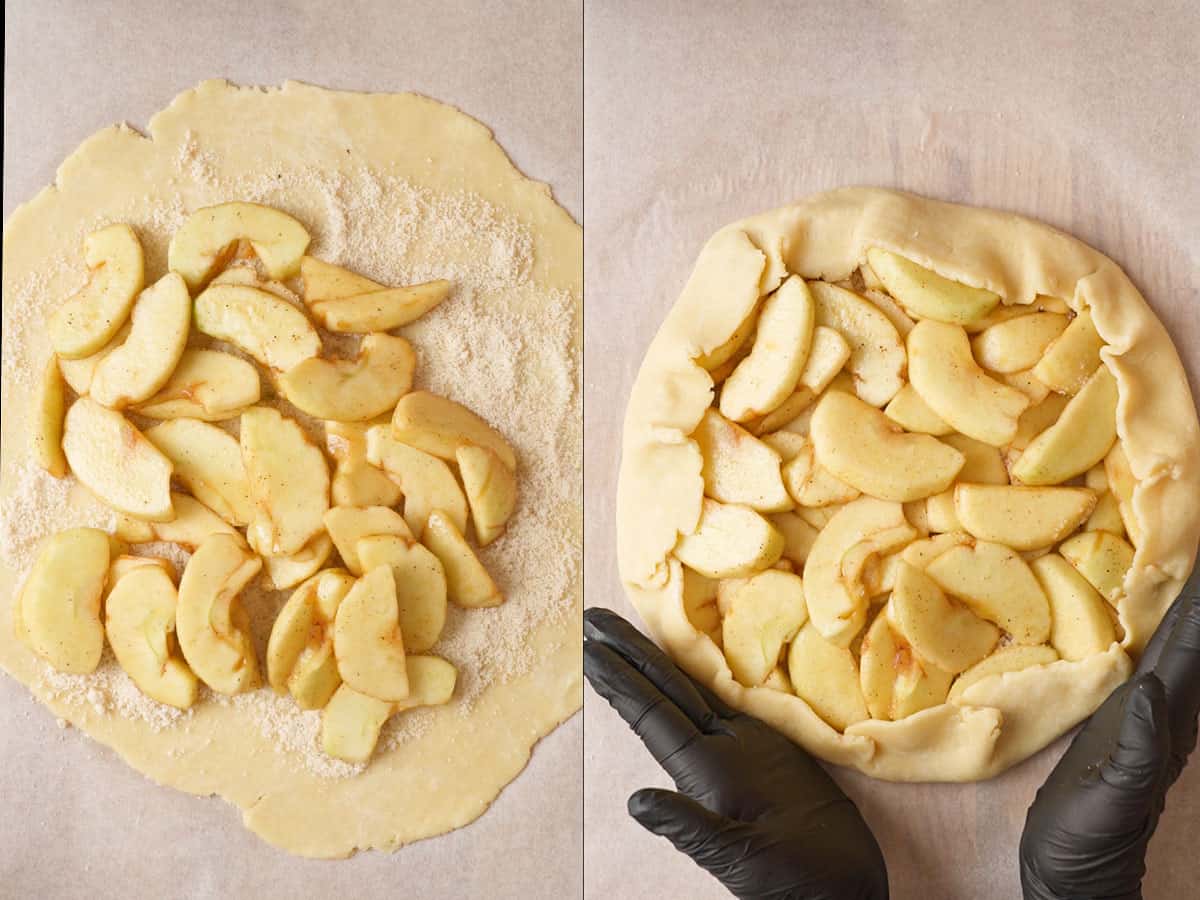
Brush the folded crust edges with egg wash, then sprinkle generously with coarse or turbinado sugar.
Place the assembled galette in the freezer for 10 to 15 minutes while the oven preheats to 390°F/200°C.
Cook the Apple Caramel
While the galette bakes, place the saucepan of drained apple juice over medium heat. Bring it to a gentle simmer and cook for 4 to 5 minutes, stirring occasionally, until it thickens slightly and coats the back of a spoon. It concentrates quickly once it starts bubbling, so stay close and reduce the heat if needed.
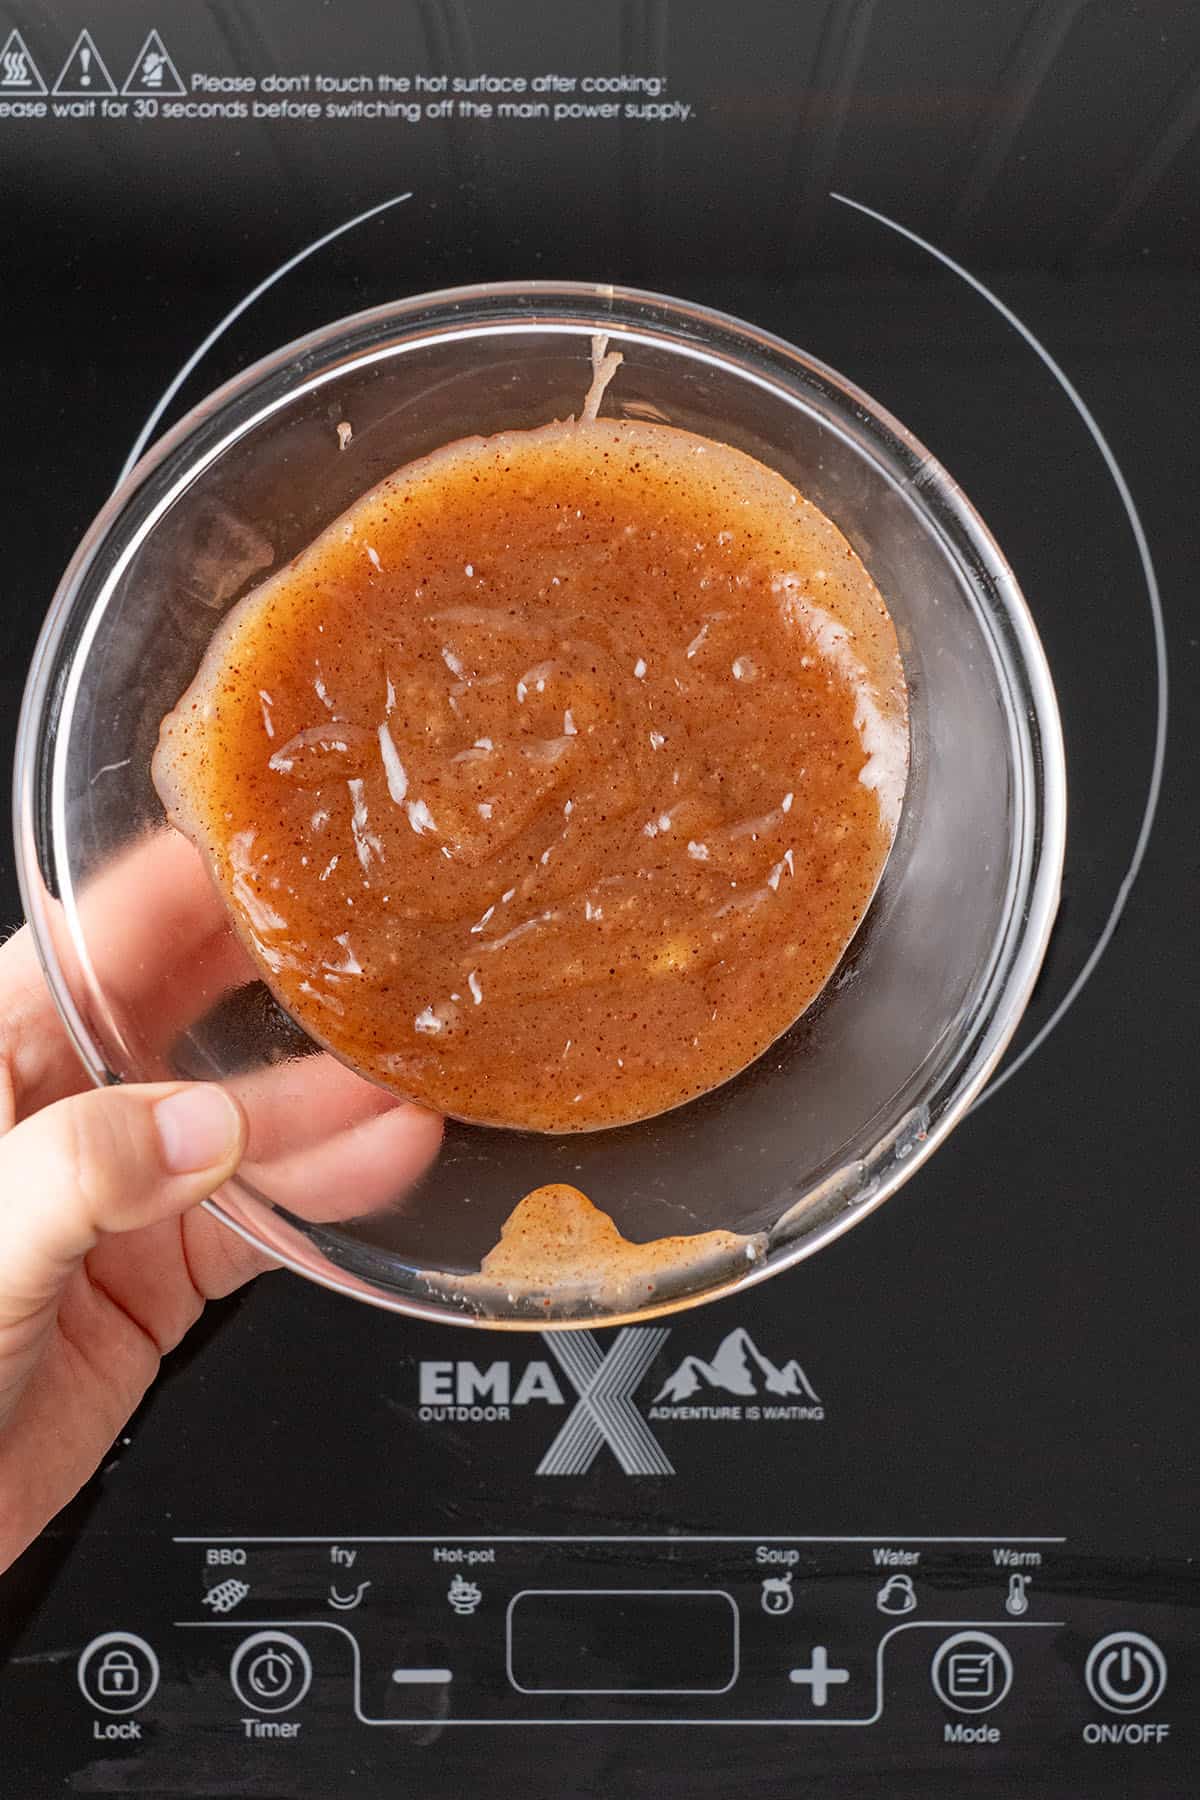
Remove from the heat and set it aside to cool. It will continue to thicken as it cools and reach the right drizzling consistency by the time the galette comes out of the oven.
Bake It
Bake the galette on the center rack at 390°F/200°C for 30 to 35 minutes, until the pastry is a deep, even golden brown across the bottom and the edges, and the apple filling is tender and fragrant.
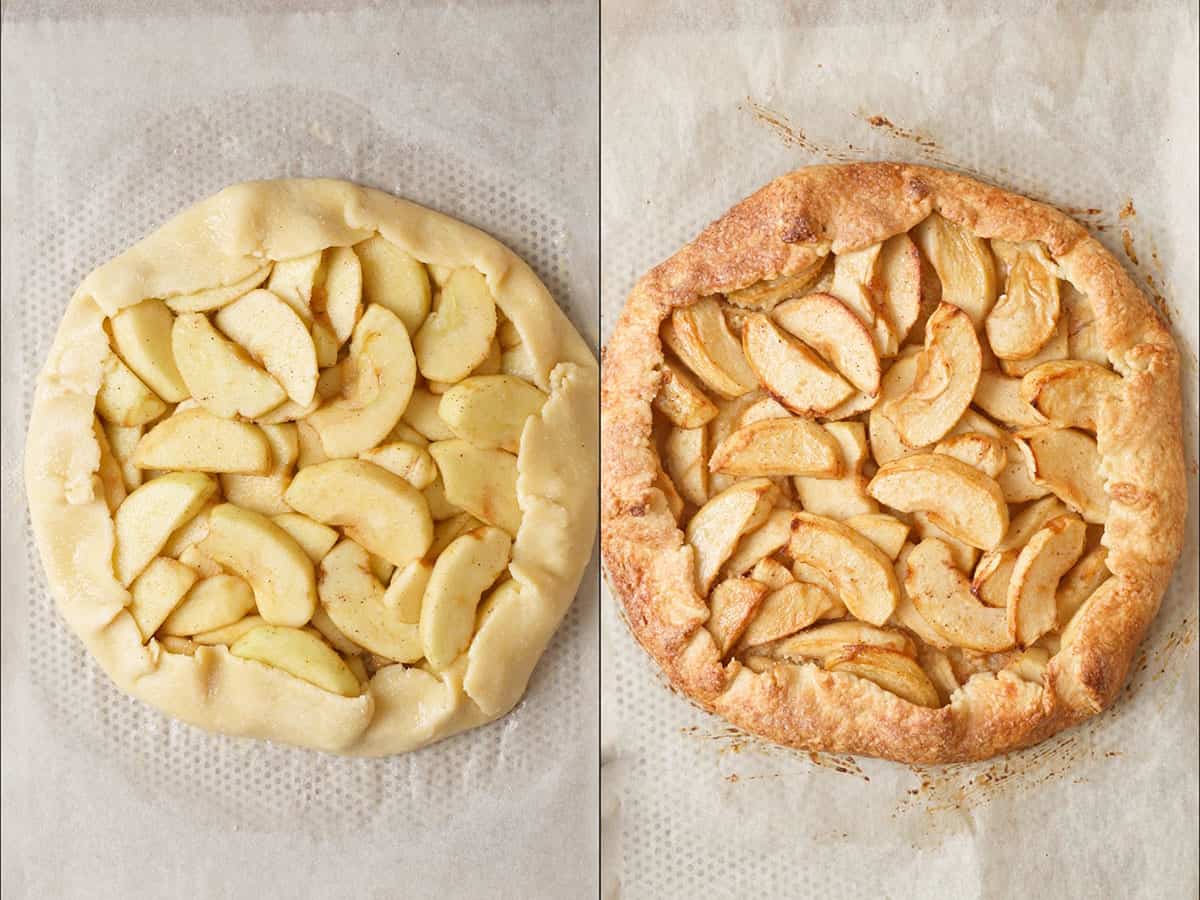
You should be able to pierce the apple slices easily with a thin knife at the thickest point. If the edges begin to darken too quickly before the base is done, cover them loosely with small pieces of foil and continue baking.
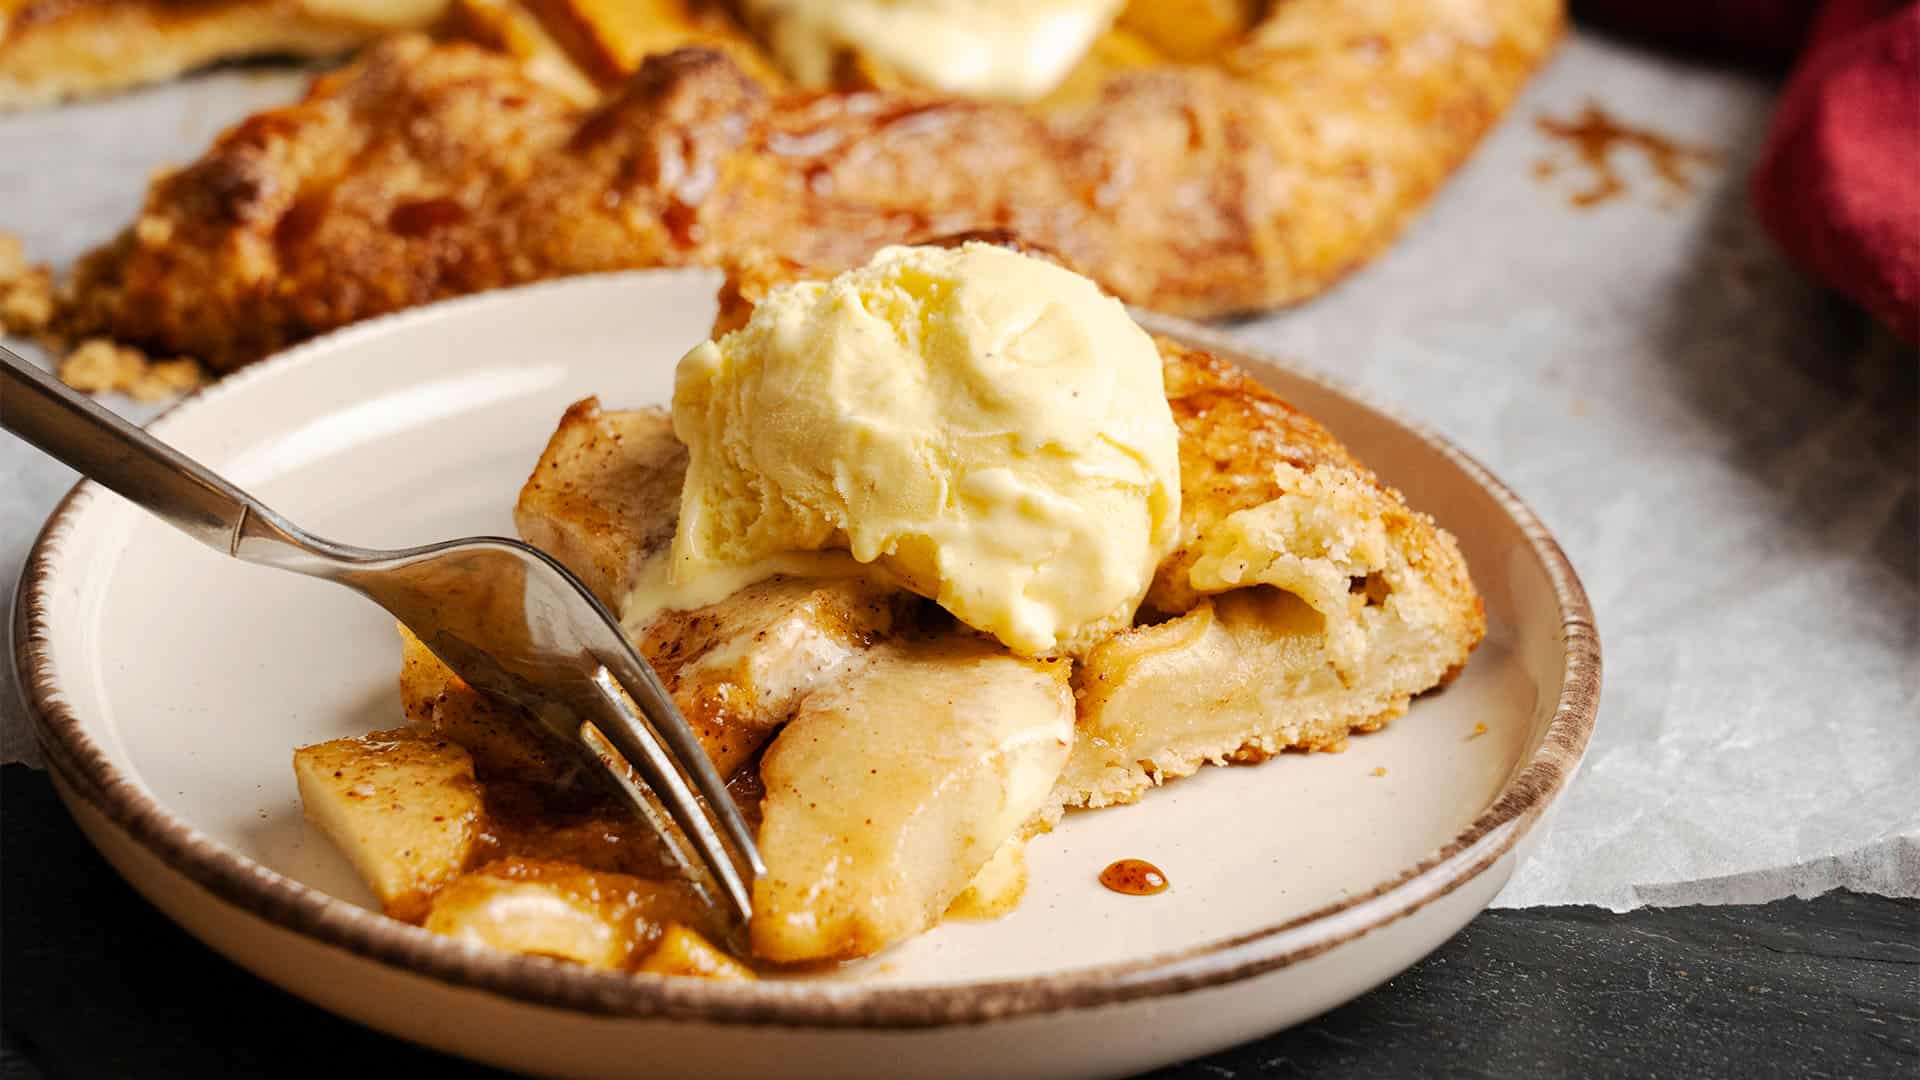
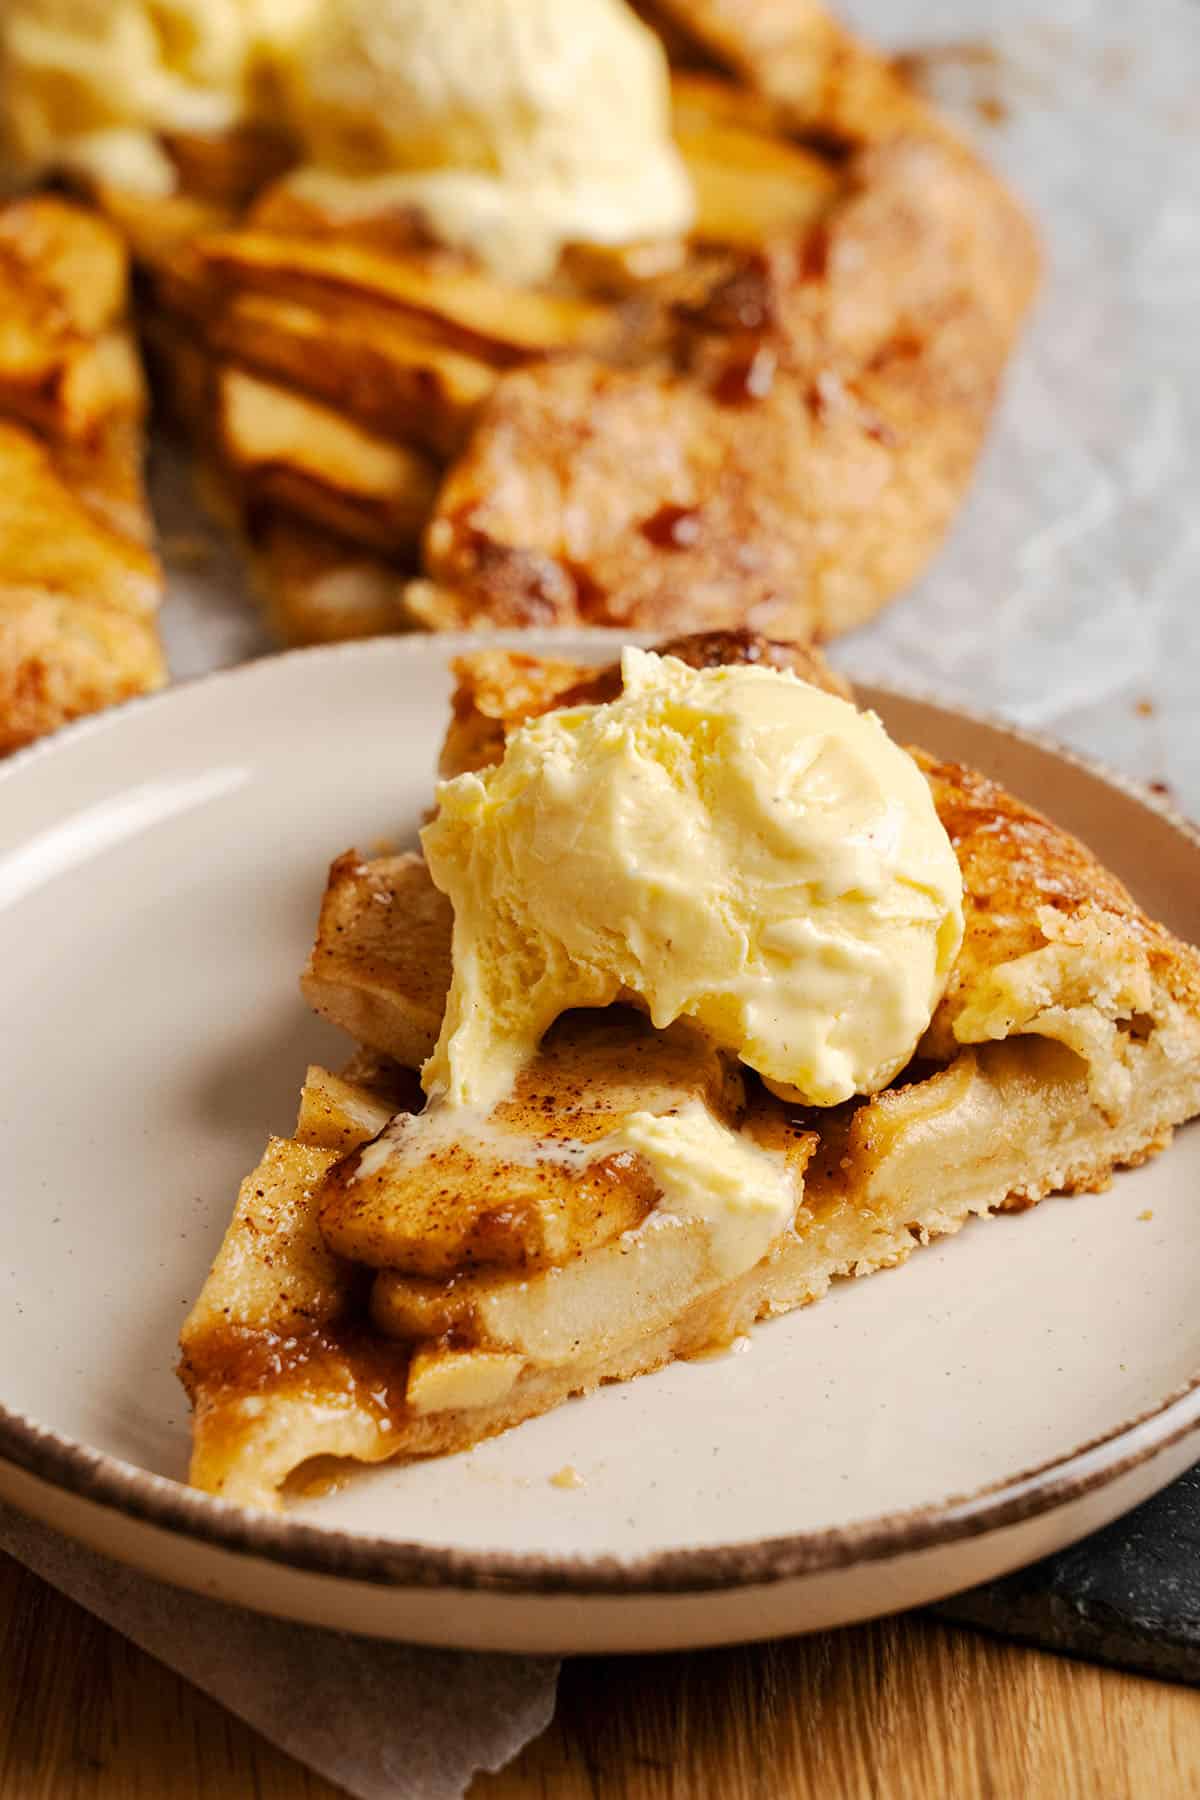
Let the galette cool on the tray for at least 10 minutes before you slice it. Drizzle the apple caramel generously over the top just before serving. Finish with a scoop of ice cream or a dollop of whipped cream.
Storing and Reheating
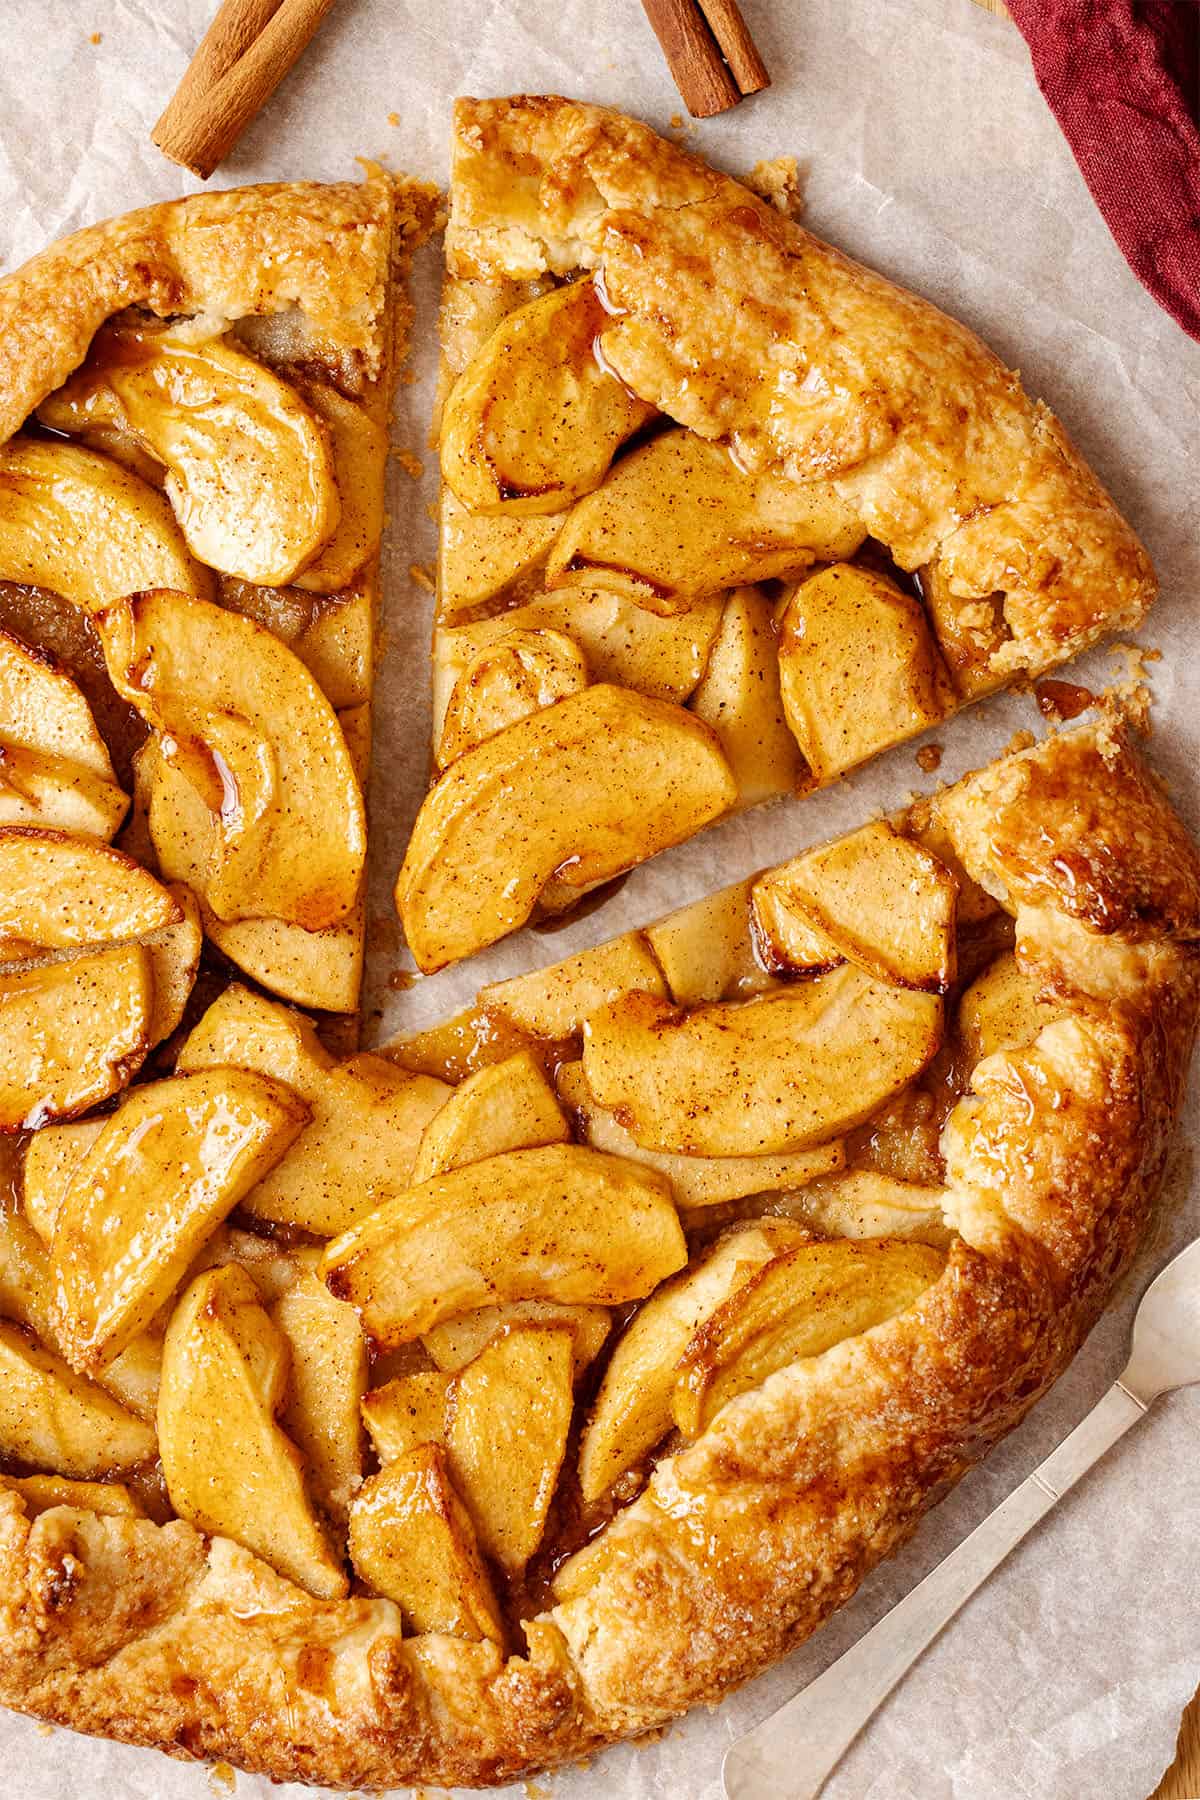
Store leftover galette covered at room temperature for up to 1 day or refrigerate for 2 to 3 days, covered. To revive the crust, reheat slices on a baking tray at 350°F / 175°C for 8 to 10 minutes before serving.
The baked galette does not freeze well, but the raw galette dough can be frozen for up to 3 months. Double-wrap in plastic wrap and foil to prevent freezer burn, and thaw overnight in the fridge before rolling.
Flavor Variations
Cinnamon is the classic pairing and the one used in this recipe, but apple is one of the most spice-friendly fruits. Ginger adds a subtle warmth that sharpens the apple flavor beautifully. Allspice brings a deeper, almost clove-like note that works especially well with brown sugar. Nutmeg, used sparingly, gives the filling a gentle earthiness. Cardamom is a more unexpected choice but genuinely lovely, floral and warm at the same time. You can use any of these on their own or mix two or three together to build a more layered spice profile.
The galette format and the same dough work with many other fruits. Try my peach galette, pear walnut galette, blueberry galette, or strawberry galette. Blackberry, apricot, fig, plum, and cherry also work well.
Ingredient Substitutions
For the crust, the cold cream cheese is what gives this galette dough its characteristic tenderness and its ability to fold without cracking, so I would not skip it. If cream cheese is not available, full-fat sour cream at the same weight is the closest substitute.
I've made this recipe before with vegan butter and margarine; they don't have the same flavor, but they work if you need to swap.
Almond flour under the filling isn't optional if you want a crisp base. If you cannot use almond flour due to a nut allergy, a tablespoon of plain breadcrumbs or a light dusting of cornstarch will do a similar job.
Granny Smith apples are strongly recommended because their tartness balances the brown sugar and caramel, and they hold their shape well. Braeburn, Honeycrisp, Fuji, or Pink Lady also work well.
For egg wash options and dairy-free alternatives, see my full egg wash guide.
Expert Tips to Make Apple Galette
- When assembling the dough, work quickly. The goal is to avoid warming the butter.
- To judge when the dough is ready to roll after refrigeration, let it sit on the counter for 5 minutes, then press your finger into the center. It should leave a clean indent without crumbling or cracking. If it still feels rock solid, wait another 2 to 3 minutes. If it starts to feel soft or greasy, it has already warmed too much and needs to go back in the fridge for 10 minutes. The window you are looking for is dough that is cold to the touch but pliable enough to flex without cracking.
- Always drain the apple juice before assembling. Even 10 minutes of macerating draws out enough liquid to make the base soggy if you leave it in.
- Try not to skip the cream cheese. The cream cheese in the dough lets the folds flex without cracking, which is one reason this dough is more forgiving than an all-butter versions.
- Freeze the dough while the oven preheats. Freezing rather than refrigerating is faster and more effective: butter that is truly cold when it hits the oven starts to set immediately, forming a crisp crust before the filling can seep through.
- Before taking the galette out of the oven, always check the bottom by gently lifting it. It should be golden and throughly baked.
What Equipment to Use
A digital scale is the most important tool for the dough. The flour measurement needs to be accurate and the cup-and-scoop method always gives you too much.
A rolling pin and two silicone baking mats make rolling and transferring the dough easy and eliminate the need for excess flour. A digital oven thermometer is a useful tool; you will be surprised to see how much most home ovens under- or overheat.
Try Some of My Other Apple Desserts
If you loved this apple galette, try these other apple dessert recipes next.
- Apple Pie
- Apple Crumble Pie
- Apple Crumble Cheesecake
- Apple Pie Cookies
- Cinnamon Apple Cake
- Apple Crumble Muffins
And if you are looking for more cozy autumn baking ideas, check out my fall dessert roundup!
Have You Tried This Recipe?
Please leave a 5-star ⭐️⭐️⭐️⭐️⭐️ rating on the recipe card and consider leaving a comment as well!
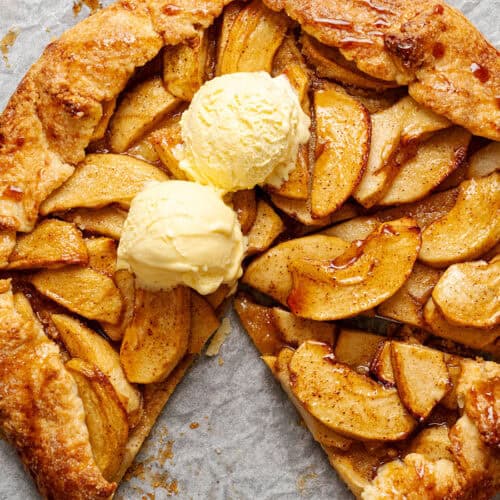
Apple Galette
Ingredients
- 190 g (1½ cups) All purpose flour
- Pinch of salt
- Pinch of baking powder
- 12 g (1 tablespoon) Granulated sugar
- 115 g (½ cup) Unsalted butter very cold
- 15 g (1 tablespoon) Heavy Cream very cold
- 30 g (2 tablespoons) Cream cheese very cold
Filling
- 4 Apples medium sized Granny Smith apples
- 50 g (¼ cup) Brown sugar
- 1 teaspoon Cinnmon
- Lemon juice sprinkle the apples so they won't brown
Other
- 2 tablespoons Almond flour under the fruit filling
- ½ Egg with a drop of water to egg wash
US customary cup measurement is an indicative figure only. Measure the ingredients with a digital scale by weight (gram). Baking is art but also science which requires precision and accuracy.
Instructions
- Sift the flour, salt, baking powder, and sugar into a bowl. Add the cold butter cubes and rub them in with your fingers until the mixture resembles coarse sand, leaving a few small butter chunks.
- Add the cold cream cheese and heavy cream. Stir until the dough just comes together, then briefly knead into a smooth disk. Wrap in plastic wrap and refrigerate for at least 1 hour.
- Let the dough rest 5 minutes on the counter, then roll it into a rough 12-inch (30 cm) circle, about ⅛ inch (3 mm) thick. Transfer to a parchment-lined baking tray and refrigerate while you make the filling.
- Peel the apples and slice them into thin strips. Sprinkle with lemon juice, toss with brown sugar and cinnamon, and leave to macerate for 10 minutes.
- Drain the juice into a small saucepan and set aside.
- Scatter almond flour over the center of the dough, leaving a 1-inch (2.5 cm) border. Arrange the drained apple slices in overlapping layers on top. Fold the dough border up over the apple edges, pressing into pleats as you work around.
- Brush the crust with egg wash and sprinkle with coarse sugar. Freeze for 10 to 15 minutes while the oven preheats to 390°F / 200°C (no fan).
- Bake the galette on the center rack for 30 to 35 minutes until the crust is deep golden brown and the apples are tender.
- While the galette bakes, bring the saucepan of apple juice to a simmer over medium heat. Cook for 4 to 5 minutes, stirring, until slightly thickened. Remove from the heat and let cool.
- Let the baked galette rest for 10 minutes, then drizzle the apple caramel over it and serve with ice cream or whipped cream.
- StorageThe baked galette can be kept covered at room temperature for up to day. Store leftovers covered in the refrigerator for 2–3 days. Reheat slices in a 350°F (175°C) oven for about 8–10 minutes to re-crisp the crust before serving.
Notes
- Always weigh ingredients using a digital scale for best results.
- Keep all ingredients (especially butter and cream cheese) very cold.
- The almond flour is essential to prevent the dough under the filling from going soggy. You can use another nut flour instead, like hazelnut flour.
- Do not overknead the galette dough, and avoid using a mixer.
- If the dough cracks while rolling, patch it with a small piece of dough and press gently; no need to start over.
- Roll the dough between silicone mats rather than on a heavily floured surface — extra flour worked in at this stage toughens the crust.
- Do not skip draining the apple juice before assembling. Even 10 minutes of macerating draws out enough liquid to make the base soggy if left in.
- Freeze the assembled galette before baking, not just refrigerate. Cold butter hitting a hot oven gives you a crispier base.
- The galette is well baked when the crust turns an even golden brown color, especially at the bottom.
- The filling will be very hot when it comes out of the oven, so allow it to cool/thicken before serving.
Leave a Reply