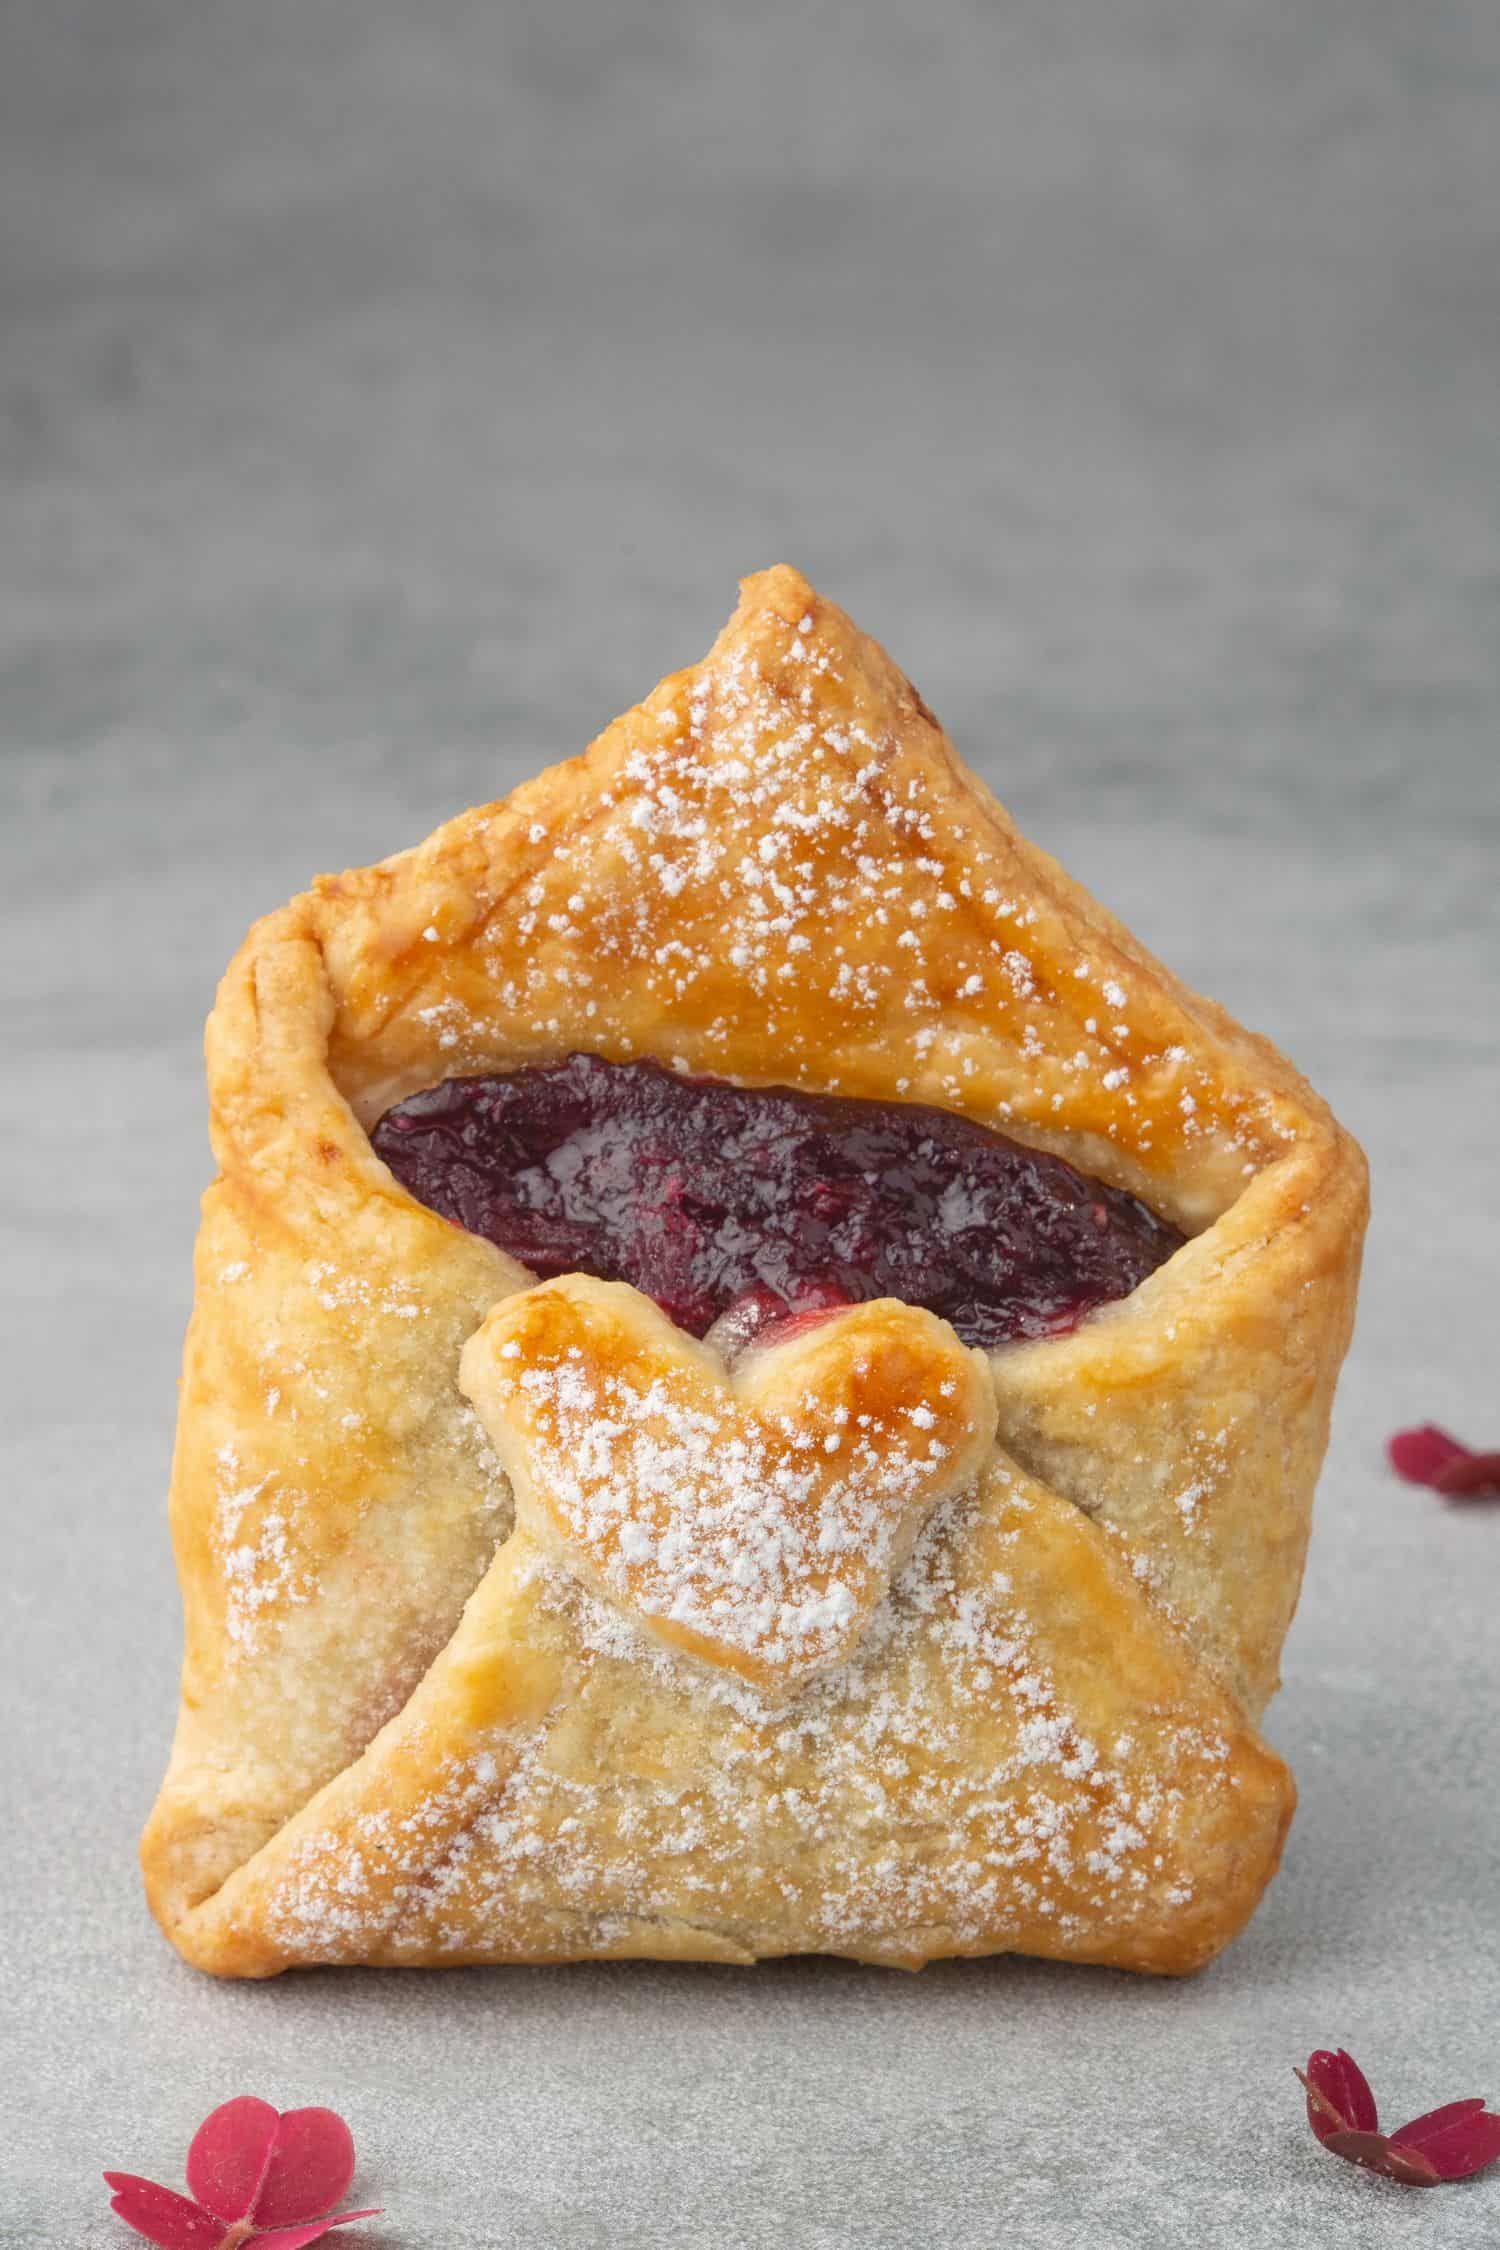
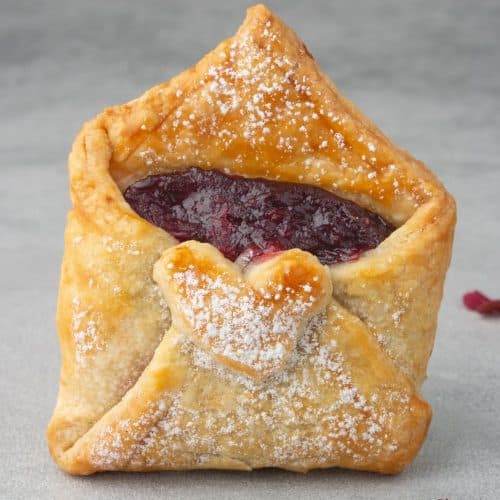
This envelope shape "Love letter" Cherry Hand pie can be the cutest, most heartwarming edible Gift to your Loved One on Valentine´s day and beyond! I love everything about these Mini Pies; the cherry filling to crust ratio, how easy and quick to make them, the creaminess of the cherry filling and the flakiness of the pie dough, the way how the buttery crust bonds with the most amazing filling! Perfection!

Jump to:
Why this is the best recipe
There is only one thing better than Cherry Pie and it is Cherry Hand Pie! If you feel intimidated by making a full-size Pie (by the way check my EASY pie crust tutorial in here), this is the perfect easy recipe for you! No cherry at hand? No worries! Use your favorite raspberry or strawberry jam or any traditional Pie filling of your choice!
These individual Cherry Hand Pies taste amazing served warm, room temperature, or even cold. Due to the moist cherry filling and the buttery dough, they stay super moist for days, not that they will last that long. Easier to make than full-size Pies and can be the perfect Valentine´s day gift this year!

Ingredient notes
For the pie crust
- Flour: Use All purpose flour or hig protein content so called strong flour to make the pie crust. If you want to be a Pro when it comes to deciding what type of flour to use in your baking, please read my article in here
- Salt: An essential ingredient in most of the dessert recipes. Balances flavour and enhances other ingredients
- Sugar: I am using a tiny bit of granulated sugar in the pie dough but it is not necessary. In general, pie crust should not be sweet, it is the filling that brings the sweetness. If you want to learn about the different types of sugar and how to use them in baking, please read my article in here
- Butter: Use always unsalted as you want to be in control of the quantity of the salt. I am using 82% fat content butter in all my recipes. While in most of the recipes butter needs to be at room temperature, this is an exception. Butter needs to be chilled, which means take the butter out of the fridge, cut into smaller chunks, then place it into the freezer for 10-15 minutes before using it. Please note that working with cold butter is absolutely key to reach the right consistency of your pie dough
- Egg: This pie crust does not contain egg, good news if you are looking for an eggless pie recipe. If egg does not concern you, you can use egg yolk with a tiny bit of cream for egg washing the top of the hand pies. Please see details later
- Water: Water needs to be chilled similarly to butter. I am adding ⅓ cup = 80 g of water however if you are using a different flour, you might need to adjust the quantity paying attention to the right consistency that I will explain later in more details
For the cherry filling
- Cherry Jam: I had some good quality cherry jam in my pantry, feel free use any raspberry or strawberry jam or make your own by cooking fresh or frozen berries with a small amount of sugar and splash of lemon juice until it thickens. (or use pektin and it will thicken in a minute) So easy! The only thing you have to consider is the consistency. Make sure the filling is too runny otherwise it will make the pie crust too wet
4 Expert tips
1. How to achieve the best flaky pie crust
If you ever mistakenly baked dense, hard pie crust you know what I am talking about… Pie crust should be flaky, almost like puff pastry but without the effort of spending 3 days with lamination. (yet if you feel strong and want to make puff pastry, check my puff pastry tutorial)
So how to achieve flaky pie crust without lamination? In fact, it is super easy if you follow 3 simple rules:
1. Make sure all ingredients of the pie dough are very cold at all times, even your kitchen temperature should be relatively cold. If at any point the dough gets too warm or butter starts to melt, pop it back in the freezer for a minute or two. Avoid using extra flour, instead, make sure the ingredients and later the dough is nice and cold 2. Do not use a mixer, do not overwork or knead the pie dough, in fact, butter chunks staying in the dough encourage the pie to achieve a lovely flaky texture 3. Avoid soggy bottom, so make sure the filling does not make the pie crust wet as obviously soggy pie crust can’t be flaky! I use some almond flour under the filling, that is a super simple and delicious trick

2. How to roll pie dough
The format you are looking for for the envelop shape is a 10cm (4 inches) square. How to achieve that? You either roll the dough into a 20cm (8inch) square then cut it into 4 or you roll the dough into a 40x10cm (16x4 inches) rectangle and cut that into 4. The pic below shows the rectangle version.
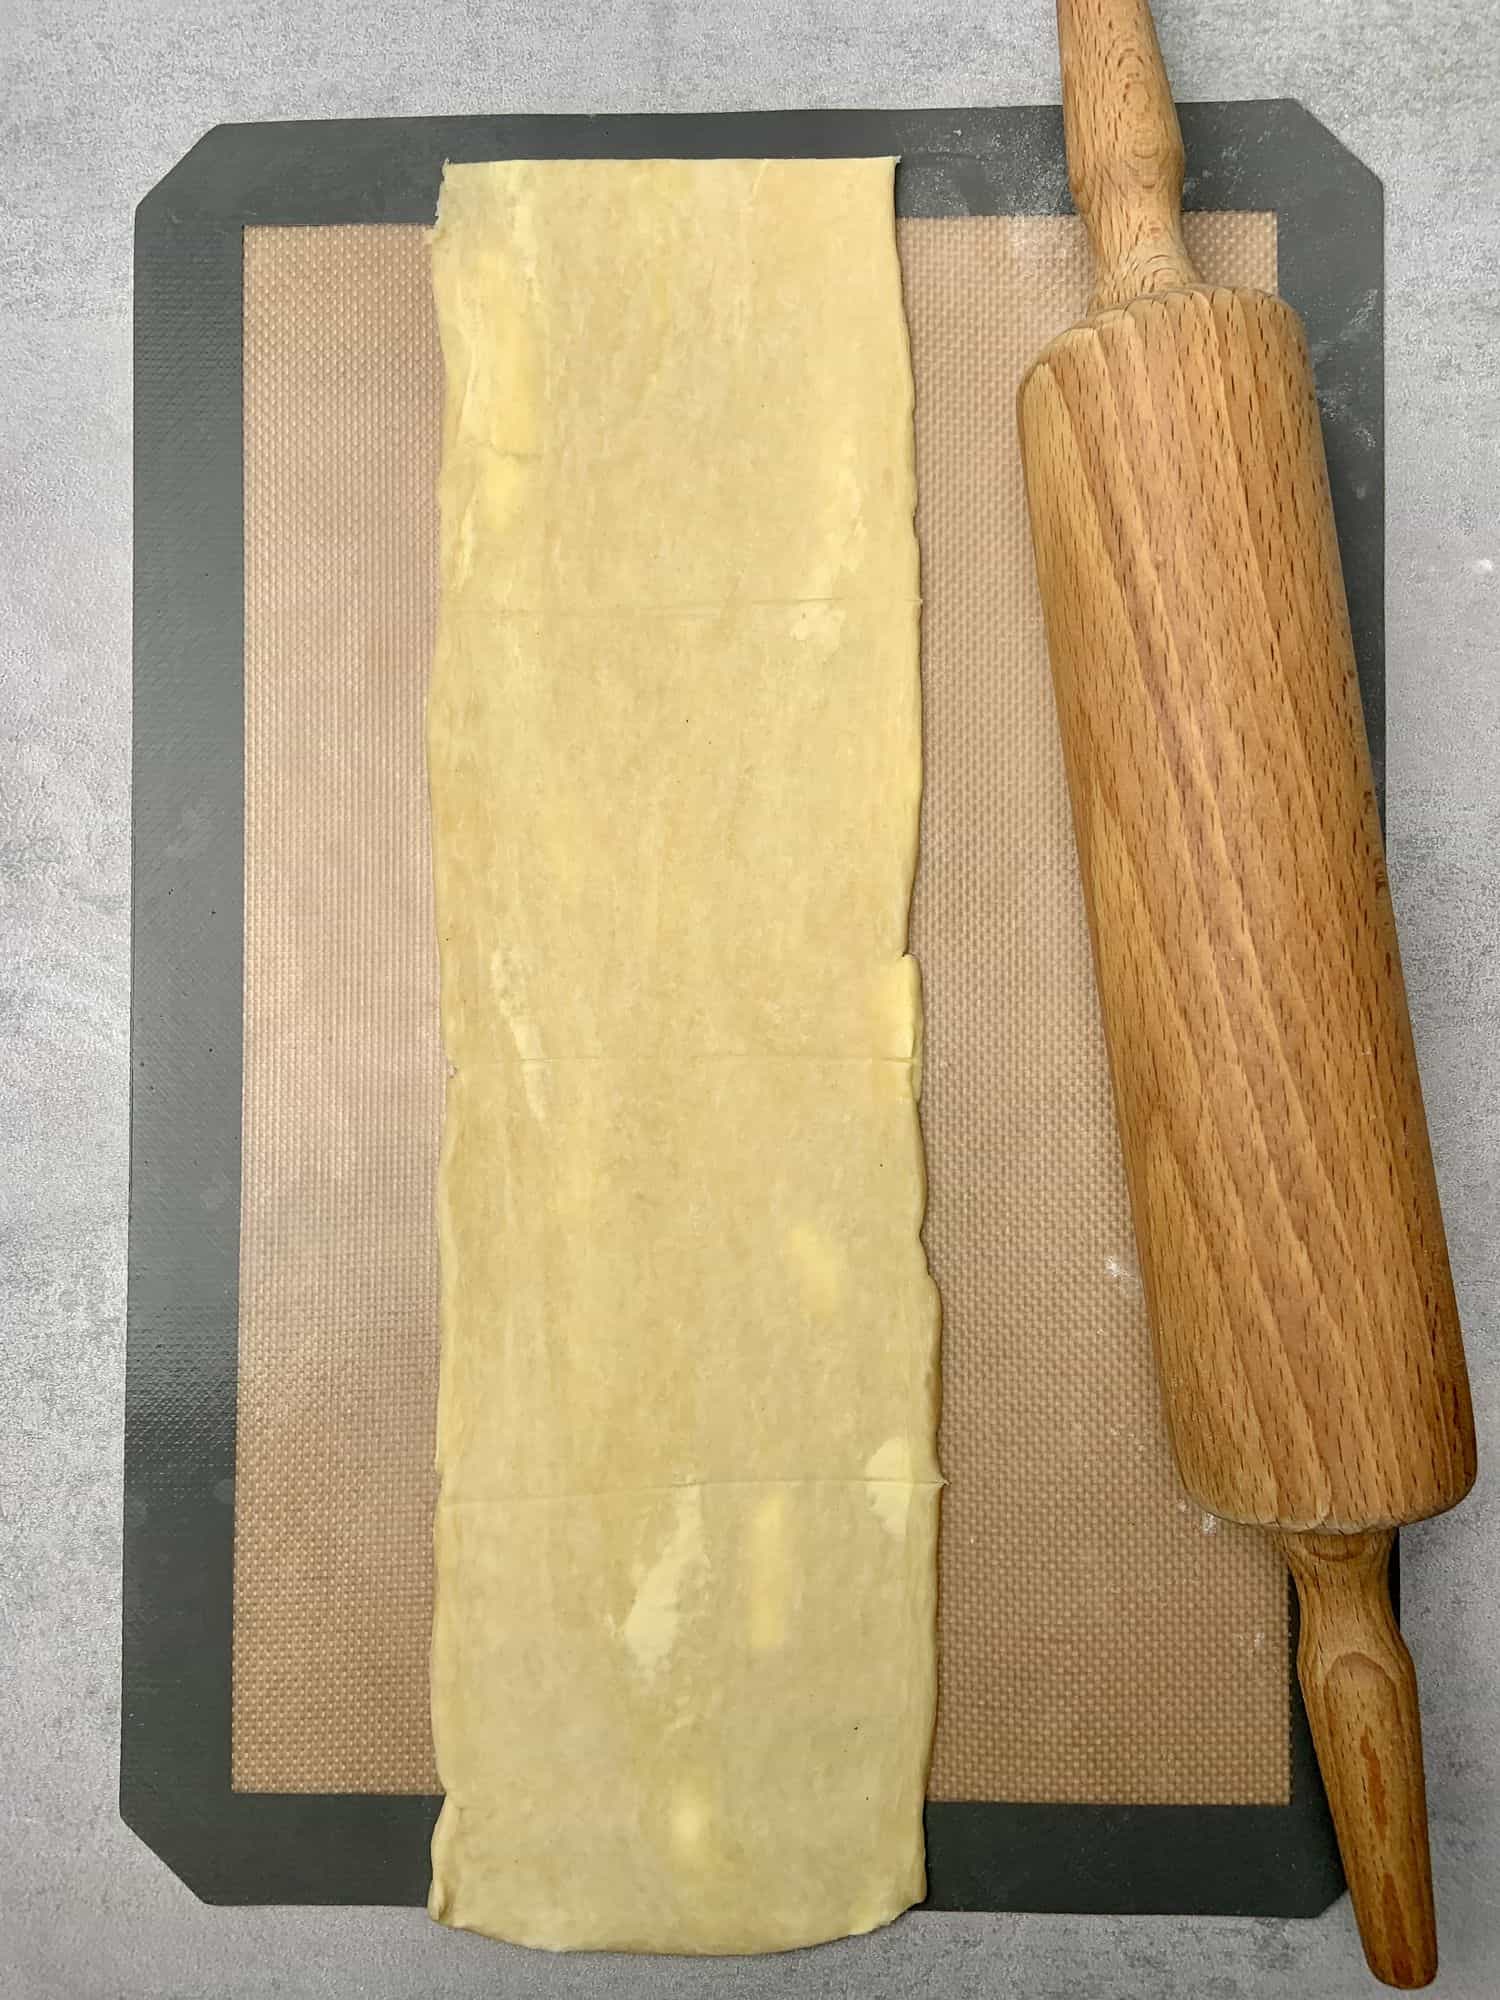
Either way, you have to make the Pie dough ahead, divide it into two, cover them with plastic wrap, and let them rest in the fridge for a minimum of 2 hours. It is incredibly difficult to roll out a Pie dough that is not chilled, please make your life easier by not skipping this step.
After 2 hours of chilling time, take one of the pie dough disks out of the fridge and let it rest few minutes on the kitchen counter. The dough should stay cold but slightly warmed up to be able to roll it out without breaking it.
It is very important that you keep the pie dough cold enough to be able to work with it. Remember, if pie dough becomes sticky and butter starts to melt while rolling, you have to control the temperature of the pie dough by chilling it quickly in the fridge or freezer instead of adding more flour!
Transfer the pie dough onto a very lightly floured surface, even better if using Silicone baking mat that prevents the dough from sticking. Start rolling the dough into a 40x10cm (16x4 inches) rectangle or 20cm (8inch) square. No need to add flour while rolling, the pie dough should be cold enough not to stick to the kitchen counter.
Aim to roll the dough into one of the sizes mentioned above, then use a knife and trim the dough into the exact size then cut into 4 equal squares - they will be used to make the envelopes. I recommend making 10cm / 4 inch size as anything bigger can be too large for individual pie size, anything smaller won´t give you enough filling in my view, however, feel free to do it according to your taste. Please note that any leftover dough can be used and rolled out again however might need to chill it first for 10-15 minutes. I used the leftover dough for the heart pattern on the envelopes. By the way, I made hearts by cutting them out with a knife, you can also use a tiny cookie-cutter if you have such baking equipment.
Refrigerate the squares for 10-15 minutes before filling.

3. How to fill the Cherry Hand Pies and turn them into an envelop shapes
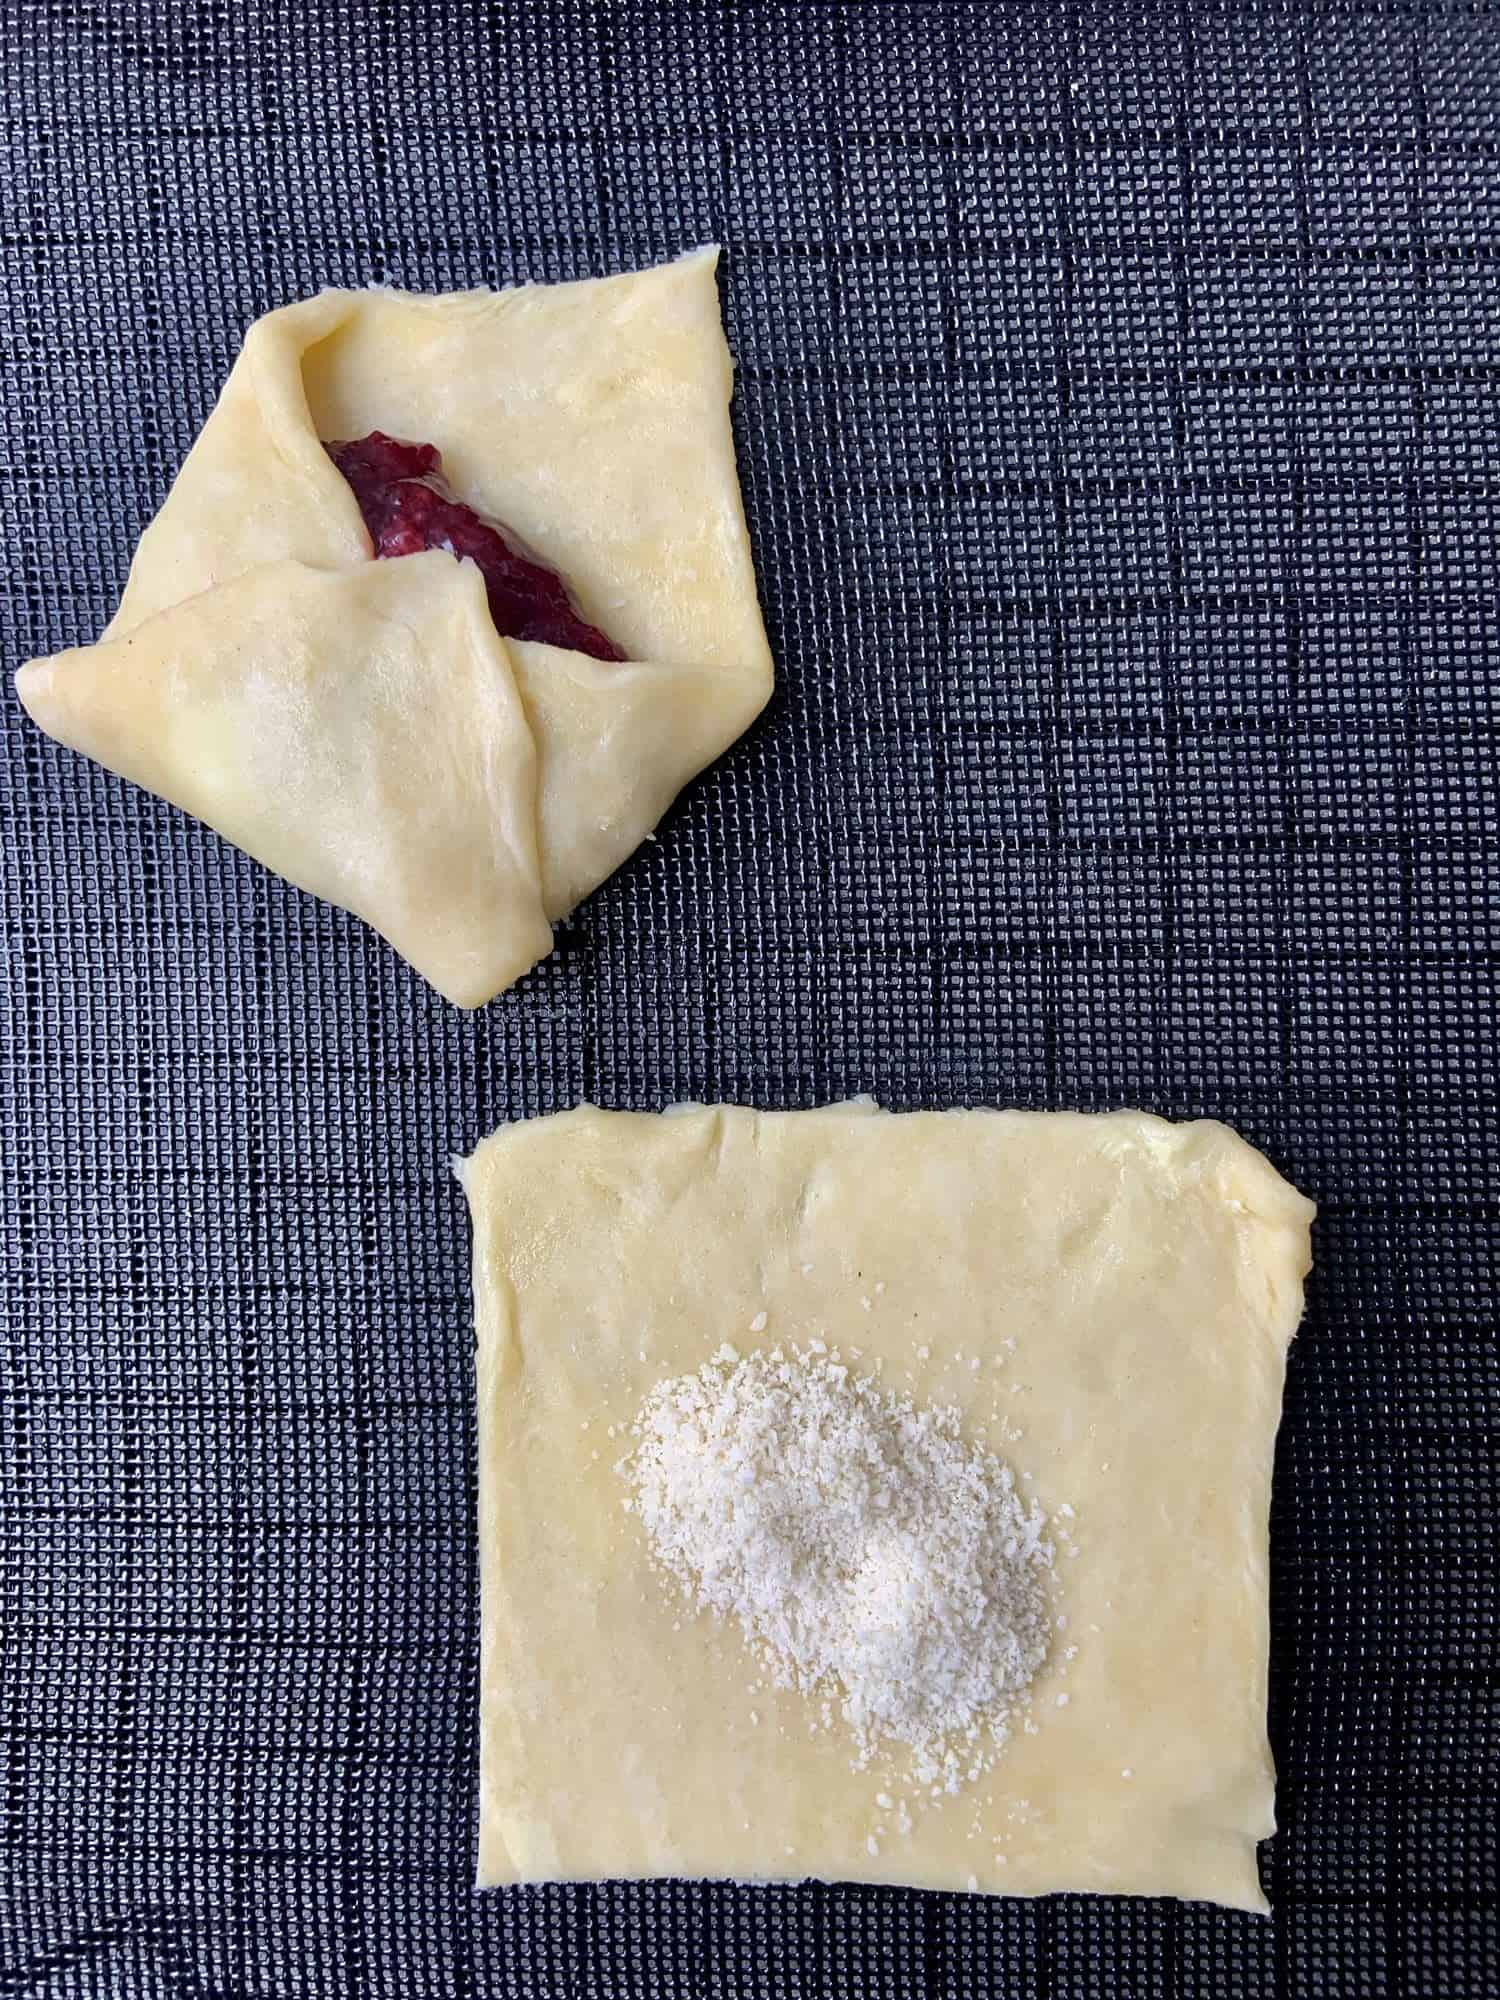
After a chilling time, place the squares onto parchment paper or even better if using Perforated “air” baking mat for even baking. Place about half a tablespoon of almond flour than 1 tablespoon of filling in the center of each pie crust. The almond meal is needed to avoid leakage and soggy pie crust. Make sure, that you do not overfill the pies.
If the pie dough is cold enough, continue with folding it into an envelop shape otherwise chill it. Do not force it if it´s too warm. For the envelope, fold opposite corners into the middle then fold the bottom corner on top. Gently "seal" the envelope with your fingers to avoid leakage while baking.
Once you are ready with the envelopes, place the heart shapes in the middle and continue with applying egg wash on top - if the dough is still nice and cold, otherwise chill it first. Remember, if at any point pie crust gets warm, place it into the freezer for a minute or two but do not force it.


4. How to bake
Once you are done with filling and shaping your Cherry hand pies, you might be tempted to finally bake them, but instead, place them into the freezer for 15 minutes while pre-heating your oven to 190C / 374F. Freezing helps to hold their shape while baking. Apply some fine lines on the envelopes before baking as seen in the picture above, they make them look more like real envelopes!
After 15 minutes take them out of the freezer and bake them in 190C / 374F for about 30 minutes.
How do I know that the pies are baked? Always check the bottom! If it does not look wet and has a nice golden color, very likely your pies are done! In case the top was browning, cover with aluminum foil until the bottom properly bakes.

More Pie recipes
Baileys Apple Pie - This Fall edition Baileys Apple Pie recipe is the Ultimate homemade Apple Pie with an Irish cream twist, you will love it! Recipe in here
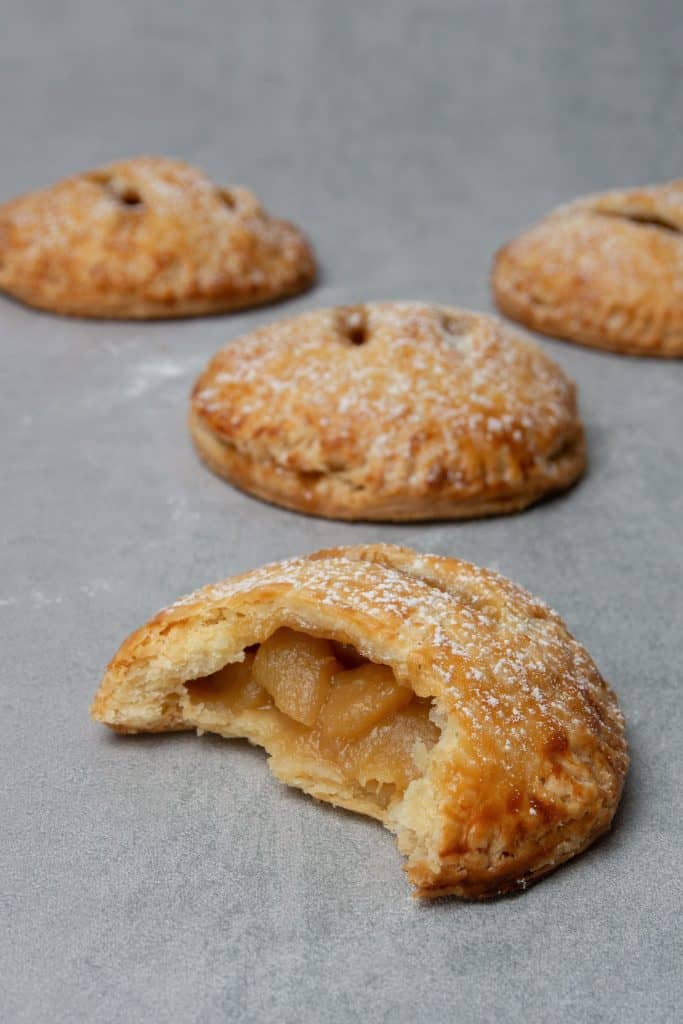
Apple Hand Pie - This Apple Hand Pie recipe features a flaky, buttery pie dough that is filled with creamy, incredibly delicious apples flavored with your favorite fall spices. Easier to make than full-size Apple pie and no need to share! Sounds good to me! Recipe in here
Pumpkin Pie recipe - The BEST Pumpkin Pie recipe features a flaky, buttery pie crust that is filled with silky, creamy, incredibly delicious pumpkin custard flavored with aromatic orange zest and nutmeg. Recipe in here

RECIPE CARD
Cherry Hand Pie for Valentine´s day
Equipment
- Digital scale
Ingredients
Pie dough
- 250 g (2 cups) All purpose flour
- 10 g (2 teaspoon) Granulated sugar
- ½ teaspoon Salt
- 180 g (¾ cups) Unsalted butter 82% fat, use it very cold
- 80 g (⅓ cups) Water very cold
- 1 Egg Yolk with a splash of cream use for egg wash
Filling
- (⅓ cups) Jam of your choice eg. raspberry, cherry, strawberry
- Almond flour small amount to use under the filling
US customary cup measurement is an indicative figure only. Measure the ingredients with a digital scale by weight (gram). Baking is art but also science which requires precision and accuracy.
Instructions
Start with the Pie dough
- In a large bowl whisk flour, sugar and salt until fully combined and cut butter into small chunks
- Pop butter chunks , flour mixture and the water into the freezer for 10-15 minutes
- Once all ingredients are nicely chilled, add very cold butter chunks into flour and rub the mixture between your fingers. Leave some bigger butter chunks in the mixture, no need to fully incorporate butter into the flour
- Add very cold water into the dough, a small amount at a time and stir with a spatula or wooden spoon after each addition
- Start working the dough with your hands. First it will look crumby but it should come together in the next minute or so. Remember, leave in some butter chunks, do not overwork the dough, do not use a mixer
Assembling and Baking
- After 2 hours, take one of the pie dough disks out of the fridge and let it rest few minutes on the kitchen counter. The dough should stay cold but slightly warmed up to be able to roll it out without breaking it
- Transfer the disk to a lightly floured surface or Silicone baking mat and start rolling it out. Make sure you turn the dough with your hands after each rolling so it will become even. No need to add too much flour while rolling, the pie dough should be cold enough not to stick to the kitchen counter. If at any point the dough gets too warm, pop it back to the freezer for a minute and continue
- Roll the dough either into a 20cm (8inch) square or a 40x10cm (16x4 inches) rectangle. Trim with a sharp knife to achieve the exact size then cut into 4 - they will be the envelopes. Place the squares into the fridge for 15 minutes before filling
- The leftover trimmed dough can be reused after chilling, make the heart shapes out of it
- Continue rolling the other half of the dough
- After chilling time ends, place the squares on parchment paper or even better if using Perforated "air" baking mat for even baking
- Place about ½ tablespoon of almond flour and approx 1 tablespoon of filling in the center of each crust then fold it into an envelope shape if the dough is cold enough otherwise chill
- Place the hearts on top and apply egg wash
- Place unbaked hand pies to the freezer for 15 minutes while pre-heating oven to 190C / 374F
- Bake for about 30 minutes or until top is golden brown and bottom is evenly baked
- Let hand pies slightly cool in the baking tray for 5 minutes then move them onto a cooling rack

Karla Andrino
I love it!