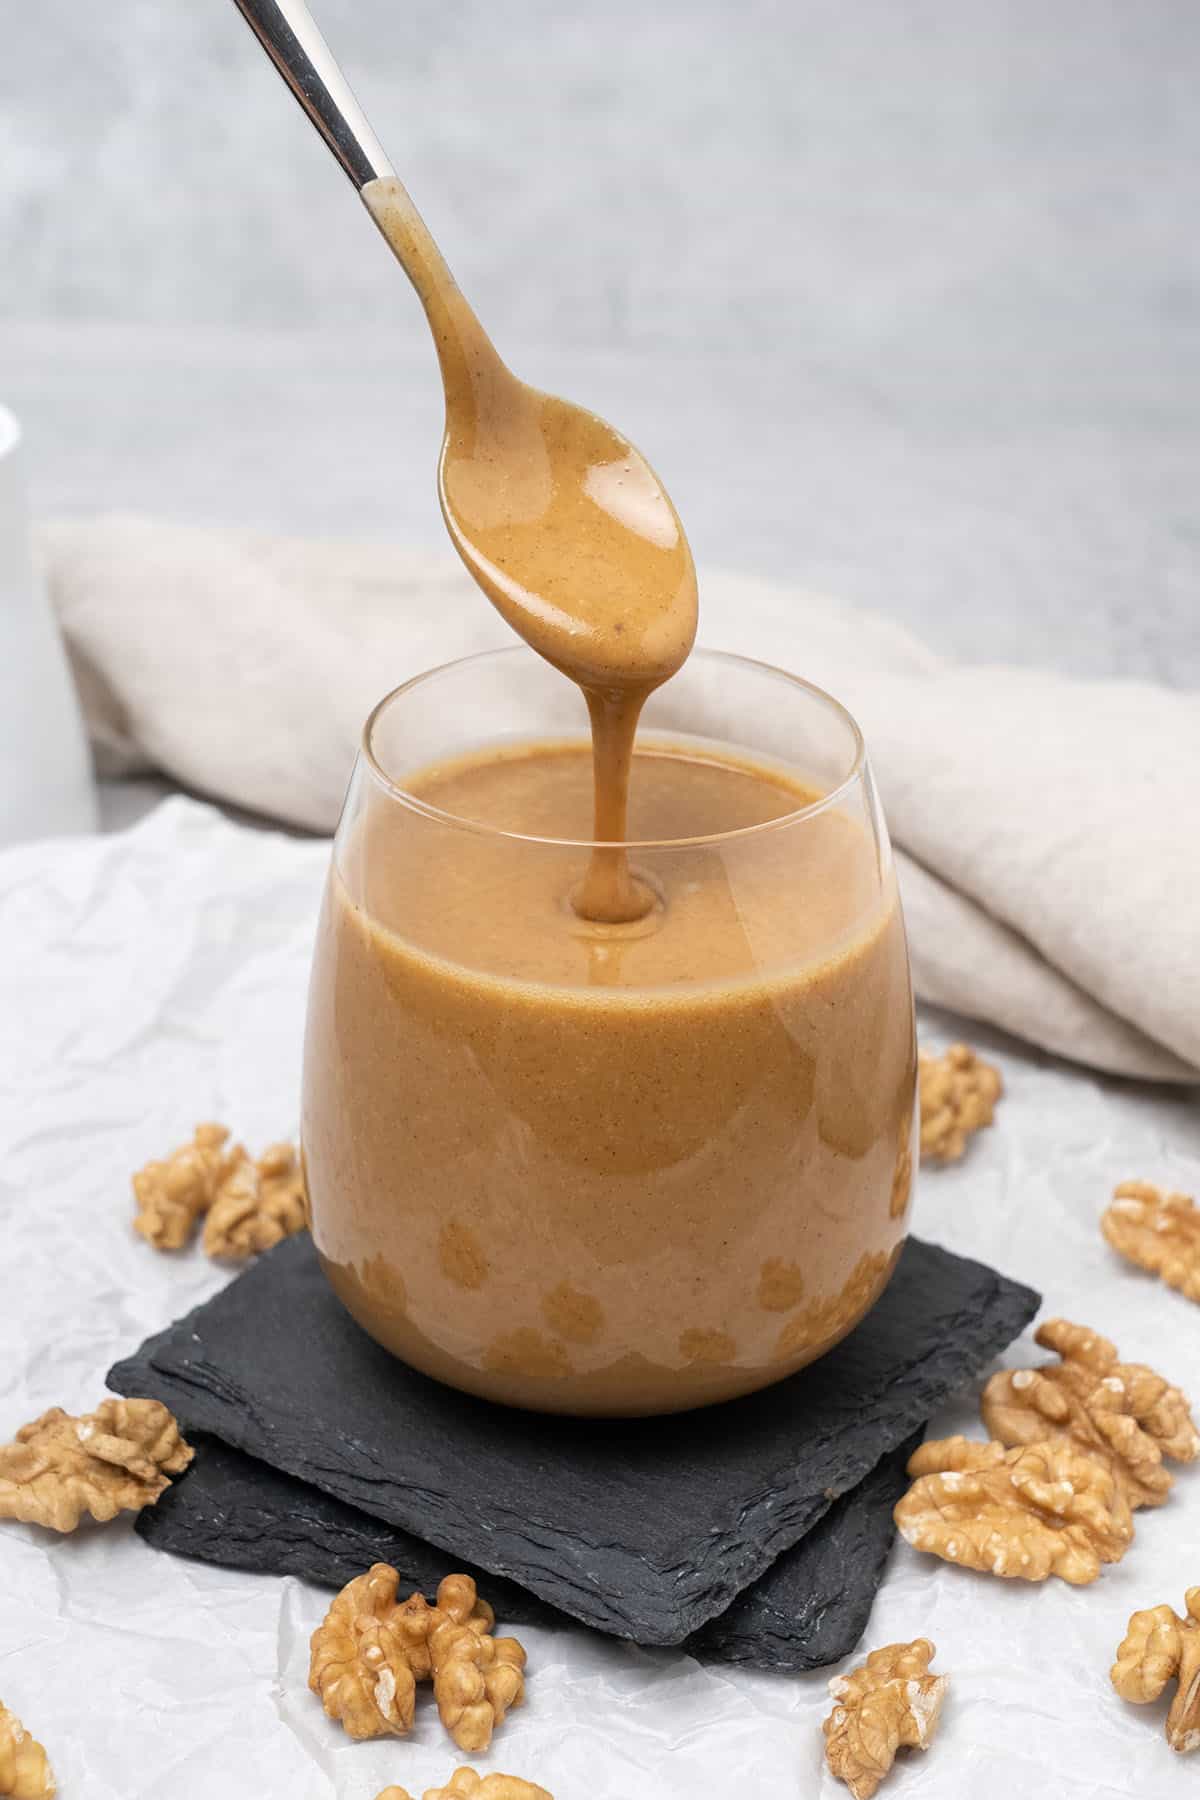
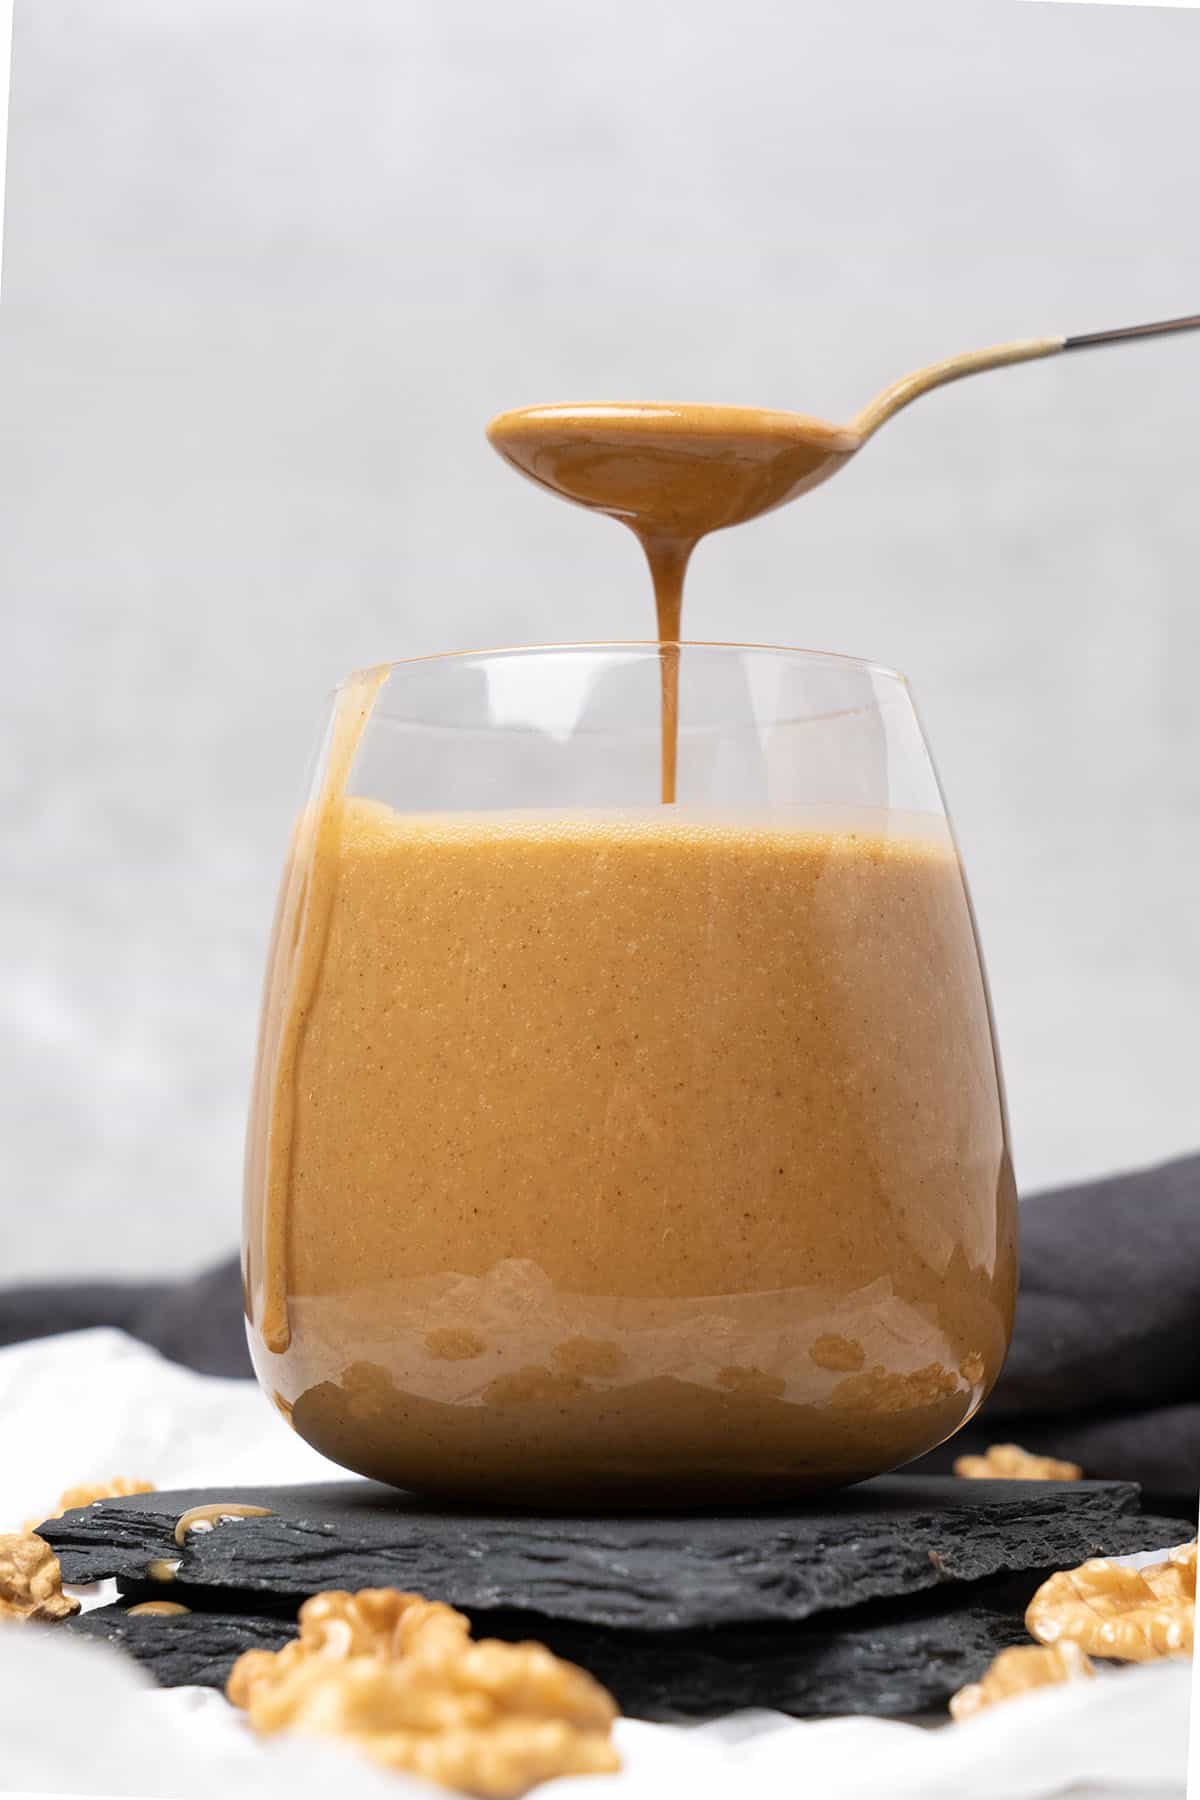
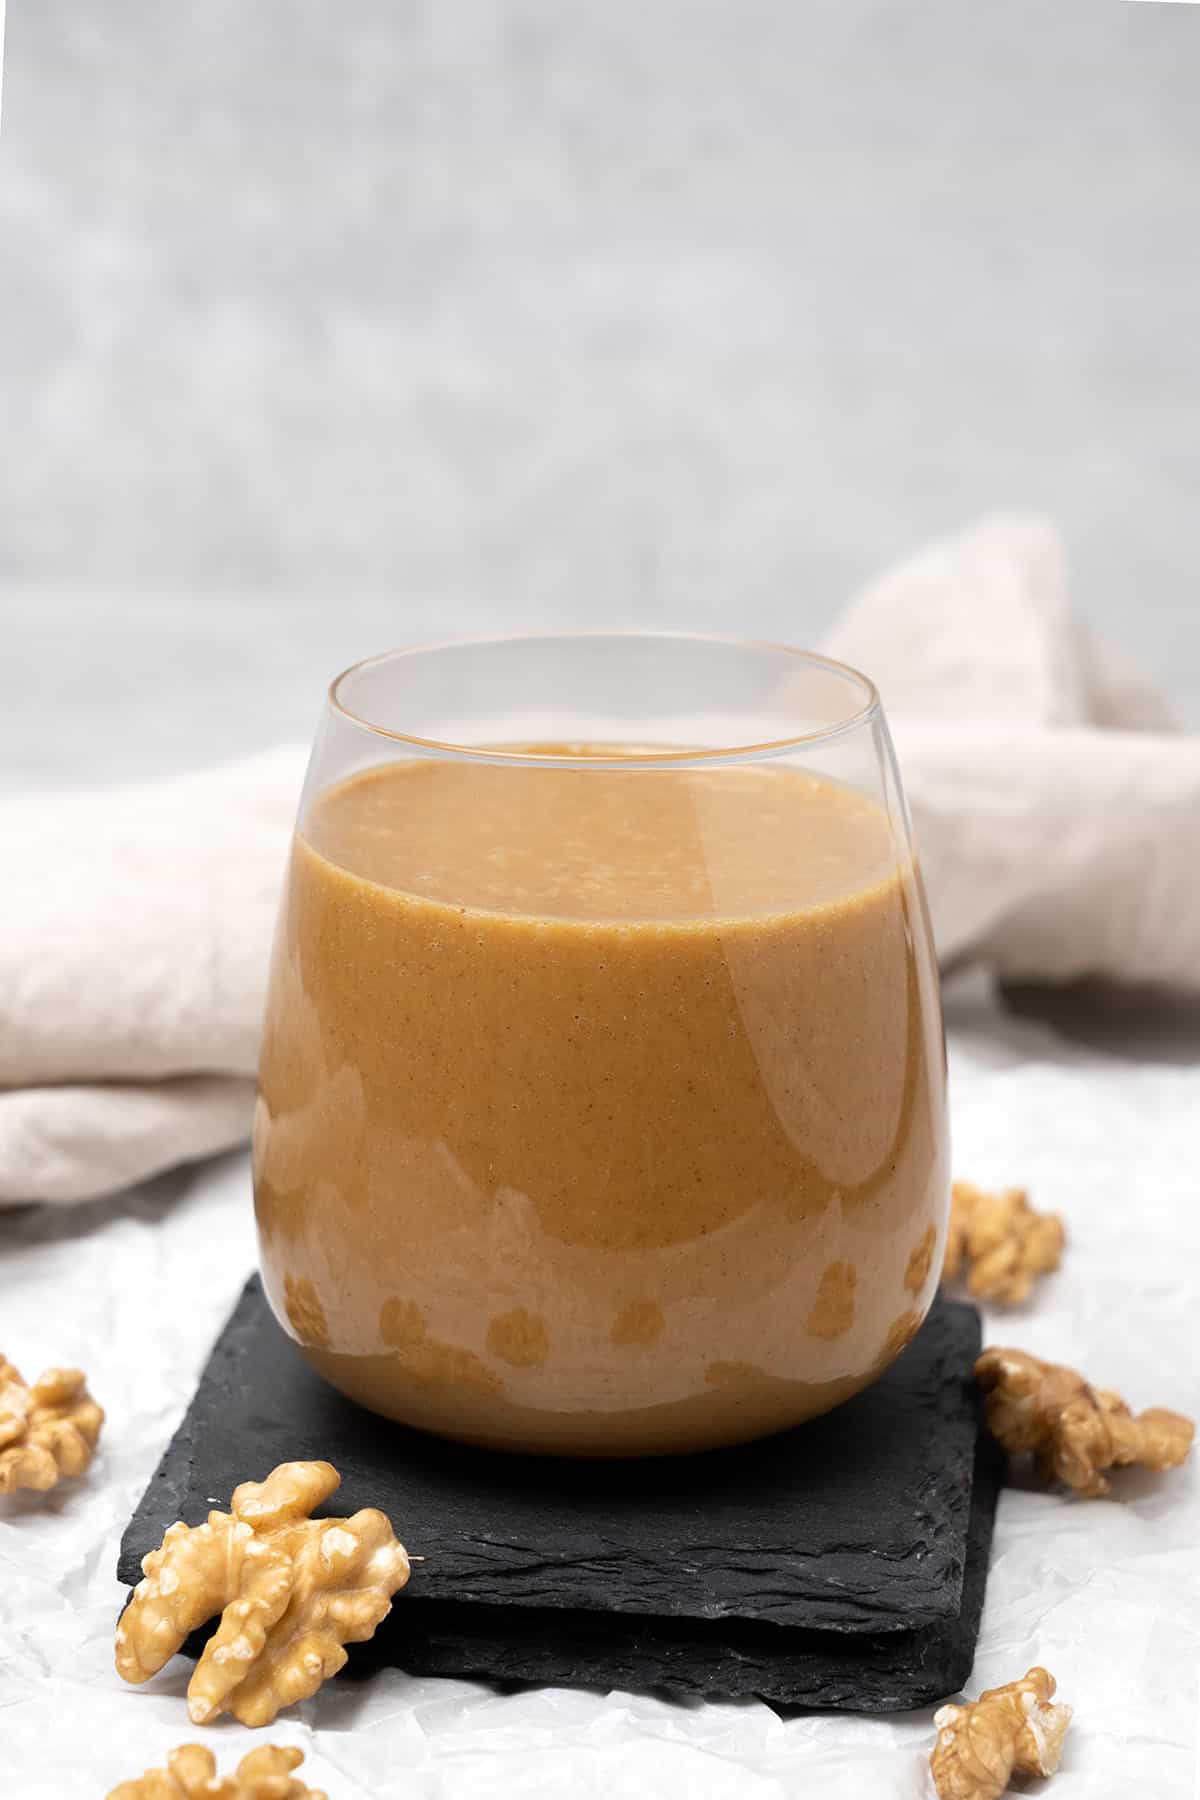
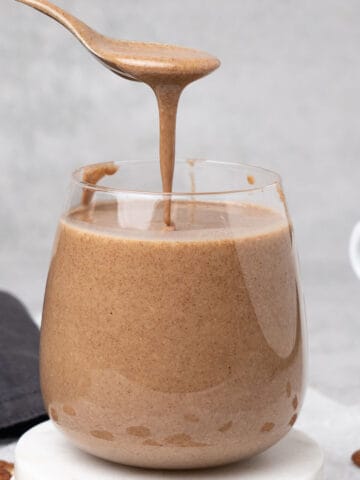
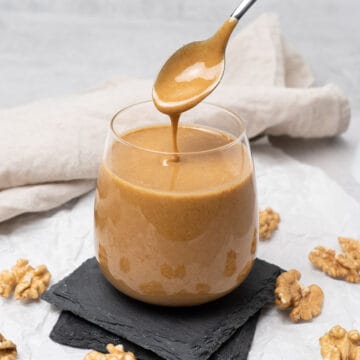
With this easy 2-step recipe learn how to make walnut butter that turns out super creamy, silky smooth, and absolutely delicious in just 20 minutes! Perfect for spreading on your favorite toast, topping oatmeal, or using in other recipes, this homemade nut butter is nutritious and super easy to make with some roasted walnuts and a powerful blender!
Jump to:
- 📖 Why make homemade walnut butter?
- 📖 What type of walnut to use to make homemade walnut butter?
- 📖 Smooth walnut butter vs. Crunchy walnut butter
- 🌟 Why this is the best recipe
- 📝 Ingredient notes
- 🥣 Equipment notes to make homemade walnut butter
- 👩🍳 How to make this recipe
- ✨ Flavor variations
- 🎓 Expert tips
- ❓Walnut Butter Recipe FAQs
- 🍰 Walnut Butter Uses
- More nut butter
- Walnut Butter
📖 Why make homemade walnut butter?
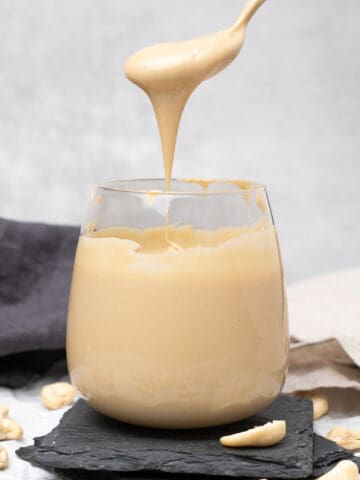
Walnut butter is not as always easy to find in the grocery store as Cashew Butter, so you may have even asked yourself does walnut butter exist? The answer is yes, 100%! DIY walnut butter is ridiculously easy to make and much healthier with no added sugar or preservatives.
Not to mention, it’s probably cheaper too. Plus there is nothing like the taste of creamy homemade nut butter.
📖 What type of walnut to use to make homemade walnut butter?
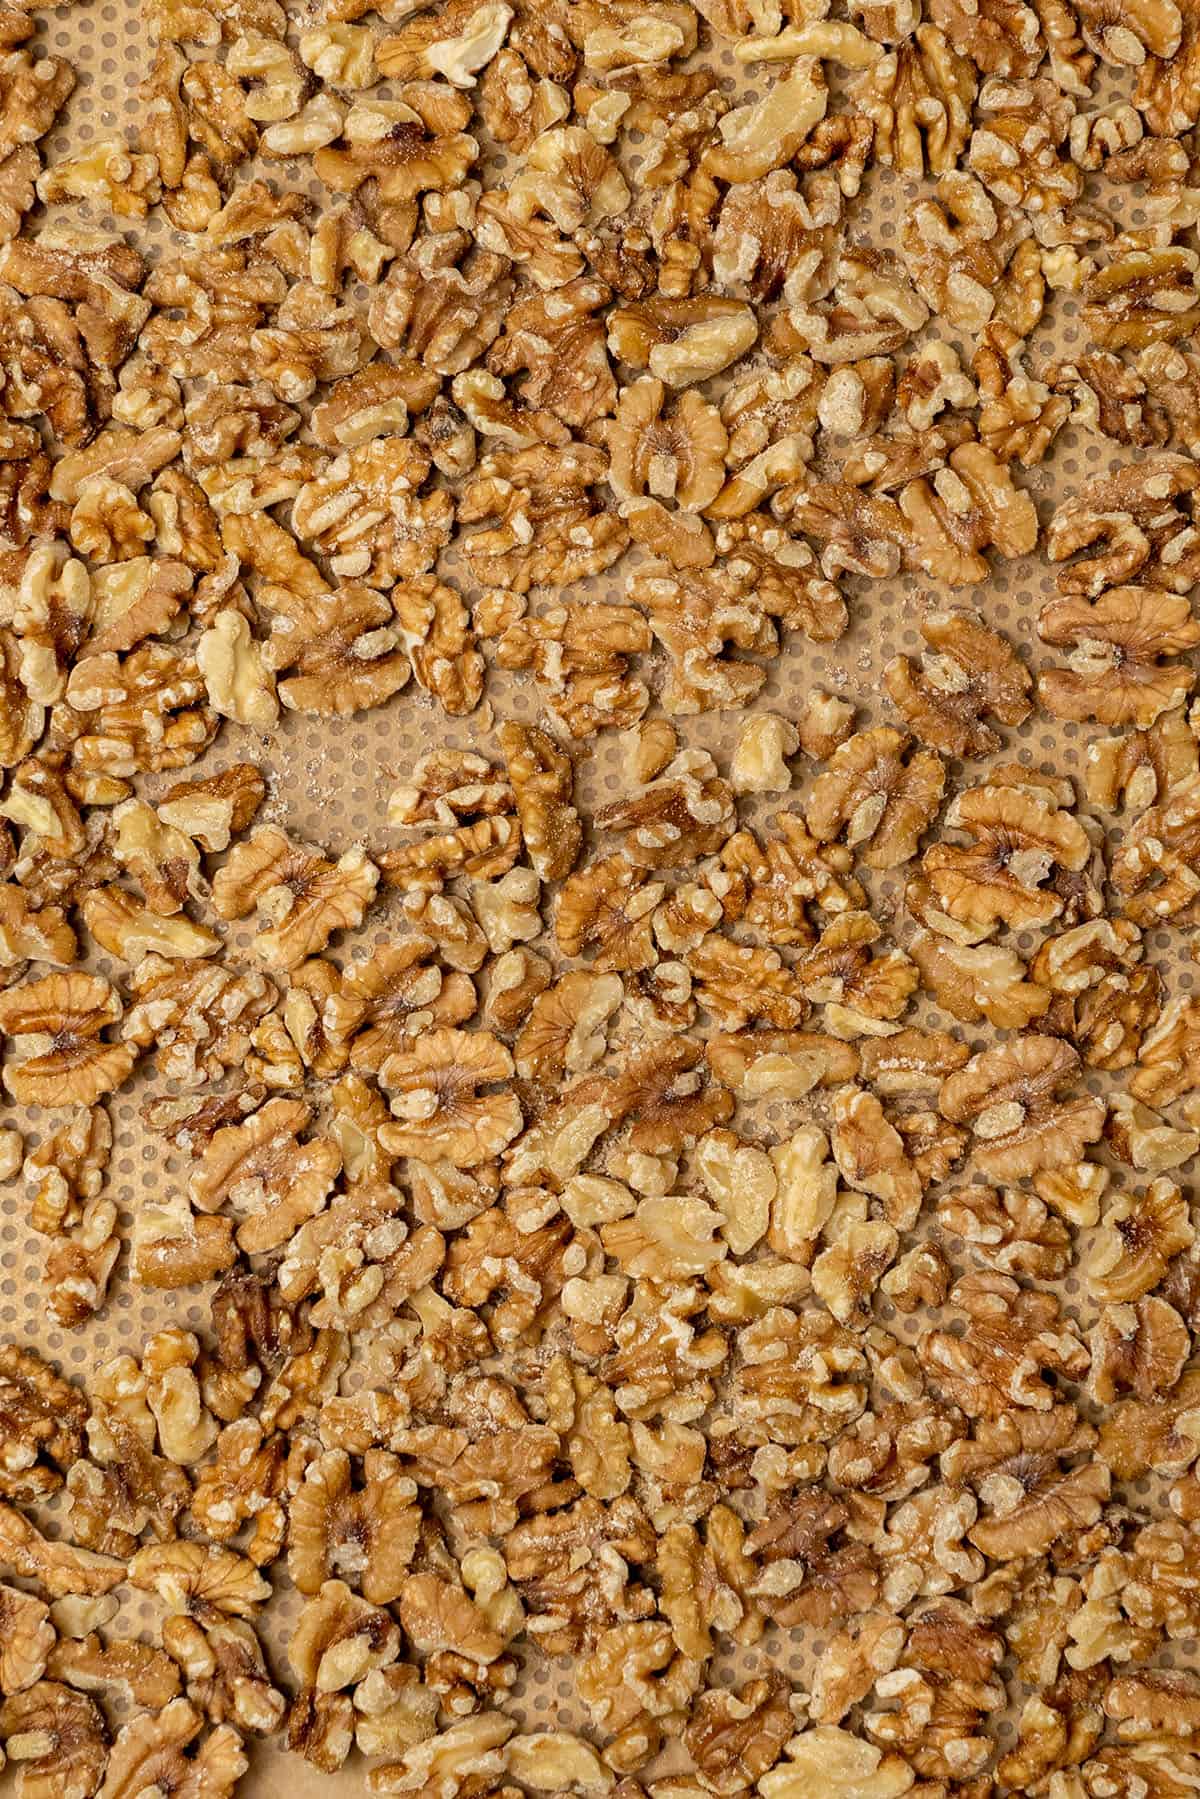
When it comes to making one ingredient walnut butter, roasted walnuts are the way to go! When you toast walnuts it releases all their natural oils, which enhances their natural flavor and makes them much easier to blend into nut butter. However, you need to roast them yourself. Store-bought pre-roasted walnuts aren’t the same.
📖 Smooth walnut butter vs. Crunchy walnut butter
Both smooth and crunchy walnut butter are super yummy and simple to make! The only difference between them is that one is crunchy and requires one extra step to make.
To make velvety smooth nut butter just follow the directions of the recipe below. But to make crunchy walnut butter you need to remove about a third of the walnuts from the blender before they are completely processed. They should still be crumbly and not yet creamy. Then, just process the rest of the walnuts in the blender until they are smooth like butter, and then mix together with the chunky walnuts you set aside. Now, you’ve got homemade crunchy walnut butter.
🌟 Why this is the best recipe
Quick and easy – How to make homemade walnut butter? Just use this simple 20-minute one ingredient recipe! You only need some raw walnuts and a high-speed blender to whip together a delicious batch of this creamy nut butter.
Healthy and delicious – This silky smooth nut butter not only tastes amazing but it’s good for you too! Walnuts are rich in antioxidants, Omega-3s, and good for your gut health. Walnut butter is naturally gluten-free and vegan.
Super versatile ingredient – Once the nut butter is made, it can be used to top anything from toast to oatmeal to cake. And just like peanut butter, this nut butter can also be added to other recipes like sauces, energy bites, and even fancy desserts.
📝 Ingredient notes
You only need one ingredient to make this homemade walnut butter recipe! Just some raw unsalted walnuts. That’s it! Nothing more or less. Yet, use organic walnuts if possible for the best flavor. And you can buy pre-toasted walnuts, but the results are not quite the same.
🛒 You’ll find detailed measurements for all ingredients in the printable version of the Recipe Card at the bottom of this post
🥣 Equipment notes to make homemade walnut butter
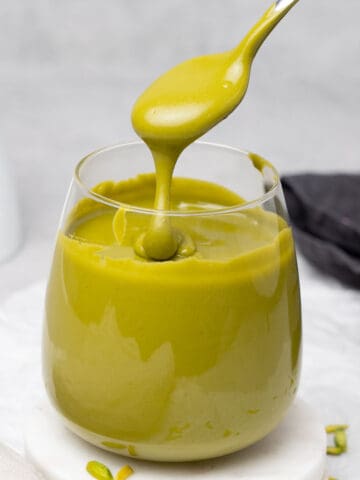
Just like making Pistachio Butter this homemade roasted walnut butter recipe is not complicated at all! However, you will need a pretty powerful blender when making nut butter recipes. A regular blender will not work and possibly just burn down. They just can’t handle nuts. So it’s best not to even try it!
I use my Bosch VitaBoost High Speed Blender 1600 W to do the job, which turns the roasted nuts into nut butter in just a few minutes. Other good options are Vitamix VM0197 Explorian Blender and the Ninja SS151 TWISTi Blender DUO, which are both powerful enough to puree the walnuts into smooth deliciousness. And a rubber spatula makes scraping down the sides of the blender a breeze!
But almost just as important as having a blender that is powerful enough to process nuts, it’s important to use a digital scale to weigh the walnuts and a digital oven thermometer to ensure that you are roasting them at the right temperature.
👩🍳 How to make this recipe
If you’ve ever wondered, how to make walnut butter in a blender? This is your chance to learn. Just follow these 2 easy steps and it will turn out perfect!
1. How to roast walnuts
- Preheat the oven to 180 C / 356 F (no fan).
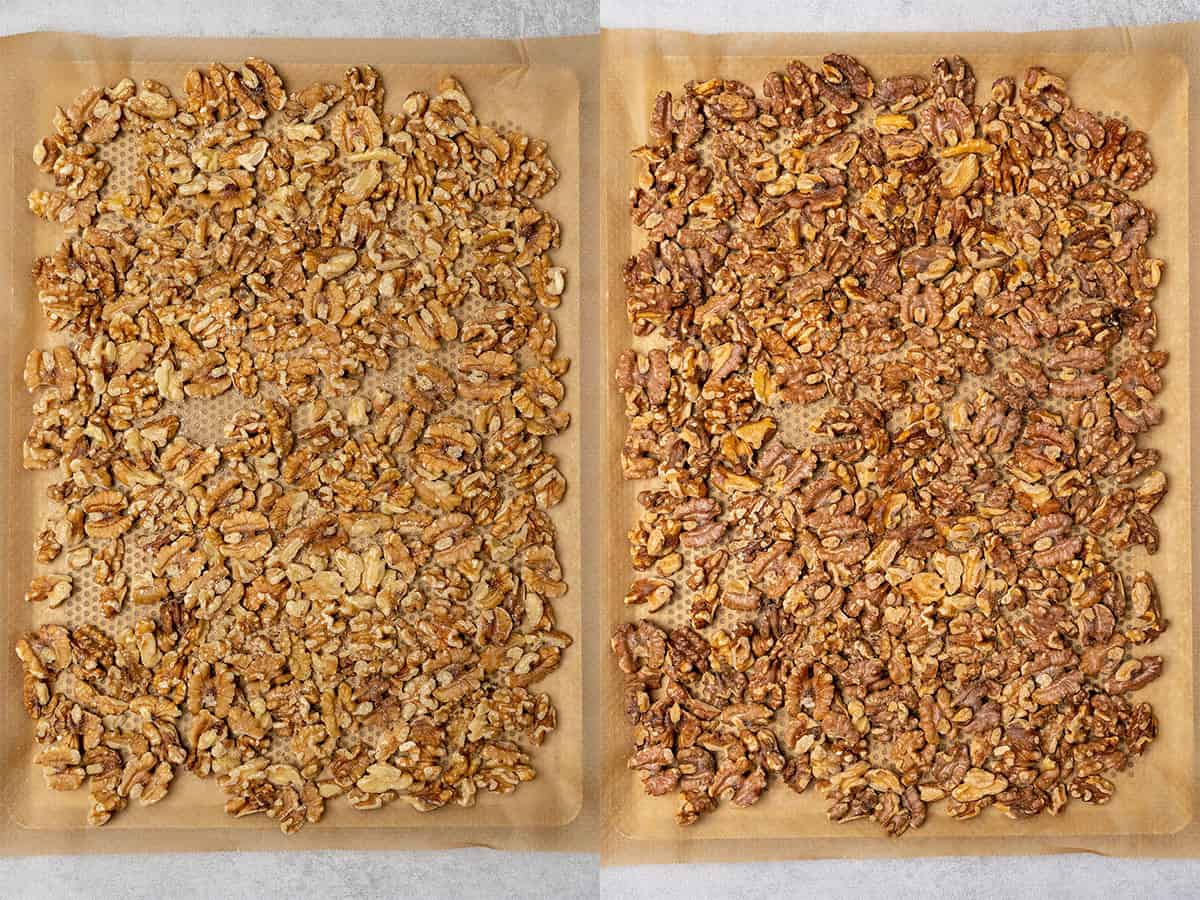
- Spread the walnuts out in a single layer on a baking sheet. Then toast them for 10 to 12 minutes or until they are slightly brown and fragrant.
- Allow the walnuts to cool to room temperature before moving on to the next step.
💡 Top Tip: Stir and flip the walnuts over halfway through roasting so that they toast more evenly on all sides.
2. How to make walnut butter
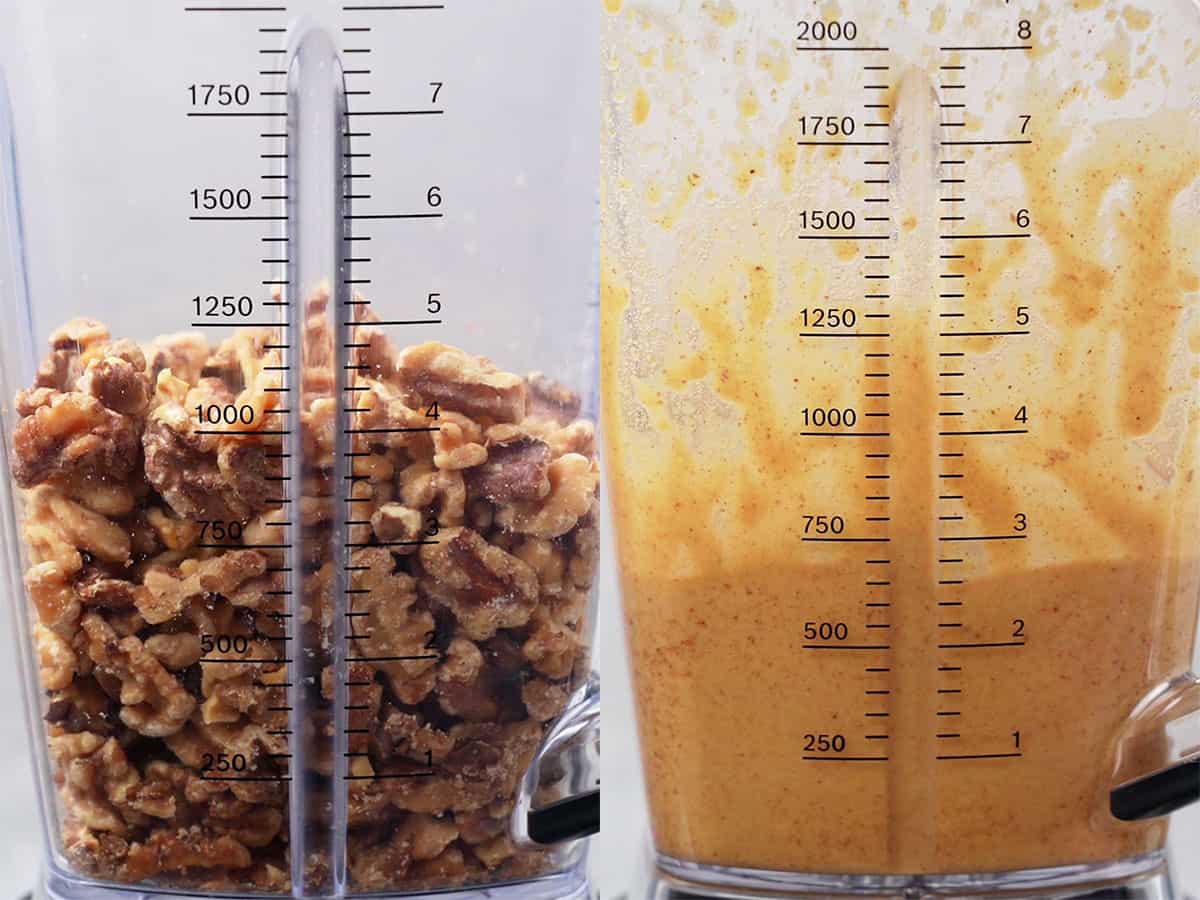
- Process the toasted walnuts on high power in your blender or food processor, stopping every 30 to 60 seconds to scrape down the sides of the machine.
- The walnuts will first process into crumbs and then turn into a paste before they become a creamy runny liquid consistency.
- Depending on the power of your machine, making nut butter can take anywhere from 2 to 10 minutes.
- Once you’ve reached your desired texture, you can add a pinch of salt, sugar, or any spices you like to the nut butter to balance the flavor and mellow out any bitterness.
Nut butters, including this walnut butter should be stored refrigerated in airtight container.
💡 Top Tip: Use the right quantity of nuts for your machine. If needed, you can even make the nut butter in batches.
✨ Flavor variations
One ingredient walnut butter is perfect just the way it is, but it’s also super easy to mix in other ingredients. However, you should add any mix-ins after the nut butter is made and a little at a time to get the flavor just right.
Chocolate: Add 1 to 2 tablespoons of cocoa powder and then sweeten to taste to make chocolate walnut butter. You can also mix in some mini chocolate chips for chunkiness or melted chocolate for the ultimate chocolatey walnut spread experience.
Vanilla: Make some vanilla flavored nut butter by mixing in a bit of pure vanilla extract or vanilla bean paste. Vanilla sugar also is another option that will work.
Maple Syrup: You can easily make maple walnut butter by mixing in a little maple syrup. Then add a dash of cinnamon.
Espresso Powder: If you add a bit of finely ground espresso you will have coffee-flavored nut butter. Then add a bit of chocolate and it becomes mocha flavored.
Dehydrated Fruit: Blend in some ground freeze-dried apples, bananas, or strawberries to make it fruit-flavored.
Pumpkin Spice: Stir in a bit of pumpkin pie spice and sweetener to make pumpkin spiced walnut butter.
Ground Cinnamon: It’s super easy to make cinnamon walnut butter with some ground cinnamon. A pinch of nutmeg and ground ginger is yummy too.
Coconut: Make a tropical-tasting nut butter by stirring in some finely grated coconut and a pinch of coconut sugar.
Seeds: Turn the nut butter into a superfood by adding some chia seeds, hemp seeds, or flax seeds.
Truffle: Add a bit of truffle oil and dried thyme to make a savory nut butter to eat with cheese and crackers.
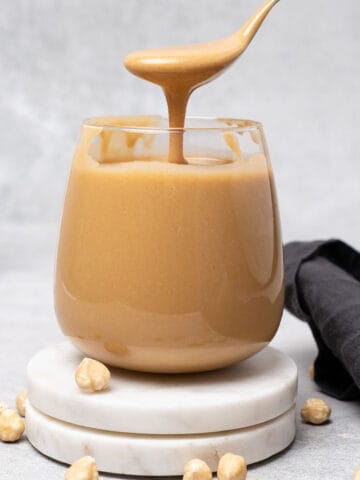
Nuts: Use two different kinds of nuts! For example, mix it with Hazelnut Butter or Pecan Butter.
🎓 Expert tips
- Toasting the walnuts helps to release their oil, which makes them more flavorful and much easier to process than raw walnut butter. Do not skip this step.
- Set a timer when roasting walnuts to ensure that you don’t burn them. You can not make tasty nut butter with charred walnuts.
- You can also toast the nuts in a dry pan on the stovetop if you prefer.
- You must use a high-speed blender or food processor to make nut butter or the machine will burn down. For example, mine is 1600kw.
- Never process hot walnuts. Doing so can overheat your machine. The nuts must cool to room temperature before they can be turned into butter.
- If your nuts turn into a clump in the blender or they just don’t seem to be pureeing even after 10 minutes, slowly add a bit of coconut oil, water, or maple syrup to loosen them up.
- Use the right quantity of walnuts. If you use too few they will get lost in the blender, but if you use more than 3 to 4 cups it’s hard to process them. This amount varies depending on the size of your machine, so use your best judgment.
- If you like you can remove the skin of the walnuts after roasting them. Just massage the nuts with a clean kitchen towel right after they come out of the oven and the skin should come right off.
- You must add any mix-ins after the nut butter is made. Any additions added before can cause the butter to seize up and not blend well.
❓Walnut Butter Recipe FAQs
Some people think walnut butter is a little bitter. But it’s the skin of the walnuts that adds the bitter taste, not the nuts. So you can remove the skins if you like or just add a bit of sugar and salt to balance out any bitterness.
Yes! Some walnut butter benefits include being a great source of Omega-3’s and are loaded with alpha-linolenic and linoleic acids which are good for heart health and help to decrease inflammation. And it's naturally gluten-free.
When eaten in a reasonable amount walnut butter is considered to be keto-friendly.
Yes! Walnut butter needs to be kept in the fridge in an airtight container and will keep for about 4 to 6 weeks. So if you were wondering, can nut butter be left out? The answer is no.
Yes! You can freeze walnut butter in an airtight container for up to 6 months. Yet, you will need to let it thaw out overnight in the fridge.
🍰 Walnut Butter Uses
What is walnut butter good for? Oh, just about anything you can spread it on! Here are some fantastic ways to incorporate nut butter into your diet and other recipes using walnut butter.
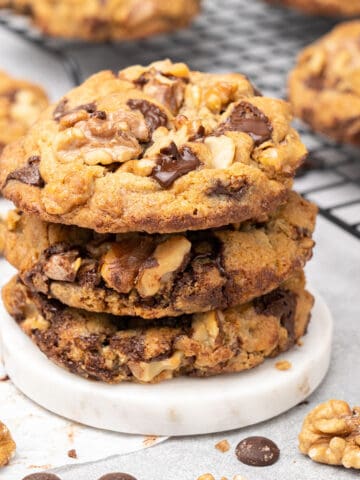
Drizzle some on my yummy Chocolate Chip Walnut Cookies.
Use it in place of hazelnut praline to make a divine Paris Brest. You just need to add a bit of sugar because the praline is 50% sugar and 50% hazelnut.
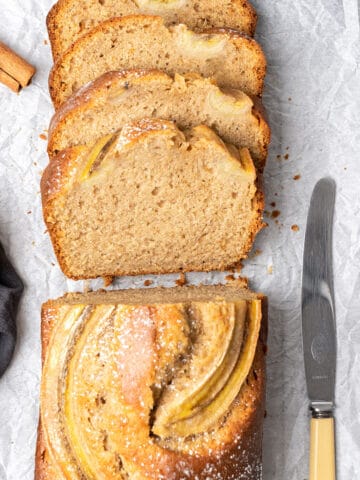
Spread it on a slice of my moist and delicious Banana Bread.
Replace the pistachio paste in my Pistachio Ice Cream Bar recipe and make walnut ice cream bars instead.
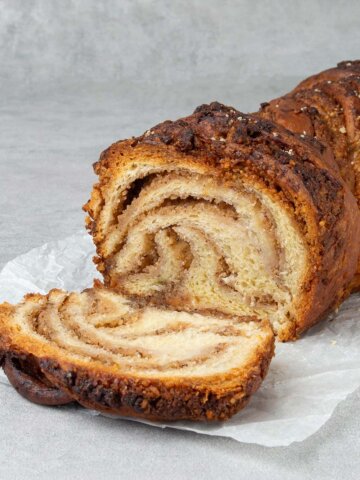
Spread it on some of my soft buttery Walnut Babka Bread.
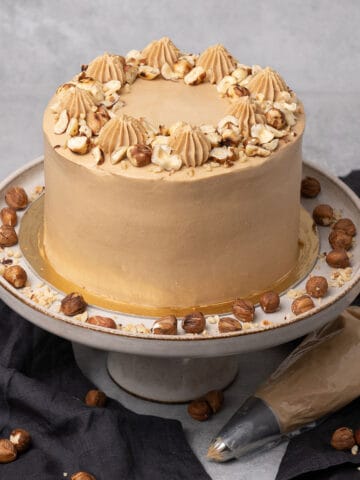
Use some nut butter instead of the praline paste and make a walnut version of my crowd-pleasing Hazelnut Cake. You’ll just need to adjust the amount of sugar used.
Use it as a walnut paste to make walnut ganache similarly as I make my Hazelnut tart.
Add it to yogurt, overnight oats, as a topping for ice cream, or use it in other recipes just like you would use peanut butter.
More nut butter

Have you tried this recipe?
Please leave a 5-star ⭐️⭐️⭐️⭐️⭐️ rating on the recipe card and consider leaving a comment as well! I would love to hear about how your dessert turned out and your feedback also helps other Readers!
Walnut Butter
Ingredients
- 400 g (3½ cups) Walnuts
US customary cup measurement is an indicative figure only. Measure the ingredients with a digital scale by weight (gram). Baking is art but also science which requires precision and accuracy.
Instructions
How to make walnut butter
- Pre-heat oven to 180 C / 356 F ( no fan).
- Spread the walnuts on a baking tray in a single layer and toast them for 10-12 minutes, until fragrant and slightly darker in color.
- Let the walnuts come to room temperature before processing them
- Transfer the walnuts to your blender or food processor and start processing them on high power taking a break every 30-60 seconds. Scrape down the sides with a spatula during the breaks.
- The walnuts will first break into a crumb-like consistency, then into a thick walnut paste, then it will get creamier, followed by a silky smooth liquid texture.
- The process can take anywhere in between 2-10 minutes depending on the power of your machine. For me, it took 2 minutes for super smooth and runny walnut butter.
- I find that adding one or two pinches of salt will balance the flavor and improves the bitterness of the walnut (if there is any). You can also add sugar or other sweetener and spices after you achieved the right consistency on your walnut butter.
How to store homemade walnut butter
- Store the walnut butter refrgeirated in an airtight jar for 4-6 weeks.
Notes
- Toasting the nuts helps to release their oil, which makes them more flavorful and much easier to process than raw walnut butter. Do not skip this step.
- You must use a high-speed blender or food processor to make nut butter or the machine will burn down. For example, mine is 1600kw.
- Never process hot walnuts. Doing so can overheat your machine. The nuts must cool to room temperature before they can be turned into butter.
- If your nuts turn into a clump in the blender or they just don’t seem to be pureeing even after 10 minutes, slowly add a bit of coconut oil, water, or maple syrup to loosen them up.
Leave a Reply