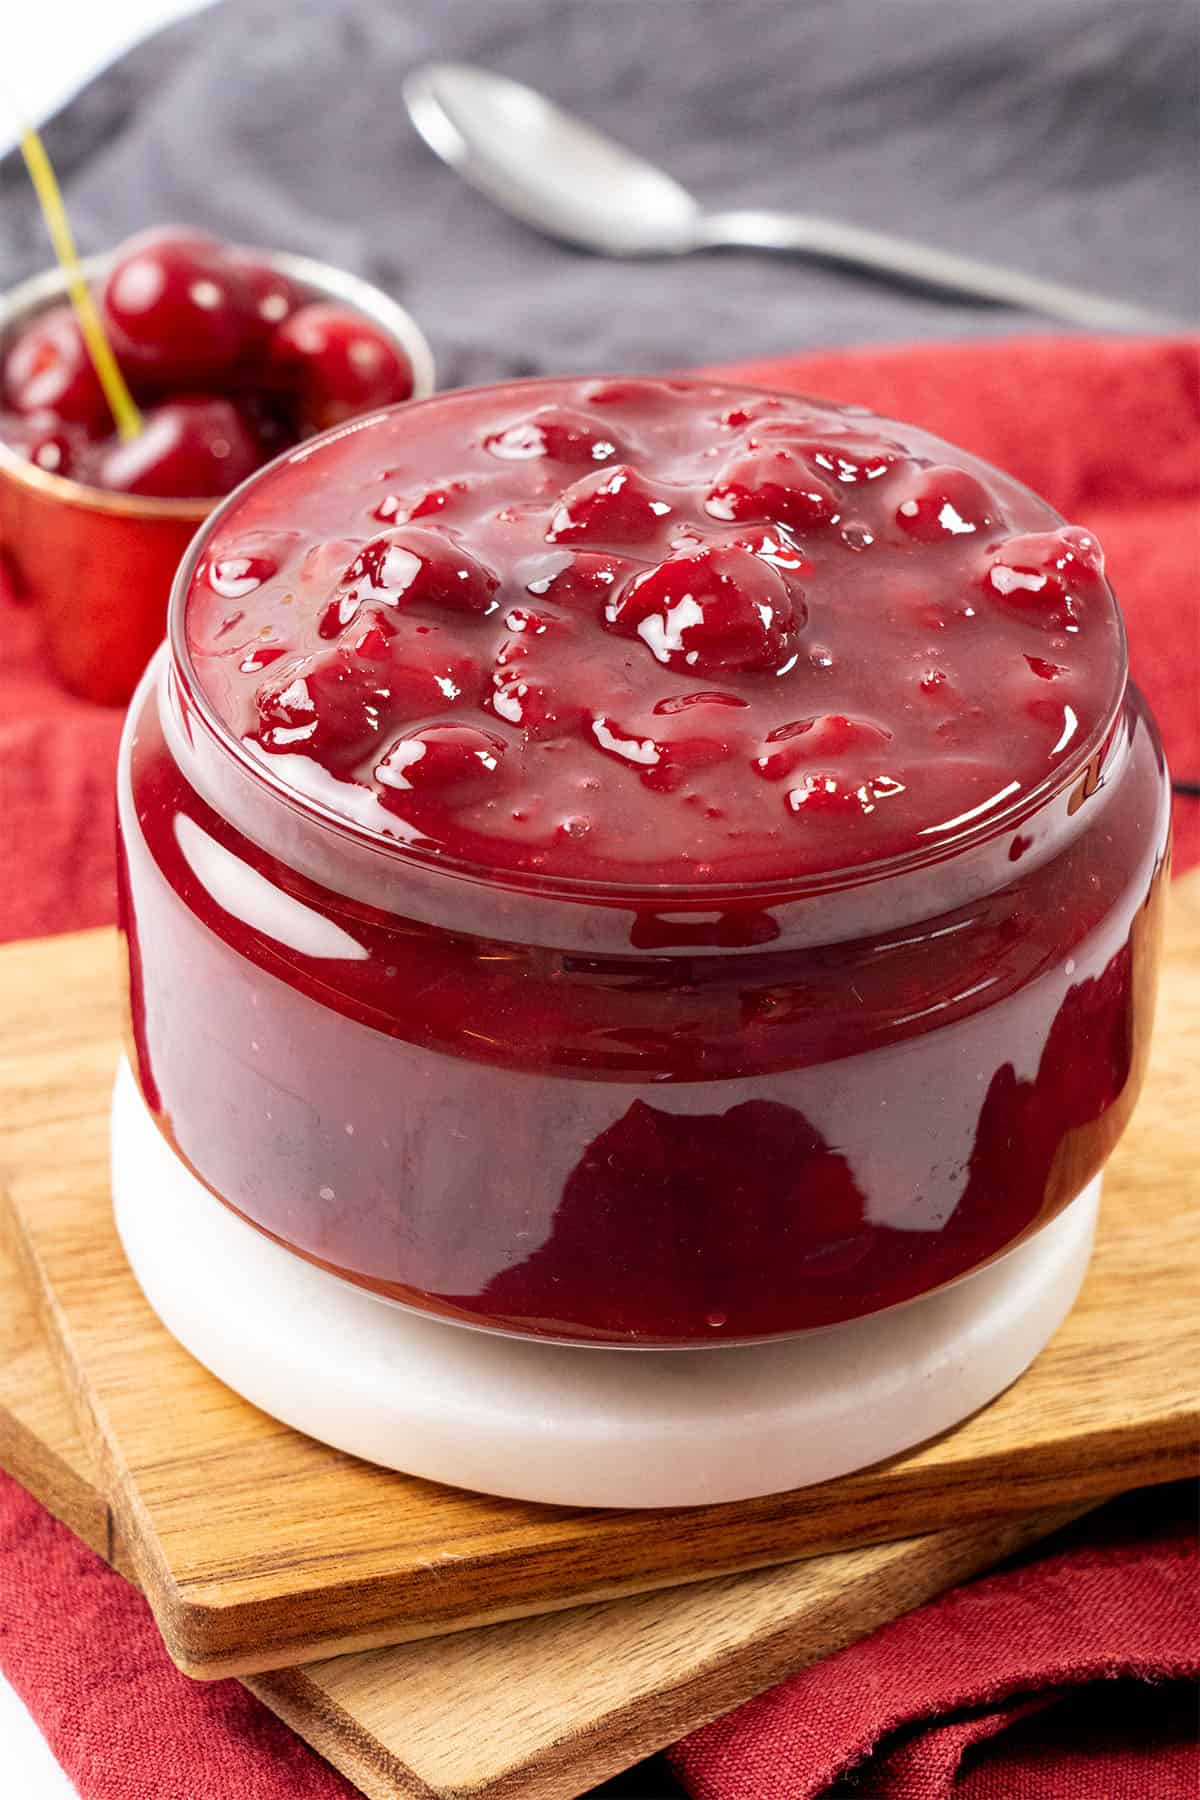
This homemade cherry pie filling recipe is a fast, foolproof way to capture the sweet-tart flavor of fresh cherries in one spoonable filling or sauce. It comes together in just 10 minutes with a handful of simple ingredients and can be used for pies, cakes like this Cherry Heaven on Earth Cake, pastries, as an ice cream topping, or however you wish. Creating a homemade pie filling has never been easier.
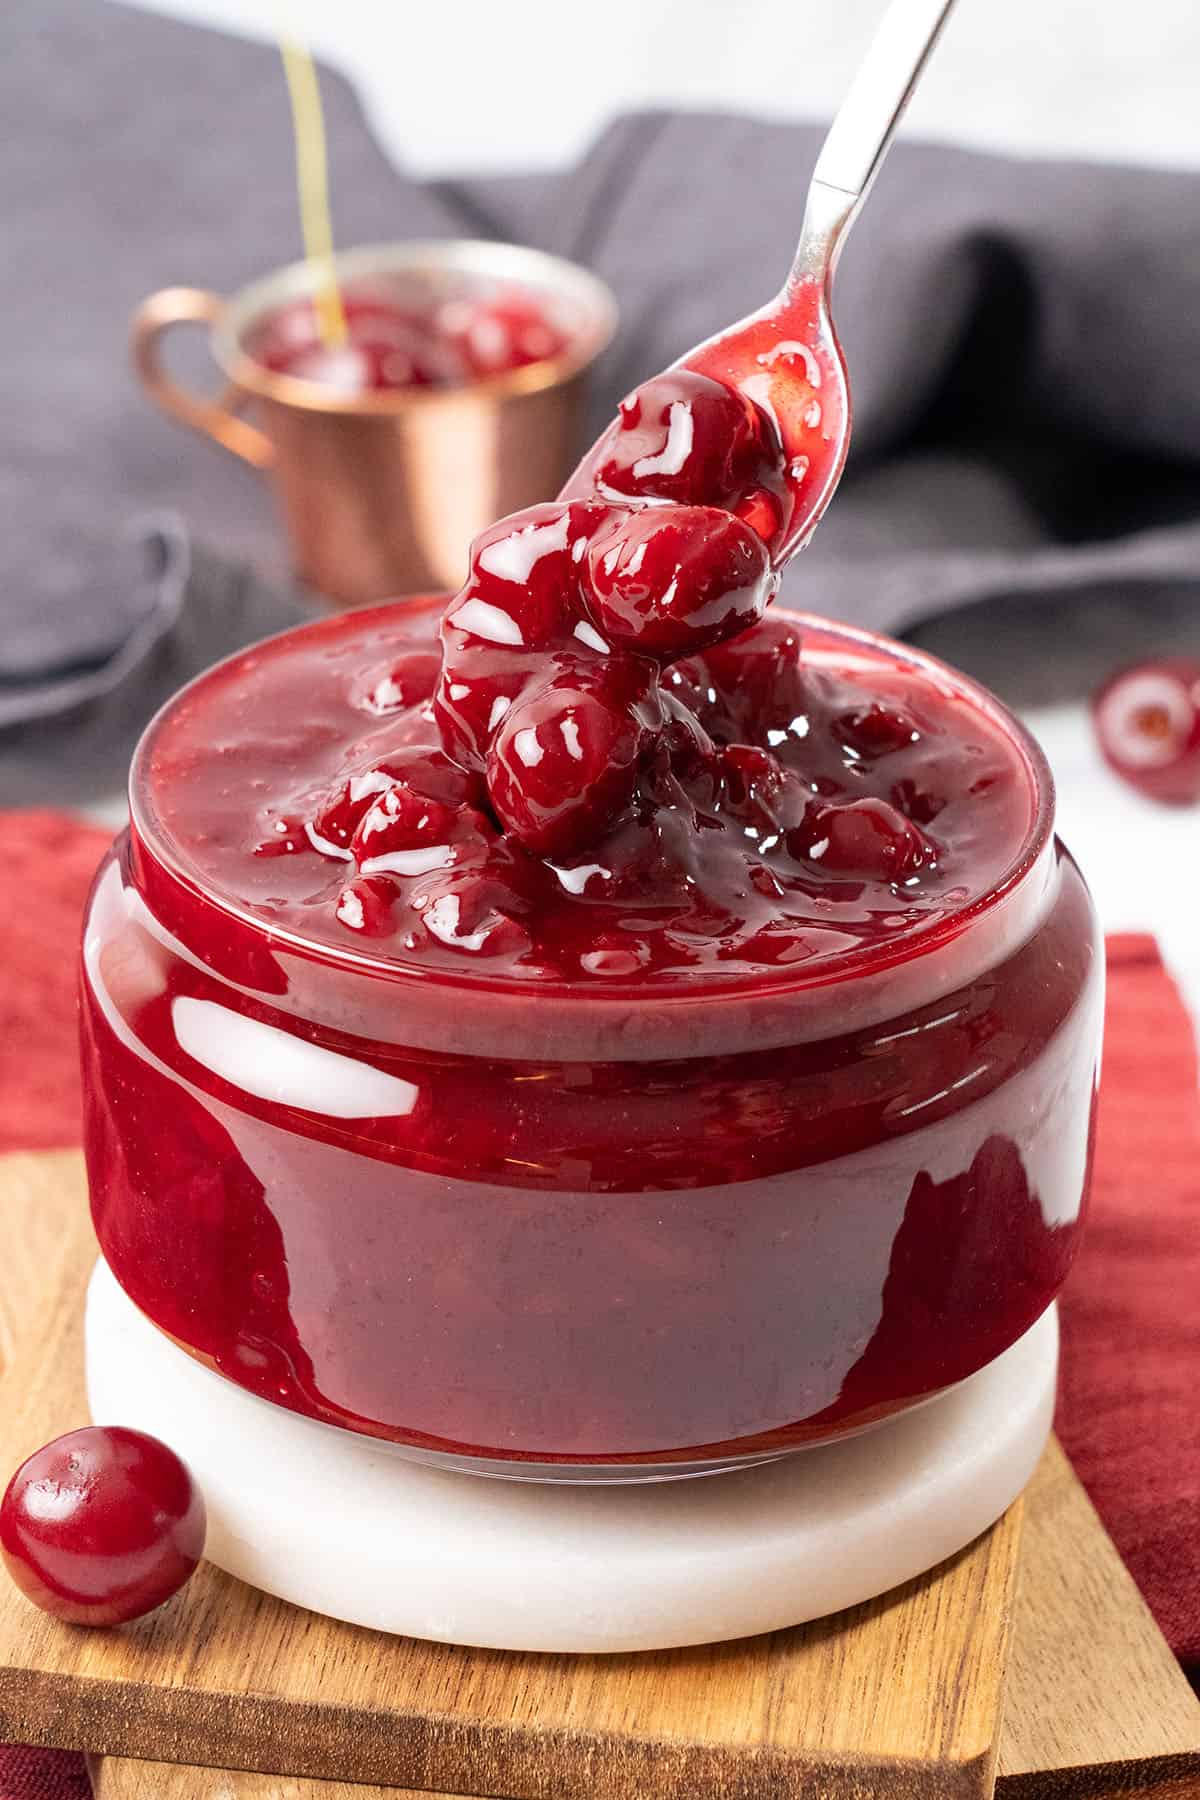
Best homemade cherry pie filling recipe
Making this cherry filling recipe on the stovetop means the entire house will have a wonderful, delicious scent. No sugared-up canned fruit here. Only the real deal will do.
With just a few basic ingredients and minimal prep time, you can make a pie filling that delivers the same rich, bakery-style flavor at home, if not better! Once you learn how to make this homemade cherry pie filling, you'll never buy premade cherry pie filling again. The printable recipe card shows just how simple it is!
While it's called pie filling, don't let that stifle your dessert creativity. You can spoon it over ice cream, add it as a topper to oatmeal, or use it as a filling for homemade donuts. The sky is the limit on how to use this sweet cherry filling, and it's up to you to test and try all the ways!
Katalin's key take on whether to use fresh or frozen cherries to make homemade cherry pie filling
People always ask whether it's a better idea to use fresh or frozen cherries for my homemade pie filling. Truthfully, both work just fine. It's wonderful to use fresh cherries when they're in season and ripe, but that's not always the case during the colder months.
For my own preference, I use fresh cherries in the summer because I love the flavor and texture. I find I need to add a bit of water when cooking fresh cherries, since they don't release as much liquid as frozen cherries do.
Frozen cherries are fine to use during winter. Please don't spend a crazy amount on fresh cherries. But be aware that they will release more water when cooking because they are frozen. It's fine and normal, but it just means you don't want to add any excess water during cooking.

10 minutes homemade cherry pie filling
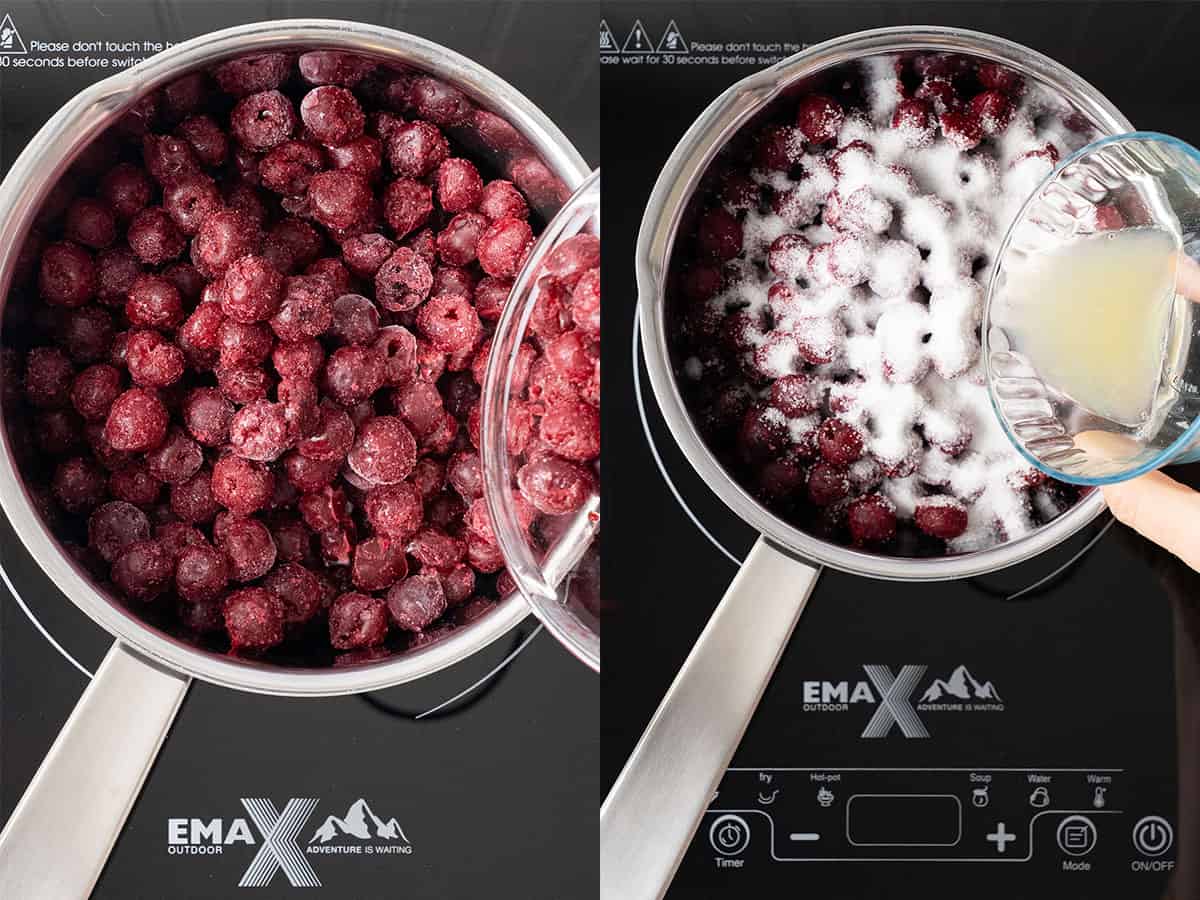
It's hard to believe that this recipe comes together in just 10 minutes. Start by putting the pitted cherries, granulated sugar, water, and fresh lemon juice into a saucepan. Cook it for about 8 minutes over medium heat. It will slightly thicken over time, but the final thickening occurs after this, with the help of the cornstarch.
If you don't have fresh cherries and are using frozen, leave out the extra water. The frozen fruit will release more liquid as it thaws and cooks, so adding more water will make it too watery.
Once the mixture has slightly thickened, grab a spoon and do a quick taste test. Be careful, it will be hot. This is your chance to add more sugar if you want it to be sweeter. Add and stir to dissolve.
Next, grab a small bowl and stir together a small amount of water and the cornstarch. This mixture will help thicken the filling.
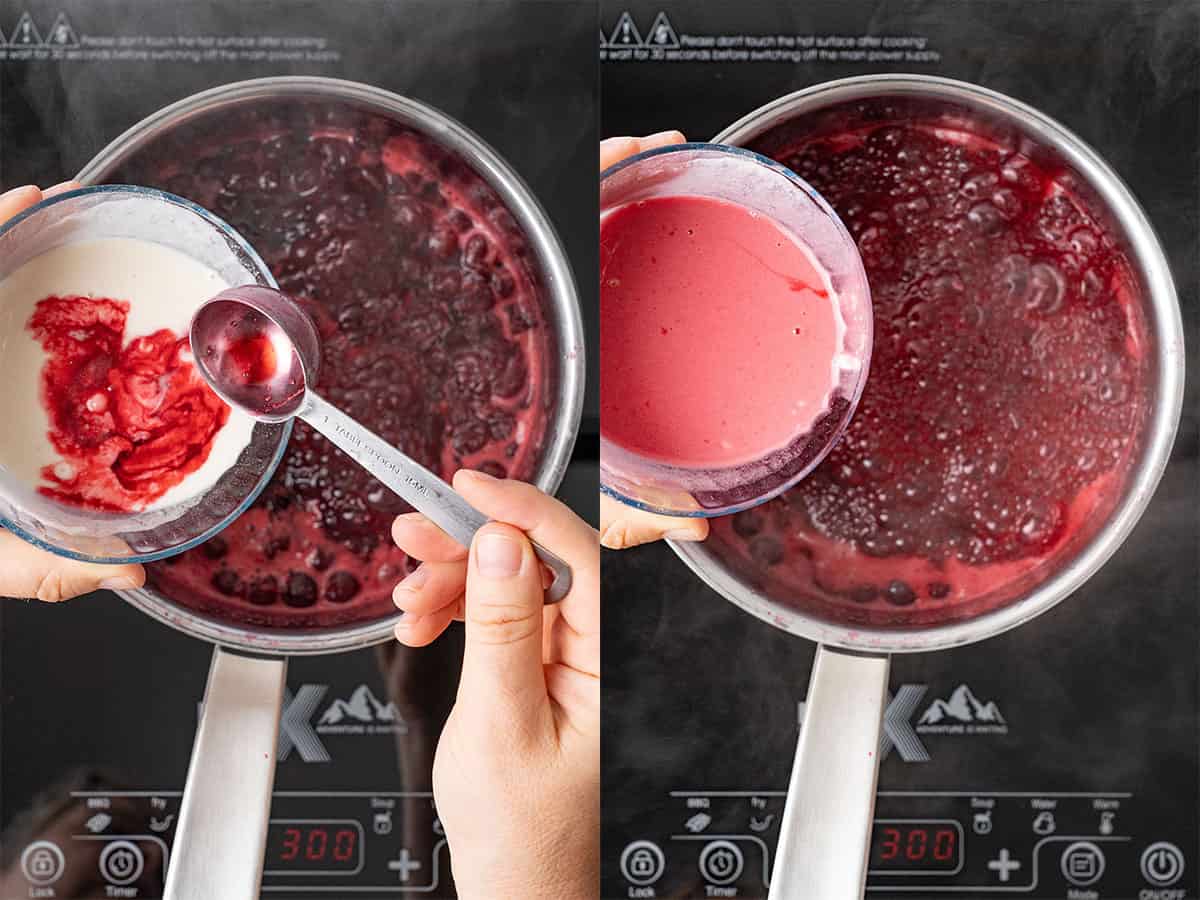
Mix 1-2 tablespoons of the cherry filling sauce into the cornstarch mixture, then add it all back into the pot. Cook for another minute. Be sure to stir continuously so it doesn't burn or stick to the bottom of the pot.
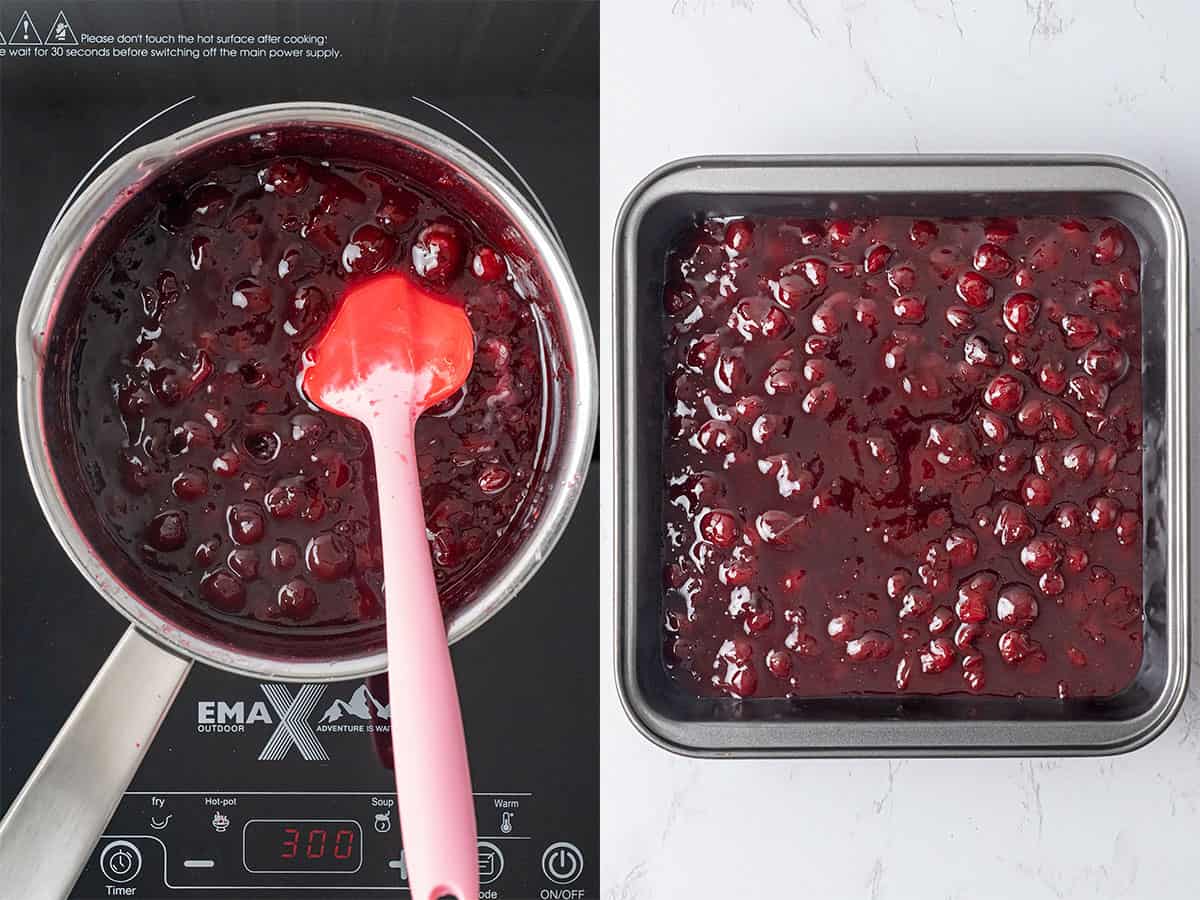
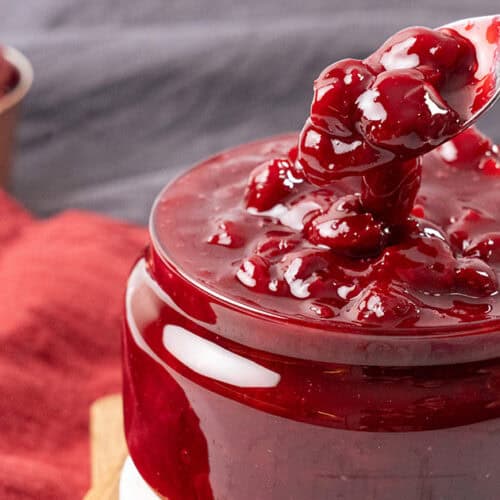
Pay close attention to the thickness of the mixture as you stir. You'll know it's ready when you can run a spatula through the center and the filling parts cleanly, leaving a line on the bottom of the pan that doesn’t immediately fill in.
How to use this homemade cherry pie filling
One of the best parts about making this cherry pie filling is that it's perfect for a pie, and just about anything else that you want to use it for. Cherry fans will be obsessed with all the dessert doors that this mixture opens.
It's perfect for adding to my cherry hand pie, great for adding to filled cupcakes, or a yummy topping for Dutch baby pancakes.
You can also drizzle it over ice cream, make stuffed crepes, or stir in milkshakes for a pop of sweetness. Have fun and be creative, as this cherry filling gives you variety. You can even use it as a spread for toast for a simple and fast way to get that fresh cherry flavor.
How to store
This recipe yields 700g / 24 ounces of cherry pie filling, which is slightly more than a standard 21-oz can. This gives you a little extra to taste while still having enough for your pie recipe.
How to store? Let the cherry pie filling cool to room temperature before storing it in a jar with a lid. Keep it refrigerated for up to 7 days.
If you can't consume it within the week, add it to the freezer for longer storage up to 6 months. To thaw, place it in the fridge and give it time overnight.
Try some flavor variations
The great thing about making fruit fillings is that you can swap out and try new flavors.
Try adding a splash of different extracts for flavor, or stir in fresh lemon zest to brighten the sweetness. Almond extract or vanilla extract would be a delicious addition.
You can also mix in other fruits to build layered flavor, such as raspberries for tartness, blueberries for sweetness (see my homemade blueberry filling), blackberries for richness, or strawberries for a softer berry blend.
For chocolate lovers, fold in mini chocolate chips, drizzle in chocolate syrup, or pair the filling with cocoa to create a Black Forest–inspired variation. You can also experiment with coconut, toasted almonds, pecans, or pistachios for added texture and flavor contrast.
For an adults-only twist, stir in some red wine, Grand Marnier, amaretto, whiskey, or rum at the end of cooking!

Expert tips for homemade cherry pie filling
- Avoid rinsing cherries right before cooking, as excess moisture can dilute the filling and prevent it from thickening properly. It's best to rinse and dry them off first.
- Crushing some of the cherries while leaving the rest whole creates a naturally thicker filling with a better balance of smooth and chunky texture.
- Adding a tiny bit of salt can help with sweetness and deepen the cherry flavor without making the filling taste salty.
- If your filling tastes flat, add more lemon juice for a pop of quick flavor.
- For a richer color, avoid aluminum cookware, which can react with acidic fruit and dull the final coloring.
- Each fruit is different, but cooking time might vary; however, you can easily control the texture: cook the mixture a little longer if it’s still runny, or stir in a tablespoon of water or lemon juice if it becomes too thick.
- If you plan to add the filling to a pie, you can make this sauce even thicker, since it will loosen a bit as it heats in the oven. Just pay attention and stir as it thickens, so you don't burn it during cooking.
Try some of my other fruity recipes
If you loved this easy homemade cherry pie filling recipe, make sure you take a look at these other delicious fruity pie recipes:
- Mini Strawberry Pies
- Strawberry Poke Cake
- Peach Cobbler with Pie Crust
- Blueberry Heaven on Earth Cake
Give your oven a break and check out these Top 45+ Best Easy-to-Make No-Bake Pies.
Have you tried this recipe?
Please leave a 5-star ⭐️⭐️⭐️⭐️⭐️ rating on the recipe card and consider leaving a comment as well!
Homemade Cherry Pie Filling Recipe
Equipment
Ingredients
Cherry Pie filling
- 510 g (3½ cups) Cherries pitted, fresh or frozen (if frozen, skip the water)
- 75 g (⅓ cups) Water
- 150 g (½ cups) Granulated sugar more or less depends on sweetness of the cherries
- 2 tablespoons Lemon juice freshly squeezed
- 2 tablespoons Corn starch +2 tablespoons water to mix the corn starch in
US customary cup measurement is an indicative figure only. Measure the ingredients with a digital scale by weight (gram). Baking is art but also science which requires precision and accuracy.
Instructions
Homemade Cherry Pie Filling
- Simmer the cherries with the sugar and lemon juice over medium heat for about 8–9 minutes, stirring occasionally, until the mixture becomes bubbly and slightly thickened. If you are using frozen cherries, omit the water.
- In a small bowl, whisk the cornstarch with 2 tablespoons of water until smooth. Stir one tablespoon of the warm cherry mixture into the cornstarch slurry, then slowly add it back to the saucepan. Cook, stirring continuously, for about 1 minute, until the cherry pie filling thickens.
- Storing: Transfer the cherry filling into jars and allow them to cool completely. Store in the refrigerator for up to 7 days or in the freezer for up to six months.
- Serving: Enjoy the cherry pie filling warm or chilled over waffles, French toast, pancakes, ice cream, cheesecake, muffins, chia pudding, pavlova, and similar desserts. It also works well as a pie or tart filling, or as a layered component in creamy desserts like tiramisu or Heaven on Earth cake.
Leave a Reply