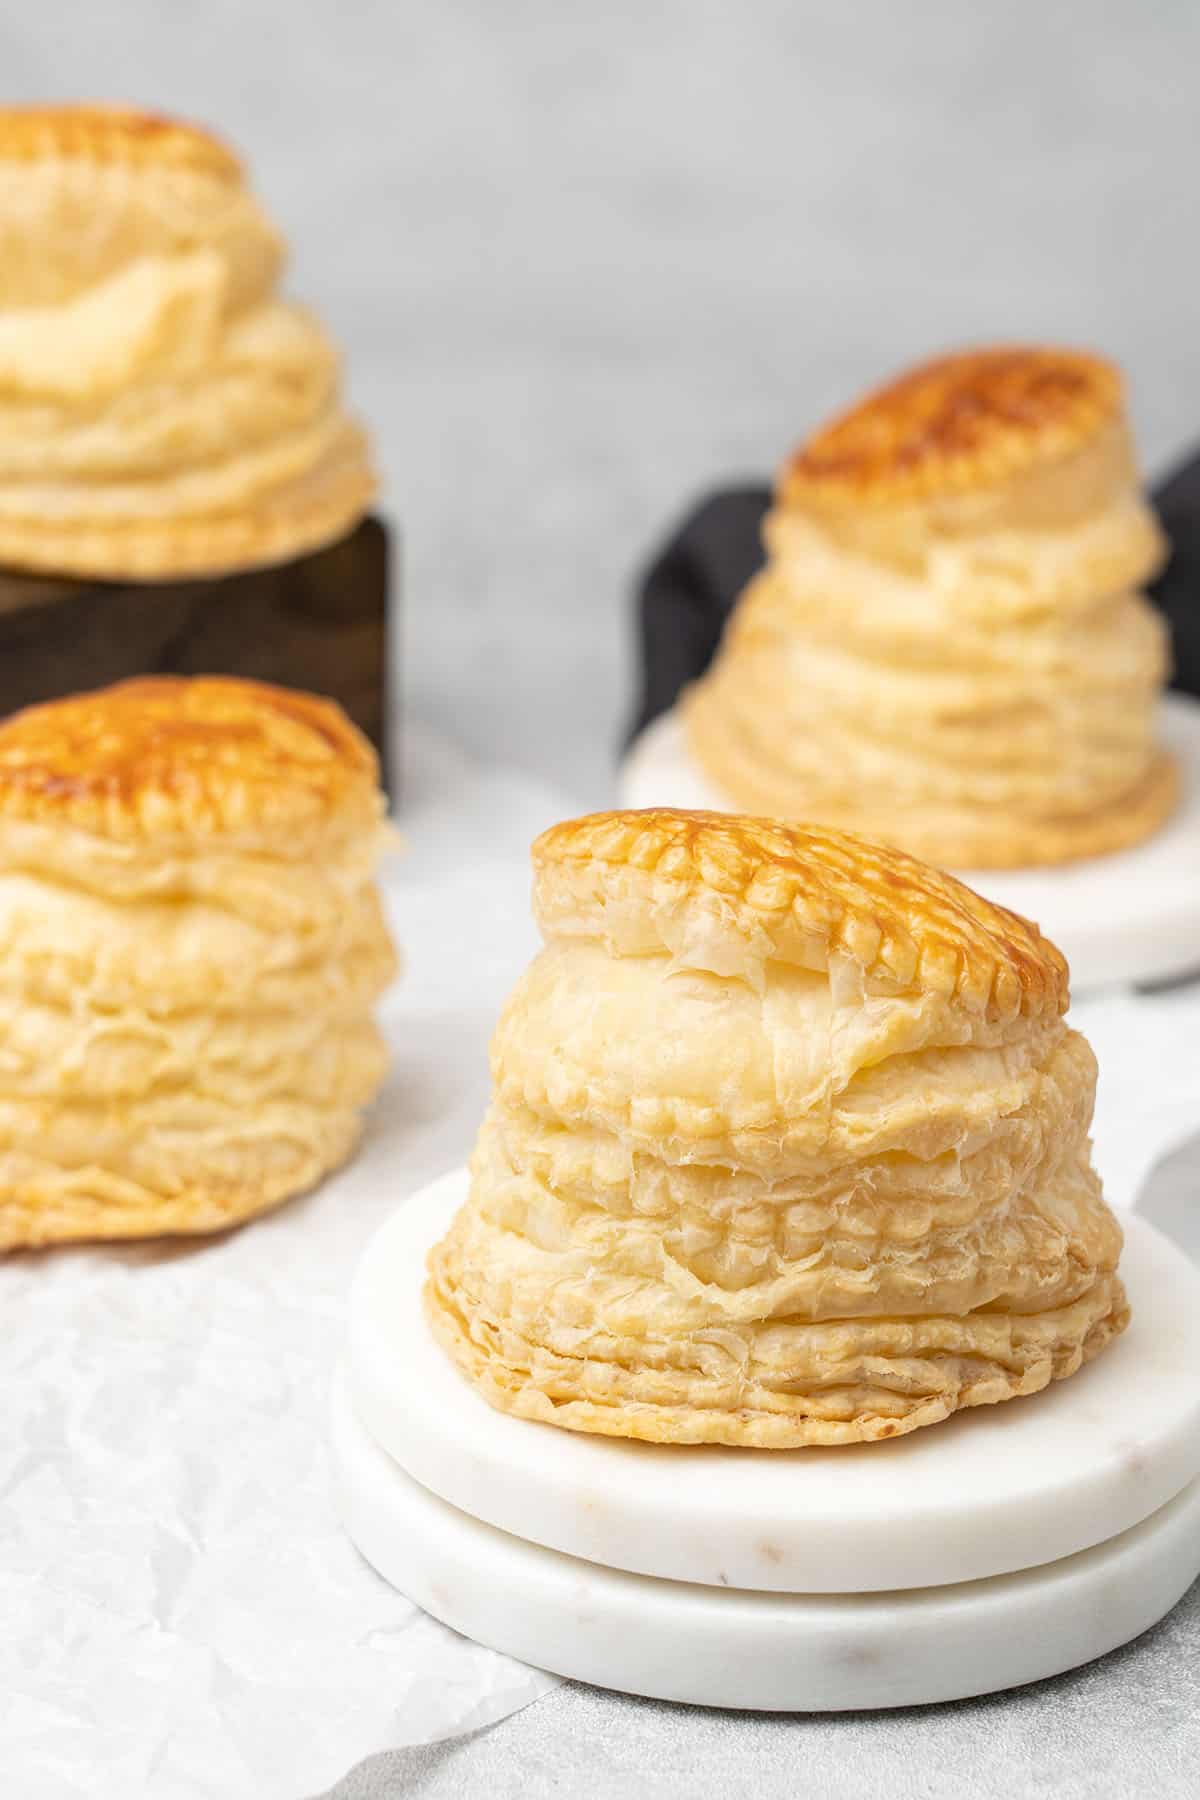
This quick and easy rough puff pastry recipe is perfect for anyone who wants to enjoy the light, crisp buttery layers of puff pastry but doesn't have time to be making puff pastry the traditional way.
Sometimes, we can take a shortcut in baking without a significant compromise on taste, and this is one of those lucky moments. Whilst I love making puff pastry, sometimes I don't have time to make the classic version, and a rough puff pastry tastes just as good, so it's a huge baking hack to learn.
Jump to:
- 💡 What is rough puff pastry?
- 💡 What's the difference between puff pastry and rough puff pastry?
- 💡Is rough puff pastry the same as pie crust?
- 💡How to use rough puff pastry?
- 🌟 Why this is the best rough pastry recipe
- 📝 Ingredient notes
- 👩🍳 How to make this easy rough puff pastry recipe
- Flavor variations & Substitutions
- 🎓 Expert tips on making rough puff pastry
- 🥣 Equipment Notes
- ❓Homemade Rough Puff Pastry FAQs
- 🍰 Recipes using Rough Puff pastry
- Quick & Easy Rough Puff Pastry (VIDEO)
💡 What is rough puff pastry?
Rough puff pastry (sometimes called a ruff puff) is a form of puff pastry that is easier to make than classic puff pastry but still achieves similar flaky results and delicious taste.
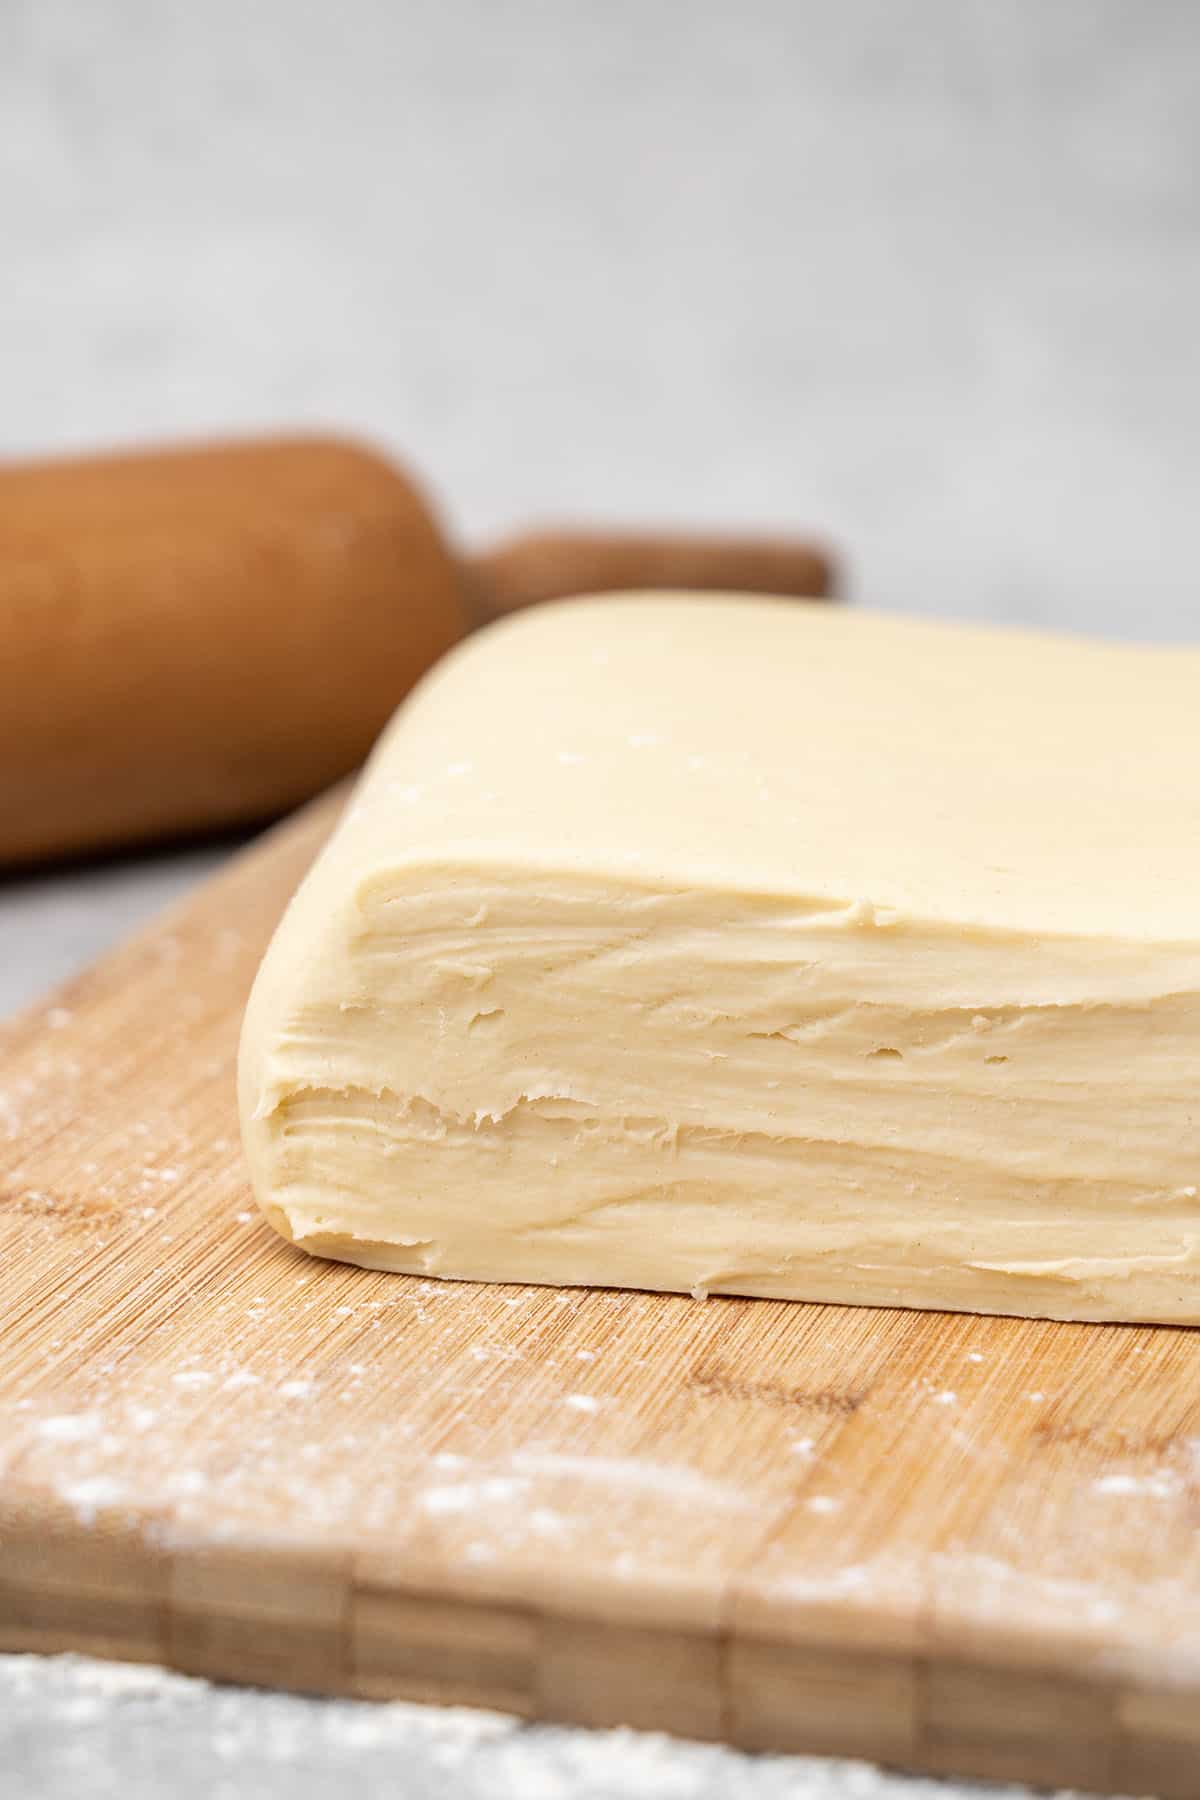
Instead of creating a butter block that is laminated into a lean dough by rolling and folding, butter is mixed into the flour in the first stage of the recipe before being rolled out and folded from there. If you've ever made puff pastry, you'll know it takes a long time and is quite the challenge. Rough puff pastry is homemade puff pastry, the easy way. You could call it a cheat version of puff pastry! But without any compromise on taste.
💡 What's the difference between puff pastry and rough puff pastry?
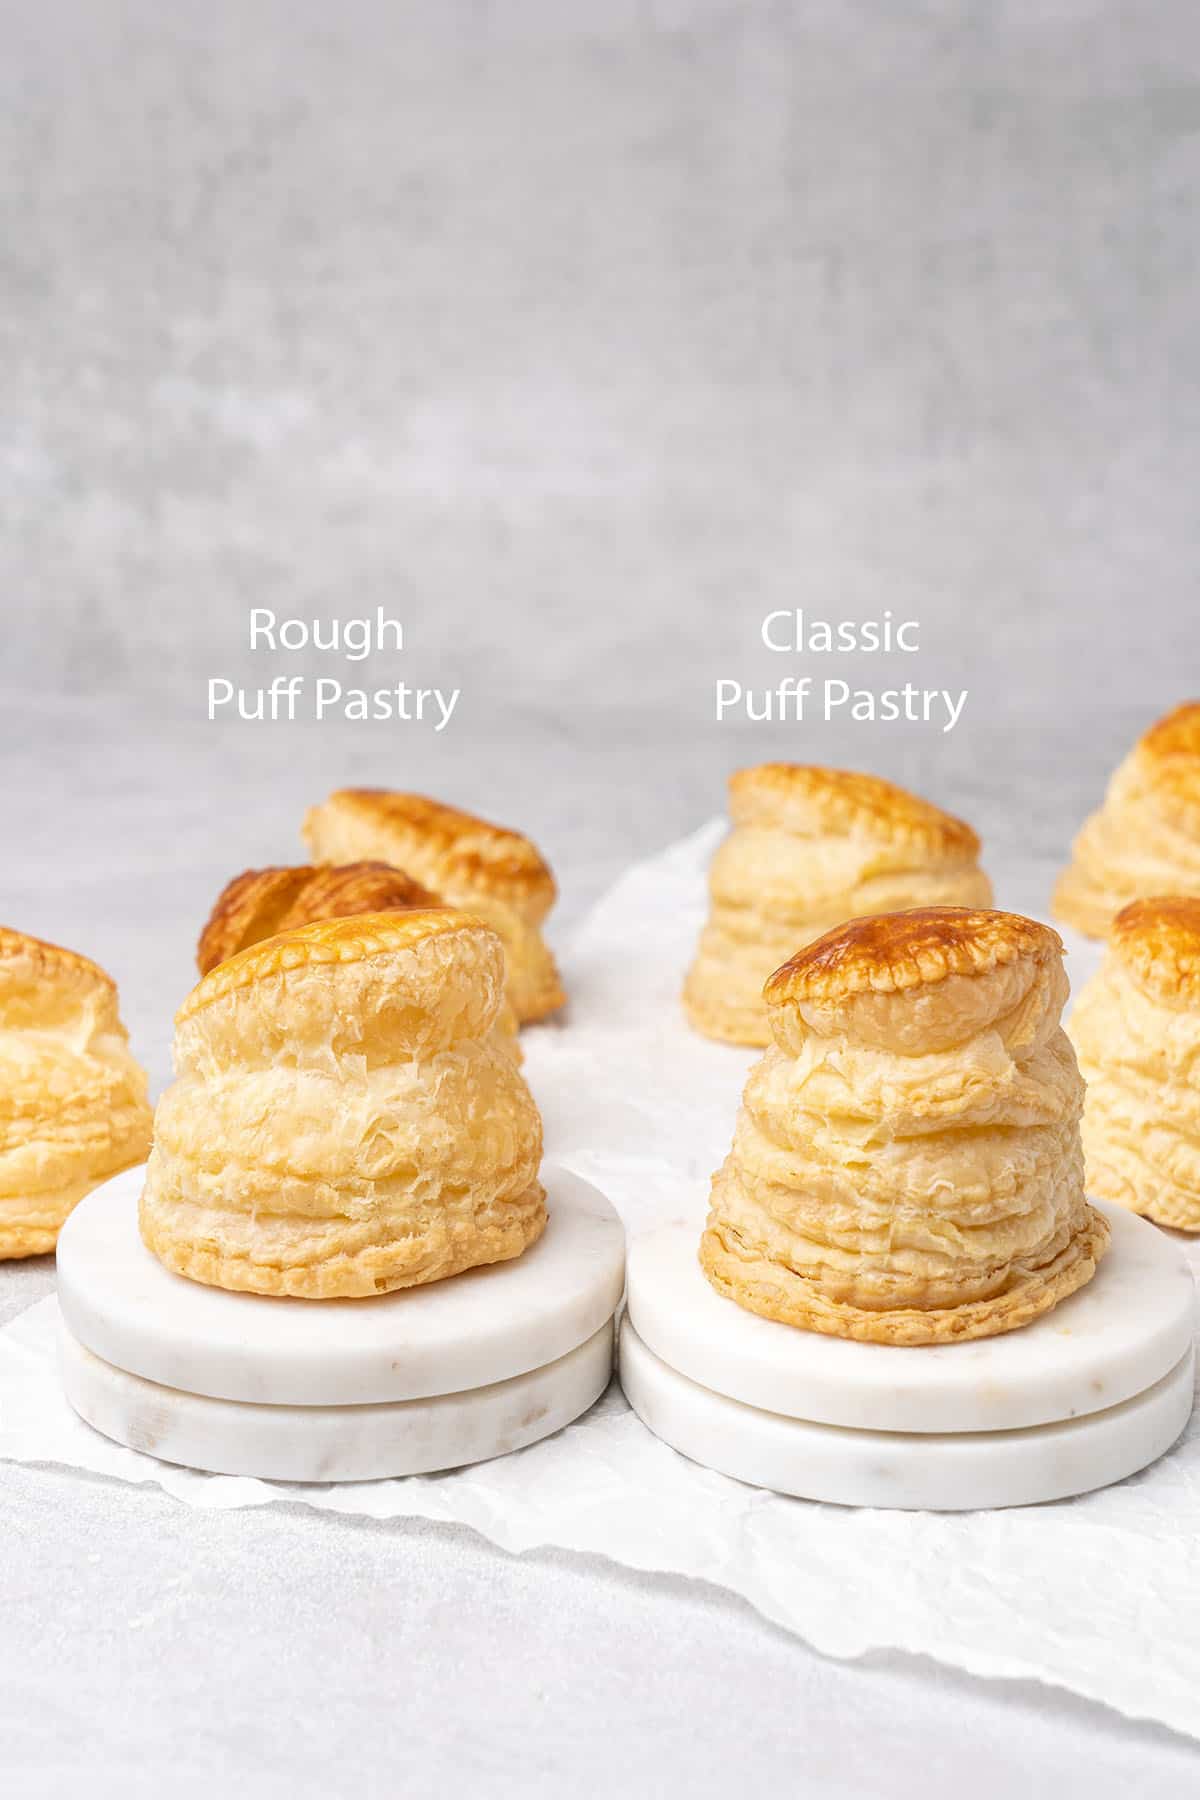
Puff pastry is made by rolling and folding dough with a sheet of butter that is laminated into it to form many layers of cold butter and dough. As it bakes, the moisture in the butter turns to steam, which pushes the layers apart and forms the iconic rise and flaky layers.
Rough puff pastry is instead made by mixing the butter directly into the lean dough before resting, rolling out, and folding. Without the single sheet of butter, there is less of an even rise, less obvious layers and it won't rise quite as high either. The lamination in traditional puff pastry makes the layers more obvious, but quick puff pastry does still have flaky layers, is still incredibly delicious, and saves a lot of time.
Puff pastry normally takes 1-2 days to make due to long resting times in between folds, whereas rough puff can be ready in just a few hours. For example, you could start first thing in the morning and be enjoying a rough puff pastry-based recipe at lunchtime.
💡Is rough puff pastry the same as pie crust?
Pie crust is made with a different type of pastry, so rough puff pastry and pie crust are not the same. Whilst a pie crust is made with the same ingredients as puff pastry (water, butter, and flour), making pie crust typically does not involve lamination therefore the result is a denser, crumblier texture and a cookie-like crunch as opposed to the flaky puff pastry.
💡How to use rough puff pastry?
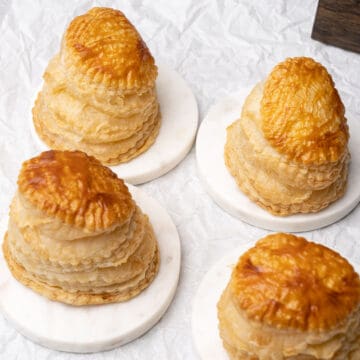
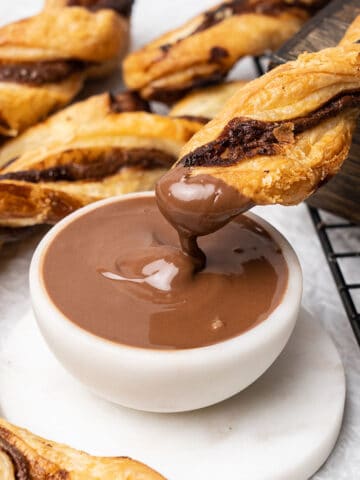
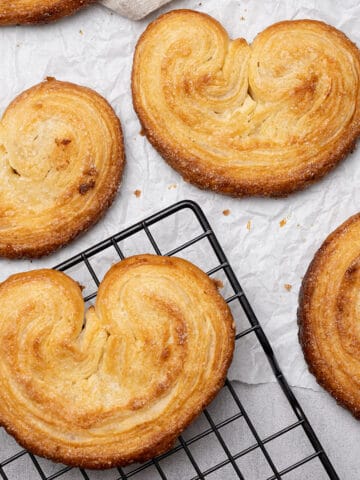
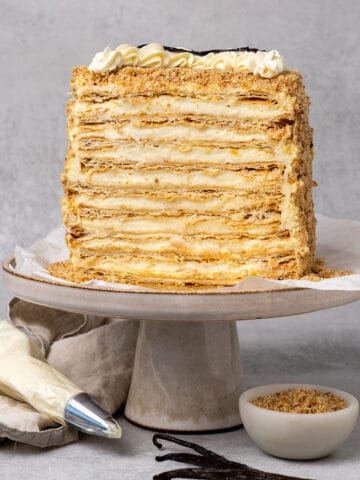
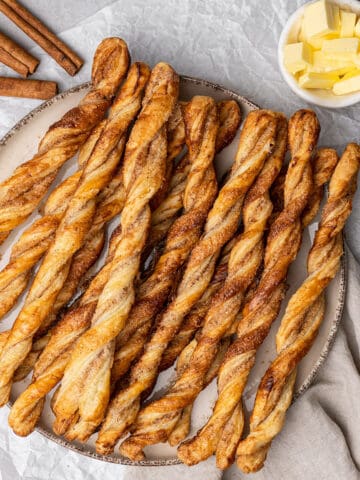
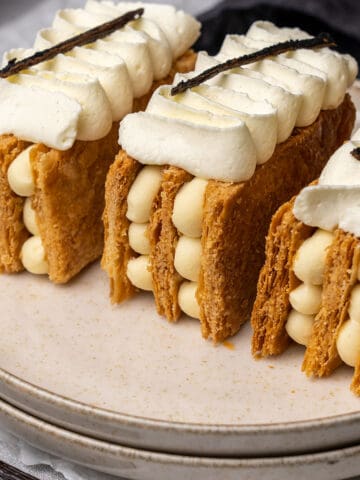
You can use rough puff pastry in exactly the same way as you would use classic puff pastry. And there are plenty of rough puff pastry dishes to choose from! Recipes like apple turnovers, beef wellington, mille-feuille, or tarte Tatin are just some of the many rough puff pastry uses. Easy puff pastry can be used in both sweet and savory recipes, as a topping for pies or a base for tarts.
You can also make batches of quick rough puff pastry ahead of time and freeze it, ready to defrost and use as needed.
🌟 Why this is the best rough pastry recipe
- It's foolproof! This quick puff pastry recipe is much easier to make then traditional puff pastry. If classic puff pastry seems daunting, try this version instead! I'll talk you through the rough puff pastry ingredients and show you how to make it, step by step.
- It's fast: Classic puff pastry can take days to make due to long resting periods, but this quick puff pasty recipe can be ready in just a few hours, meaning you get to enjoy it so much sooner.
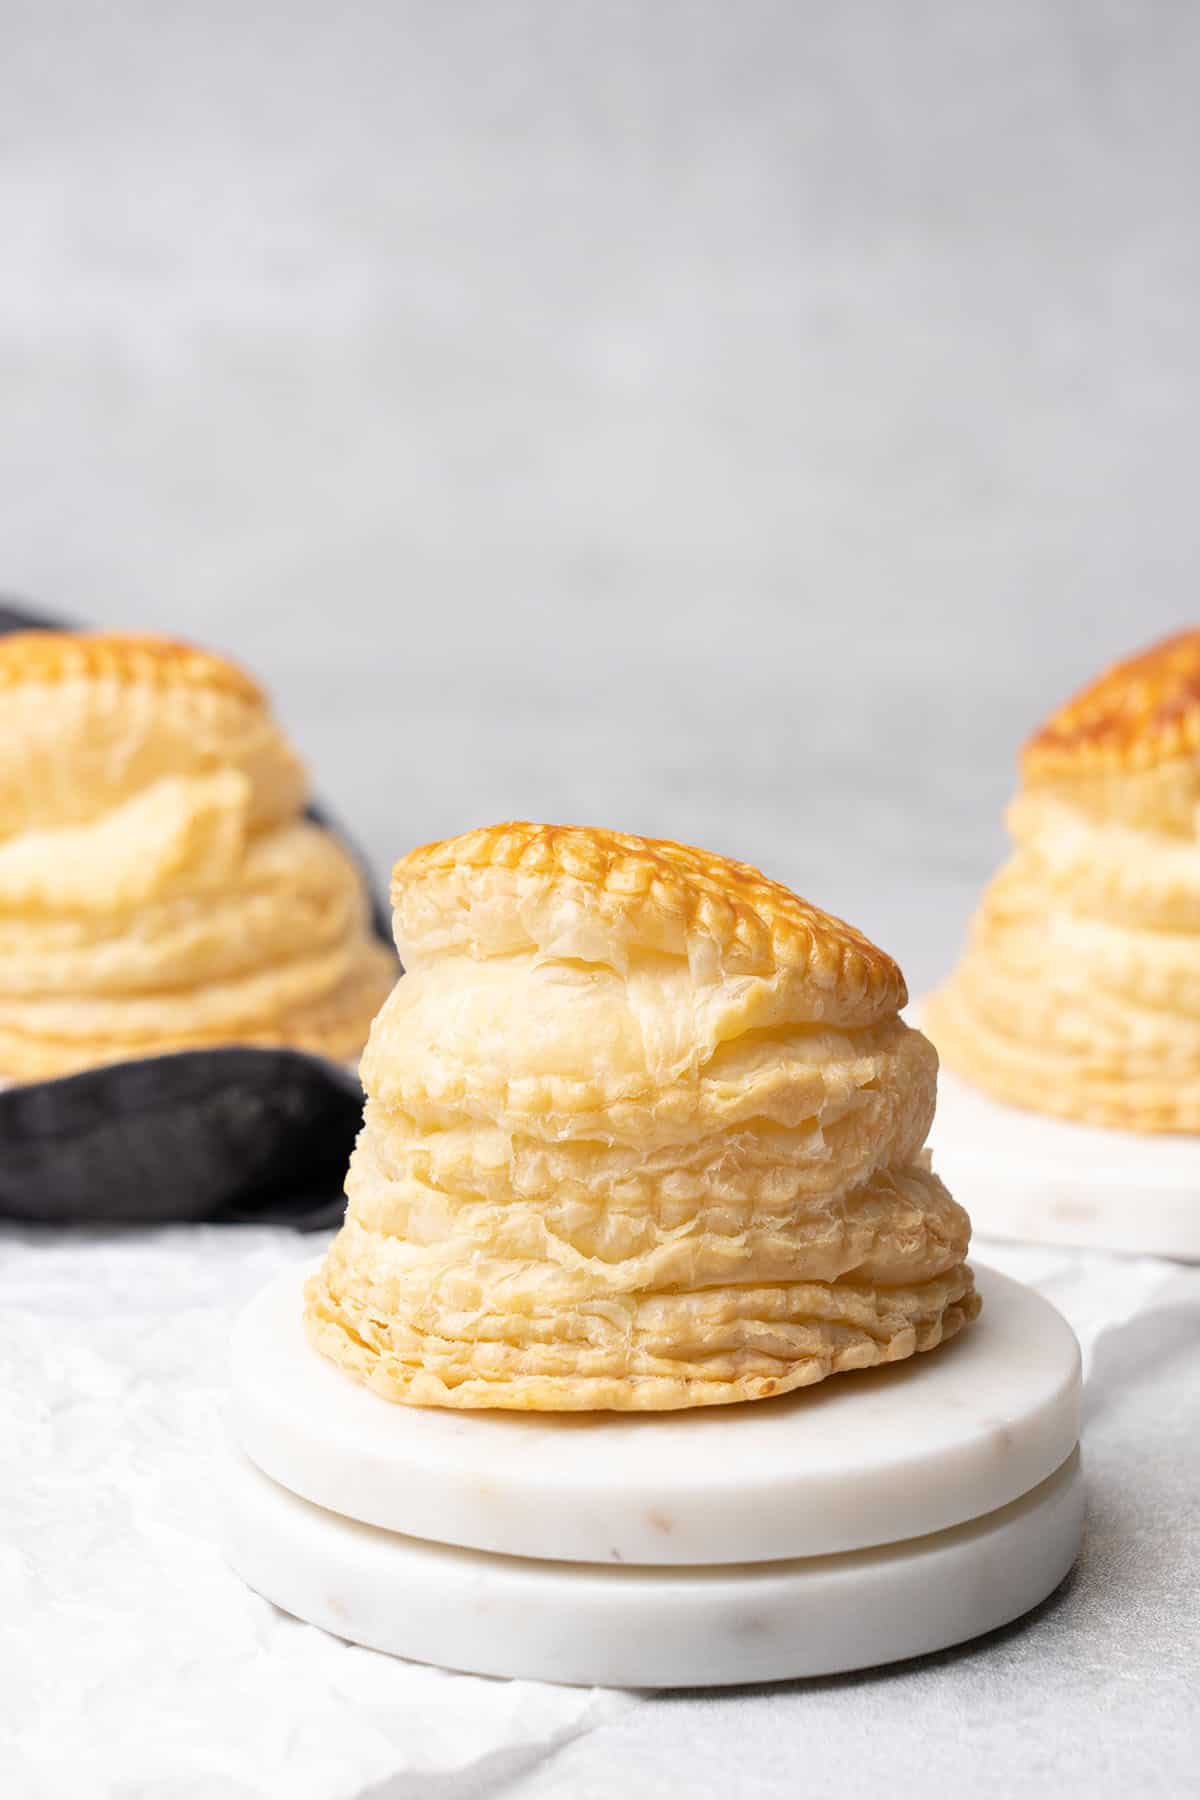
- It tastes fabulous: Rough puff pastry does not compromise on delicious taste though! With rich buttery flavor, light flaky layers, and crisp outside it's the perfect part of any baked dessert and tastes SO much better than bought puff pastry. Store-bought puff pastry often does not use high-quality butter and might contain preservatives too, so making it yourself from scratch is always the best way.
📝 Ingredient notes
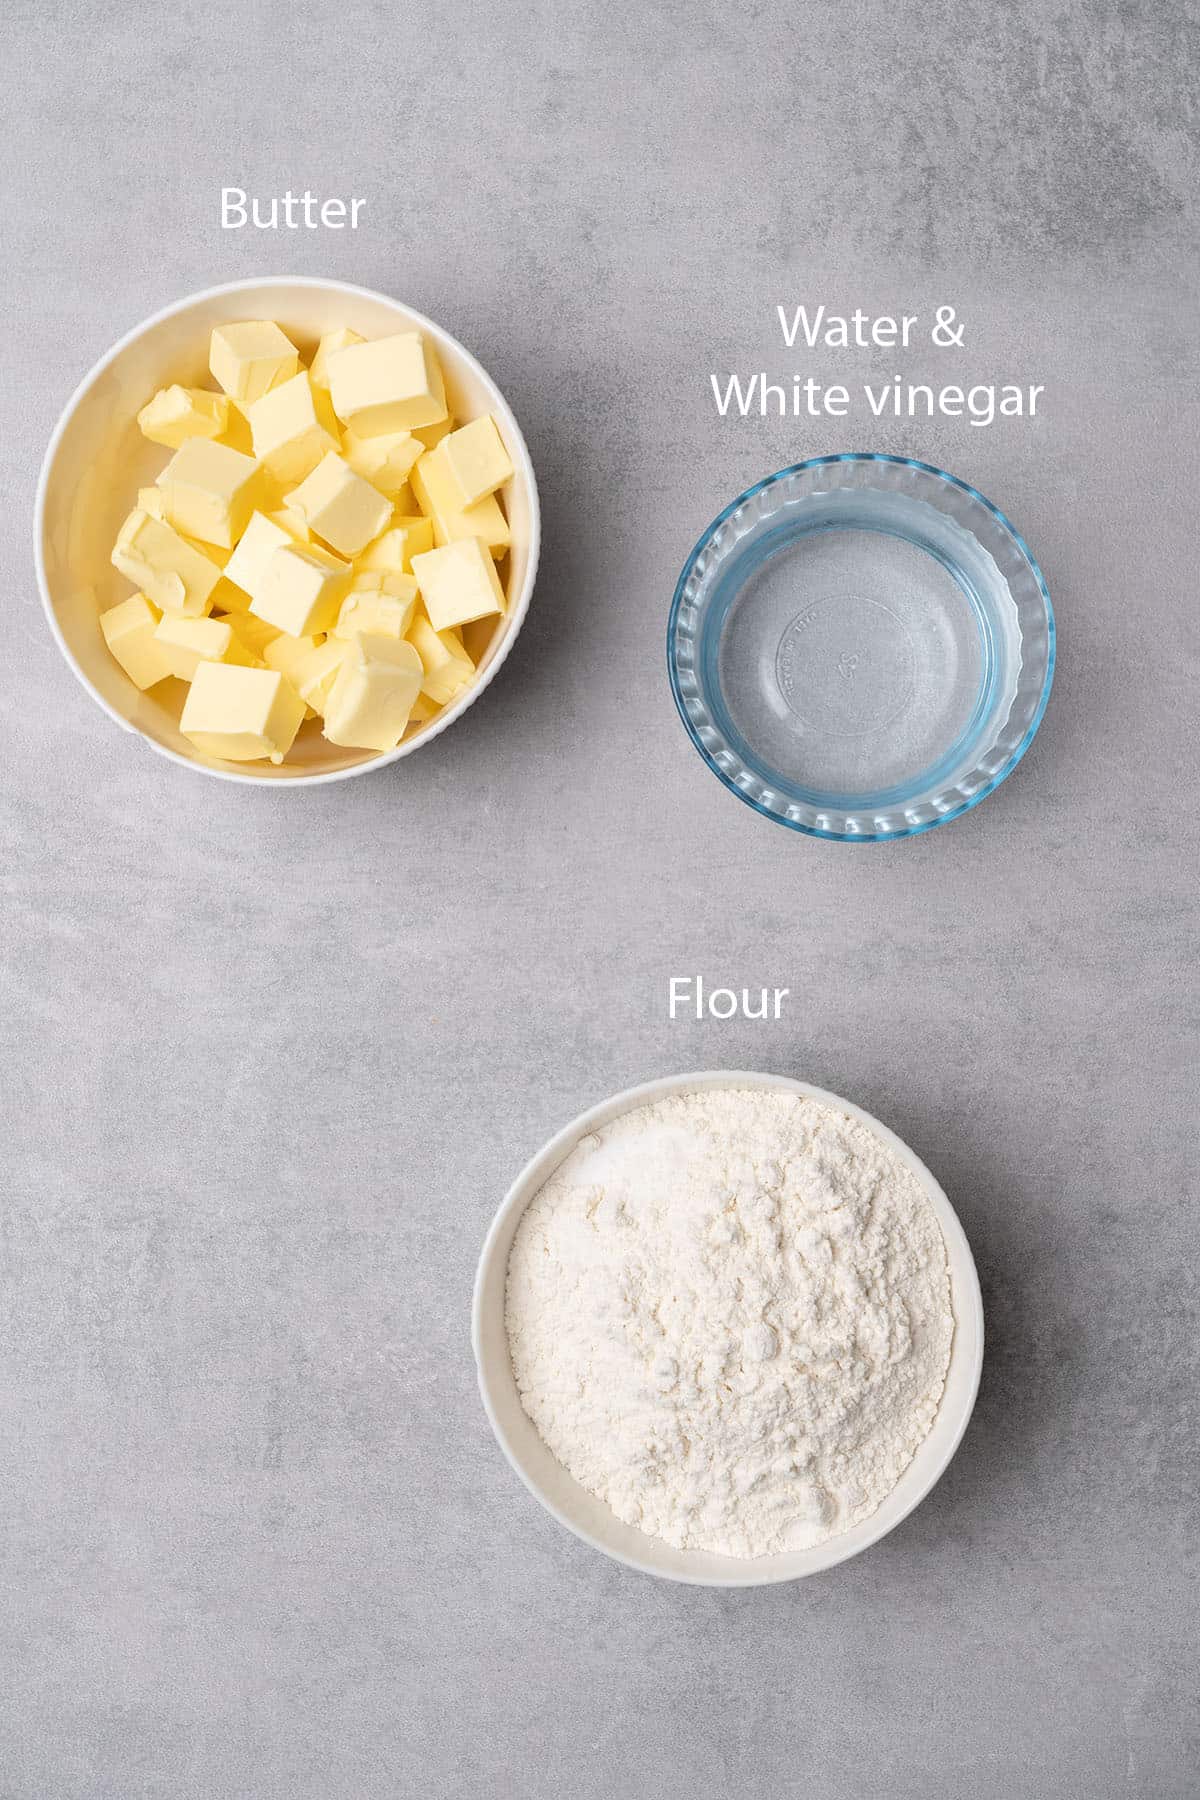
- Bread flour: Use flour with a high protein content, known as bread flour or strong flour. Read my flour guide to learn more about other flours like all-purpose and their uses in baking. For more information on the different flour storage solutions and equipment, read my how to store flour guide.
- Salt: Salt helps to bring out the delicious buttery flavors in puff pastry so even if you're making a dessert, it is important to include it. The pastry won't taste salty, but if you do want to make your puff pastry savory, you can add slightly more.
- Unsalted butter: Always use cold unsalted butter to control the quantity and quality of salt. I use butter with at least 82% fat content, and 84% butter is even better if you can get it. You can even make your own homemade butter!
- White vinegar: Vinegar relaxes the dough and makes it more elastic and easier to work with, so it is an important part of this recipe. You won't be able to taste it though, don't worry!
- Water: You need ice cold water for this quick puff pastry, so keep it in the fridge and even chill it down further in the freezer before using it.
🛒 You’ll find detailed measurements for all Ingredients in the printable version of the Recipe Card at the bottom of this post
👩🍳 How to make this easy rough puff pastry recipe
Here are step-by-step instructions for homemade rough puff pastry. Be sure to follow them exactly as baking is all about precision, and even small changes can make a big difference. Weigh all of your ingredients, and work in a cold kitchen as the temperature of the environment you are working in is so important.
1. How to make the dough for rough puff pastry
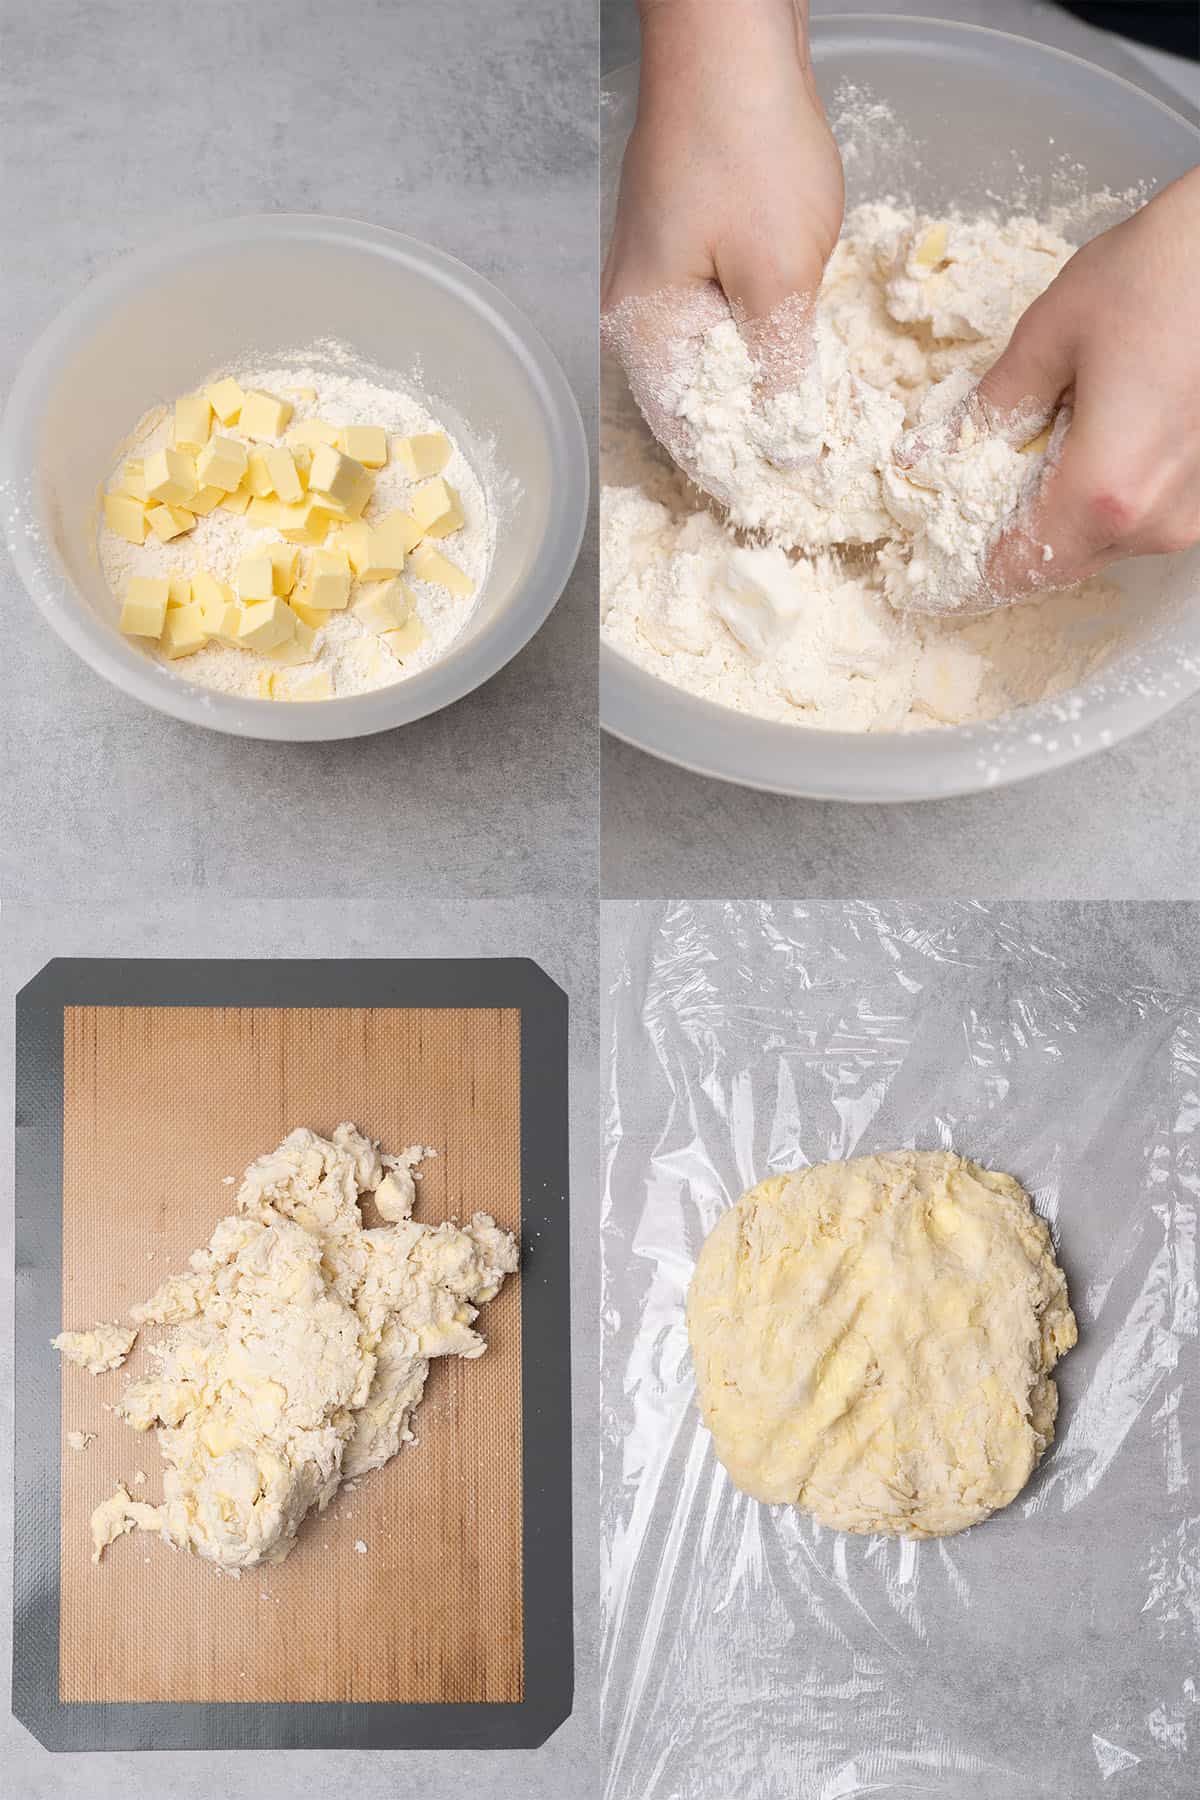
- Measure the water and vinegar into a small bowl and chill down together in the freezer for 10 minutes.
- Slice the butter into small chunks and also chill in the freezer for 10 minutes
- Sieve the flour and salt together into a large bowl on the work surface.
- Add the cold butter chunks into the flour and quickly toss the mixture with your fingers to separate the butter chunks and coat them all in the flour.
- Slowly add the water-vinegar mixture to the flour slowly, using a rubber spatula to mix.
- Gently knead the dough for 10-20 seconds just to bring it together into one piece. It can seem like a lumpy and rough pastry with visible chunks of butter in the dough, and this is normal. Do not overwork it or try to incorporate them.
- Wrap the dough in plastic wrap and rest it in the fridge for one hour.
💡 Top Tip: You might not need all of the water. Add just enough so that there are no crumbs or loose bits of flour in the bottom of the bowl, but it needs to be slightly moist, and not wet.
2. Rough Puff pastry lamination step-by-step
Here is how to prepare a 6-fold rough puff pastry. It is very important that the dough does not become too warm as the butter can melt and this will affect the outcome. If at any point it seems slack or starts to feel sticky, immediately wrap and chill it in the fridge for 15 minutes before continuing. However, if the dough is too cold it can be stiff and susceptible to breaking, so aim to keep it just pliable enough to work with.
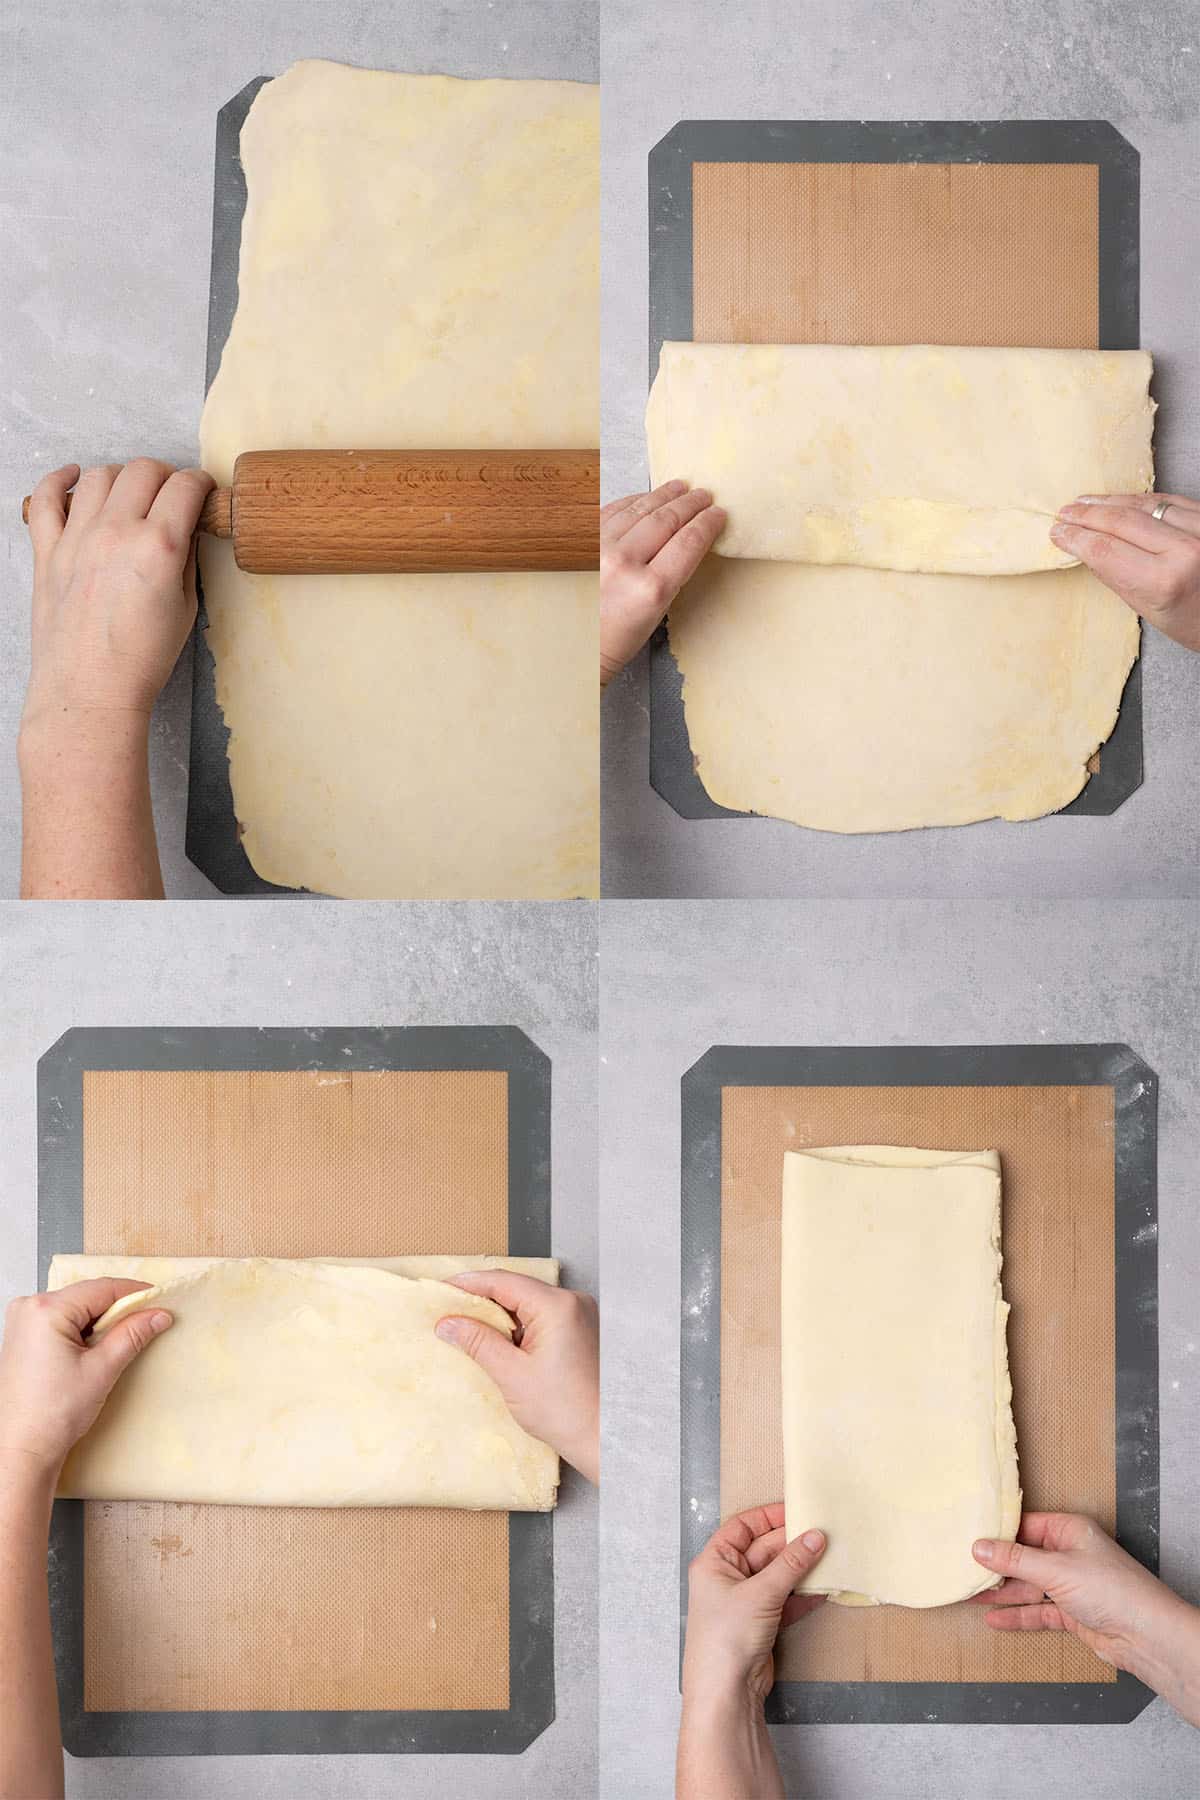
- Roll out the dough into a rectangle lengthways in front of you that measures 25x45cm / 10x18 inch.
- Fold the dough. Fold the top third of the rectangle down, then fold the bottom third upwards over the top like a letter or envelope. There will be an "open edge" at the top end and a "closed edge" along the bottom.
- Rotate 90 degrees clockwise so that the "open edge" is on the right and the "closed edge" is on the left. The process in steps 1, 2, and 3 is a single fold.
- Repeat steps 1, 2, and 3, and then wrap and rest the dough for 30-60 minutes in the fridge.
- Do this process twice more, to complete 6 folds in total. Rest the easy puff pastry dough in the fridge between every 2 folds, or after every single fold if your kitchen is warm. Do not make more than 2 folds at once without resting the dough.
- After the 6th fold, chill the dough in the fridge for 1 hour before using it
💡 Top Tip: Use a silicone baking mat to assist you with the rolling and folding of the puff pastry, and reduce how much you have to handle the dough. Hot hands can be a risk!
3. How to bake
- Preheat your oven.
- Roll out the pastry according to your needs or cut shapes from it as required.
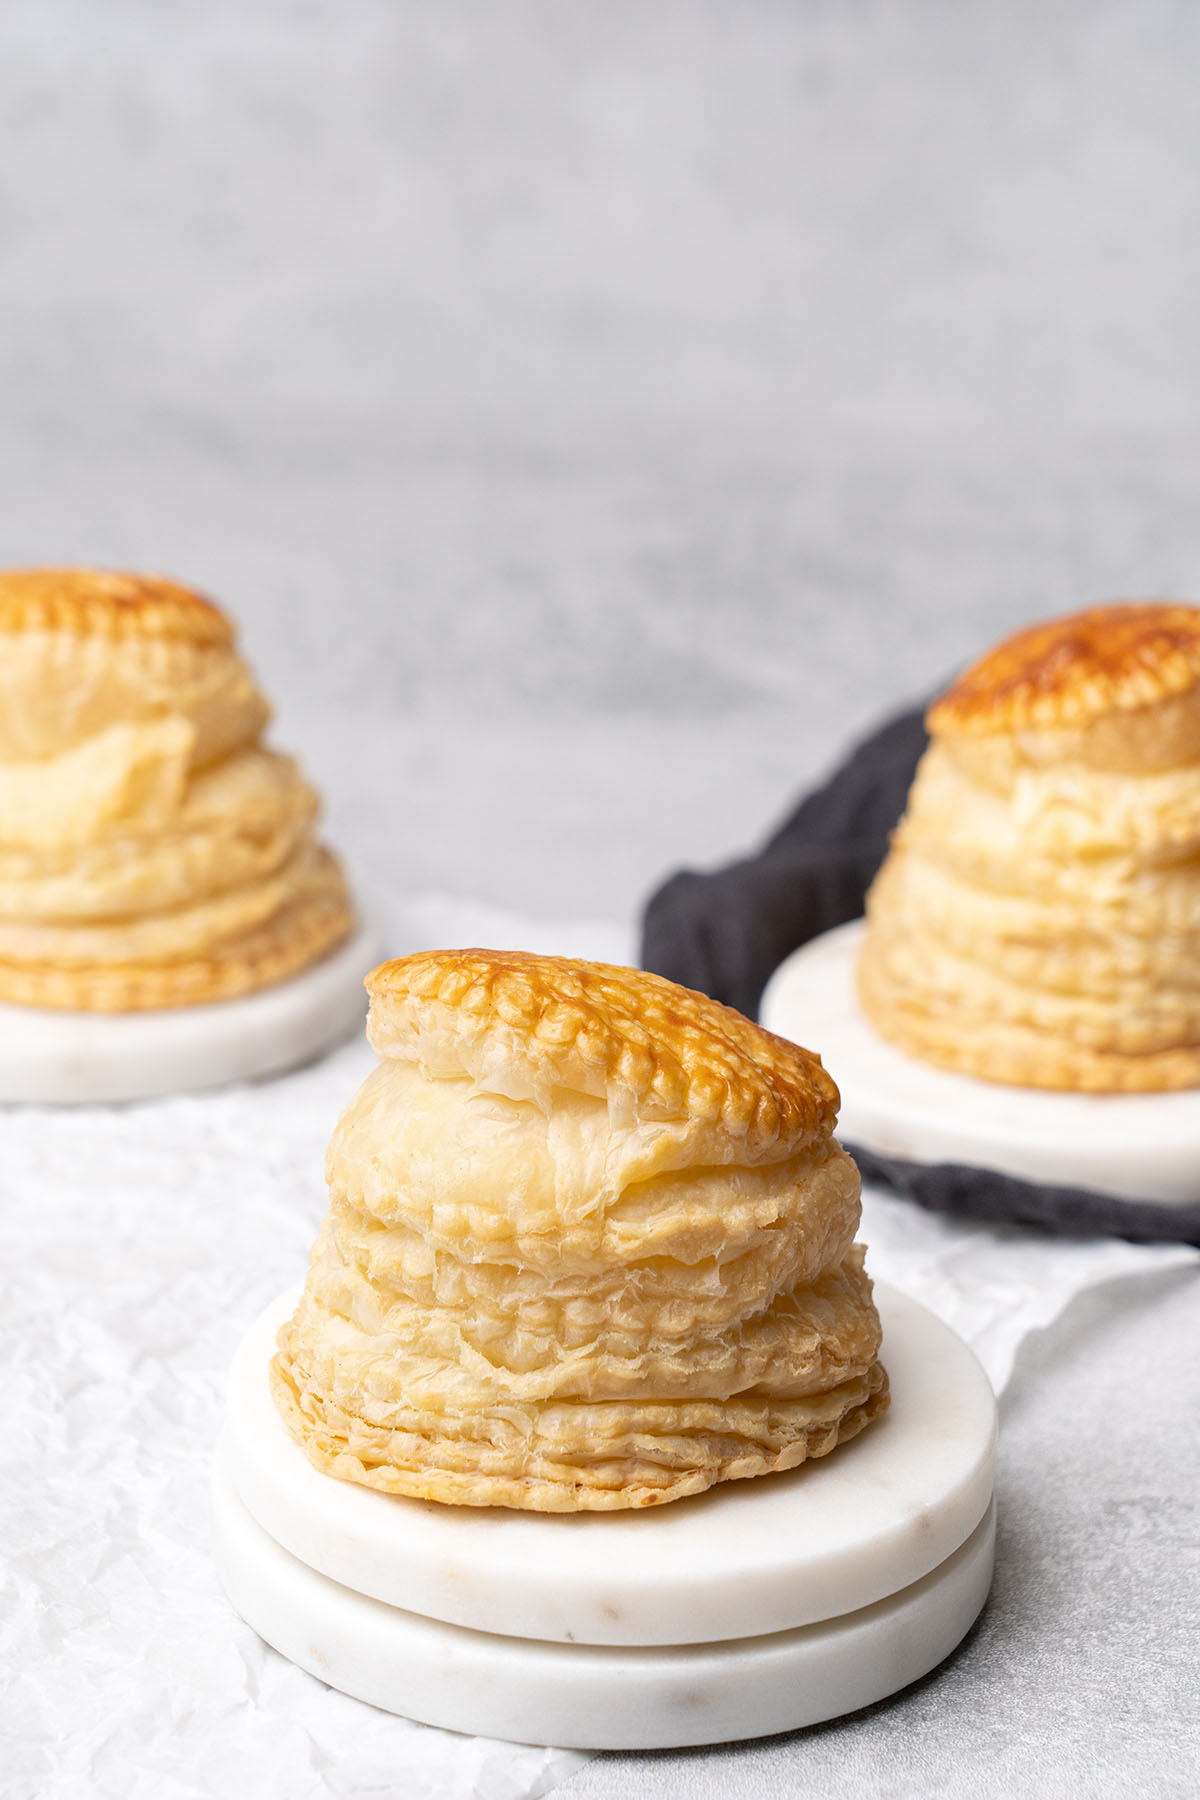
- Bake the puff pastry according to the instructions in the recipe.
💡 Top Tip: Puff pastry needs a hot oven, and to make sure you are baking at the right temperature, use an oven thermometer.
Flavor variations & Substitutions
Once you have learned how to make this recipe, you can experiment and adapt it to suit you.
A chocolate rough puff pastry is easy to make by swapping a small amount of flour for good-quality cocoa powder. And why not add some grated zest from orange, lemon, or lime to give it a bit of a zing and even more flavor?
You can add spices like ground cinnamon and nutmeg to give subtle warmth and a deeper flavor.
An egg wash before baking will give a rich golden hue to the pastry and a glossy, even crunchier top. Learn all about egg wash here.
To make colored puff pastry, add powdered food coloring to the flour at the beginning of the recipe. Using liquid or gel coloring can affect the texture, so I'd recommend only using powdered coloring. The more you use, the more intense the color will be.
If you need to make substitutions in baking, be sure to read my baking guides for tips first.
For savoury version, try this puff pastry pinwheels from Rini.
🎓 Expert tips on making rough puff pastry
- Work on a lightly floured surface if not using a silicon mat, and brush off any excess flour before folding your ruff puff dough.
- Try to handle the dough as little as possible, and work in a cold kitchen.
- The dough needs to be just pliable enough to roll and fold, but never warm and sticky.
- It is so important that the temperature of the butter does not get too warm. If you are ever worried about it, put it back in the fridge for 15 minutes.
- Always wrap the dough in plastic food wrap before resting to avoid it forming a crust.
- To create the best baking environment for pastry, I recommend not baking anything else in the oven at the same time as this can cause a build up of steam that will affect the outcome.
🥣 Equipment Notes
For precision, weigh all of your ingredients to make your own puff pastry using a digital scale - baking is a science after all! I do not recommend using the cup system for baking, as this measures volume and not weight.
Evenly mix your dough without overworking it or using your hands too much by using a rubber spatula.
Roll out the pastry with a decent rolling pin to give an even pressure and avoid handling it too much.
A silicone baking mat allows you to touch the rough puff dough as little as possible, which avoids bringing up the temperature too much. It also means you use less dusting flour as the dough isn't as likely to stick to it! Silicon baking mats also lower kitchen waste, as they are not single-use.
When the time comes to baking, a digital oven thermometer will ensure your oven is at the right temperature. All ovens vary, so this eliminates any question about how hot yours is!
❓Homemade Rough Puff Pastry FAQs
Yes, you can make rough puff the day before and use it as needed in your recipe.
Wrap the pastry securely in plastic food wrap and store it in the fridge. Use it within 2 days, or freeze it until it is required.
Yes, rough puff pastry will freeze really well. Double wrap in plastic food wrap and foil and freeze once it has rested following the 6th fold. Use your frozen puff pastry within 1 month.
Croissant dough is different from puff pastry as it is yeasted and often contains eggs too, however, you could still try and make a variation on a croissant using this recipe.
There are several methods, and some do use a food processor. However, I find this recipe to be the most reliable when making light puff pastry with flaky layers and a buttery taste. Food processor would process the butter way too much and we want to leave bigger chunks of butters in the dough before starting the lamination process.
There are 6 folds in a rough puff, with 6 turns.
Puff pastry was invented in the 17th century by accident when apprentice French chef Claude Gelée was making a form of rolled butter cake and ended up with delicious, layered flaky pastry!
🍰 Recipes using Rough Puff pastry
Check out my favorite puff pastry desserts!
Quick & Easy Rough Puff Pastry (VIDEO)
Equipment
- Digital scale
Ingredients
- 270 g (2 cups) Bread flour high protein content flour
- ½ teaspoon Salt
- 200 g (¾ cups) Unsalted butter cold, cut into small chunks
- ½ teaspoon White vinegar
- 135 g (½ cups) water very cold
US customary cup measurement is an indicative figure only. Measure the ingredients with a digital scale by weight (gram). Baking is art but also science which requires precision and accuracy.
Instructions
Prepare the rough puff pastry dough
- Measure water and vinegar, mix them in a small bowl and place them into the freezer for 10 minutes
- Cut butter into small chunks and pop them into the freezer for 10 minutes
- Mix high protein content flour with salt in a large bowl
- Add the cold butter chunks into the flour and toss the mixture with your fingers until all pieces of butter are separated and completely coated in flour. Work as quickly as possible
- Using a rubber spatula, start adding the water-vinegar mixture to the flour slowly. Be mindful of the water, you might not need all of it, stop adding water as soon as the dough is moist enough but you do not want to make it wet. Add just enough water so that all of the dry dough pieces and flour bits at the bottom of the bowl become incorporated.
- Once water is added, gently knead the dough for 10-20 seconds just until it comes together. You should have smaller and bigger butter chunks left in the dough. Do not overwork it.
- Wrap the dough into a plastic wrap and refrigerate for one hour
Lamination process
- Use Silicone baking mat to make the rolling and folding easier. Use as little extra flour as possible and work as quickly as possible.
- Prepare a 6-fold rough puff pastry; Roll the dough into 25x45cm / 10x18inch, fold the top third into the middle, then fold the bottom third into the middle. Now you will get an envelope shape that has an "open edge" on the top and a "closed edge" on the bottom. Rotate by 90 degrees to the right so you will get the "open edge" on the right and the "closed edge" on left.
- Your first fold is done, repeat it 6x. Rest the dough for 30-60 minutes either in between each fold (if your kitchen is warm) or in between 2 folds. Do not make more than 2 folds at once without resting the dough.
- After the 6th fold, refrigerate the rough puff pastry dough for 1 hour before using it
Baking
- Bake the pastry according to the recipe.
Notes
- Make sure to measure the ingredients using a digital scale
- Use a silicon baking mat to turn and fold the puff pastry dough. The mat not only prevents the dough from sticking but also acts as a ruler while rolling
- Try to work in a cold kitchen environment under 18C / 64F. If at any point the pastry is too sticky, pop it back to the fridge to chill before proceeding with the next step in the recipe
- Try to use a minimum amount of dusting flour and use a pastry brush to brush off any excess before folding.




Michael
can anyone direct me to the video for this recipe? I've looked for it several times.
Katalin Nagy
It is under the table of content.