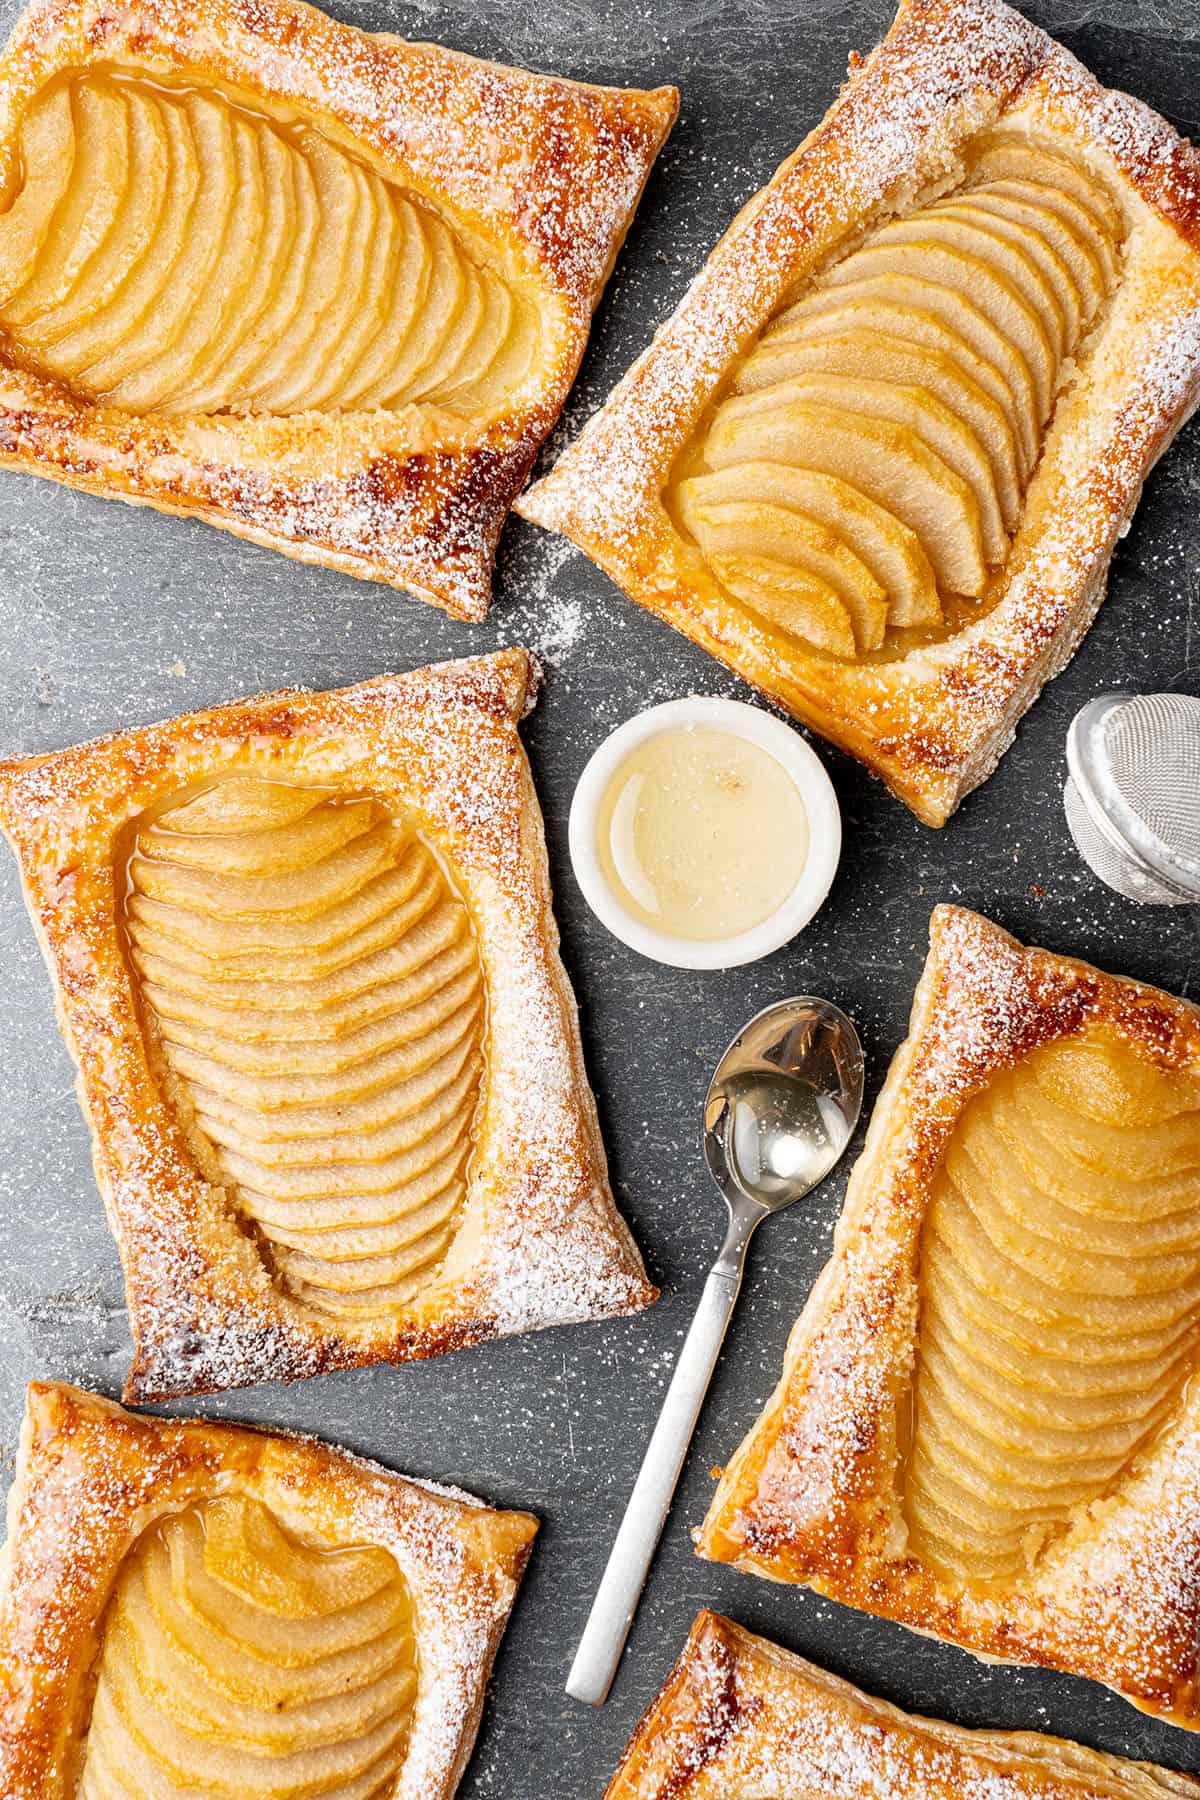
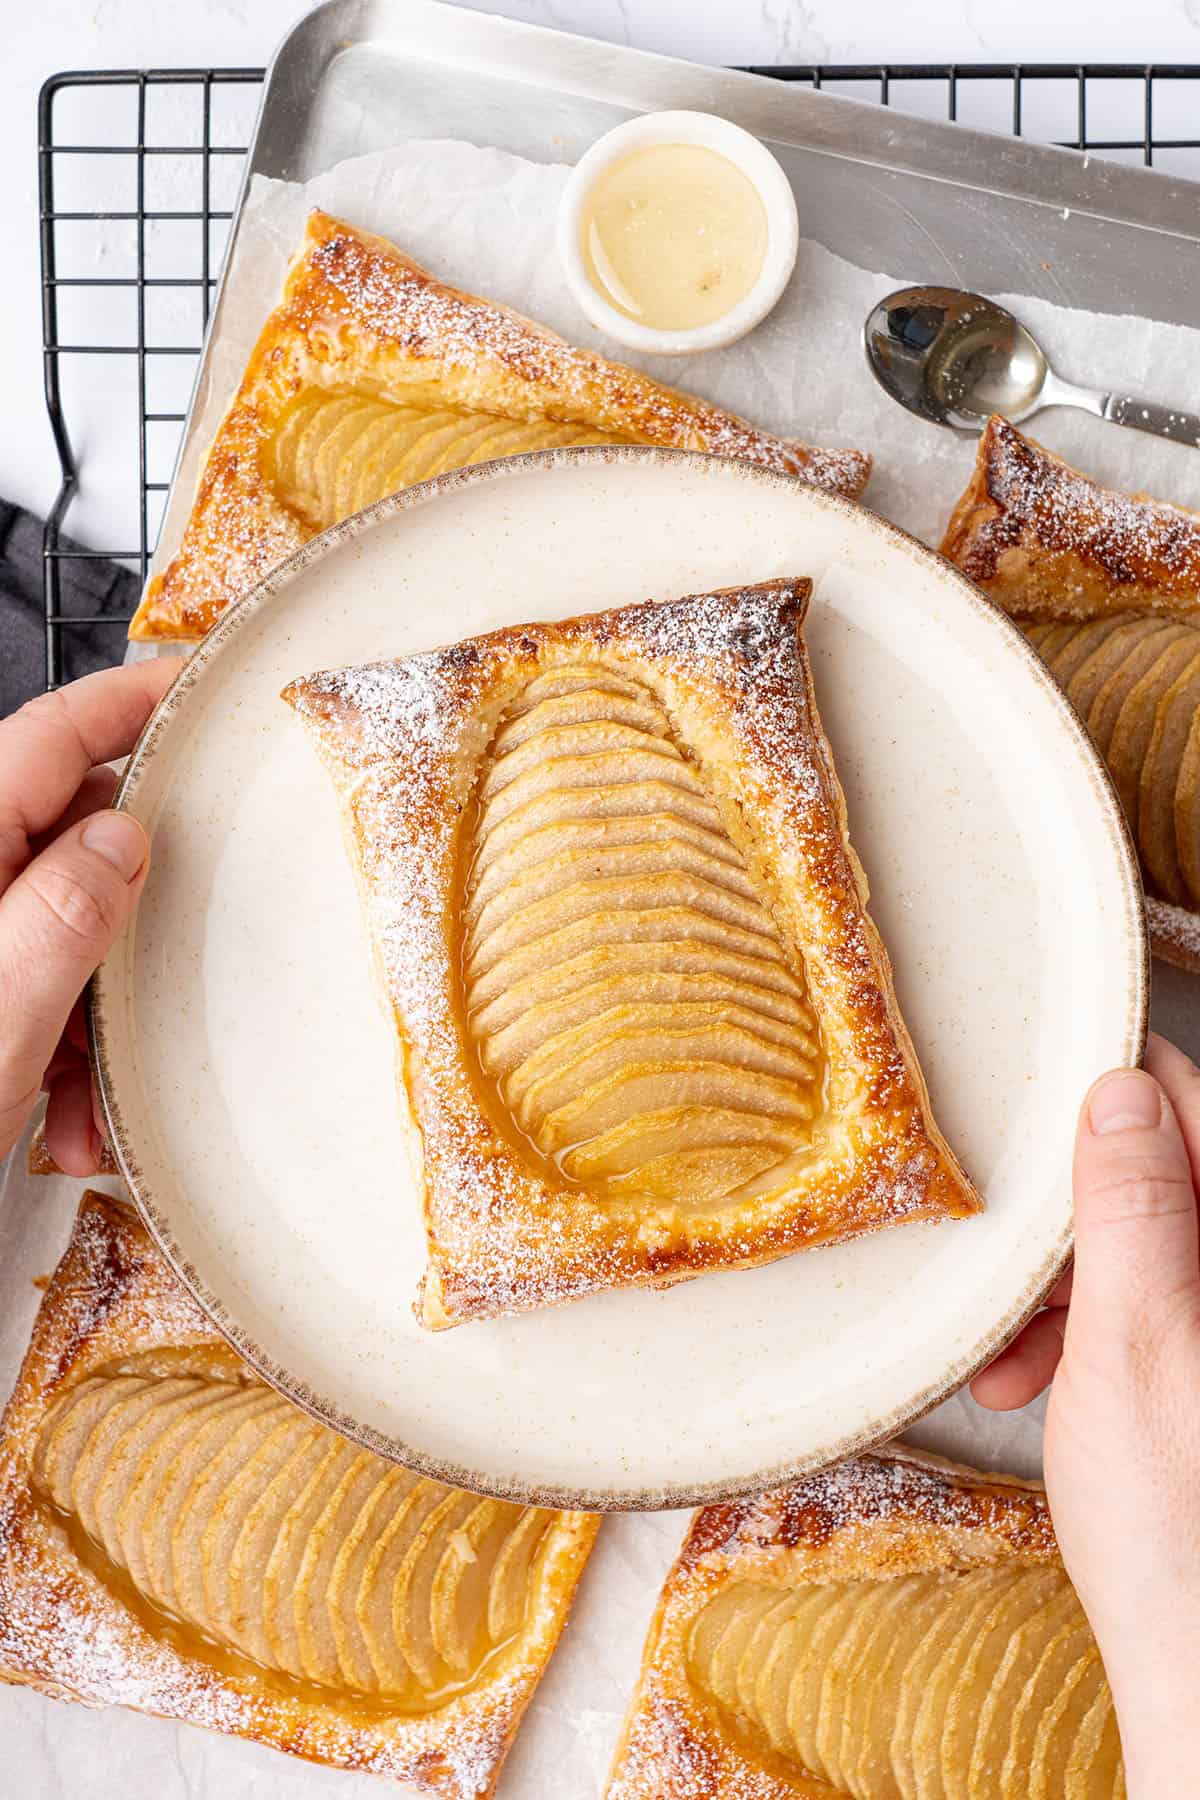
Made with fresh pears and a flaky, sweet puff pastry crust, these pear puff pastry tarts will undoubtedly be the talk among your family and friends! Using just six basic ingredients, this 10-step easy pear tart recipe is the perfect go-to when you need a simple yet eye-catching treat to impress your guests. Serve them warm with a bowl of vanilla ice cream for the perfect puff pastry dessert!
Jump to:
🌟 Why this is the best recipe
- It is the most delicious - This pear puff pastry tart recipe features fresh pears sprinkled with brown sugar, giving it the most delightful flavor and texture. Unlike other recipes, I also use my signature method that ensure the tartlets do not become soggy and are perfectly baked when they come out of the oven. Keep on reading!
- It is easy to make - This simple pastry tart recipe requires only six easy-to-find ingredients and absolutely no special equipment. It is so easy that even inexperienced bakers can achieve bakery-style results!
- It is nearly effortless - You only need 15 minutes of recipe prep time to make pear tarts with puff pastry. The rest of the time spent is waiting for them to bake! These warm pear pastries will be ready to serve and impress your guests in just one hour.
- It is an honest, detailed tutorial - This easy puff pastry recipe doesn’t just take you through each step to make them; it also explains the science behind the baking, including expert tips and tricks to ensure a flawless turnout.
- It is versatile - There are many ways that you can make and customize these pear puff pastries with different flavors, fillings, and toppings. See the Flavor Variations and Substitutions section for more tasty ideas.

📝 Ingredient notes
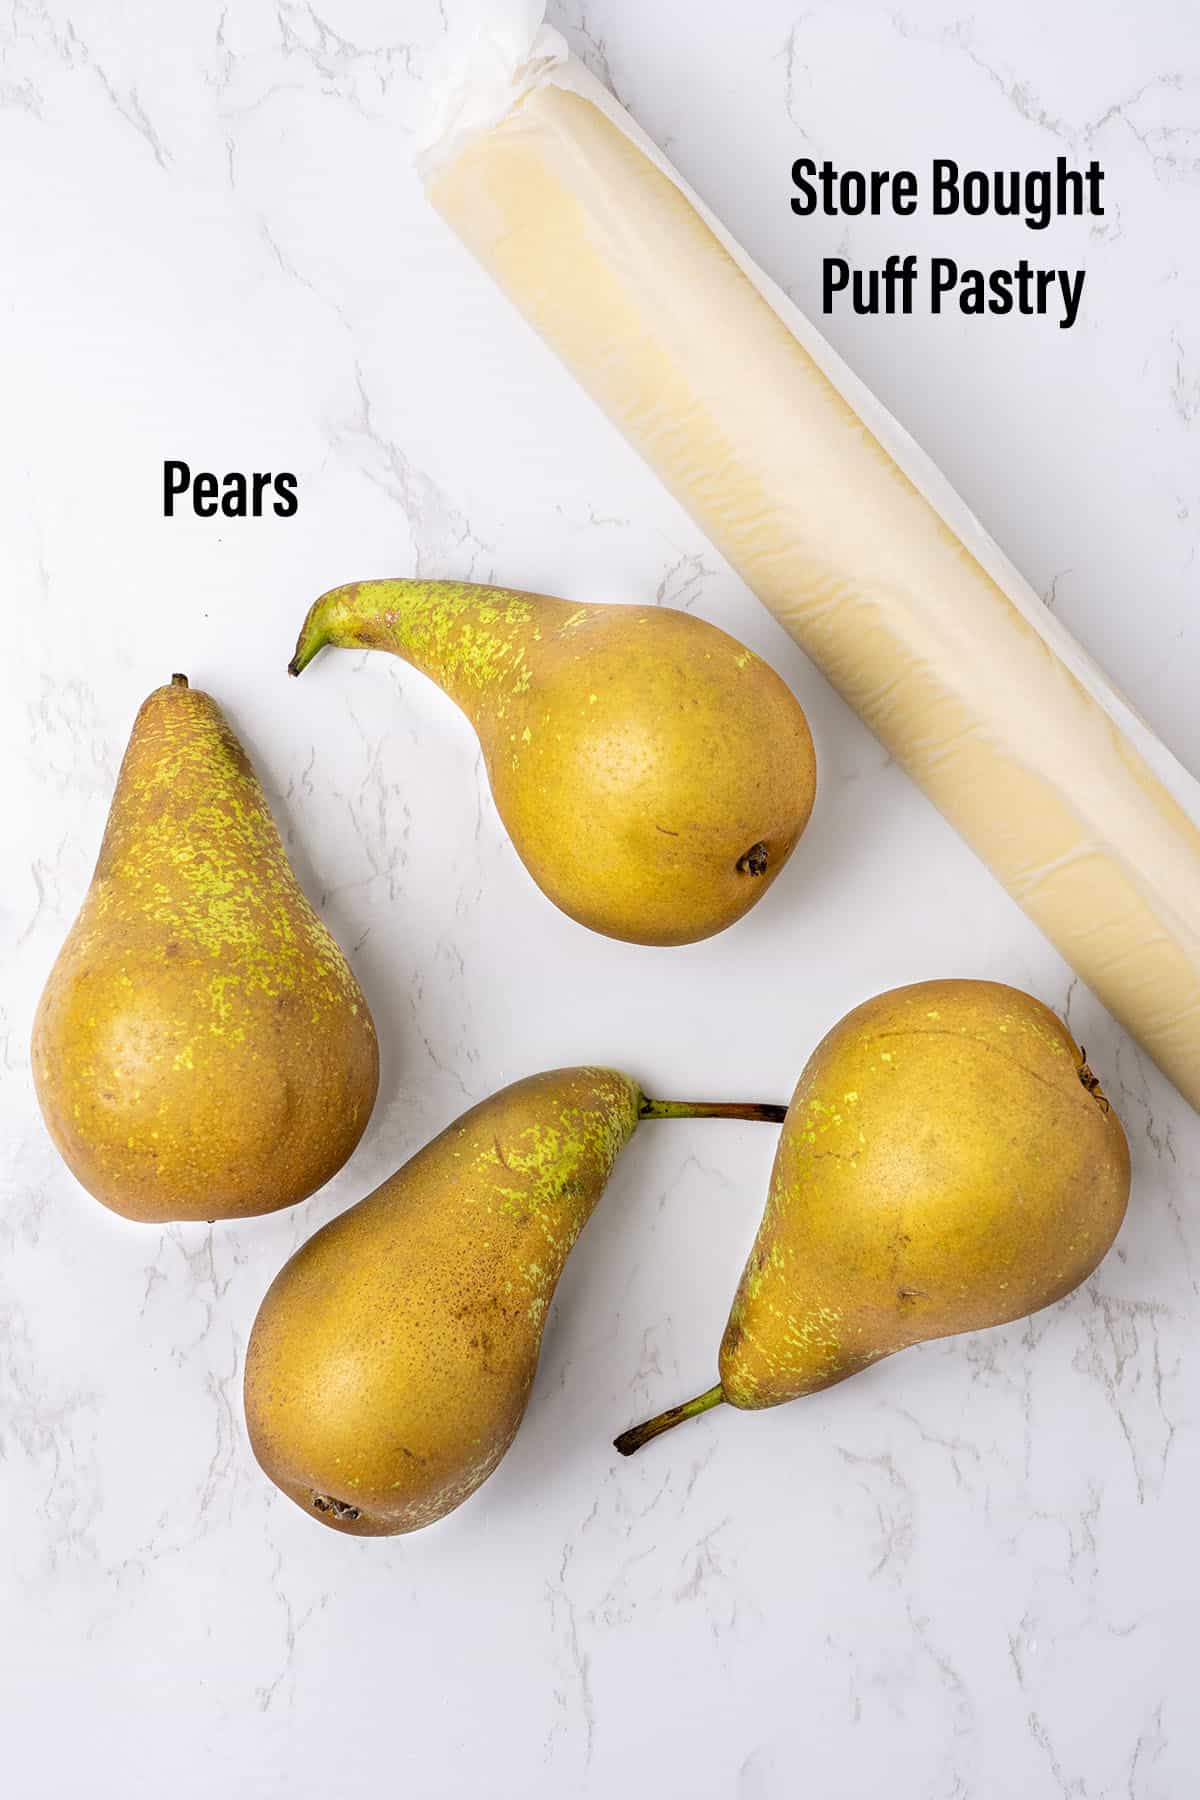
- Puff Pastry - You will need two packs of store-bought frozen puff pastry. Or, you can make two portions of my easy homemade rough puff pastry.
- Almond Flour - Almond flour doesn’t just add a touch of flavor and sweetness to the pear tarts, but it also helps to absorb the excess moisture from the pears.
- Pears - Pears are the star of the recipe, so make sure to choose a firm yet crisp pear that will hold its shape throughout cooking. Try to choose pears that are similar in size and can fit into the size of your puff pastry sheets.
- Brown Sugar - The brown sugar helps to sweeten and add moisture to make a delicious caramelized pear tart puff pastry. You can also use cinnamon sugar for a warmer flavor profile. To learn more about the different types of sugar and how to use them in baking, see my sugar guide.
- Egg - You will need one whole egg to make an egg wash, which gives your pear pastry puff tarts a glossy, golden brown finish.
- Milk - A splash of milk is also necessary for making the egg wash.
🛒 You’ll find detailed measurements for all ingredients in the printable version of the Recipe Card at the bottom of this post
👩🍳 How to make this recipe
1. Step-by-step process of making pear puff pastry tarts
- Start by thawing the puff pastry sheets (if using frozen). However, you want to ensure they remain cold to make working with the dough easier.
- Next, preheat the oven to 190C / 370F. Do not use an oven fan. And, line a baking sheet with parchment paper.
- Cut each of the pears lengthwise into halves. Remove the cores, then cut the halves into very thin slices. Place the sliced pears on top of paper kitchen towels to help soak up excess juices.
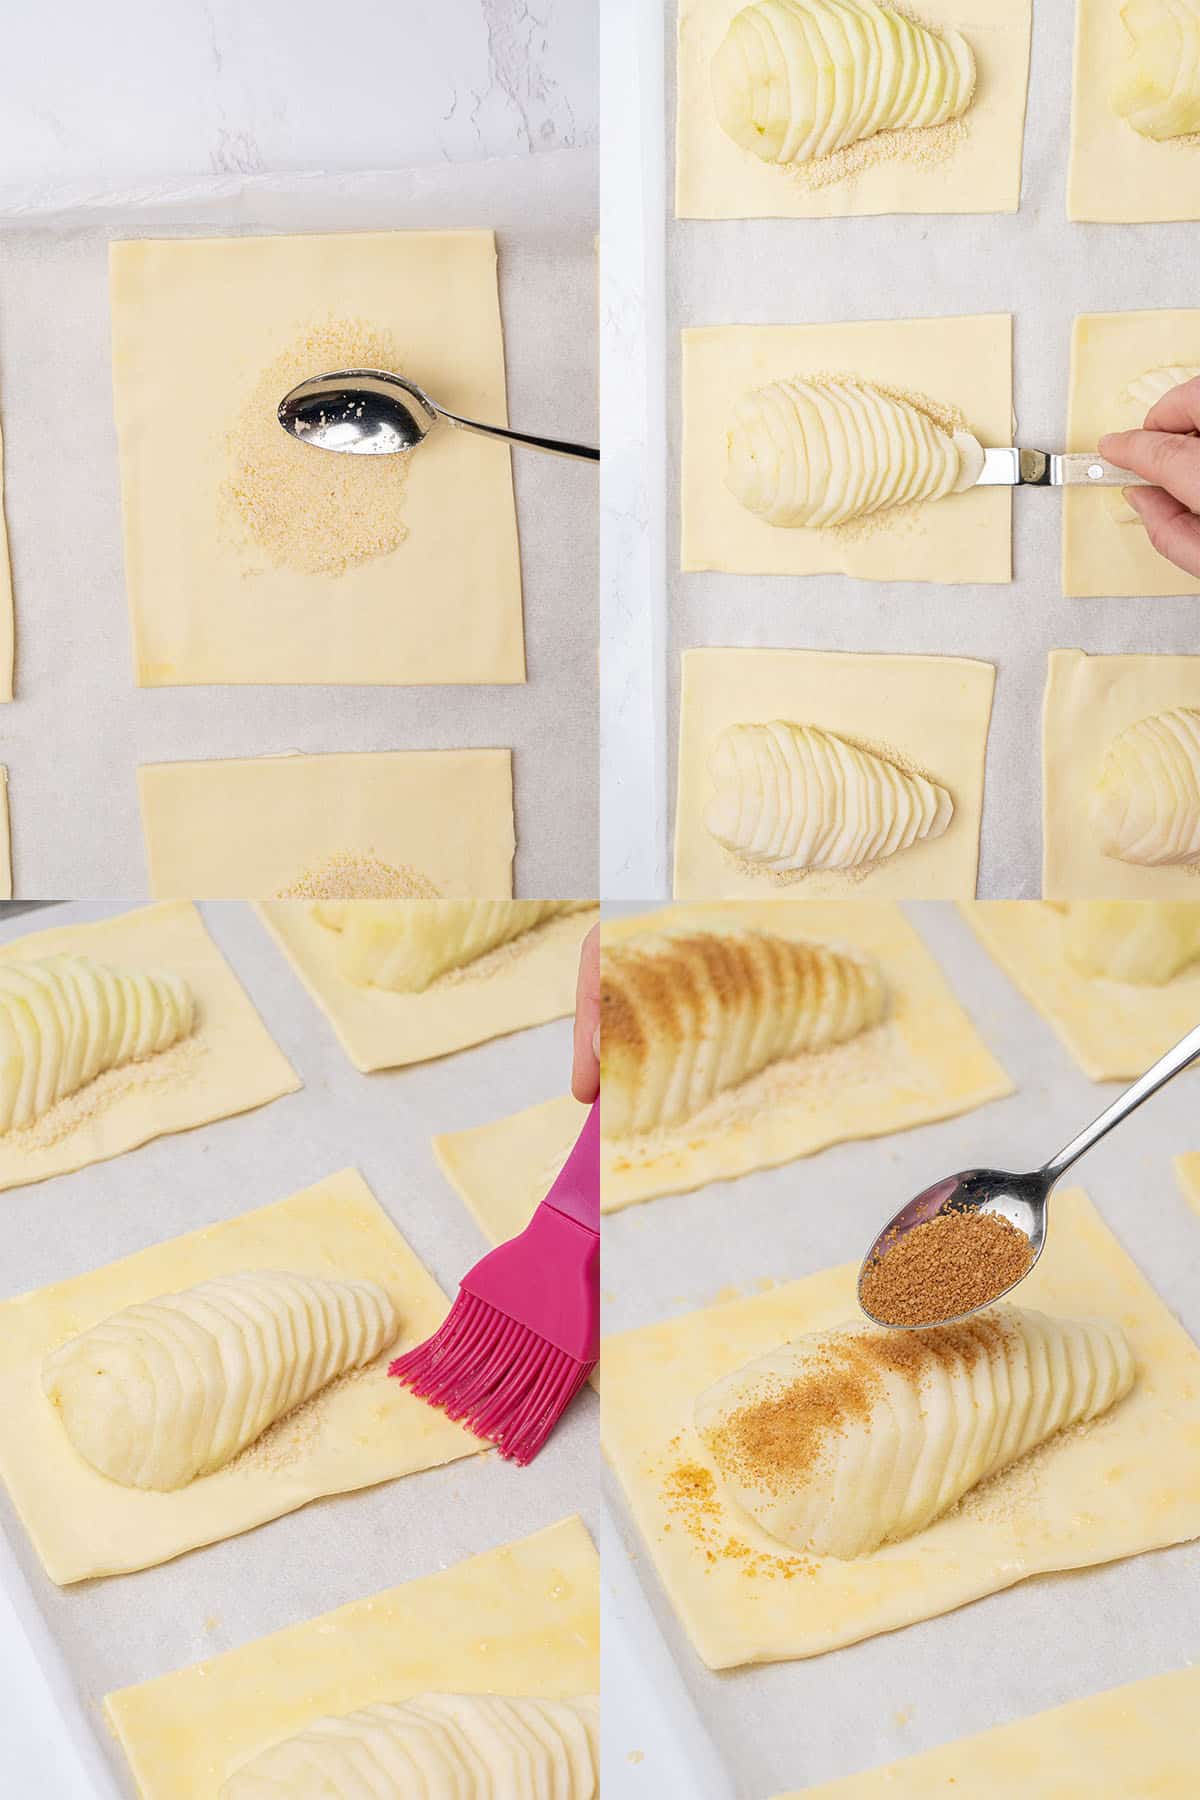
- Unfold one of the thawed puff pastry sheets, then cut it into six rectangular pieces (as shown in the photo). Place the puff pastry rectangulars onto the parchment paper.
- Place a half tablespoon of almond flour in the middle of the pastry piece, then place one-half pear on top of each. Then, sprinkle the pear slices with brown sugar.
- In a small bowl, whisk the egg with a splash of milk. Then, brush the egg wash around the pastry (do not brush the pears).
- Continue with steps 5 and 6 until you get 12 tarts.
- Bake six tarts at a time at 190C / 370F (no fan) for approximately 45 minutes. After 15 minutes, cover the pear tartlets with foil to keep them from browning too much.
- Once baked, let them cool on the baking sheet for three minutes, then transfer them to a cooling rack.
- Serve fresh, and enjoy!
💡 Top Tip: To avoid the pear pastry tarts from baking improperly or getting soggy on the bottom, it is crucial to slice the pieces very thin and place them on a paper towel before adding to the pastry. Also, do not substitute or skip using almond flour, as it aids in soaking up the excess juices.

🎓 Storage and Freezing
How to store?
Pear puff pastry tarts are the most delicious when you serve them warm and fresh. However, if you store them in an airtight container, the pears will help to keep them nice and fresh for the next 2-3 days.
How to freeze?
After cooling completely, you can freeze pear puff pastry tarts by wrapping each pastry and placing them in the freezer. However, the texture of the puff pastry may change and become soggy when thawed.
How to reheat?
To reheat your puff pastry pear tarts, simply place them in the microwave for a few seconds.
✨ Flavor variations & substitutions
With different fruit - Instead of sweet pears, try this recipe with thinly sliced apples. You can also fill the tarts with use apricot jam, fig jam, or fruit preserves.
With additional fillings - Add some toasted almonds to give the tartlets some extra crunch and a nutty flavor. Walnut-filled pear tarts are also delicious when combined with cheeses such as cheddar, gorgonzola, or feta! Or, eliminate the walnuts and use brie cheese for savory pear and brie puff pastry tarts!
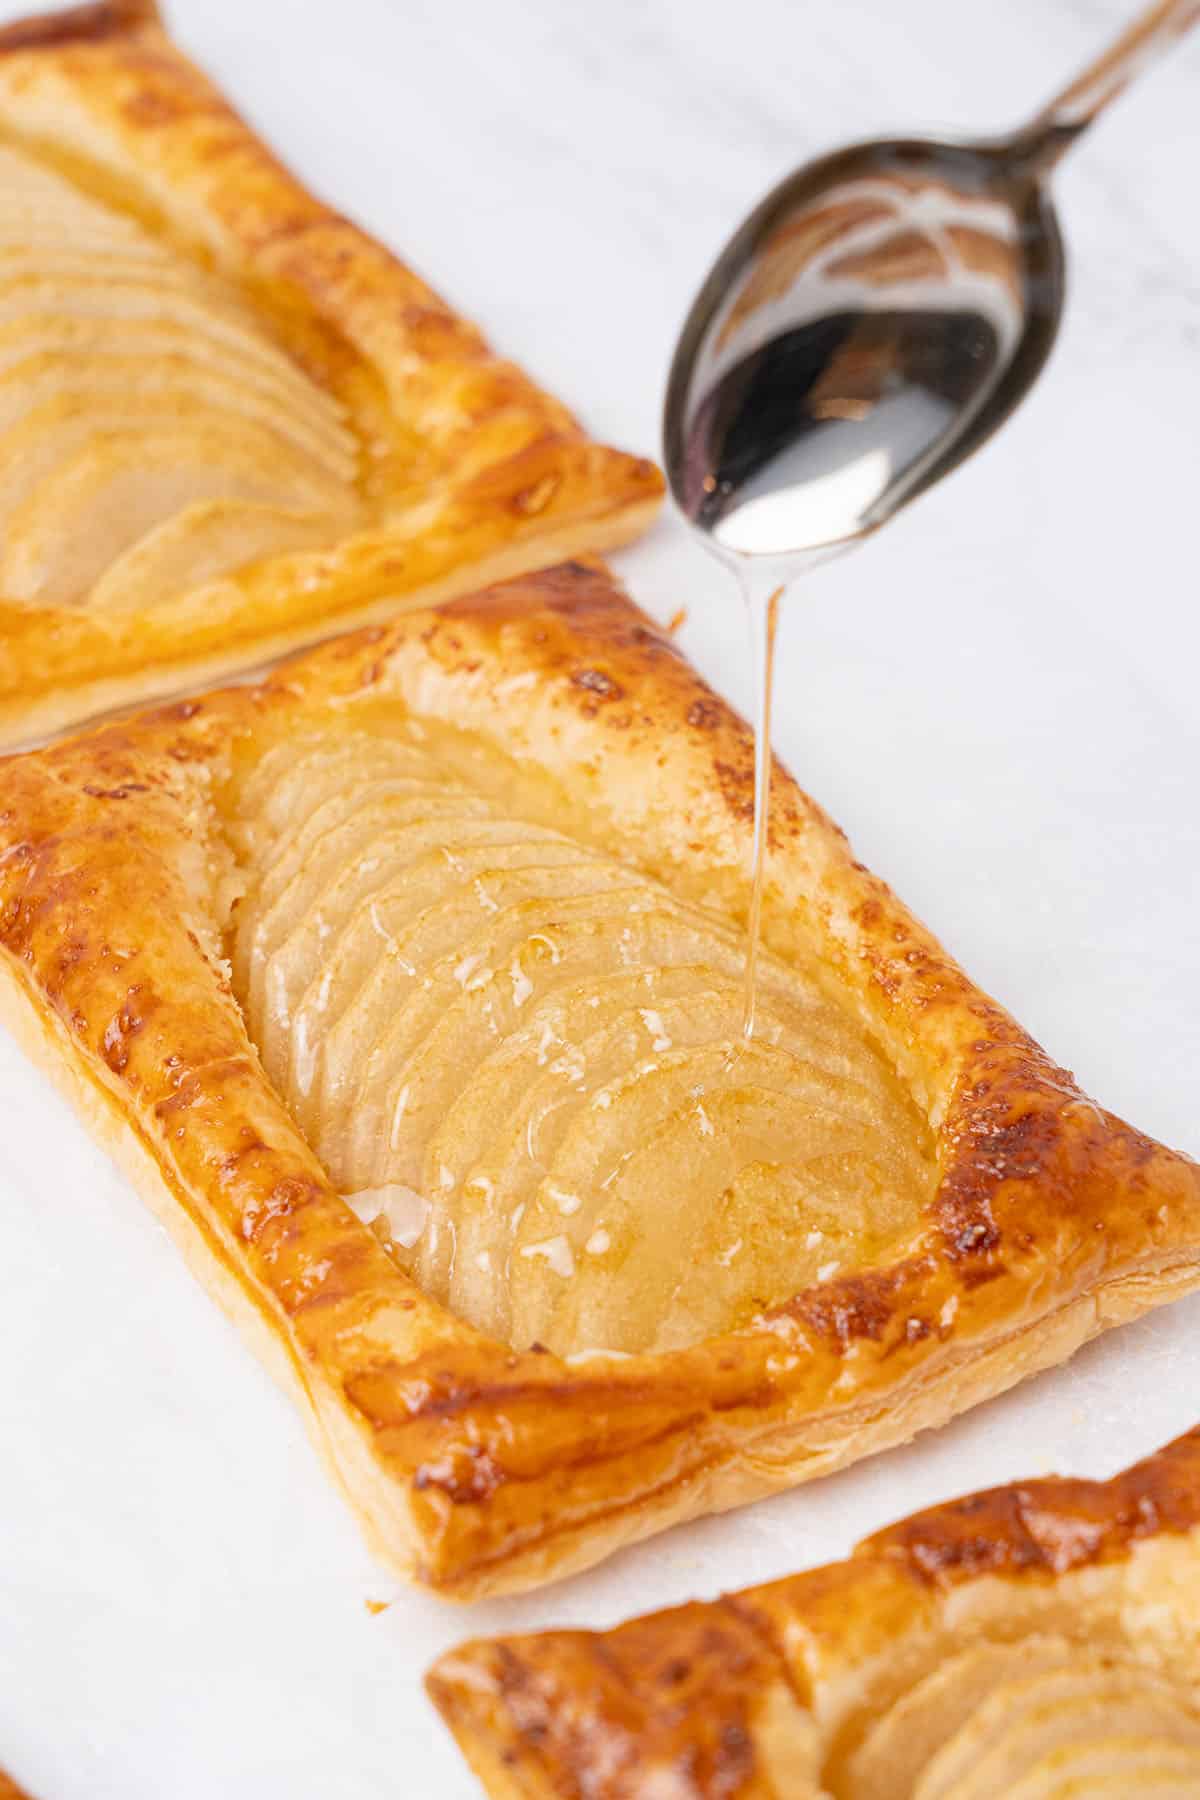
With toppings - Give them a delicious finishing touch with a drizzle of honey or homemade caramel or a sprinkle of powdered sugar.
With different spices - In addition to the brown sugar, add a kick of spice to your pear tartlets with ground ginger to make ginger pear puff pastry tarts. You can also try it with other warming spices such as cinnamon, nutmeg, or pumpkin spice!
🎓 Expert tips
- Working with the puff pastry dough quickly is critical to keep it from melting and becoming too difficult to work with. If at any point the dough becomes too warm and sticky to handle, immediately place it in the freezer or refrigerator for a few minutes to chill. Never try to force the pastry once it starts to warm up.
- For the best results, cut the pear slices into identical-sized pieces so that they cook evenly.
- It may be necessary to increase the baking time depending on how moist the pear slices are when placed into the oven.
- When baking, be sure to check the bottom of the pear pastries to ensure that they are well-baked and not too soft or soggy.
🥣 Equipment Notes
Always use a digital scale when measuring the ingredients, as it will give you much more accurate and consistent results than measuring cups alone. Likewise, a digital oven thermometer is a must-have piece of equipment to ensure the correct temperature since different oven models can vary by a degree or two.
❓Recipe FAQs
For the best outcome, I recommend using a firm pear variety, such as Bosc or Anjou, which will maintain their shape and cook perfectly. Avoid Bartlett pears, which are too soft and will turn to mush during cooking.
For the best results and minimal moisture, the pears should be nearly translucent after you slice them. I recommend using a very sharp kitchen knife.
I do not recommend using frozen pears for this pear puff pastry tarts recipe, as they add too much moisture and do not bake well. The last thing you want is soggy, mushy pear tartlets!
It may be tempting to substitute canned pears to make preparing your pear puff pastry tarts easy. However, while you can certainly make a canned pear puff pastry, I do not recommend it as the texture will be different.
Peeling the pears is optional. Keeping the skin on the pears gives it a nice color and adds texture but this time I did peel them.
🥧 More Puff Pastry Recipes
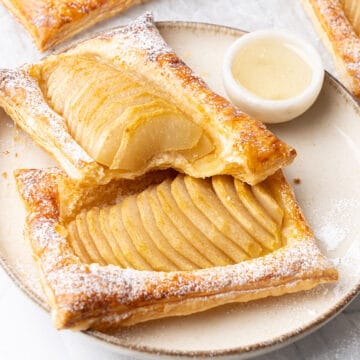
Pear Puff Pastry Tarts
Equipment
- Digital scale
Ingredients
- 2 packs Puff pastry store-bought or 2 portions of my homemade rough puff pastry
- 6 Pears cut into half
- 6 tablespoons Almond flour half a tablespoon per tart to soak in any excess juice from the pears
- 6 tablespoons Brown sugar
- 1 Egg for the egg wash
- Splash of milk for the egg wash
US customary cup measurement is an indicative figure only. Measure the ingredients with a digital scale by weight (gram). Baking is art but also science which requires precision and accuracy.
Instructions
- Thaw the puff pastry sheets (if using frozen) but make sure they are still cold.
- Pre-heat the oven to 190C / 370F (no fan).
- Cut the pears lenghtwise, remove the cores, and then cut the pears into very thin slices. Soak any excess juice with the help of paper kitchen towels.
- Unfold one of the puff pastry sheets and cut it into 6 rectangles, as in the process image.
- Place half a tablespoon of almond flour in the middle of the pastry, then place one-half pear onto each. Sprinkle the pears with brown sugar.
- Whisk the egg with a splash of milk and apply egg wash all around the pastry (not the pears).
- Continue with the other puff pastry sheet until you get 12 tarts. Bake 6 at once.
- If at any point the puff pastry becomes warm to handle, pop it into the freezer or fridge for a few minutes to chill. Do not force the pastry if it is too warm.
- Bake the tarts at 190C / 370F (no fan) for about 45 minutes. Cover them after about 15 minutes to avoid them browning too much.
- Let them slightly cool in the baking tray for 3 minutes then move them onto a cooling rack.
- The pear tarts are the best served fresh. Any leftovers can be stored at room temperature for 2-3 days in an air-tight container.
Notes
- Removing any excess juice out of the pears is key to avoiding a soggy bottom on your pear puff pastry tarts. We are applying two tactics here: 1. Once the half pears are cut into very thin slices, place them onto a kitchen paper towel that will soak in some of the excess moist 2. Use almond flour under the pears while baking the pastry.
- Work as quickly with the pastry as you can as over time, when the pastry warms, it will stick and would make it very difficult to handle.
- Check the bottom of the pastry to see whether it is well baked.



Martine
May I ask why you say not to use a fan oven? Not sure I can switch my fan off.
Katalin Nagy
The fan adds an extra approx 15C / 60F so if you are using a fan assisted setting, please lower the oven temperature.
In some other cases I recommend not to use the fan as home oven fans can blow a bit all over the place and some sensitive pastries like macarons or eclairs don´t like that.