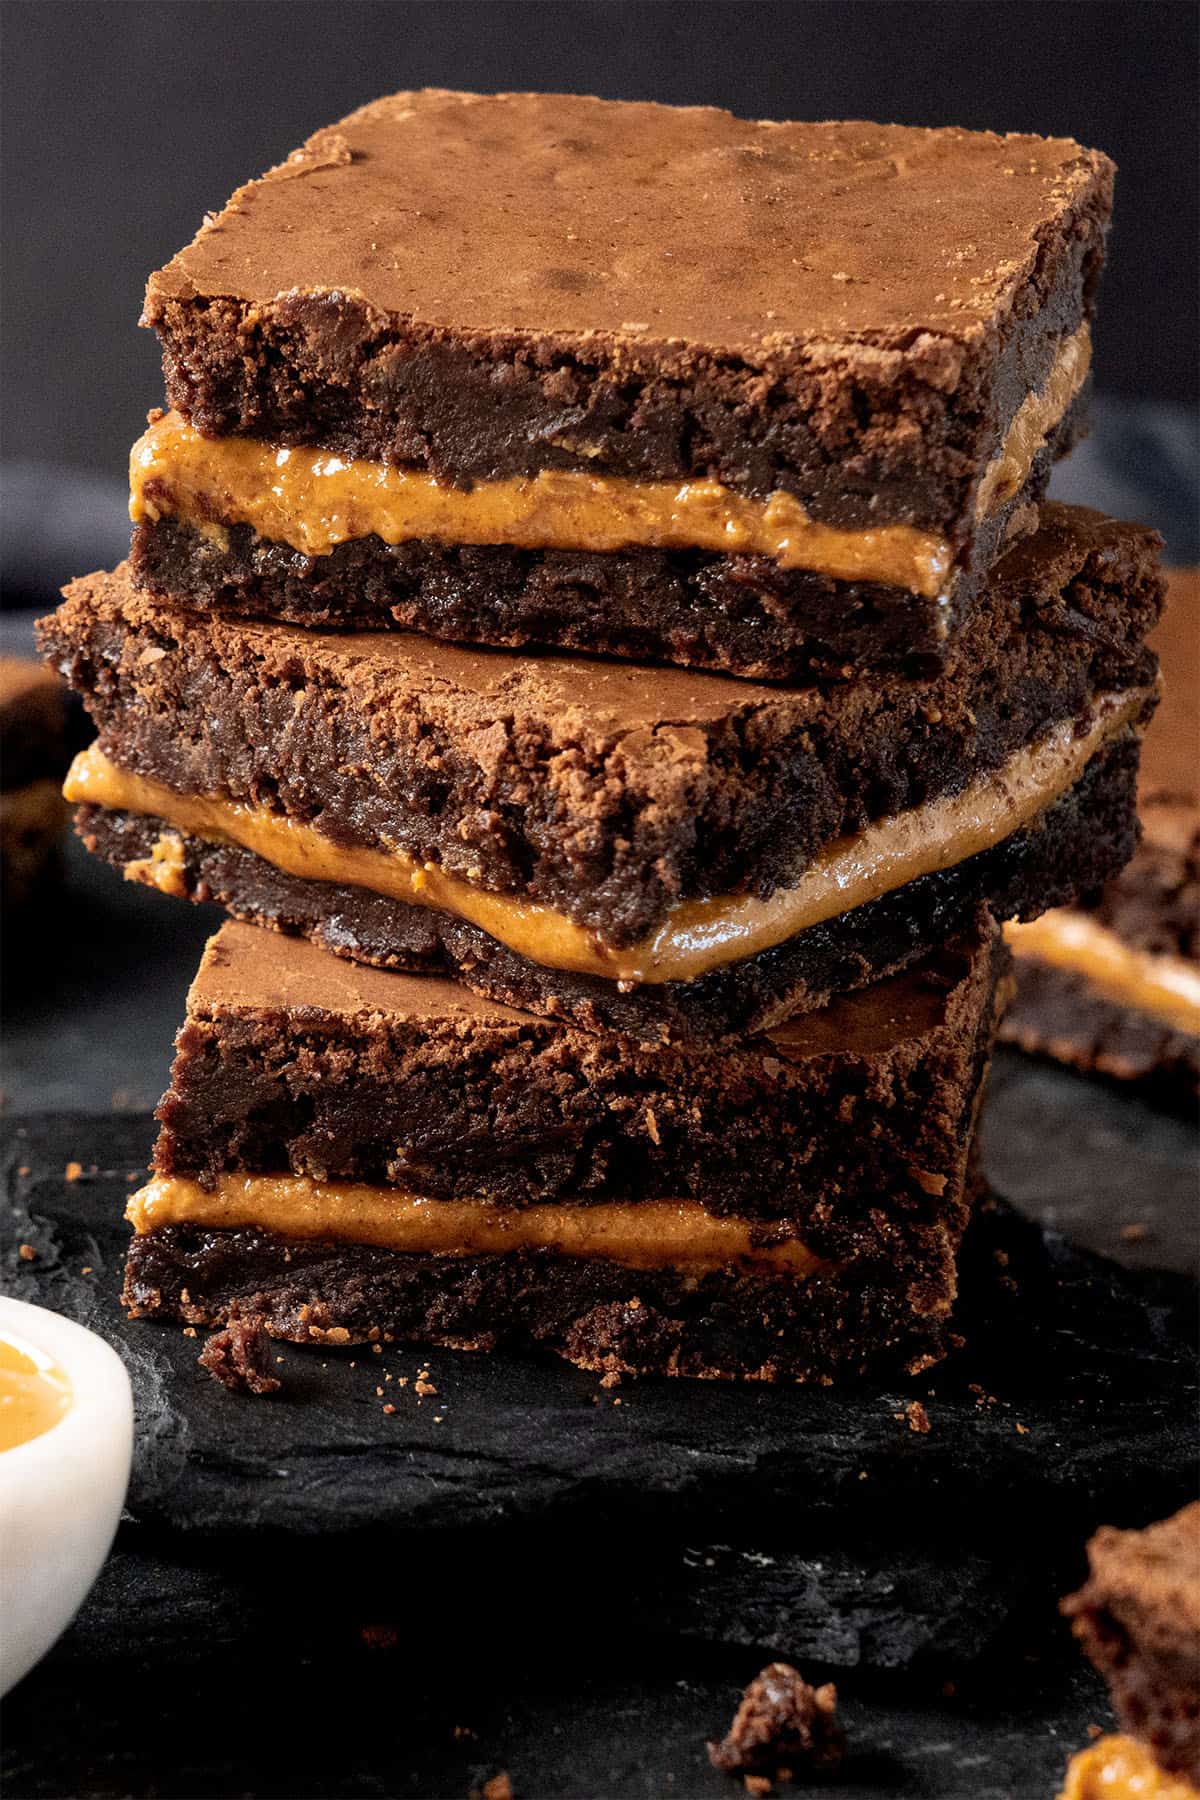
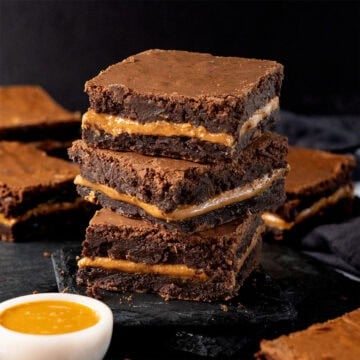
Made with two rich, fudgy chocolate brownie layers and a luscious, creamy peanut butter filling in the center, these peanut butter brownies are a flavor combo made in heaven! Whether baking for a gathering with friends or treating yourself to a crave-worthy dessert at home, keeping your hands off these mind-blowing treats will be almost impossible!
Why This Is The Best Peanut Butter Brownies Recipe
These easy, fudgy peanut butter brownies mix traditional chocolate brownies with creamy peanut butter conveniently packed in the center. The result is the perfect harmony of decadent chocolate and peanut flavor in every bite. Plus, it has that classic, crackly brownie surface we all know and love.
Unlike other recipes, I skip the baking powder to ensure your brownies come out wonderfully gooey and irresistibly fudgy (which, in my opinion, are exactly how brownies are meant to be). Plus, I do everything possible to make this recipe for peanut butter brownies easy and fun. You'll find detailed, step-by-step instructions and expert tips that are easy to follow, even for beginners. I even provide plenty of variations to make this recipe your own.
The best part is that you can quickly whip these peanut butter brownies up on a whim. Most of the ingredients are essential household pantry staples or items you can find at your neighborhood grocery store!
Katalin's Take On How To Best Incorporate Peanut Butter With Brownies
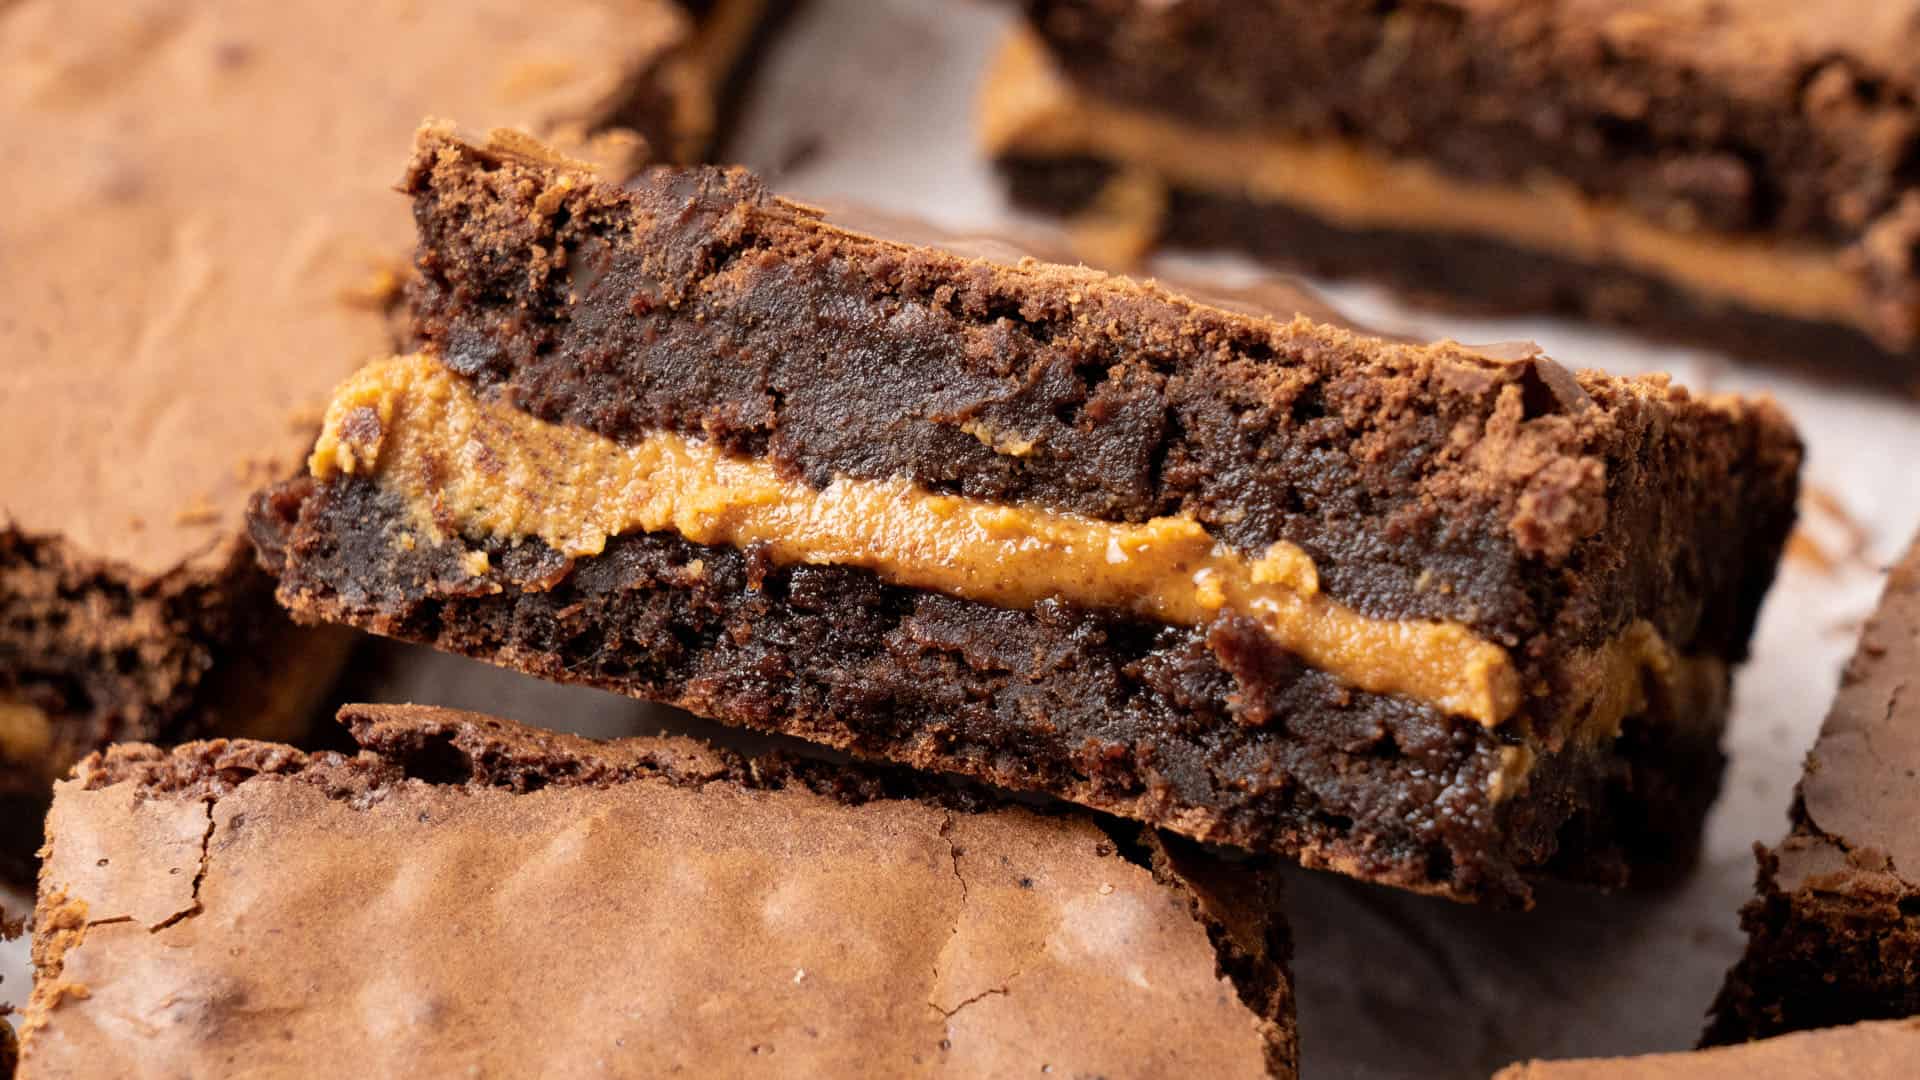
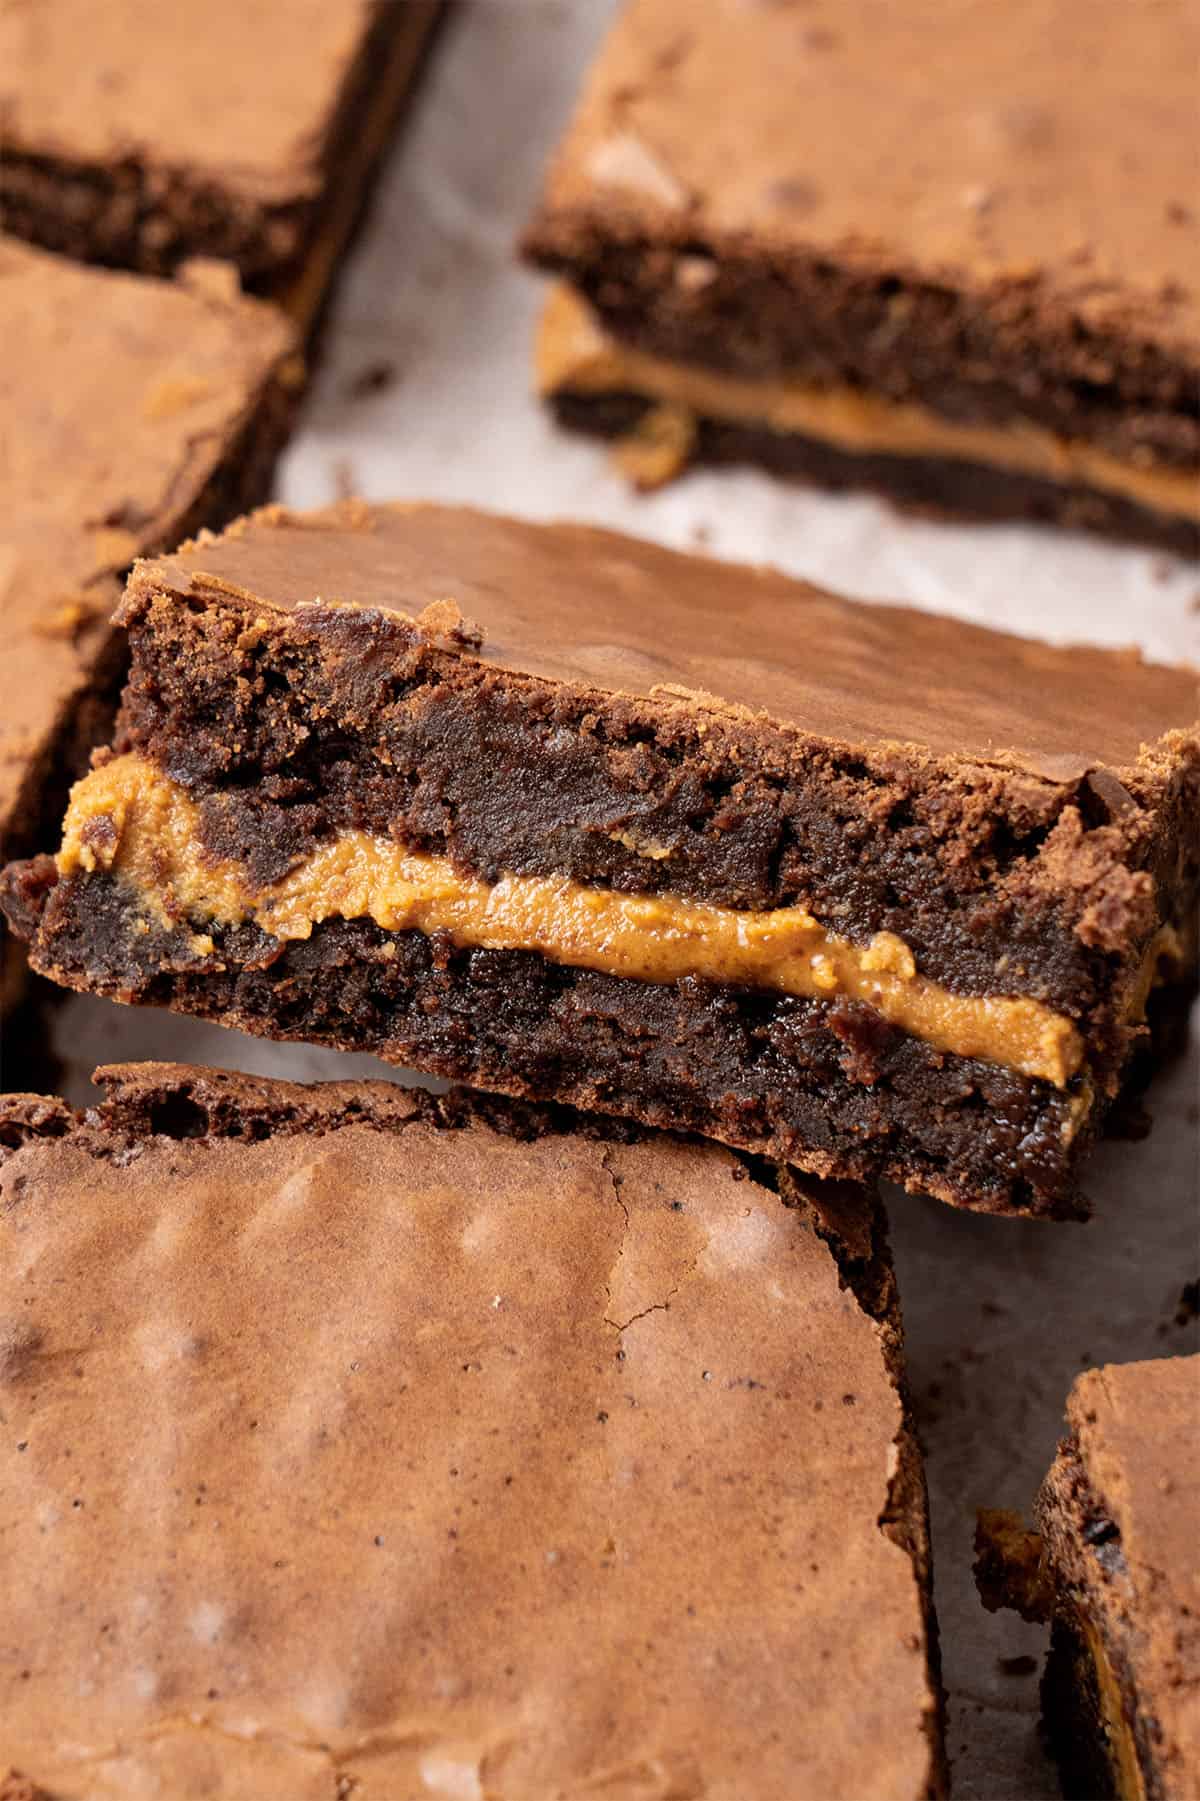
When it comes to adding creamy, nutty peanut butter to already irresistible fudge brownies, there's only one trick that will make its flavor stand out while keeping a beautifully clean layer: freezing it.
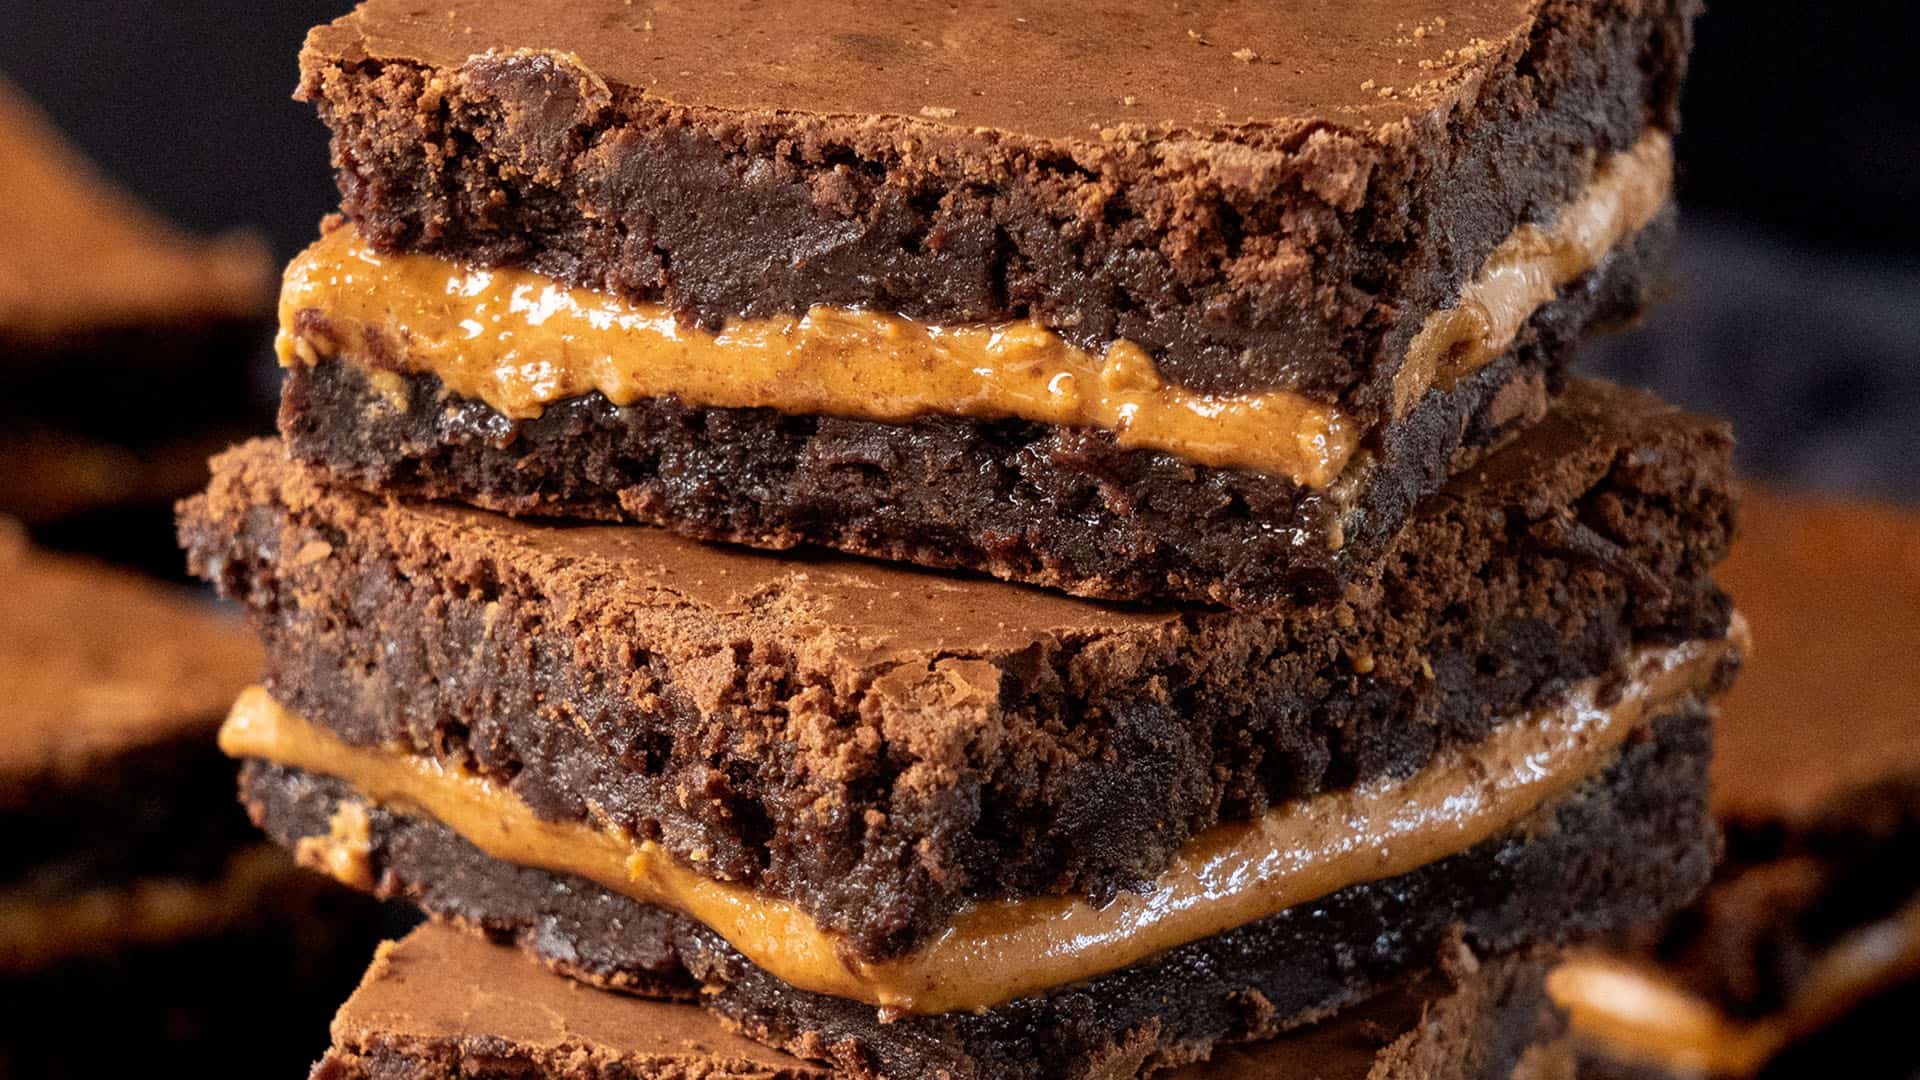
While swirling peanut butter into brownie batter may sound like the most obvious choice, unfortunately, it dulls the peanut flavor. Instead, when you freeze a solid layer of peanut butter and place it between two brownie batter layers, you're guaranteed to get that peanut butter flavor in every single bite that you otherwise wouldn't get with the peanut butter swirl.
It also creates a picture-perfect layer once they're cooled and ready to slice and serve!
Pop Peanut Butter Into The Freezer
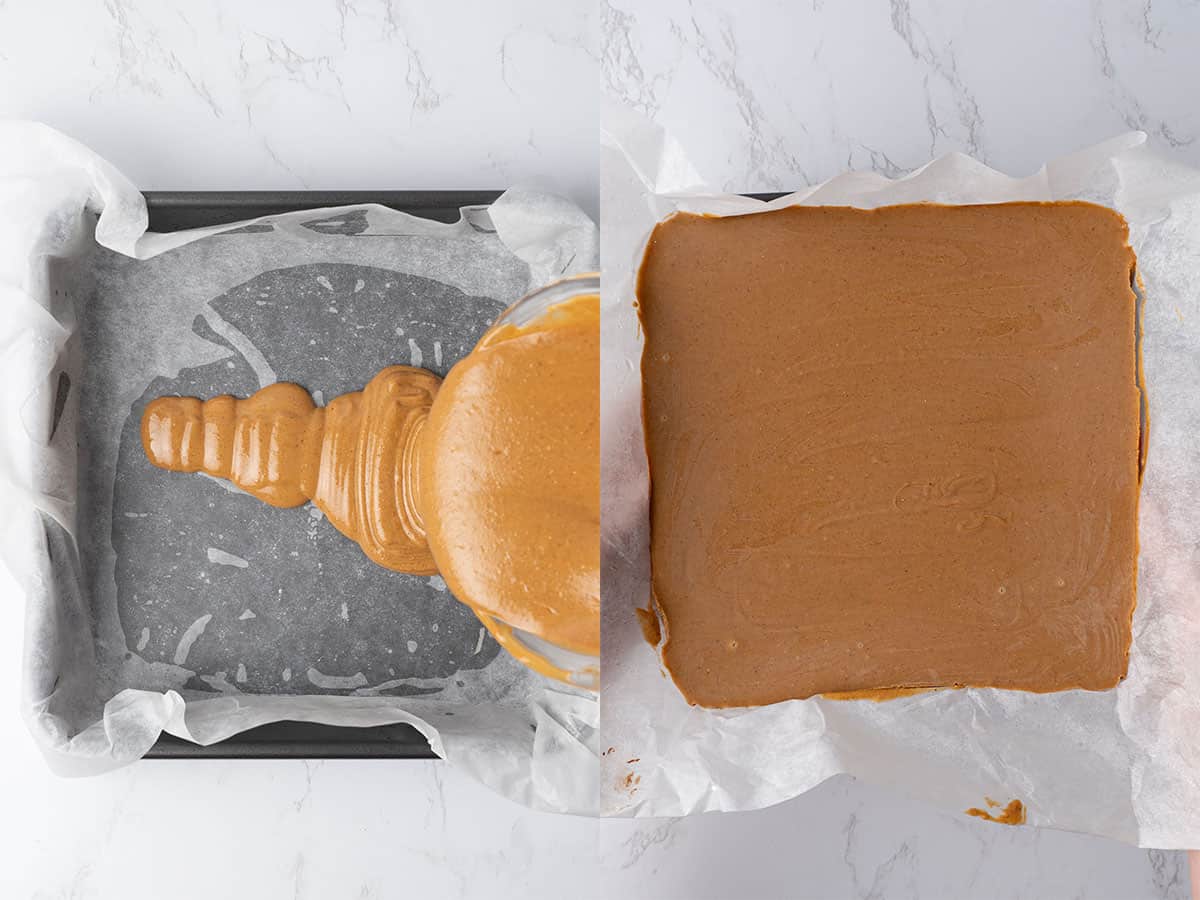
Start by taking a brownie pan the same size you'll use for baking and line it with parchment paper.
Next, spread the peanut butter evenly across the pan and pop it into the freezer for about an hour.
Now Make The Brownie Part
Before starting the brownie mix, ensure your eggs are at room temperature so they easily blend into the batter. To do so, stick them in a bowl of warm water for 5-10 minutes.
Once the peanut butter layer is fully frozen, preheat the oven to 175°C / 350°F (without the fan). Lightly grease the inside of a 9-inch (23 cm) brownie pan with a small amount of oil, then line the bottom and sides with parchment paper.
Melt the chocolate and the butter (unsalted butter only) gently in a bowl set over simmering water over low-medium heat. Alternatively, you can use a microwave. However, you will need to stir the chocolate frequently so that it does not burn. Use a rubber spatula to scrape the chocolate down the sides of the bowl as necessary to prevent it from scorching.

In a separate large bowl, use an electric hand mixer or stand mixer to whip the eggs with both the granulated and brown sugar until the mixture turns pale and fluffy (about 5–7 minutes).

Then, with the mixer on low speed, slowly add the melted butter and chocolate mixture to the egg-sugar mixture.

Sift the dry ingredients (all purpose flour, salt, and unsweetened cocoa powder) into the wet mixture and carefully fold everything together with a rubber spatula, taking care not to overmix. Do not skip the salt, as it is essential for balancing the sweetness!

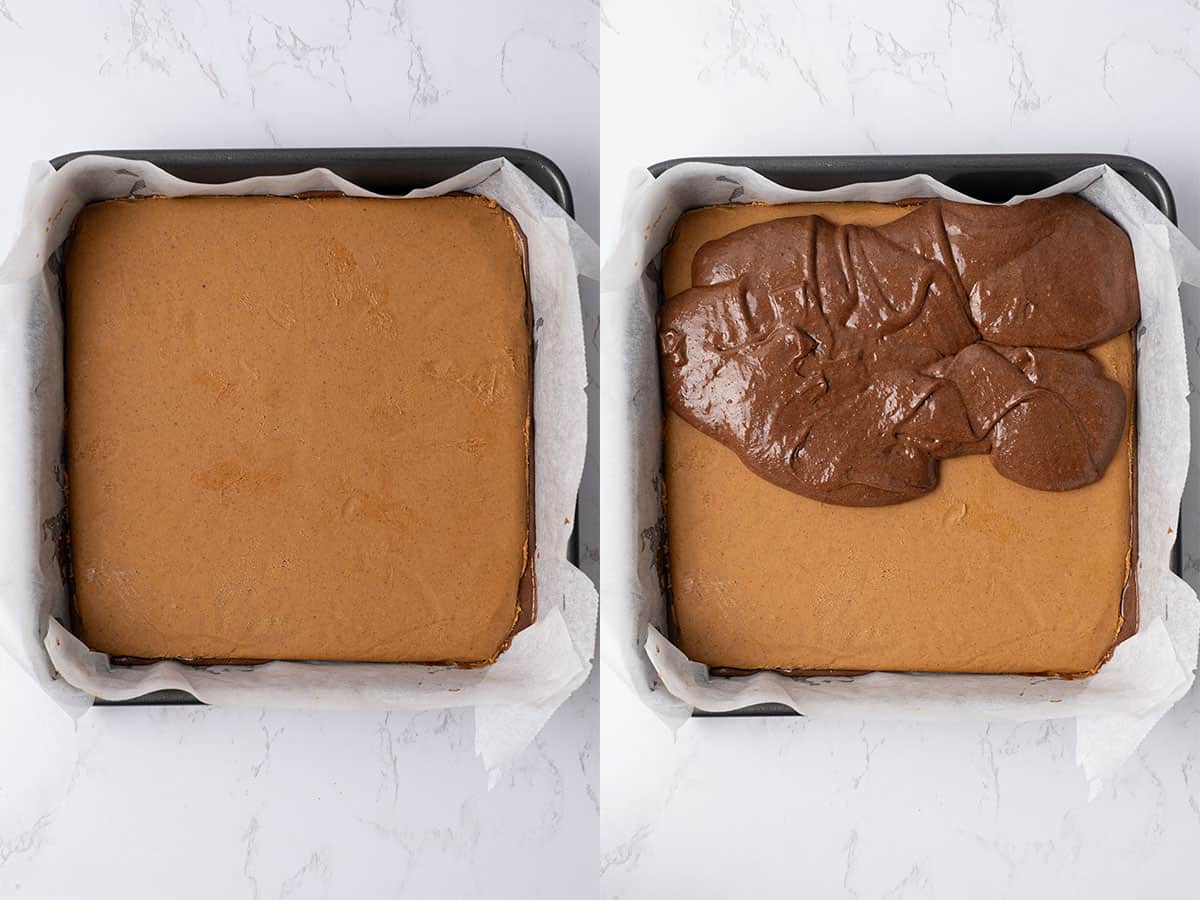
Once thoroughly combined, pour half of the brownie batter into the prepared pan and smooth it out with an offset spatula.
Place the frozen peanut butter over the top of the batter, then spread the remaining brownie batter evenly on top, making sure that the peanut butter layer doesn't blend with the brownie layer (which is why freezing is so important)!
Baking Is Easy Peasy
Place the brownie pan in the preheated oven and bake at 175°C / 350°F for approximately 45 minutes. You'll know they're done when the edges appear set and baked while the center looks slightly gooey (but not undercooked). Avoid overbaking, as the brownies will continue to firm up as they cool.
Allow the brownies to cool completely in the pan before slicing and serving.
Store & Freeze Like a Pro
If you have leftovers, keep them fresh by storing them in an airtight container in the refrigerator for 2-3 days.
If you prefer to freeze them for longer storage, wait until they cool completely to room temperature, then tightly wrap them in plastic or parchment paper and cover them with aluminum foil (this will help prevent freezer burn). Then, place the wrapped brownies in a sealed freezer bag and freeze for up to three months.
See my guide on storing brownies for more tips on preserving their freshness after baking.
Experiment With The Flavors
While these chewy peanut butter brownies are irresistible as-is, you can make them even more special and delicious with the following customizations:
Swap out the peanut butter for a Nutella layer, as I do in my Nutella brownies recipe. Or, for a warm fall flavor, use pumpkin puree as I do in my pumpkin brownies.
Instead of the traditional chocolate brownie layer, try this recipe with my white chocolate brownies.
For even more nuttiness, throw in peanut butter chips, similar to my triple chocolate brownie recipe. Or, you can use chocolate chips or caramel or butterscotch chips for an extra fudgy flavor. To get even more creative, try a combination of the above!
You can also add to the nutty flavor by mixing in crunchy crushed nuts. Try mixing in almonds, hazelnuts, macadamia, or pecans, like in my pecan brownies recipe.
For a delicious finish that pairs wonderfully with the chocolate and peanut butter flavors, sprinkle a bit of sea salt on top!
Need to Substitute Ingredients? Some Helpful Links
To make your peanut butter brownies gluten-free, see my flour guide for various alternatives. To make them vegan-friendly, you can use my dairy-free brownie recipe and try one of the options in my egg substitution guide. If you want to avoid butter, try one of these butter substitutes.
Remember that when substituting ingredients, you might need to adjust other quantities to maintain the ideal taste and texture. Always refer closely to the recommended substitution guides and suggested amounts for the best outcome!
Expert Tips For Making Peanut Butter Brownies
- To avoid overly sweet brownies, use unsweetened peanut butter, which will provide the perfect balance of sweetness alongside the fudge. Likewise, I recommend using unsweetened cocoa powder.
- Always use the highest quality ingredients you can find for the best taste in texture. I recommend 82% European-style butter, high-quality semi sweet chocolate chips such as Callebaut or Lindt, and 100% Dutch-processed cocoa powder.
- Avoid reducing the amount of sugar you use in the brownie batter, as it will make a difference to the texture and take away from the crackly surface.
- If you like super fudgy, gooey brownies, you can decrease the baking time and slightly underbake the brownies.
- For perfect, intact slices, run your knife under hot water to keep the chocolate from sticking to the knife.

What Equipment To Use
For the best results, use a digital scale to weigh your ingredients rather than relying on measuring cups. A digital oven thermometer is also a must-have tool to confirm an accurate baking temperature.
An electric hand mixer is necessary for whipping the wet ingredients, and you will need a rubber spatula to gently fold in the dry ingredients without overmixing.
For baking, you will need a 9-inch (23 cm) square baking pan along with an offset spatula to spread the batter evenly in the pan.
Try Some Of My Other Brownie Recipes
If you loved these gooey peanut butter brownies, you will also fall in love with my other irresistible brownie recipes:
- Slutty Brownies
- Cheesecake Brownies
- Tiramisu Brownies
- Biscoff Brownies
- Raspberry Brownies
- Pecan Brownies
For even more decadent desserts, including cookies, cakes, and more, check out this roundup of the Top 40+ Best Chocolate Desserts to satisfy your chocolate craving.
Have You Tried This Recipe?
Please leave a 5-star ⭐️⭐️⭐️⭐️⭐️ rating on the recipe card and consider leaving a comment as well!
Peanut Butter Brownies
Equipment
- 9 inch / 23 cm brownie pan
Ingredients
Brownie part
- 170 g (1 cups) Dark Chocolate use high quality semi-sweet chocolate eg. Callebaut or Lindt
- 170 g (¾ cups) Unsalted butter
- 4 Eggs at room temperature
- 200 g (1 cups) Granulated sugar
- 150 g (¾ cups) Brown sugar
- 45 g (½ cups) Cocoa powder unsweetened Dutch processed
- 120 g (1 cups) All purpose flour
- ½ teaspoon Salt
US customary cup measurement is an indicative figure only. Measure the ingredients with a digital scale by weight (gram). Baking is art but also science which requires precision and accuracy.
Instructions
Start with the Peanut butter layer
- Grab your brownie pan (the same size pan as you will use to bake the brownie), place parchment paper inside the pan, and evenly distribute the peanut butter in the pan. Freeze it for an hour.
Make the brownie
- Once your peanut butter layer is well frozen, preheat the oven to 175 C / 350 F (no fan) and prepare a 9-inch / 23 cm brownie tin. Brush the inside of the pan with a tiny bit of oil, and then line the bottom and sides with parchment paper.
- Gently melt the butter and the chocolate in a bowl over simmering water over low-medium heat. Alternatively, use your microwave; however, ensure that you don't burn the chocolate.
- In another bowl, whip together the eggs with sugar with the help of an electric hand mixer or stand mixer until pale, for about 5-7 minutes.
- Slowly pour the melted butter and chocolate mixture into the egg-sugar mixture while the mixer is on low speed.
- Lastly, sift the dry ingredients (flour, salt, and cocoa powder) into the wet ingredients, and fold the mixture together with a rubber spatula. Do not overmix.
- Then, grab your frozen peanut butter filling and place it on top of the brownie batter. Finally, evenly distribute the rest of the brownie batter on top of the frozen peanut butter, making sure that you don´t mix the peanut butter layer with the brownie layer (that's why it is important that the peanut butter is well frozen).
Bake
- Bake the brownie at 175 C / 350 F for about 45 minutes. The brownie is ready when the edge looks baked and the middle looks slightly gooey but not raw. Do not overbake! The brownie will set further as it cools.
- Let the Peanut butter brownie completely cool in the pan before slicing and serving.
- Any leftovers can be stored in an airtight container refrigerated for 2-3 days.
Notes
- Use unsalted butter to make the brownies and add the salt separately. This way, you are in control of the quantity of the salt.
- Don't forget to add the salt, it brings out the flavor of the chocolate and balances the sweetness of the desserts.
- The egg should be used at room temperature when making the brownie.
- Baking powder is intentionally omitted from the recipe, so your brownies turn out wonderfully fudgy and gooey.
- The quality of the chocolate chips and the cocoa powder will define the taste of your brownies, so try to use high-quality ingredients, e.g., semi-sweet chocolate from Lindt or Callebaut and Dutch-processed cocoa powder.
- A digital scale is required for a consistent, happy baking experience.
- If your preferred chocolate melting method is a microwave, not the double boiler, use a plastic container to melt it. The glass can very quickly heat up and might burn your chocolate.
- Always preheat your oven and consider using a digital oven thermometer for the best results.
- Each oven is different, so you might need to adjust the baking time +/- 5- 10 minutes. This will bake longer than brownies without filling, as the frozen filling takes longer to bake.
- You must make sure that the peanut butter filling is properly frozen; otherwise, it will mix with the brownie layer, and you won't get the desired result.
- For the best fudge brownie experience, consider slightly underbaking your dessert.
Mary
Mary