Grilled chicken is one of those things that looks straightforward until you're standing over a smoking grill with a piece of meat that's charred on the outside, pink in the middle, or so dry it could double as packing material. It happens to everyone, it happens repeatedly, and the frustrating part is that it's almost never about technique at the grill itself. The problems are almost always created hours or even just minutes before cooking starts.
Once you know what's actually going wrong, the fixes are simple, fast, and don't require any special equipment. You don't need a sous vide machine or a meat thermometer that connects to your phone.

Why chicken dries out in the first place
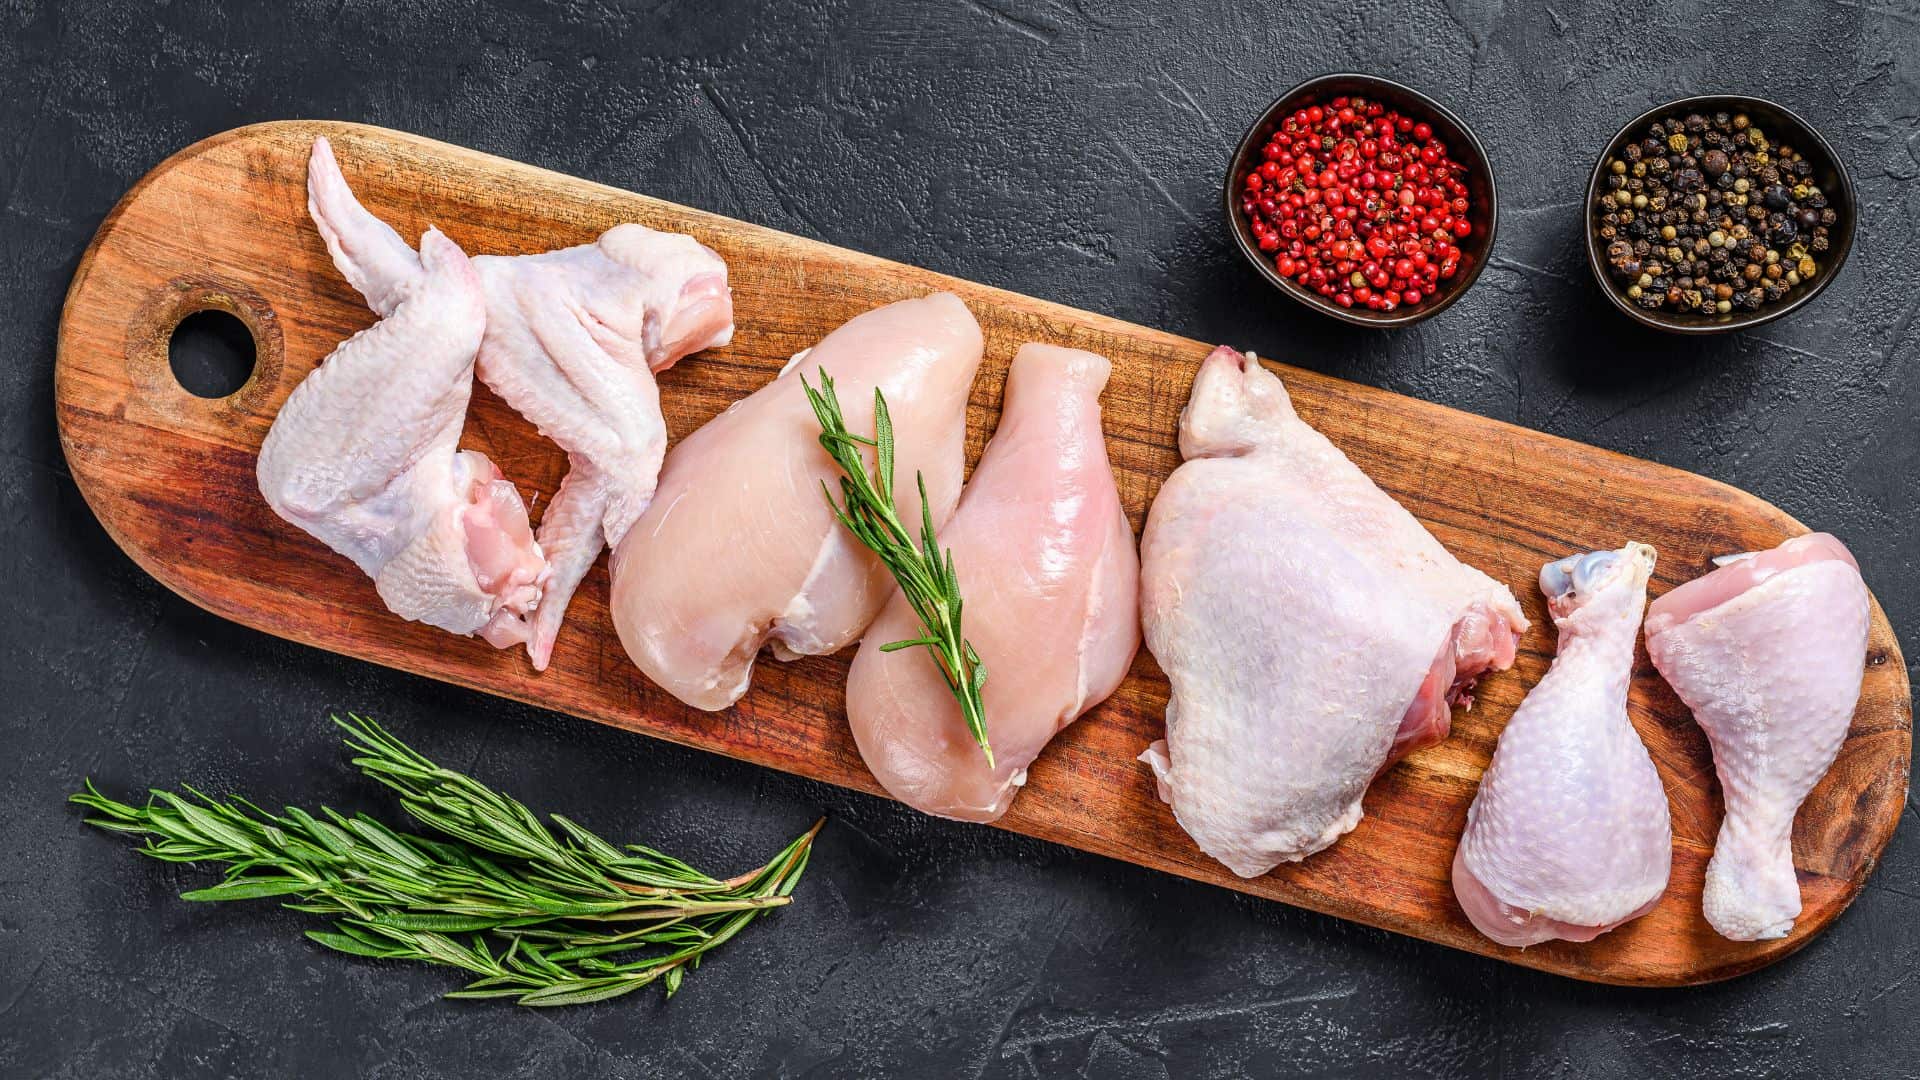
Chicken breast is the main offender here, and the reason is structural. It's a very lean cut with almost no fat running through it, which means it has nothing to protect it from the heat once the moisture inside starts to evaporate. The moment it crosses a certain internal temperature, the proteins tighten, the moisture gets squeezed out, and what you're left with is something that chews like a pencil eraser, regardless of how long you rested it.
Thighs are more forgiving because they contain more fat and connective tissue, which melts during cooking and keeps the meat lubricated from the inside. This is why every chef you've ever watched on television uses thighs when they have a choice.
The second reason chicken dries out is uneven thickness. A standard chicken breast is thick in the middle and thin at the edges, which means the thin parts are overcooked by the time the center is done. This is one of the most common and most fixable problems in home grilling, and almost nobody addresses it.
The 15-minute fix
The first thing to do is pound the chicken to an even thickness. Put it in a zip-lock bag or between two pieces of plastic wrap and use a rolling pin, a meat mallet, or the flat bottom of a heavy pan to flatten it to a consistent thickness of about three quarters of an inch. This takes two minutes and it is the single most effective thing you can do for grilled chicken. Even thickness means even cooking, which means no dry edges and no raw center.
The second thing is a quick brine. Not an overnight situation, not a project. Fill a bowl with cold water, add a generous amount of salt, around a tablespoon per cup of water, and submerge the chicken for 15 minutes. That's it. The salt penetrates the meat, seasons it from the inside, and, more importantly, slightly alters the protein structure so it holds onto more moisture during cooking. The difference between brined and unbrined chicken on a grill is not subtle. You will taste it immediately.
If you don't have 15 minutes even for that, dry brining works almost as well. Salt the chicken generously on both sides and let it sit uncovered on a plate for as long as you have, even ten minutes at room temperature, before it goes on the grill. The salt draws out a small amount of surface moisture, dissolves into it, and gets reabsorbed into the meat. It's not identical to wet brining, but it moves you significantly in the right direction.
How to actually grill it
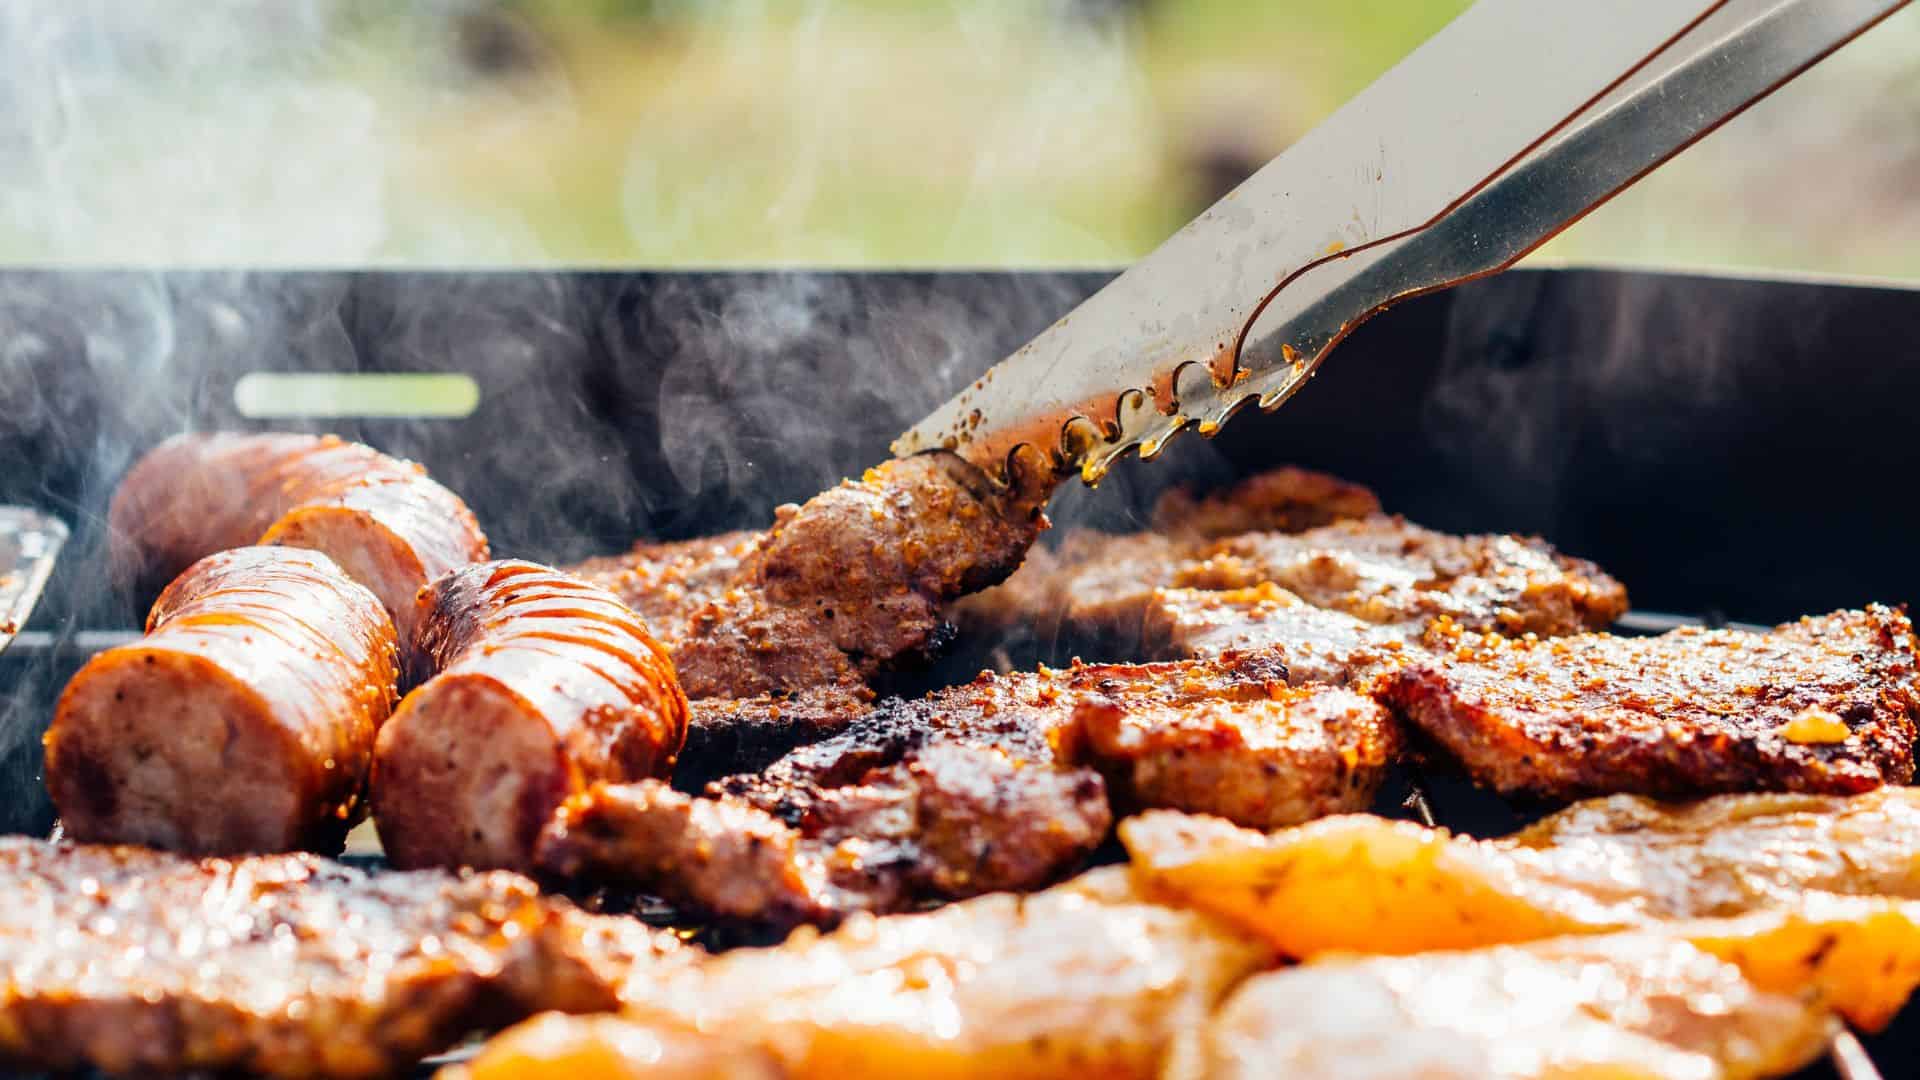
Once the chicken is prepped, the grill approach matters too. High heat for too long is the other major culprit, and this is where people go wrong even when they've done everything else right.
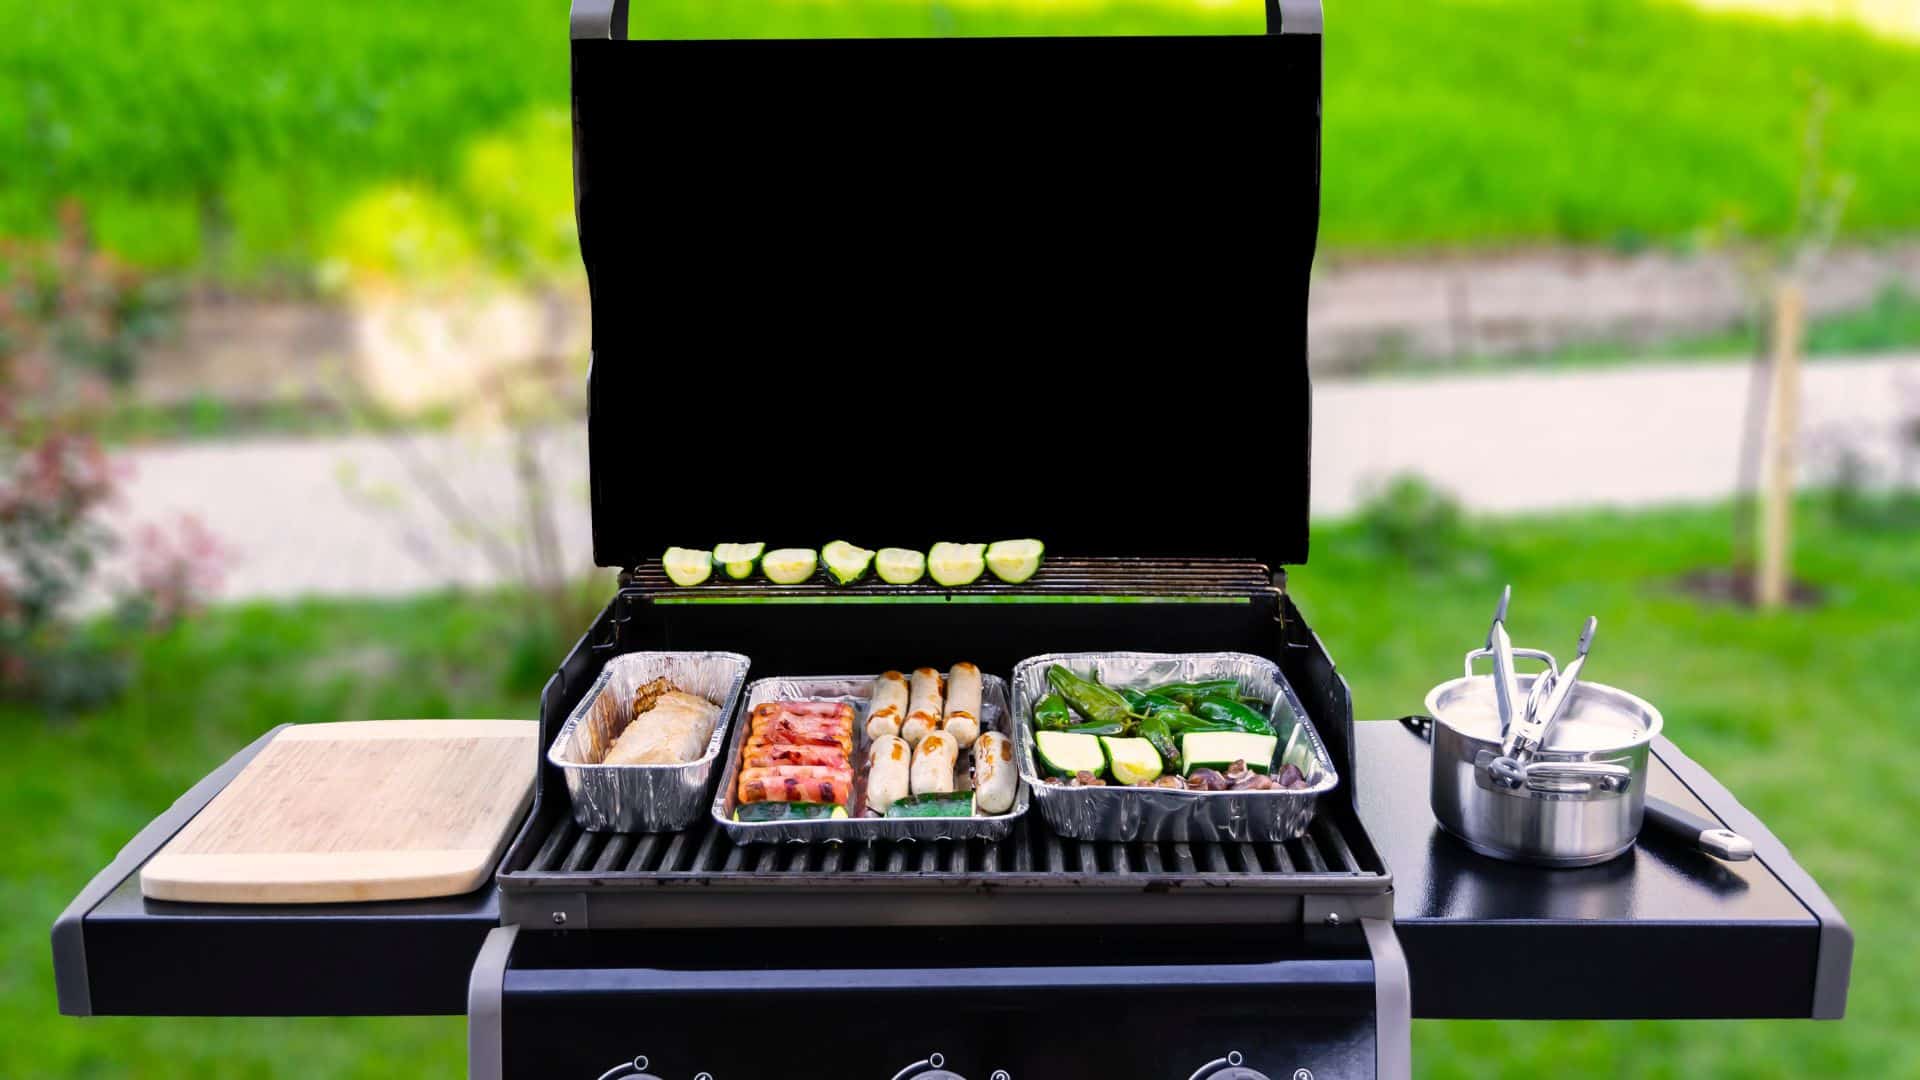
Get one side of your grill very hot, and leave the other side at medium or off. Sear the chicken on the hot side for two to three minutes per side to get color and those grill marks that make everything feel like an achievement. Then move it to the cooler side to finish cooking through without blasting it with direct heat. This indirect finish allows the center to come up to temperature without the outside drying out.
Resting is not optional. It takes five minutes and it allows the muscle fibers to relax and reabsorb the juices that have been pushed to the center during cooking. Cut into it immediately and those juices run straight onto the cutting board. Wait five minutes and they stay in the meat where they belong.
Leave a Reply