
Grilling season has finally arrived! Before you fire up your trusty BBQ for the first time, it’s a good idea to give it a thorough cleaning. Cleaning your grill doesn’t have to be a daunting task when you know the proper steps to take. A clean grill helps ensure that your food tastes delicious, rather than like burnt grease. Regardless of whether you’re using a gas grill, charcoal grill, or a pellet smoker, each type requires a similar cleaning process for the best results. This guide provides all the necessary information to clean your grill effectively.
Why You Should Clean Your Grill
Before we begin scrubbing, let's take a moment to learn more about why cleaning your grill is important. First, your food will taste better when cooked on a clean grill. Built-up grease and food particles can make your burgers and veggies taste funky or bitter. You need to remove the old food before cooking a fresh meal. Clean grates also mean fewer hot spots and better heat distribution.

It is also important to remove old grease and fat, as both can ignite and cause dangerous flare-ups. Regular cleaning will prevent rust and corrosion on your grill and grill grates. Scrubbing the grill will actually help it last longer. The bottom line is that a bit of cleaning goes a long way.
What You Will Need to Clean a Grill
You don’t need fancy tools or harsh chemicals to clean your grill. Yes, there are numerous grill cleaning products available, but you can definitely get by with a few basics. Here is a quick list of essentials for cleaning a grill:
- Grill brush (or ball-up aluminum foil and tongs)
- Dish soap or degreasing dish detergent
- A bucket of warm water
- Sponge or cloth
- Baking soda and vinegar (for deeper cleaning)
- Paper towels or dry cloths
- Optional: grill scraper, putty knife, or nylon bristle brush (for delicate surfaces)
Once you have all your tools, you are ready to clean your grill and make it look brand new!
How To Clean a Grill
Step 1: Preheat Your Grill
If you are cleaning immediately after cooking, this step is already done! But if you are cleaning a cold grill, it is a good idea to give it a quick 10–15 minute preheat on high with the lid closed. This will help loosen up stuck-on gunk and make the next step easier.
While a hot grill is easiest to clean, it's always best to let your grill cool down a bit before scrubbing, as extremely hot grates can be dangerous.
Step 2: Scrub the Grates
Once the grill is warm but safe to touch, it is time to tackle the grates. Start by using your grill brush or a wad of foil held with tongs to scrub off food bits and charred buildup. Scrub in long strokes, and don’t forget the edges and corners of the grates. For a deeper clean, you can remove the grill grates and soak them in hot, soapy water for 15–30 minutes. Then, scrub again with a sponge or non-abrasive brush.
If your grates are especially grimy, make a mixture of baking soda and warm water, apply it to the grill grates, and let it sit for a few minutes before scrubbing. This works especially well for cast iron and porcelain-coated grates.
Step 3: Clean the Burner Protectors or Flavorizer Bars (Gas Grills)
If you have a gas grill, you will find metal plates or bars that sit above the burners. These are there to catch drippings and help create that smoky flavor.
Remove these bars and give them a good scrape with a grill scraper or putty knife. Use soapy water and a sponge to remove any grease buildup. Rinse thoroughly and let them dry completely before reassembling them.
These parts can rust quickly if not cleaned regularly, so it's essential not to skip this step.
Step 4: Clean the Burners (Gas Grills)
Burners can get clogged with grease, ash, or even bugs, and if your grill isn’t heating evenly, dirty burners are often the reason.
To clean your grill burners:
- First, disconnect the gas supply line or gas tank.
- Use a wire grill brush or a stiff-bristled toothbrush to clean around the burner holes gently.
- Check for blockages and clear any gunk with a small pin or toothpick.
- Be gentle when you scrub, as you don’t want to damage the ports or knock the burner out of alignment.
It is also always a good idea to refer to your grill’s manual if you are unsure about how to remove or clean the burners safely. Most manuals are available online, allowing you to quickly look up information on how to tackle this tricky spot.
Step 5: Clean the Ash Tray or Grease Tray
Charcoal grills usually have an ash catcher underneath. Gas grills often have a grease tray or drip pan. Either way, these areas accumulate a lot of nasty buildup that needs to be removed.
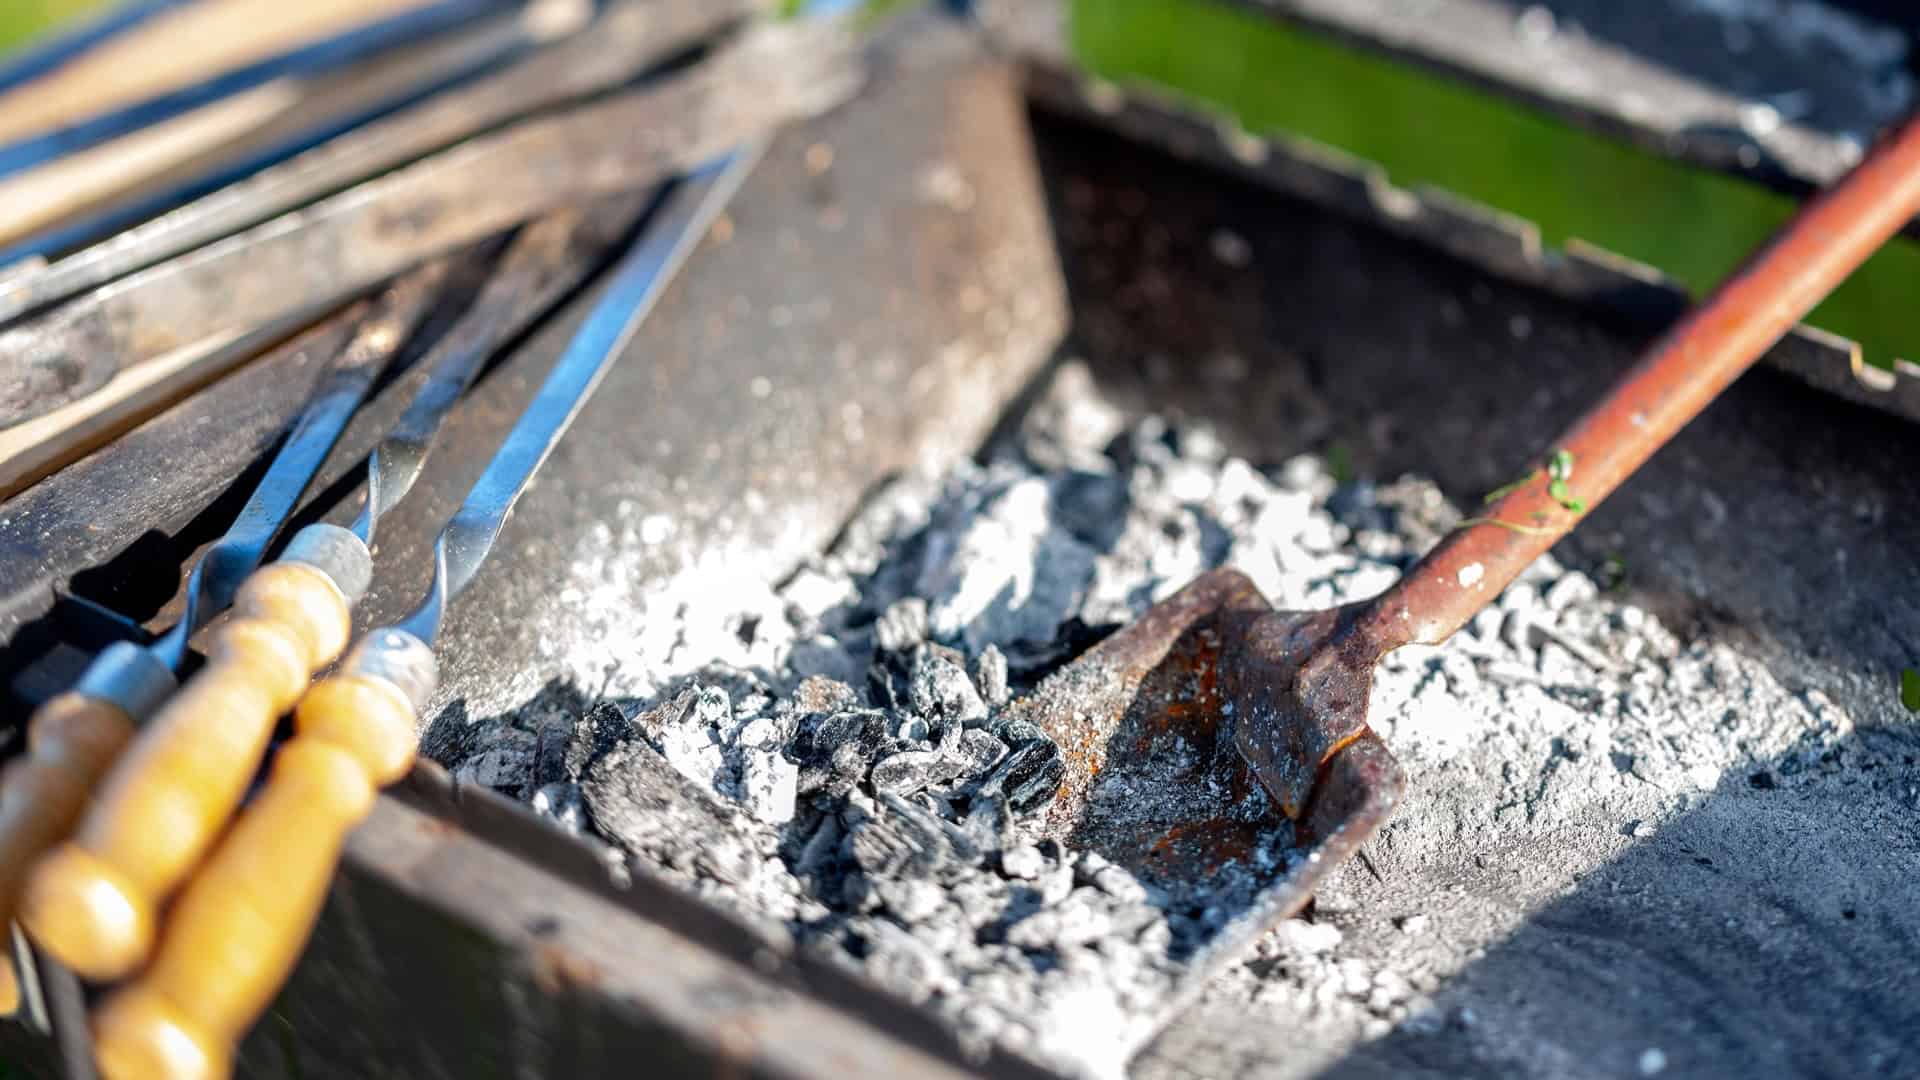
Empty the ash or grease into a safe container. Then, use a putty knife to scrape off hardened gunk. Finally, wash the tray with warm, soapy water, rinse it well, and let it dry completely before reinstalling.
Leaving these trays dirty can attract pests and even cause grease fires during cooking. That is definitely not something you want at your next BBQ!
Step 6: Clean the Inside of the Grill Lid and Firebox
Look inside your grill lid, and you will often see black flakes or greasy buildup. That is carbonized grease, and it can fall onto your food if not cleaned off. That does not sound appetizing, but fortunately, it is relatively easy to get rid of.
First, use a putty knife or grill scraper to remove flakes from the lid gently. For the firebox (the inside base of the grill), scrape away any greasy buildup or charred food remnants. Then, wipe everything down with a damp, soapy cloth and rinse with water. Avoid using too much water in the firebox and wipe it clean, rather than soaking it.
Step 7: Inspect and clean gas lines and fittings
Over time, grease and debris can accumulate around your grill's gas lines and connections, creating a fire hazard or potentially leading to gas leaks. Regular inspection ensures your grill operates safely and efficiently. Check for any cracks, damage, or loose fittings, and test for leaks using soapy water. If you see bubbles forming, you likely have a leak that needs to be fixed before use. Keeping these components clean and leak-free helps maintain steady heat and prevents dangerous grill mishaps.
Step 8: Re-season the grates after cleaning
Once you have scrubbed the grates clean, it is important to re-season them with a light coating of oil. This not only helps prevent food from sticking the next time you grill, but it also creates a protective layer that wards off rust. Skipping this step can cause your grates to deteriorate more quickly, especially if they are frequently exposed to moisture. Remember to use a high-smoke-point oil, such as canola or vegetable oil, and apply it evenly while the grates are still warm.
Step 9: Wipe Down the Exterior
The outside of your grill probably gets pretty beat up just from being outside. You can keep it looking new just by using a clean cloth and some soapy warm water to remove grease, fingerprints, and smudges. For stainless steel, use a stainless steel-safe cleaner or a vinegar and water mixture for a shine.

Oh, and don’t forget the knobs, handles, and side tables!
A clean exterior not only makes your grill look new, but it also helps protect against rust and corrosion.
Step 10: Reassemble and Reinspect
Now that all the parts of your grill are clean and dry, it's time to put your grill back together. Reattach the grates, trays, and any other parts you removed. Before your next BBQ, do a quick inspection:
- Are all the burners lighting properly?
- Any gas leakage?
- Are the grates dry and rust-free?
- Is the grease tray empty?
Doesn’t it feel nice to have a sparkling clean grill?
How Often Should You Clean Your Grill?

While there are no strict rules about how often you should clean your grill, it's recommended to do so on a fairly regular basis. After every use, give the grates a quick brush while they are still hot, and empty the grease tray as needed. Give the grill a thorough, deep clean, checking each task in this guide every 1–2 months during grilling season, or more often if you use it frequently.
Don’t wait for your grill to look dirty! You can prevent buildup by staying on top of it and maintaining that nice new grill look.
Cleaning your grill might not be the most glamorous part of outdoor cooking, but it makes a huge difference. Your food will taste significantly better, and you can avoid any issues that may arise while cooking outside. A clean grill is a happy grill, which will also make for a happy grill master. And, we all know that a happy grill master means better BBQ all summer long!
Leave a Reply