Few kitchen wins feel better than nailing a homemade pizza. Getting there requires a little practice and patience, but it is worth every penny. This guide will show you how to achieve the best results by learning about the ingredients and using smart techniques.

Start with The Dough
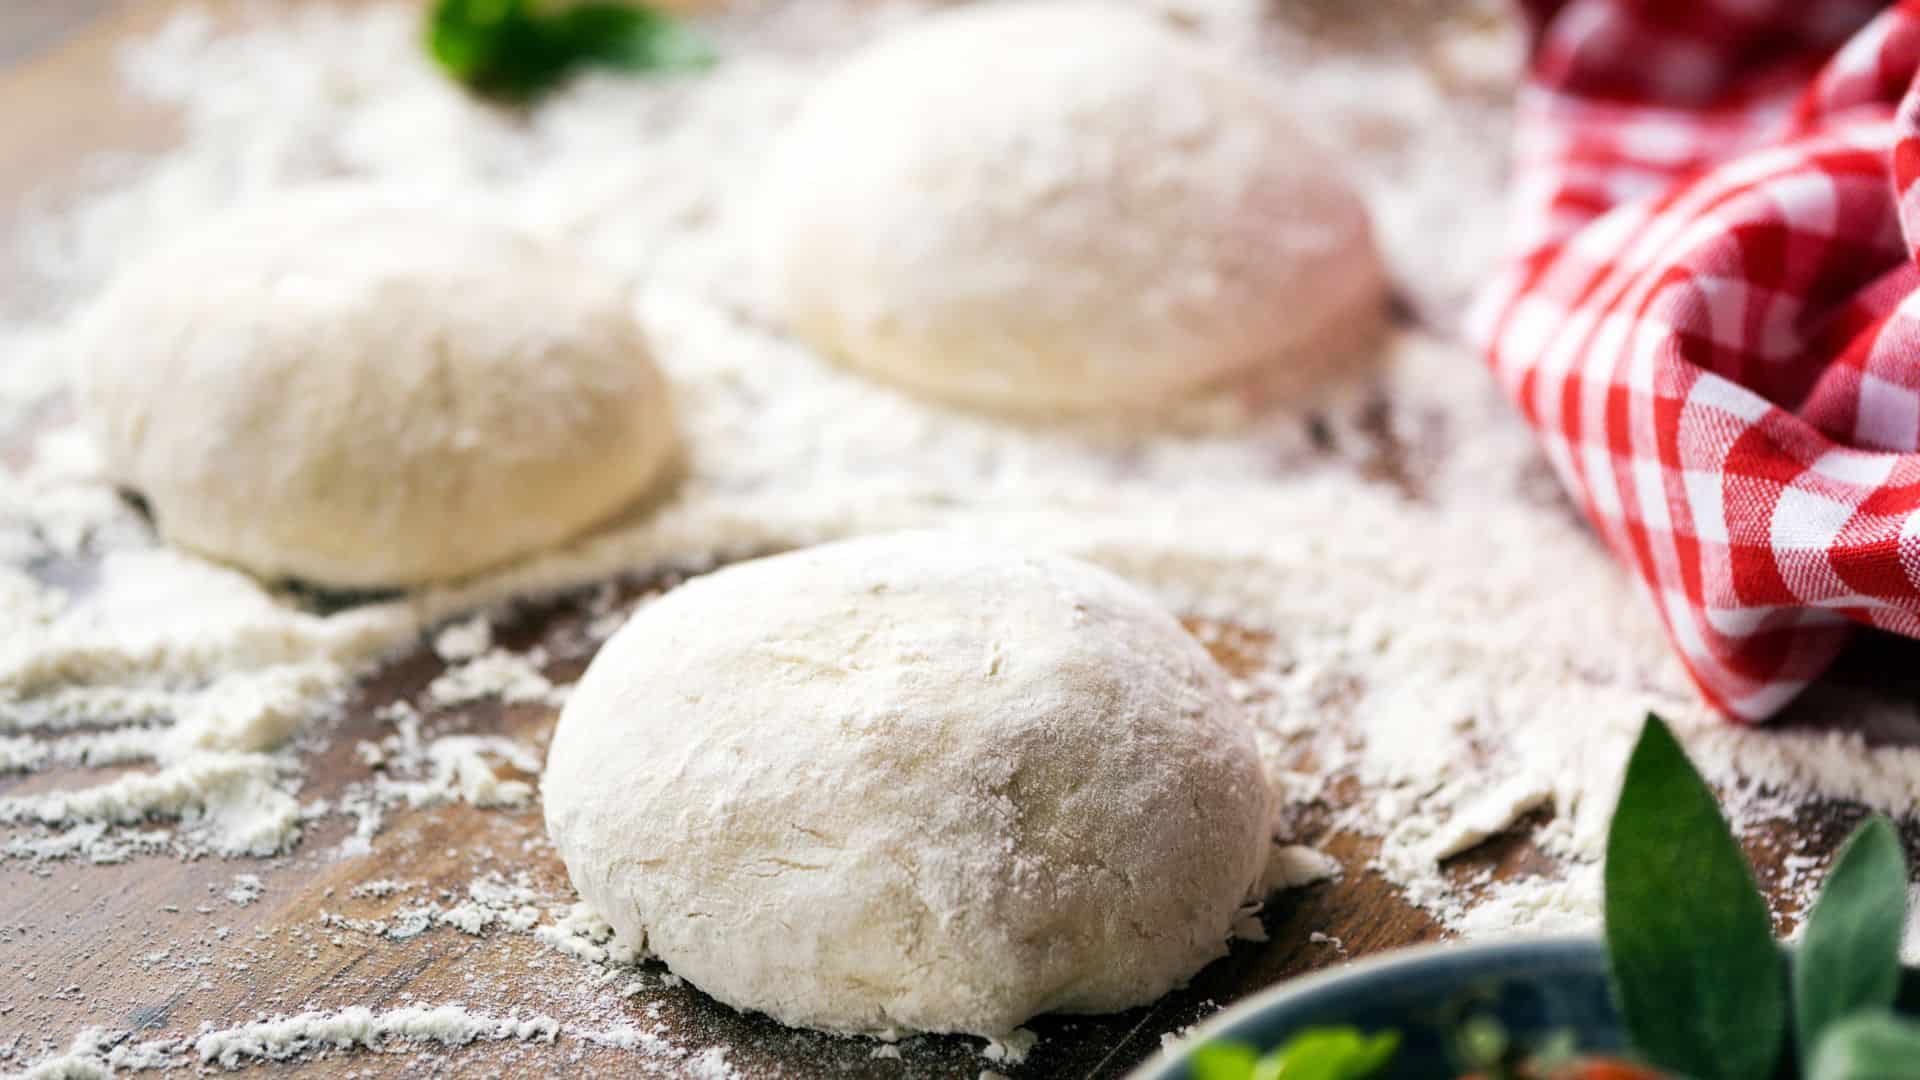
The dough is the first and most important part of a great pizza. Think of it as a living creature that wants time and the right environment to grow. Give it patience and warmth, and it rewards you with bubbles, flavor, and stretch.
Here is a basic formula that makes 2 medium pizzas.
500 g flour → about 4 cups (spoon-and-leveled), or 17 ½ oz
325 g lukewarm water → about 1 ⅓ cups + 1 tablespoon (≈ 11 ½ fl oz)
10 g fine sea salt → 1 ¾ tsp
3 g instant yeast → 1 tsp
15 g olive oil → 1 Tbsp
Which flour should I use?
If you're confused by the variety of flours at the grocery store, you're not alone. Here is a quick guide on what to use:
Tipo "00": For people with a screaming-hot outdoor oven.
Bread flour: If your kitchen oven maxes out at 500–550 °F (260–288 °C).
All-purpose: For the most effortless handling, it browns nicely enough for most homes.
Feel free to do a 50/50 blend of 00 and bread flour for the best of both worlds.
Mix, Rest, Fold—Done
Now that you know what flour to use, it's time to make the dough. Whisk the flour and salt together in a bowl. Sprinkle the yeast over the water, stir, and then pour it into the flour.
Stir with a spoon or your hands until no dry pockets remain. The dough will appear shaggy. Cover and rest for 20 minutes. This magical pause (autolyze) does half the kneading for you.
Next, wet your hand, scoop under the dough, stretch it up, and fold it over itself. Rotate the bowl 90 °, repeat three more times, and you've basically kneaded without breaking a sweat.
Repeat the stretch-and-fold process twice more at 15-minute intervals, then shape the dough into a smooth ball. Lightly oil it and place it in a lidded container. Into the fridge, it goes for at least 24 hours, up to 72 for maximum flavor. That's it. Total active time: under ten minutes.
Knead Just Enough Then Stop
Gluten is formed when flour, water, and motion come together. Your job isn't to punish the dough. Instead, it's to encourage those gluten strands to link arms. After each fold, you'll feel the dough turn silkier.
You can test it: Pinch off a walnut-sized piece and stretch it into a "window pane." If light passes through without tearing, you're done.
Stretching, Not Rolling
Twenty-four hours later, pull the dough out and let it wake up on the counter for an hour. Dust the top with flour, flip it onto the bench, and form a gentle rim with your fingertips.
Do not use a rolling pin. Rolling pins bulldoze the air pockets you lovingly cultivated. Instead, slip your hands underneath, resting the disk on your knuckles. Rotate and let gravity widen the circle. If the dough shrinks back, cover it for five minutes to allow the gluten to relax, then resume.
Heat: Your Invisible Ingredient
Now our dough is growing nicely, it is time to choose a baking surface.
Baking Steel: Preheat for 45 minutes. It is a super-conductive surface that sears the base in two to three minutes.
Ceramic Pizza Stone: Requires a longer preheat (60 minutes) but still yields solid results.
Oven Setup
Set the dial to its absolute limit (most hit 500–550 °F / 260–288 °C).
Place steel or stone on the upper-middle rack, where radiant heat from the broiler can help.
After the pizza hits the deck, switch to broil for the final minute to char the rim before the base dries out.
Pro tip: ignore the first "preheated" beep on your oven. Instead, set a timer because hot surfaces need a full heat soak.

Topping Tactics: Moisture Is the Villain
A crisp crust plus excess water equals heartbreak. Keep these three habits for a perfect pizza:
Pre-cook watery veg (zucchini, mushrooms, bell pepper). Even ten minutes in a hot skillet can cause liquid to be shed.
Blot fresh mozzarella or use low-moisture whole-milk slices. They melt instead of puddle.
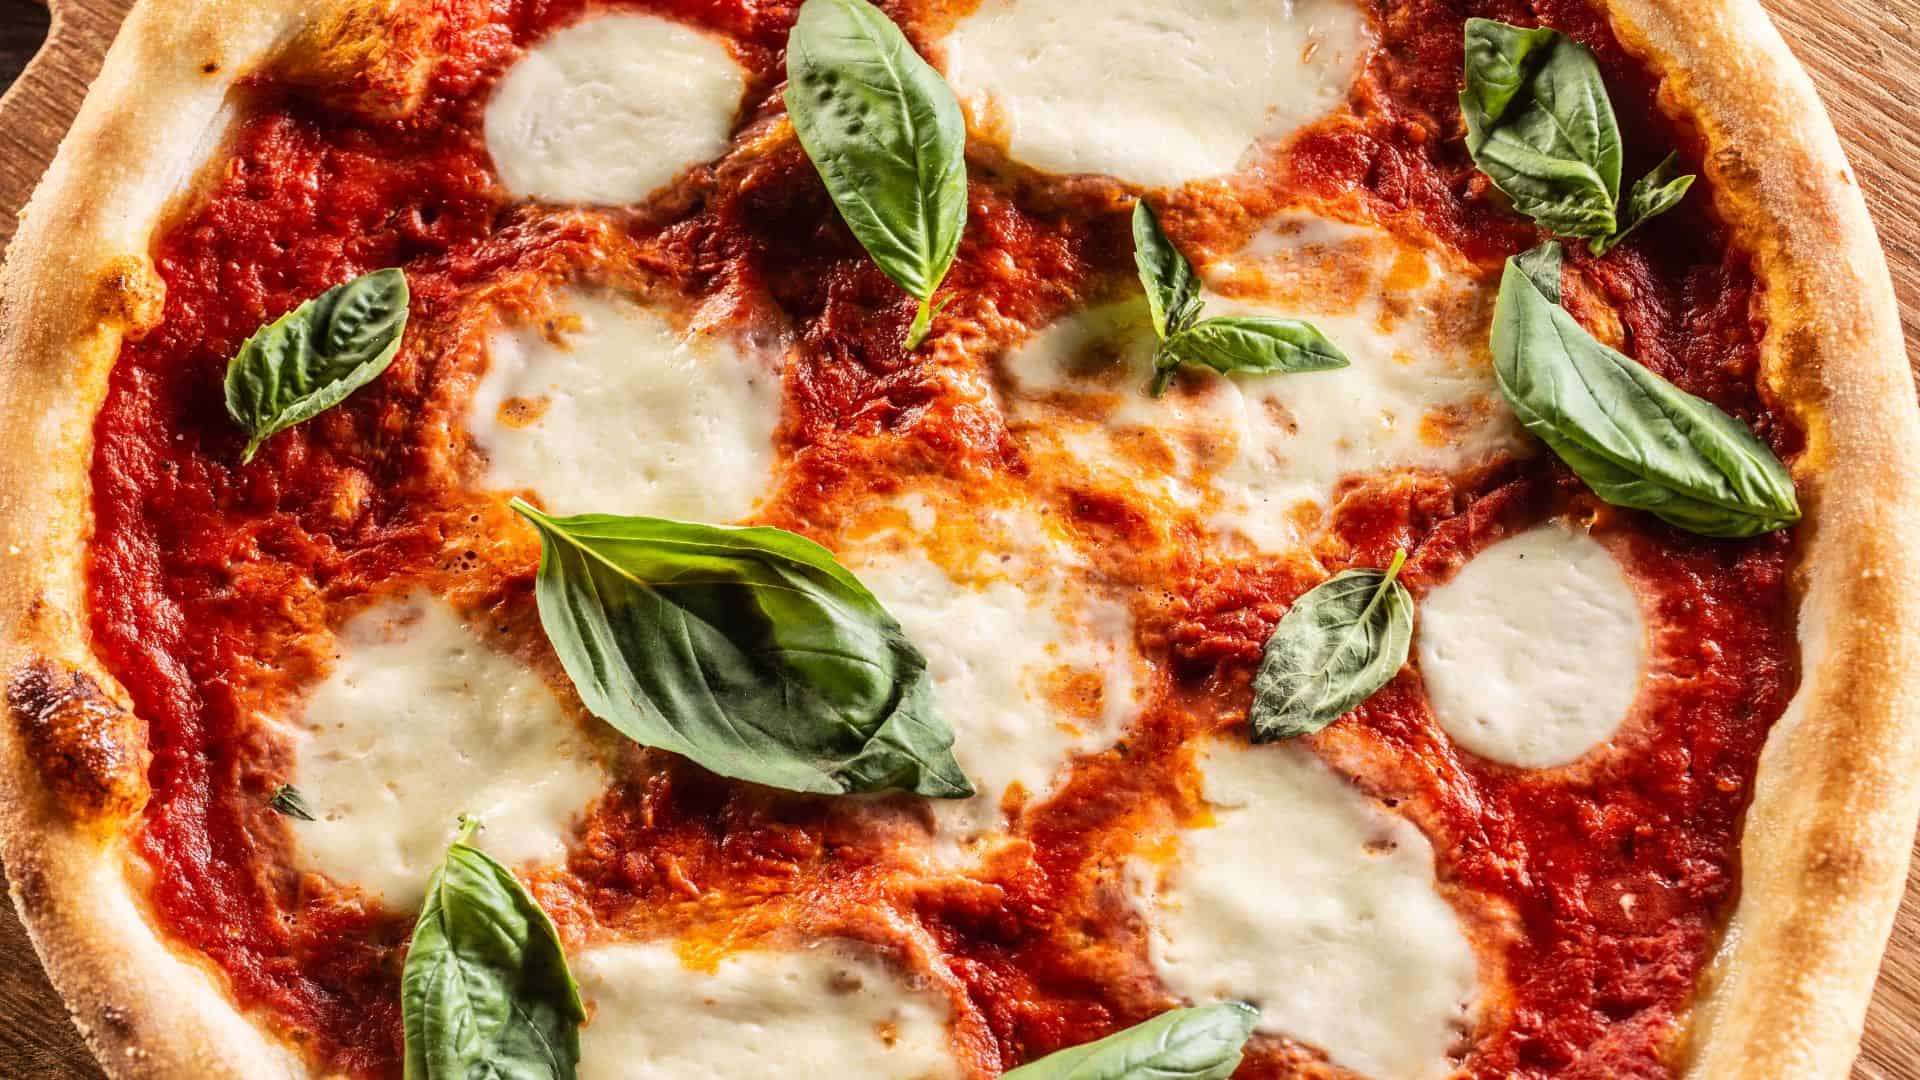
Order matters: sauce first, then cheese, and finally chunky toppings. The cheese acts as a shield, preventing the sauce from soaking into the dough.
Feeling creative? Swap spinach for basil, drizzle chili honey instead of red pepper flakes, or crown the finished pie with fresh arugula. T
Outdoor Pizza Ovens Demystified
Outdoor Pizza ovens have become extremely popular for a very good reason. They are super hot and can bake a perfect pizza in no time.
- Wood-fired (850–950 °F)
- Why you'll love it: Smoky aroma, blistering 60-second pies, campfire vibes.
- Watch-outs: Fire-building curve, soot cleanup, a steady supply of hardwood.
- Gas-Fired (700–850 °F)
- Why you'll love it: Push-button ignition, rock-solid temperature.
- Watch-outs: Char is slightly lighter. You'll need propane canisters.
- Hybrid / Multi-Fuel (750–900 °F)
- Why you'll love it: Start with clean propane and finish with a log for aroma.
- Watch-outs: Heavier shells, bigger price tag, plus you still need to master both fuels.
Pro tip: Prep dough balls and toppings before you light the oven, as these cook faster than your kitchen oven.
Your First Bake
Dust your pizza paddle with a fine sprinkling of semolina flour, then gently jiggle the dough. If it slides freely, you're ready. With one confident flick, send the disk onto the blazing steel. It should land flat and start sizzling at once. Close the oven door and set a three-minute timer (this timeframe assumes a conventional kitchen oven set to approximately 500–550 °F / 260–288 °C on a fully preheated steel or stone surface).
Watch through the glass as the crust inflates with airy bubbles. Then, when the timer buzzes, switch to broil and let the cheese brown for another sixty seconds. Slide the finished pizza onto the paddle again, hear the sharp thwack as it meets the board, and breathe in the aroma that whisks you straight to a Neapolitan side street.
Great homemade pizza is a conversation between heat, time, and humble ingredients. Respect the dough's need to rest, coax it into shape with your fingers, unleash roaring heat, and tame the moisture of the topping. Miss a detail? No worries. Each pizza is fed back to the next. The adventure is the point.
Leave a Reply